Setting Up JavaDevelopment
Environment
Lesson Plan Presentation
2.
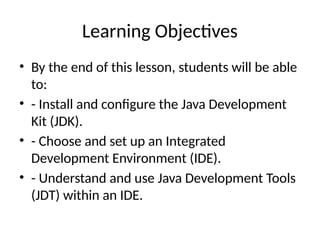
Learning Objectives
• Bythe end of this lesson, students will be able
to:
• - Install and configure the Java Development
Kit (JDK).
• - Choose and set up an Integrated
Development Environment (IDE).
• - Understand and use Java Development Tools
(JDT) within an IDE.
3.
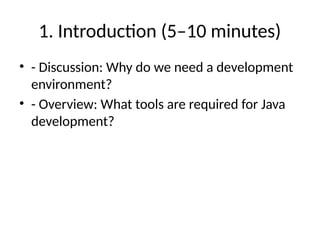
1. Introduction (5–10minutes)
• - Discussion: Why do we need a development
environment?
• - Overview: What tools are required for Java
development?
4.
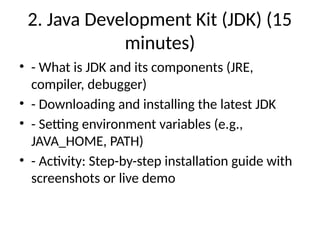
2. Java DevelopmentKit (JDK) (15
minutes)
• - What is JDK and its components (JRE,
compiler, debugger)
• - Downloading and installing the latest JDK
• - Setting environment variables (e.g.,
JAVA_HOME, PATH)
• - Activity: Step-by-step installation guide with
screenshots or live demo
5.
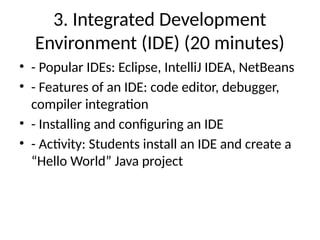
3. Integrated Development
Environment(IDE) (20 minutes)
• - Popular IDEs: Eclipse, IntelliJ IDEA, NetBeans
• - Features of an IDE: code editor, debugger,
compiler integration
• - Installing and configuring an IDE
• - Activity: Students install an IDE and create a
“Hello World” Java project
6.
4. Java DevelopmentTools (JDT)
(15 minutes)
• - What is JDT and its role in Eclipse
• - Features: syntax highlighting, code
completion, refactoring
• - Using JDT to write and run Java code
• - Activity: Explore JDT features in Eclipse with
a sample Java program
7.
5. Wrap-Up andAssessment (10–
15 minutes)
• - Quick Quiz: Identify components of JDK, IDE
features, and JDT tools
• - Reflection Prompt: “Which tool did you find
most useful and why?”
8.
Materials Needed
• -Internet access for downloads
• - Installation guides or links
• - Projector or screen for live demo
• - Quiz handouts or online quiz platform
9.
Assessment
• - Completionof installation steps
• - Successful creation and execution of a Java
project
• - Quiz and reflection responses