#2 Fly Through 3-D transition effect and pictures
(Basic)
To reproduce the picture effects on this slide, do the following:
On the Home tab, in the Slides group, click Layout, and then click Blank.
On the Insert tab, in the Images group, click Picture. In the Insert Picture dialog box, select a picture and then click Insert.
Select the picture. Under Picture Tools, on the Format tab, in the Size group, click the Size and Position dialog box launcher. In the Format Picture dialog box, resize or crop the image so that the height is set to 5.33” and the width is set to 8”. To crop the picture, click Crop in the left pane, and in the right pane, under Crop position, enter values into the Height, Width, Left, and Top boxes. To resize the picture, click Size in the left pane, and in the right pane, under Size and rotate, enter values into the Height and Width boxes.
Under Picture Tools, on the Format tab, in the Picture Styles group, click Rotated White.
To reproduce the shape effects on this slide, do the following:
On the Home tab, in the Drawing group, click Shapes, and then under Block Arrows, click Left-Right Arrow (first row).
On the slide, drag to draw a left-right arrow.
Select the left-right arrow. Under Drawing Tools, on the Format tab, in the Size group, enter 0.45” in the Height box and 3.65” in the Width box.
Also on the Format tab, in the Shape Styles group, click the Format Shape dialog box launcher. In the Format Shape dialog box, click Fill in the left pane, in the Fill pane, click Gradient fill, and then do the following:
In the Type list, select Linear.
In the Angle box, enter 0°.
Under Gradient stops, click Add gradient stops or Remove gradient stops until two stops appear in the slider.
Also under Gradient stops, customize the gradient stops as follows:
Select the first stop in the slider, and then do the following:
In the Position box, enter 0%.
Click the button next to Color, and then under Theme Colors, click White, Background 1, Darker 5%.
Select the second stop in the slider, and then do the following:
In the Position box, enter 100%.
Click the button next to Color, and then under Theme Colors, click White, Background 1, Darker 15%.
Also in the Format Shape dialog box, click Line Color in the left pane, in the Line Color pane, click No line.
Also in the Format Shape dialog box, click Shadow in the left pane, in the Shadow pane, click the button next to Presets, and then under Outer click Offset Center (second row).
Also in the Format Shape dialog box, click Size in the left pane, in the Size pane, under Size and rotate, in the Rotation box, enter 354°.
On the slide, select the shape. Begin typing to enter your text into the shape.
Select the edge of the shape. On the Home tab, in the Font group, do the following:
In the Font list, select Corbel.
In the Font Size list, select 20 pt.
Click Font Color, and then click Black, Text 1 (first row).
Click Italic.
Also on the Home tab, in the Paragraph group, click Center.
To reproduce the transition effects on this slide, do the following:
On the Transitions tab, in the Transition to This Slide group, click More, and then click Fly Through.
On the Transitions tab, in the Transition to This Slide, click Effect Options, and then click In with Bounce.
Also on the Transitions tab, in the Timing group, do the following:
Clear the On Mouse Click box.
Select After, and then in the After box enter 2.00 seconds.
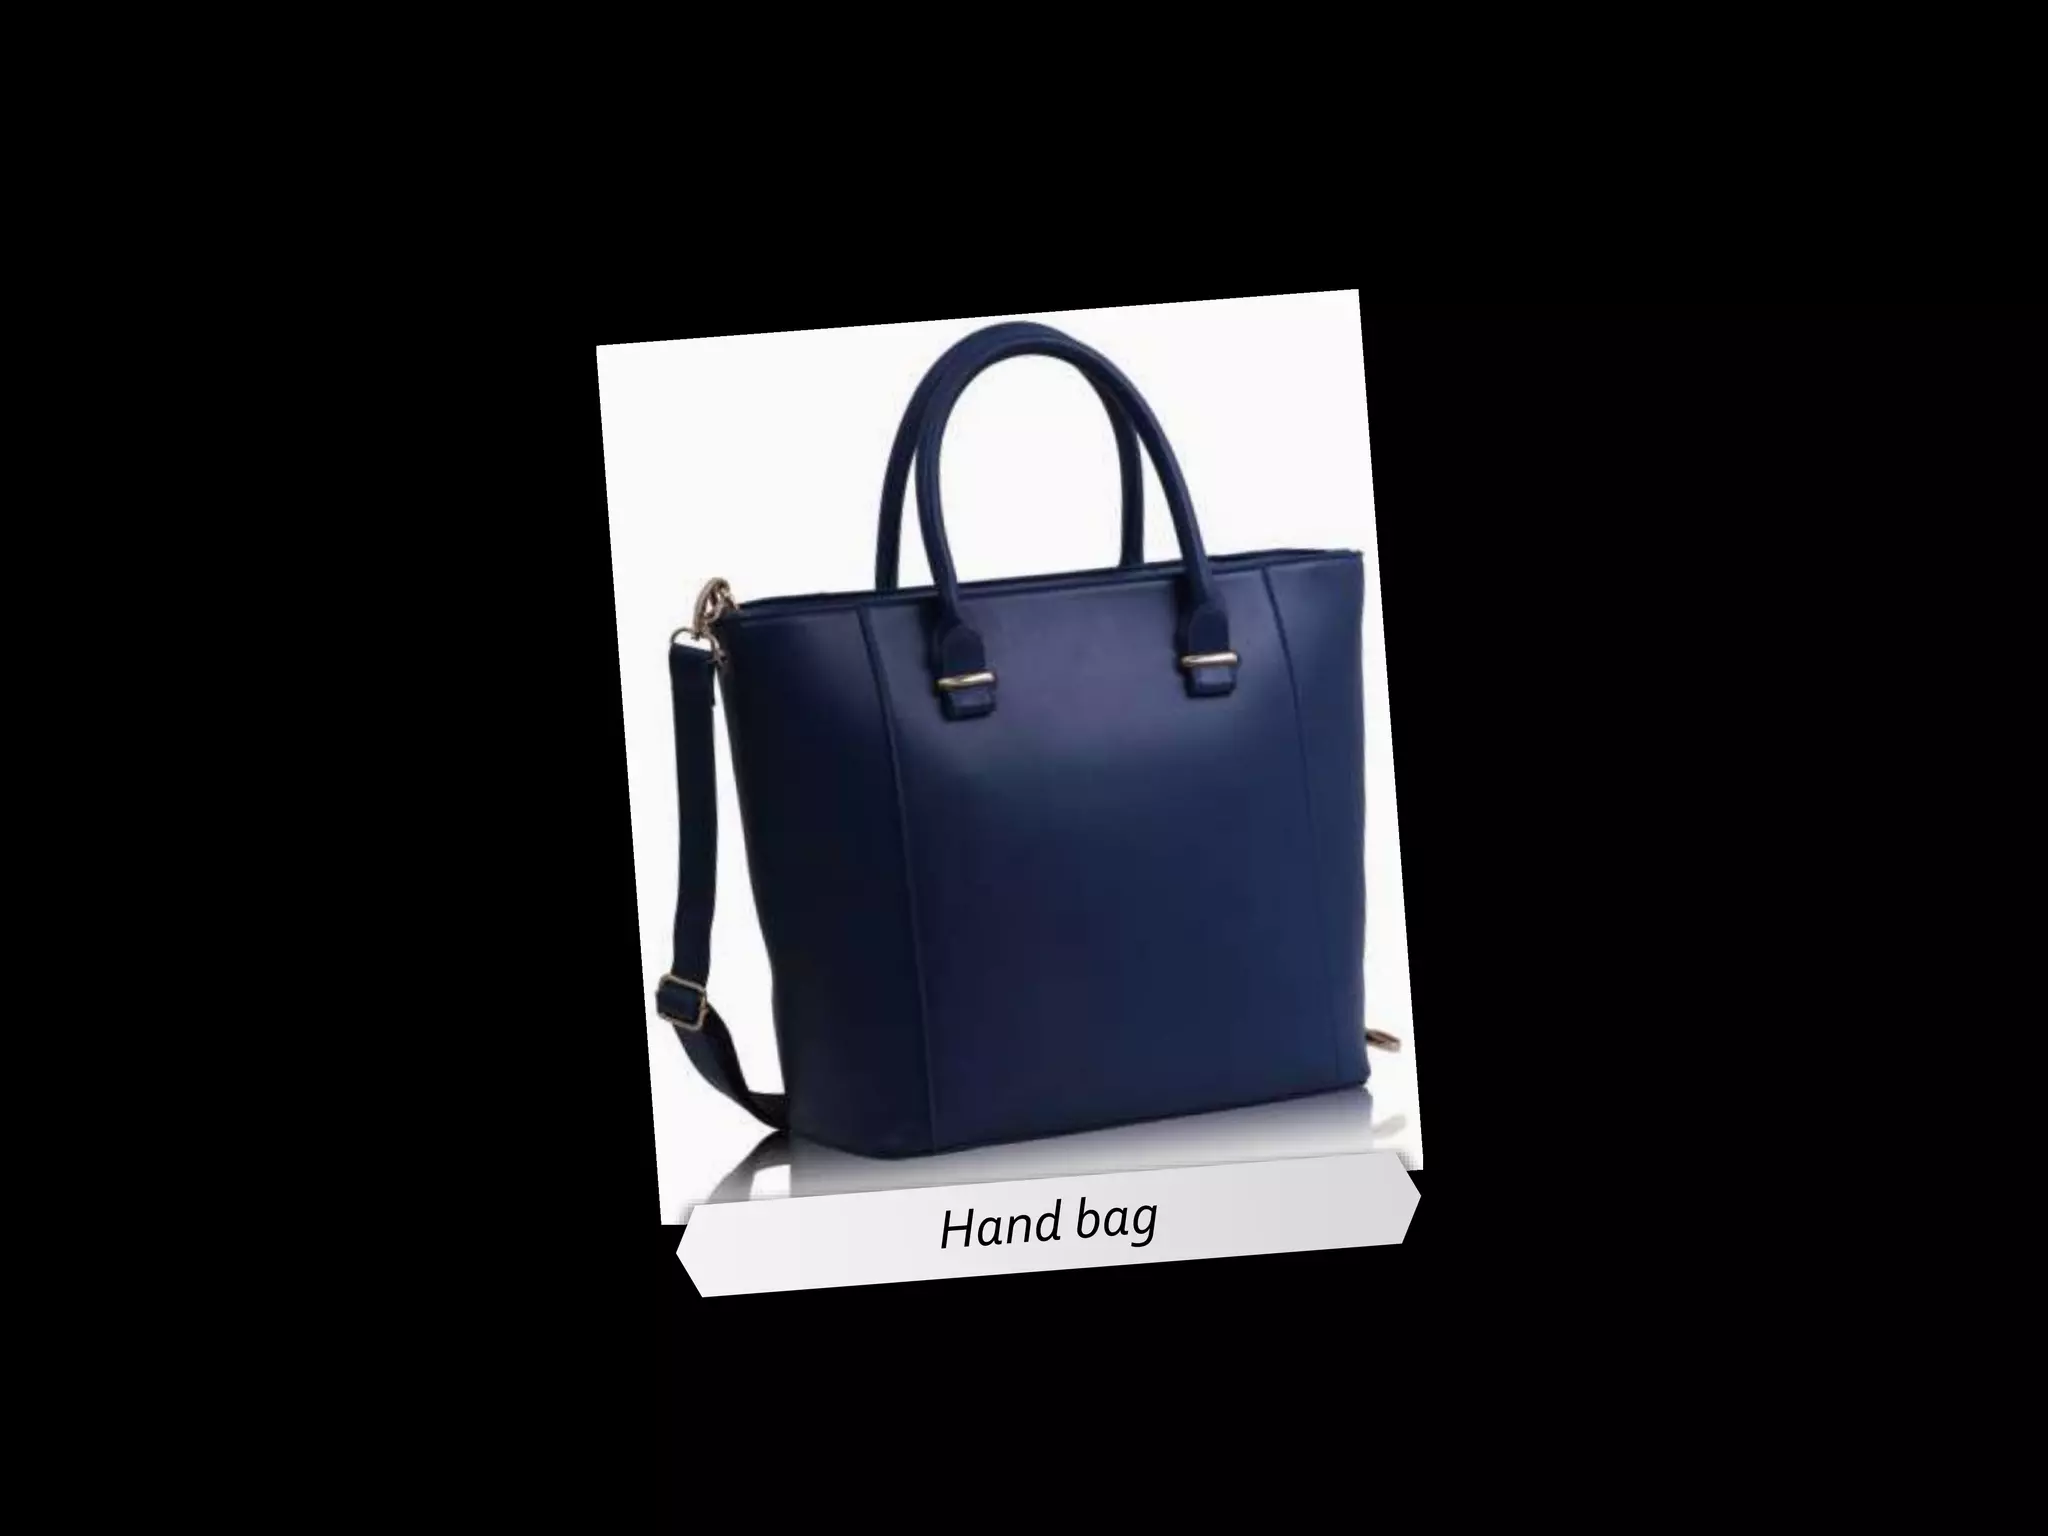
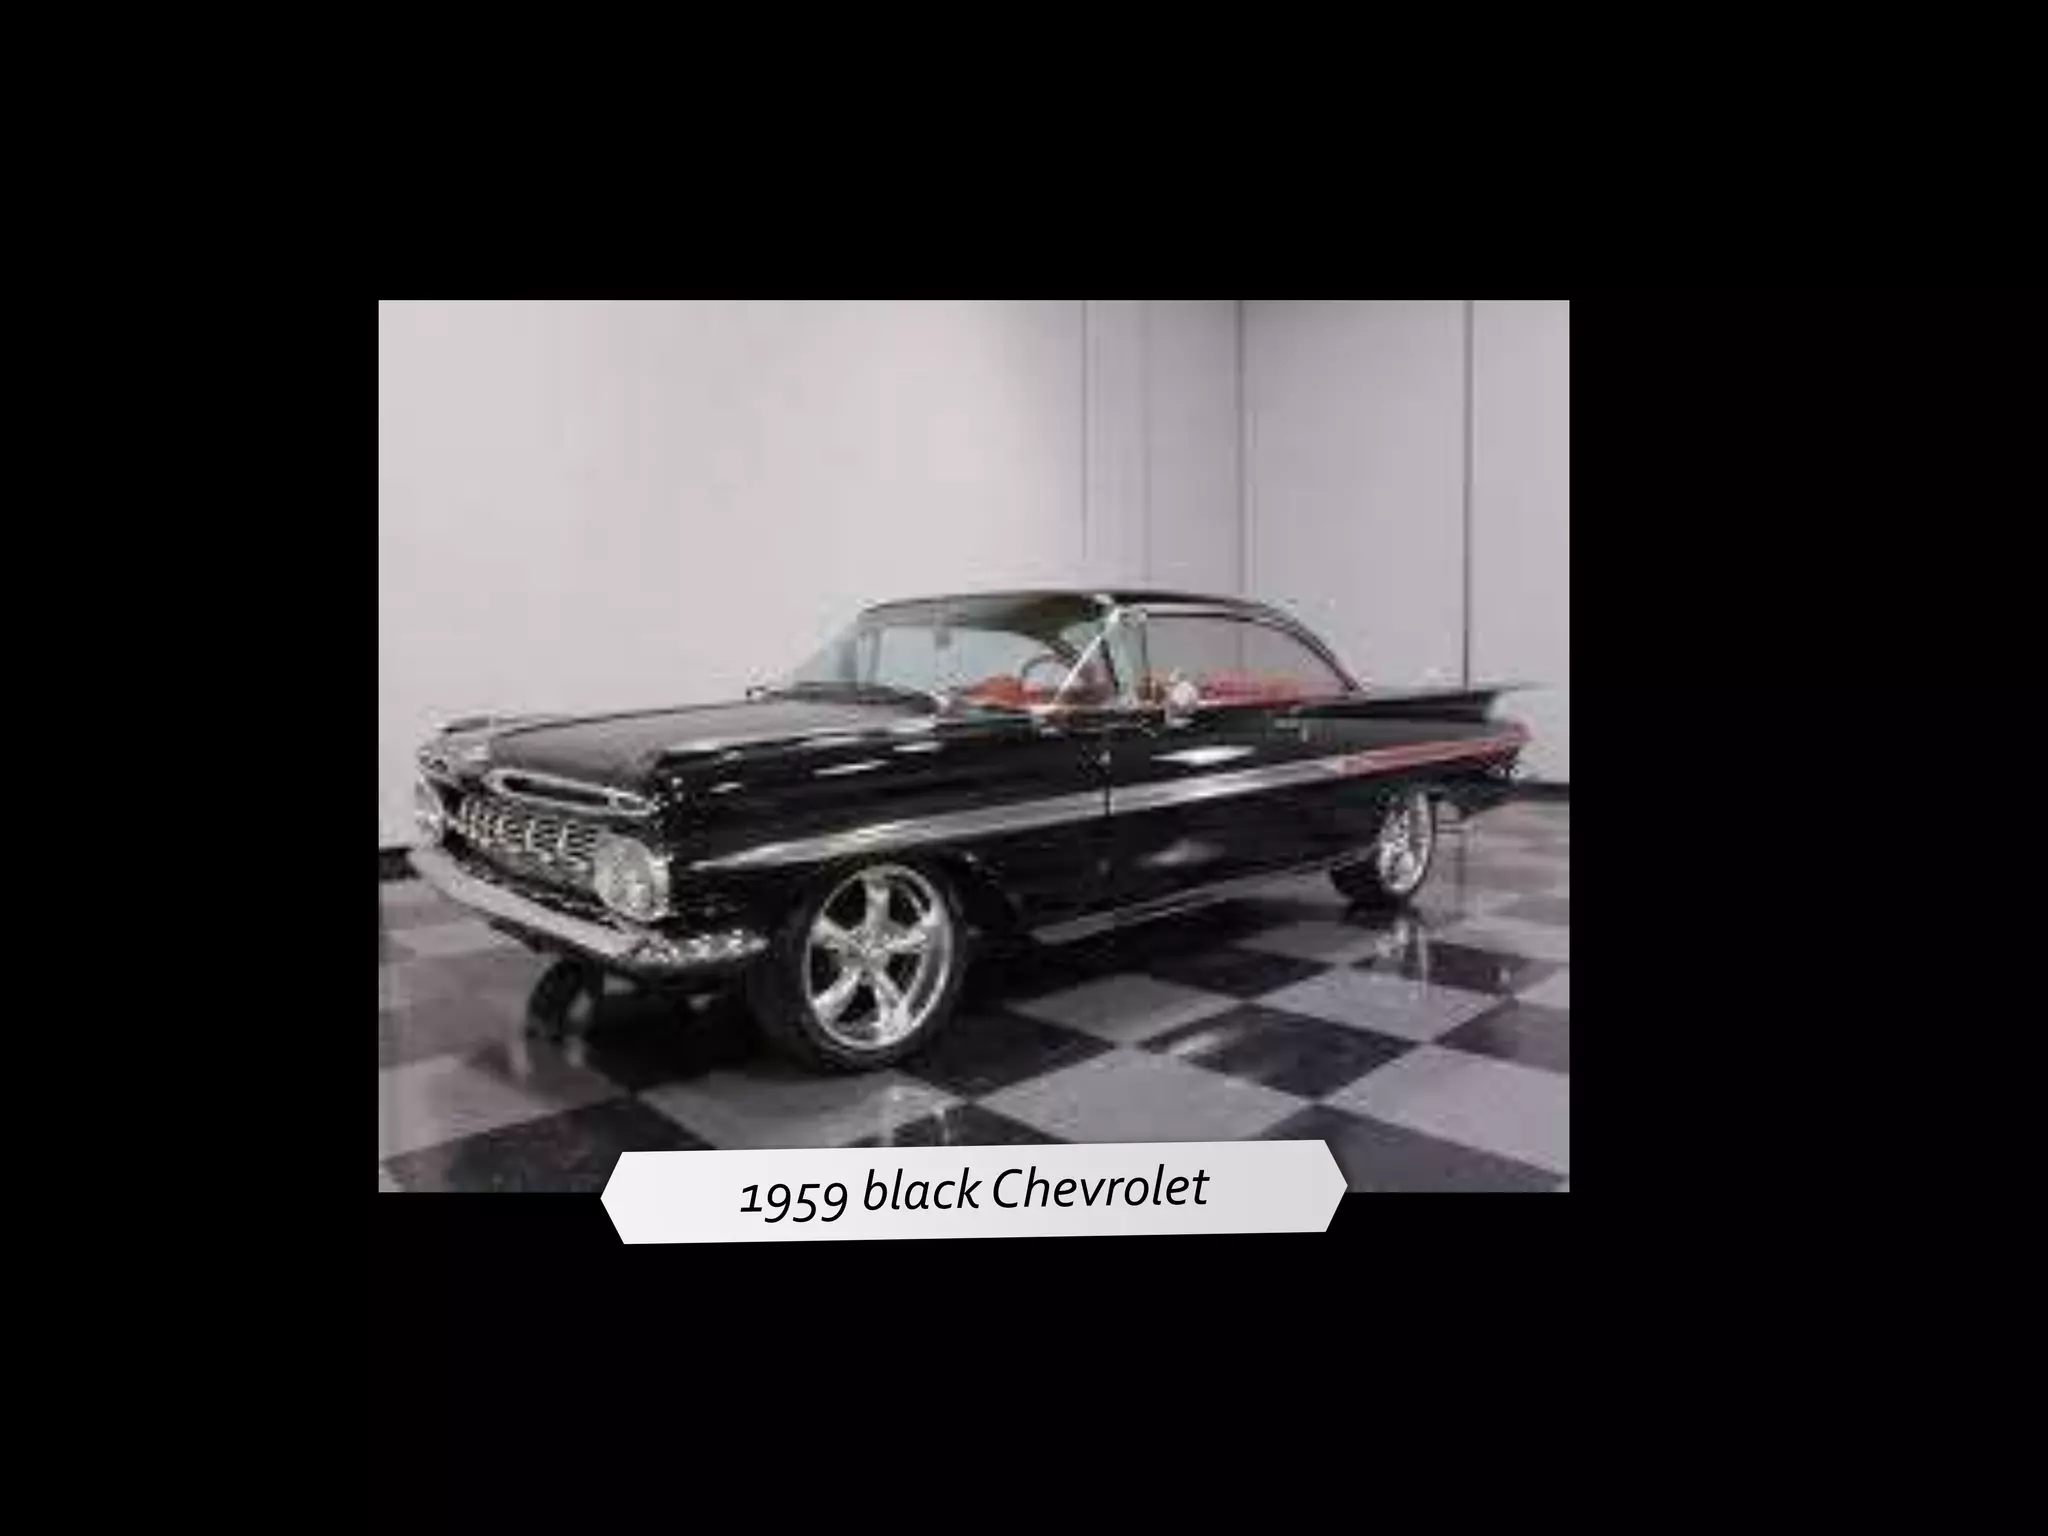
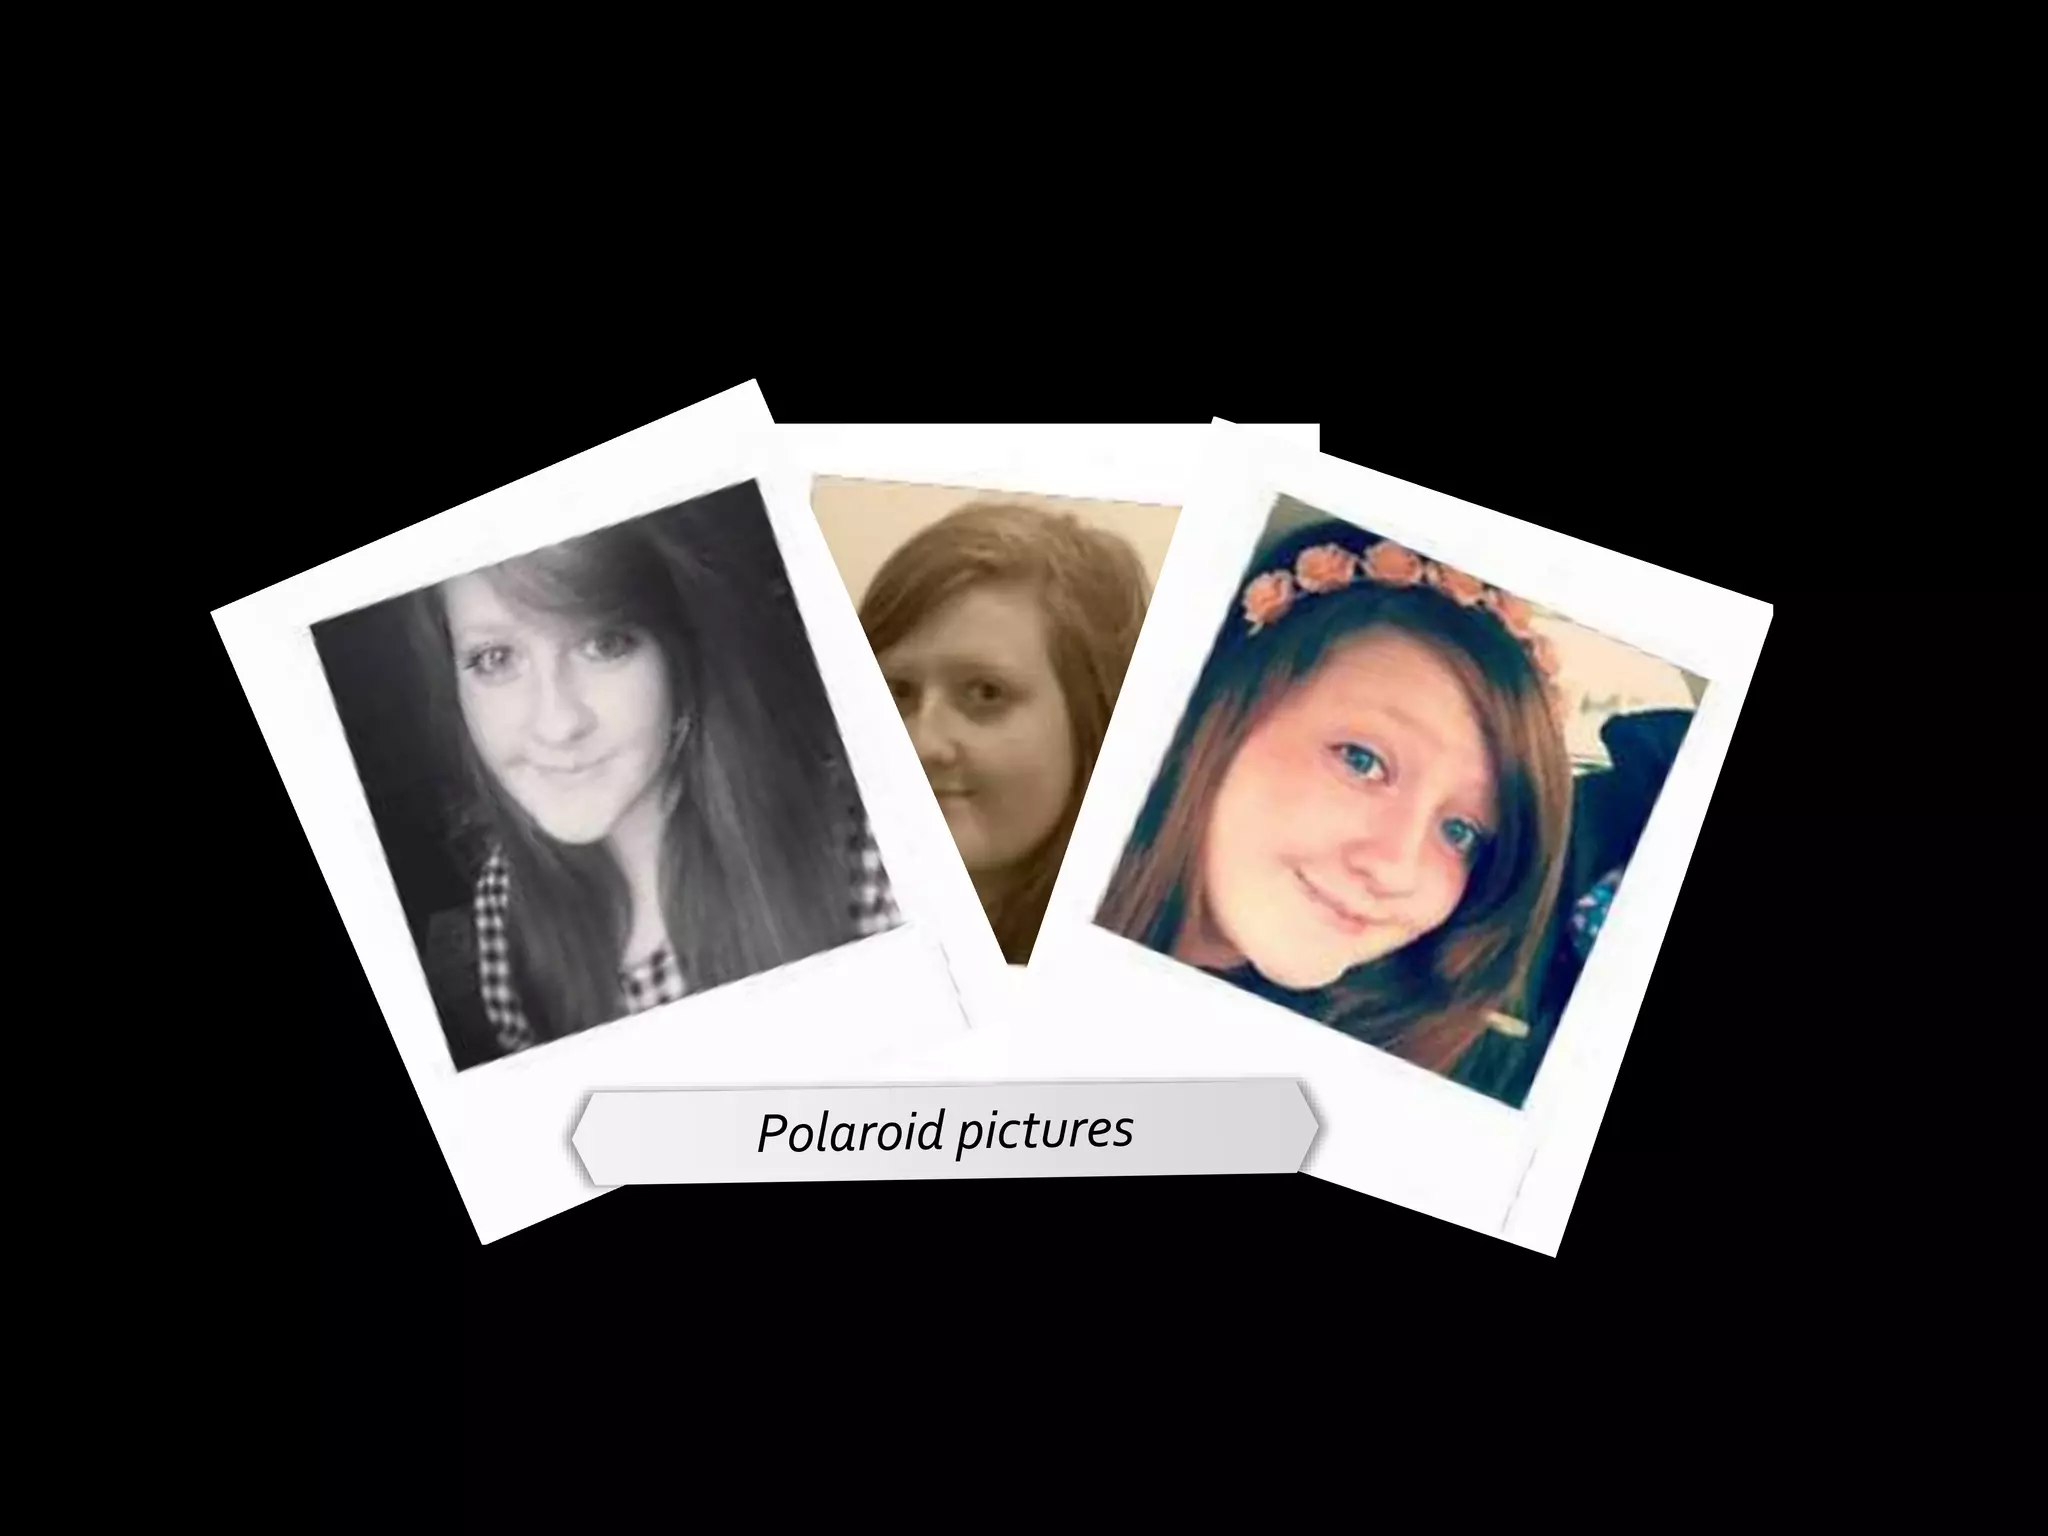
To reproduce the second, third, and fourth slides, do the following:
In the Slides pane, select the slide. On the Home tab, in the Slides group, click the arrow below New Slide, and then click Duplicate Selected Slides. Repeat this process until there are four slides.
In the Slides pane, select the second slide.
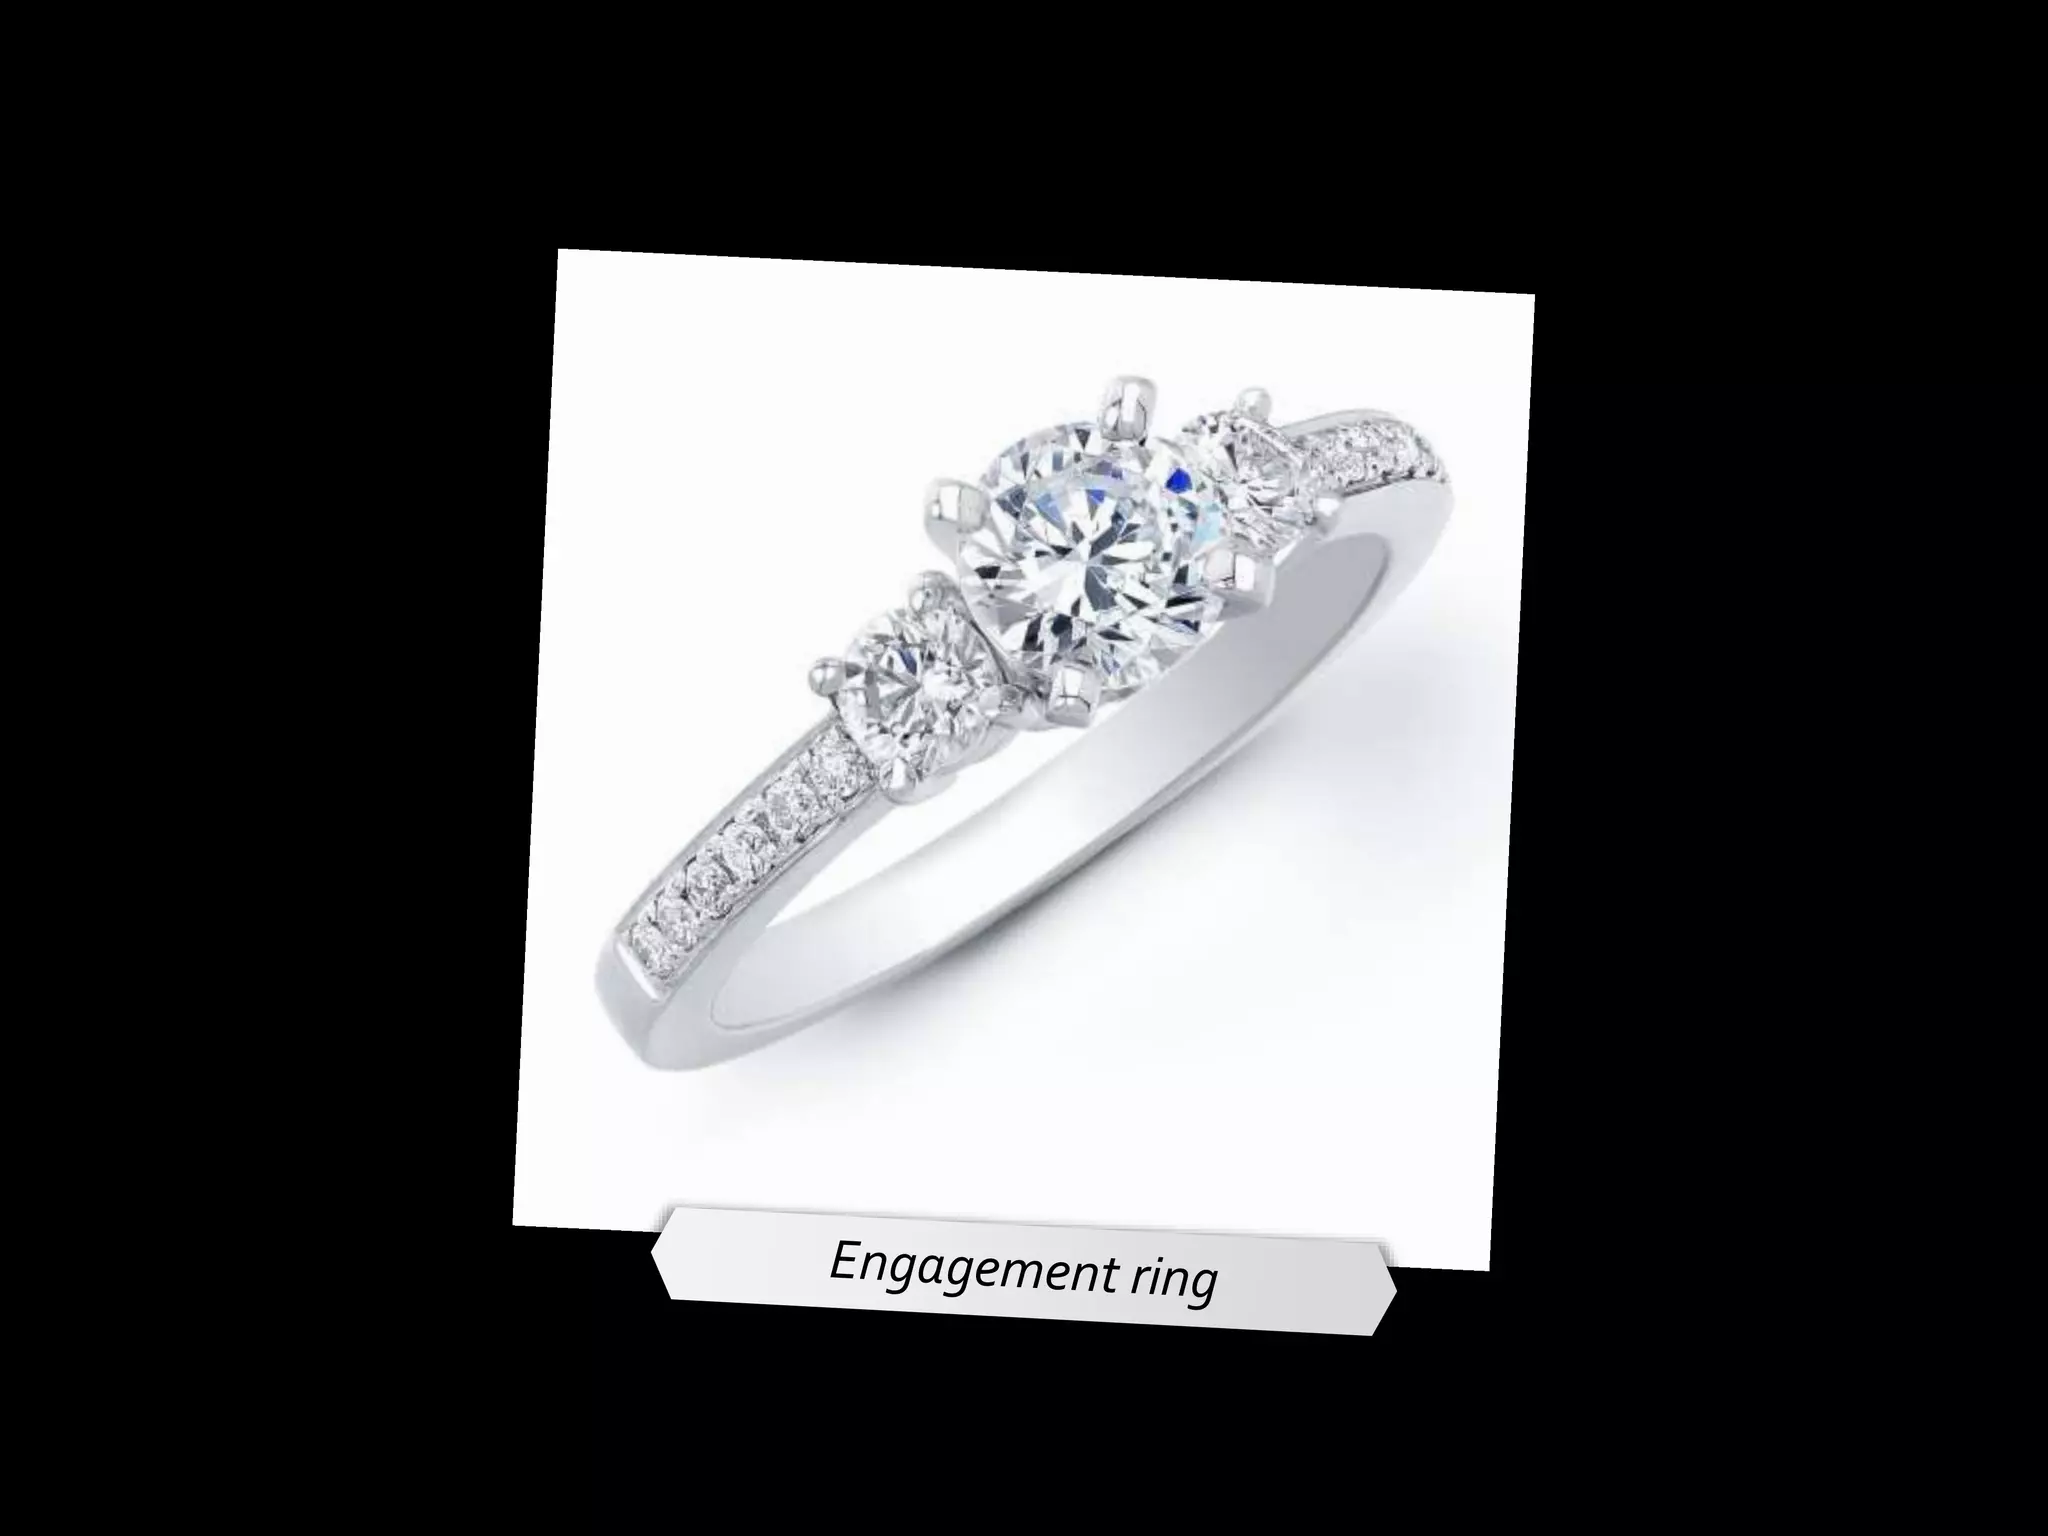
On the slide, select the picture. Under Picture Tools, on the Format tab, in the Adjust group, click Change Picture. In the Insert Picture dialog box, select a picture and then click Insert.
Also on the Format tab, in the Size group, click the Size and Position dialog box launcher. In the Format Picture dialog box, click Size in the left pane, in the Size pane, under Size and rotate, in the Rotation box, enter 9°.
Select the shape. Under Drawing Tools, on the Format tab, in the Size group, click the Size and Position dialog box launcher. In the Format Shape dialog box, click Size in the left pane, in the Size pane, under Size and rotate, in the Rotation box, enter 3°.
In the Slides pane, select the third slide.
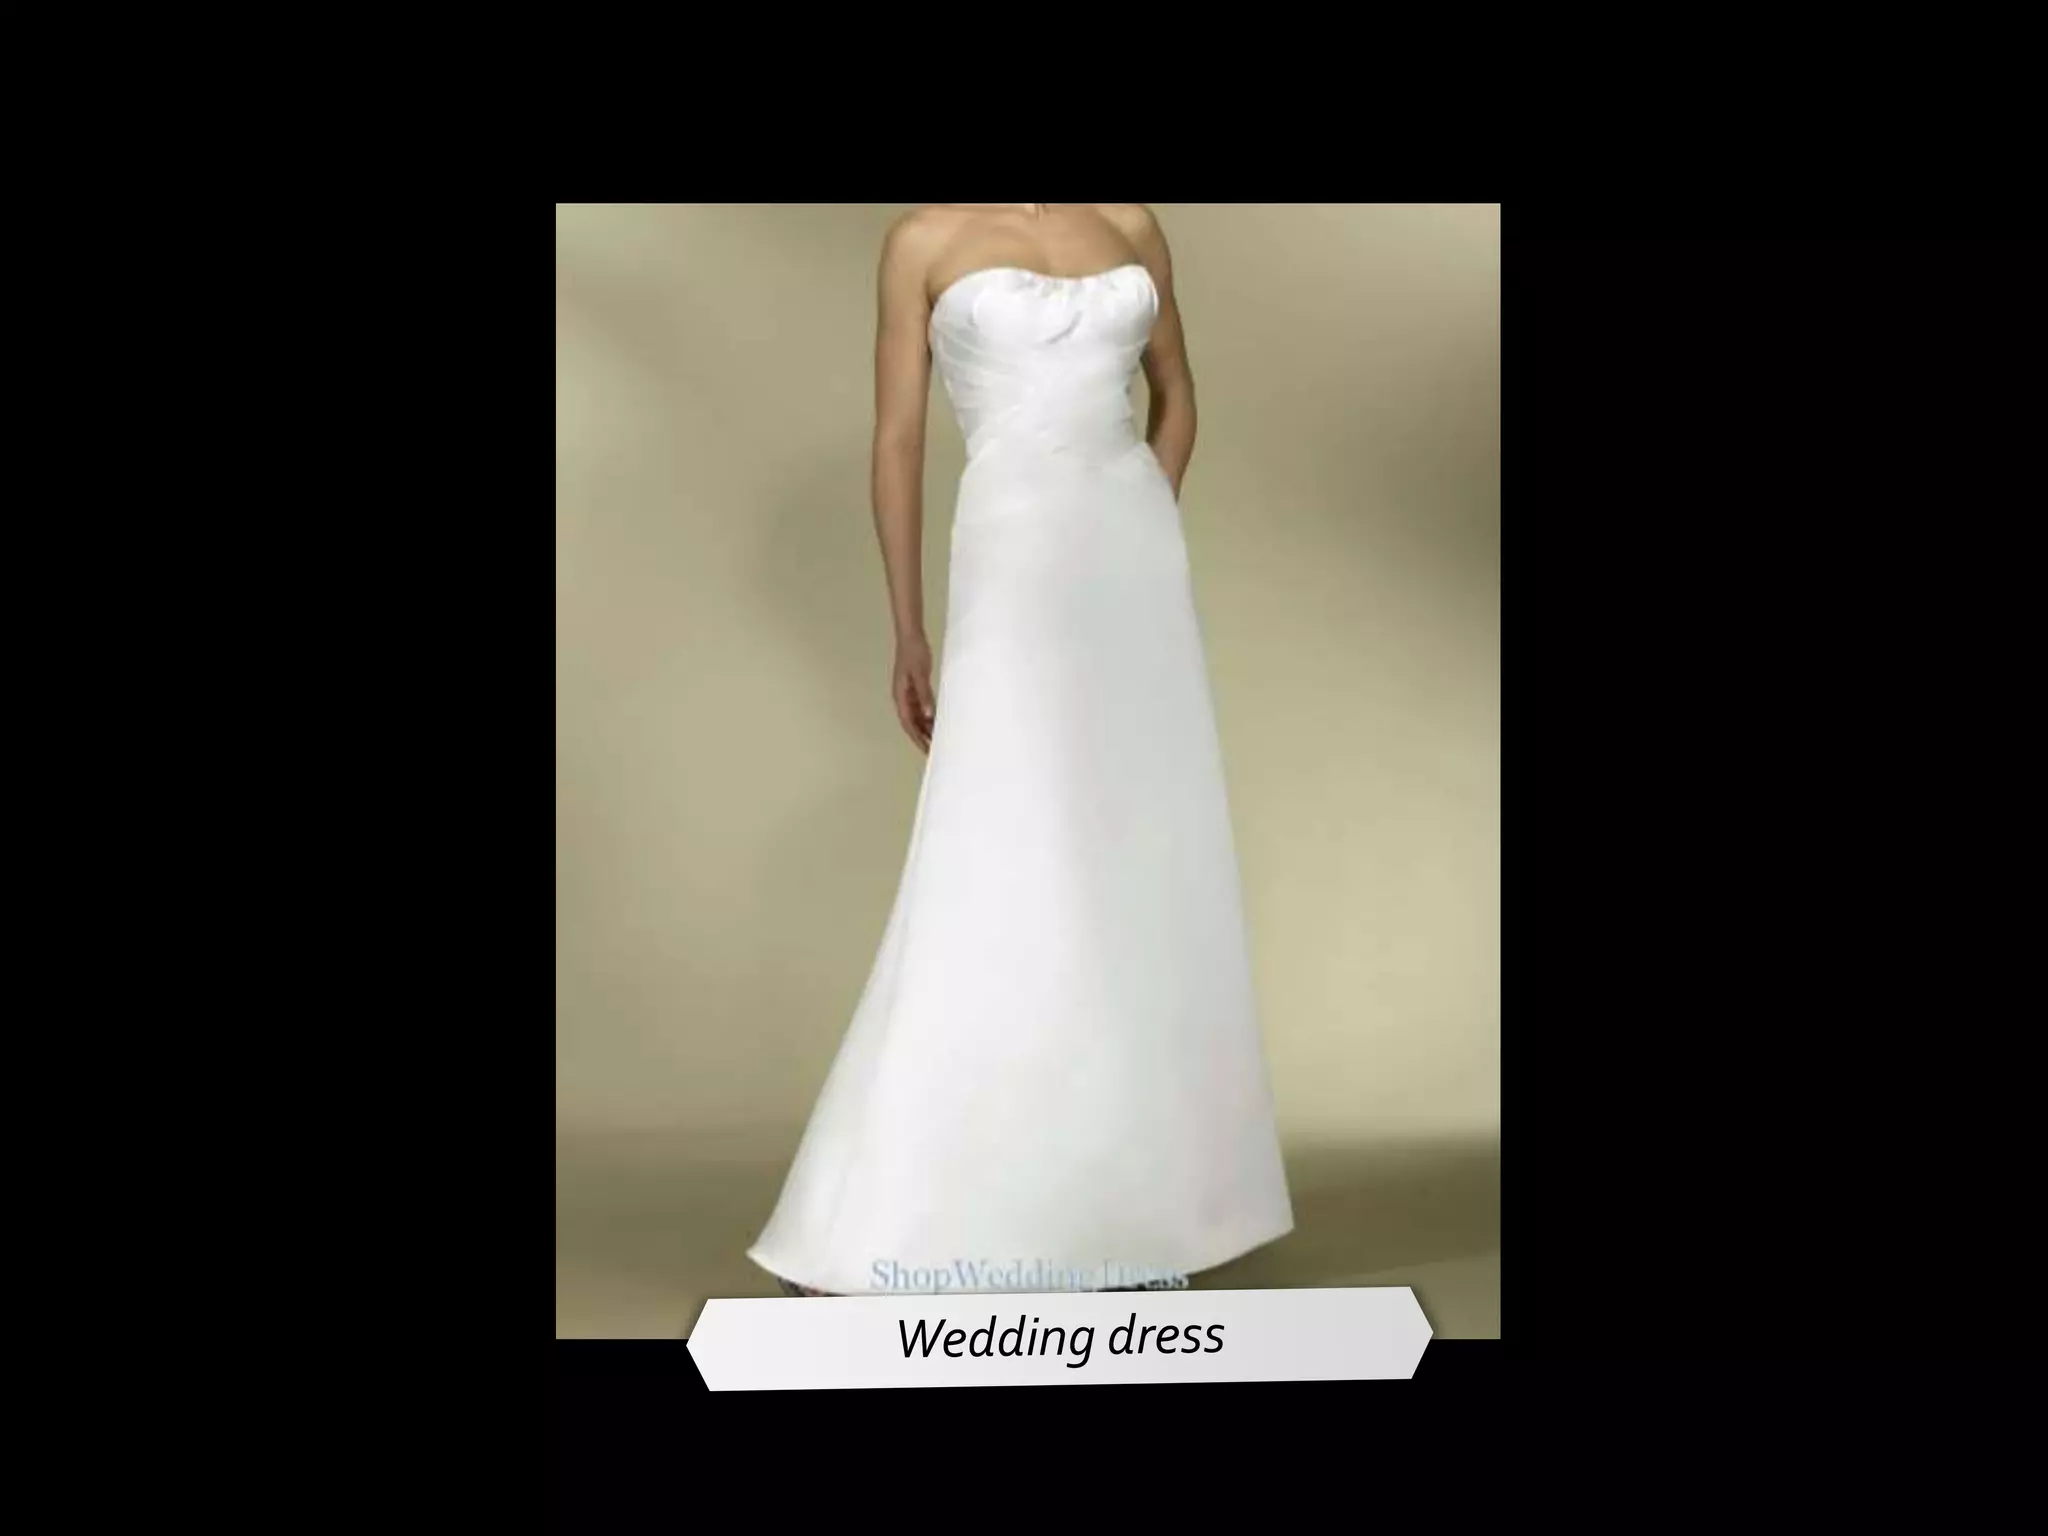
On the slide, select the picture. Under Picture Tools, on the Format tab, in the Adjust group, click Change Picture. In the Insert Picture dialog box, select a picture and then click Insert.
Also on the Format tab, in the Size group, click the Size and Position dialog box launcher. In the Format Picture dialog box, click Size in the left pane, in the Size pane, under Size and rotate, in the Rotation box, enter 5°.
Select the shape. Under Drawing Tools, on the Format tab, in the Size group, click the Size and Position dialog box launcher. In the Format Shape dialog box, click Size in the left pane, in the Size pane, under Size and rotate, in the Rotation box, enter 359°.
In the Slides pane, select the fourth slide.
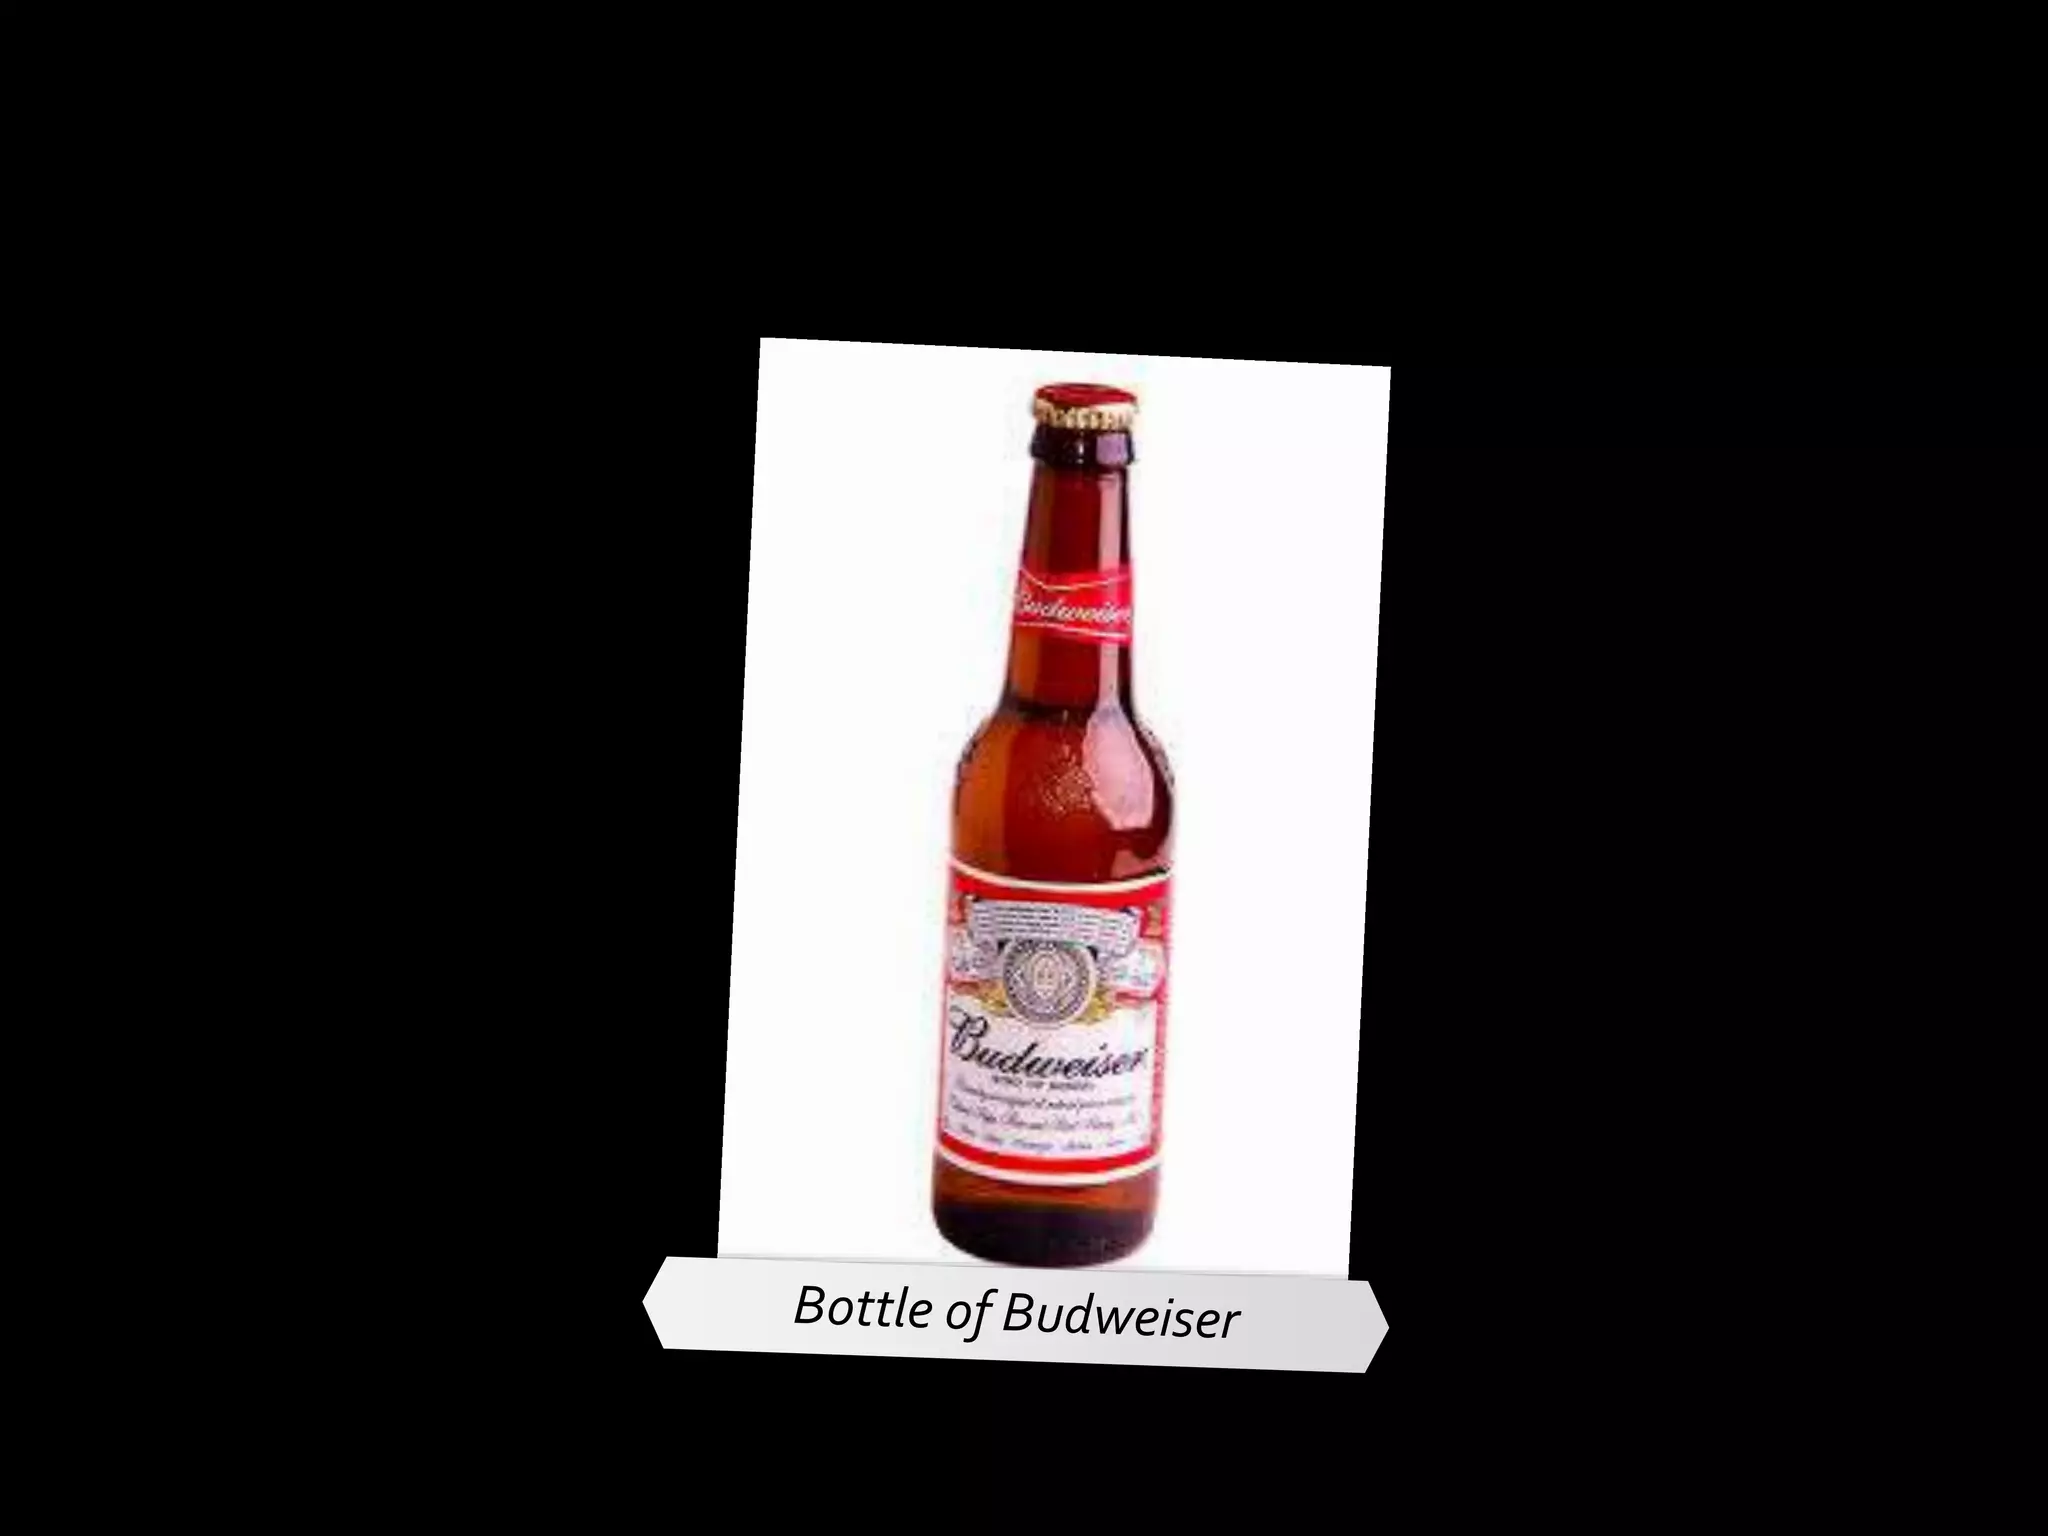
On the slide, select the picture. Under Picture Tools, on the Format tab, in the Adjust group, click Change Picture. In the Insert Picture dialog box, select a picture and then click Insert.
Also on the Format tab, in the Size group, click the Size and Position dialog box launcher. In the Format Picture dialog box, click Size in the left pane, in the Size pane, under Size and rotate, in the Rotation box, enter 8°.
Select the shape. Under Drawing Tools, on the Format tab, in the Size group, click the Size and Position dialog box launcher. In the Format Shape dialog box, click Size in the left pane, in the Size pane, under Size and rotate, in the Rotation box, enter 2°.
To reproduce the background effects on this slide, do the following:
On the Design tab, in the Background group, click Background Styles, and then click Style 4.
(Note: Selecting this background style will change the colors on the slide.)