Download to read offline


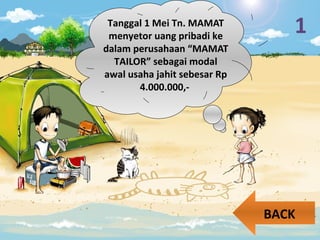
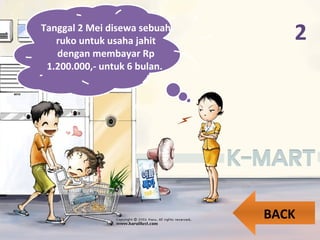
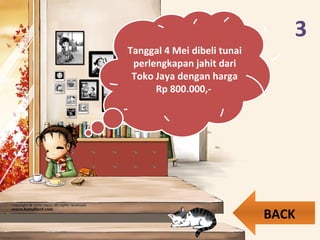
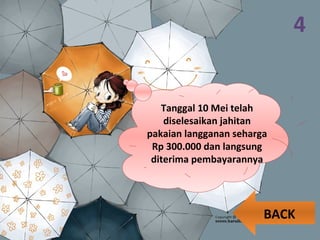
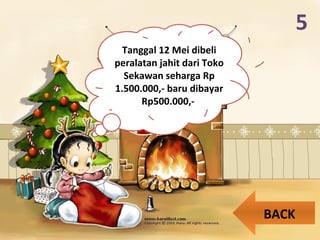
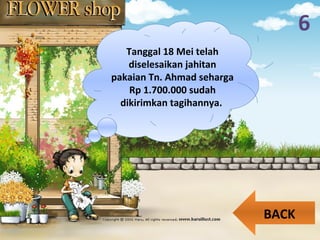
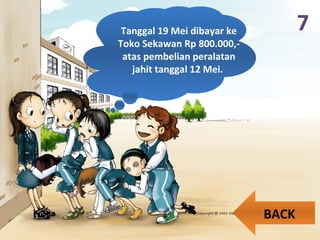
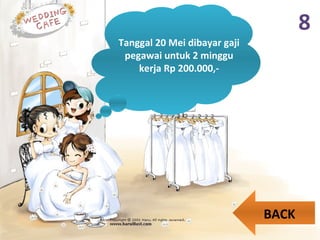
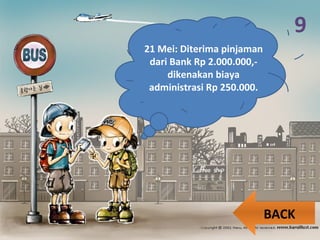

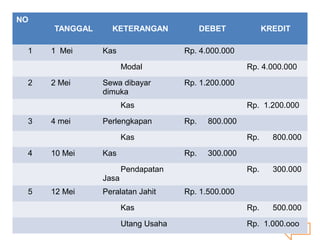
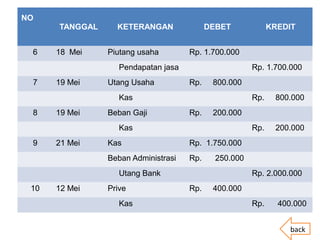


Dokumen tersebut memberikan contoh jurnal umum transaksi usaha jahit milik Tn. Mamat sejak 1 Mei hingga 22 Mei. Terdapat 10 transaksi yang mencakup modal usaha, sewa ruko, pembelian perlengkapan dan peralatan, penerimaan pendapatan dari jahitan, pembayaran utang, pinjaman bank, dan pengambilan uang perusahaan.


