This document describes the steps to program a simple ping pong game using an Arduino and LED lights. It involves 3 main steps:
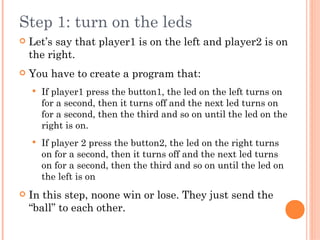
1. Creating a program to light up the LEDs in sequence to simulate a ping pong ball moving back and forth when each player presses their button.
2. Modifying the program to add a time limit for players to press their button before they lose a point.
3. Adding additional features to make the game more complex, such as increasing ball speed over time or adding intro/outro sequences to mark the start and end of games.
The document provides example code to get started and a link to a completed solution. The overall goal is to collabor