The document provides instructions for various administrative tasks for a Career Services office, including:
1) Scanning and emailing documents, answering phones, sending emails, scheduling appointments, and processing business cards.
2) Preparing for and cleaning up after events, and entering event attendance into the Career Net database.
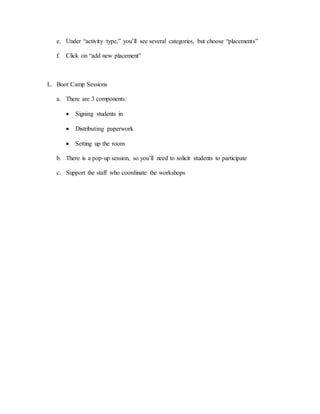
3) Guidance for student walk-ins, accessing learning agreements, adding student placements, and coordinating boot camp sessions.