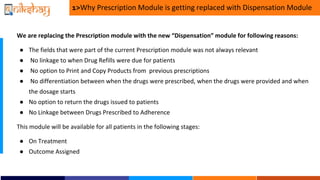
The document describes updates to Nikshay's prescription module, which is being replaced by a new dispensation module. The key points are:
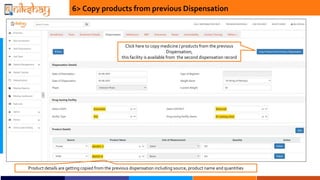
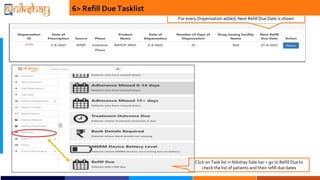
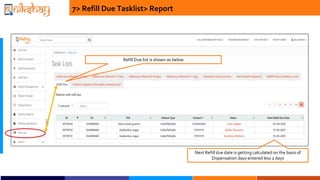
1. The dispensation module will provide more relevant information than the prescription module such as linkage to drug refill due dates, printing and copying of previous prescriptions, and differentiation of prescription, provision, and start dates.
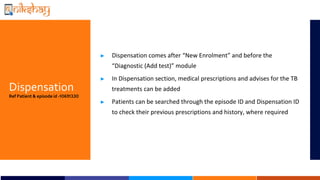
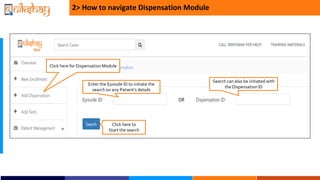
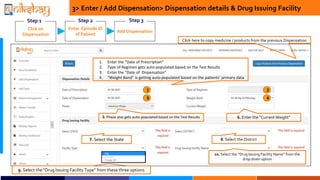
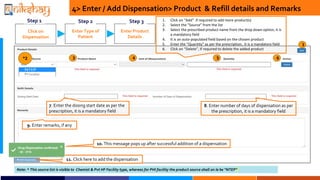
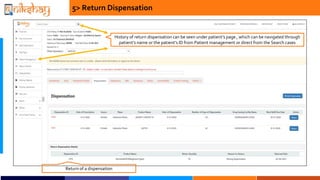
2. The dispensation module allows adding dispensations for patients, printing dispensations, returning drugs, copying products from previous dispensations, and viewing patients' refill due dates on the tasklist.
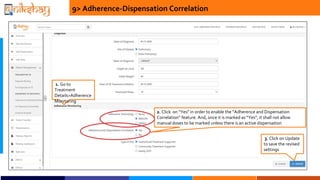
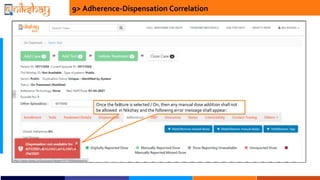
3. Linking dispensations to adherence enables correlation between drugs prescribed and adherence, and prevents manual dose entry without an