Download to read offline


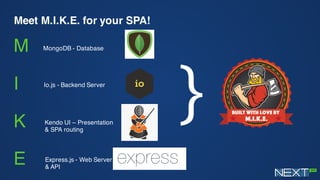
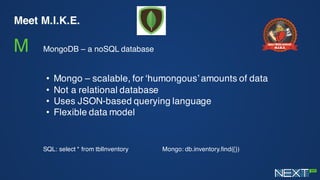
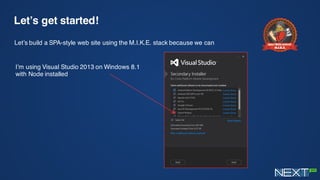


The document presents a comprehensive guide to building a Single Page Application (SPA) using the MIKE stack, which includes MongoDB, io.js, Kendo UI, and Express.js. It covers installation procedures, configuration steps, and coding practices necessary for setting up a web application, along with detailed instructions on integrating databases and creating APIs. The authors also include tips on visual styling with Bootstrap and Kendo UI widgets to enhance the user interface.