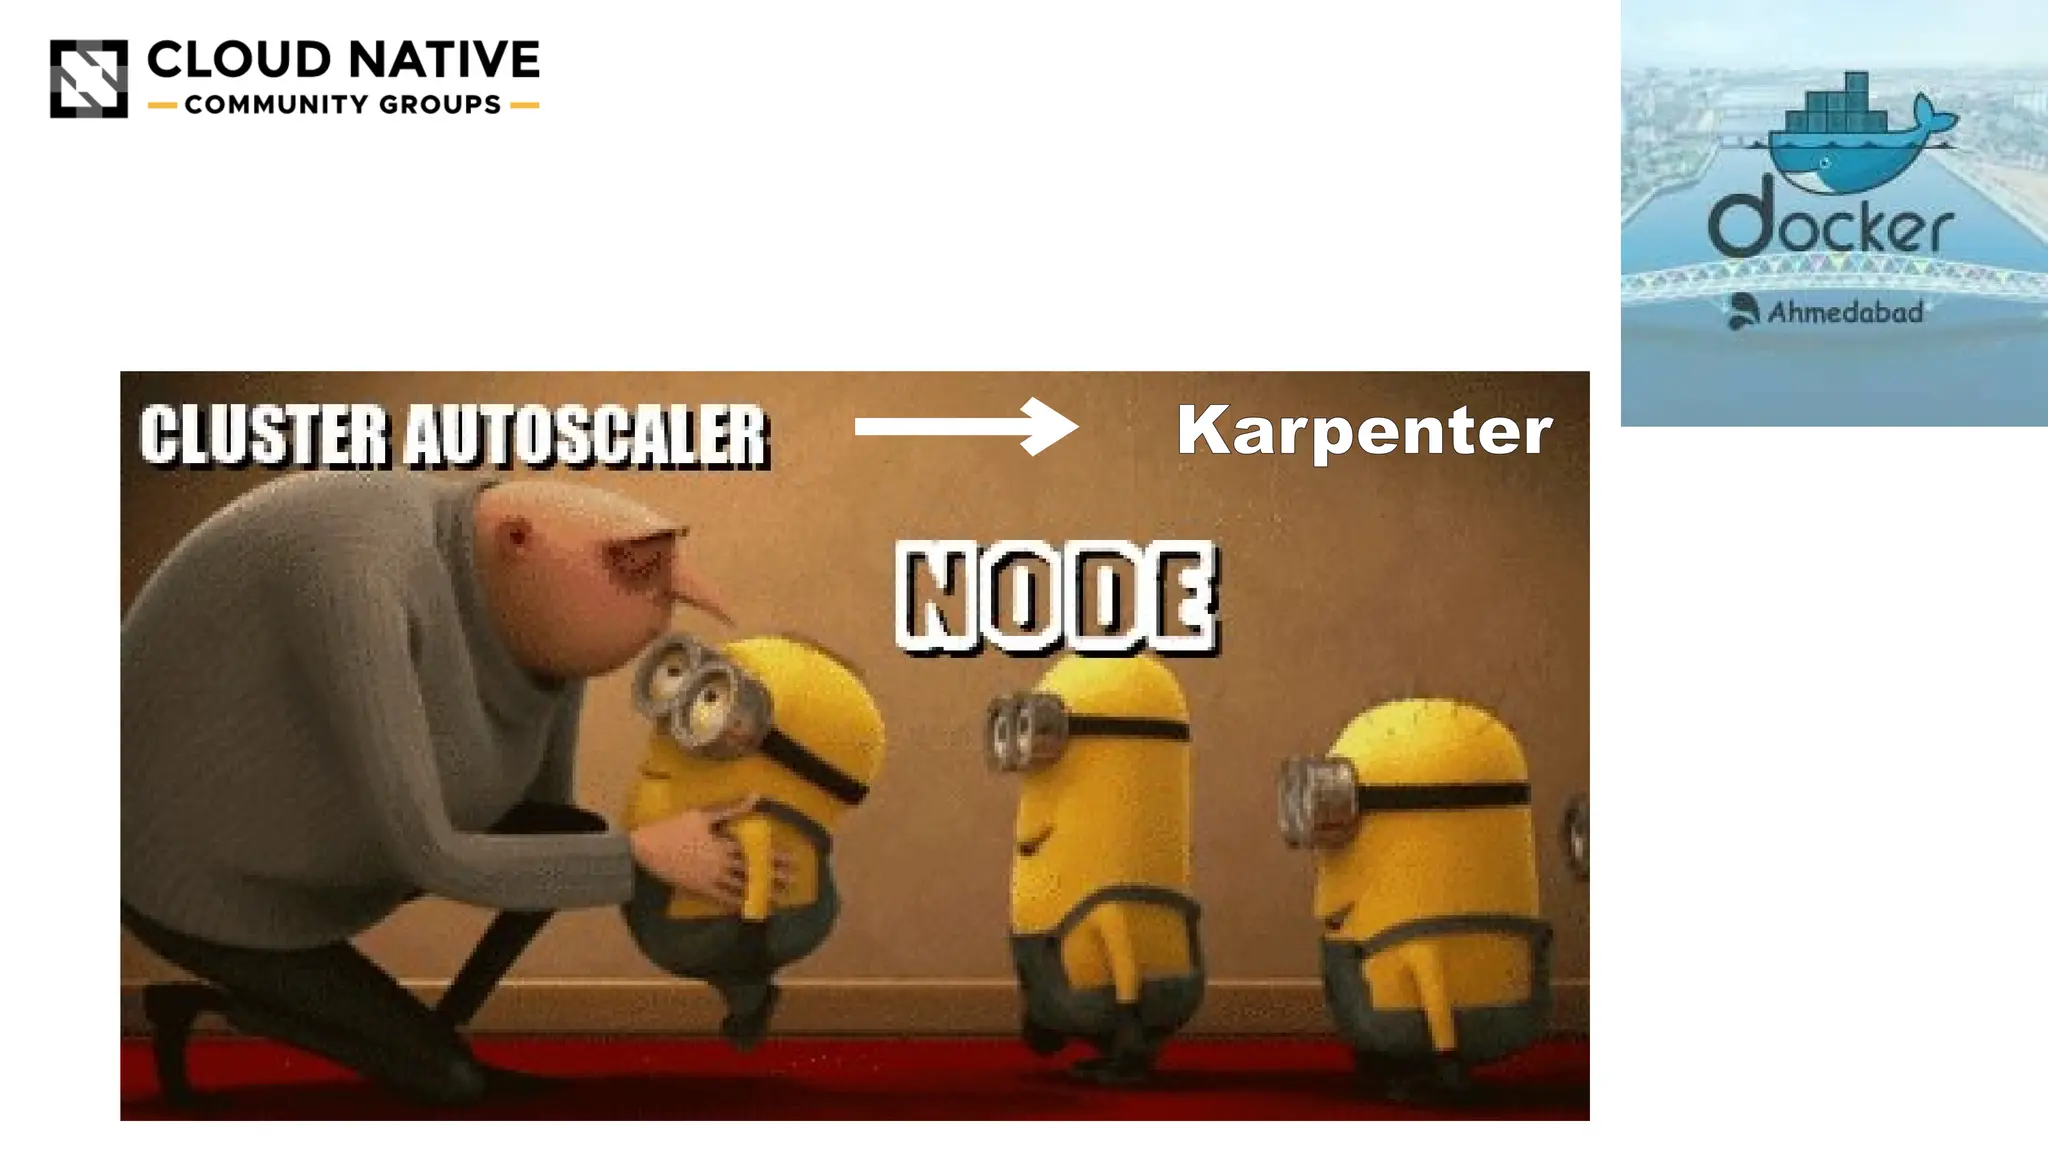
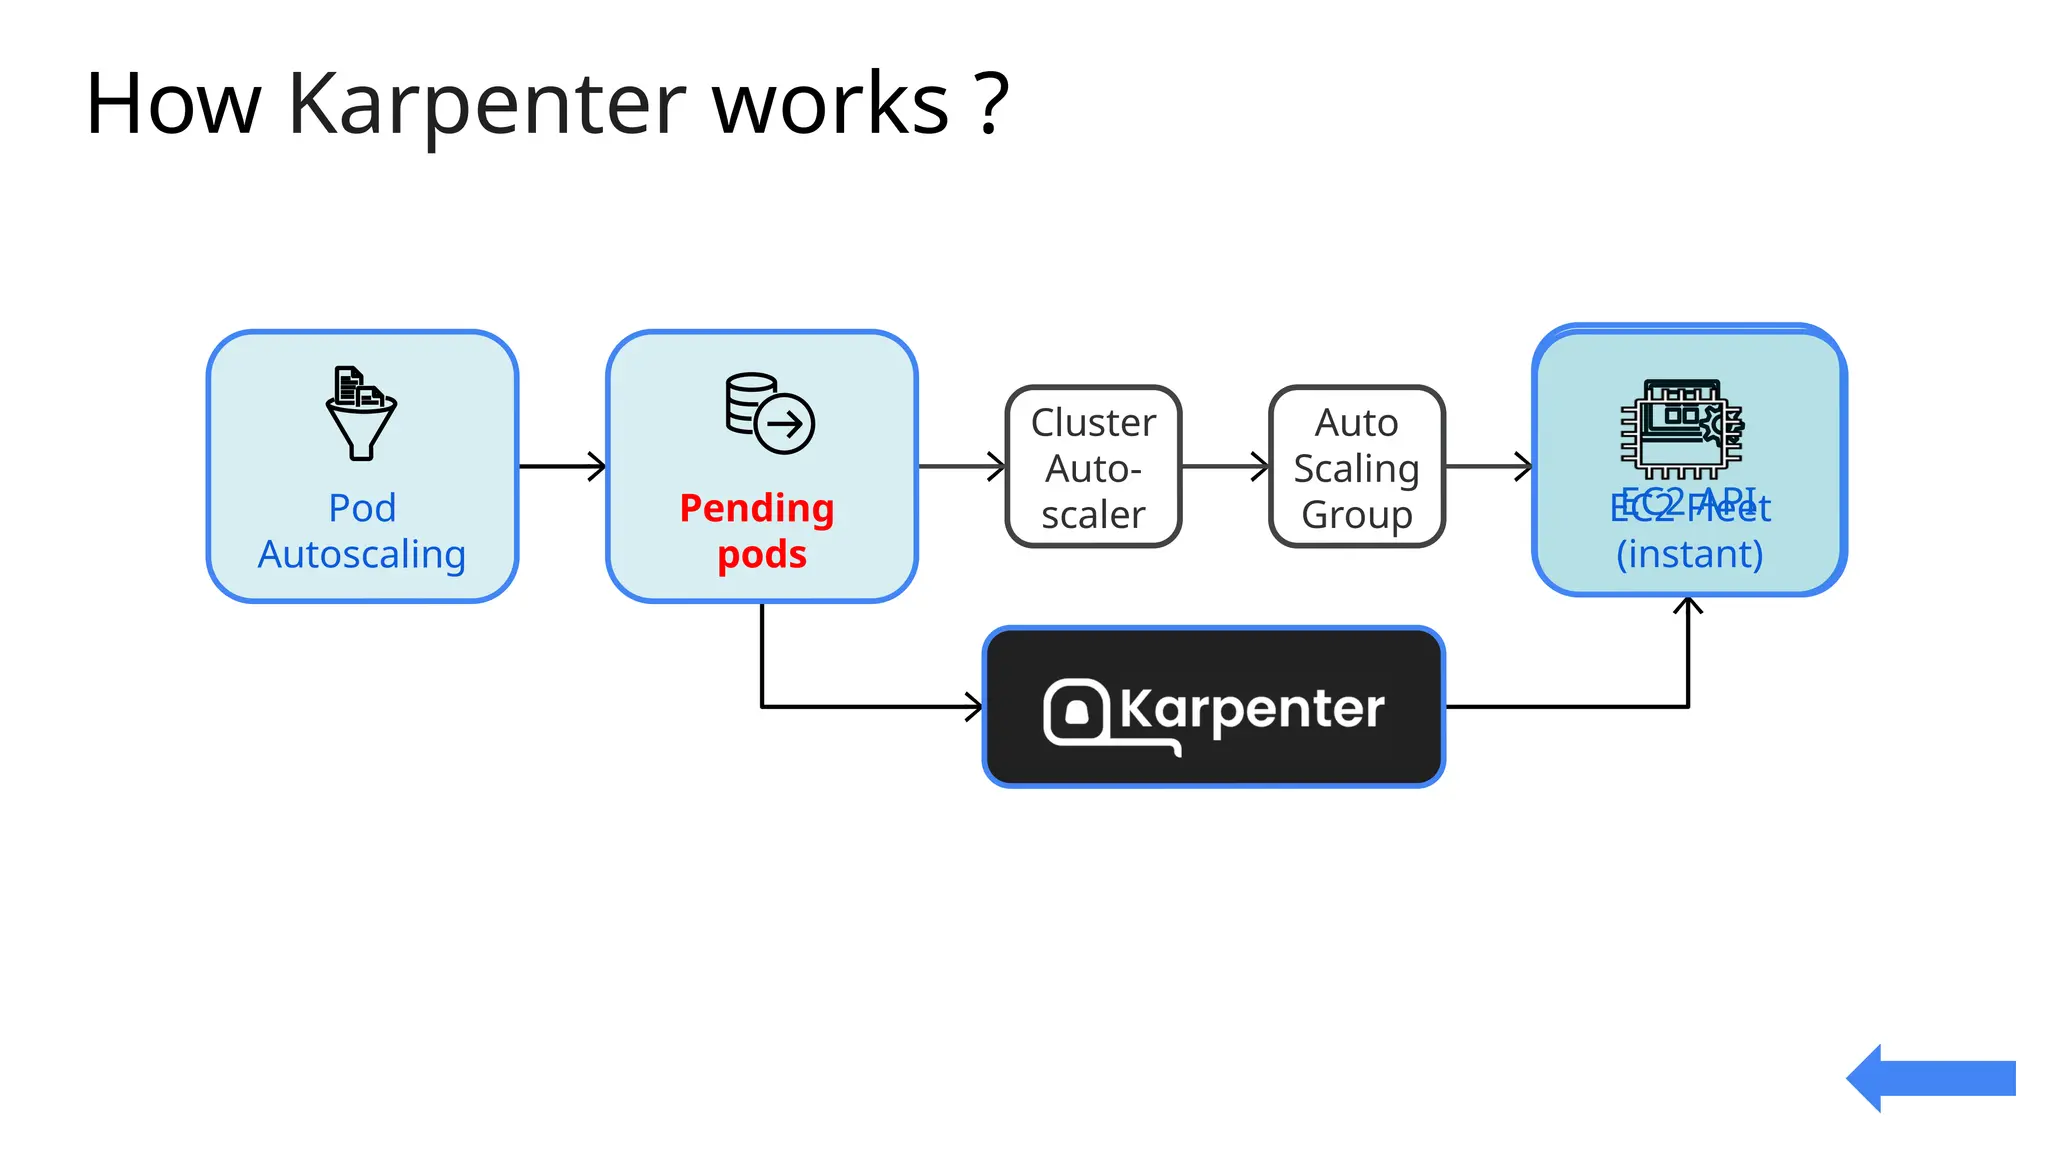
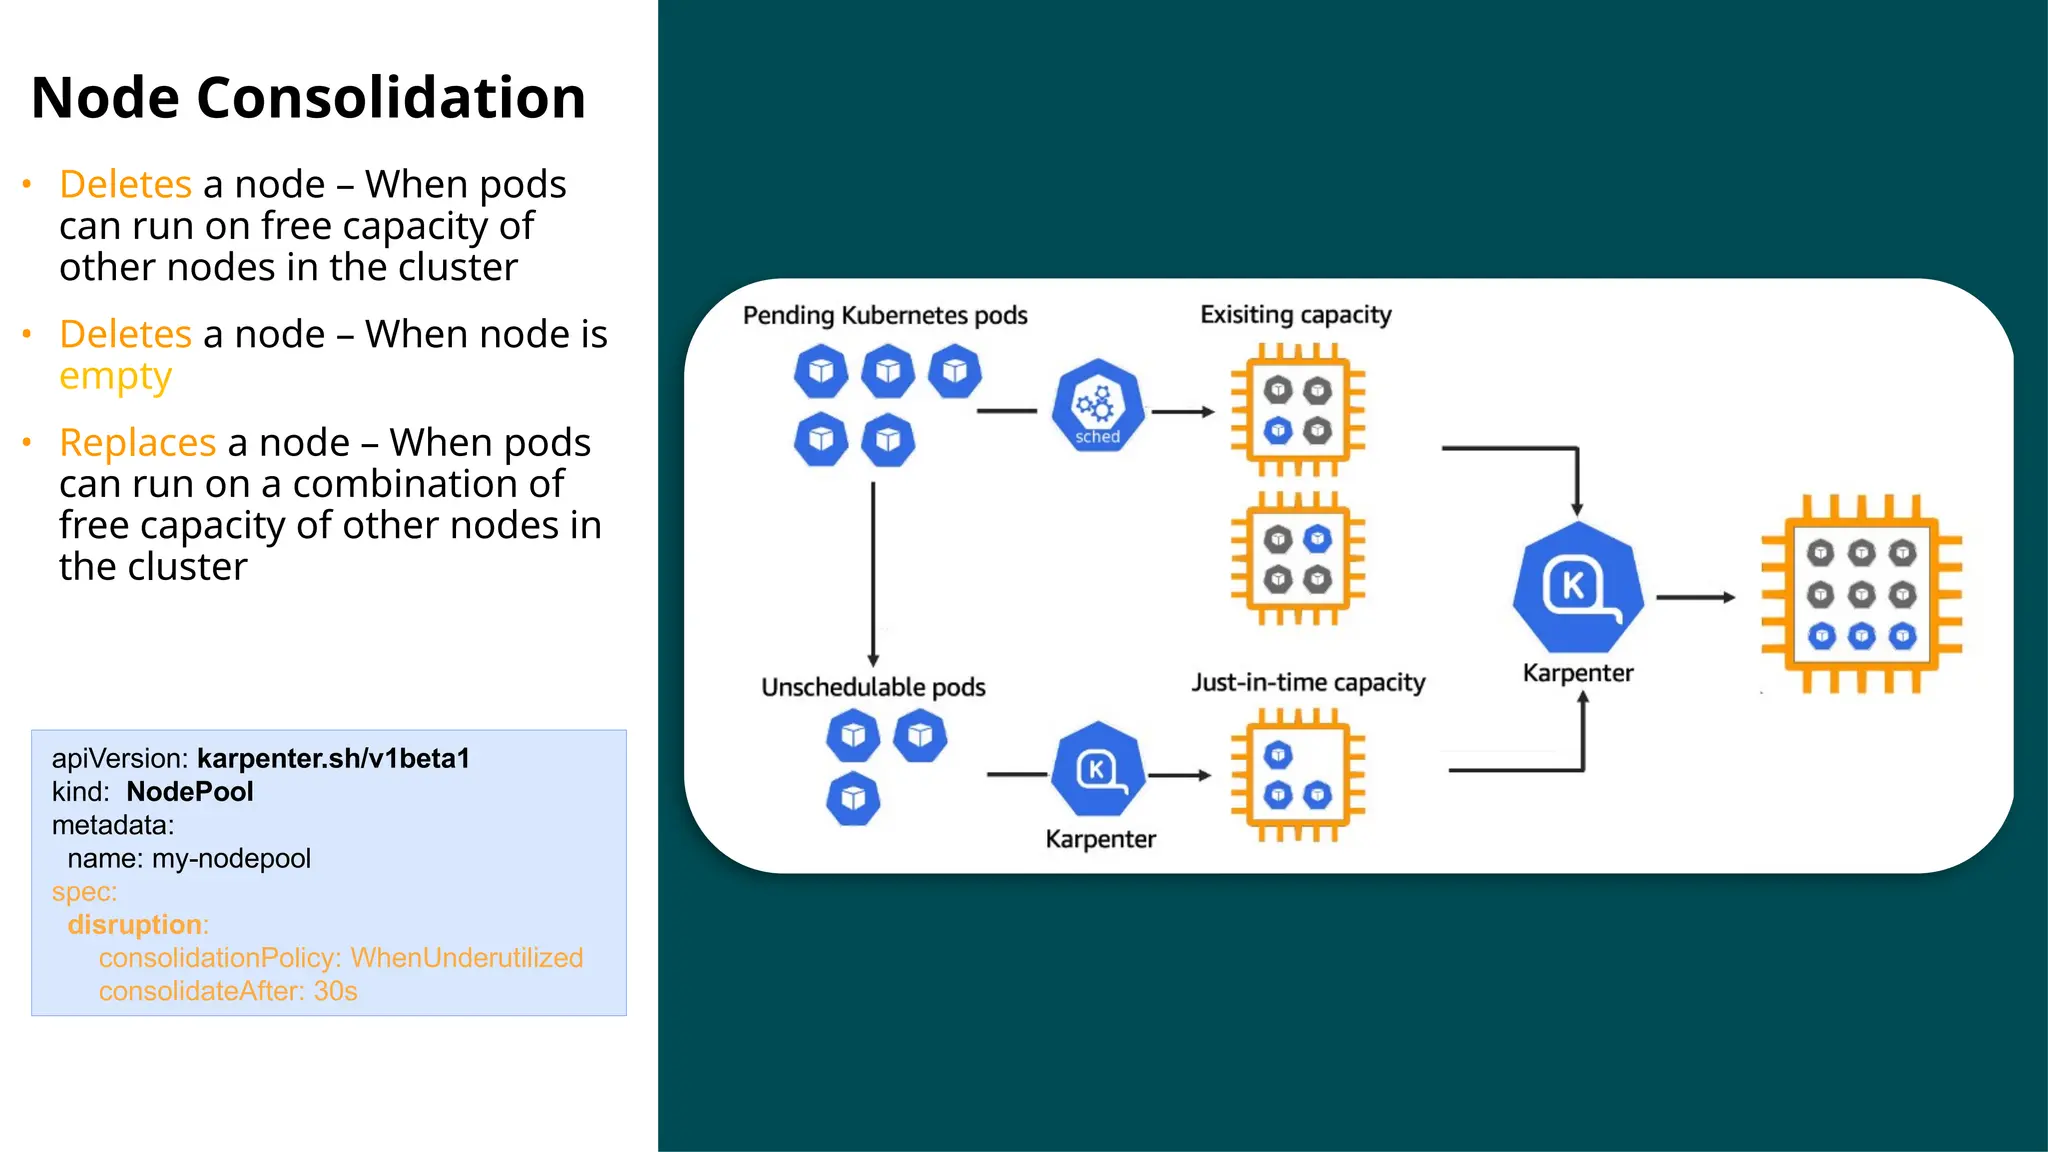
Migrating from Cluster Autoscaler to Karpenter in a Kubernetes environment can improve scalability, efficiency, and cost management. Both Cluster Autoscaler and Karpenter serve the same basic purpose of dynamically adjusting the size of your Kubernetes cluster to match the demand


![Create Cluster
eksctl create cluster
--name < Name of Cluster >
--version < Version Number >
--region < Region Name >
--node group-name < ASG Name >
--node-type < Instance Type >
--nodes 2
--nodes-min 1
--nodes-max 4
--managed
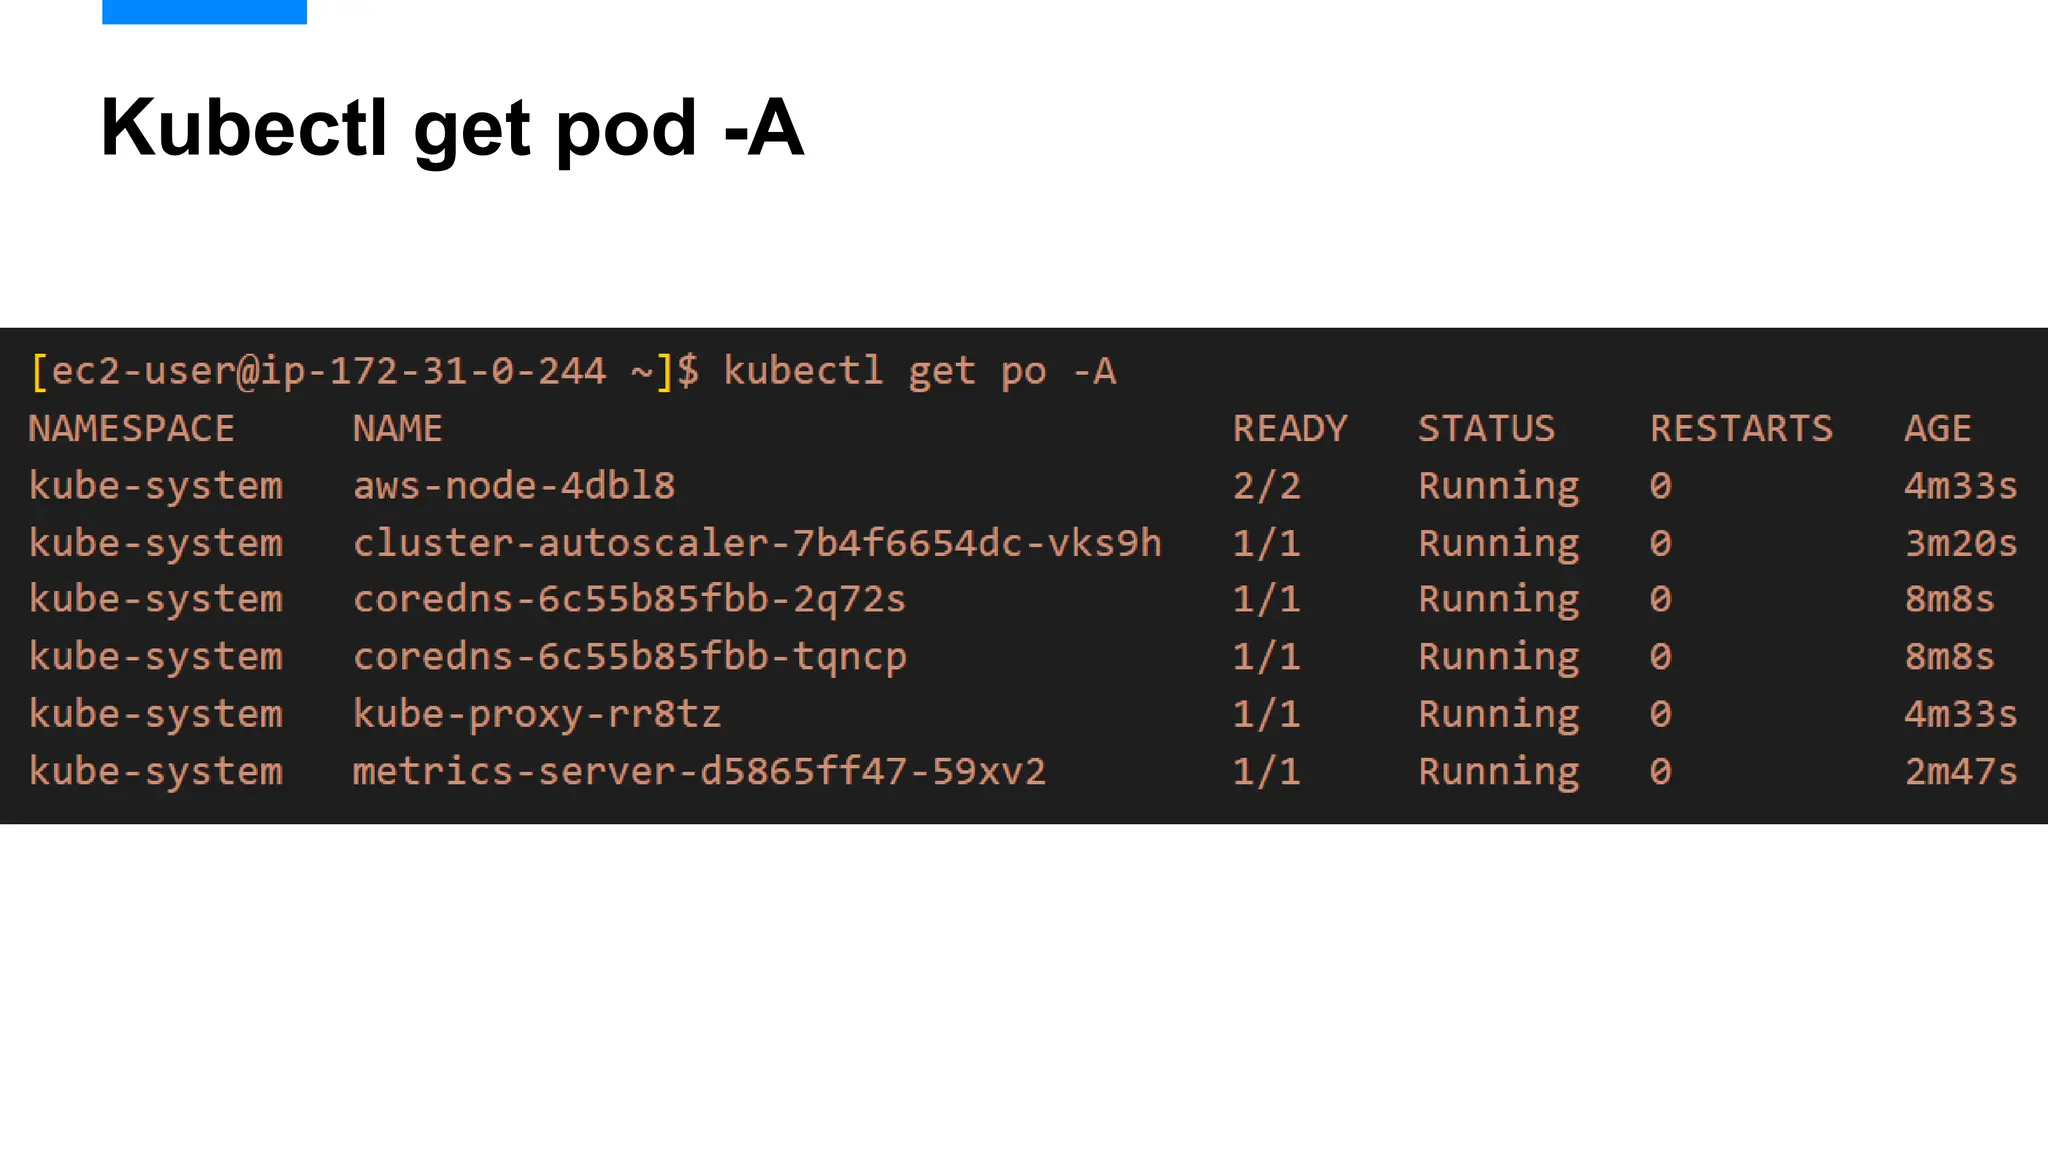
Kubectl get pod –A
AWS-Node
COREDNS
KUBE-PROXY
[ec2-user@ip-172-31-0-244 ~]$ eksctl create cluster --name ashish --version 1.30
--region ap-south-1 --nodegroup-name ashish-workers --node-type t3.medium --nodes
1 --nodes-min 1 --nodes-max 3 --managed
[root@ip-172-31-18-24 ~]# kubectl get po -A
NAMESPACE NAME READY STATUS RESTARTS AGE
kube-system aws-node-kdmxh 1/1 Running 0 51m
kube-system aws-node-m7x56 1/1 Running 0 51m
kube-system coredns-79df7fff65-9c4z7 1/1 Running 0 56m
kube-system coredns-79df7fff65-lz9t9 1/1 Running 0 56m
kube-system kube-proxy-bfkfk 1/1 Running 0 51m
kube-system kube-proxy-m4ckw 1/1 Running 0 51m](https://image.slidesharecdn.com/karpenter-250215045828-885dde04/75/Migrating-from-EKS-Cluster-Autoscaler-to-Karpenter-13-2048.jpg)


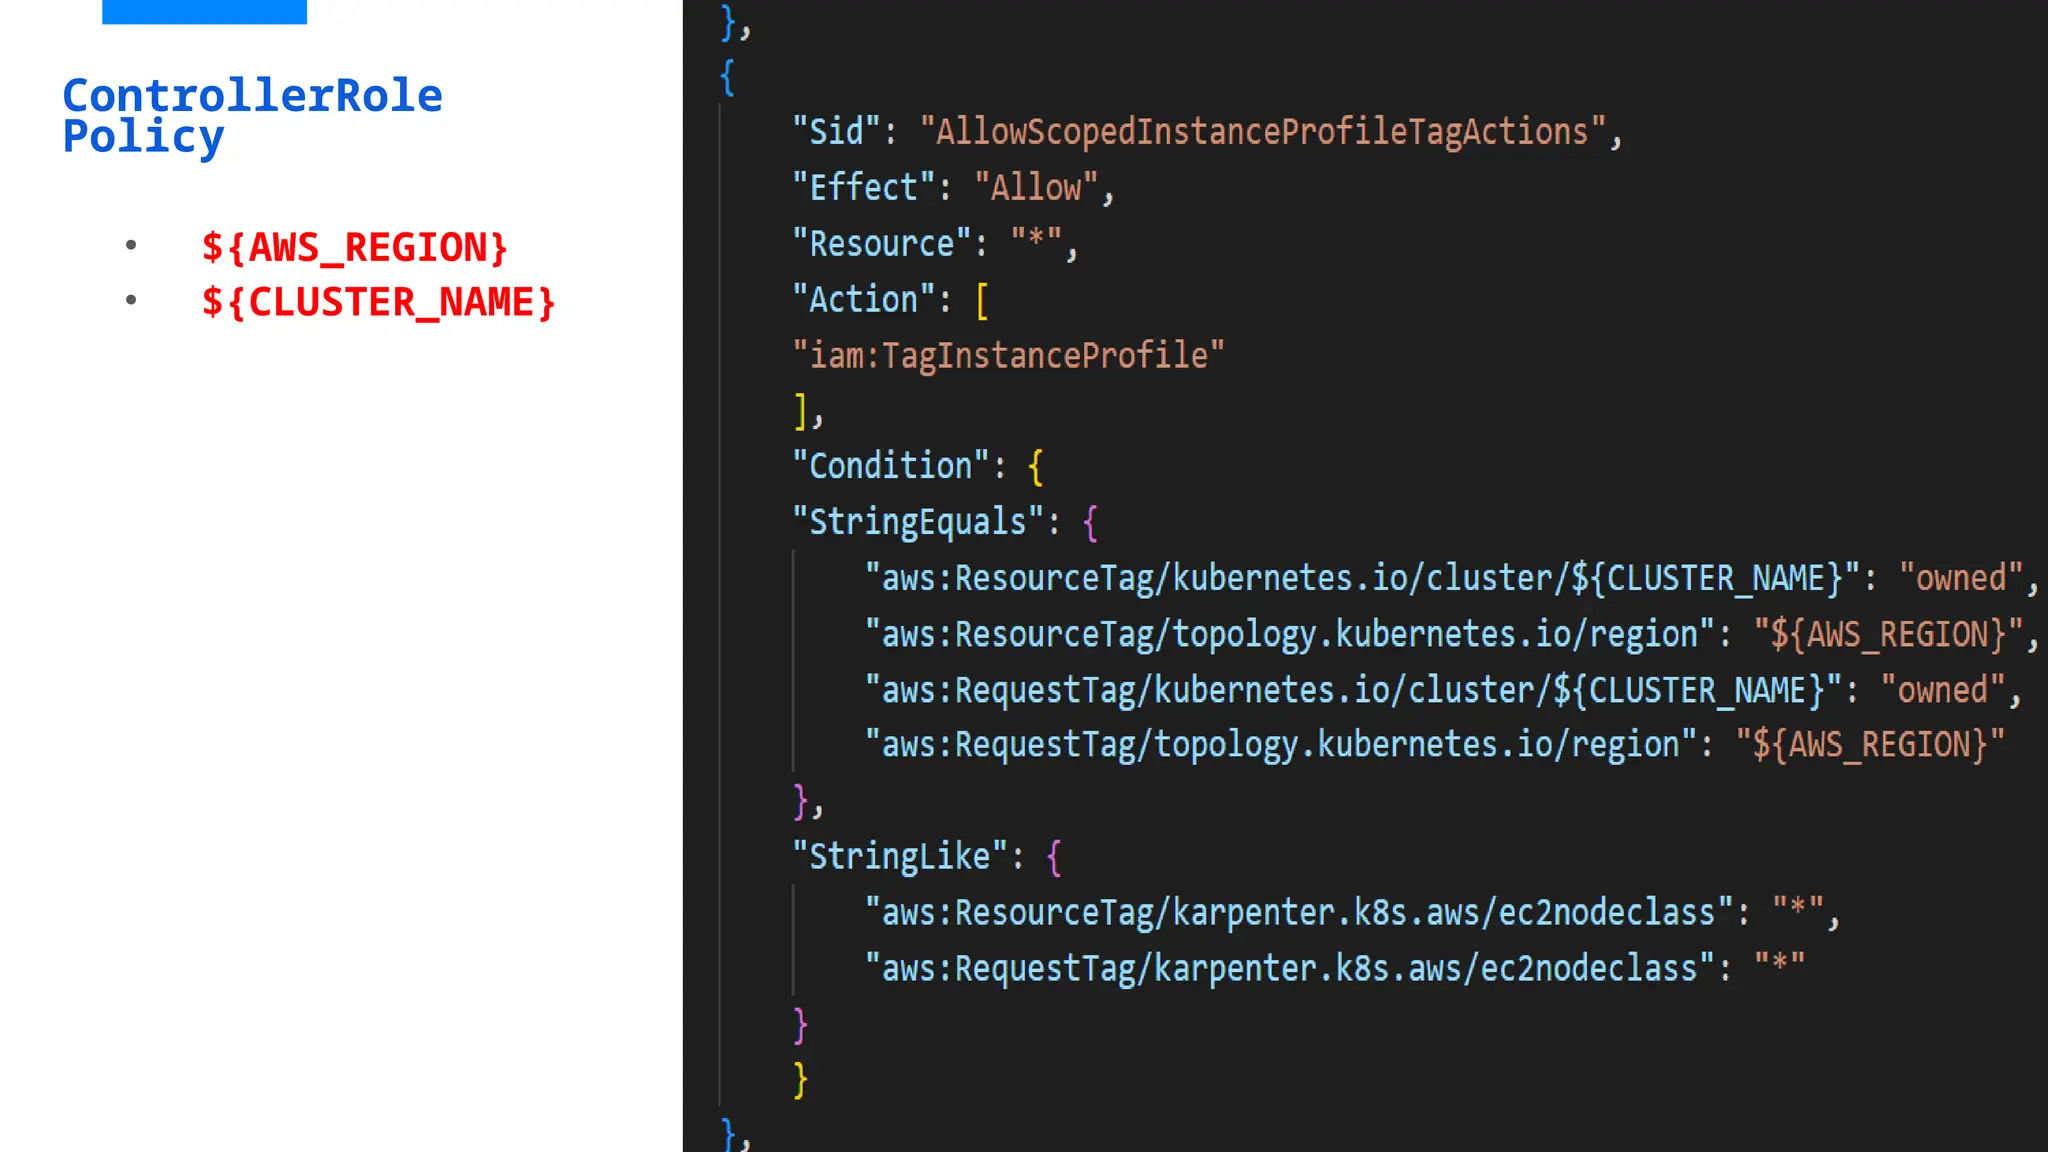
![KarpenterControllerRole-ashish
{
"Version": "2012-10-17",
"Statement": [
{
"Effect": "Allow",
"Principal": {
"Federated": "arn:${AWS_PARTITION}:iam::${AWS_ACCOUNT_ID}:oidc-provider/$
{OIDC_ENDPOINT#*//}"
},
"Action": "sts:AssumeRoleWithWebIdentity",
"Condition": {
"StringEquals": {
"${OIDC_ENDPOINT#*//}:aud": "sts.amazonaws.com",
"${OIDC_ENDPOINT#*//}:sub": "system:serviceaccount:$
{KARPENTER_NAMESPACE}:karpenter"
}
}
}
]
}
• Adding Trust relationship Policy and attach karpentercontroller-policy](https://image.slidesharecdn.com/karpenter-250215045828-885dde04/75/Migrating-from-EKS-Cluster-Autoscaler-to-Karpenter-39-2048.jpg)

![Add tags to subnets and security groups
[ec2-user@ip-172-31-0-244 ~]$ aws eks describe-nodegroup --cluster-name "ashish" --nodegroup-name
"ashish-workers" --query 'nodegroup.subnets' --output text
subnet-0a968db0a4c73858d subnet-0bcd684f5878c3282 subnet-061e107c1f8ebc361
[ec2-user@ip-172-31-0-244 ~]$ aws eks describe-cluster --name "ashish" --query
"cluster.resourcesVpcConfig.clusterSecurityGroupId" --output text
sg-0e0ac4fa44824e1aa
aws ec2 create-tags --tags "Key=karpenter.sh/discovery,Value=ashish" --resources "sg-
0e0ac4fa44824e1aa"
• Collect the security group
• Create tags for Security Groups and subnets.
• Collect the subnet details](https://image.slidesharecdn.com/karpenter-250215045828-885dde04/75/Migrating-from-EKS-Cluster-Autoscaler-to-Karpenter-42-2048.jpg)