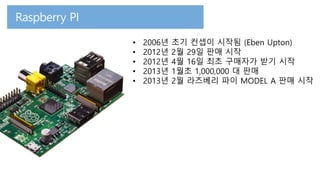
• 2006년 초기컨셉이 시작됨 (Eben Upton)
• 2012년 2월 29일 판매 시작
• 2012년 4월 16일 최초 구매자가 받기 시작
• 2013년 1월초 1,000,000 대 판매
• 2013년 2월 라즈베리 파이 MODEL A 판매 시작
19.
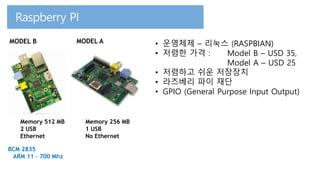
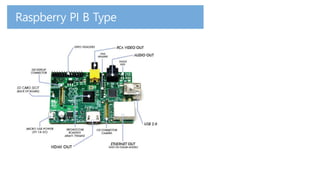
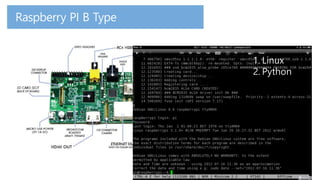
Memory 512 MB
2USB
Ethernet
Memory 256 MB
1 USB
No Ethernet
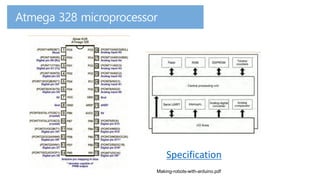
BCM 2835
ARM 11 – 700 Mhz
MODEL AMODEL B • 운영체제 – 리눅스 (RASPBIAN)
• 저렴한 가격 : Model B – USD 35,
Model A – USD 25
• 저렴하고 쉬운 저장장치
• 라즈베리 파이 재단
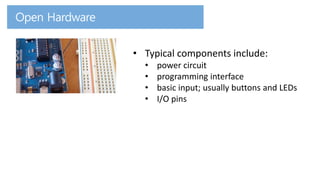
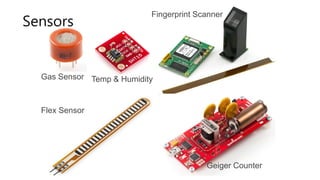
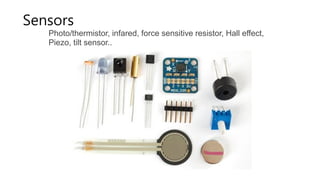
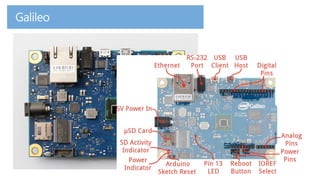
• GPIO (General Purpose Input Output)