Download to read offline


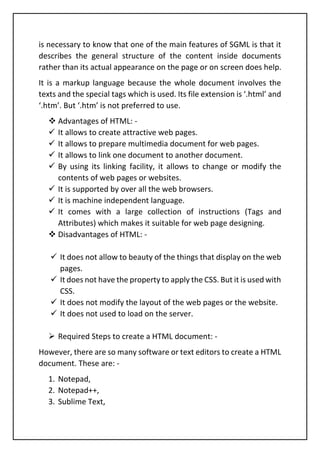

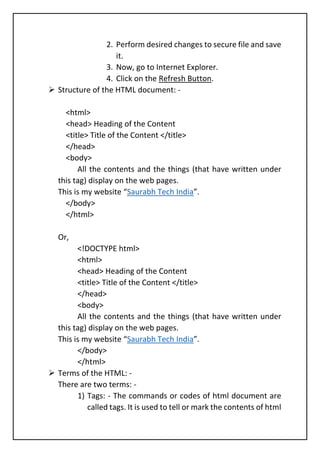
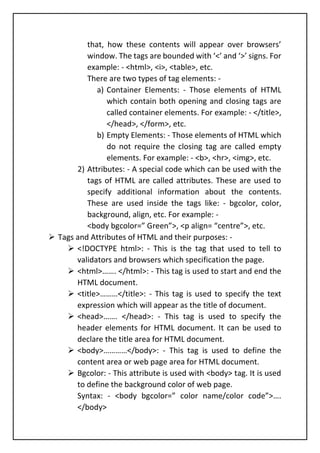
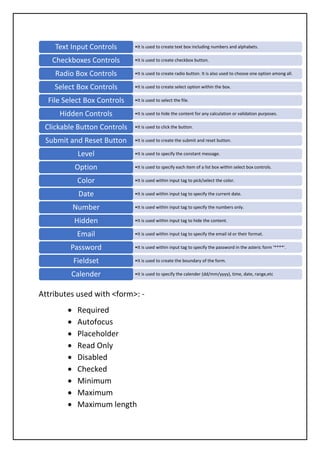

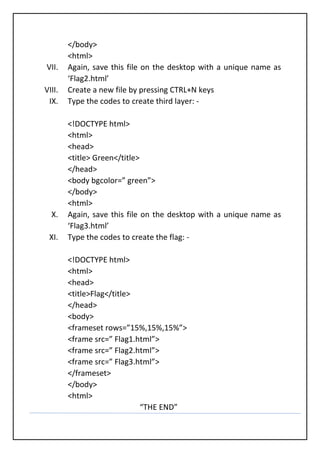

HTML, or Hypertext Markup Language, is a foundational web page design language developed by Tim Berners-Lee in 1989, used for creating structured web pages for websites. It has several versions, with HTML5 being the latest, and provides both advantages like multimedia support and disadvantages such as limited styling capabilities. The document includes essential elements, tags, attributes, and steps for creating and managing HTML documents.