Downloaded 18 times


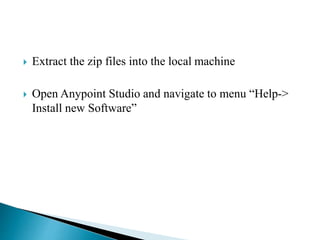
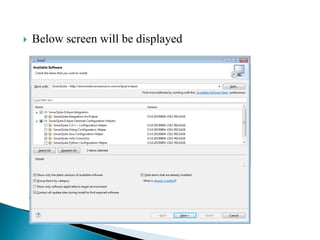
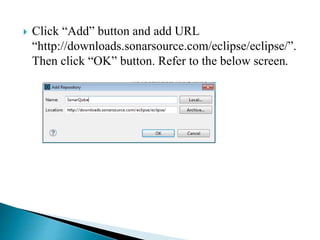
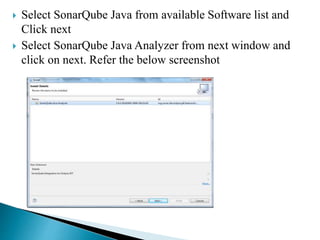
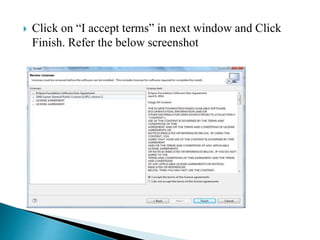


The document provides steps to install SonarQube in Anypoint Studio for analyzing Java code. It instructs the user to download and extract the SonarQube and Sonar-runner zip files locally. It then guides adding the SonarQube update site URL in Anypoint Studio and selecting the SonarQube Java and SonarQube Java Analyzer plugins to complete the installation. Finally, it notes that running StartSonar.bat will start the local SonarQube server.


![[DOC] Java - Code Analysis using SonarQube](https://cdn.slidesharecdn.com/ss_thumbnails/codeanalysisusingsonarqubev0slideshare-140622093347-phpapp01-thumbnail.jpg?width=640&height=640&fit=bounds)


