This document provides instructions for creating a simple fillable form using Microsoft Word. It outlines the steps to:
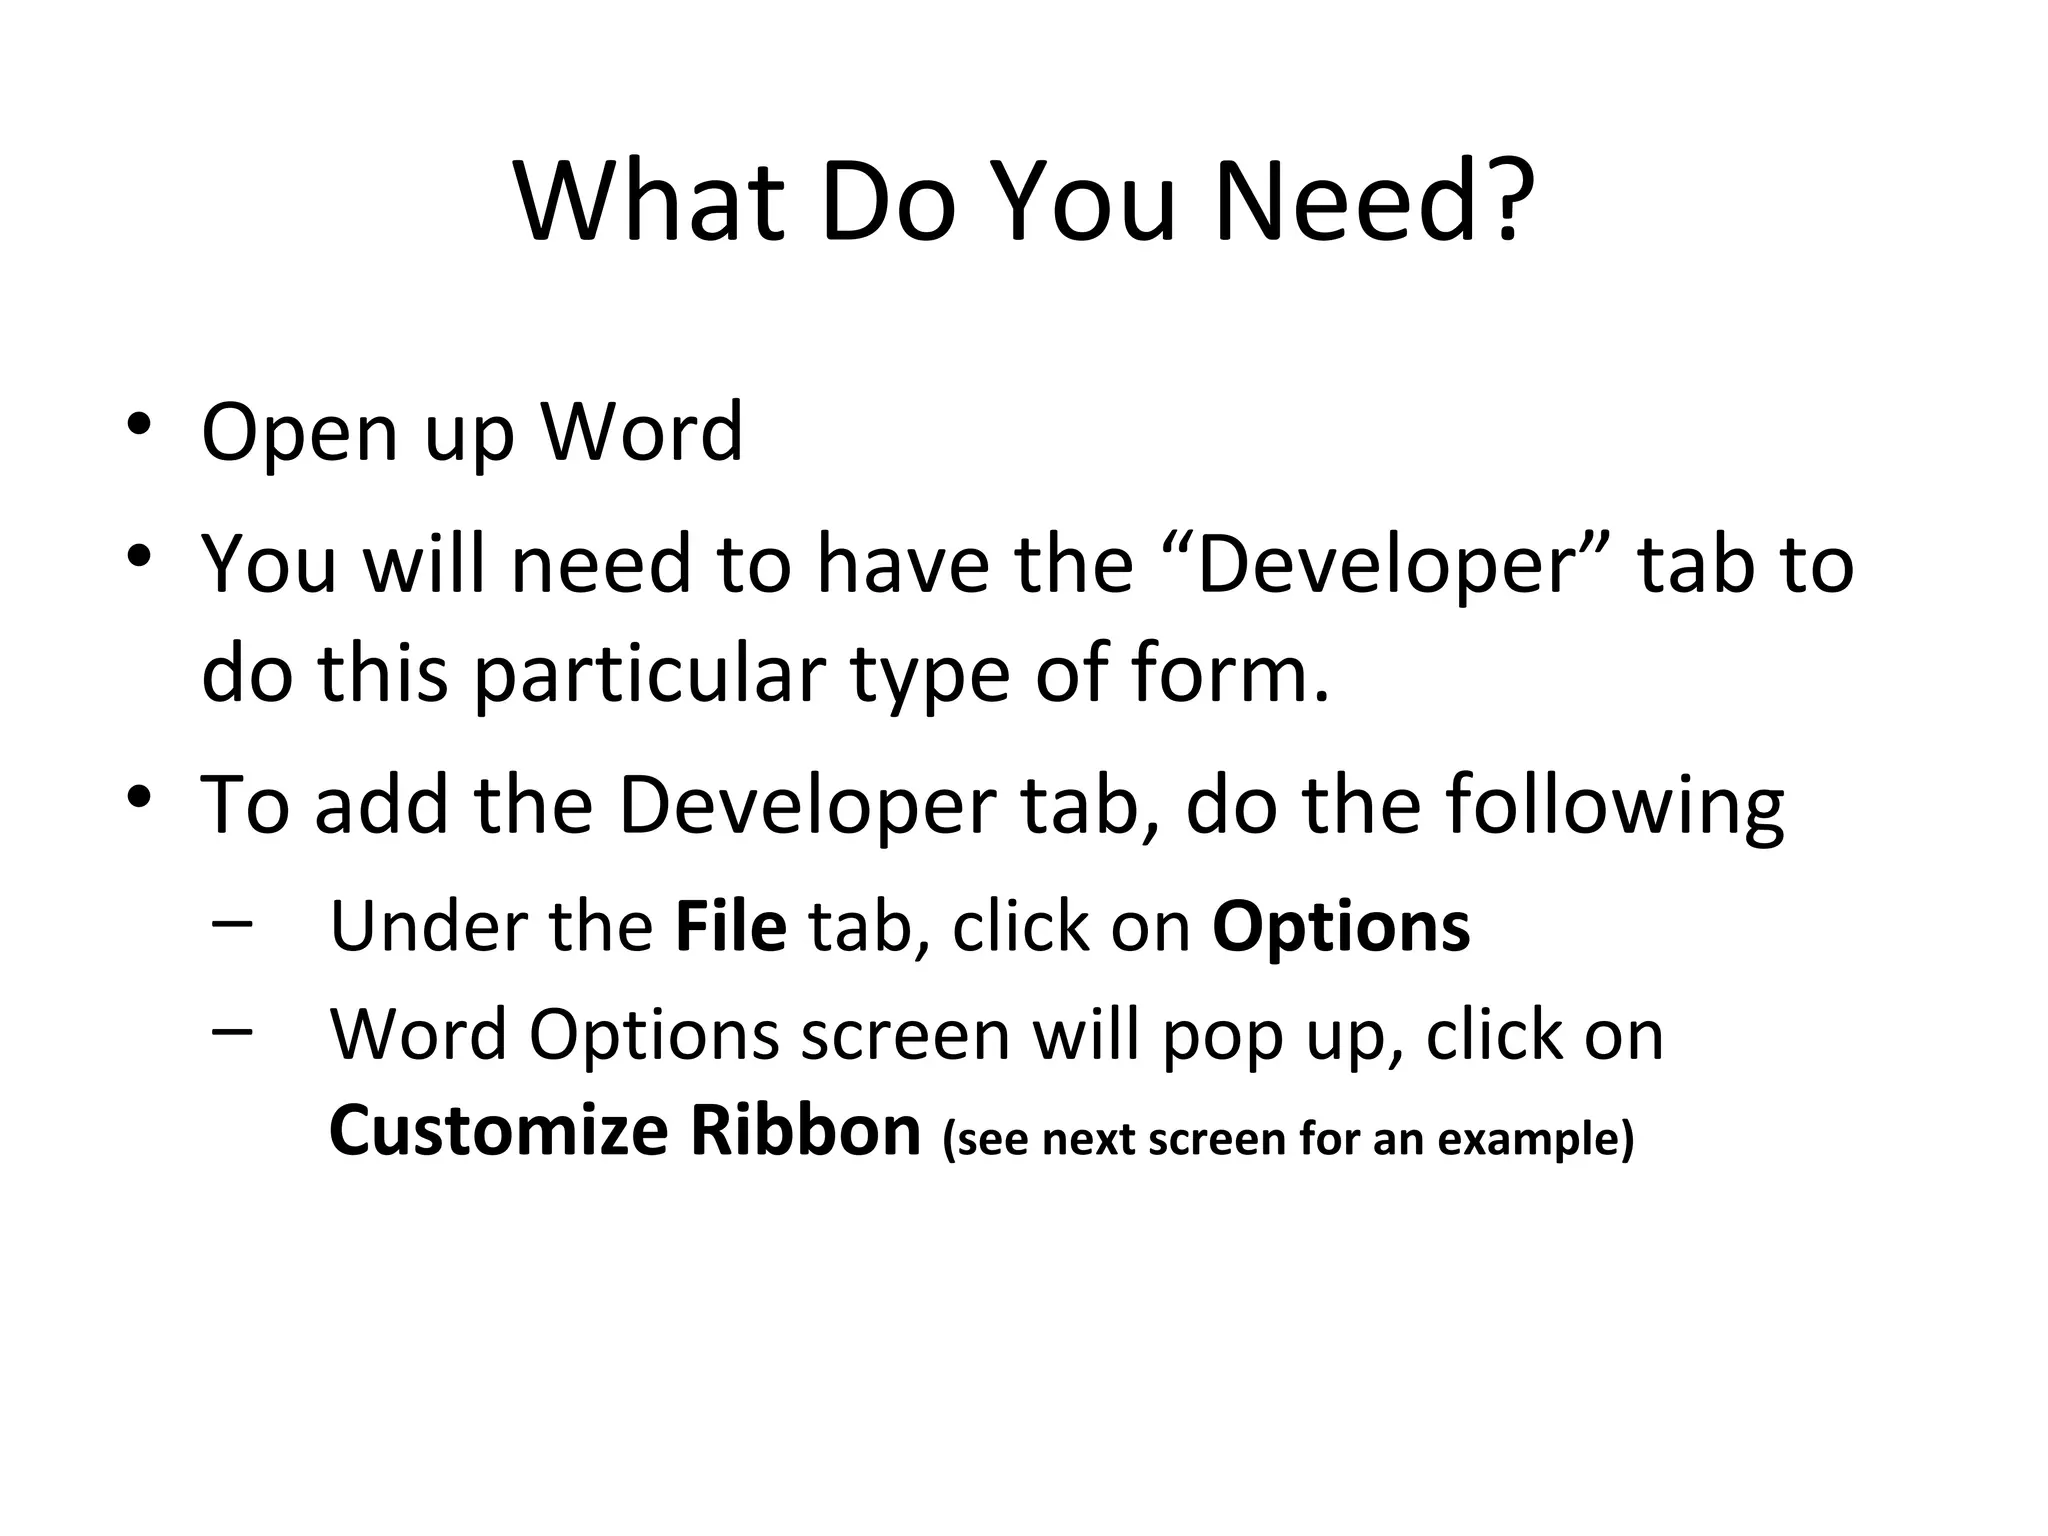
1) Add the Developer tab which contains the tools needed to insert fillable fields.
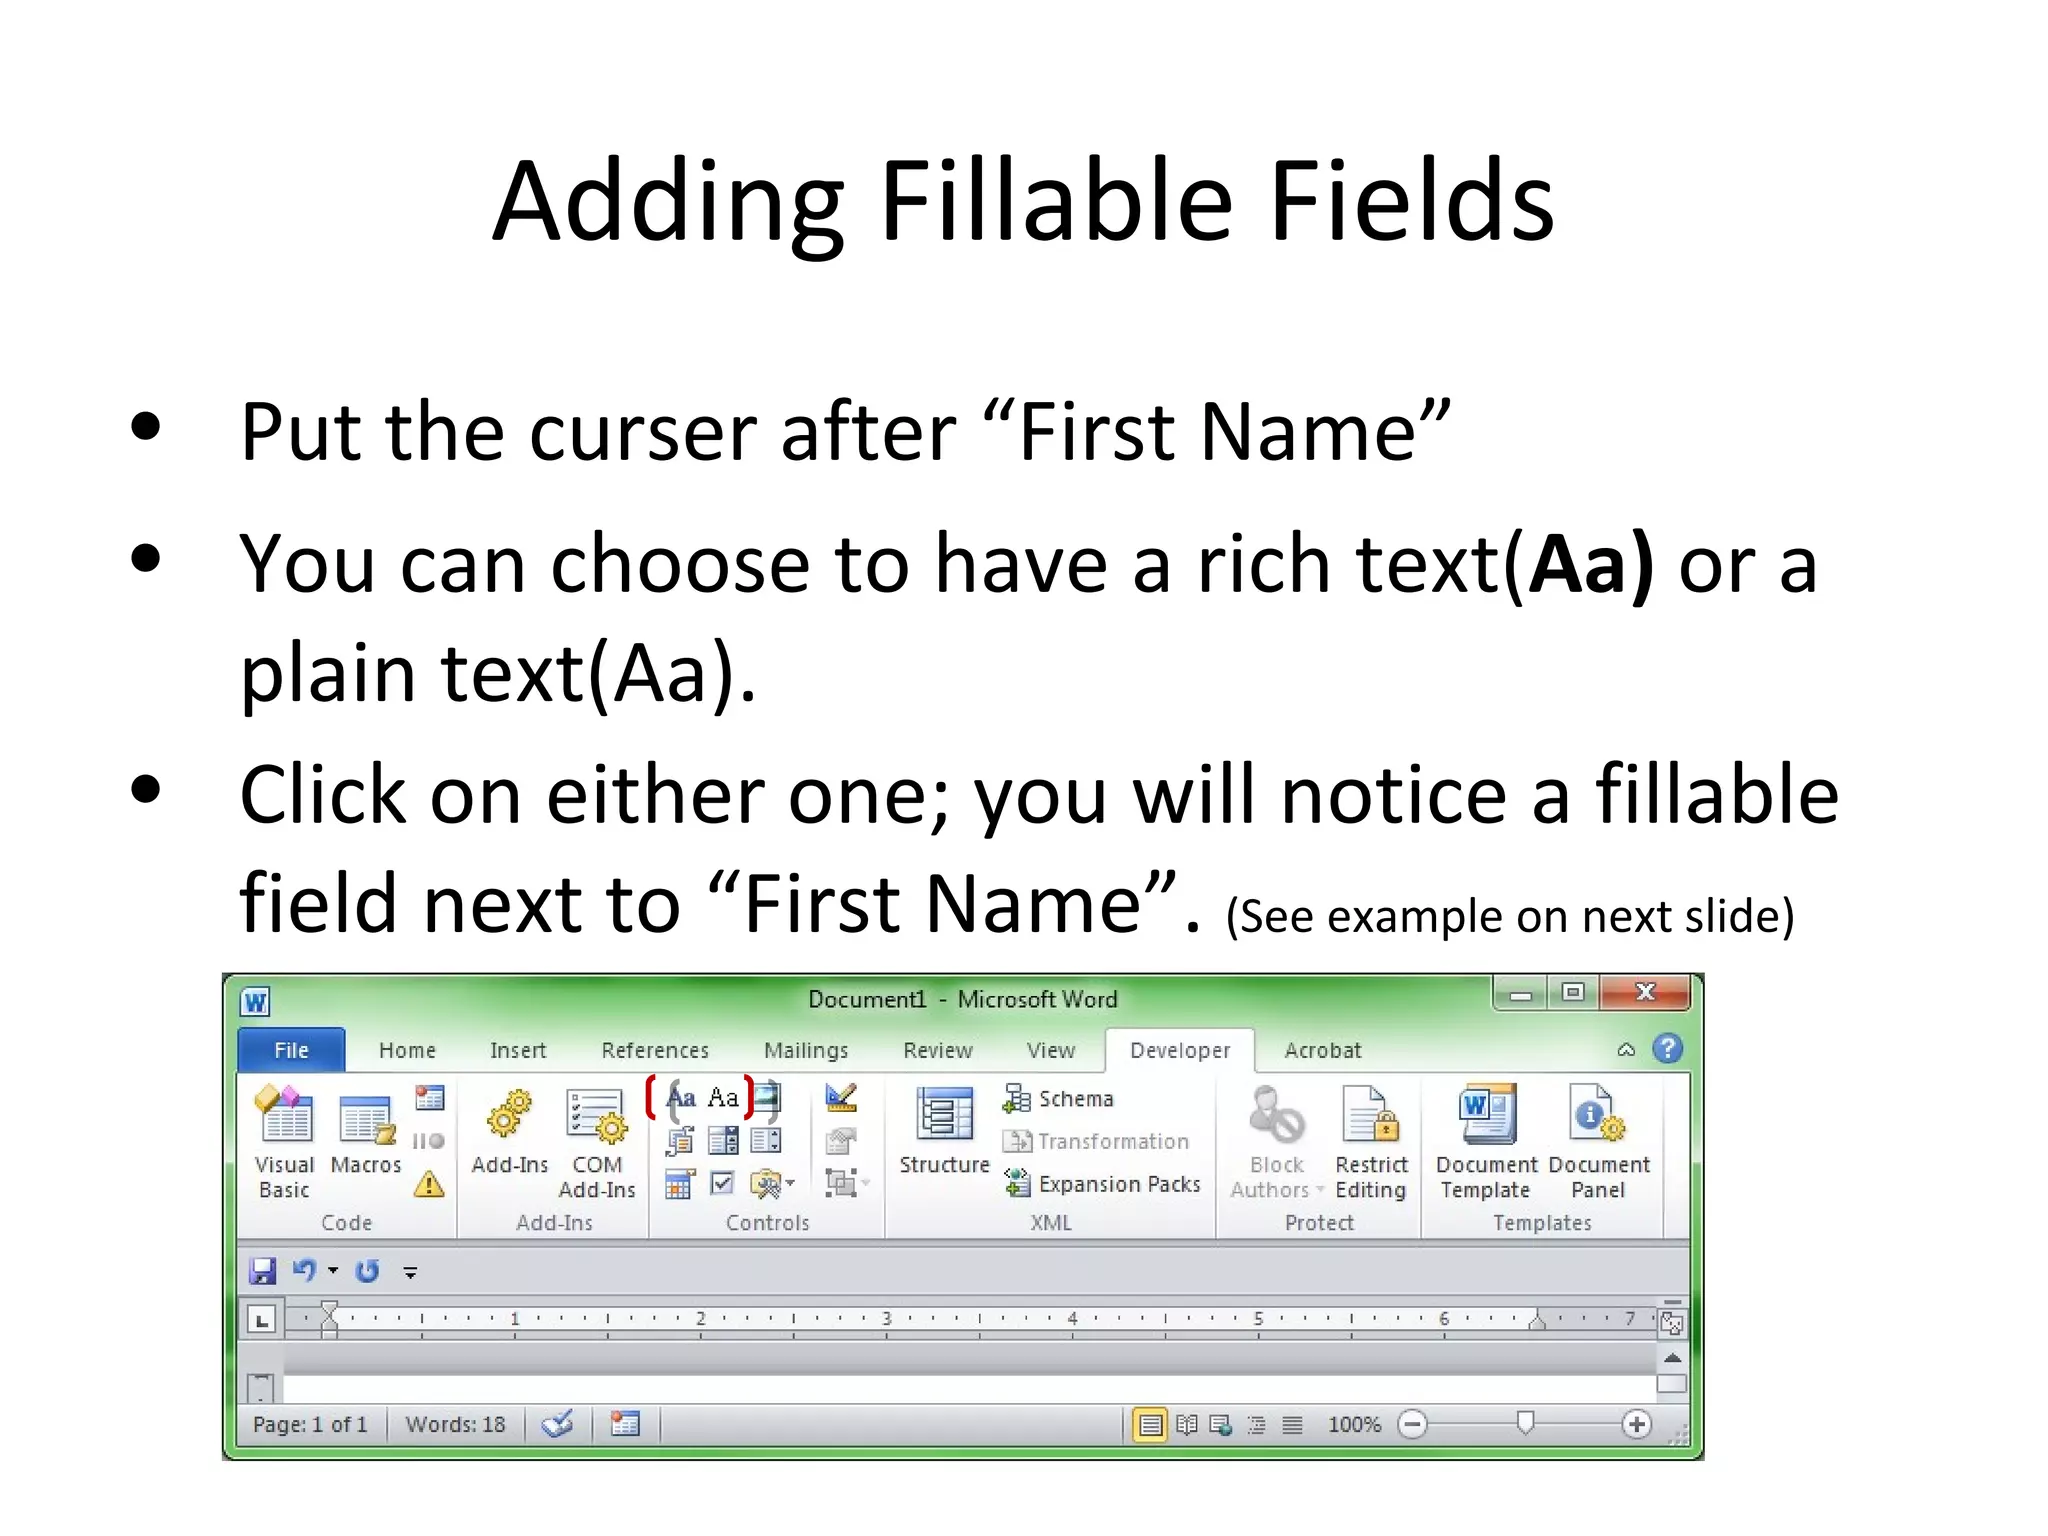
2) Create a sample demographic form and add text fields for items like name and address.
3) Insert a dropdown pick list to allow the user to select from pre-defined options like "Yes" or "No".
The instructions provide screenshots to demonstrate how to insert different field types and configure options for the pick list.


![Google docs[1] by Claire Pollok](https://cdn.slidesharecdn.com/ss_thumbnails/googledocs1-111122184124-phpapp01-thumbnail.jpg?width=640&height=640&fit=bounds)


