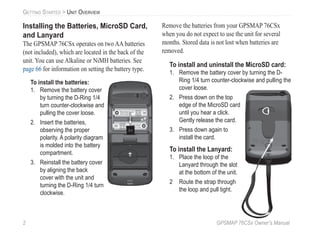
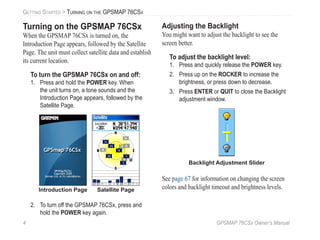
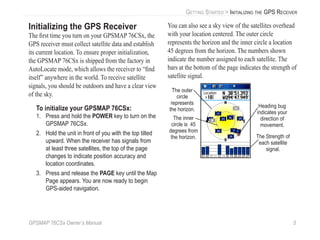
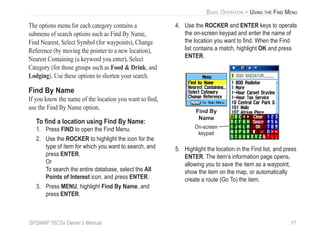
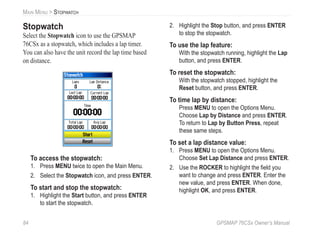
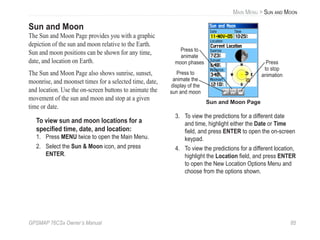
Here are the key steps to install batteries, MicroSD card, and lanyard on the GPSMAP 76CSx:
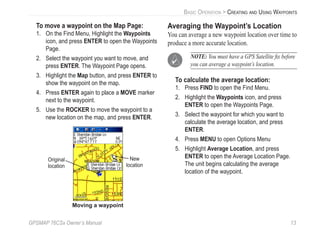
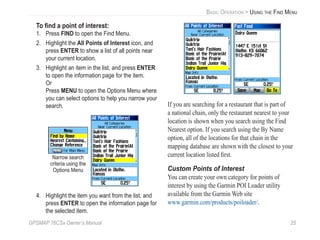
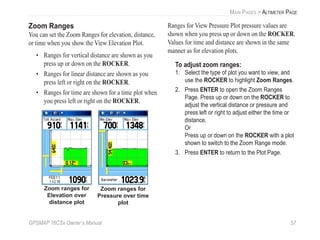
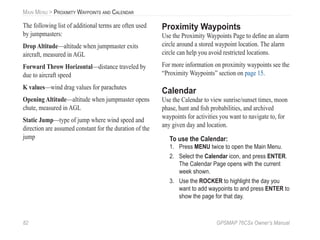
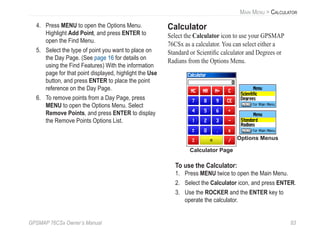
1. To install batteries, remove the battery cover by turning the D-ring 1/4 turn counter-clockwise and pulling off the cover. Insert 2 AA batteries observing proper polarity. Replace the cover turning the D-ring clockwise.
2. To install the MicroSD card, remove the battery cover, press down on the top edge of the card until it clicks into place. To remove, gently press the top edge to eject the card.
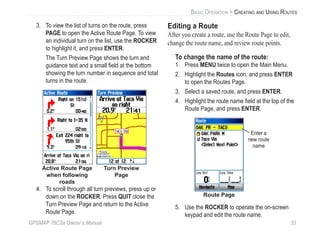
3. To install the lanyard, place the loop through the slot at the bottom of the unit.
That covers the basic steps for