Lab 2 involves demonstrating sterile technique and performing several basic techniques:
1) Diluting 10X TE Buffer to make 1X TE Buffer. Students are asked to make 25ml of 1X TE Buffer from 10X TE stock solution and sterile water.
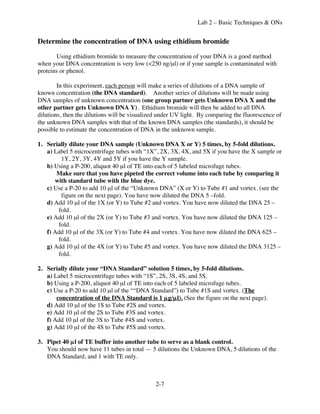
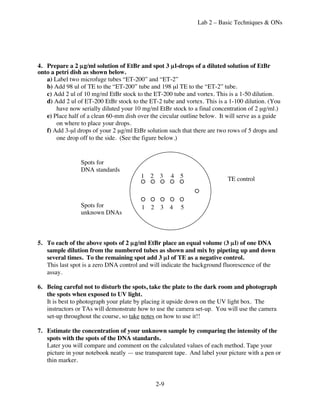
2) Determining the concentration of an unknown DNA sample.
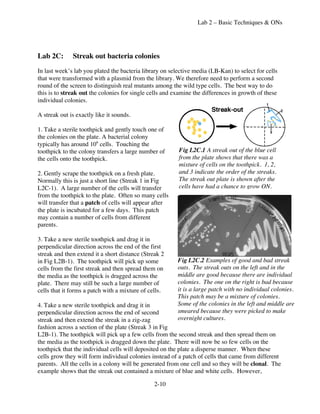
3) Streaking out bacterial colonies.
The document also provides background on buffers, solutions, molarity, percentage solutions, and preparing buffers by diluting stock solutions. It uses examples to illustrate how to calculate volumes needed to make solutions of a desired concentration.