Downloaded 42 times
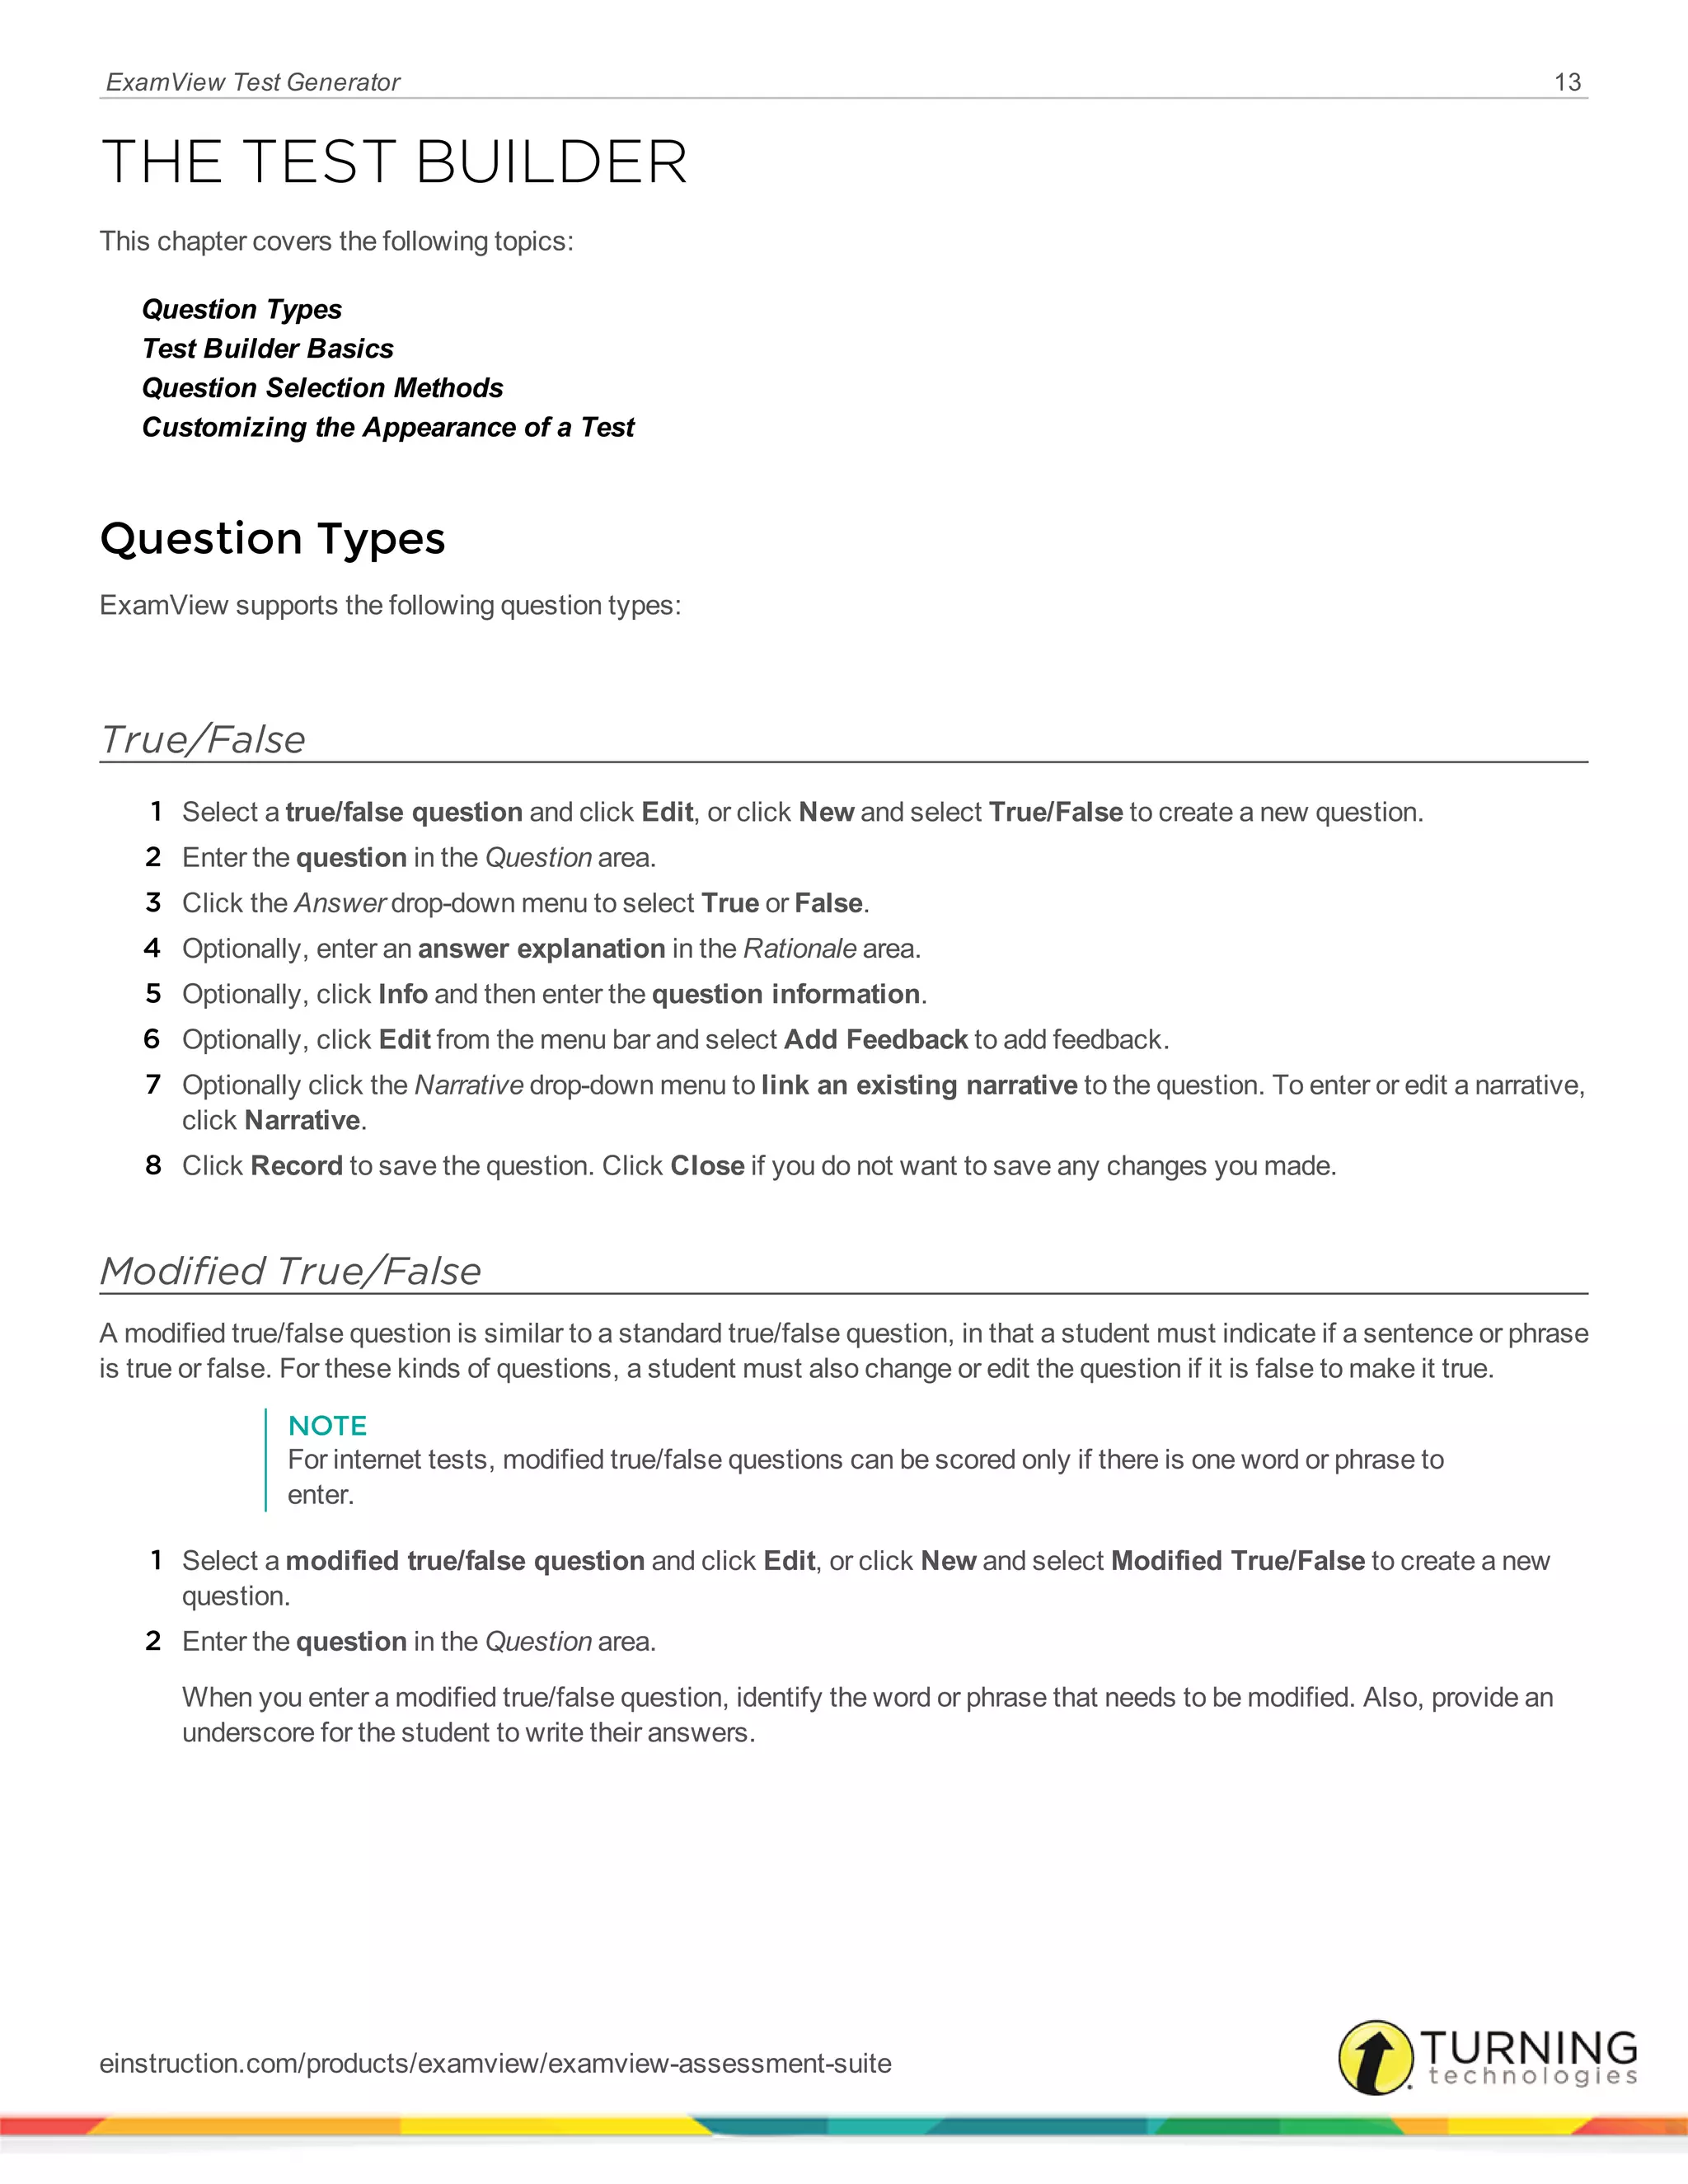


![ExamView Test Generator 87
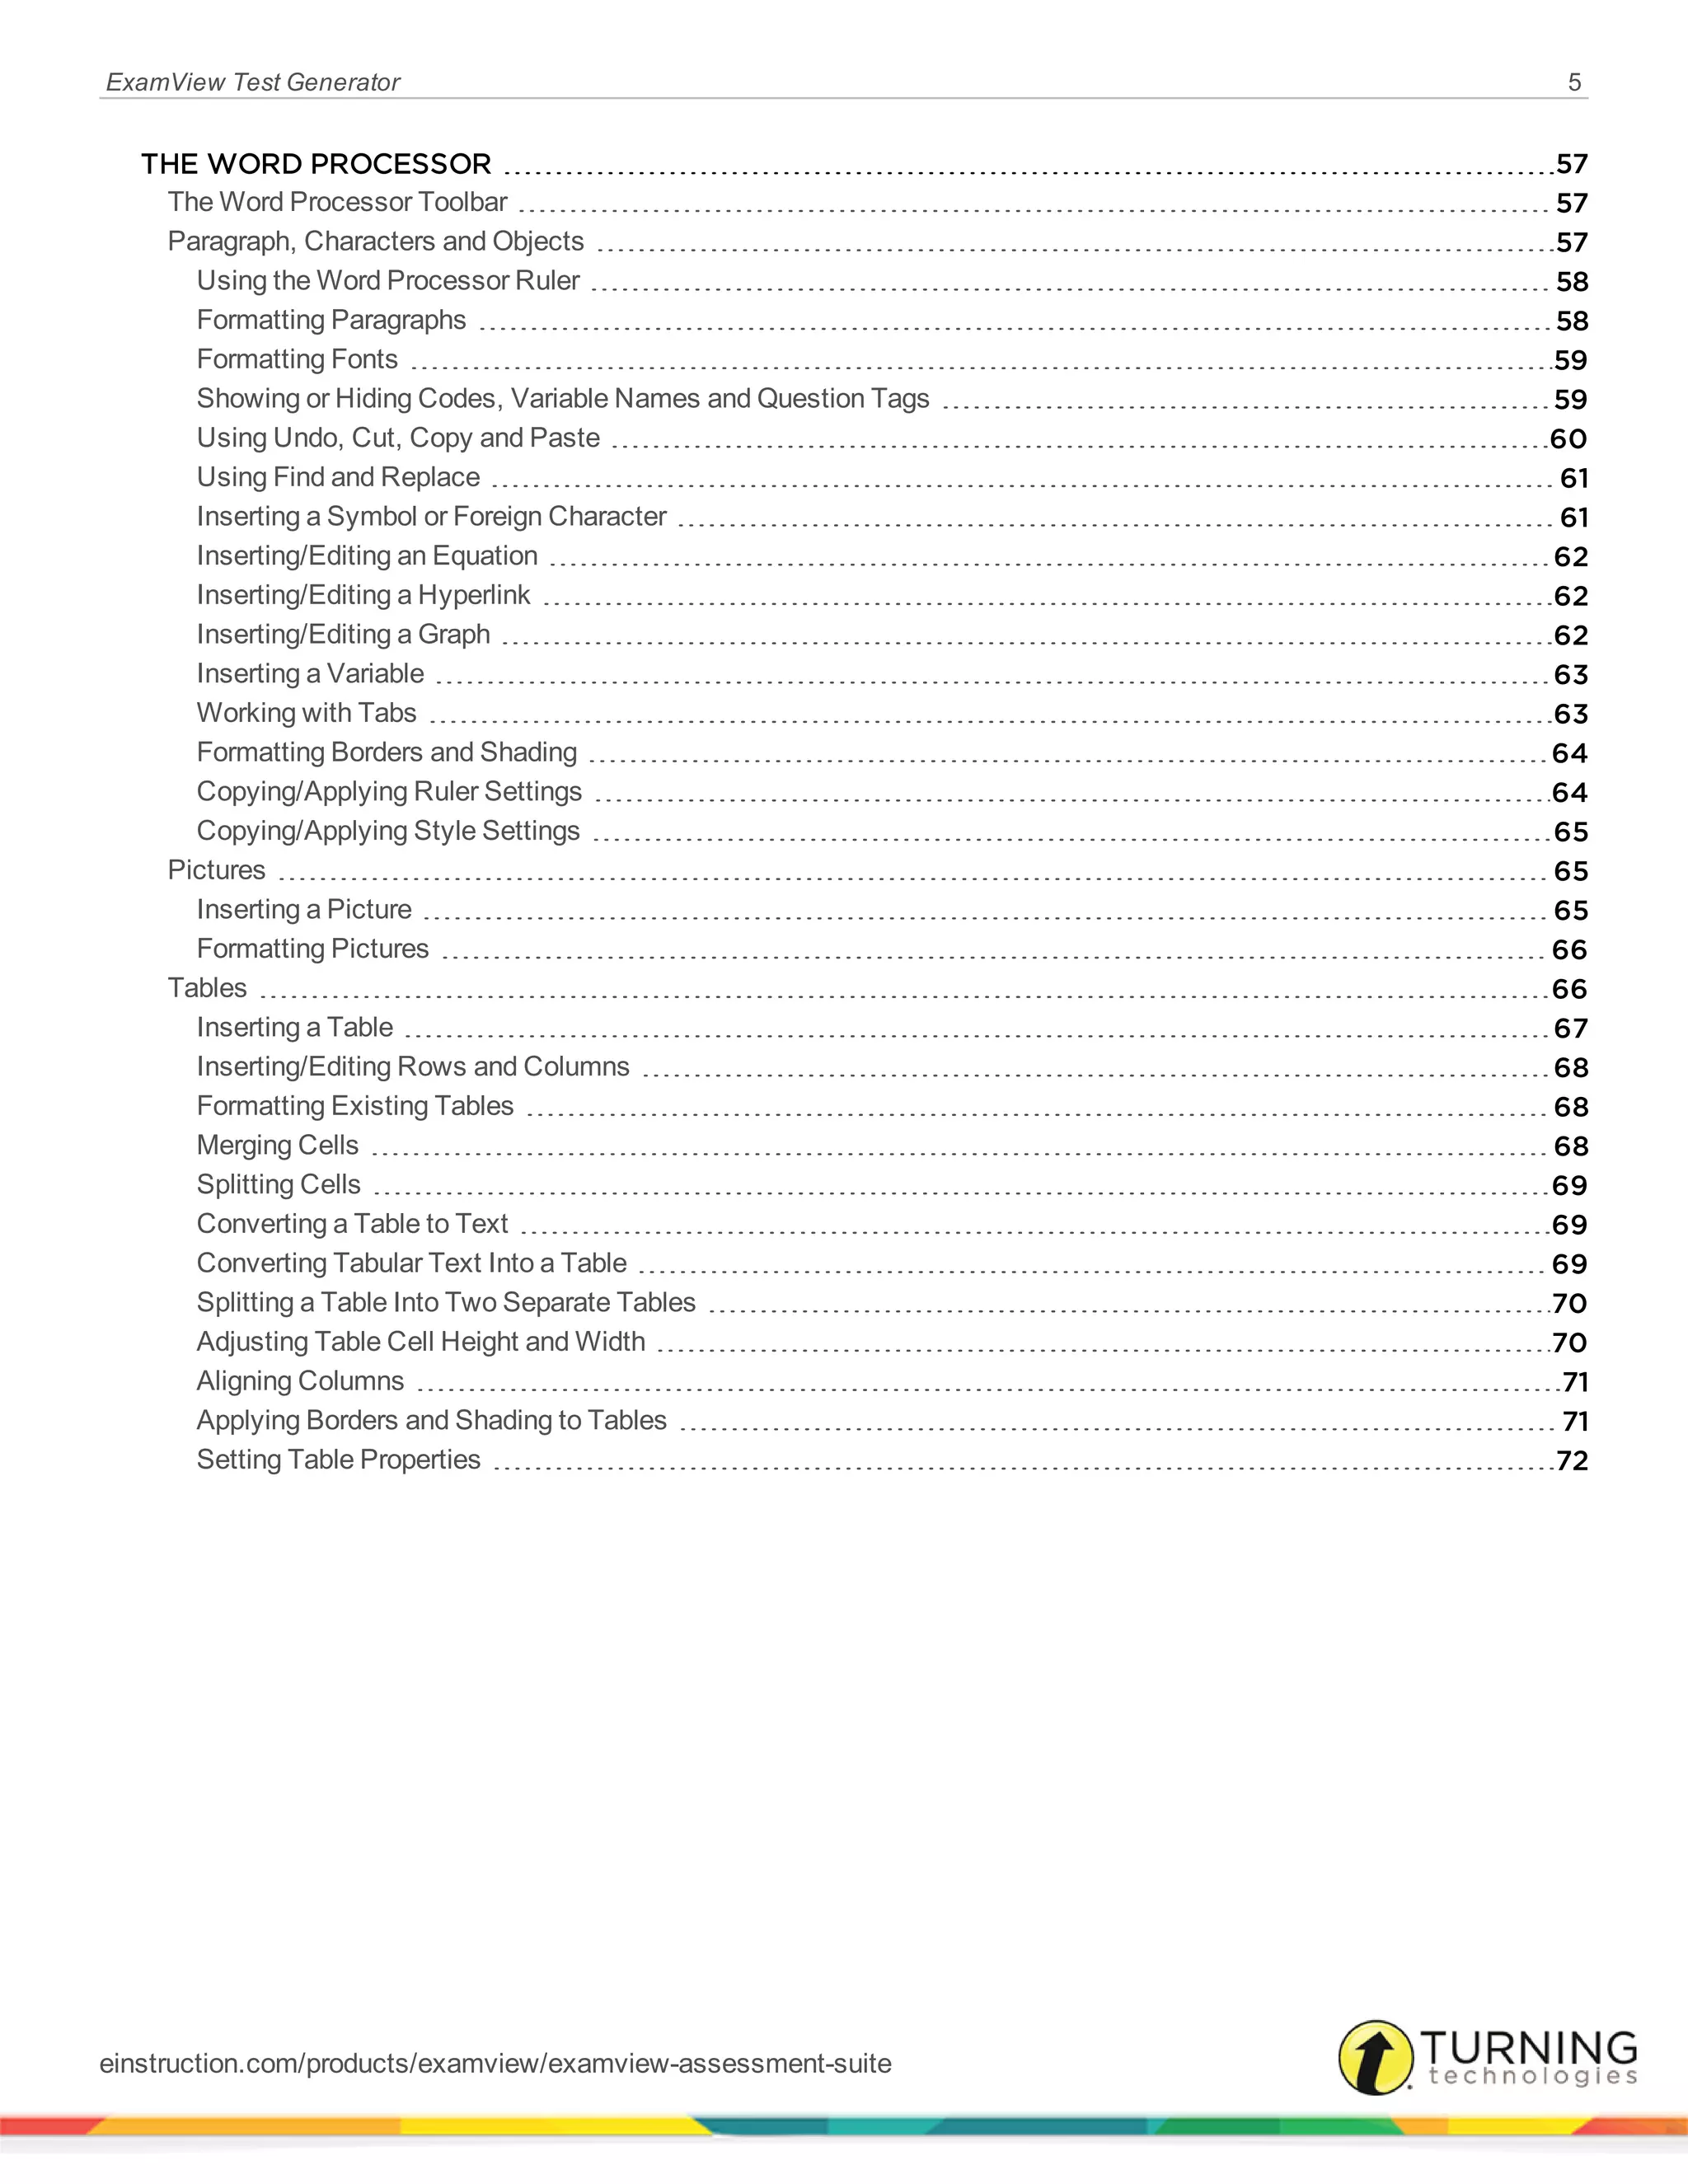
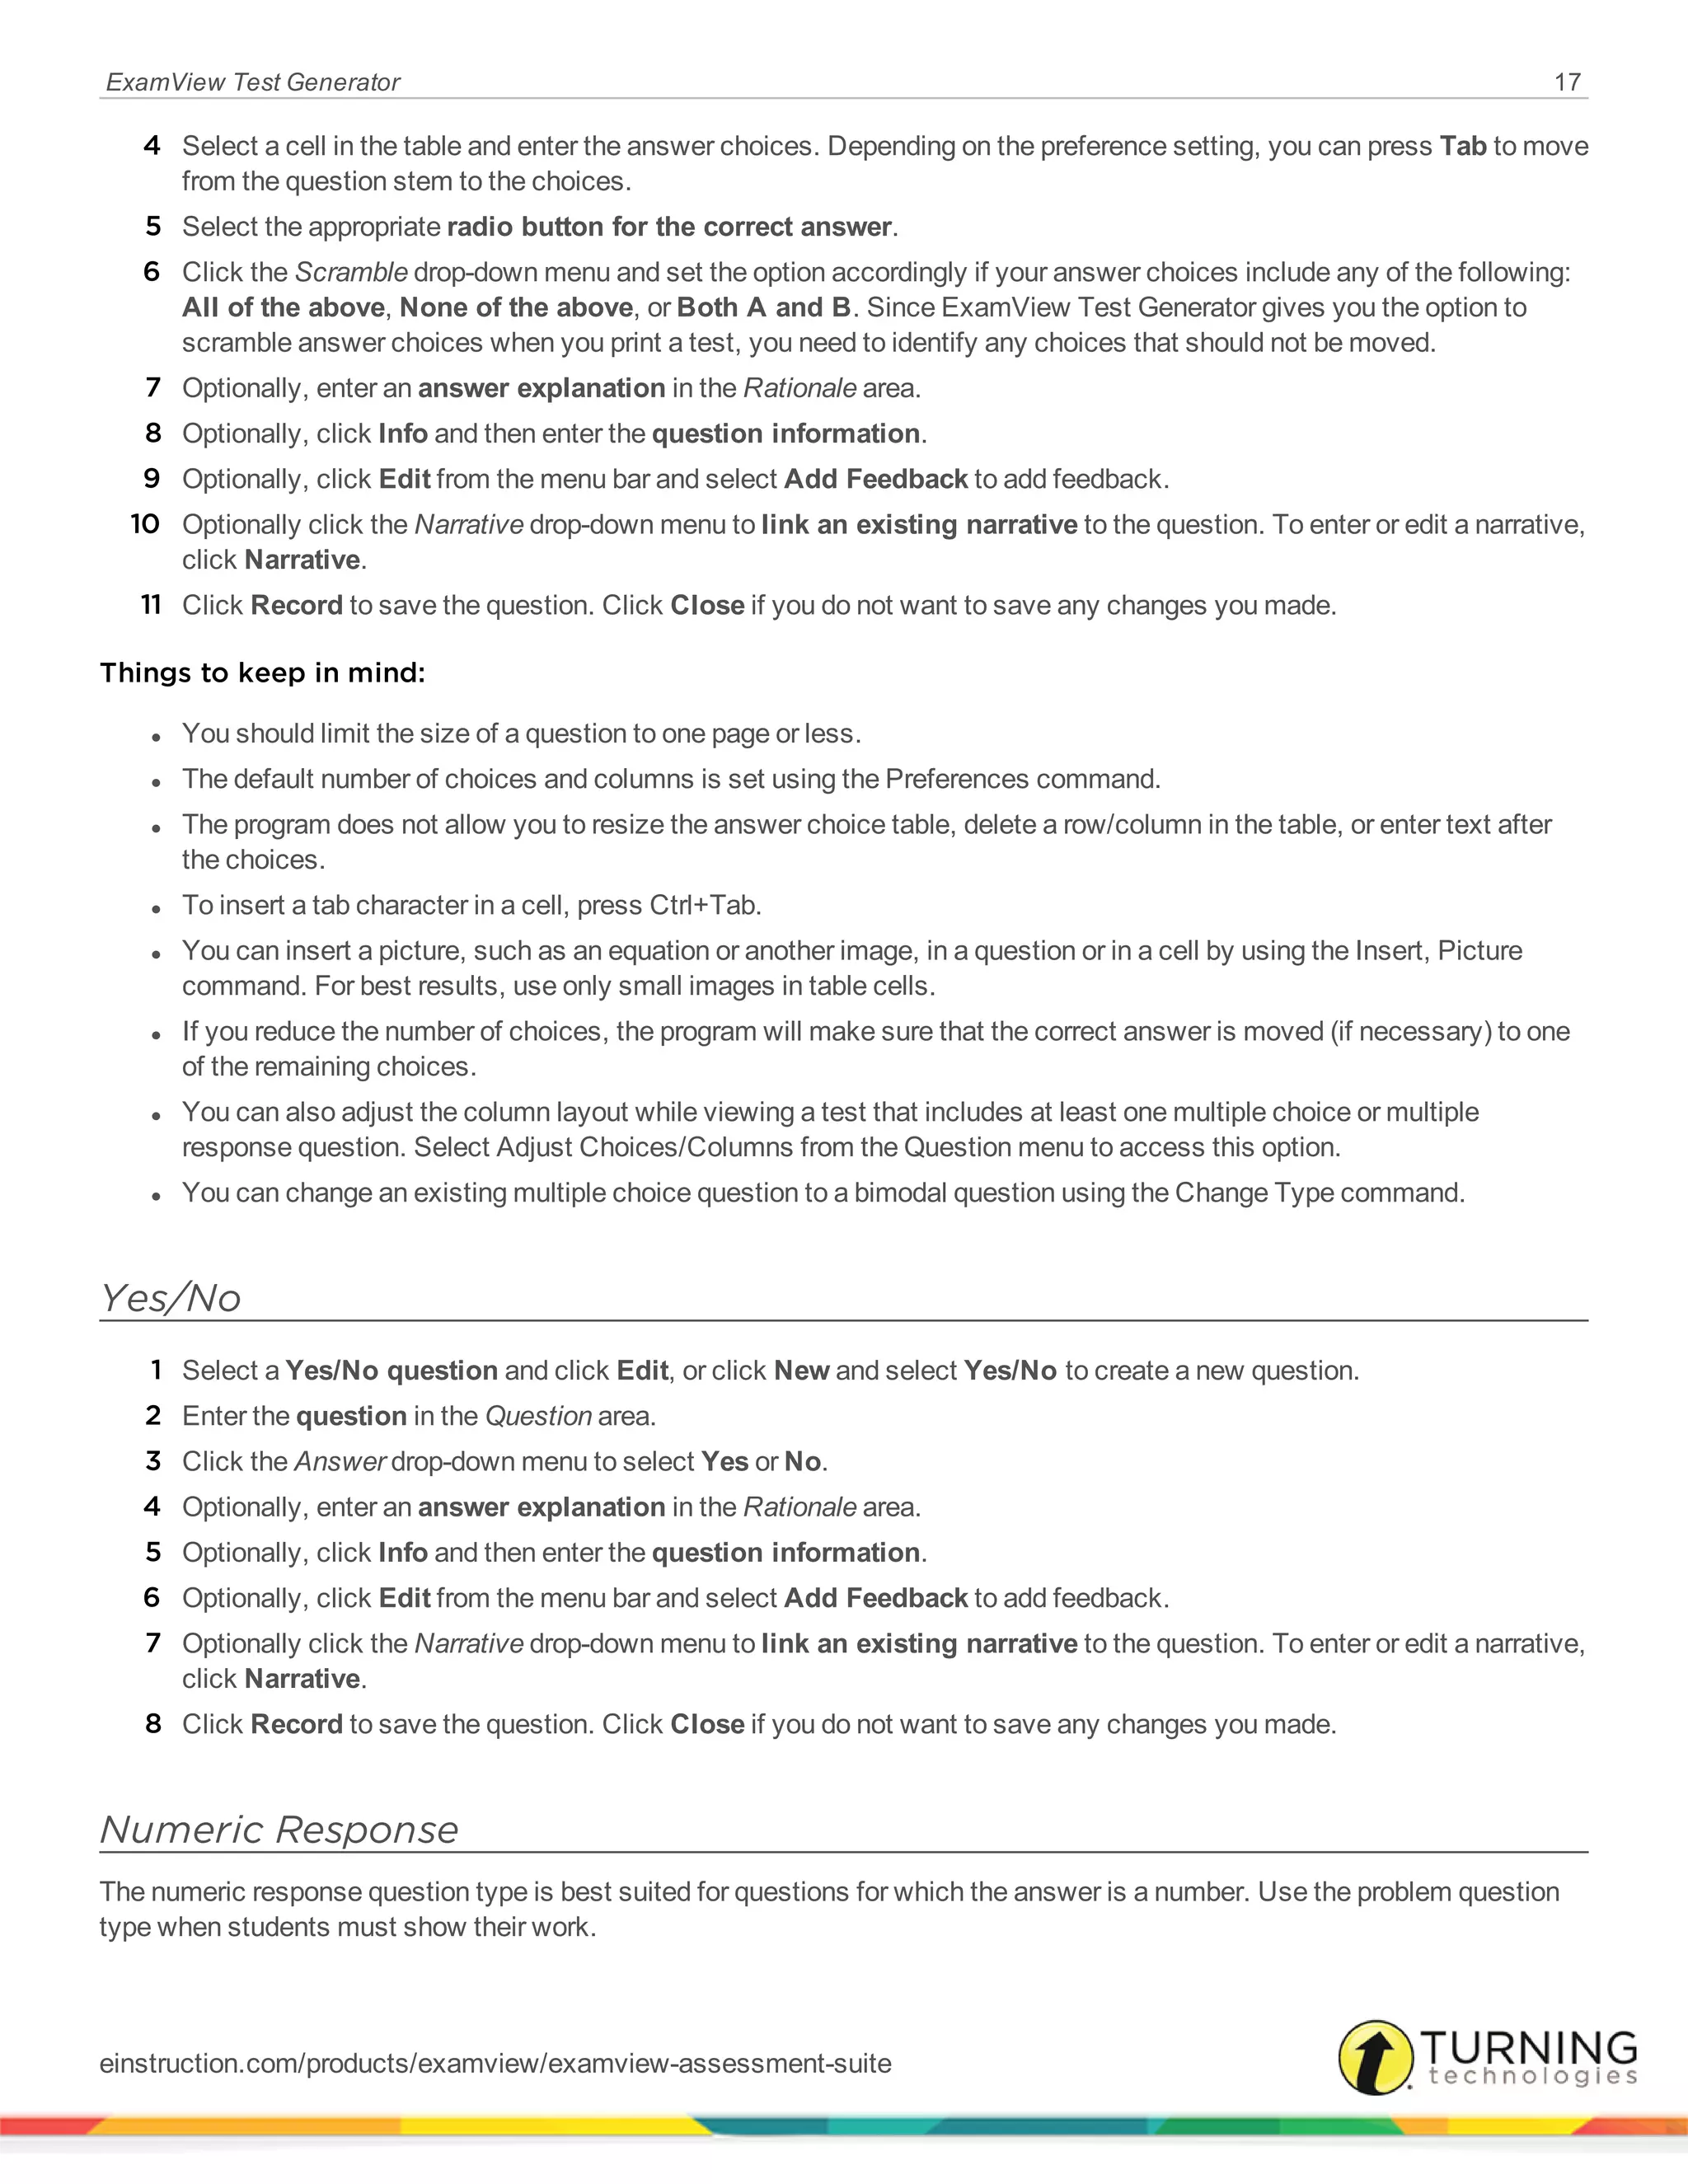
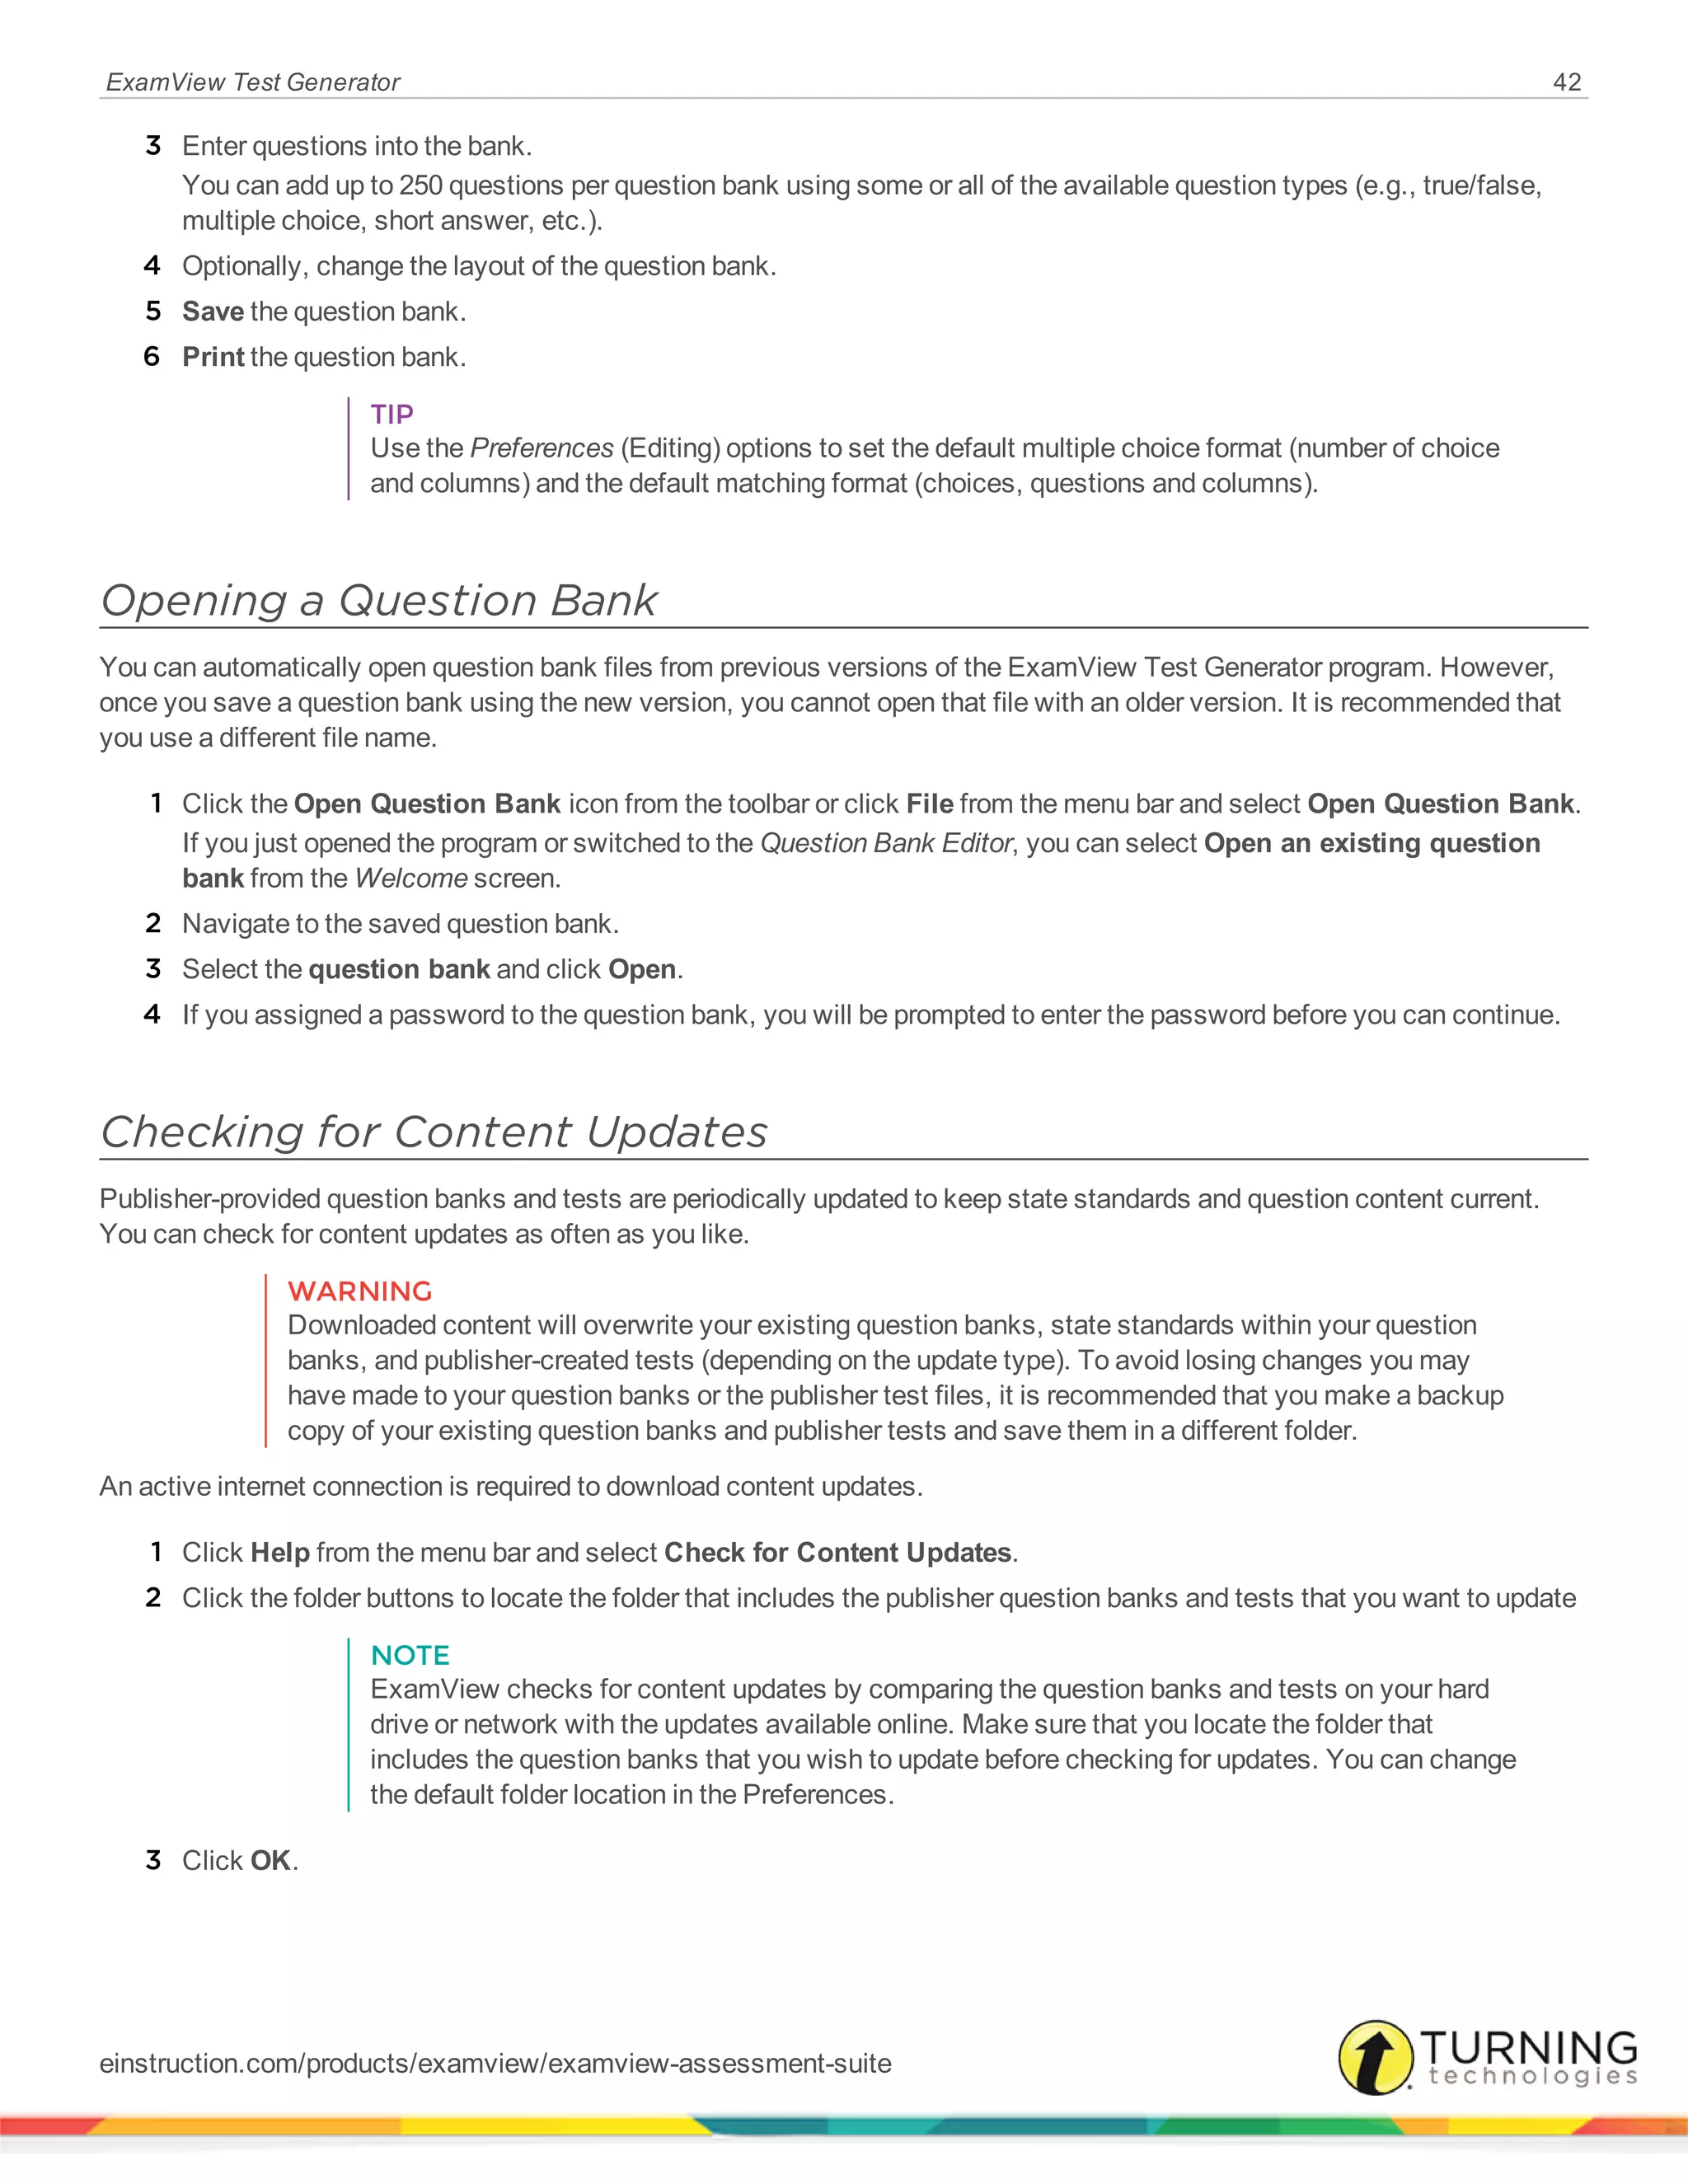
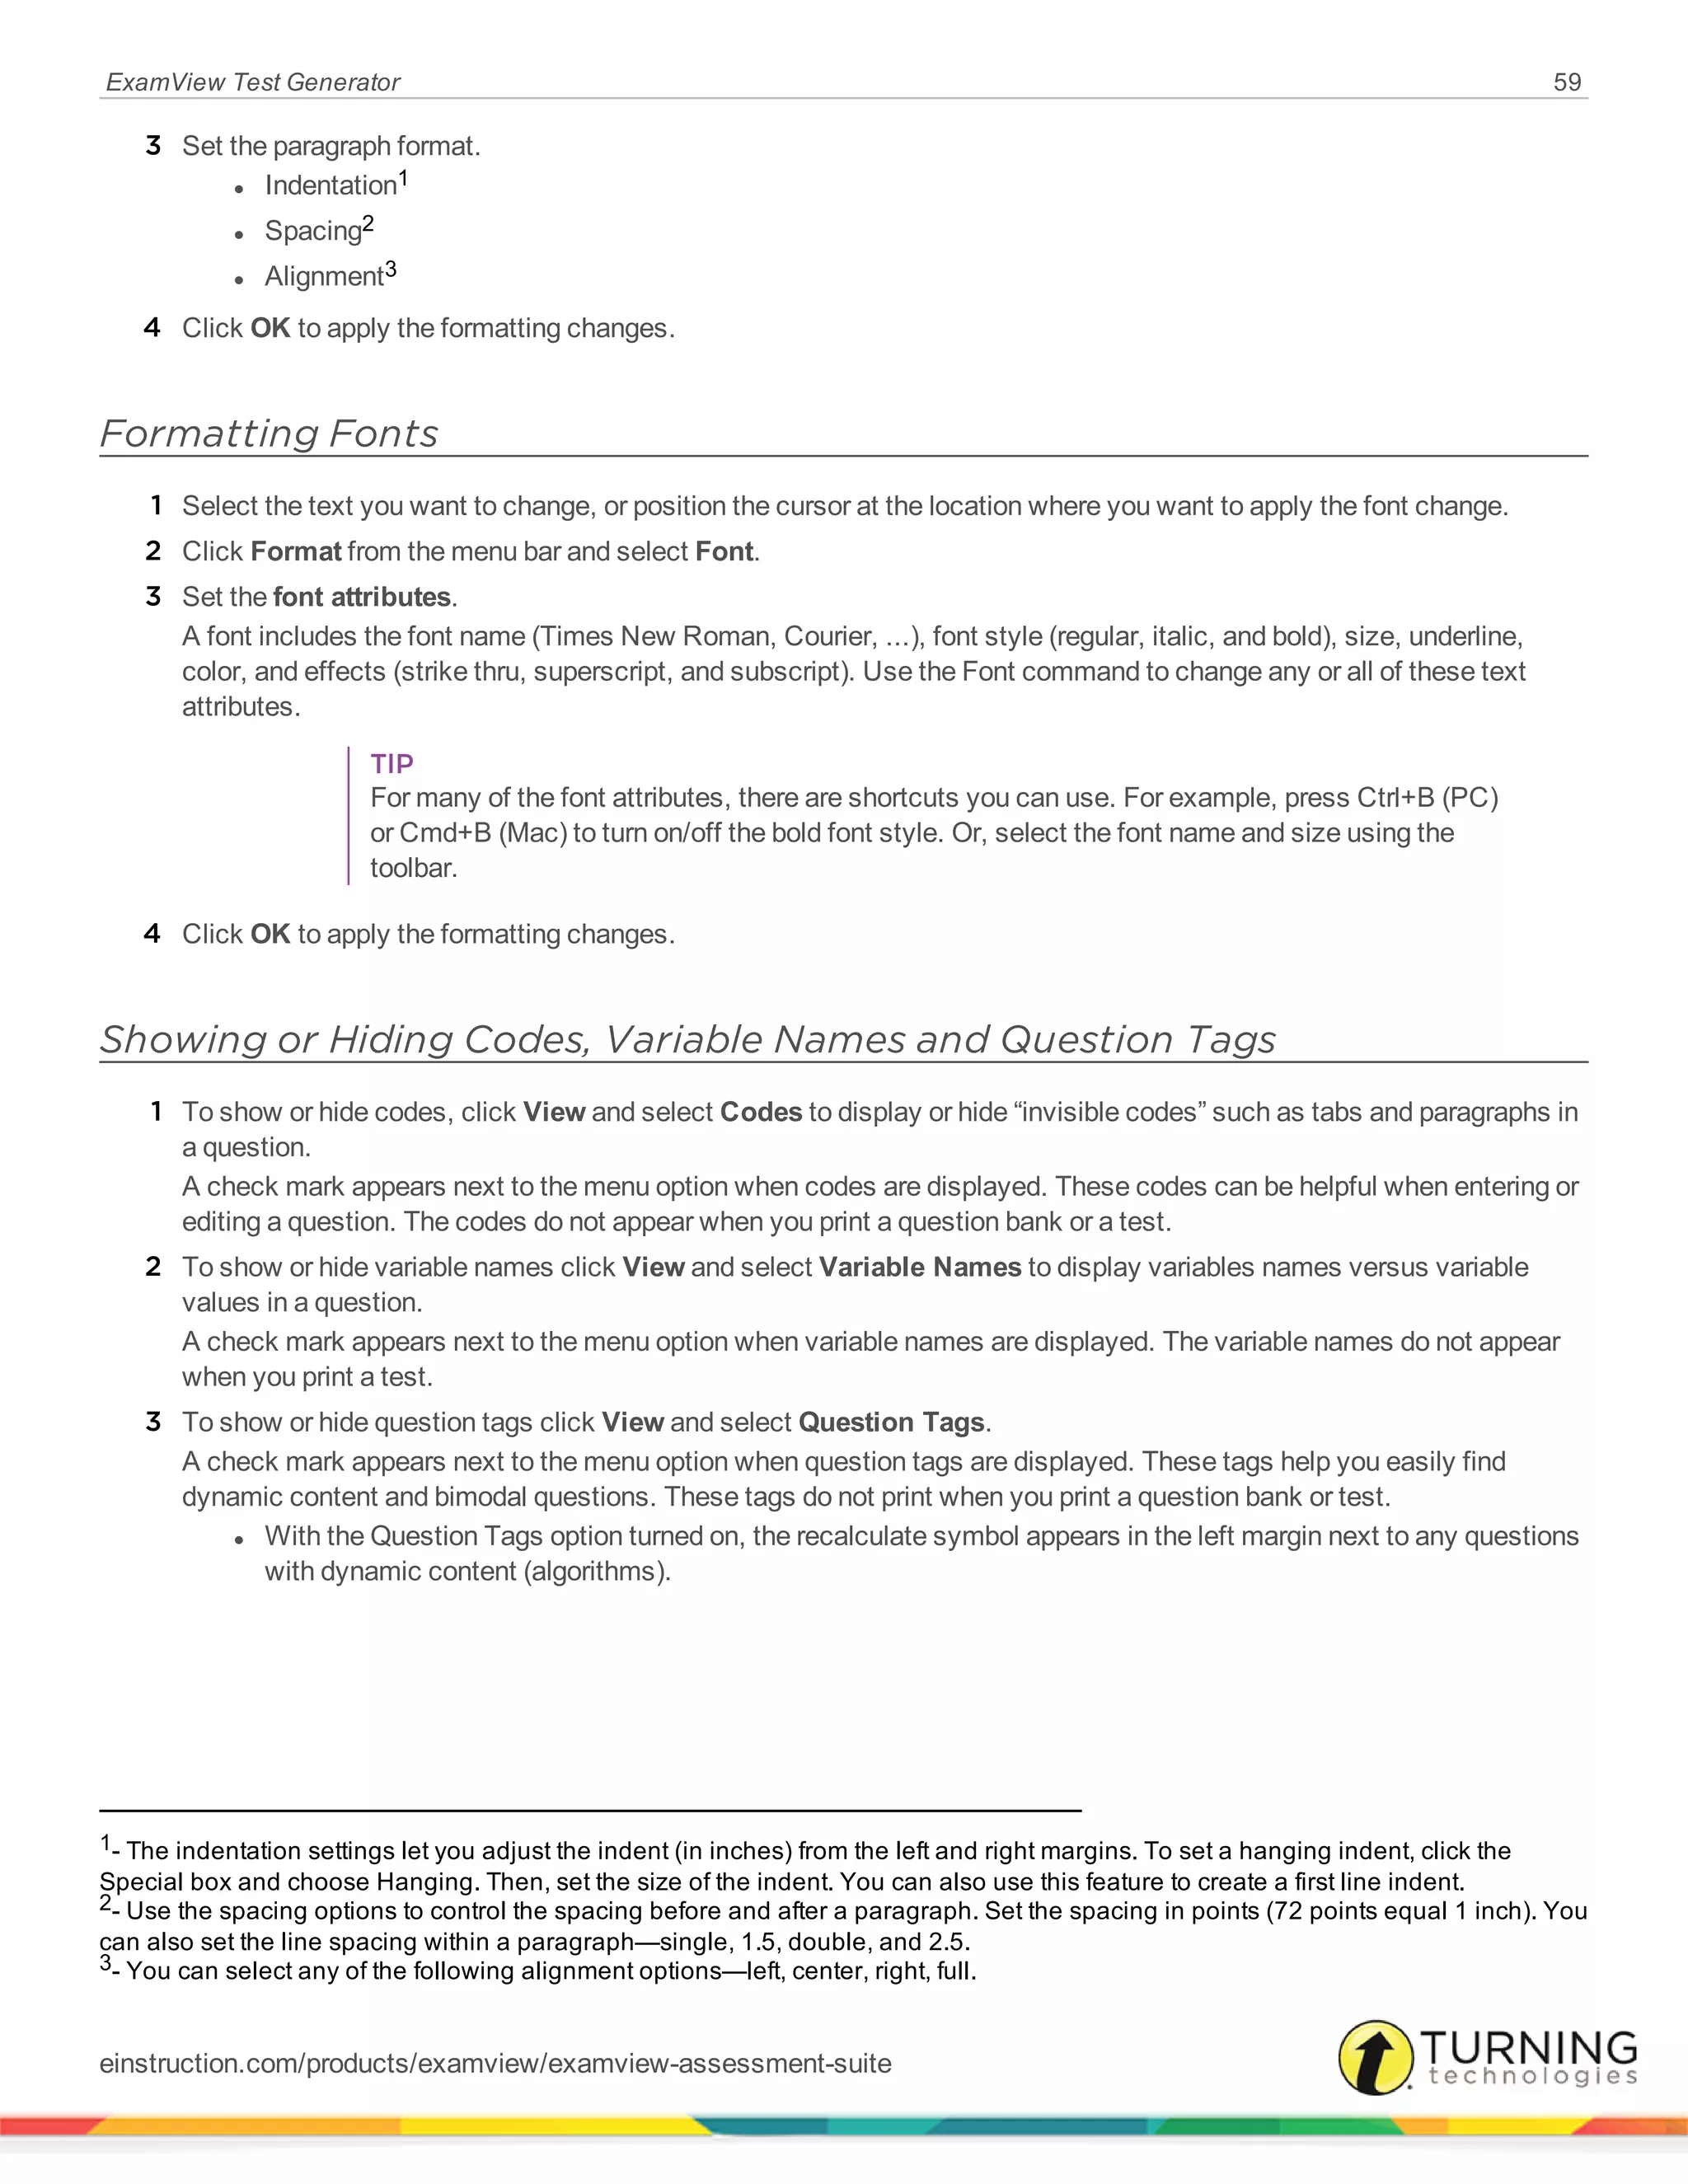
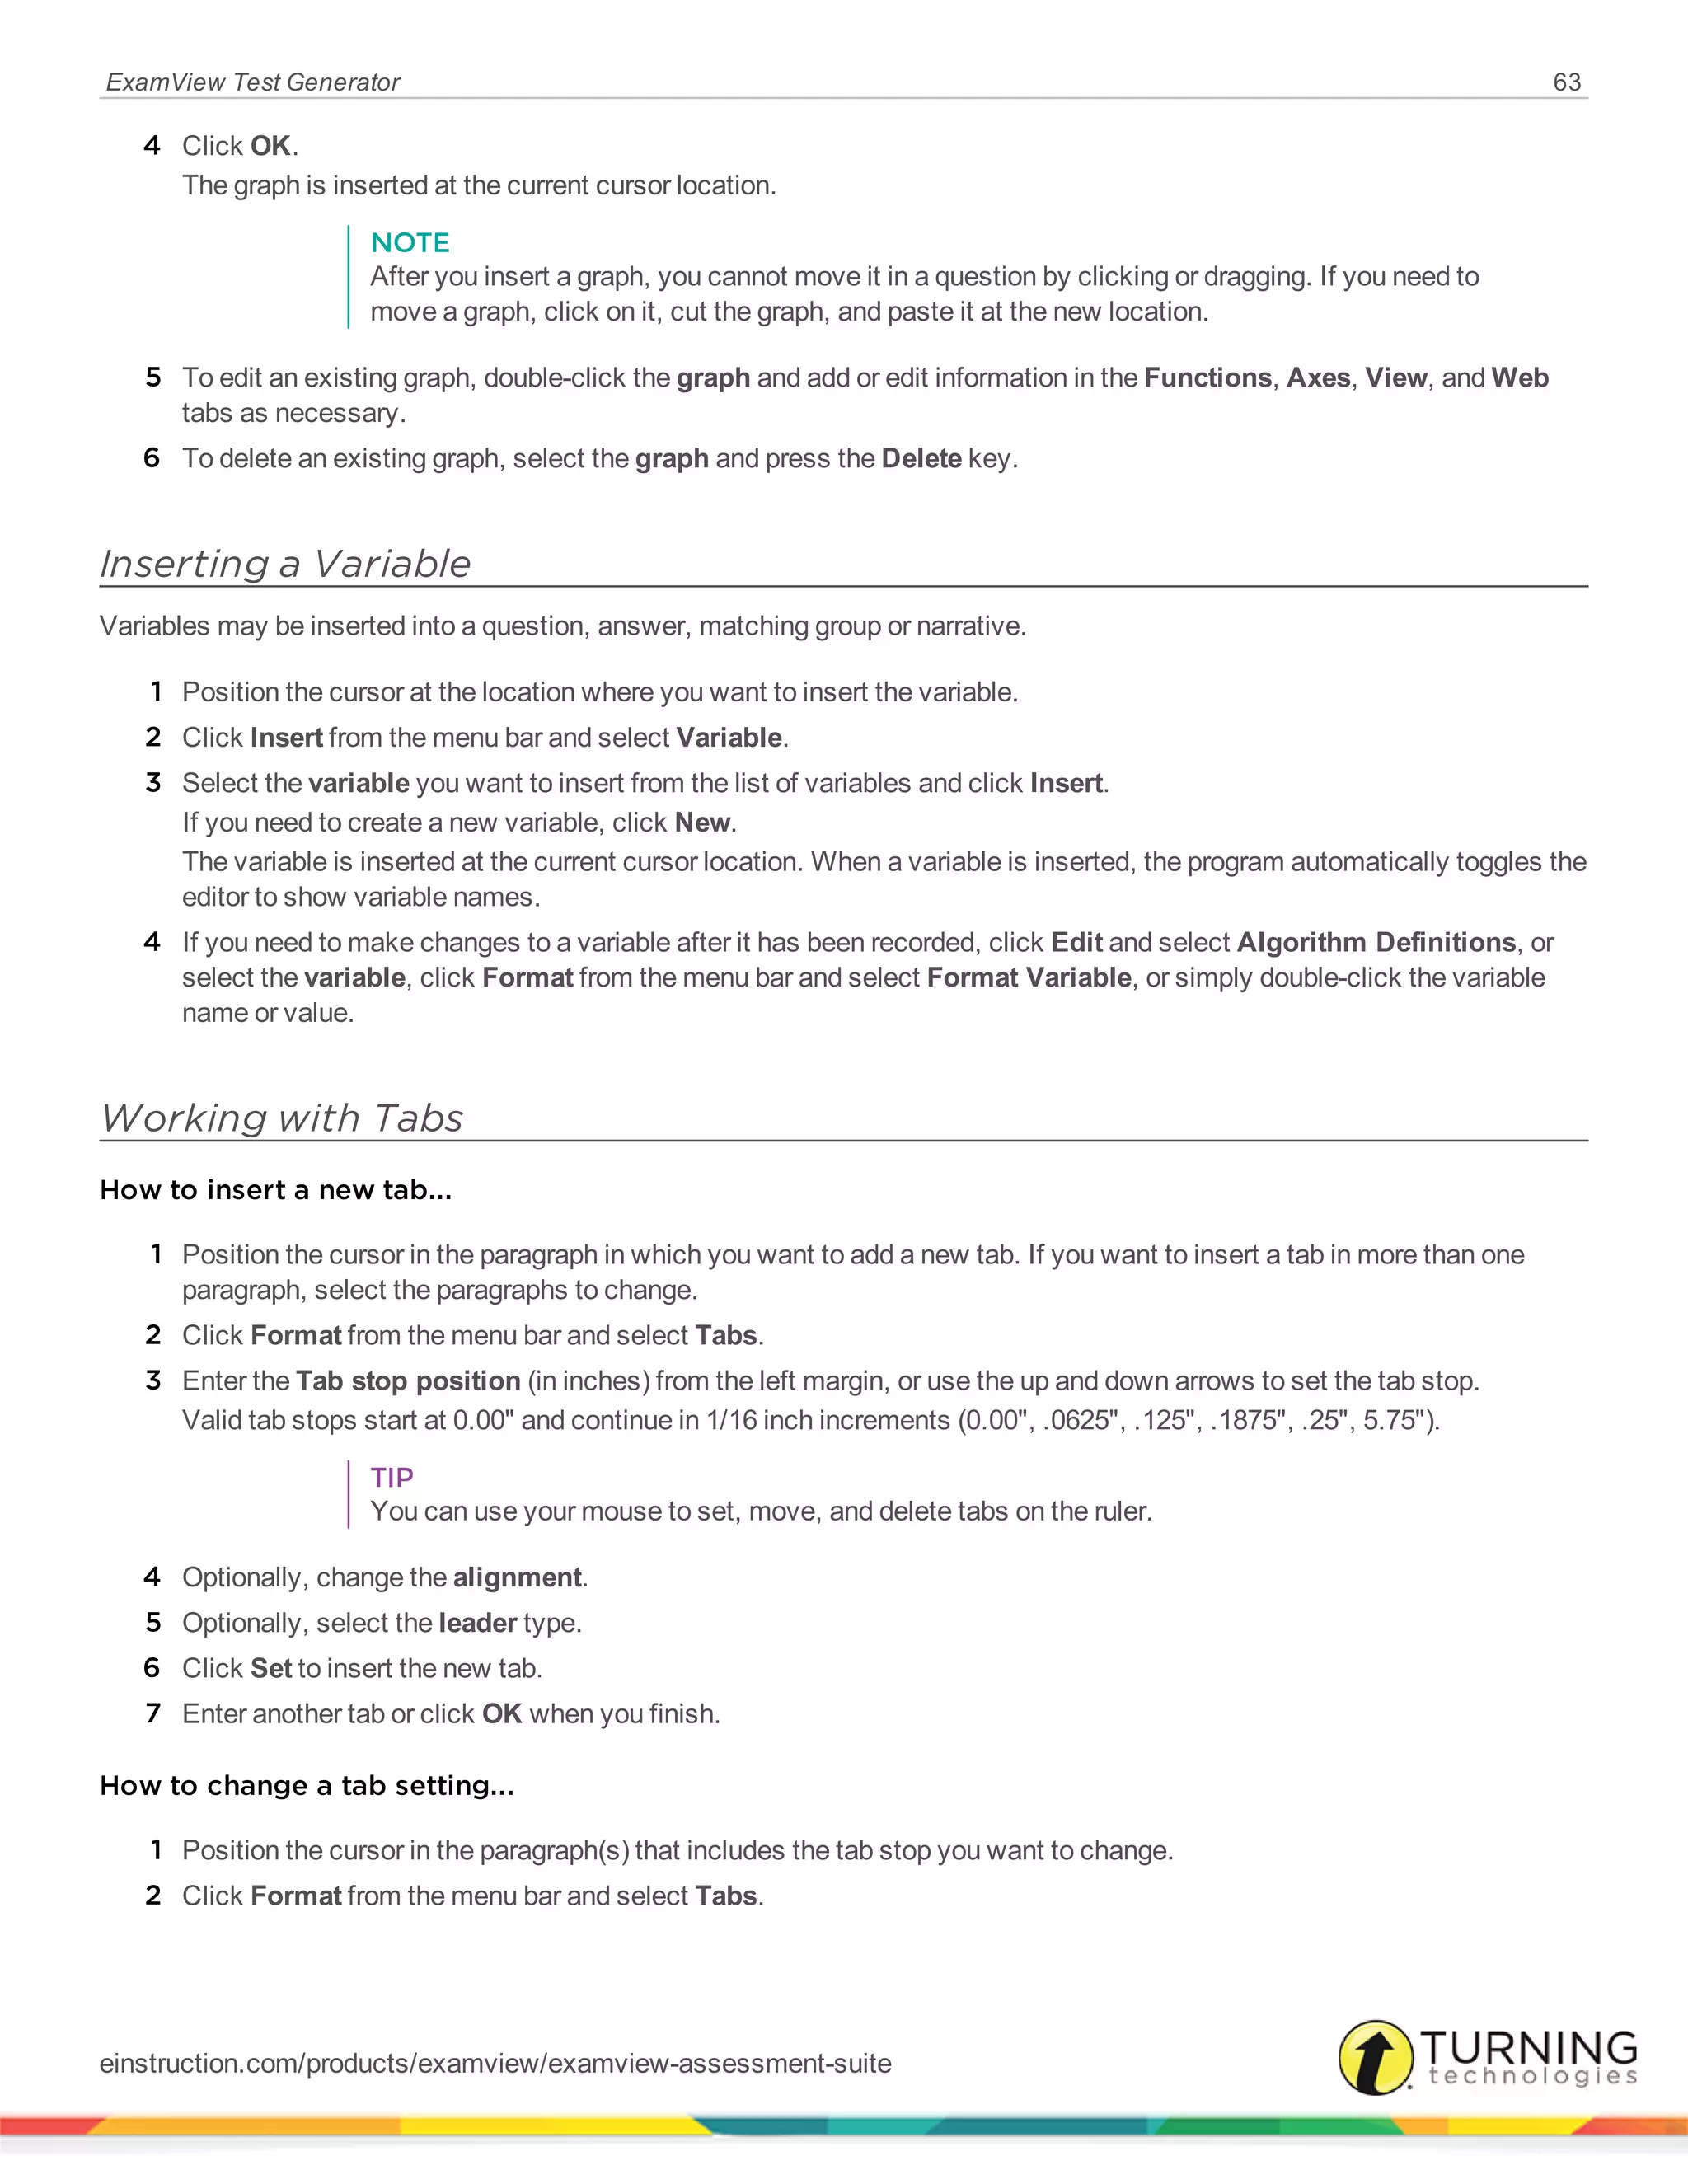
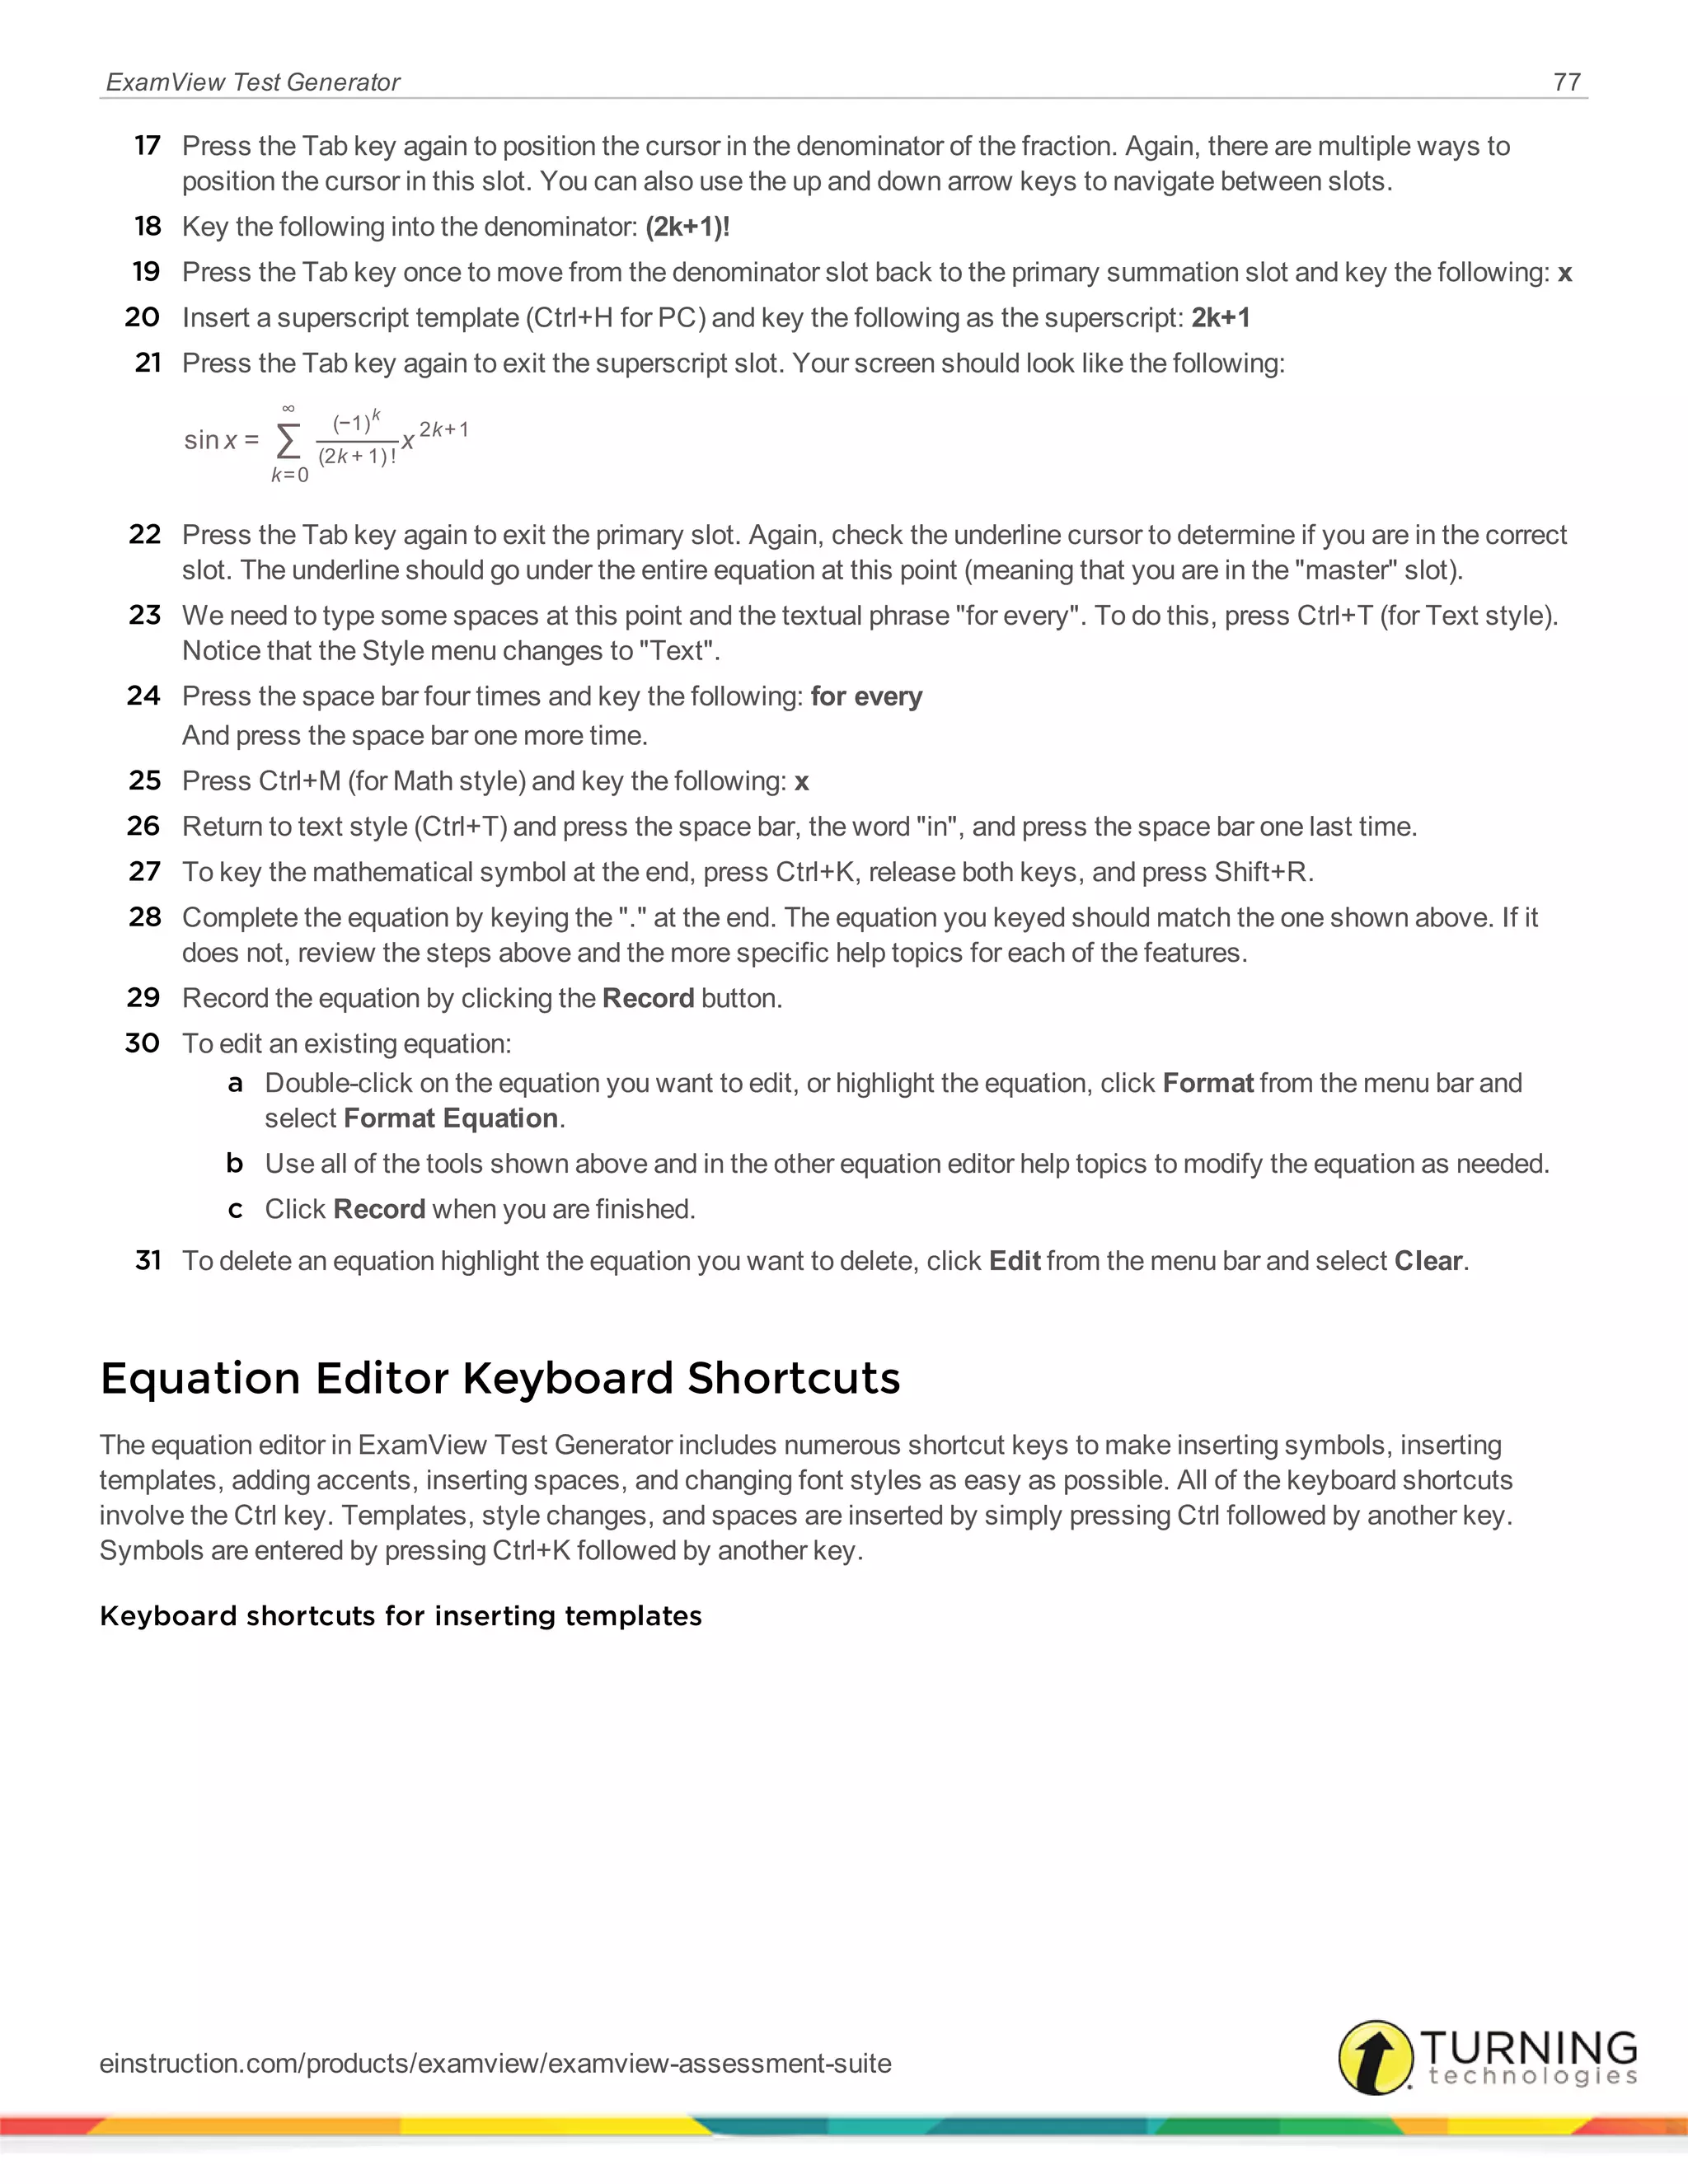
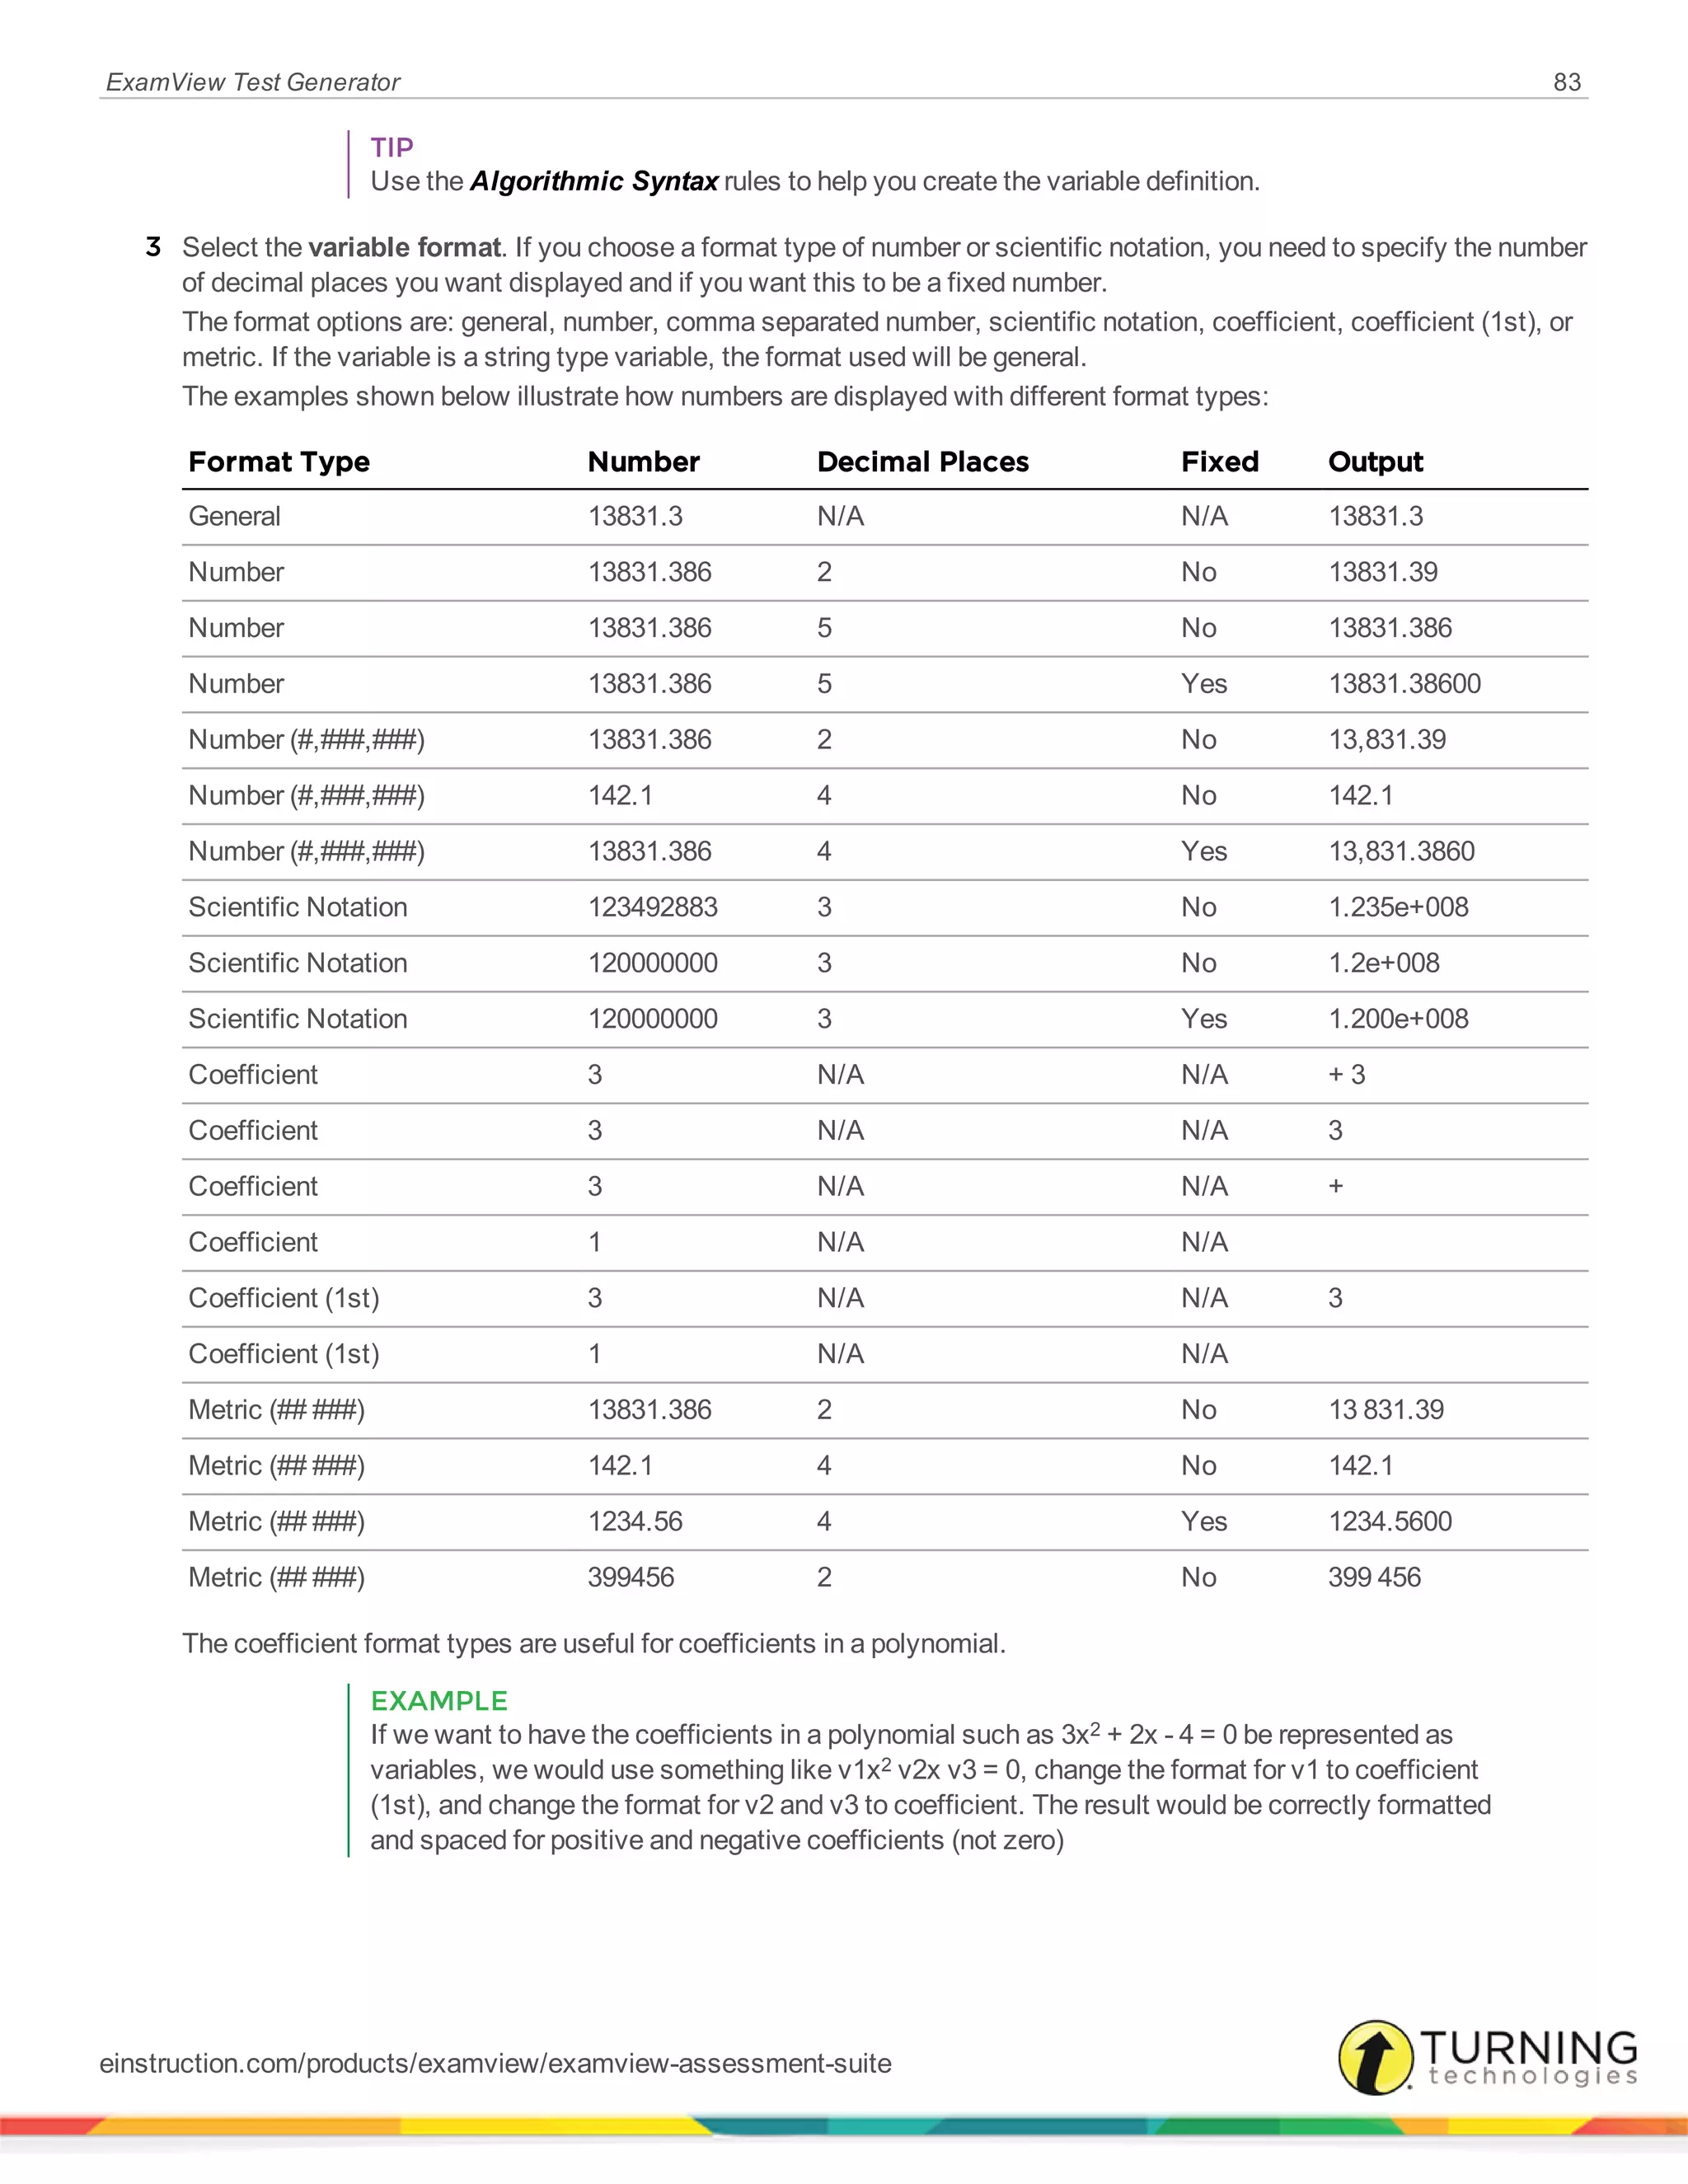
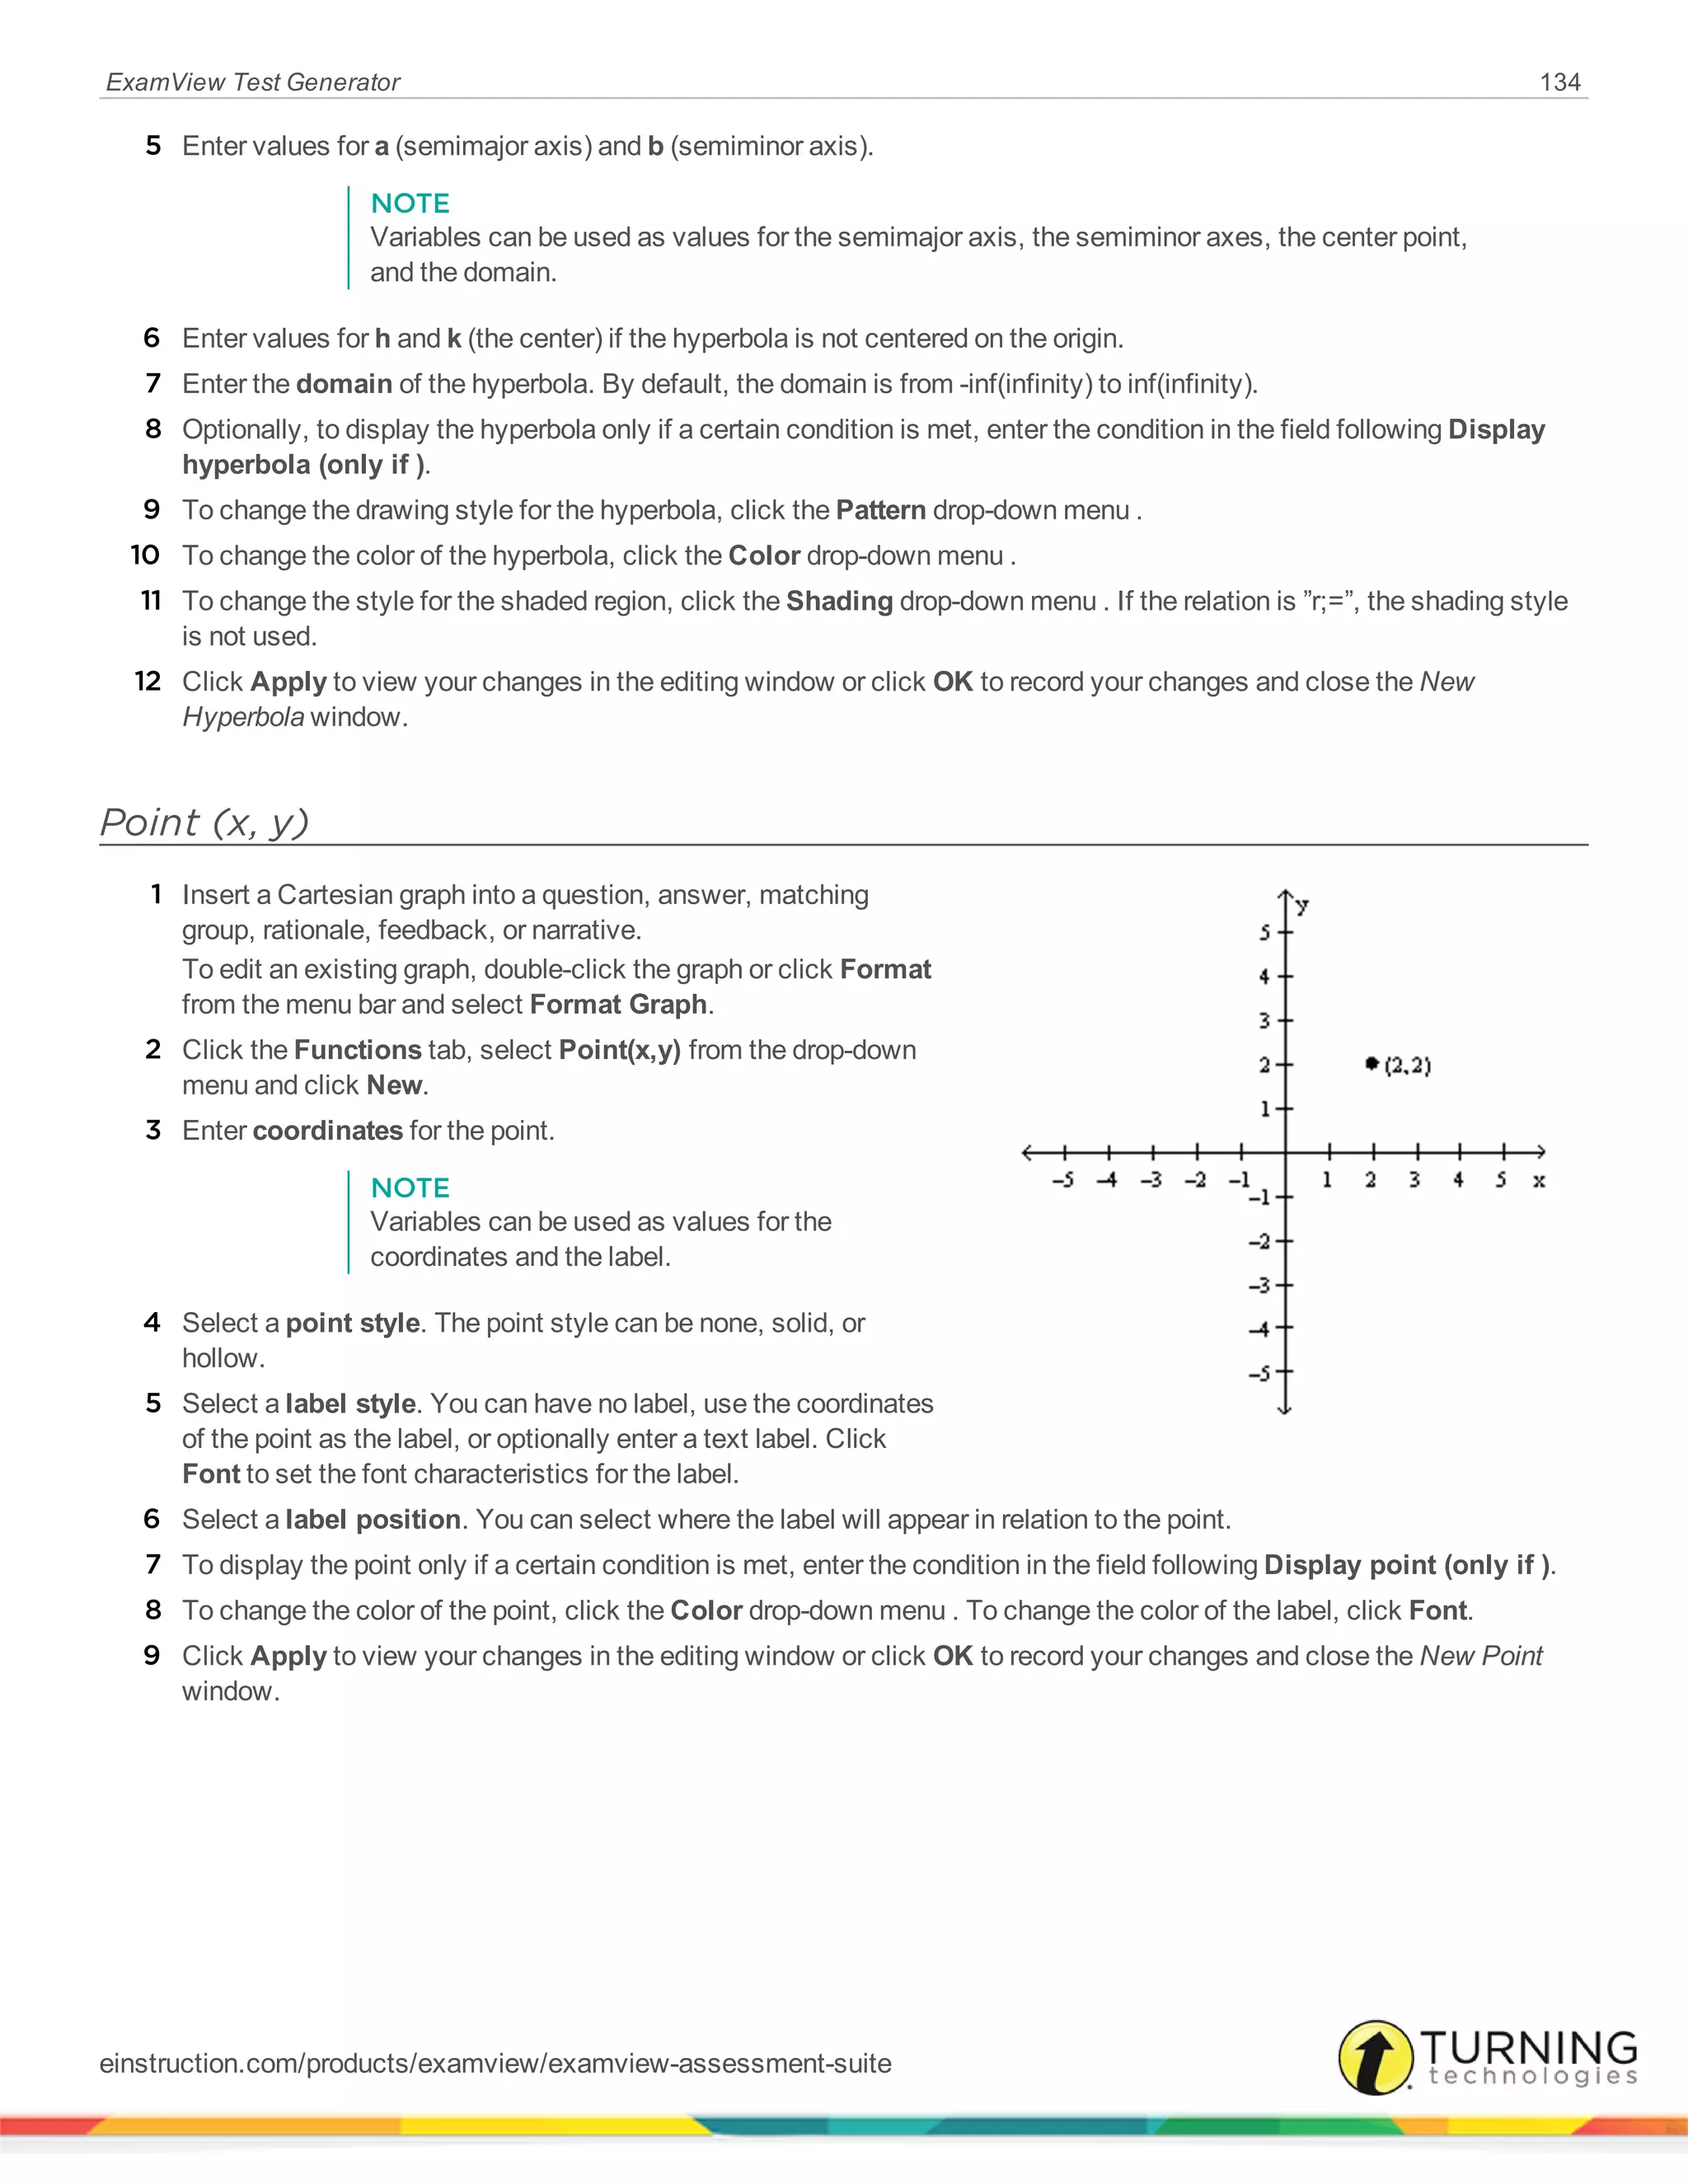
Constants
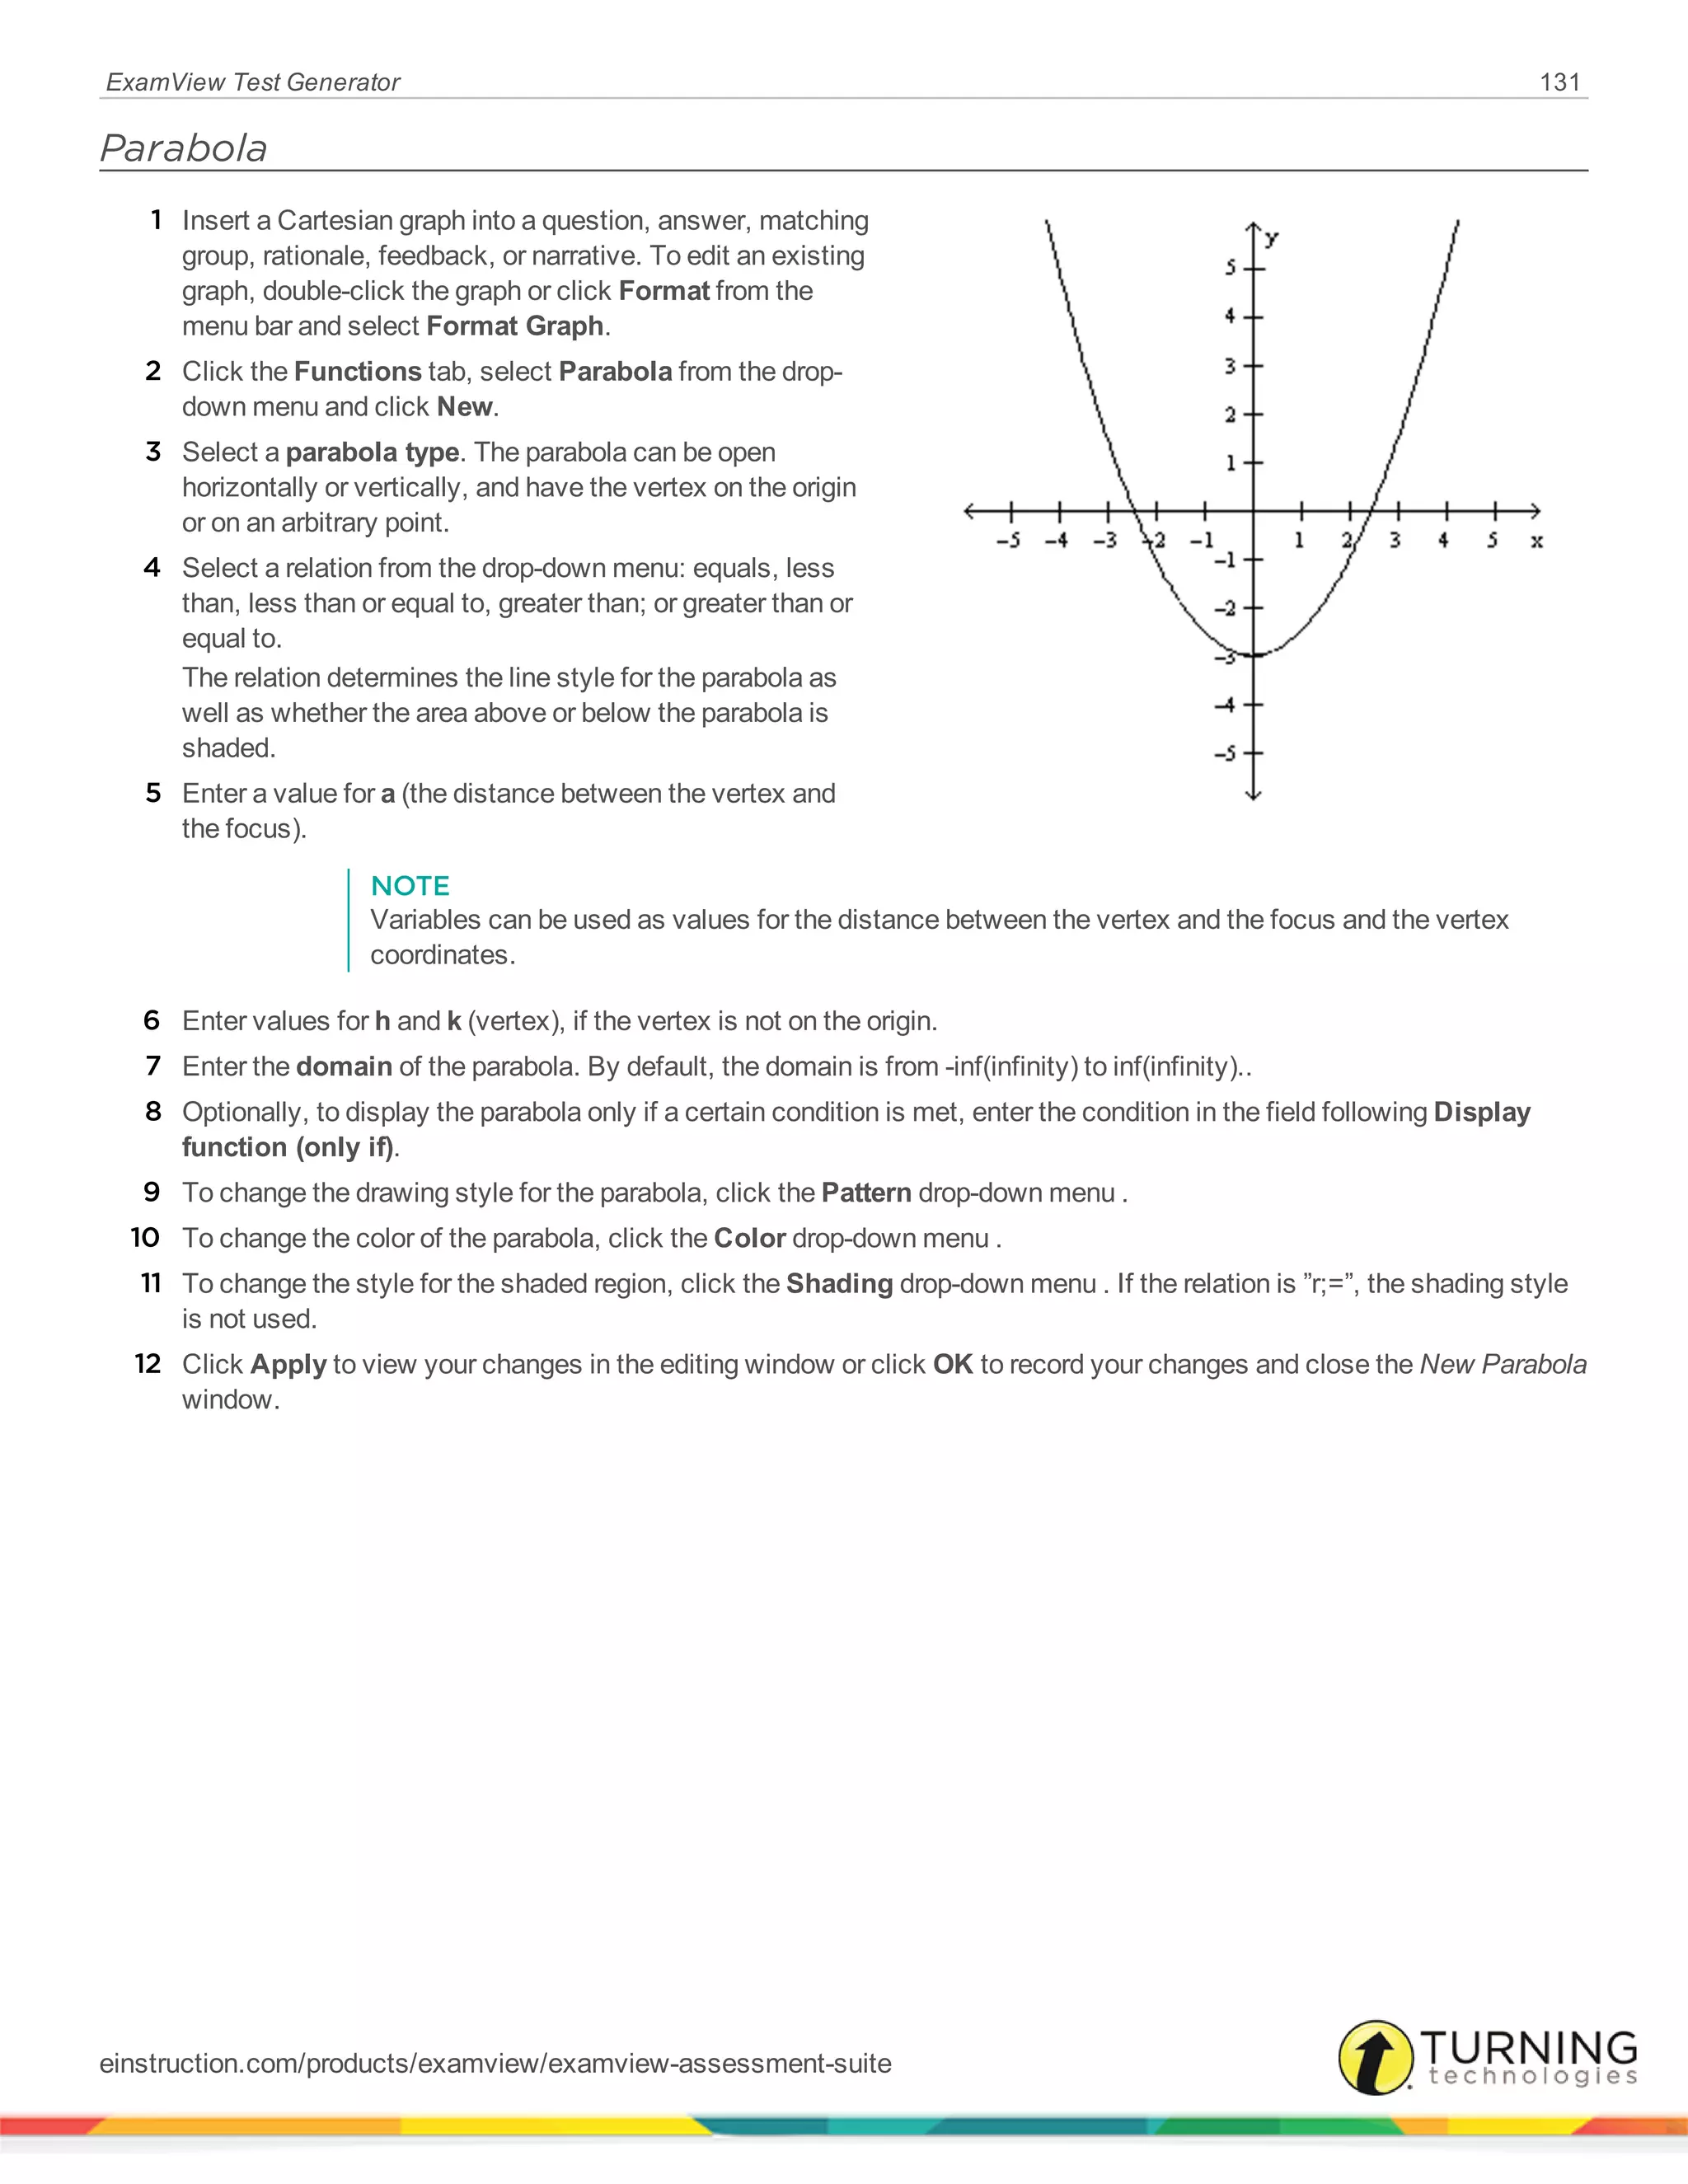
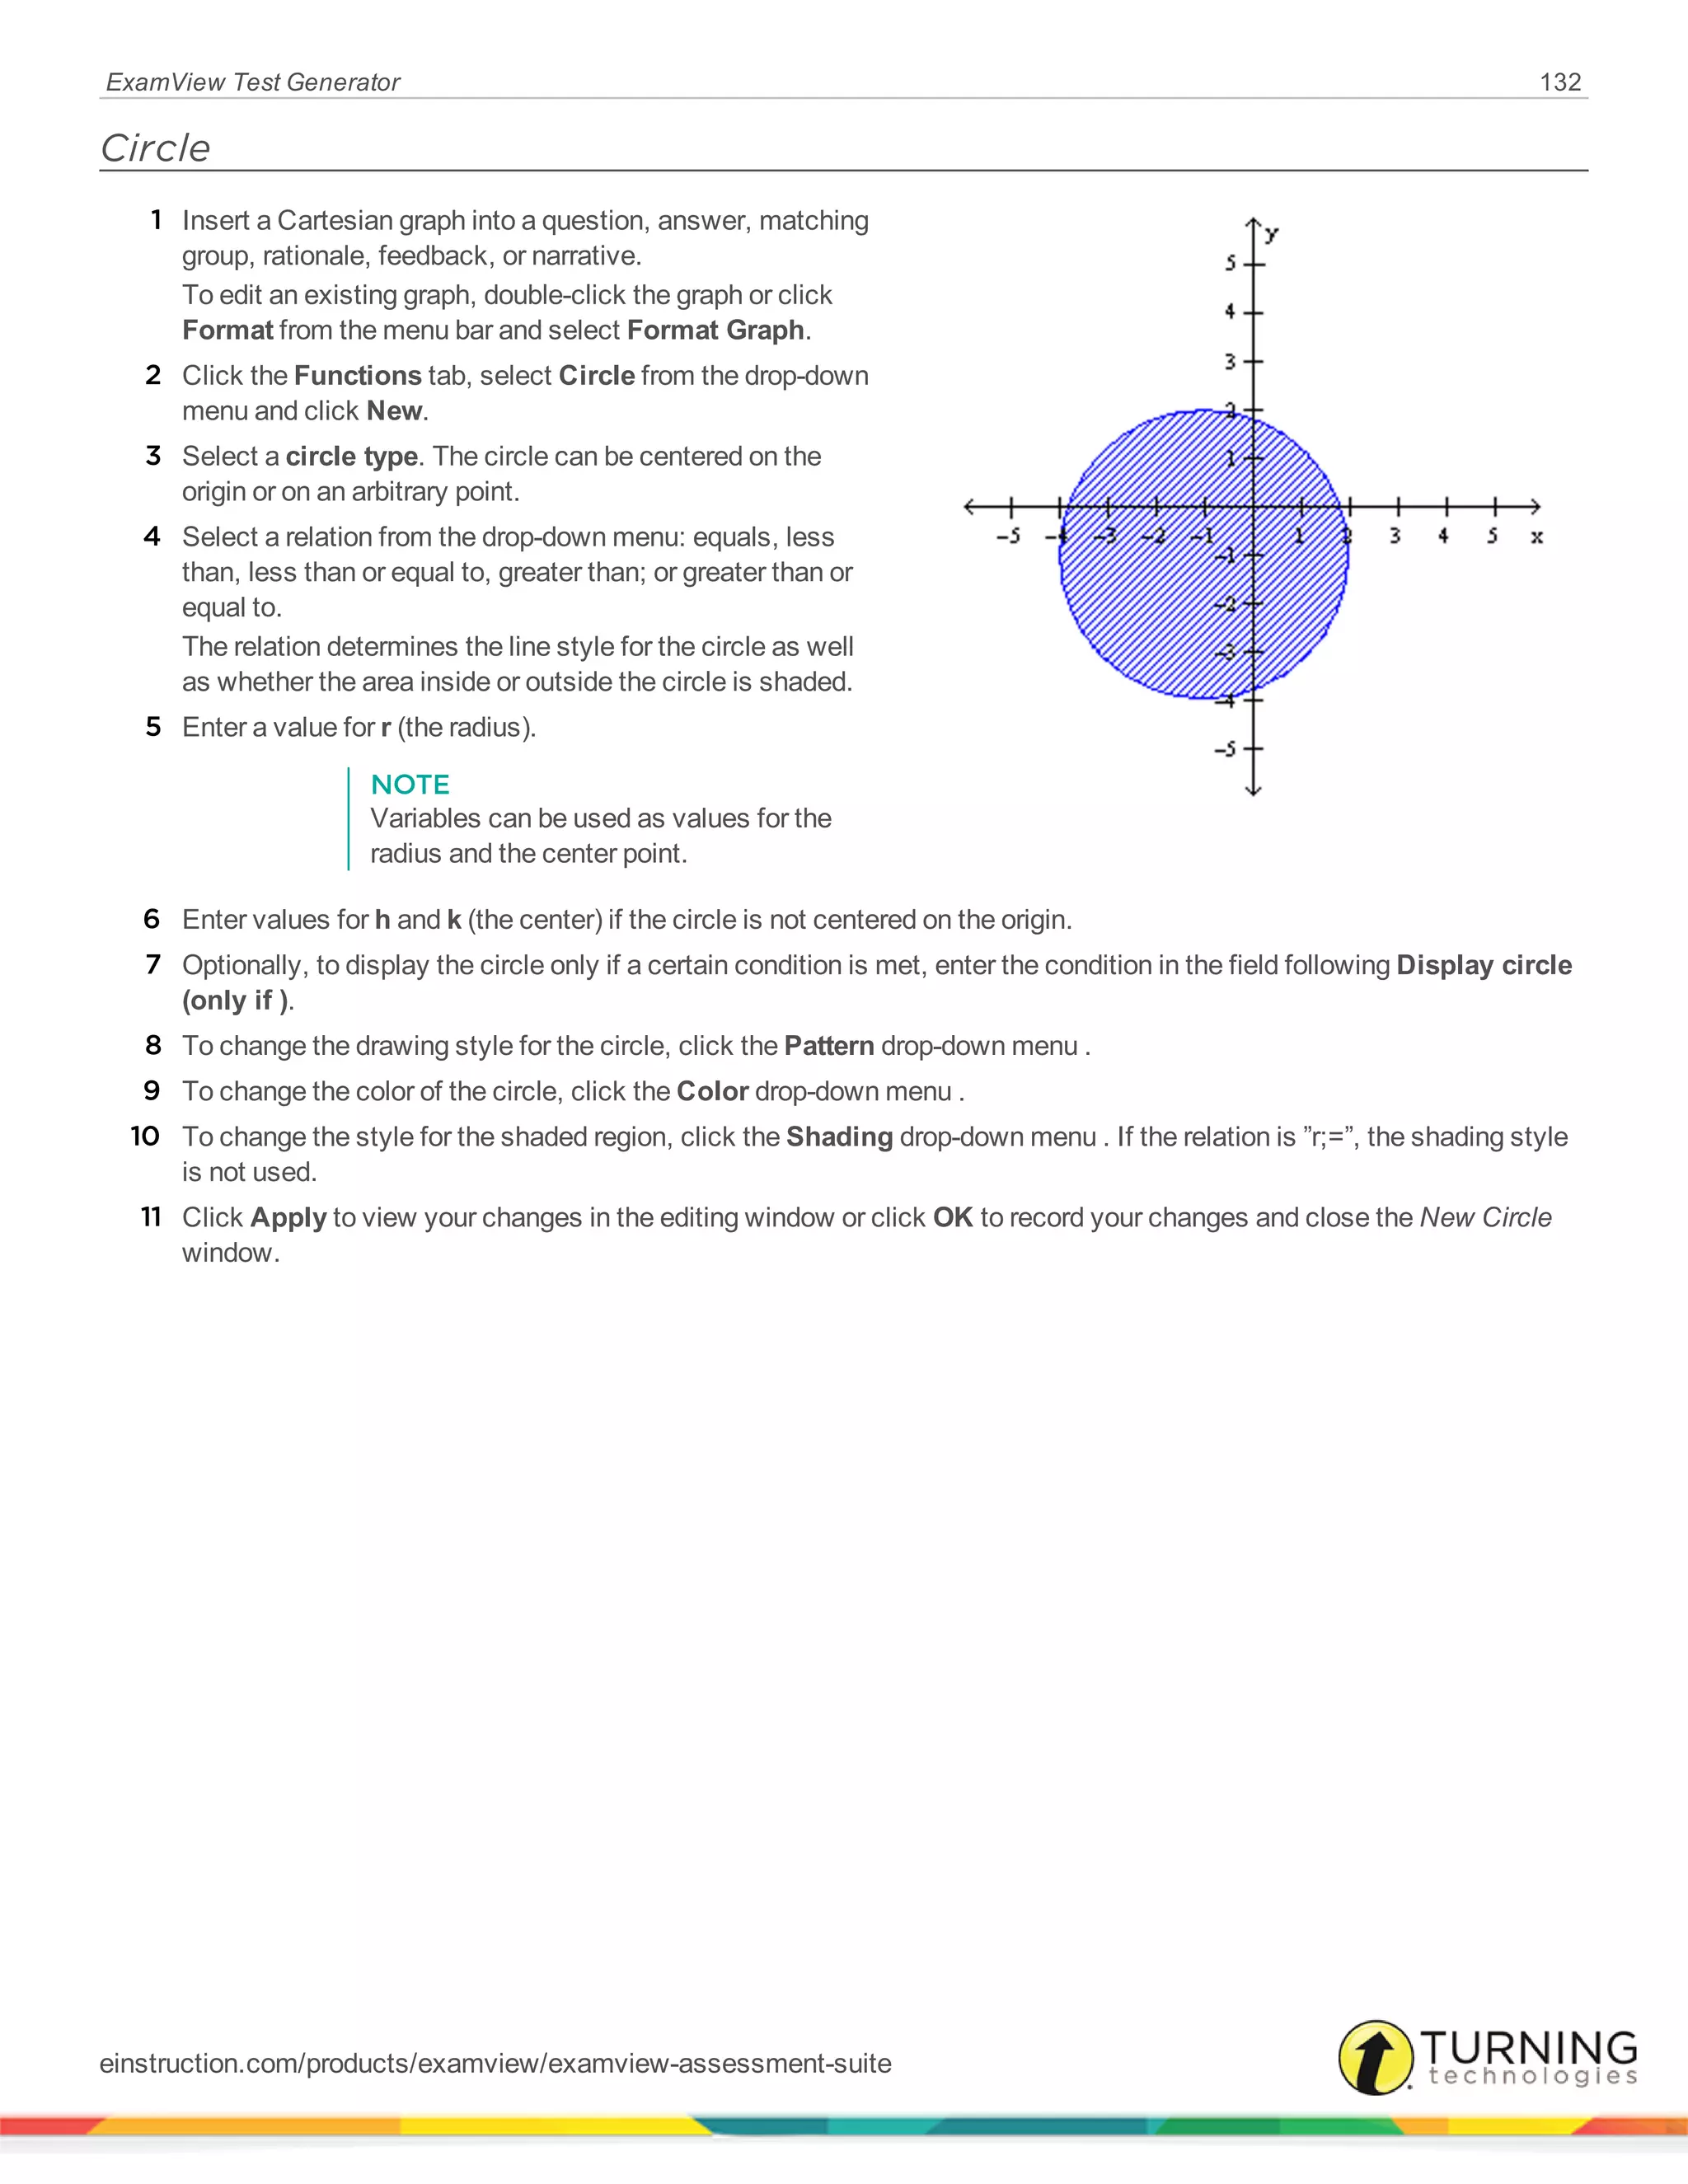
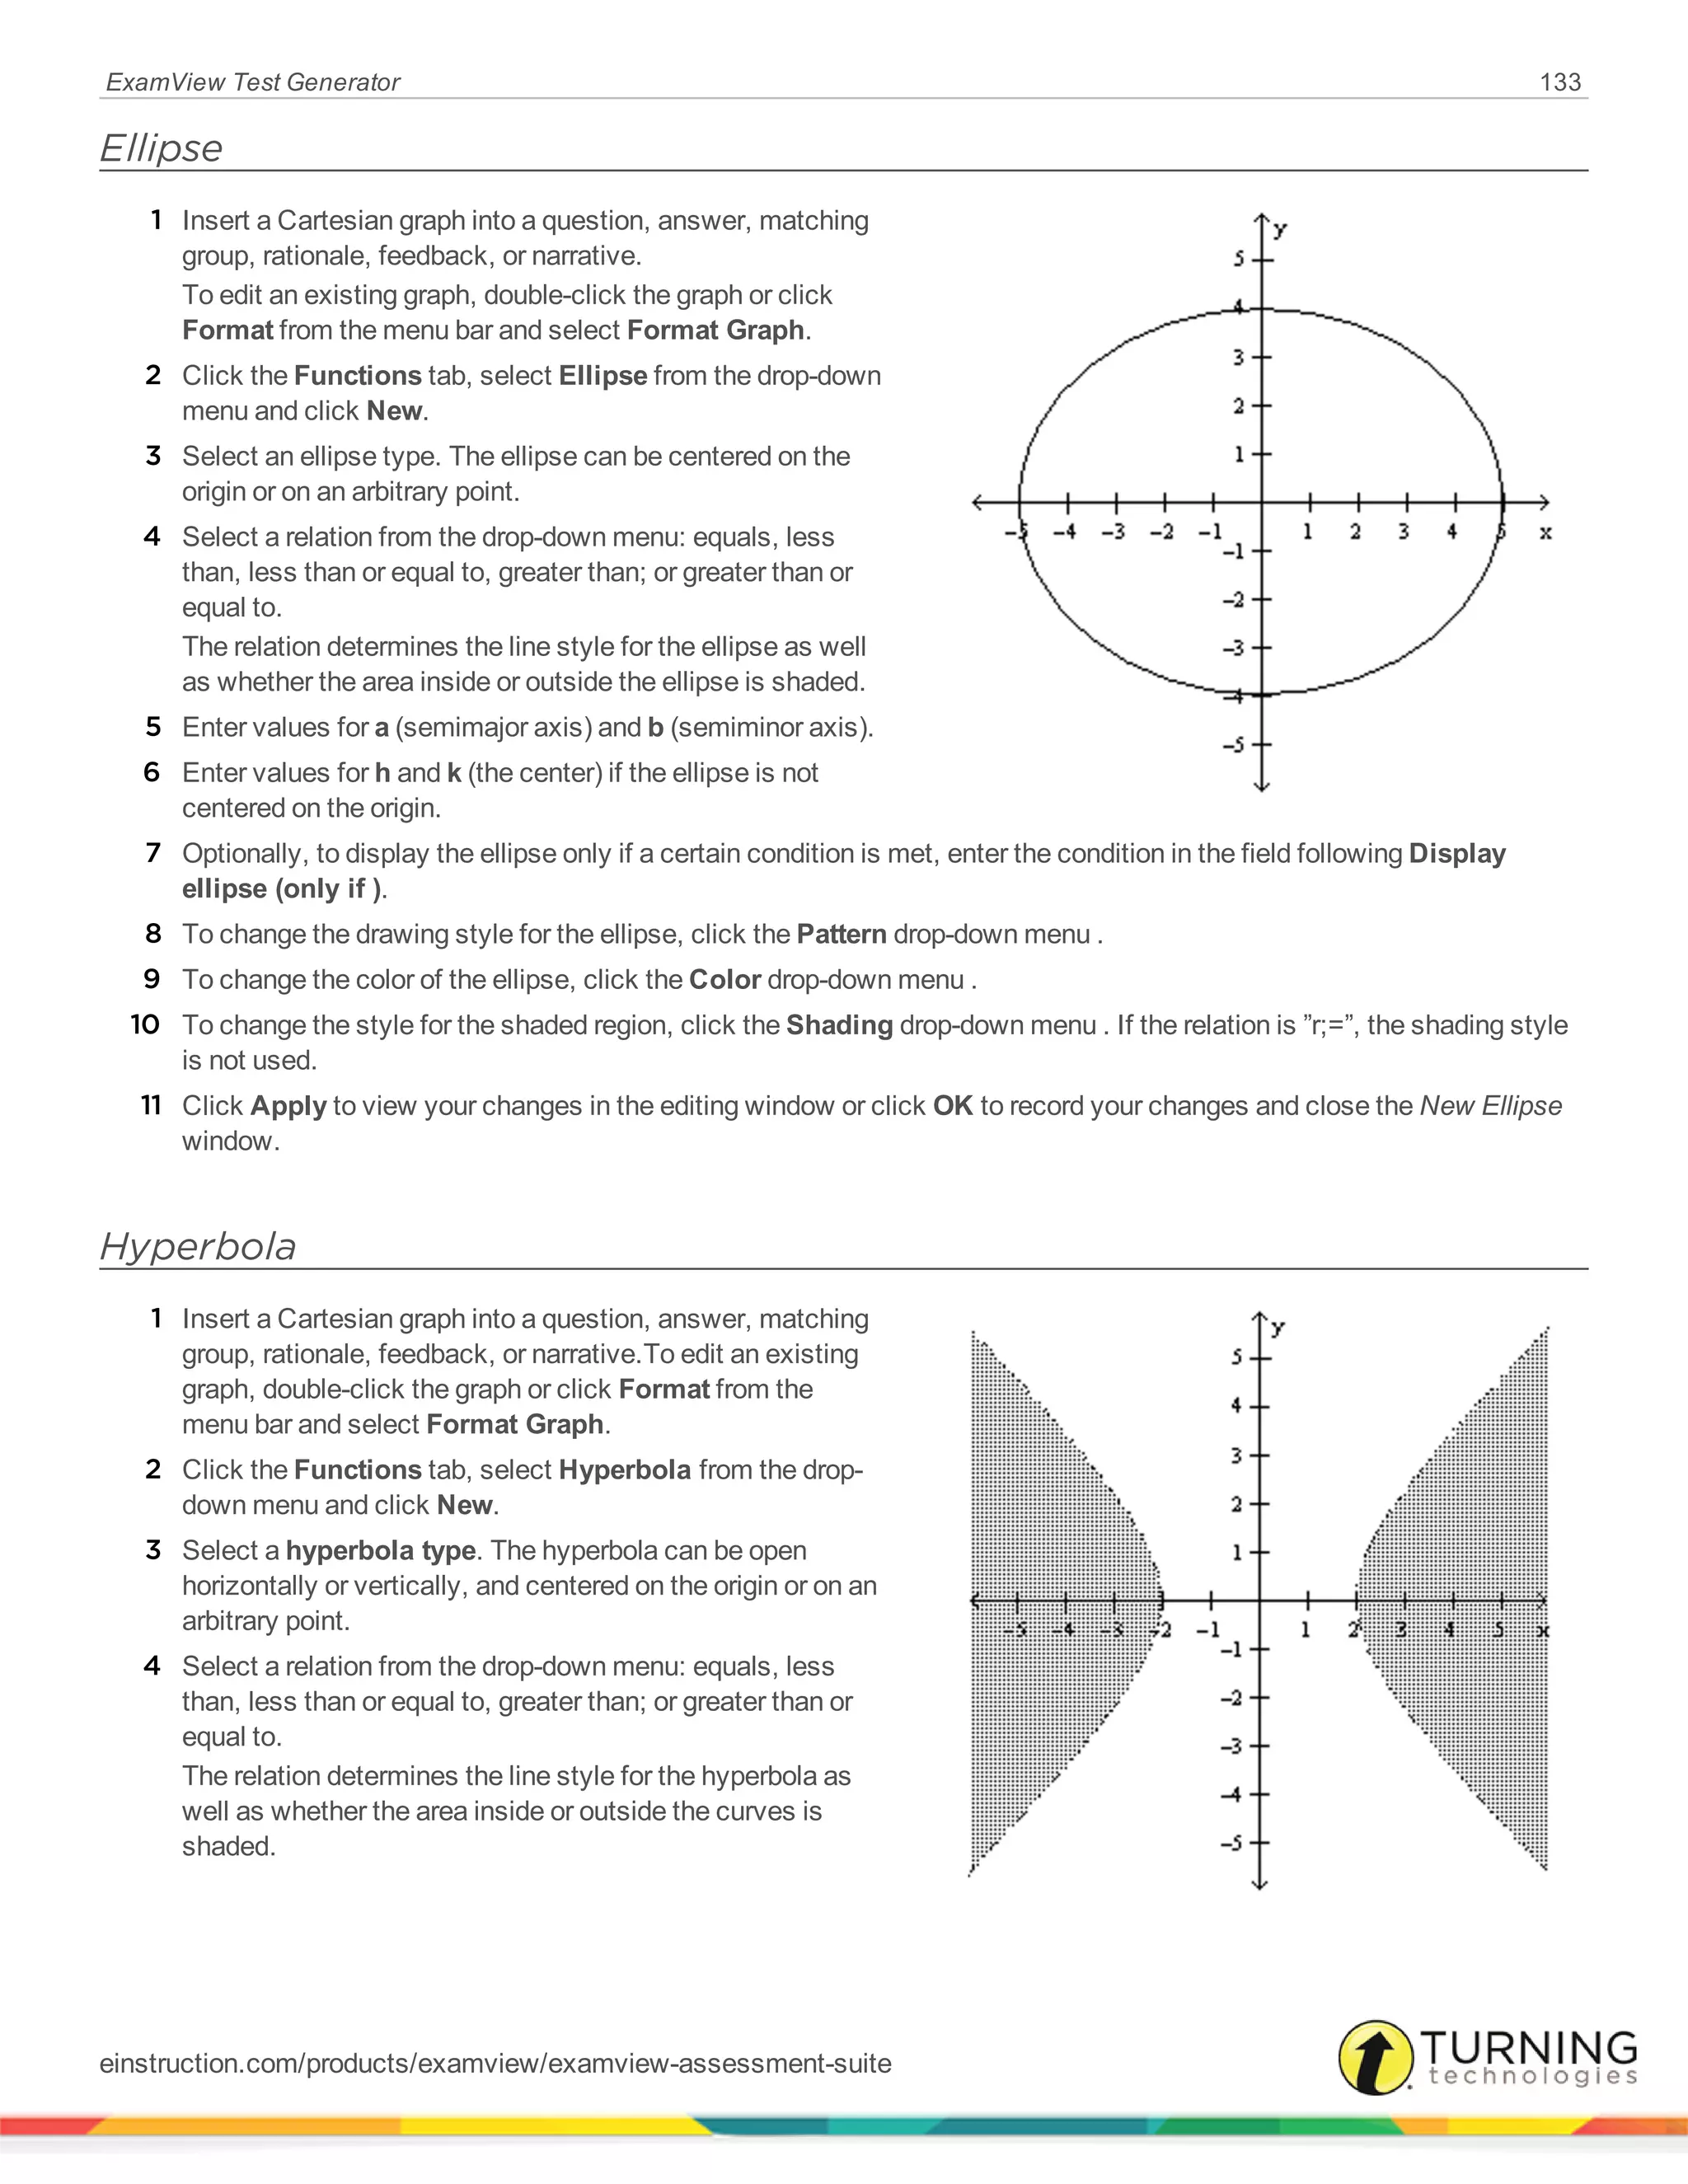
Math Functions
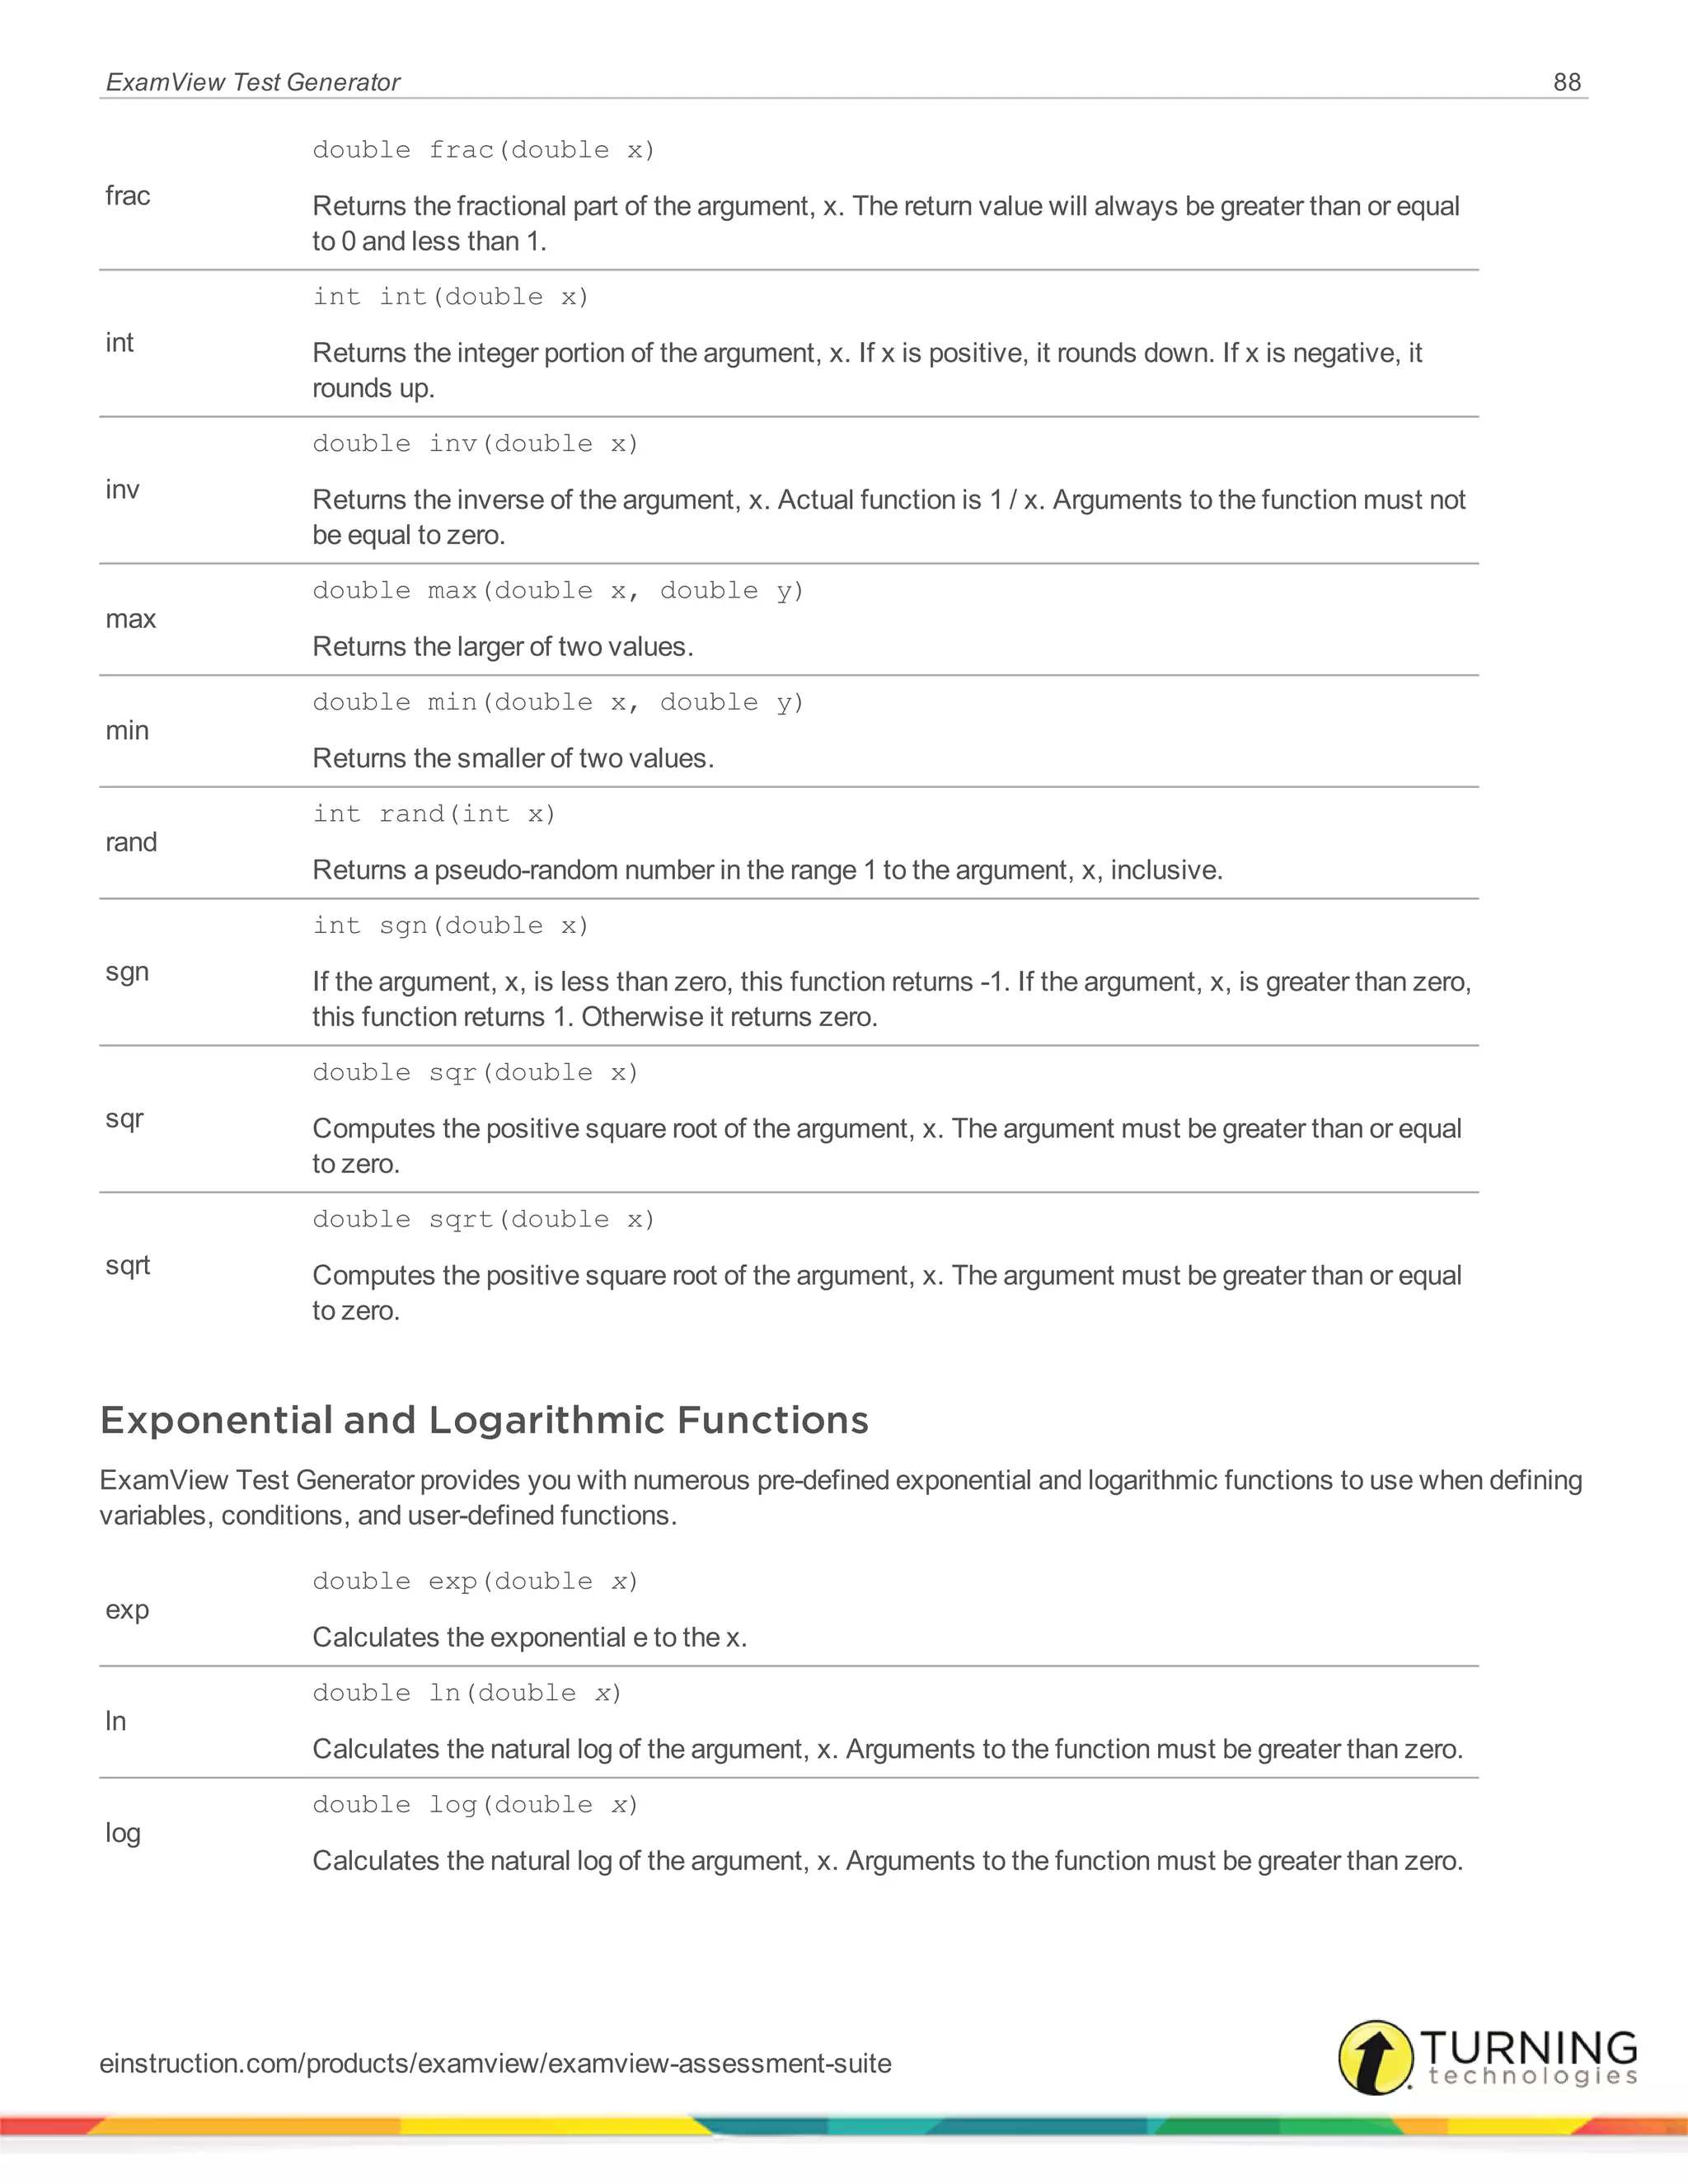
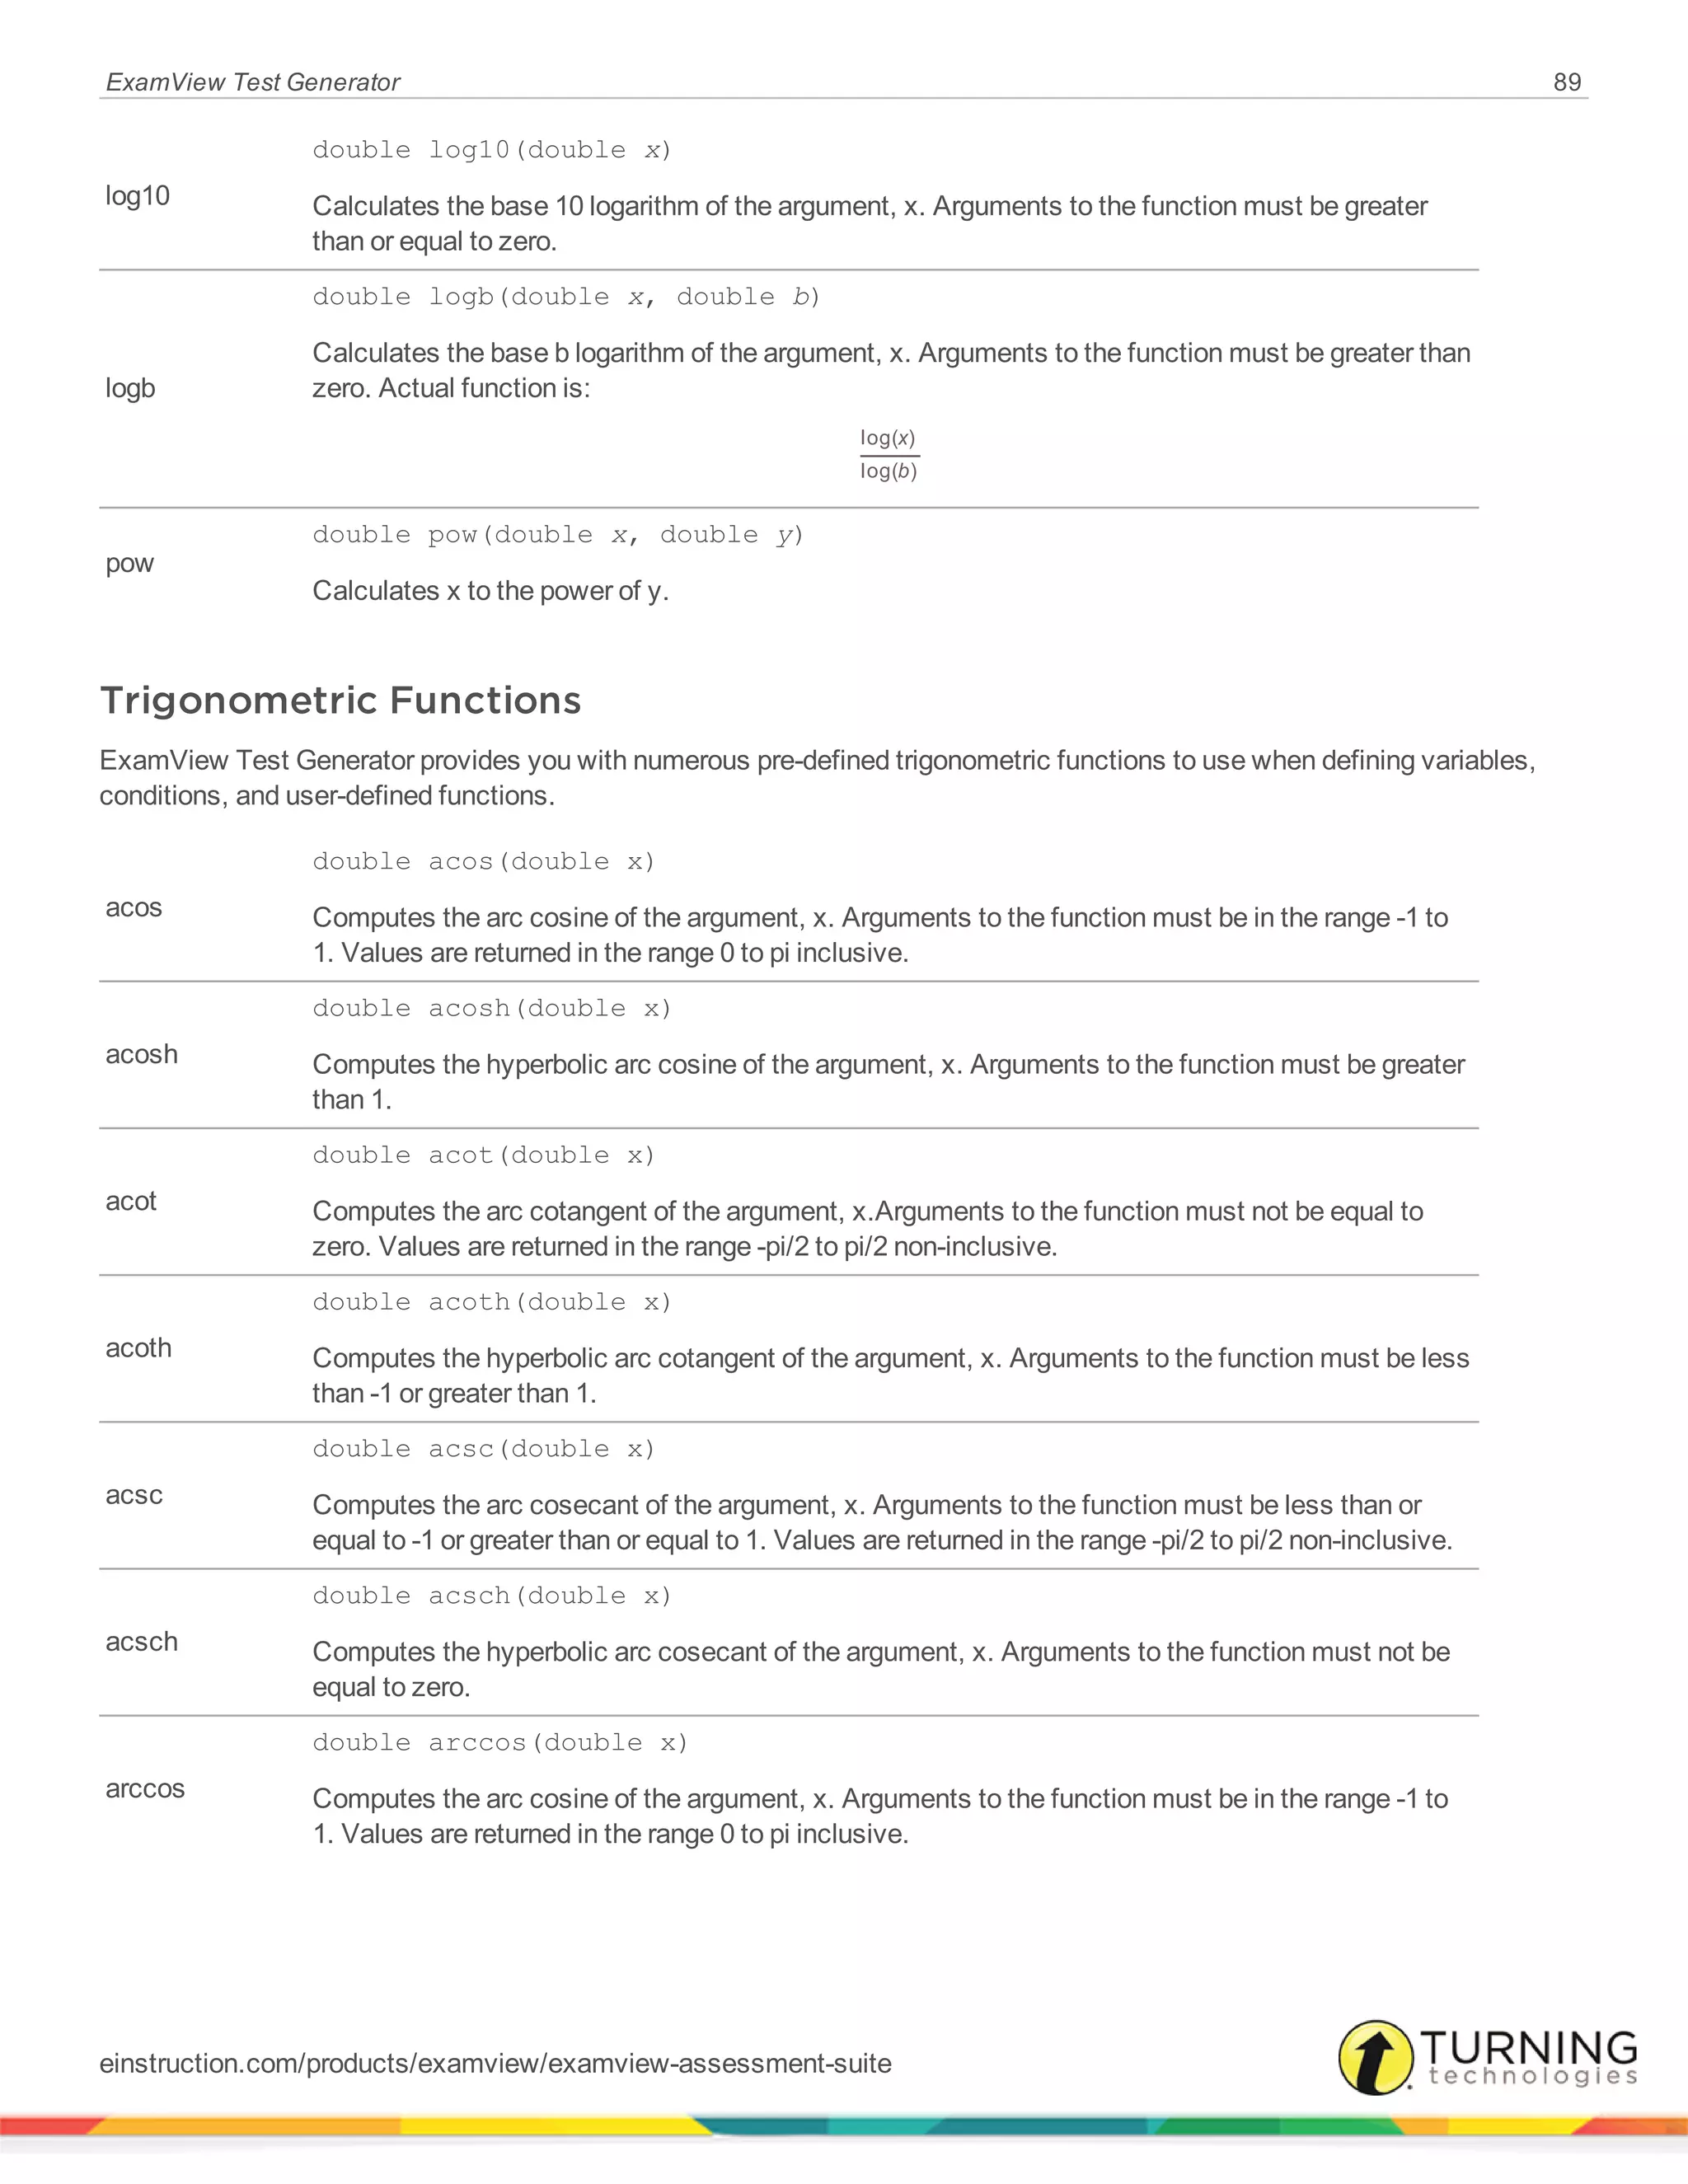
Exponential and Logarithmic Functions
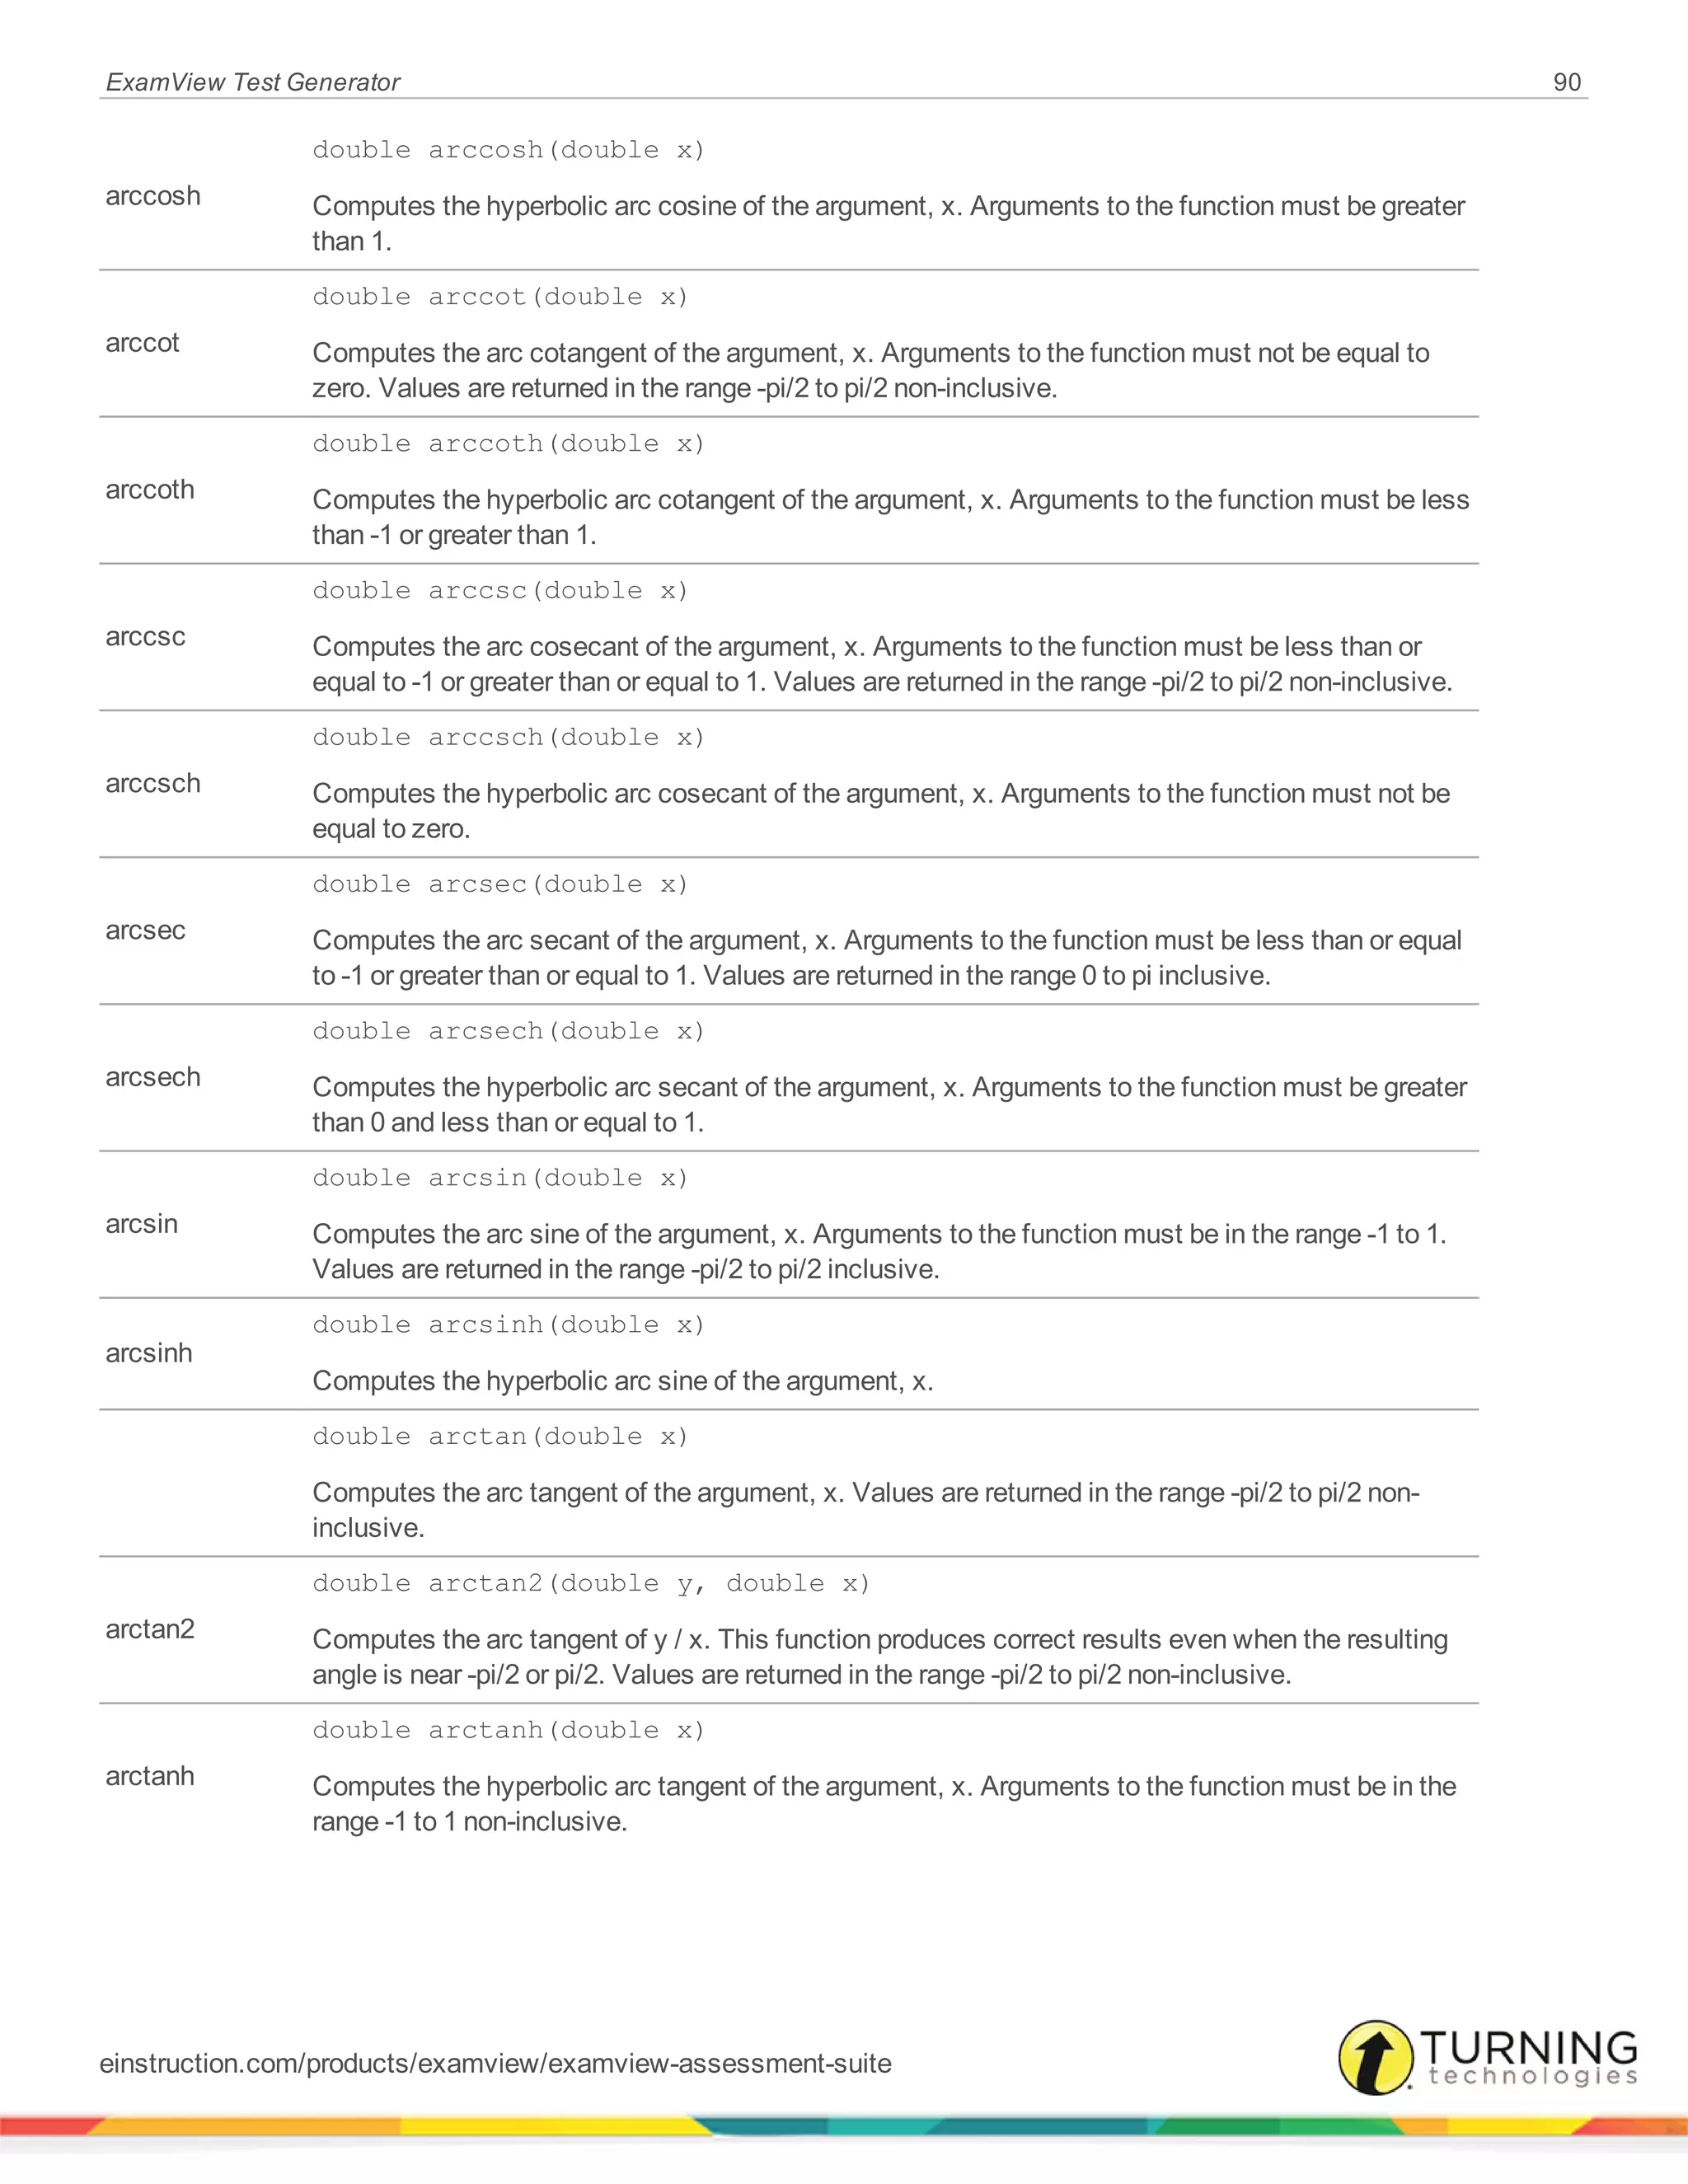
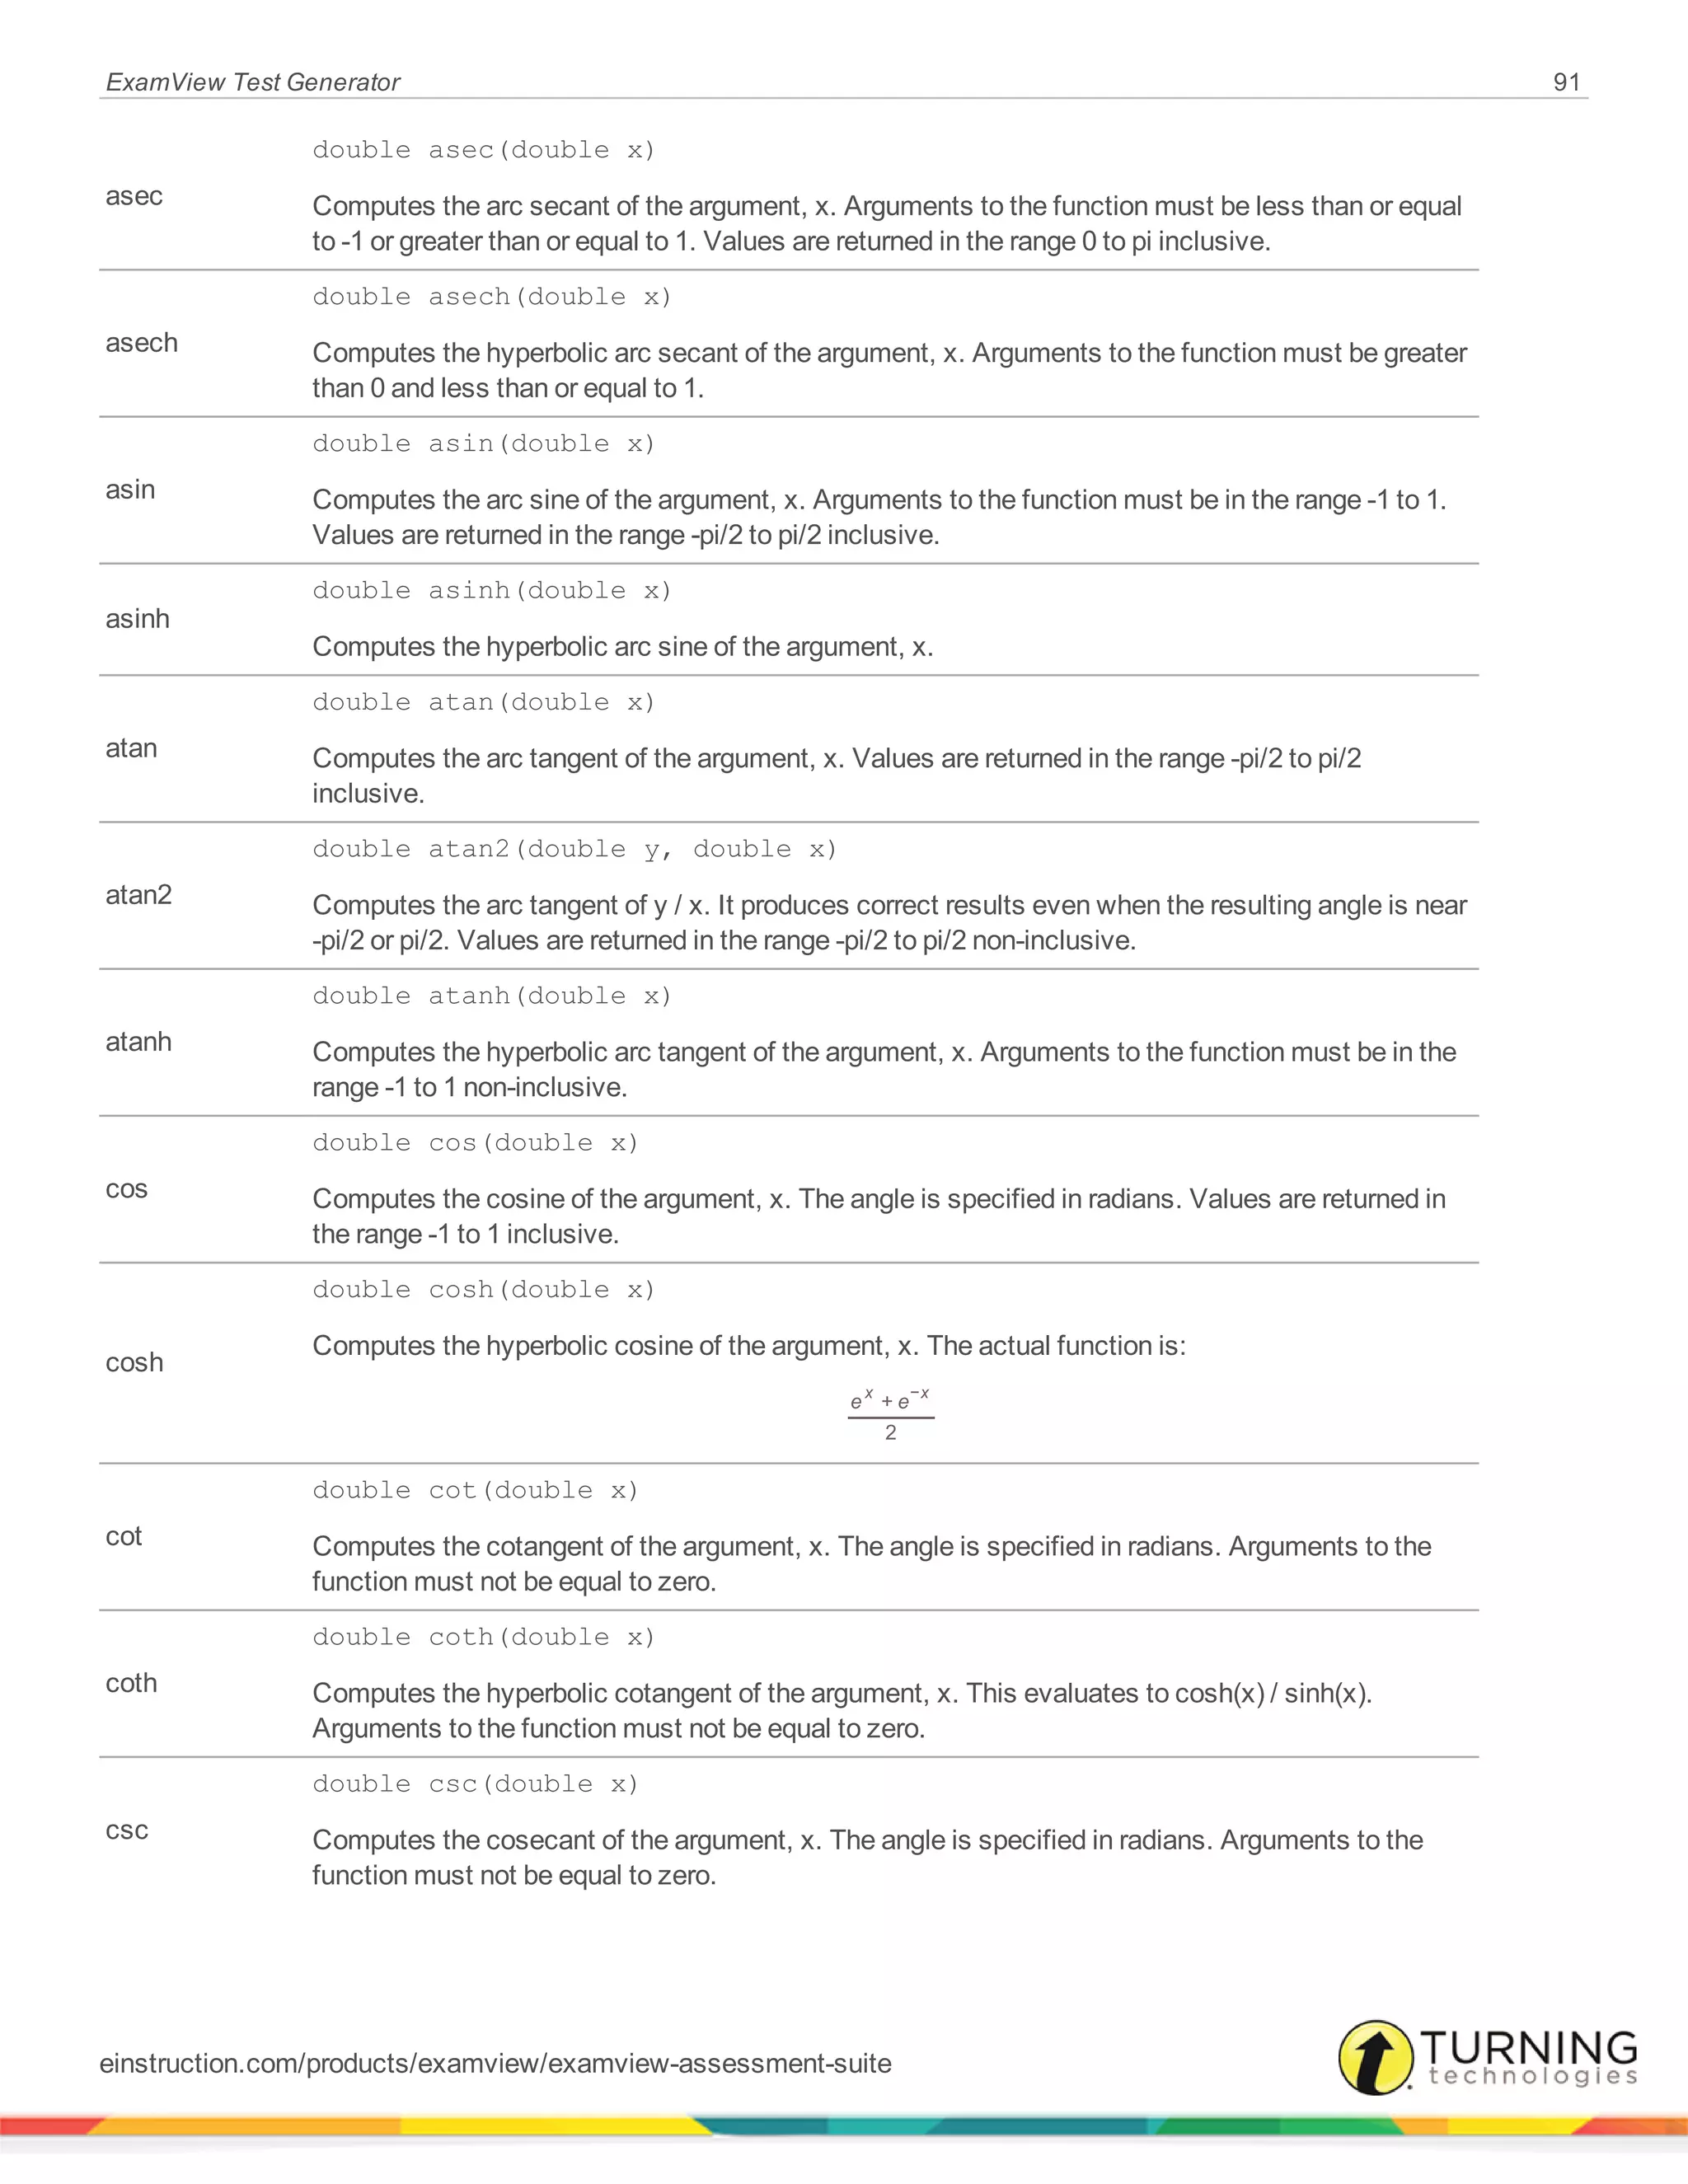
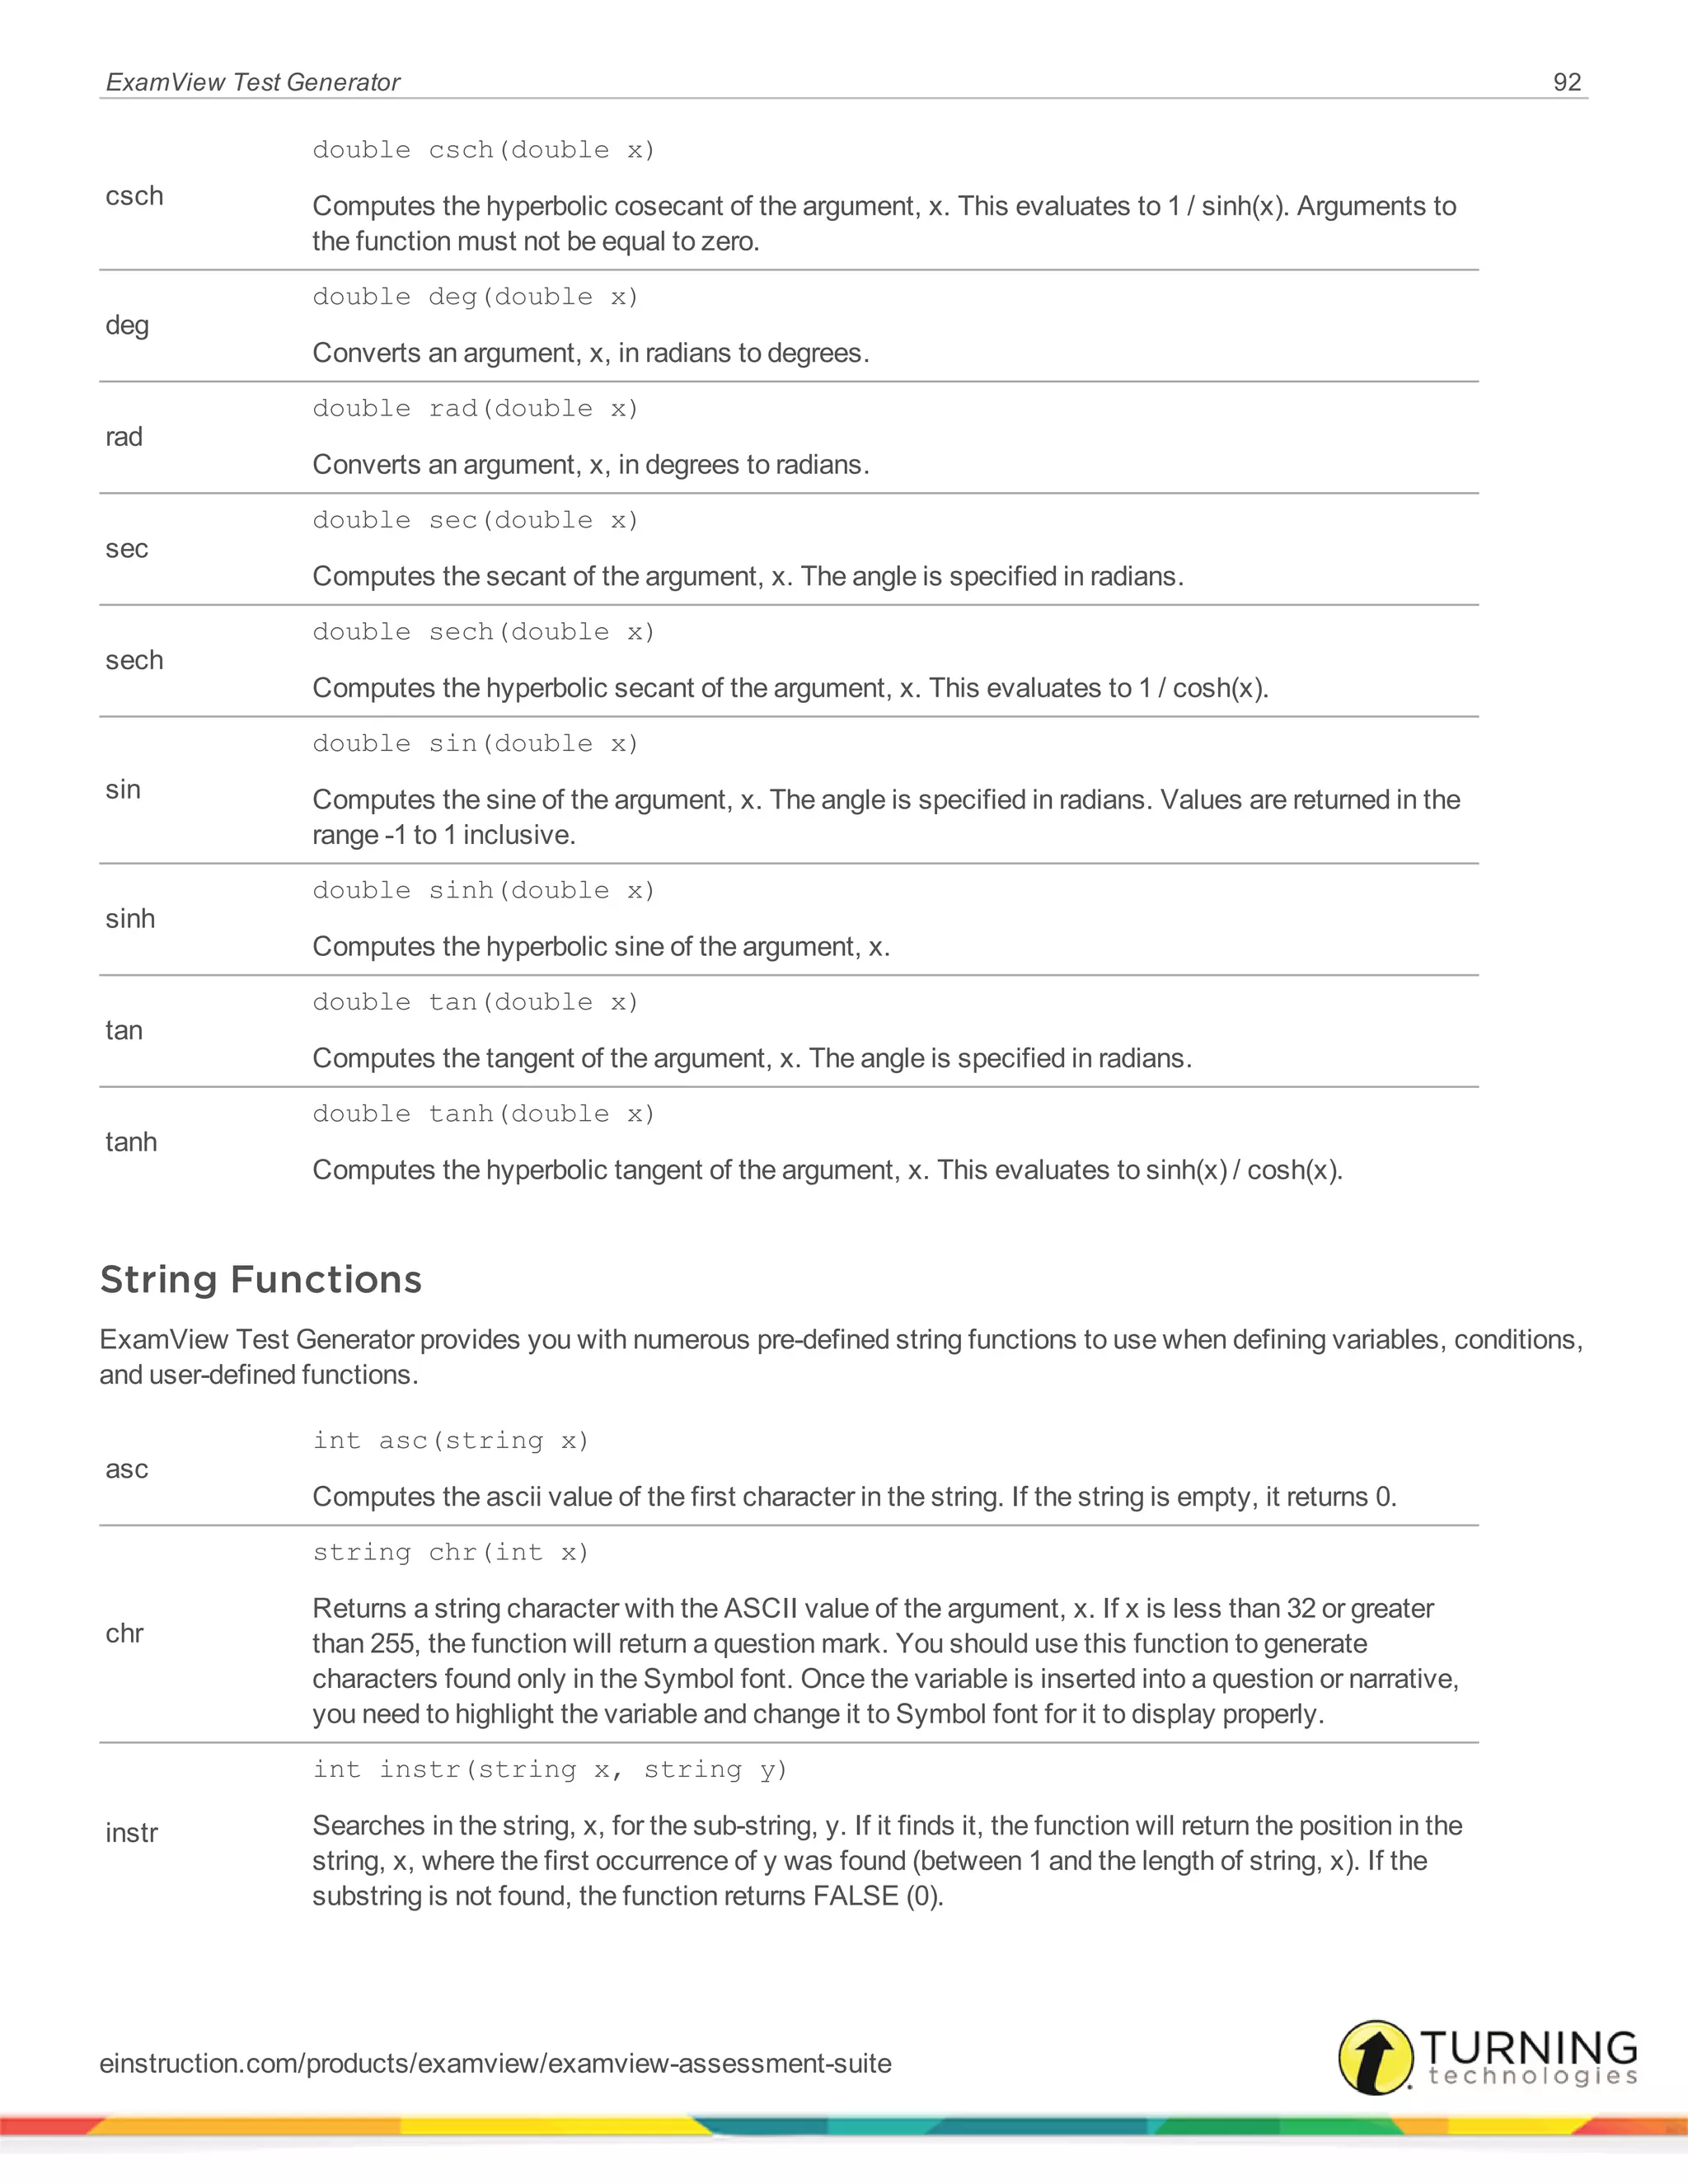
Trigonometric Functions
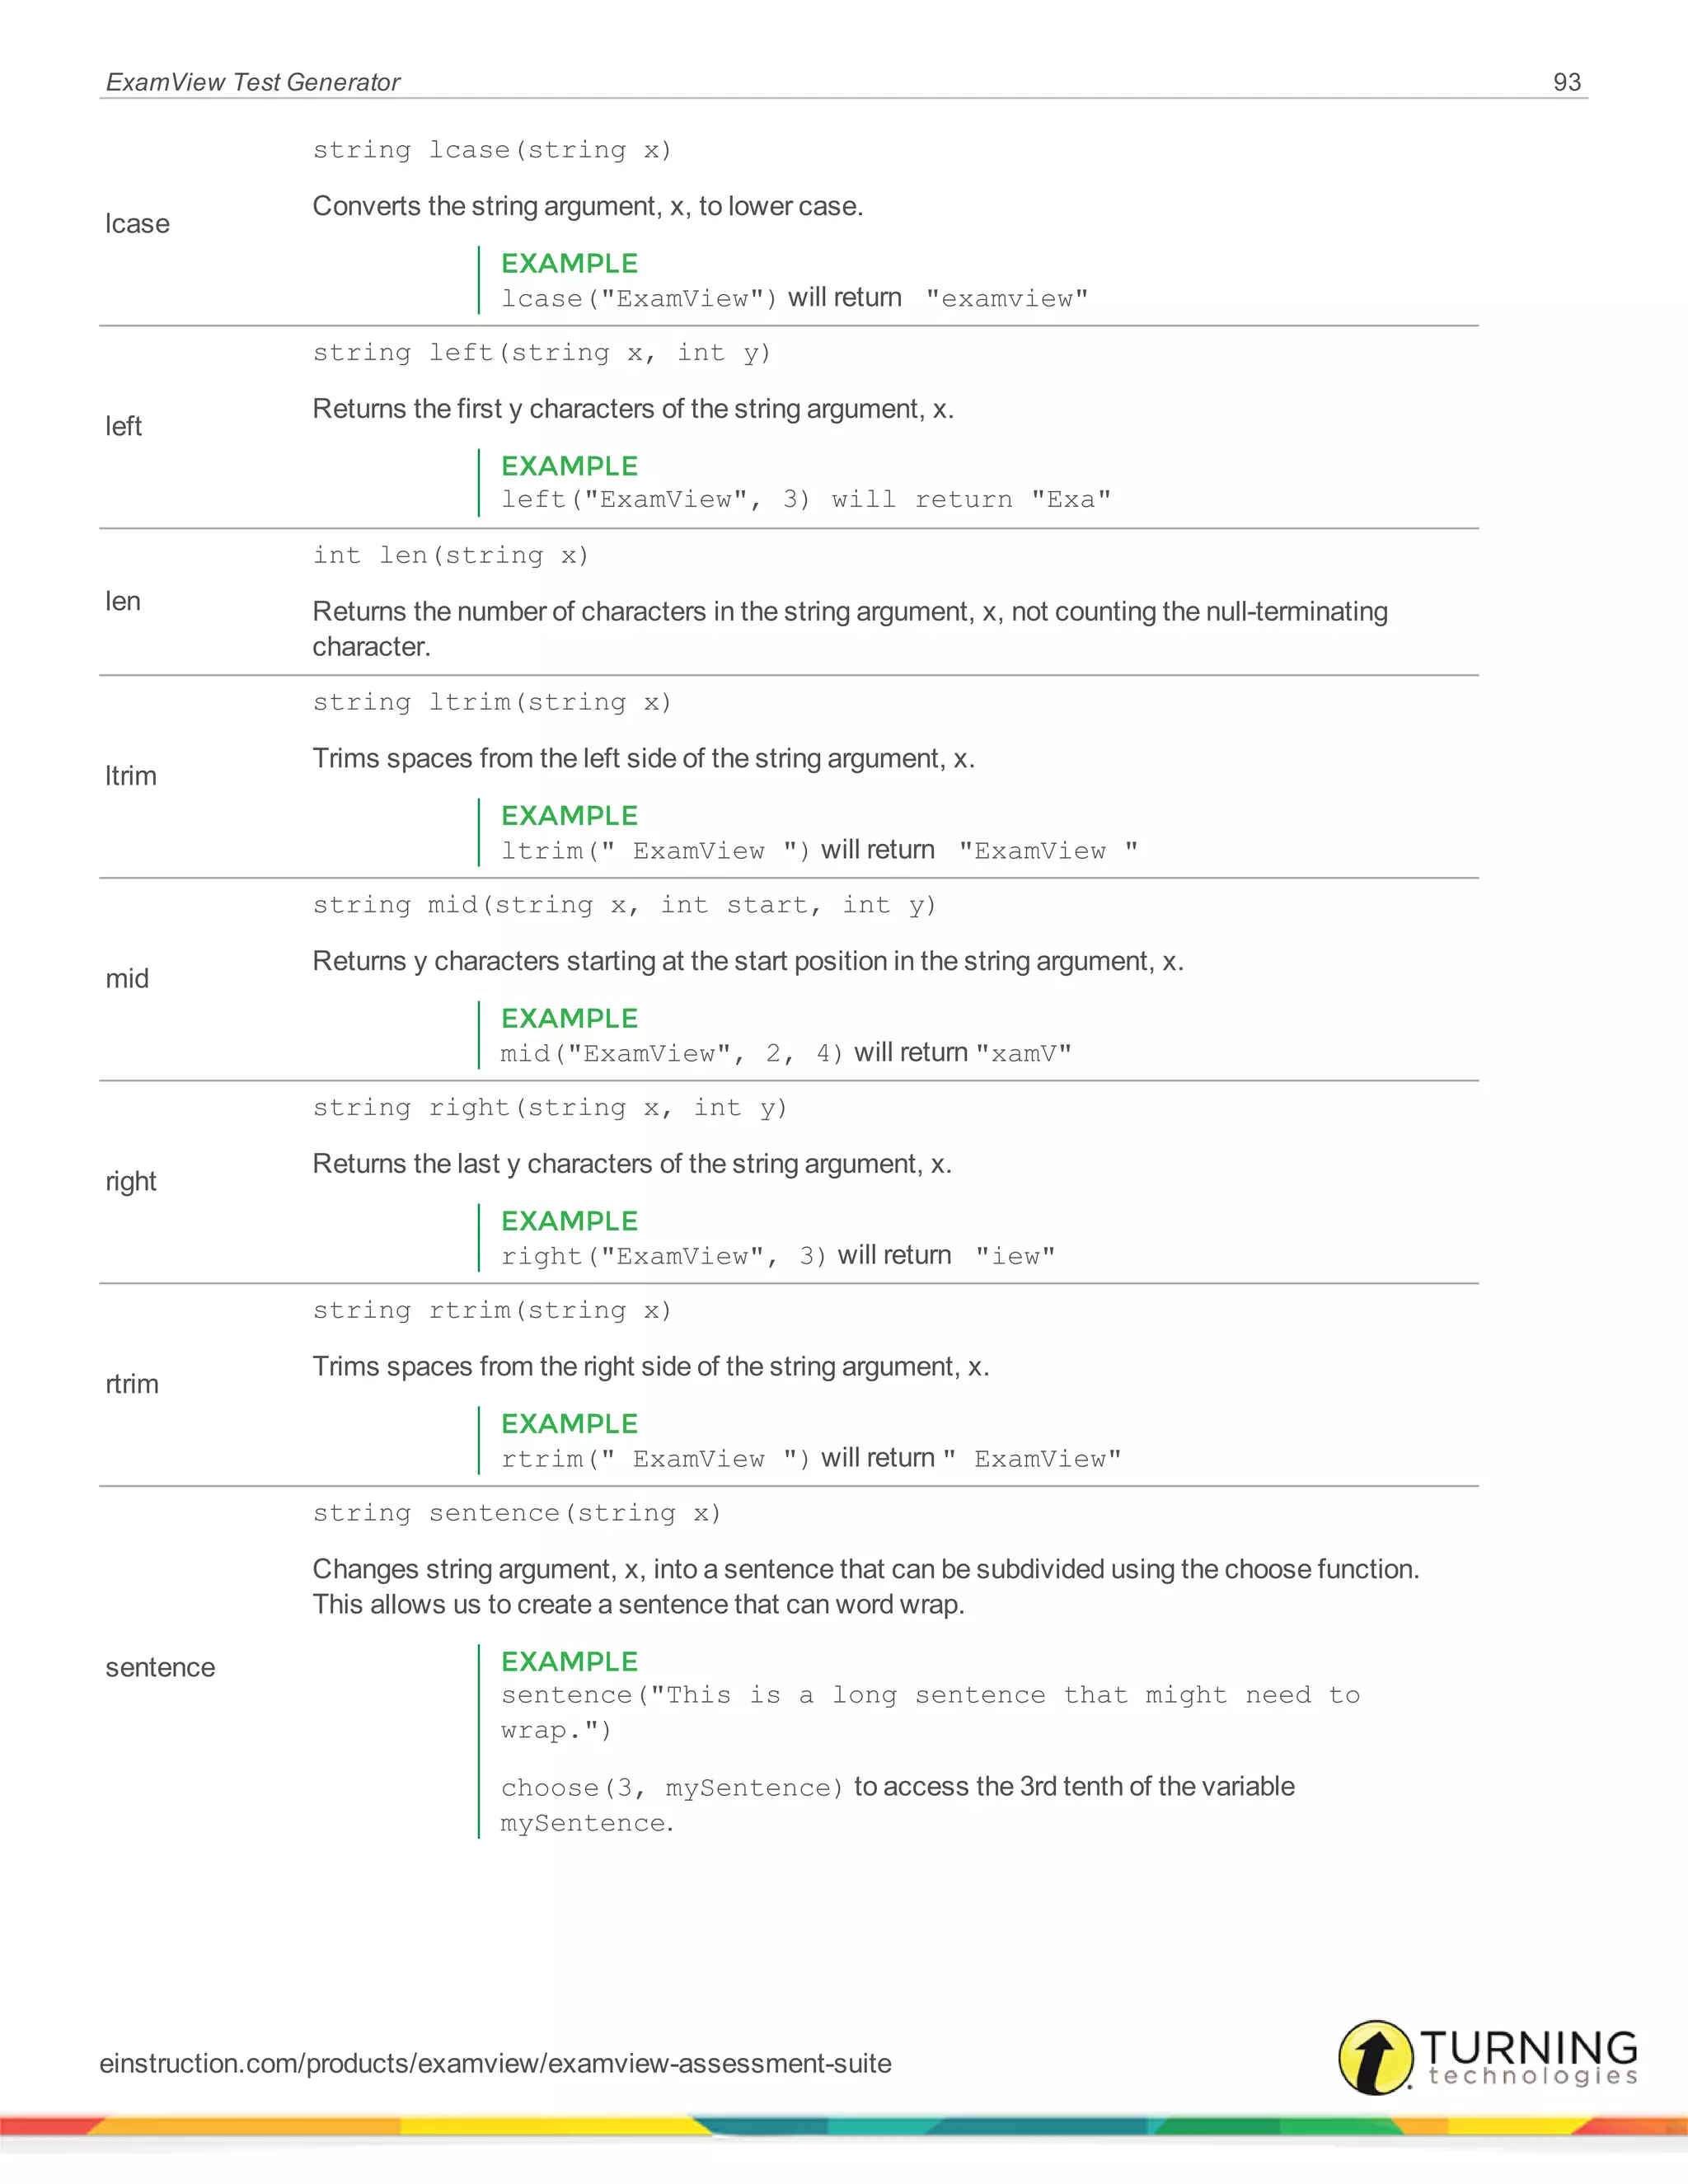
String Functions
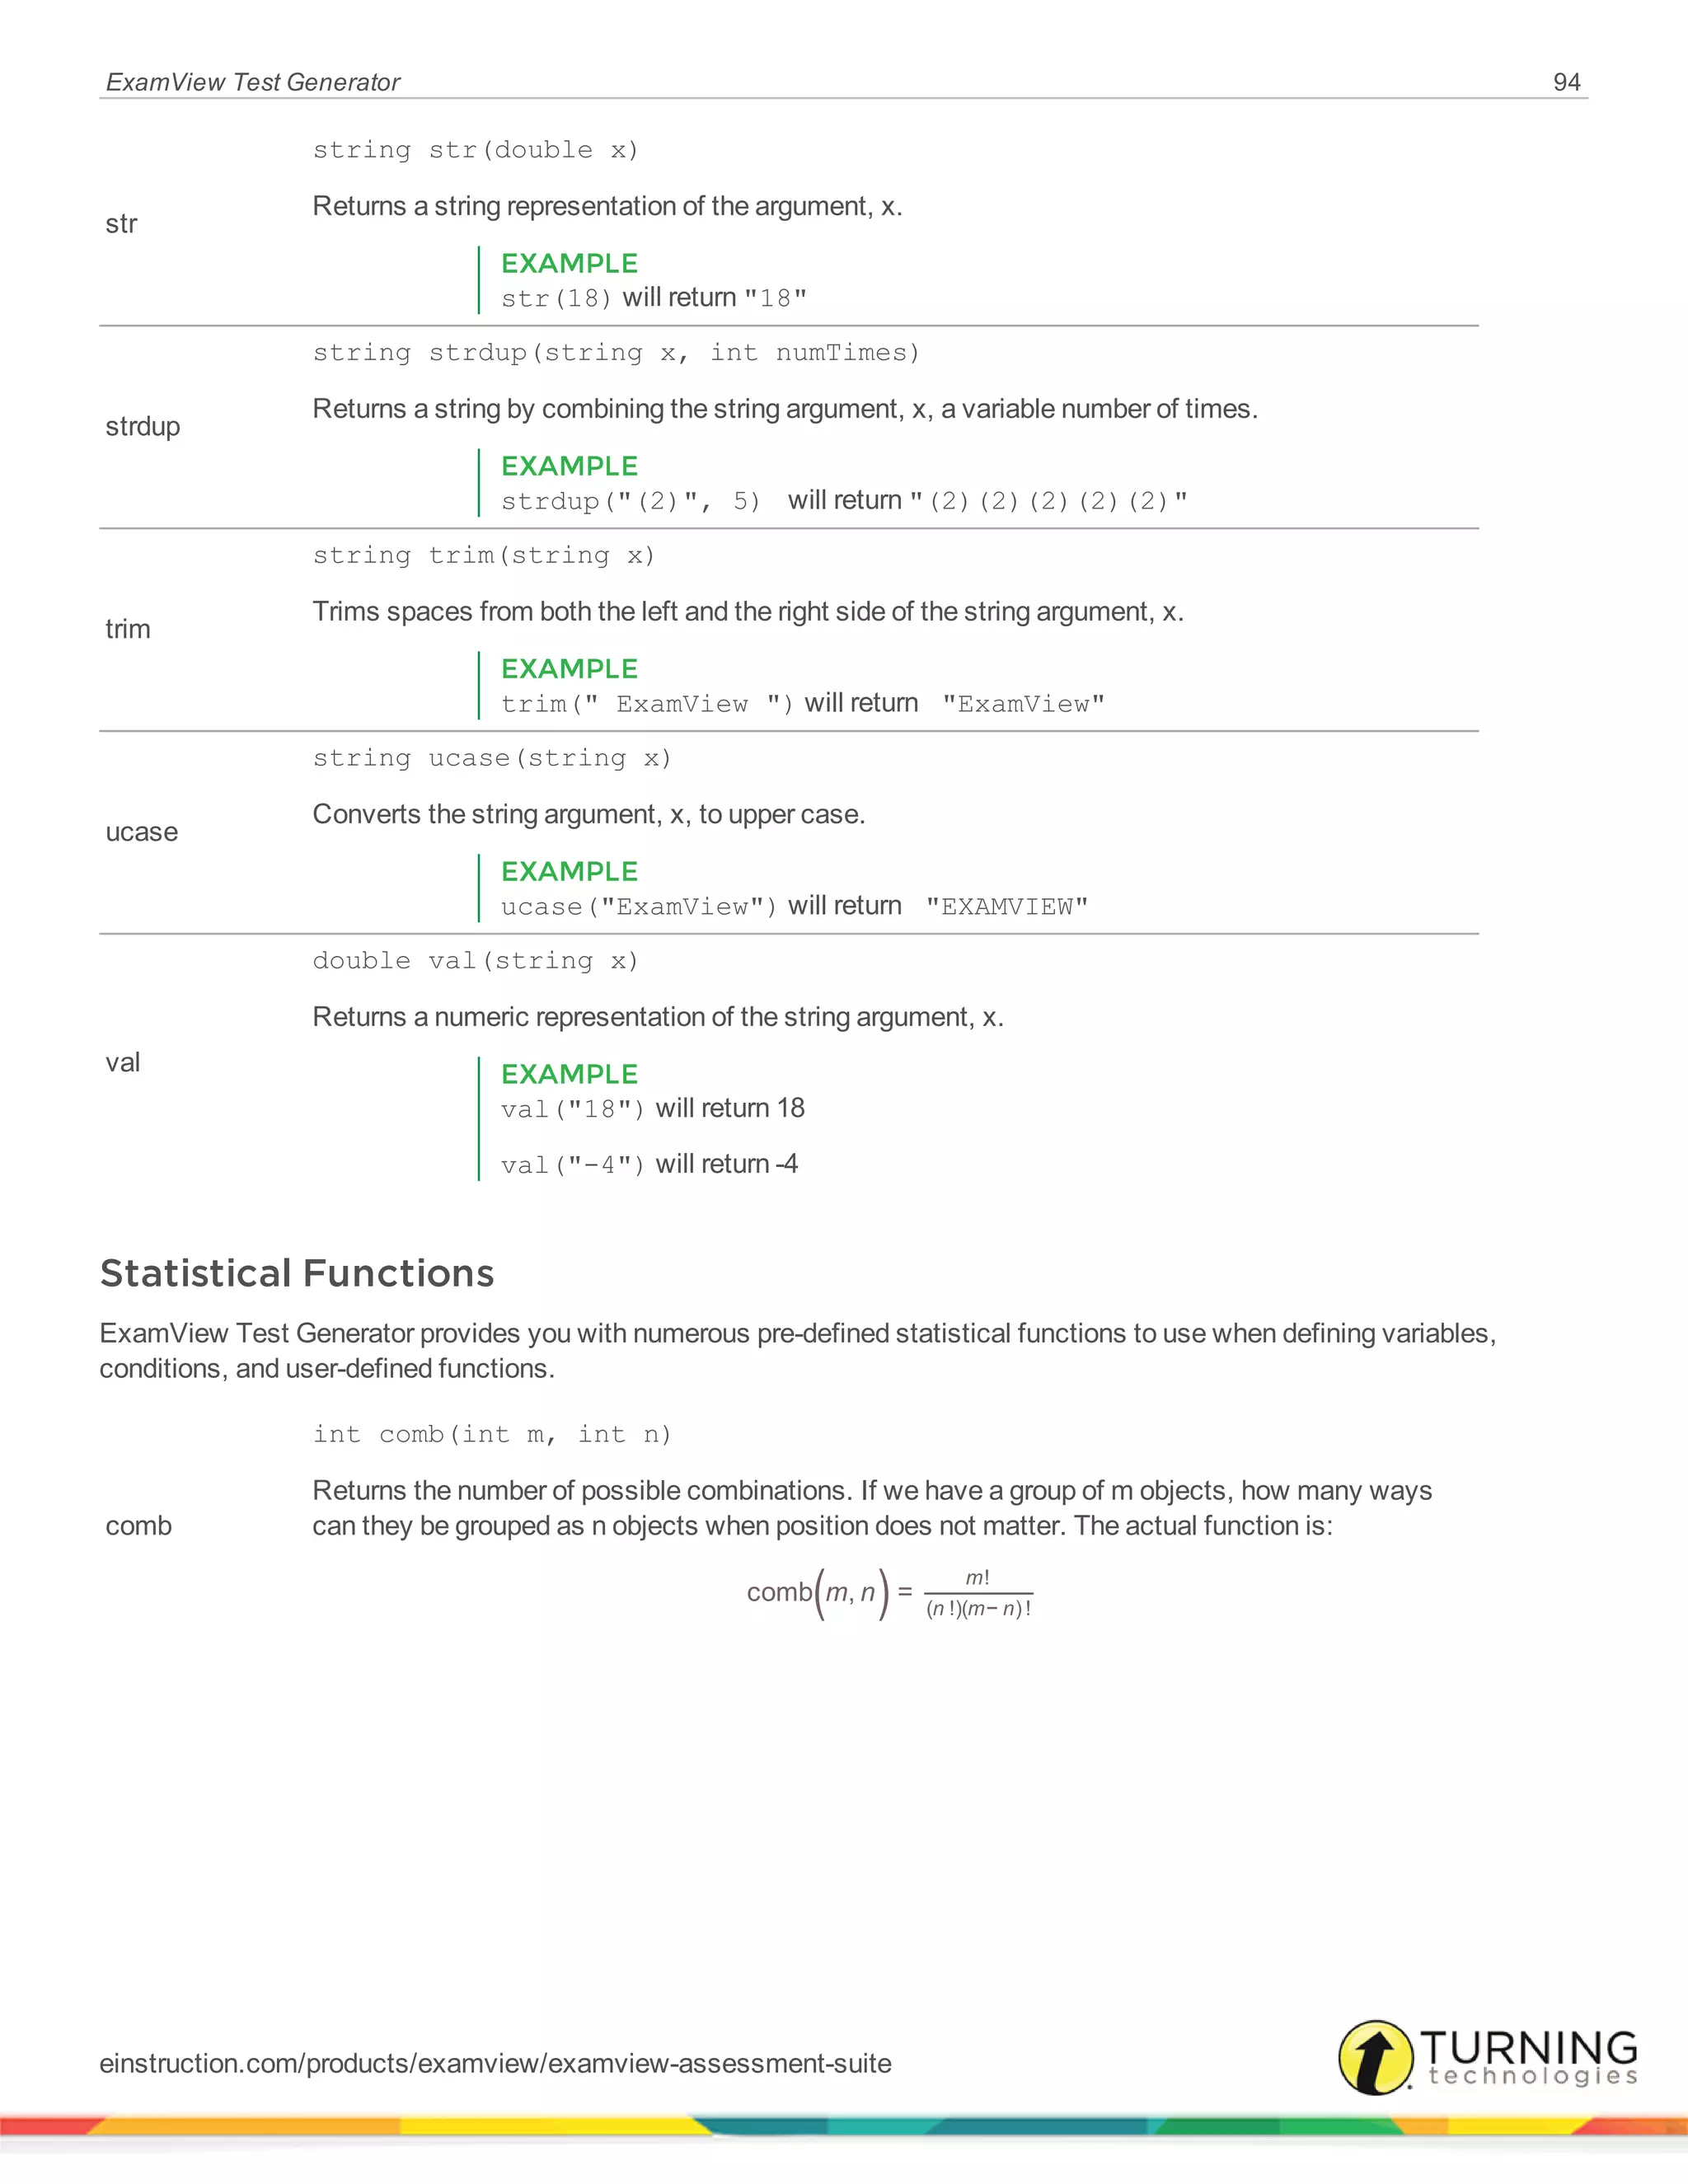
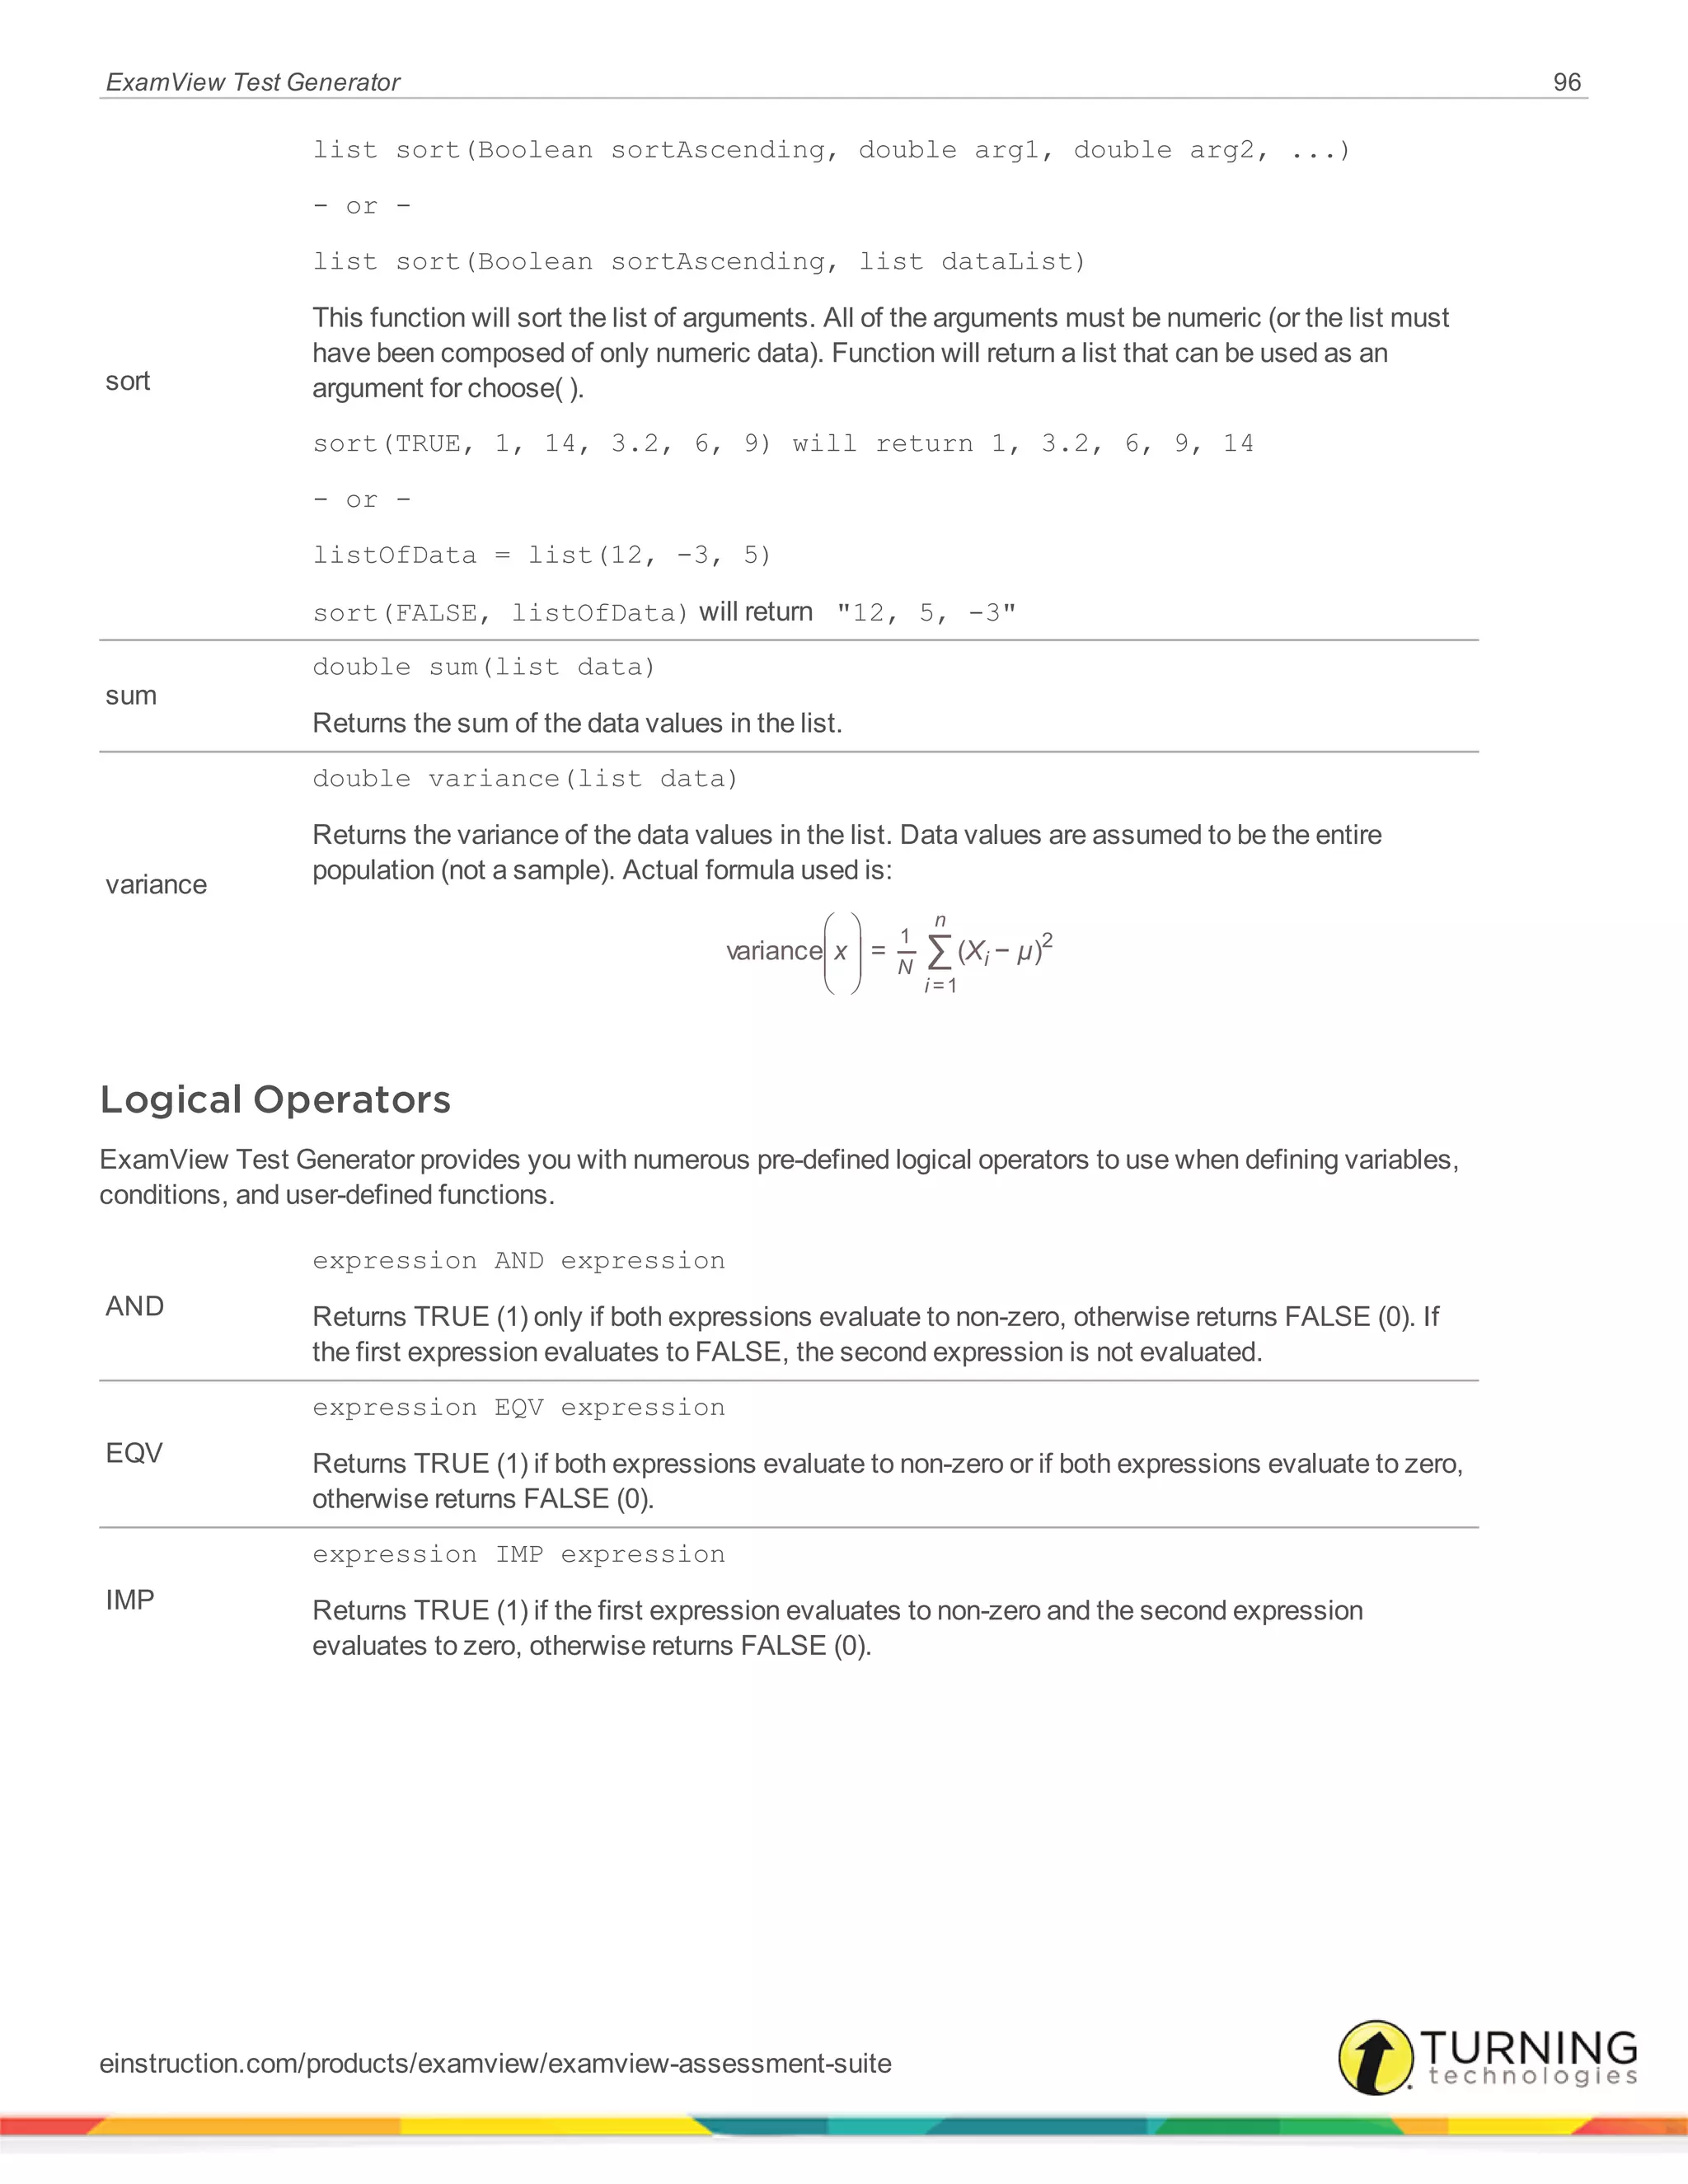
Statistical Functions
Logical Operators
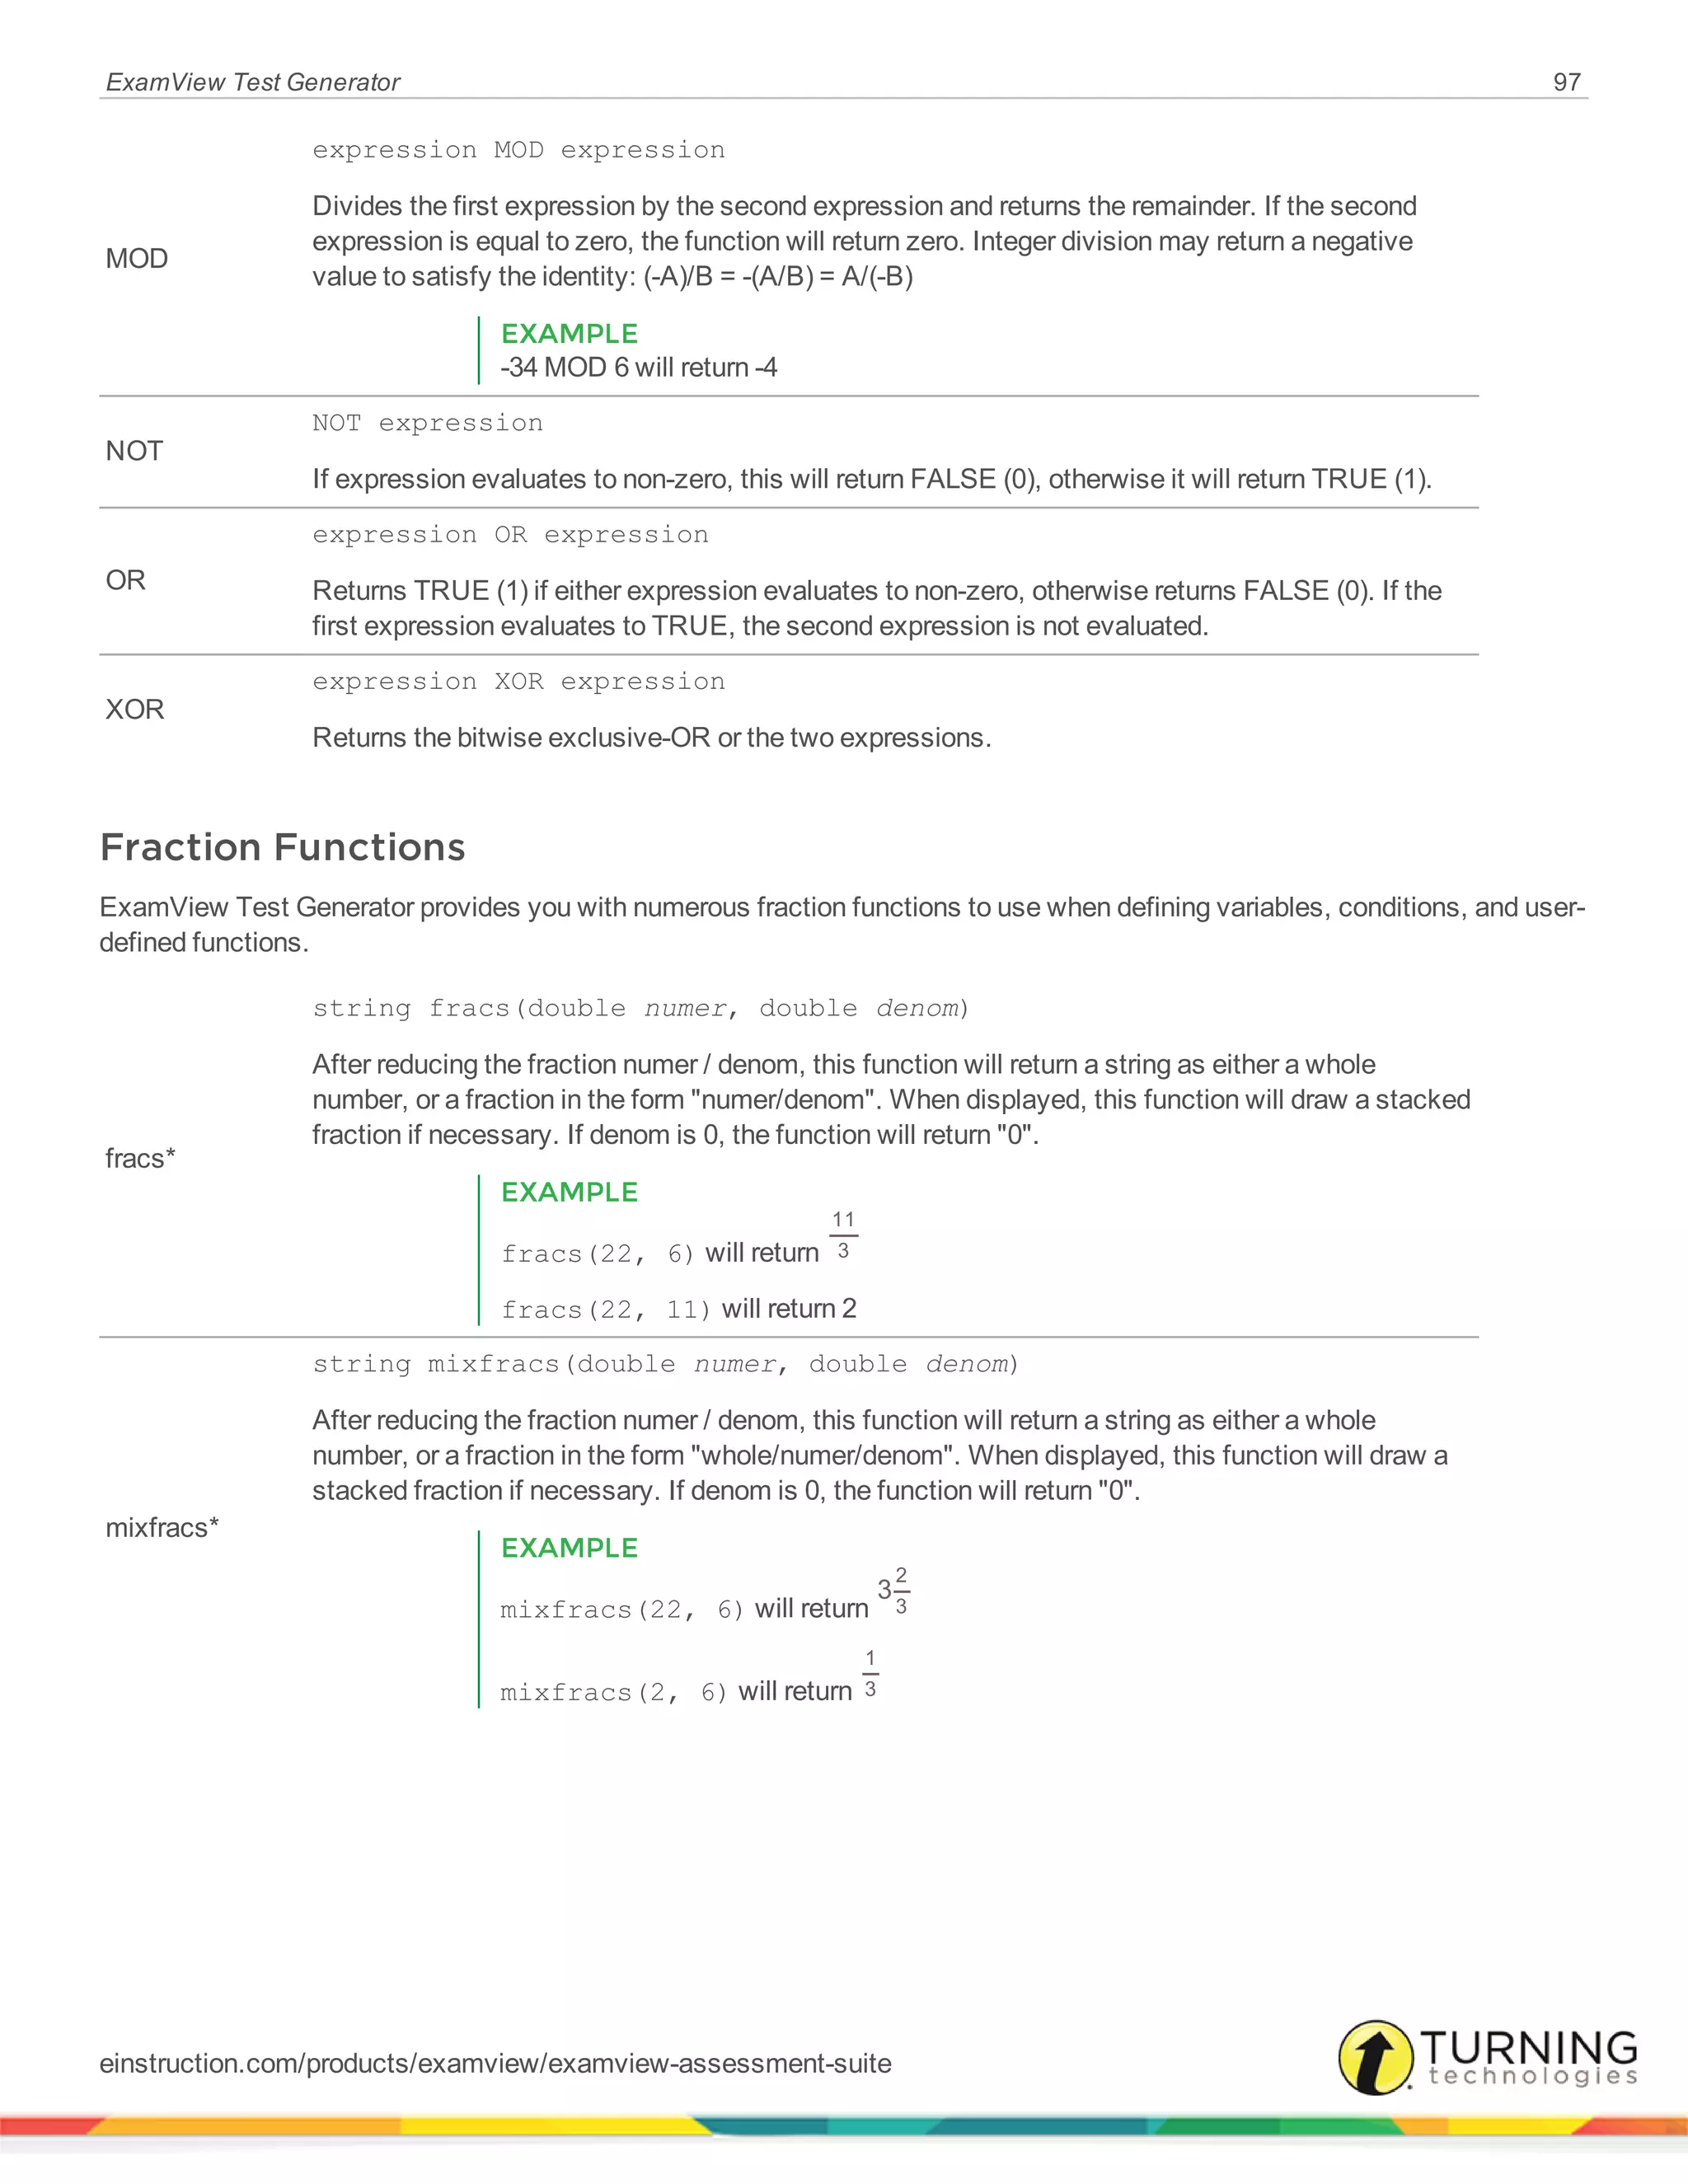
Fraction Functions
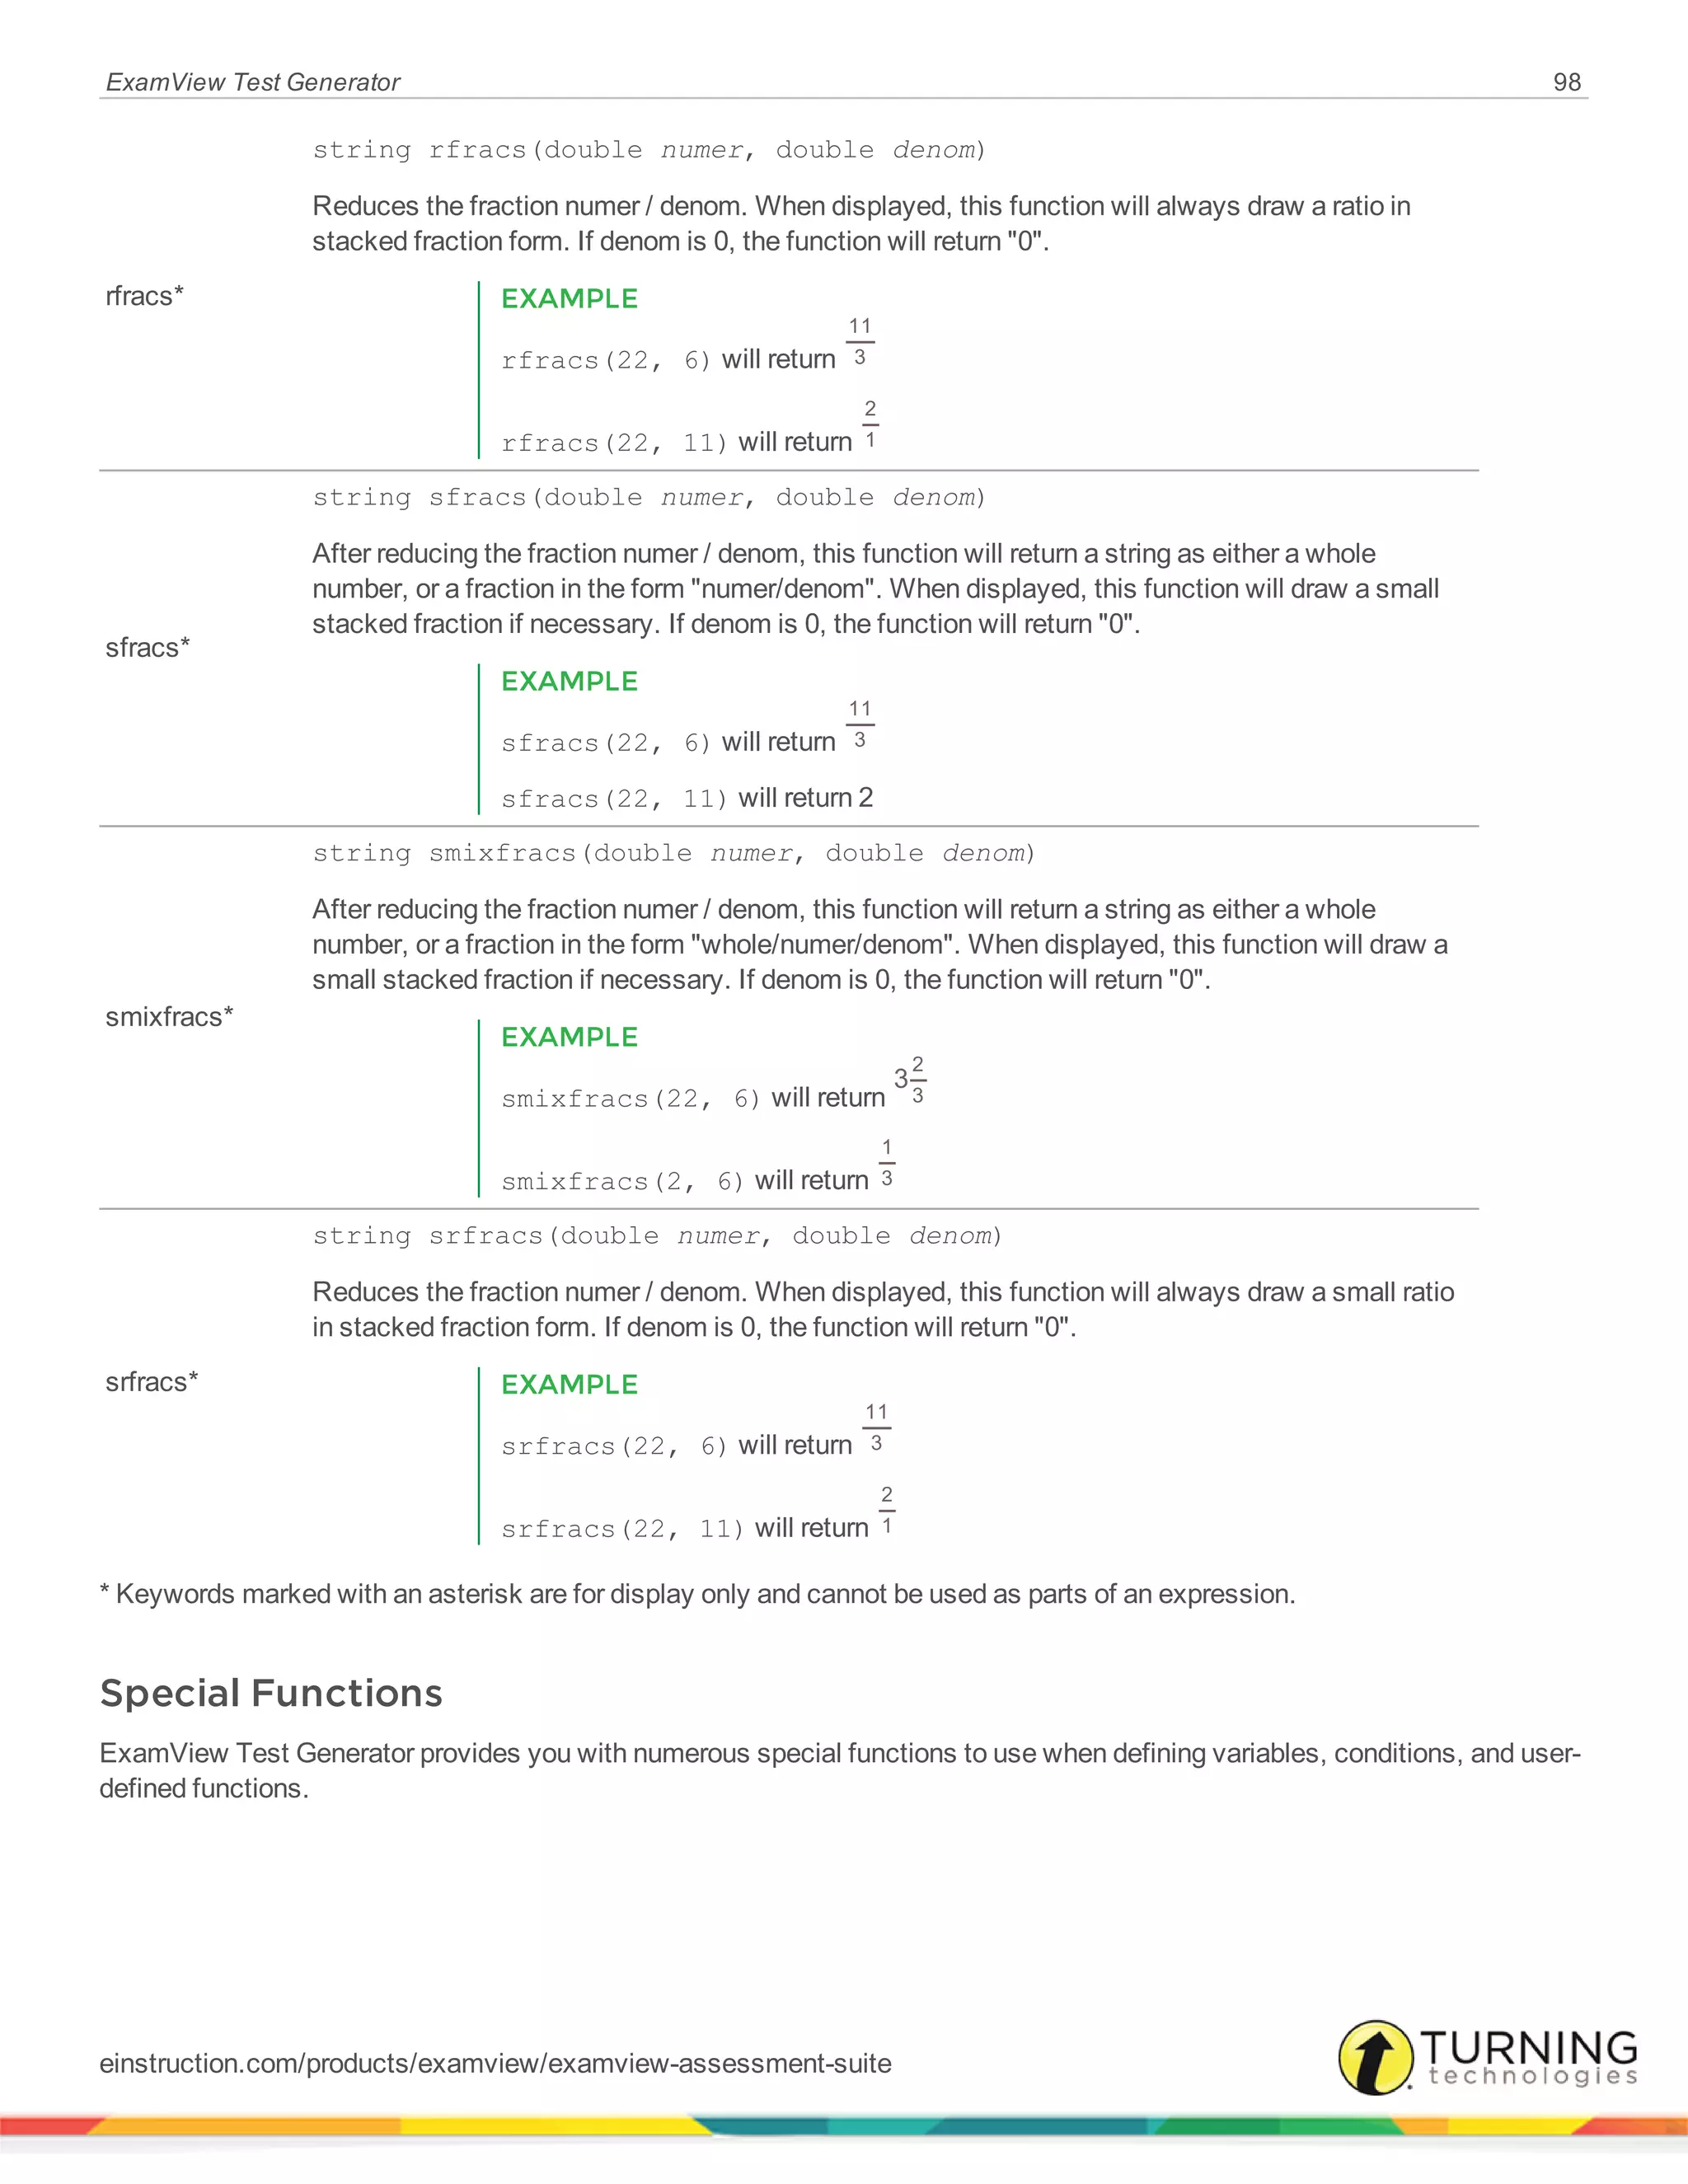
Special Functions
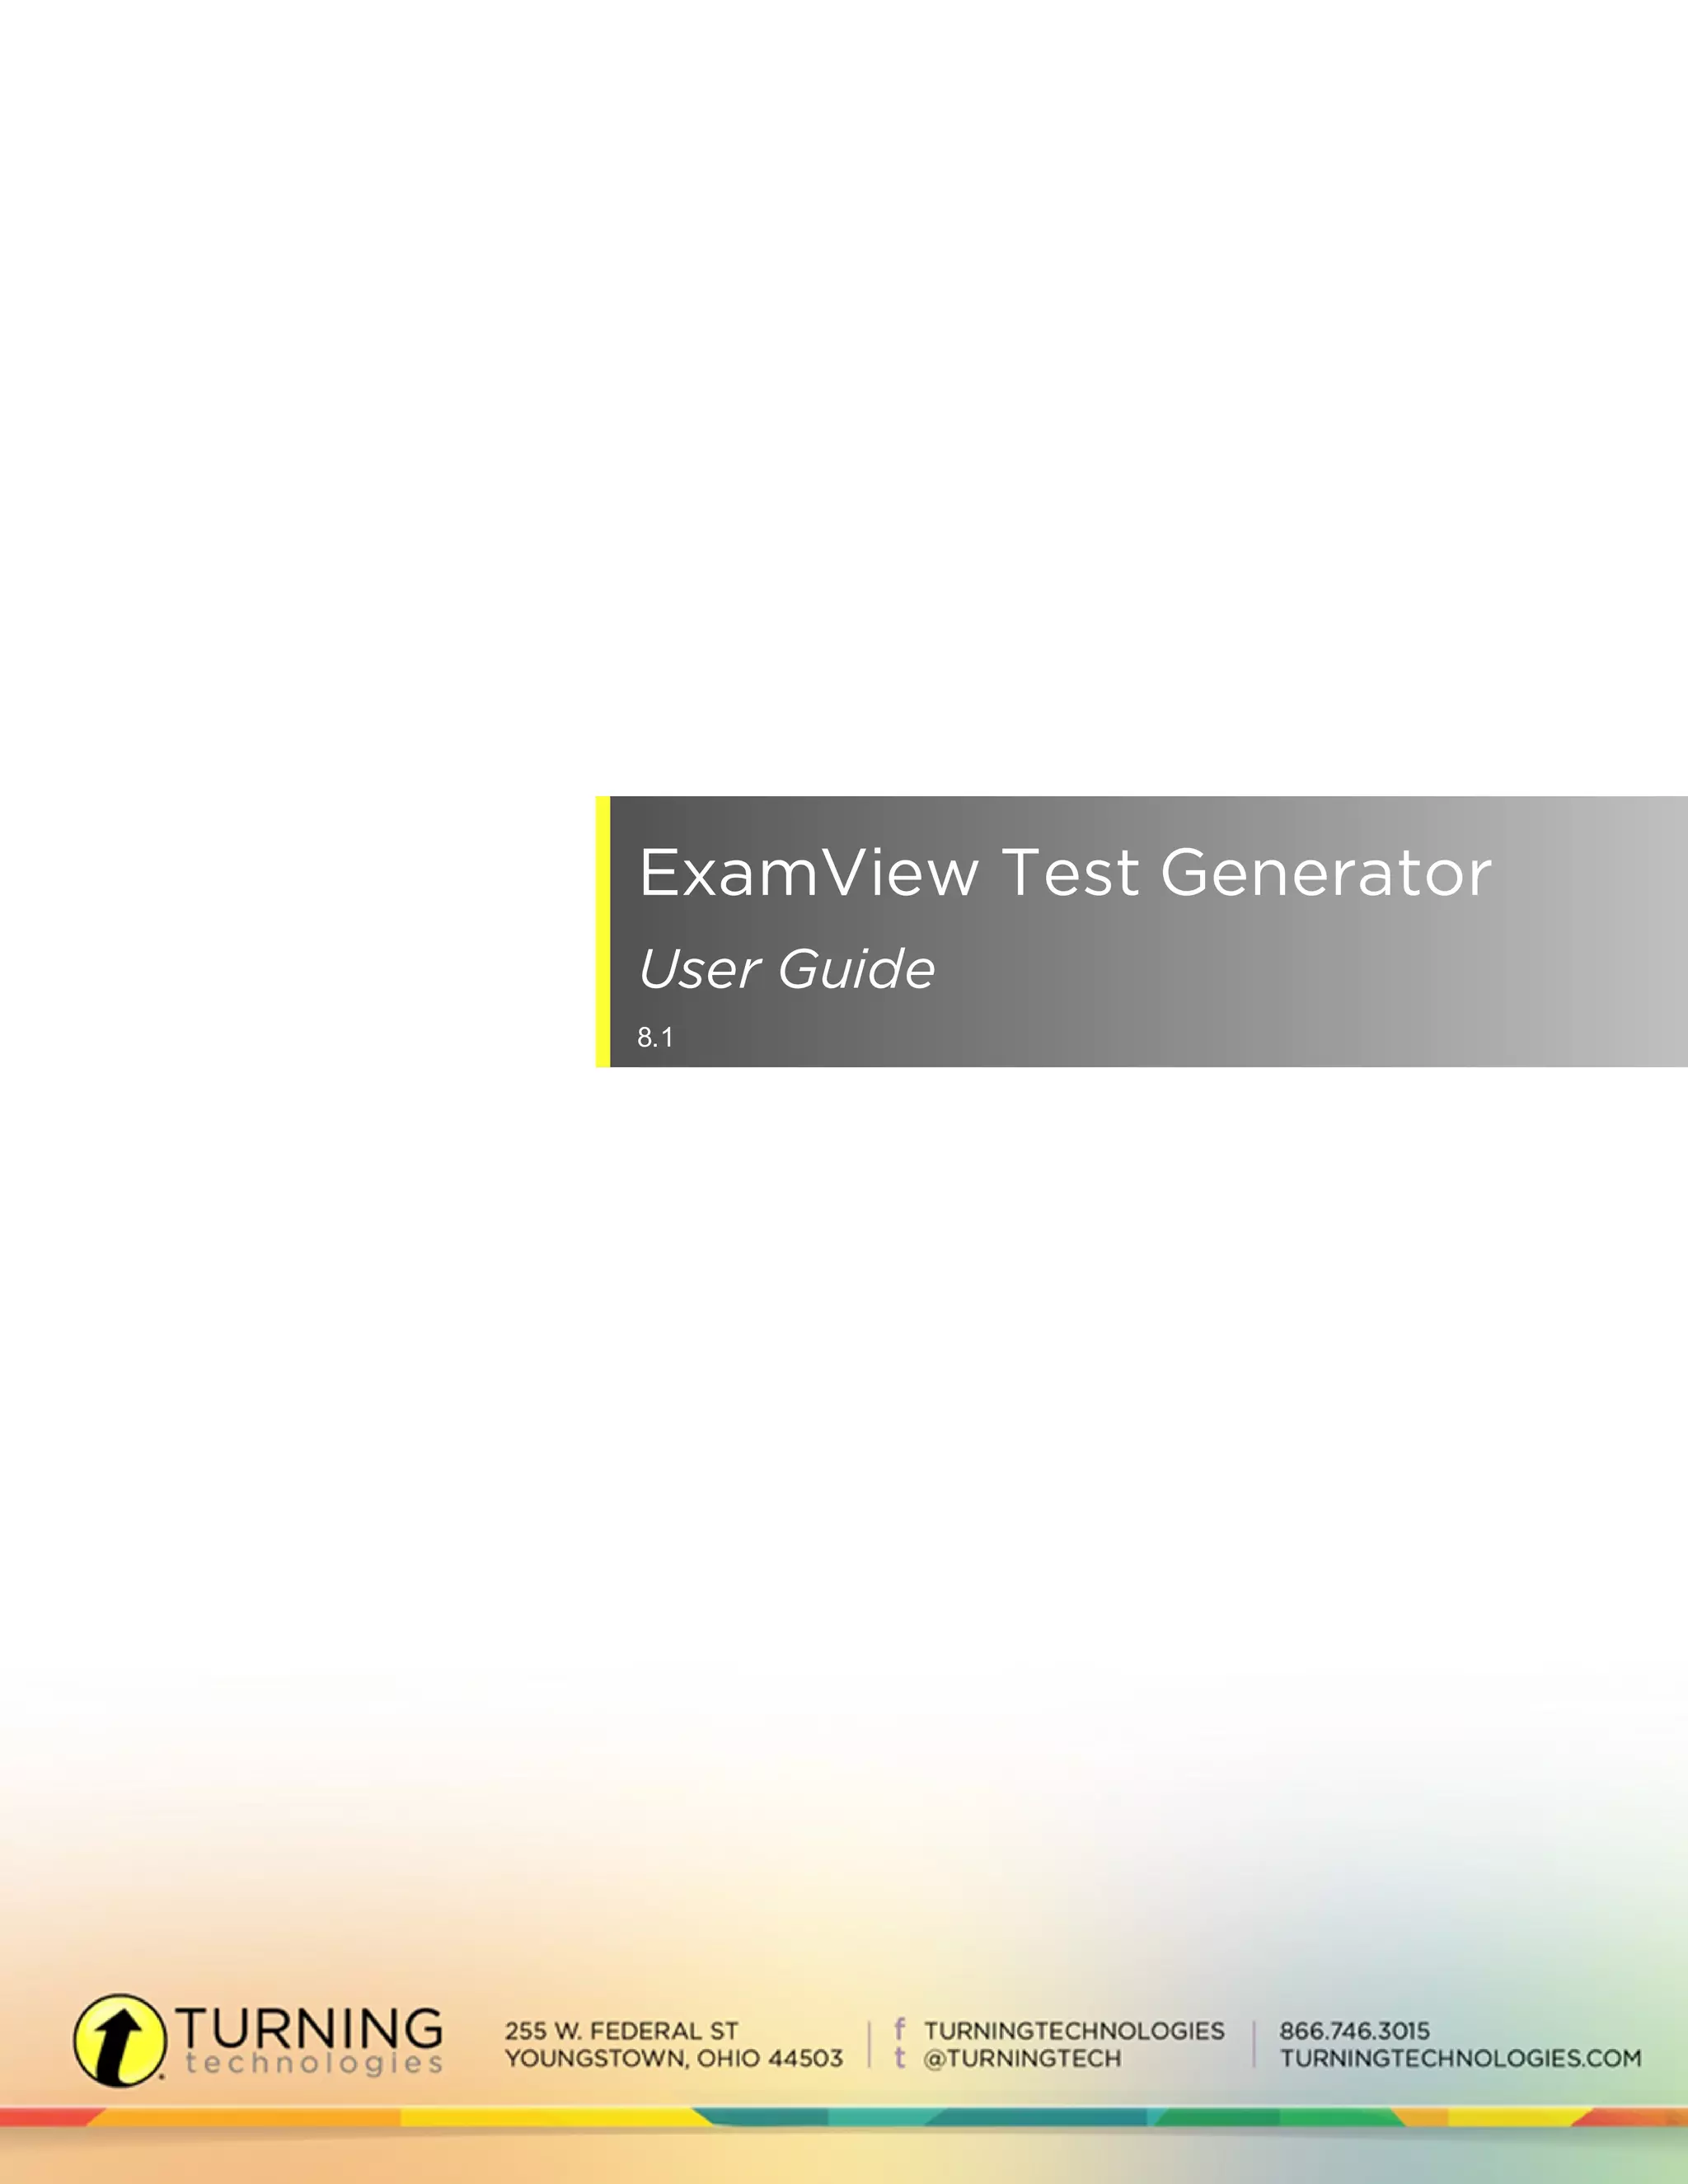
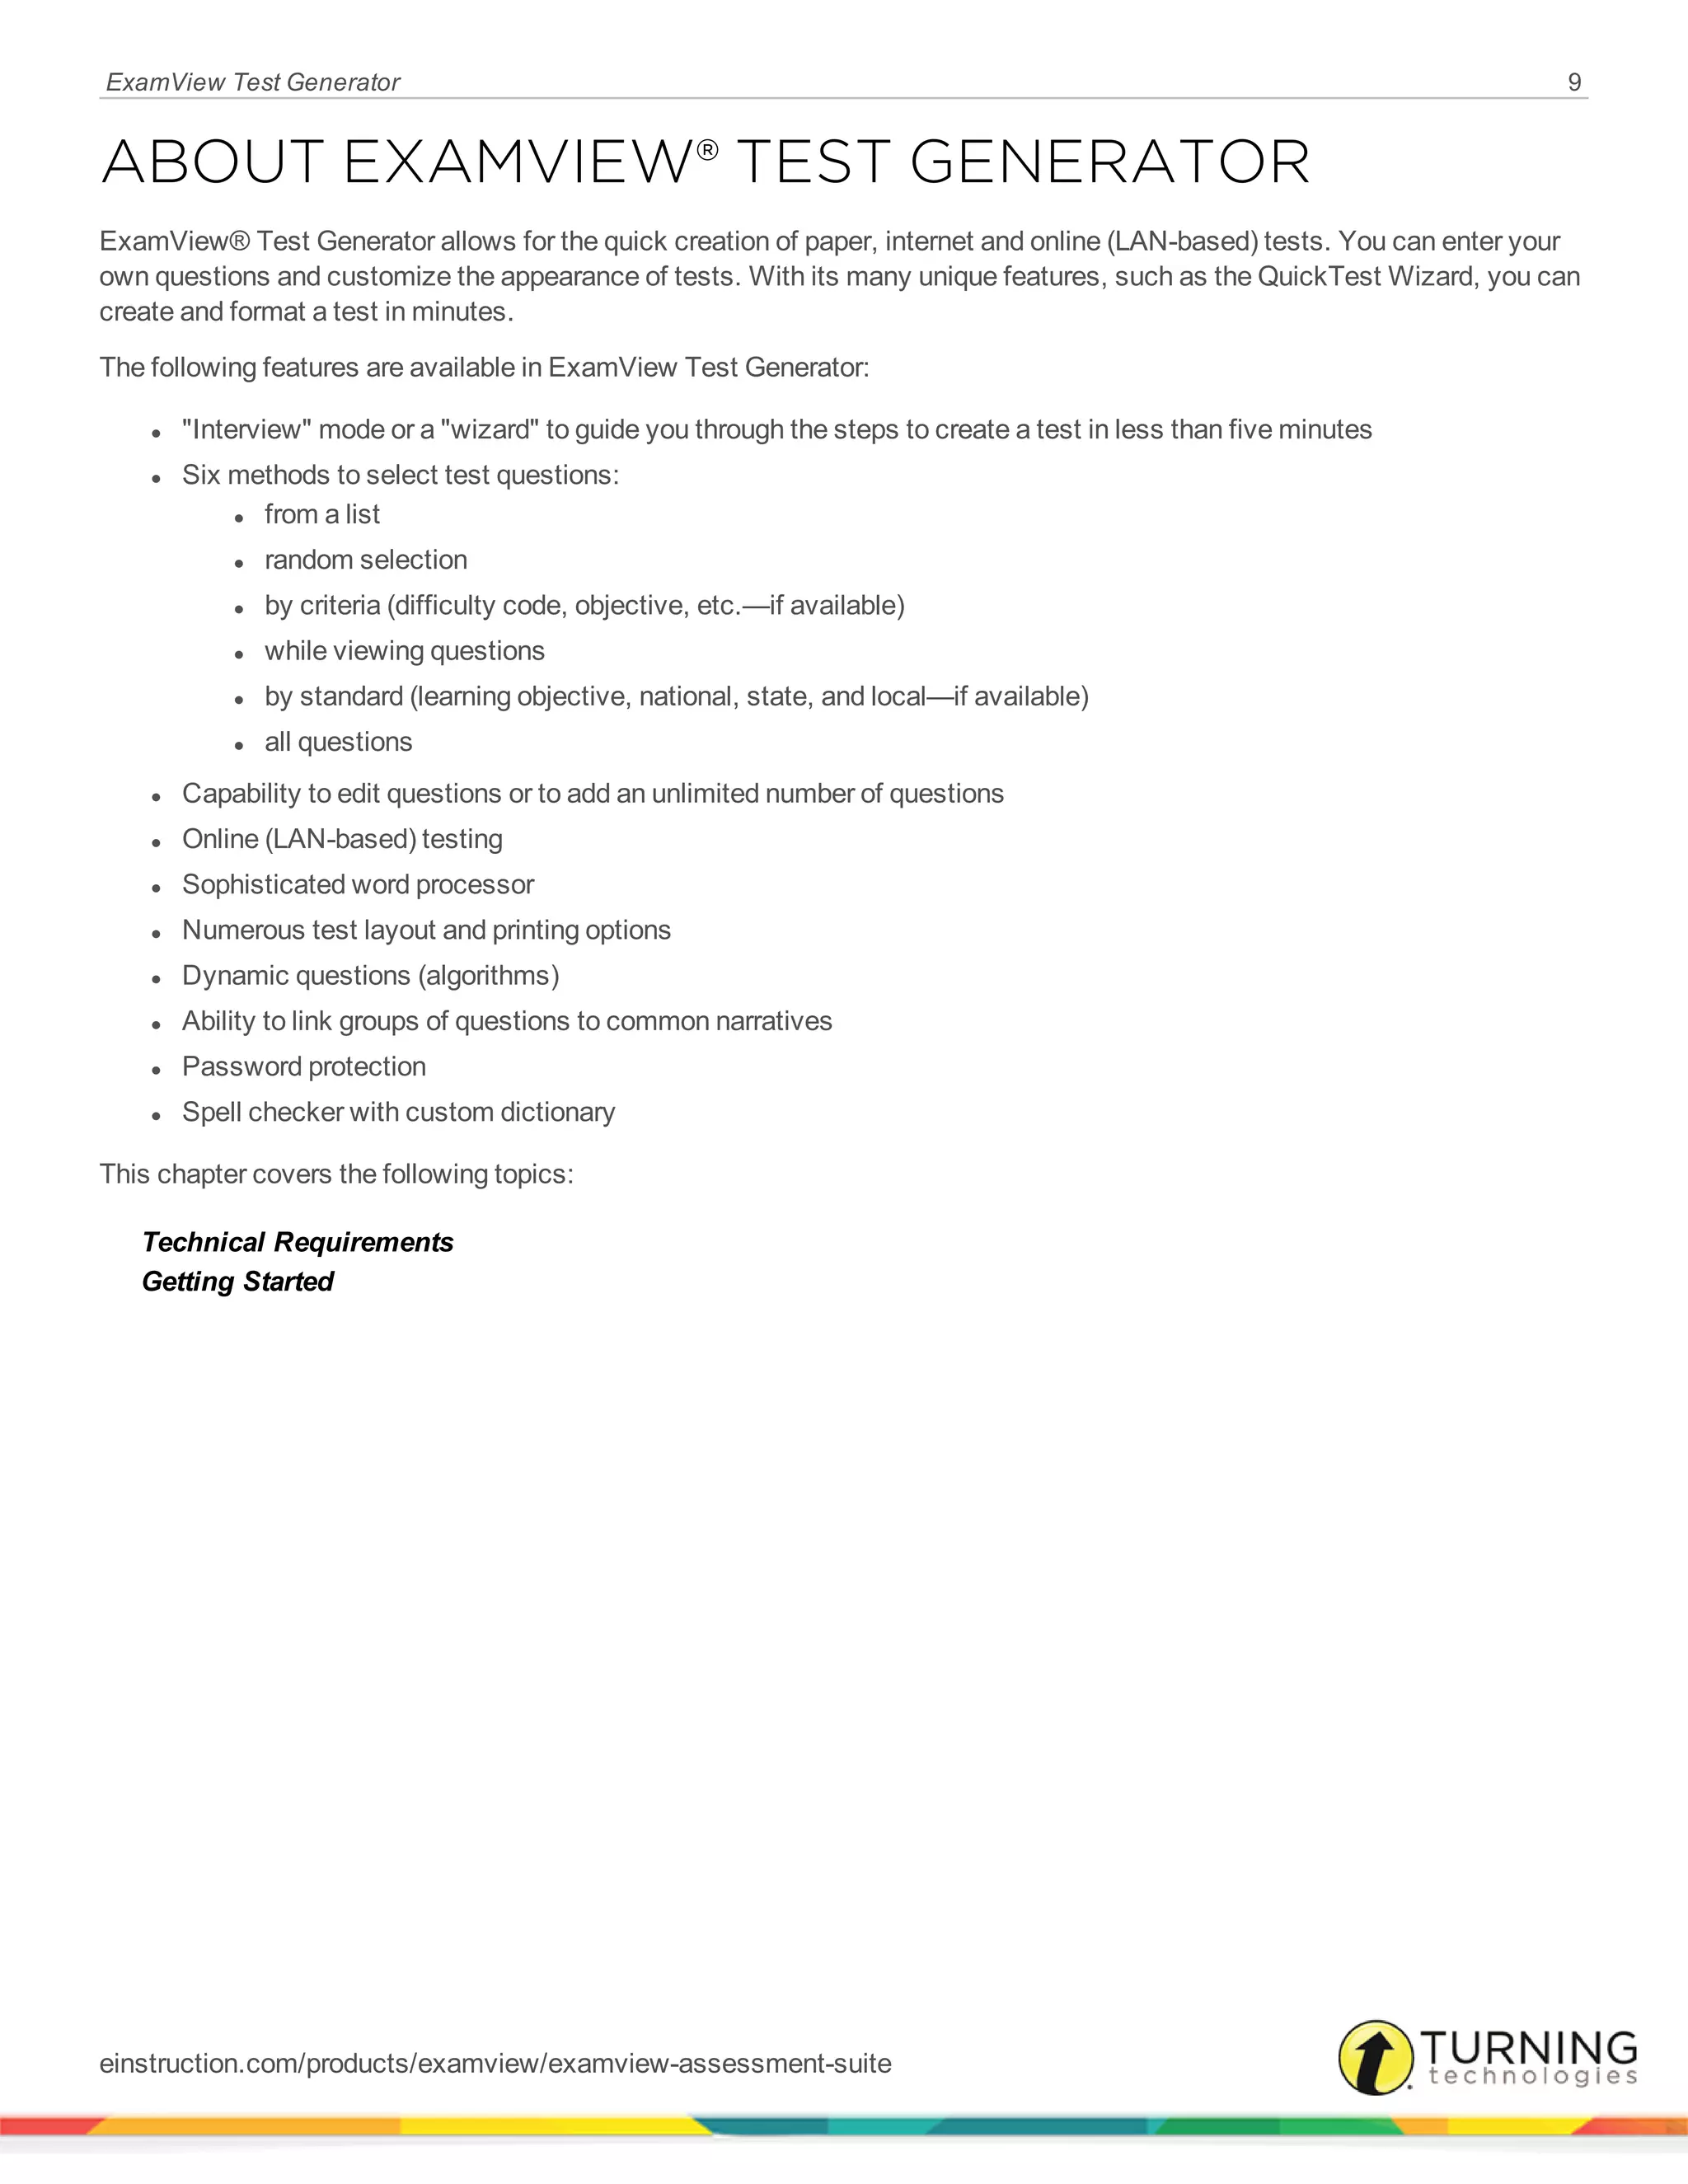
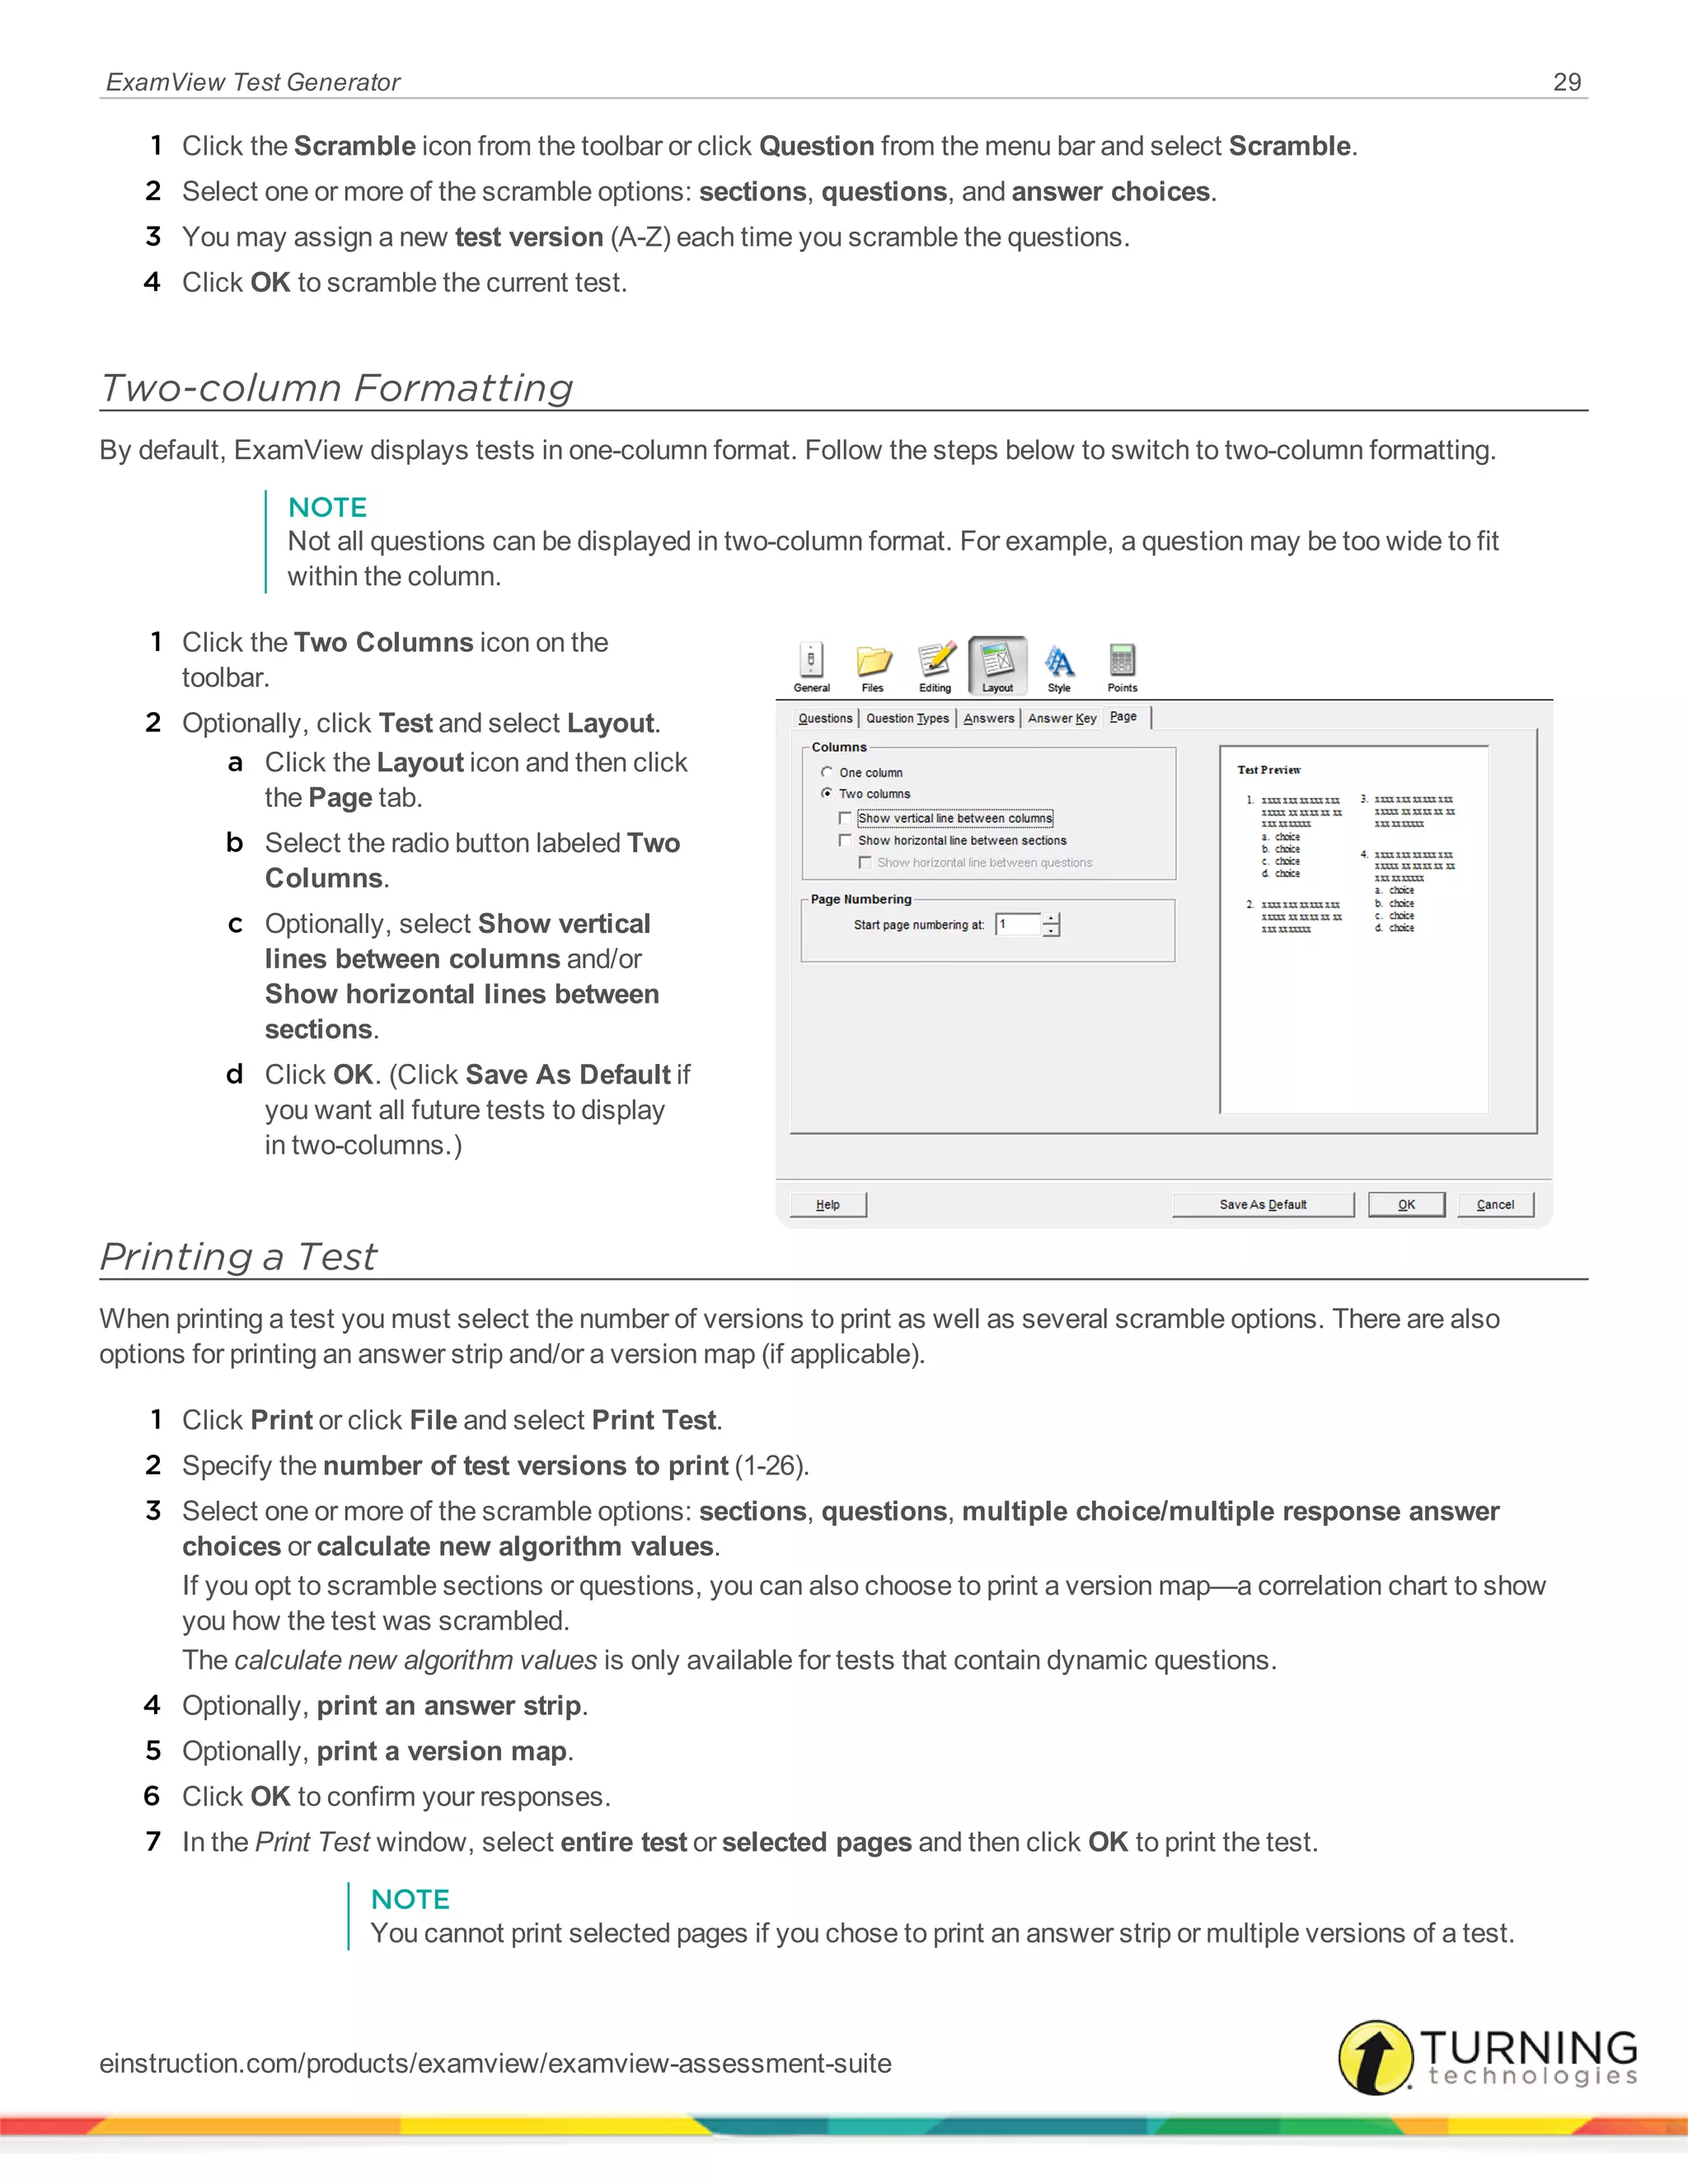
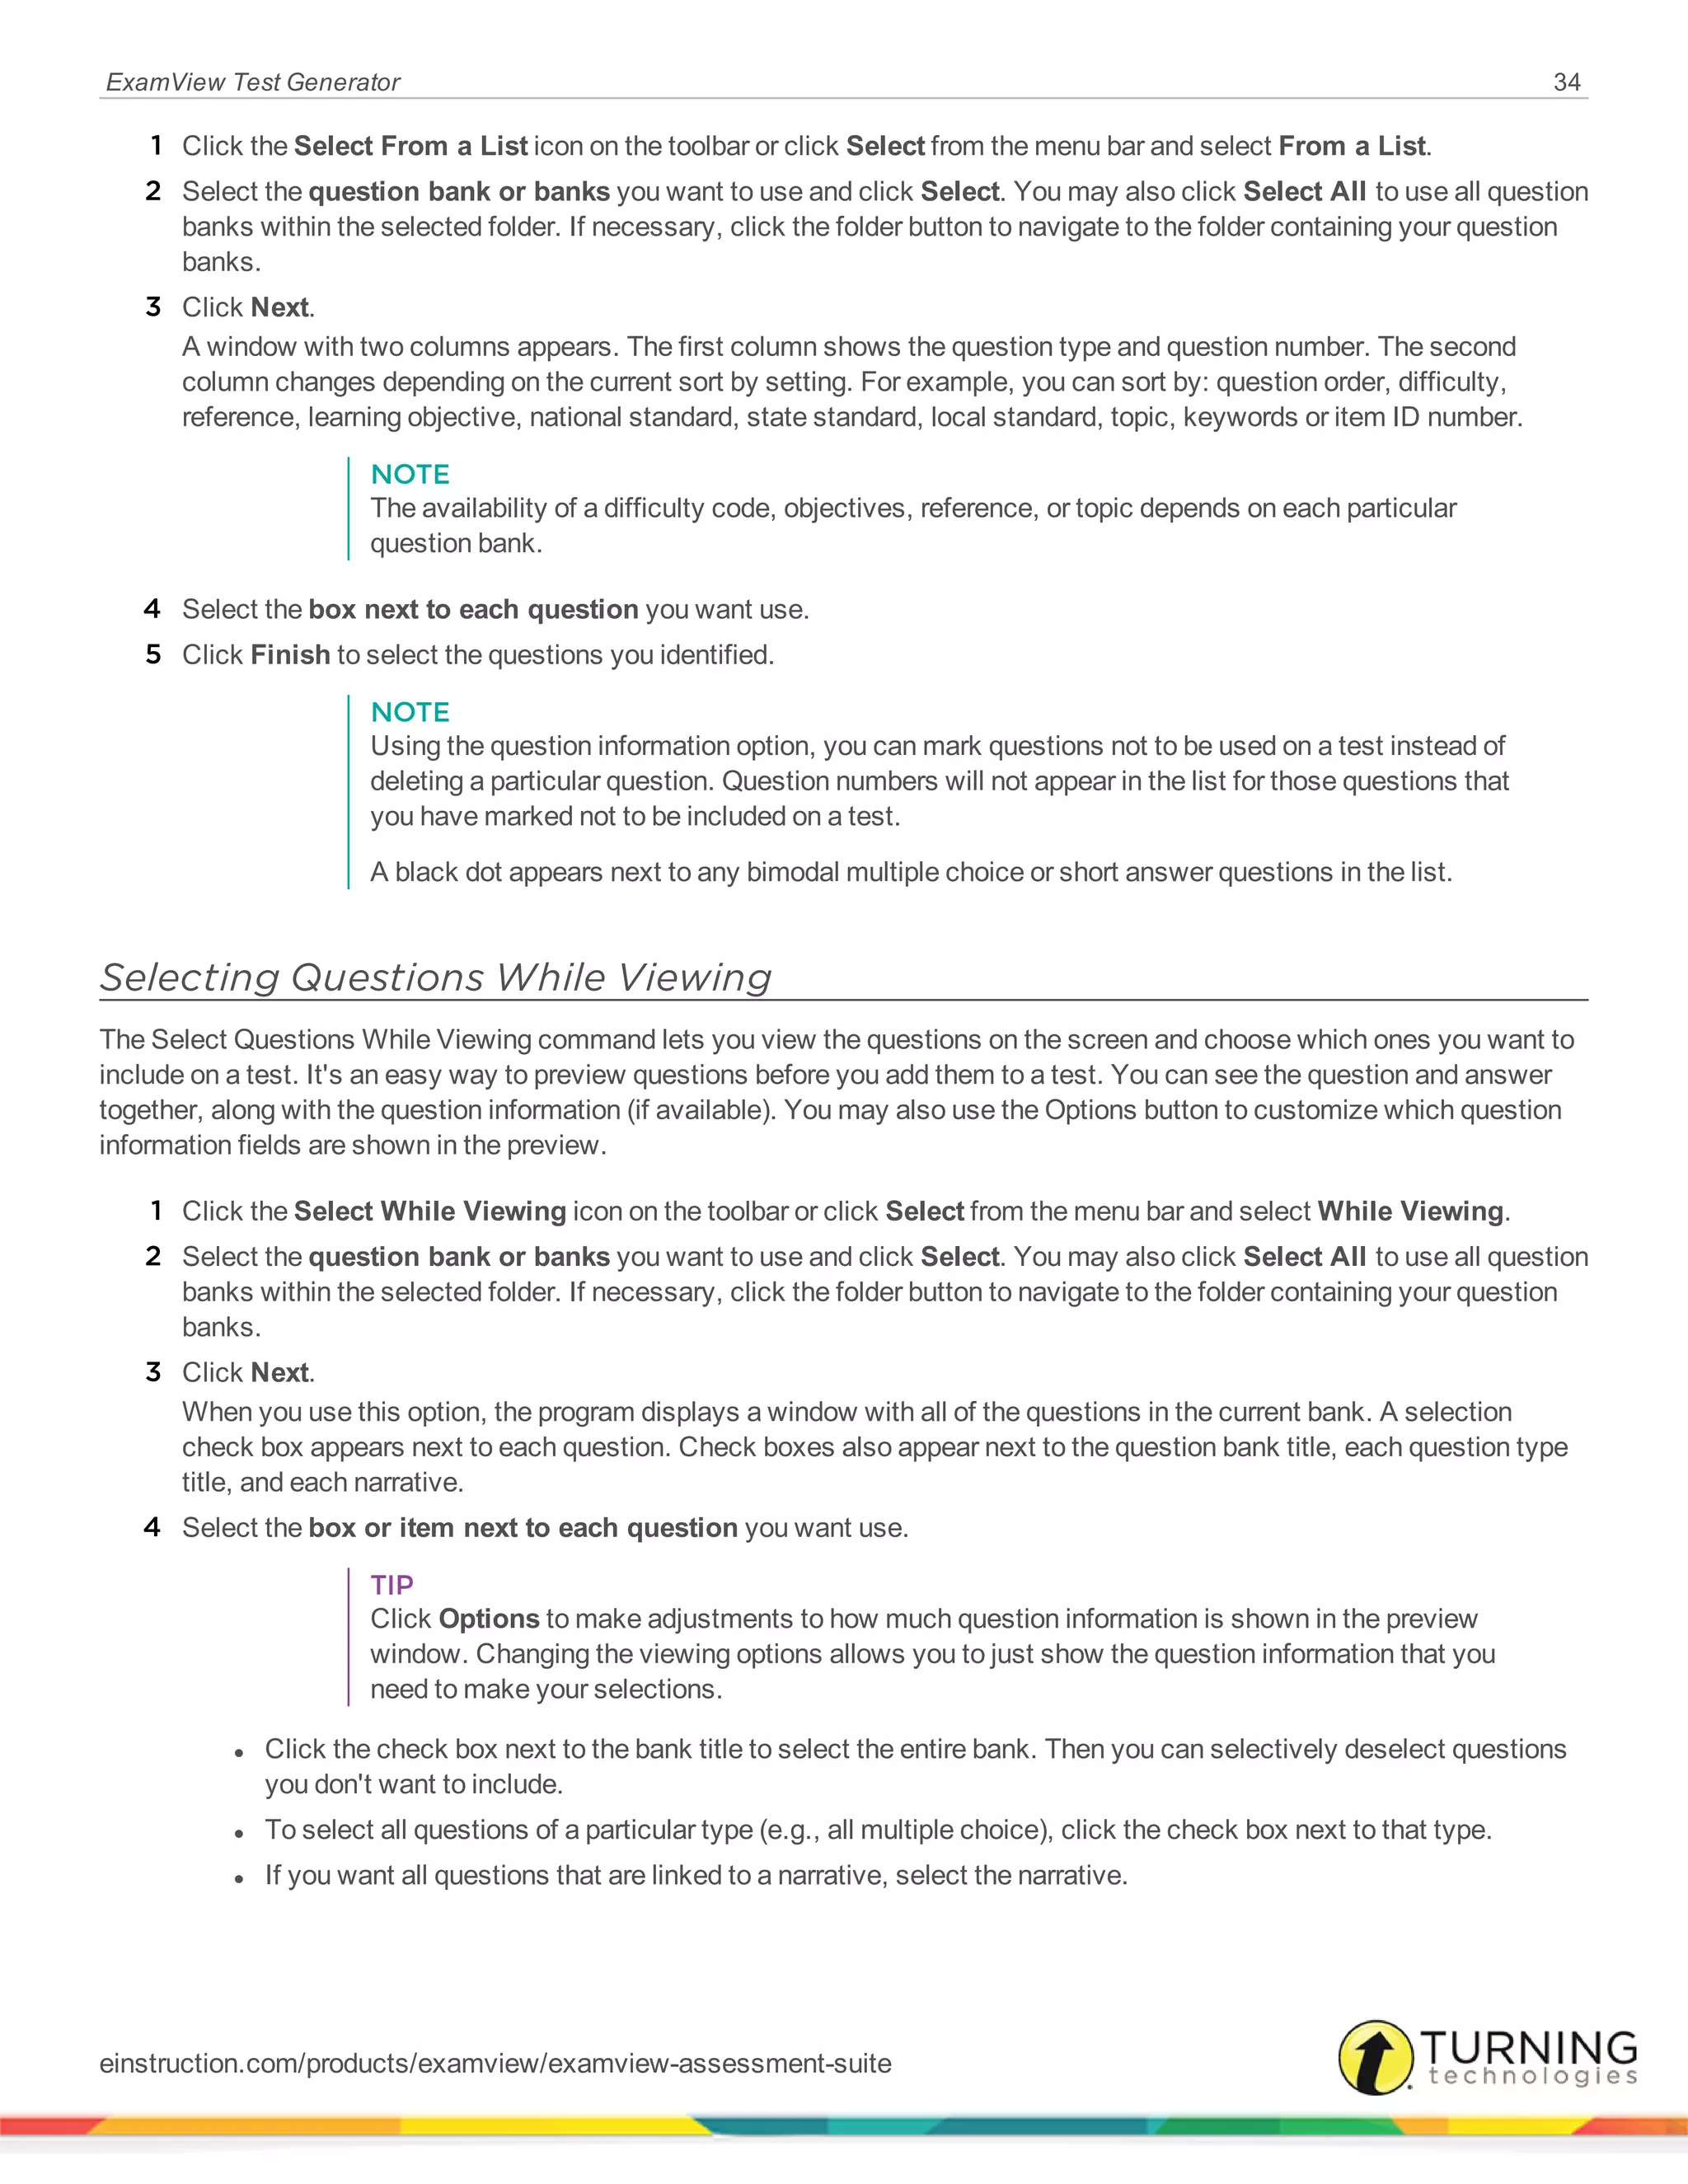
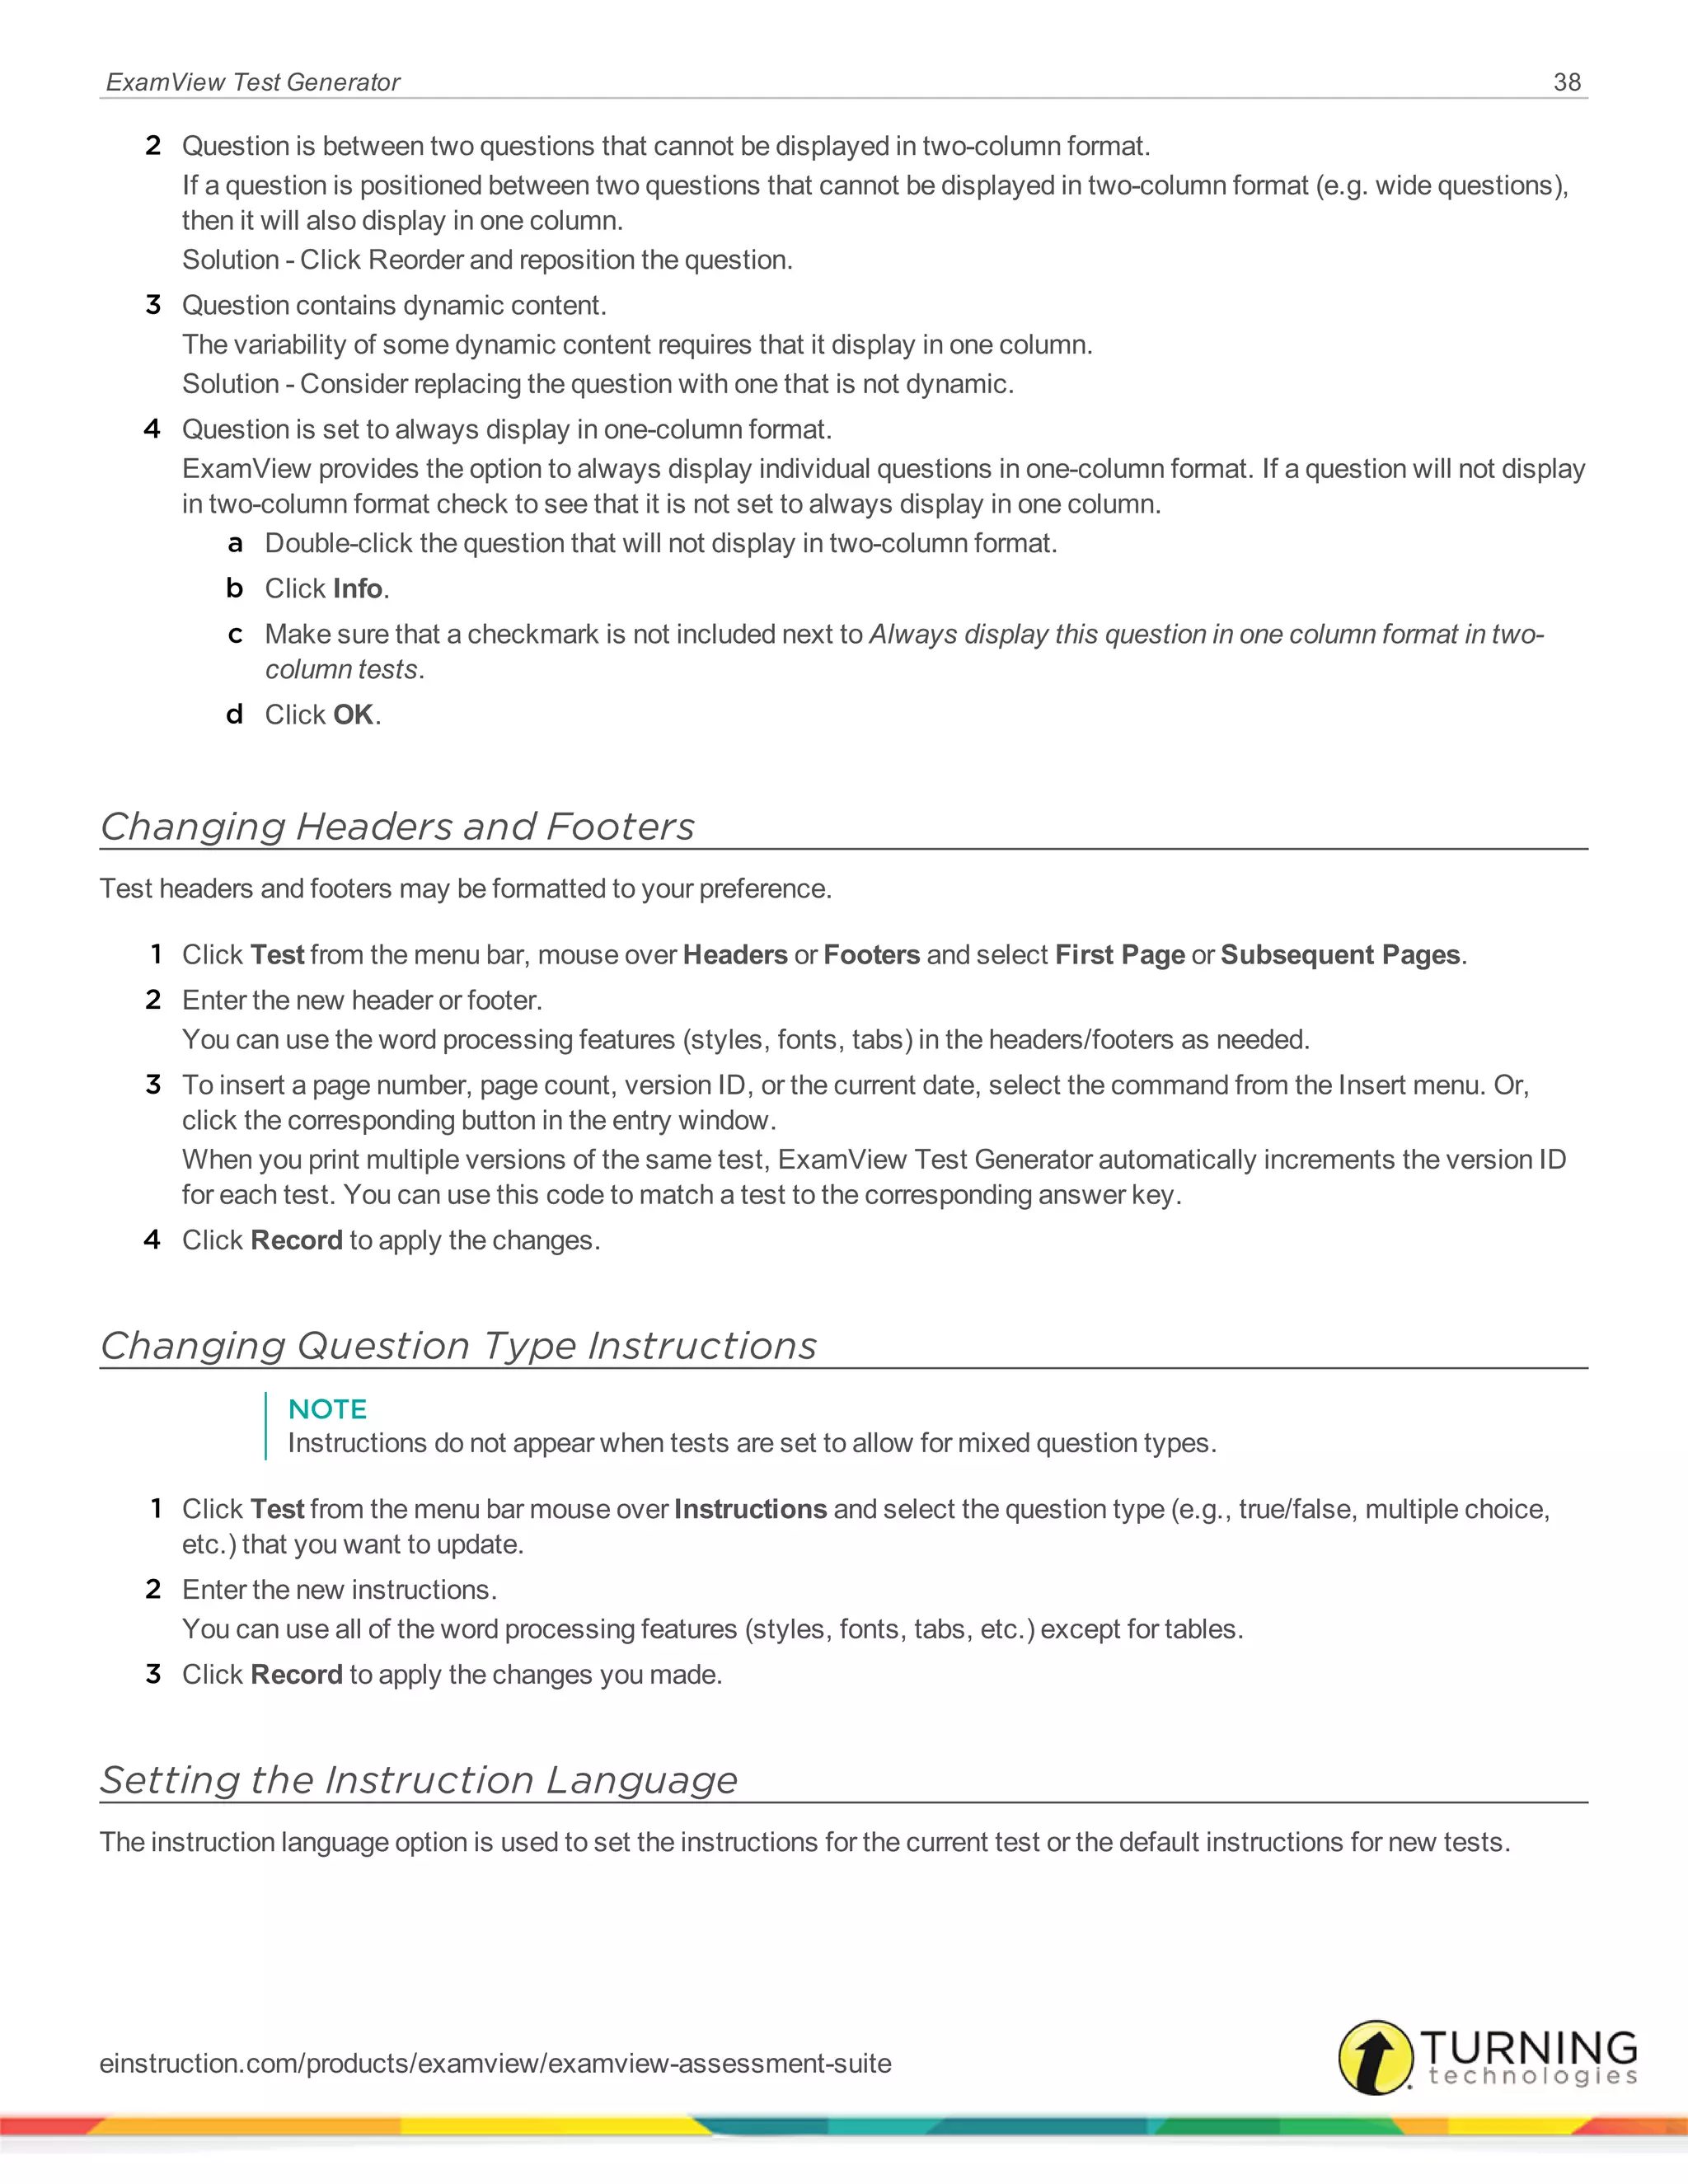
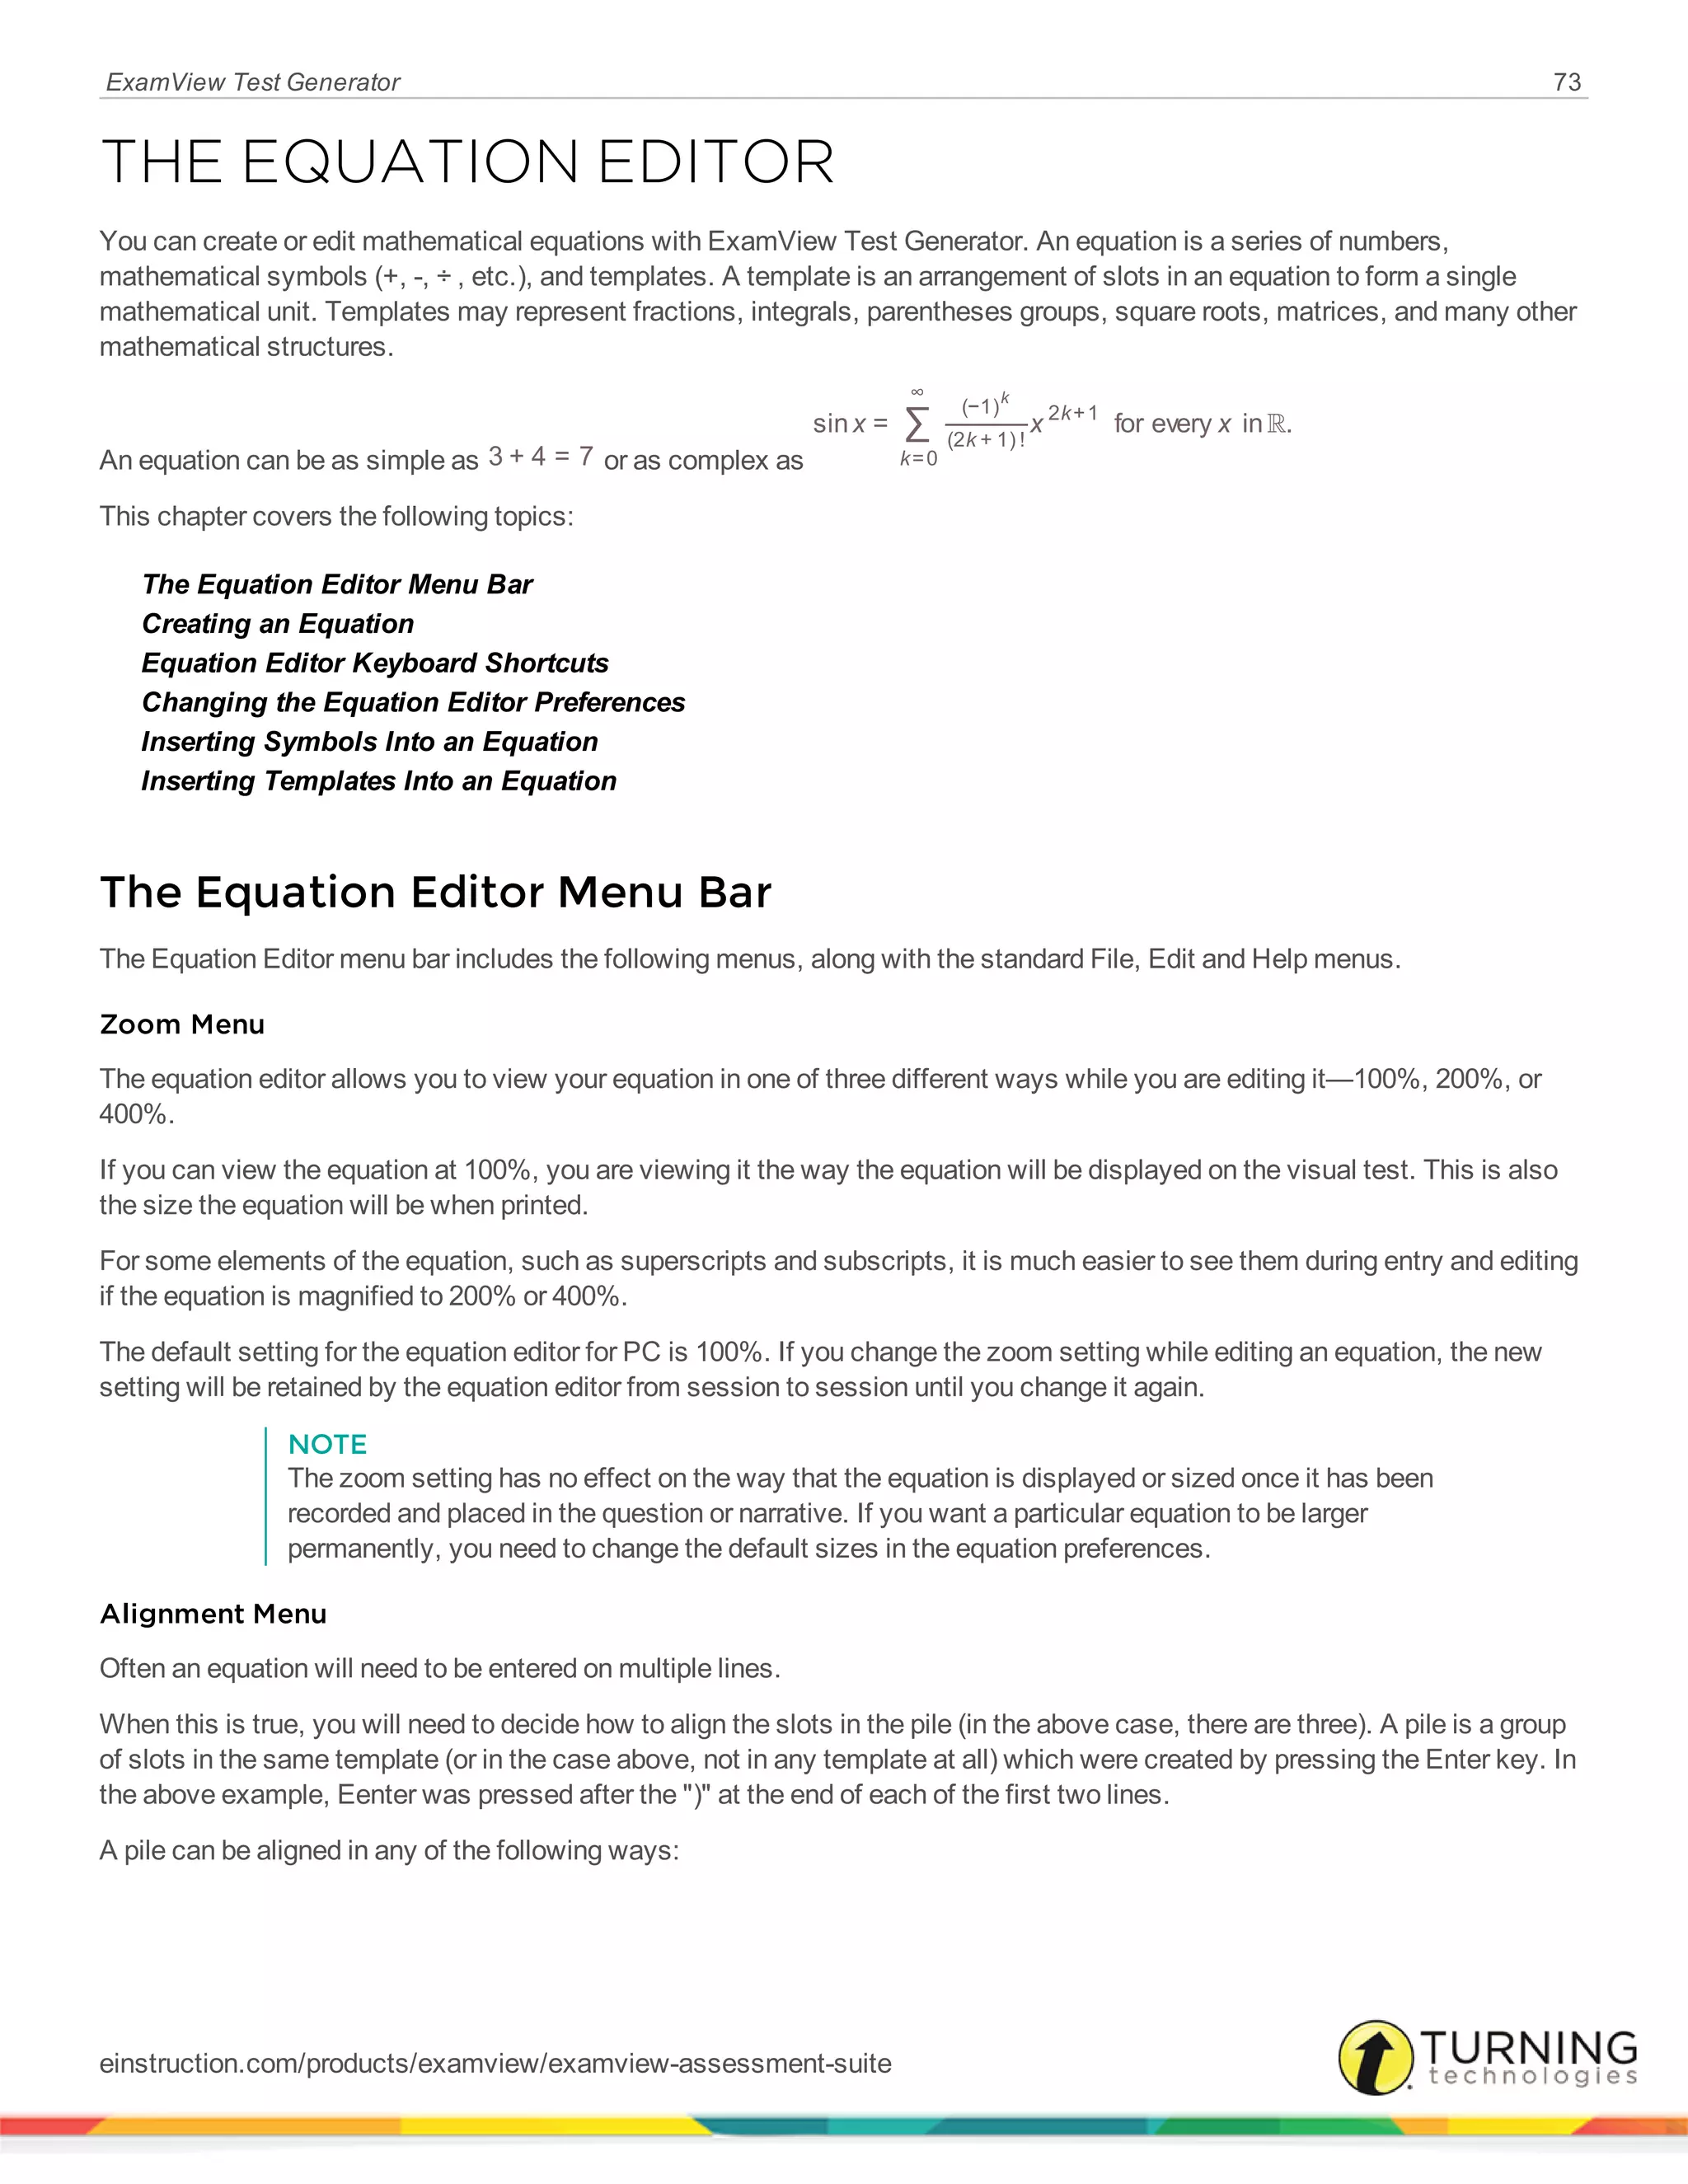
Constants
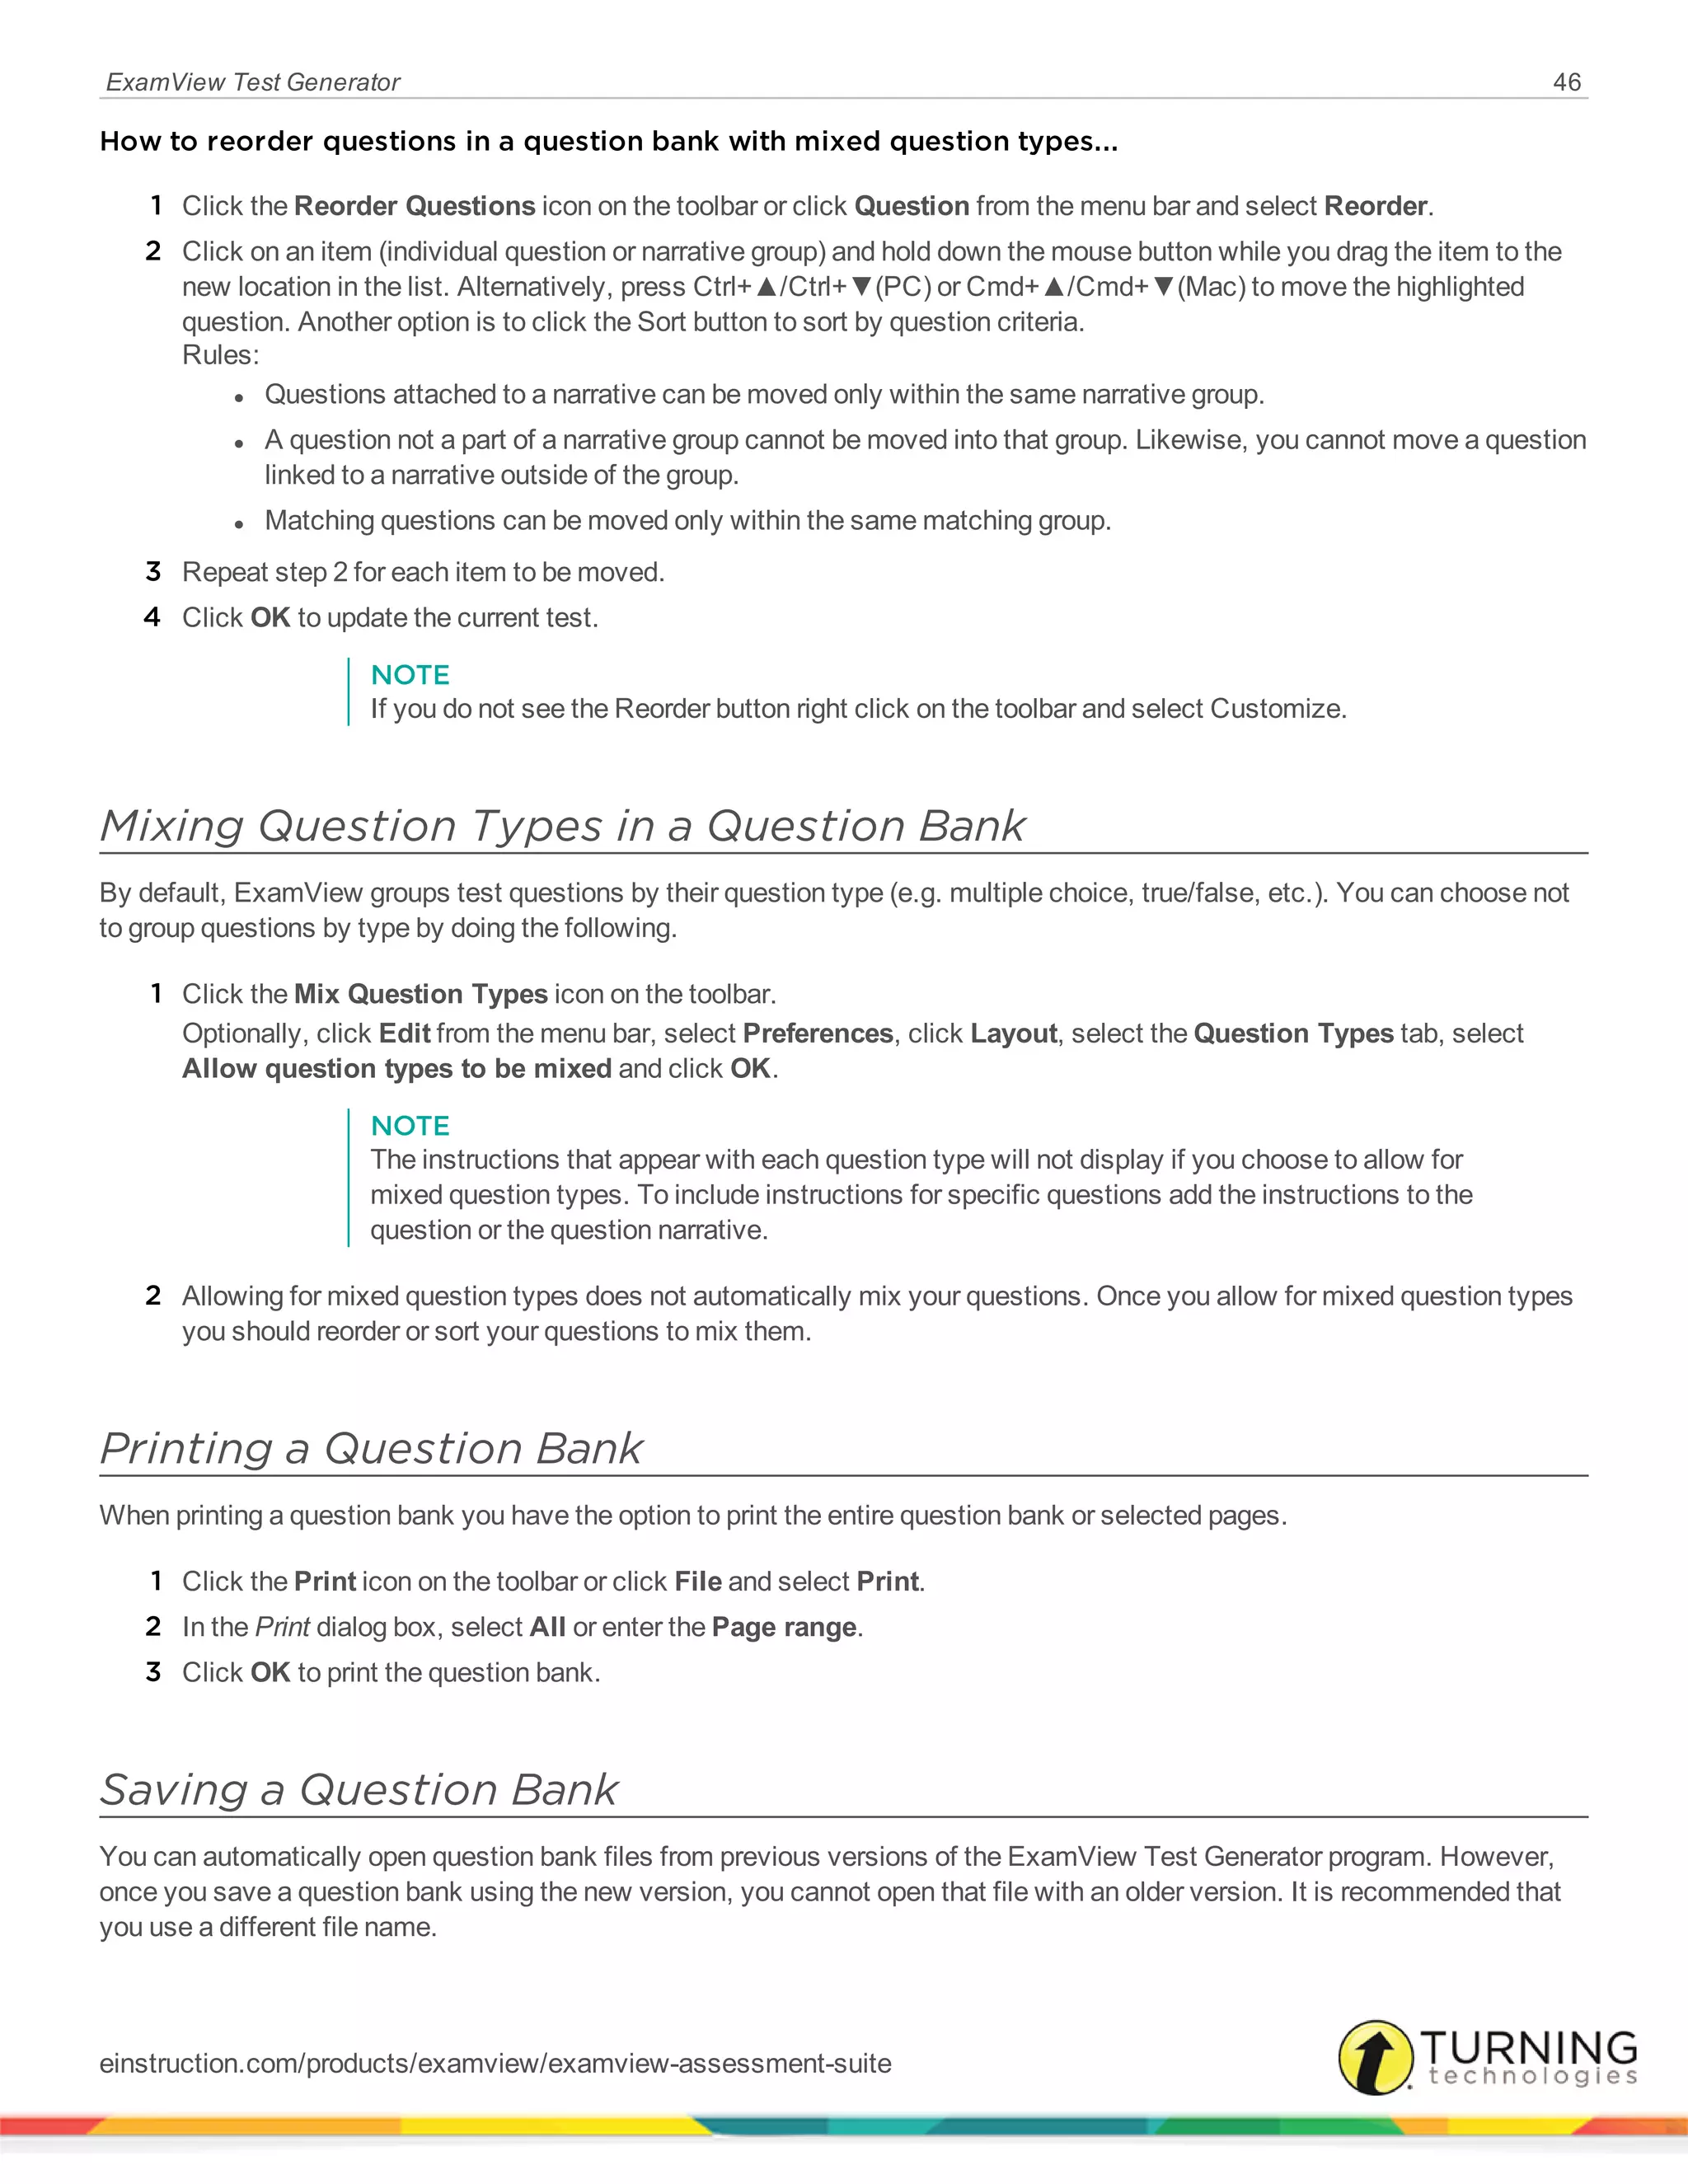
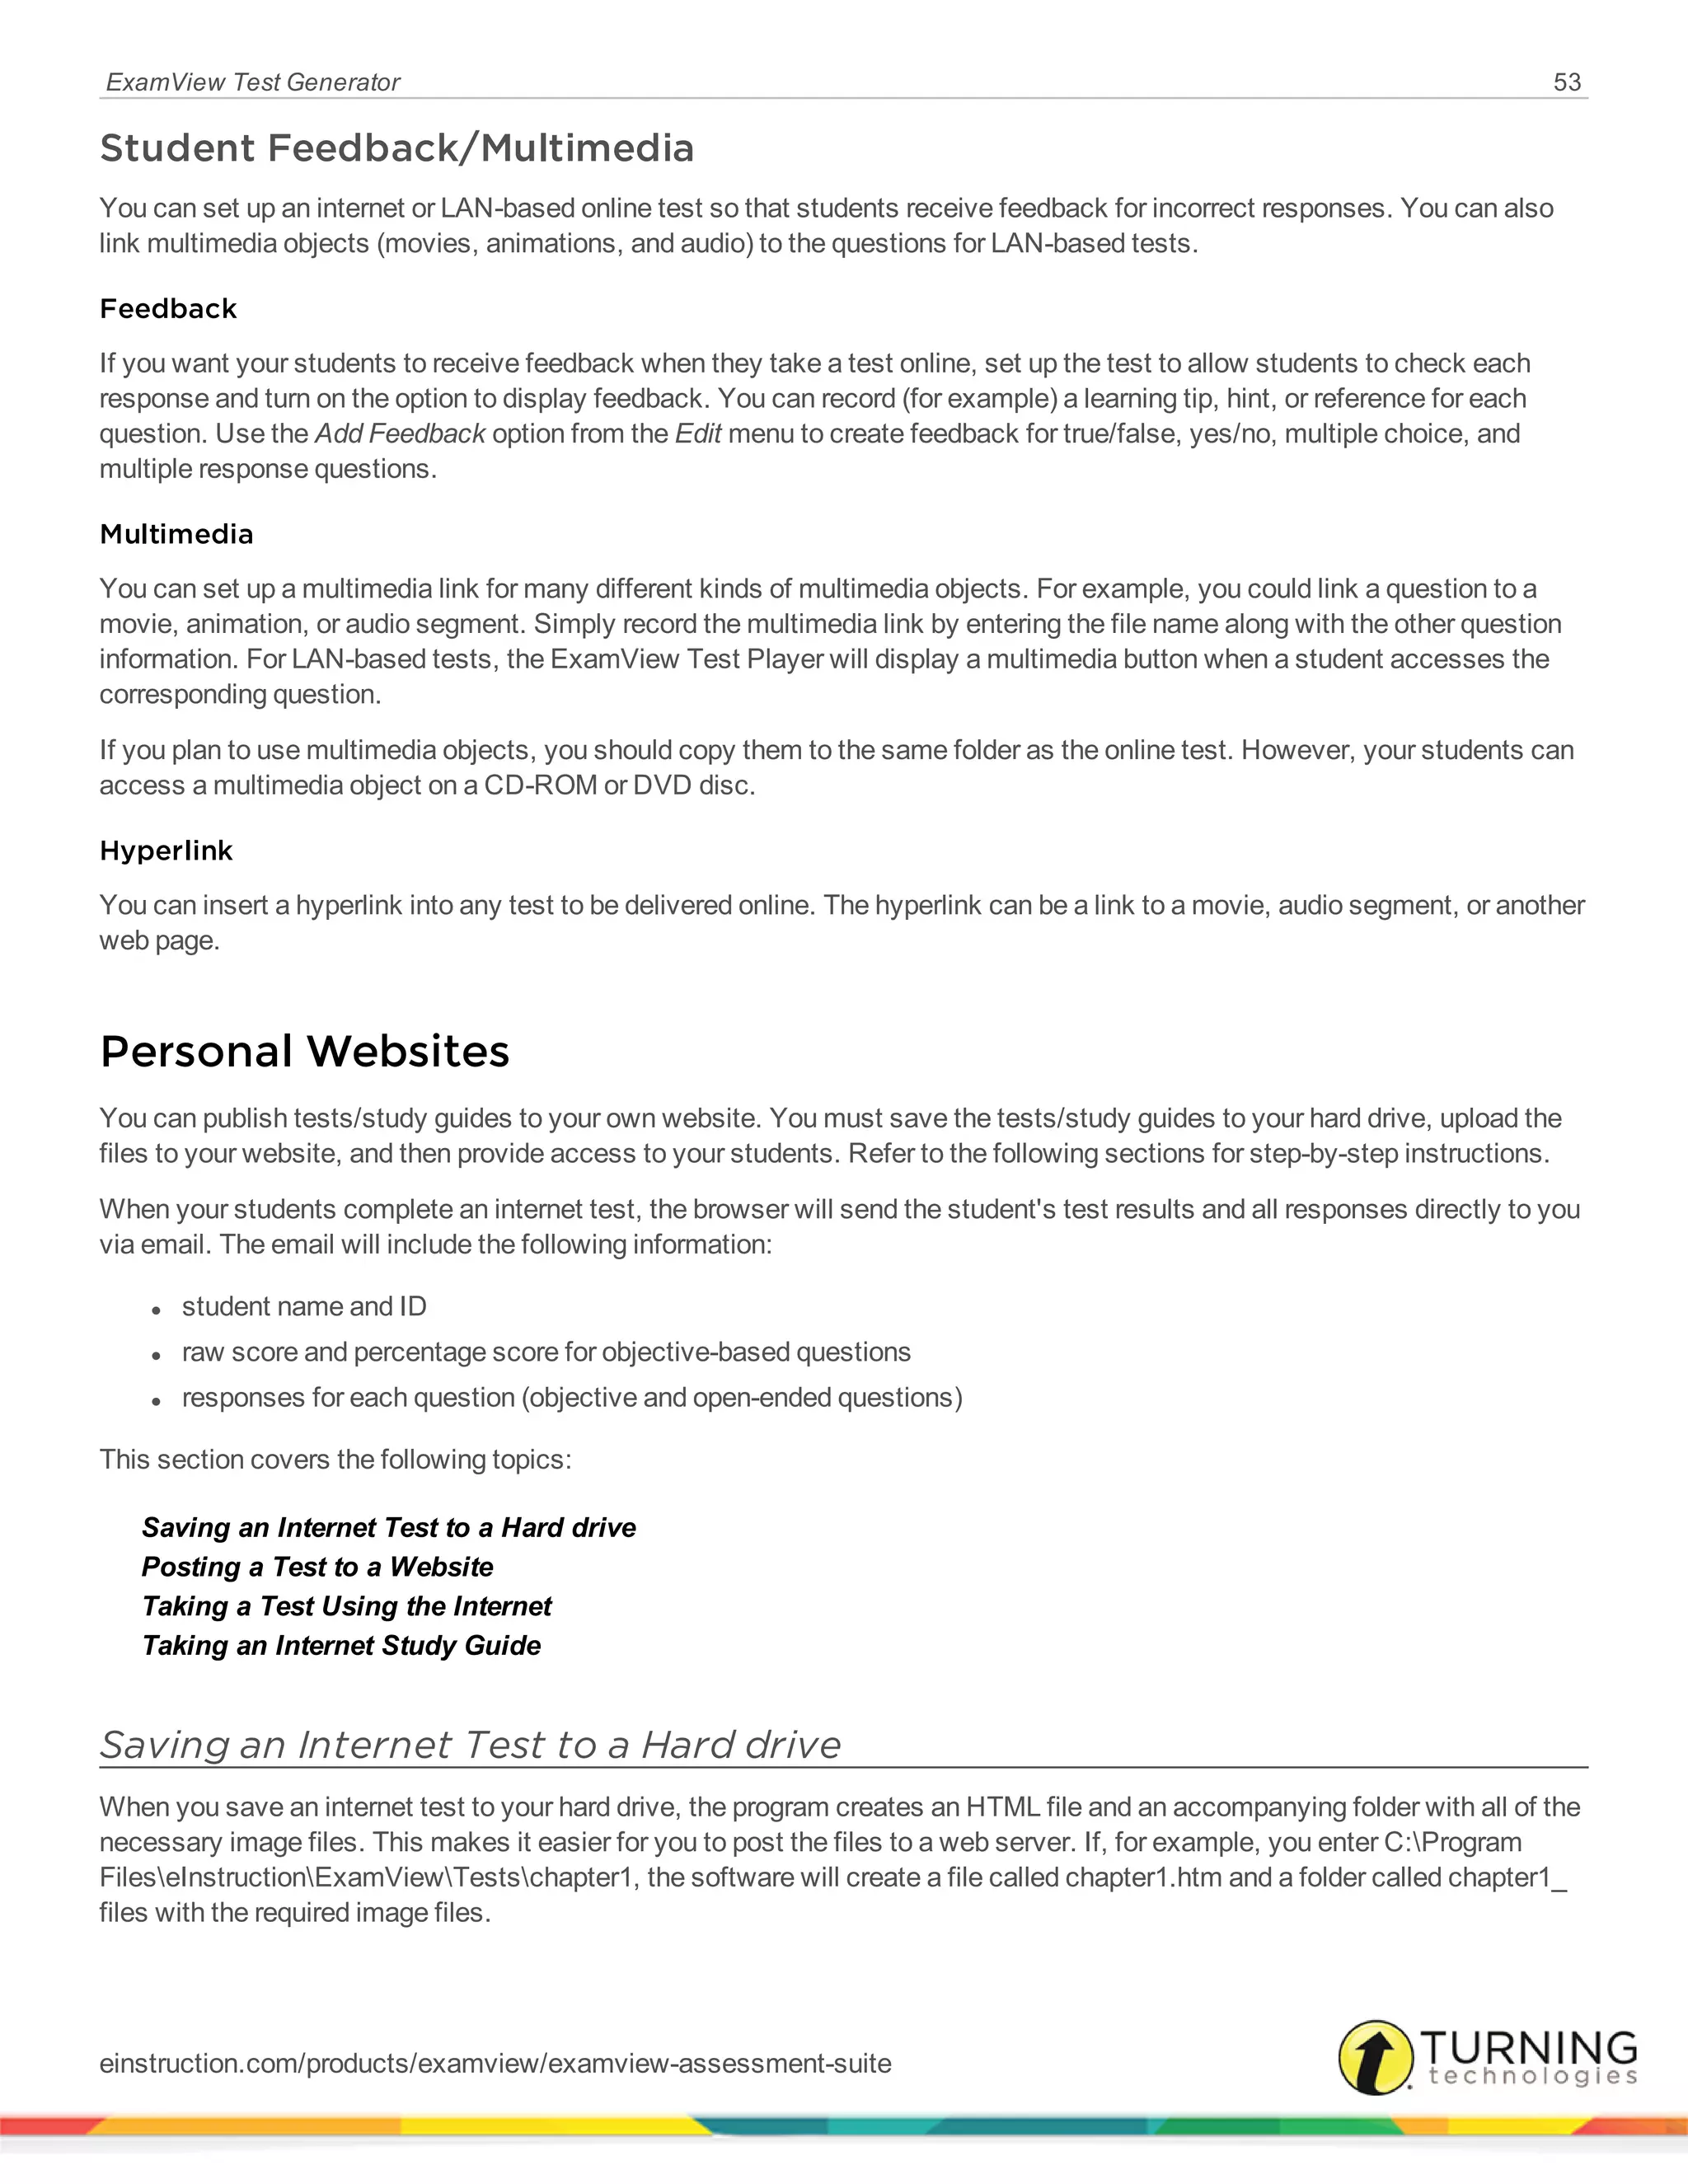
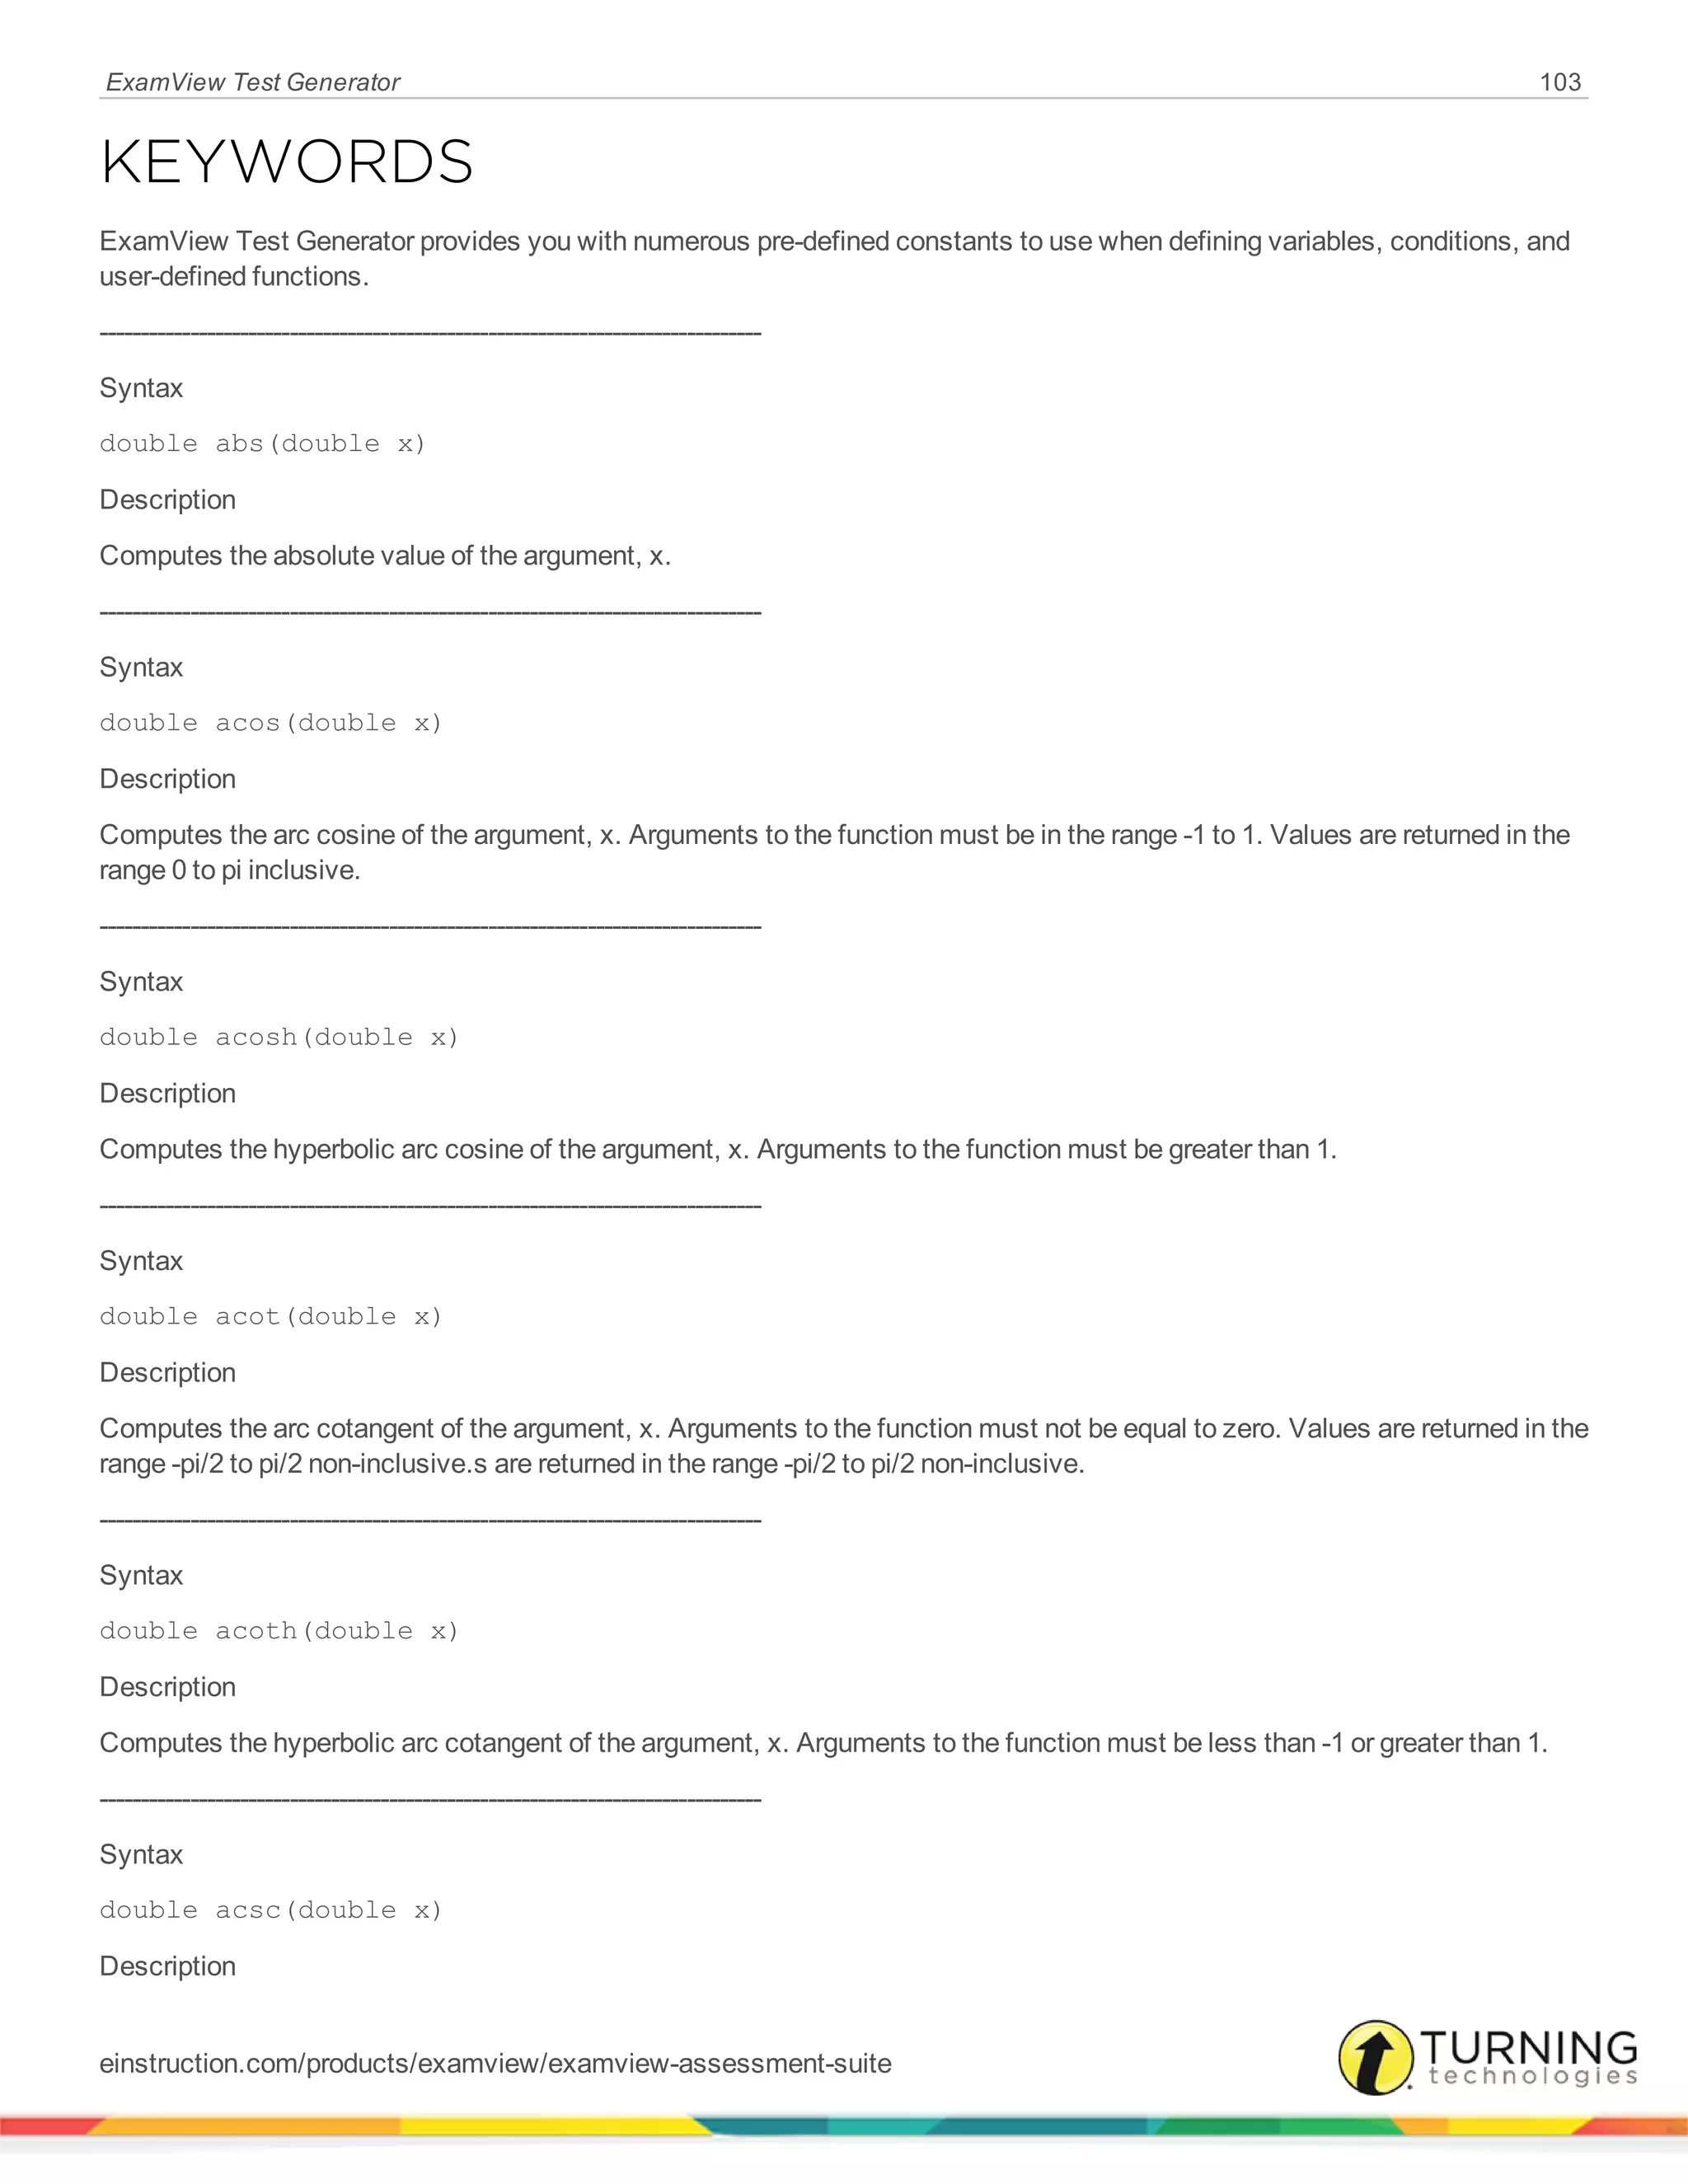
ExamView Test Generator provides you with numerous pre-defined constants to use when defining variables, conditions, and
user-defined functions.
e
[Constant] 2.71828..., used in problems involving growth or decay (or compound interest). Usually
defined by the following equation:
( )e= lim 1 +
x n
n
→∞
1
false [Constant] 0.
inf [Constant] ∞. Can be used to represent positive or negative infinity (INF).
no [Constant] 0.
pi
[Constant] 3.1415926.... By definition, PI is the ratio of the circumference of a circle to its
diameter.
testversion [pseudo constant] Represents the current test version ("A", "B", "C", etc.).
true [Constant] 1.
yes [Constant] 1.
Math Functions
ExamView Test Generator provides you with numerous pre-defined math functions to use when defining variables, conditions,
and user-defined functions.
abs
double abs(double x)
Computes the absolute value of the argument, x.
ceil
double ceil(double x)
Rounds up. The function finds the smallest integer not less than the argument, x.
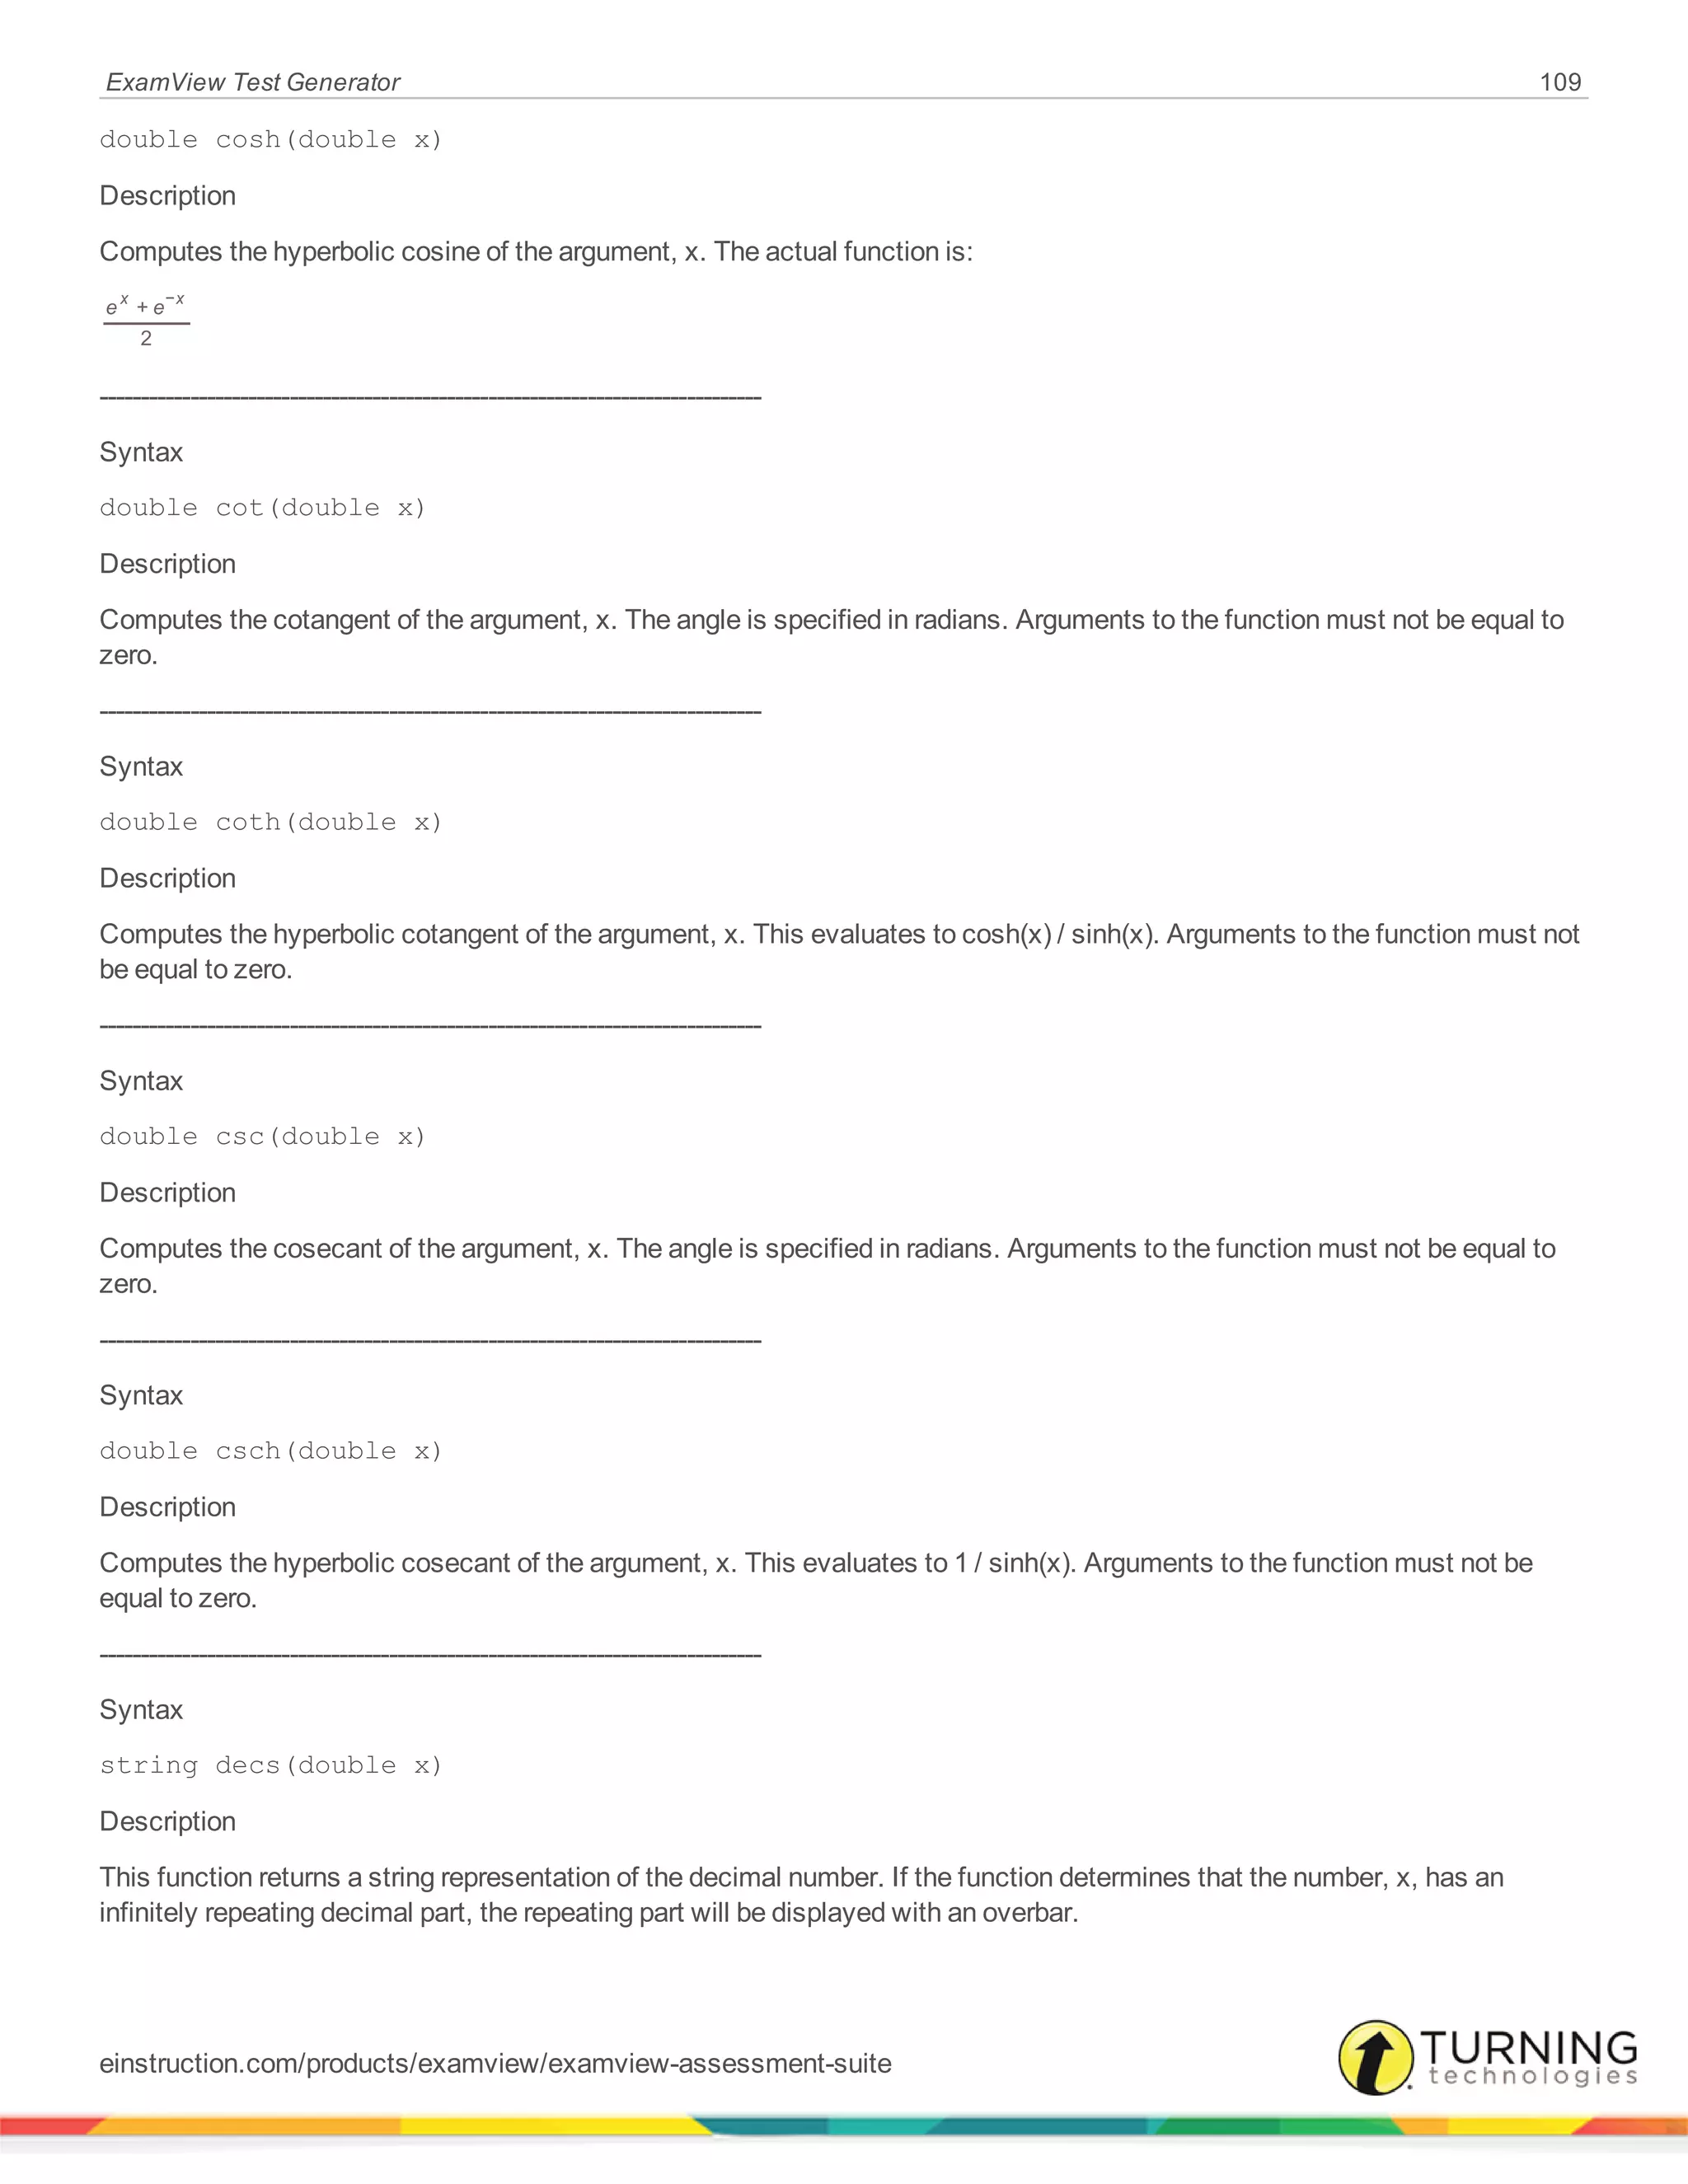
floor
double floor(double x)
Rounds down. The function finds the largest integer not greater than the argument, x.
einstruction.com/products/examview/examview-assessment-suite](https://image.slidesharecdn.com/examviewtestgeneratoruserguide8-150118204102-conversion-gate02/75/Examview-test-generator-userguide-8-1-87-2048.jpg)

![ExamView Test Generator 110
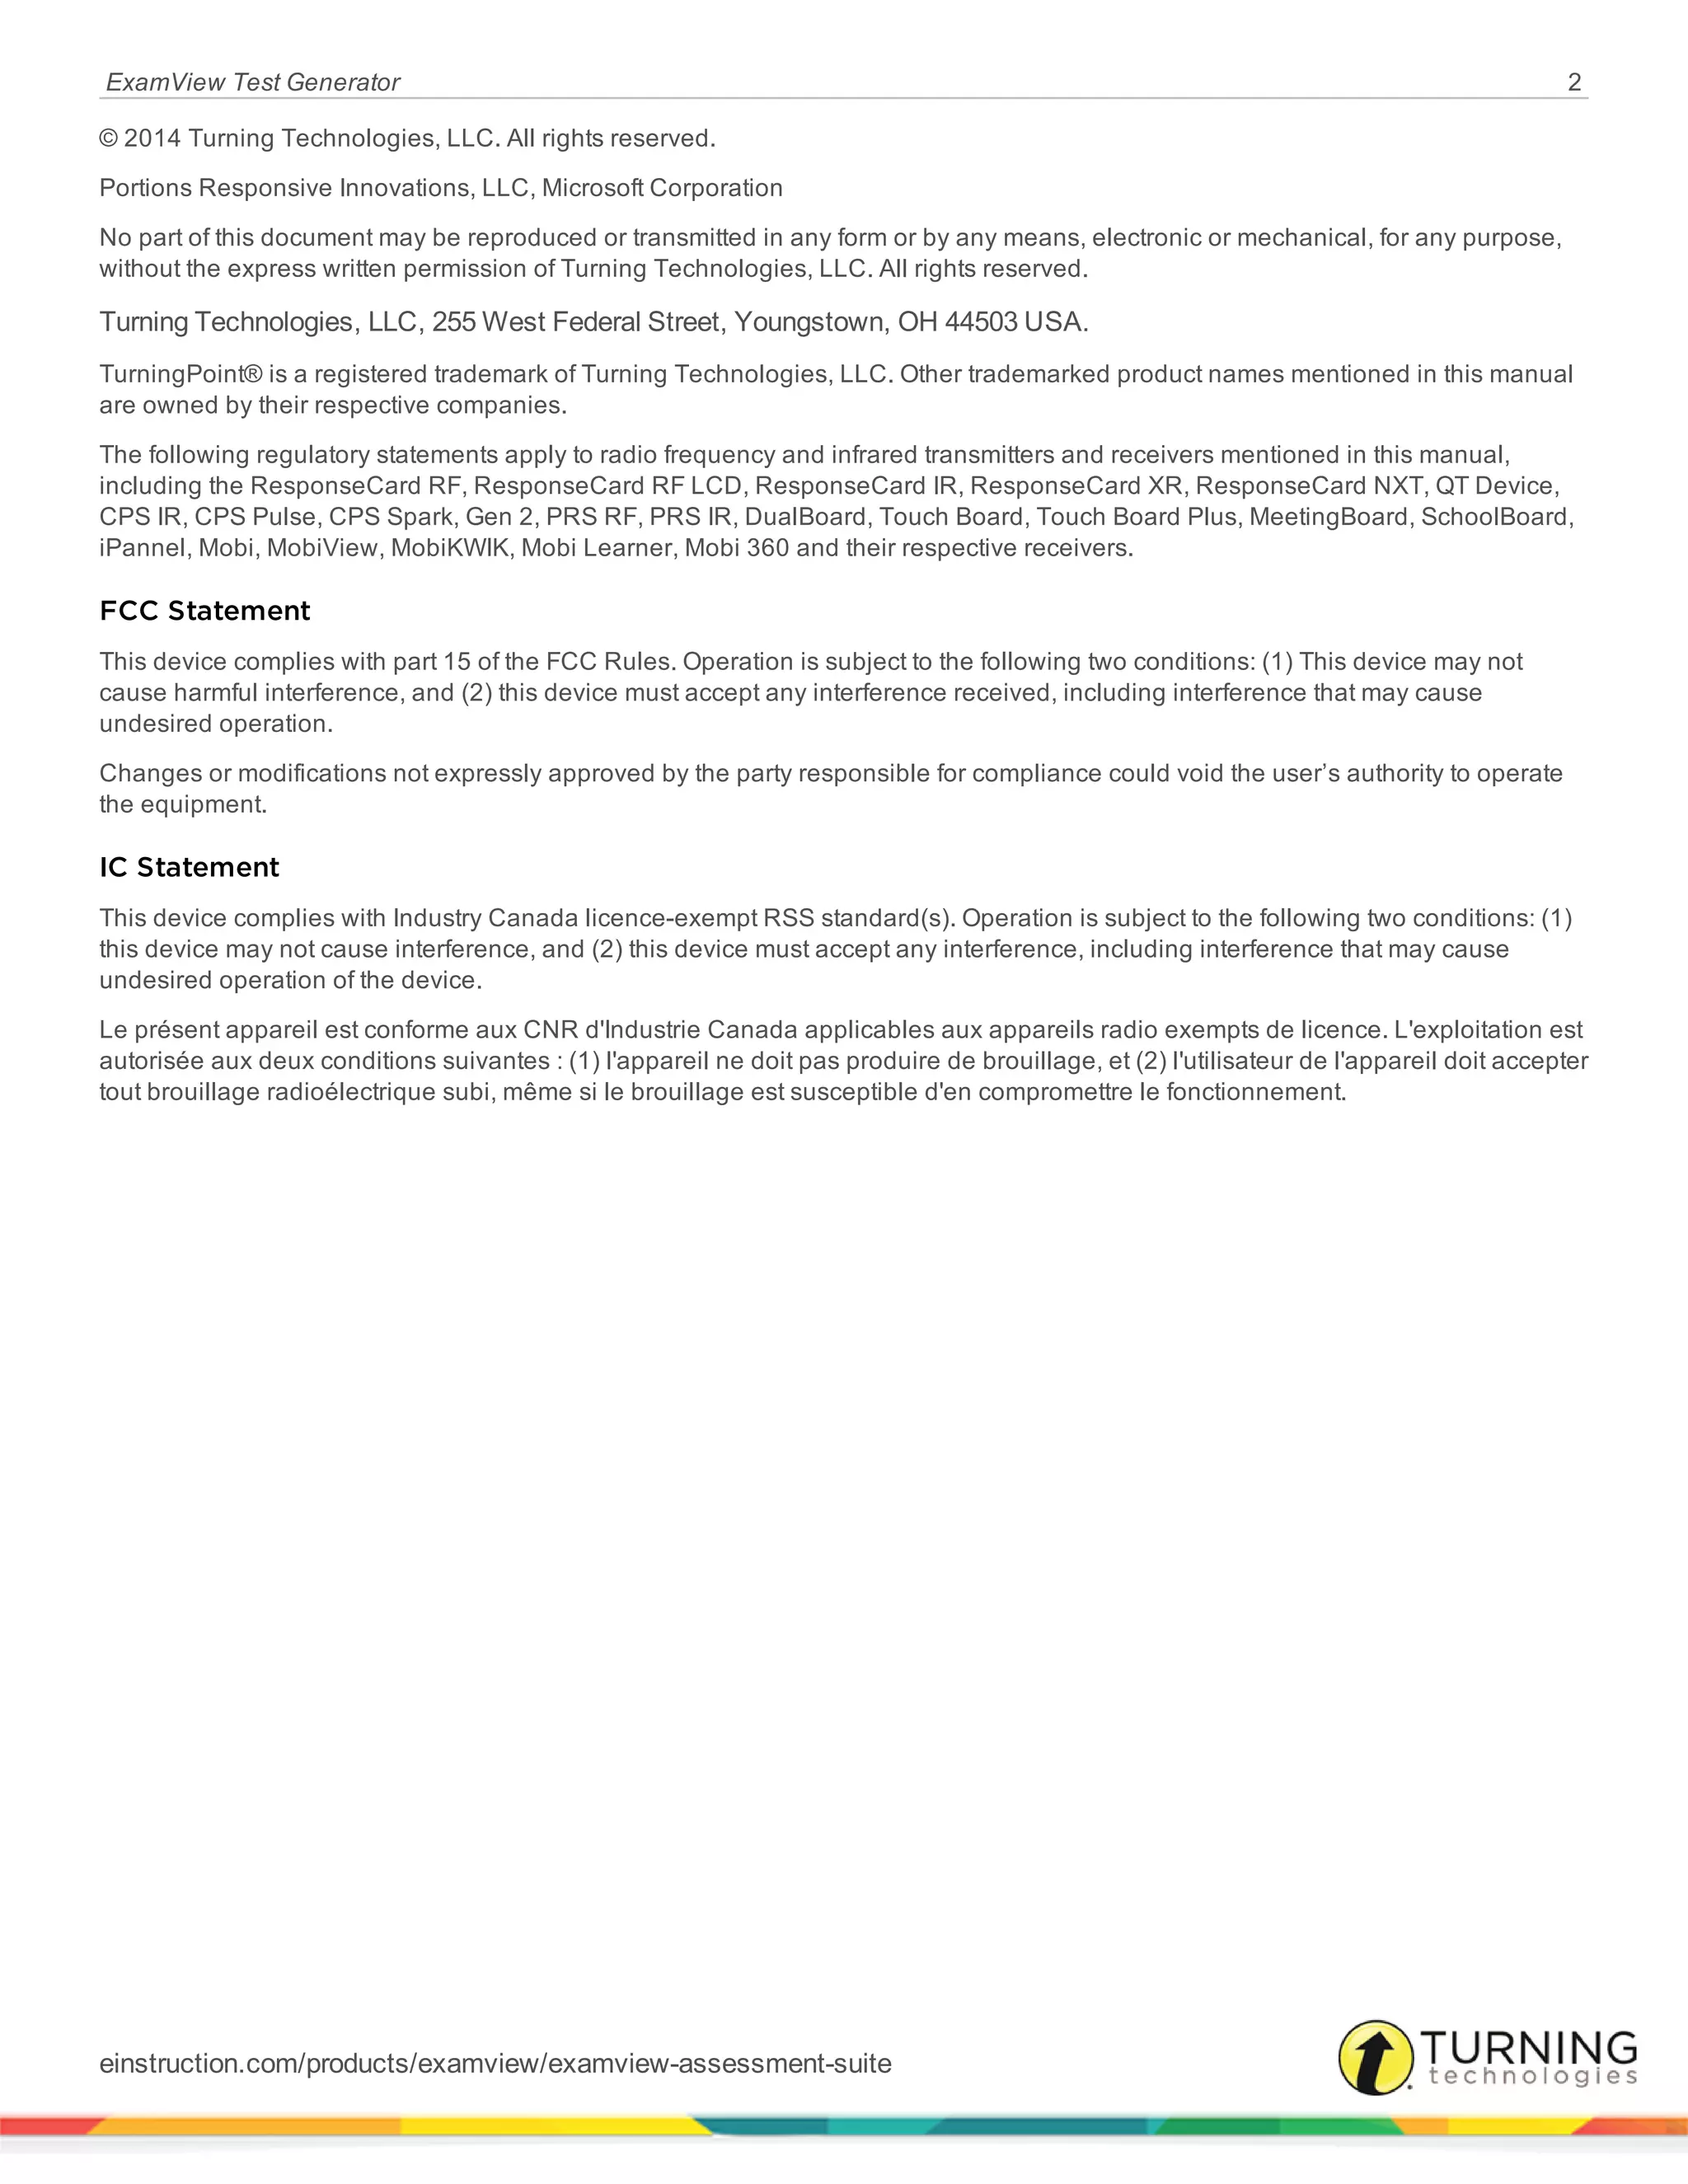
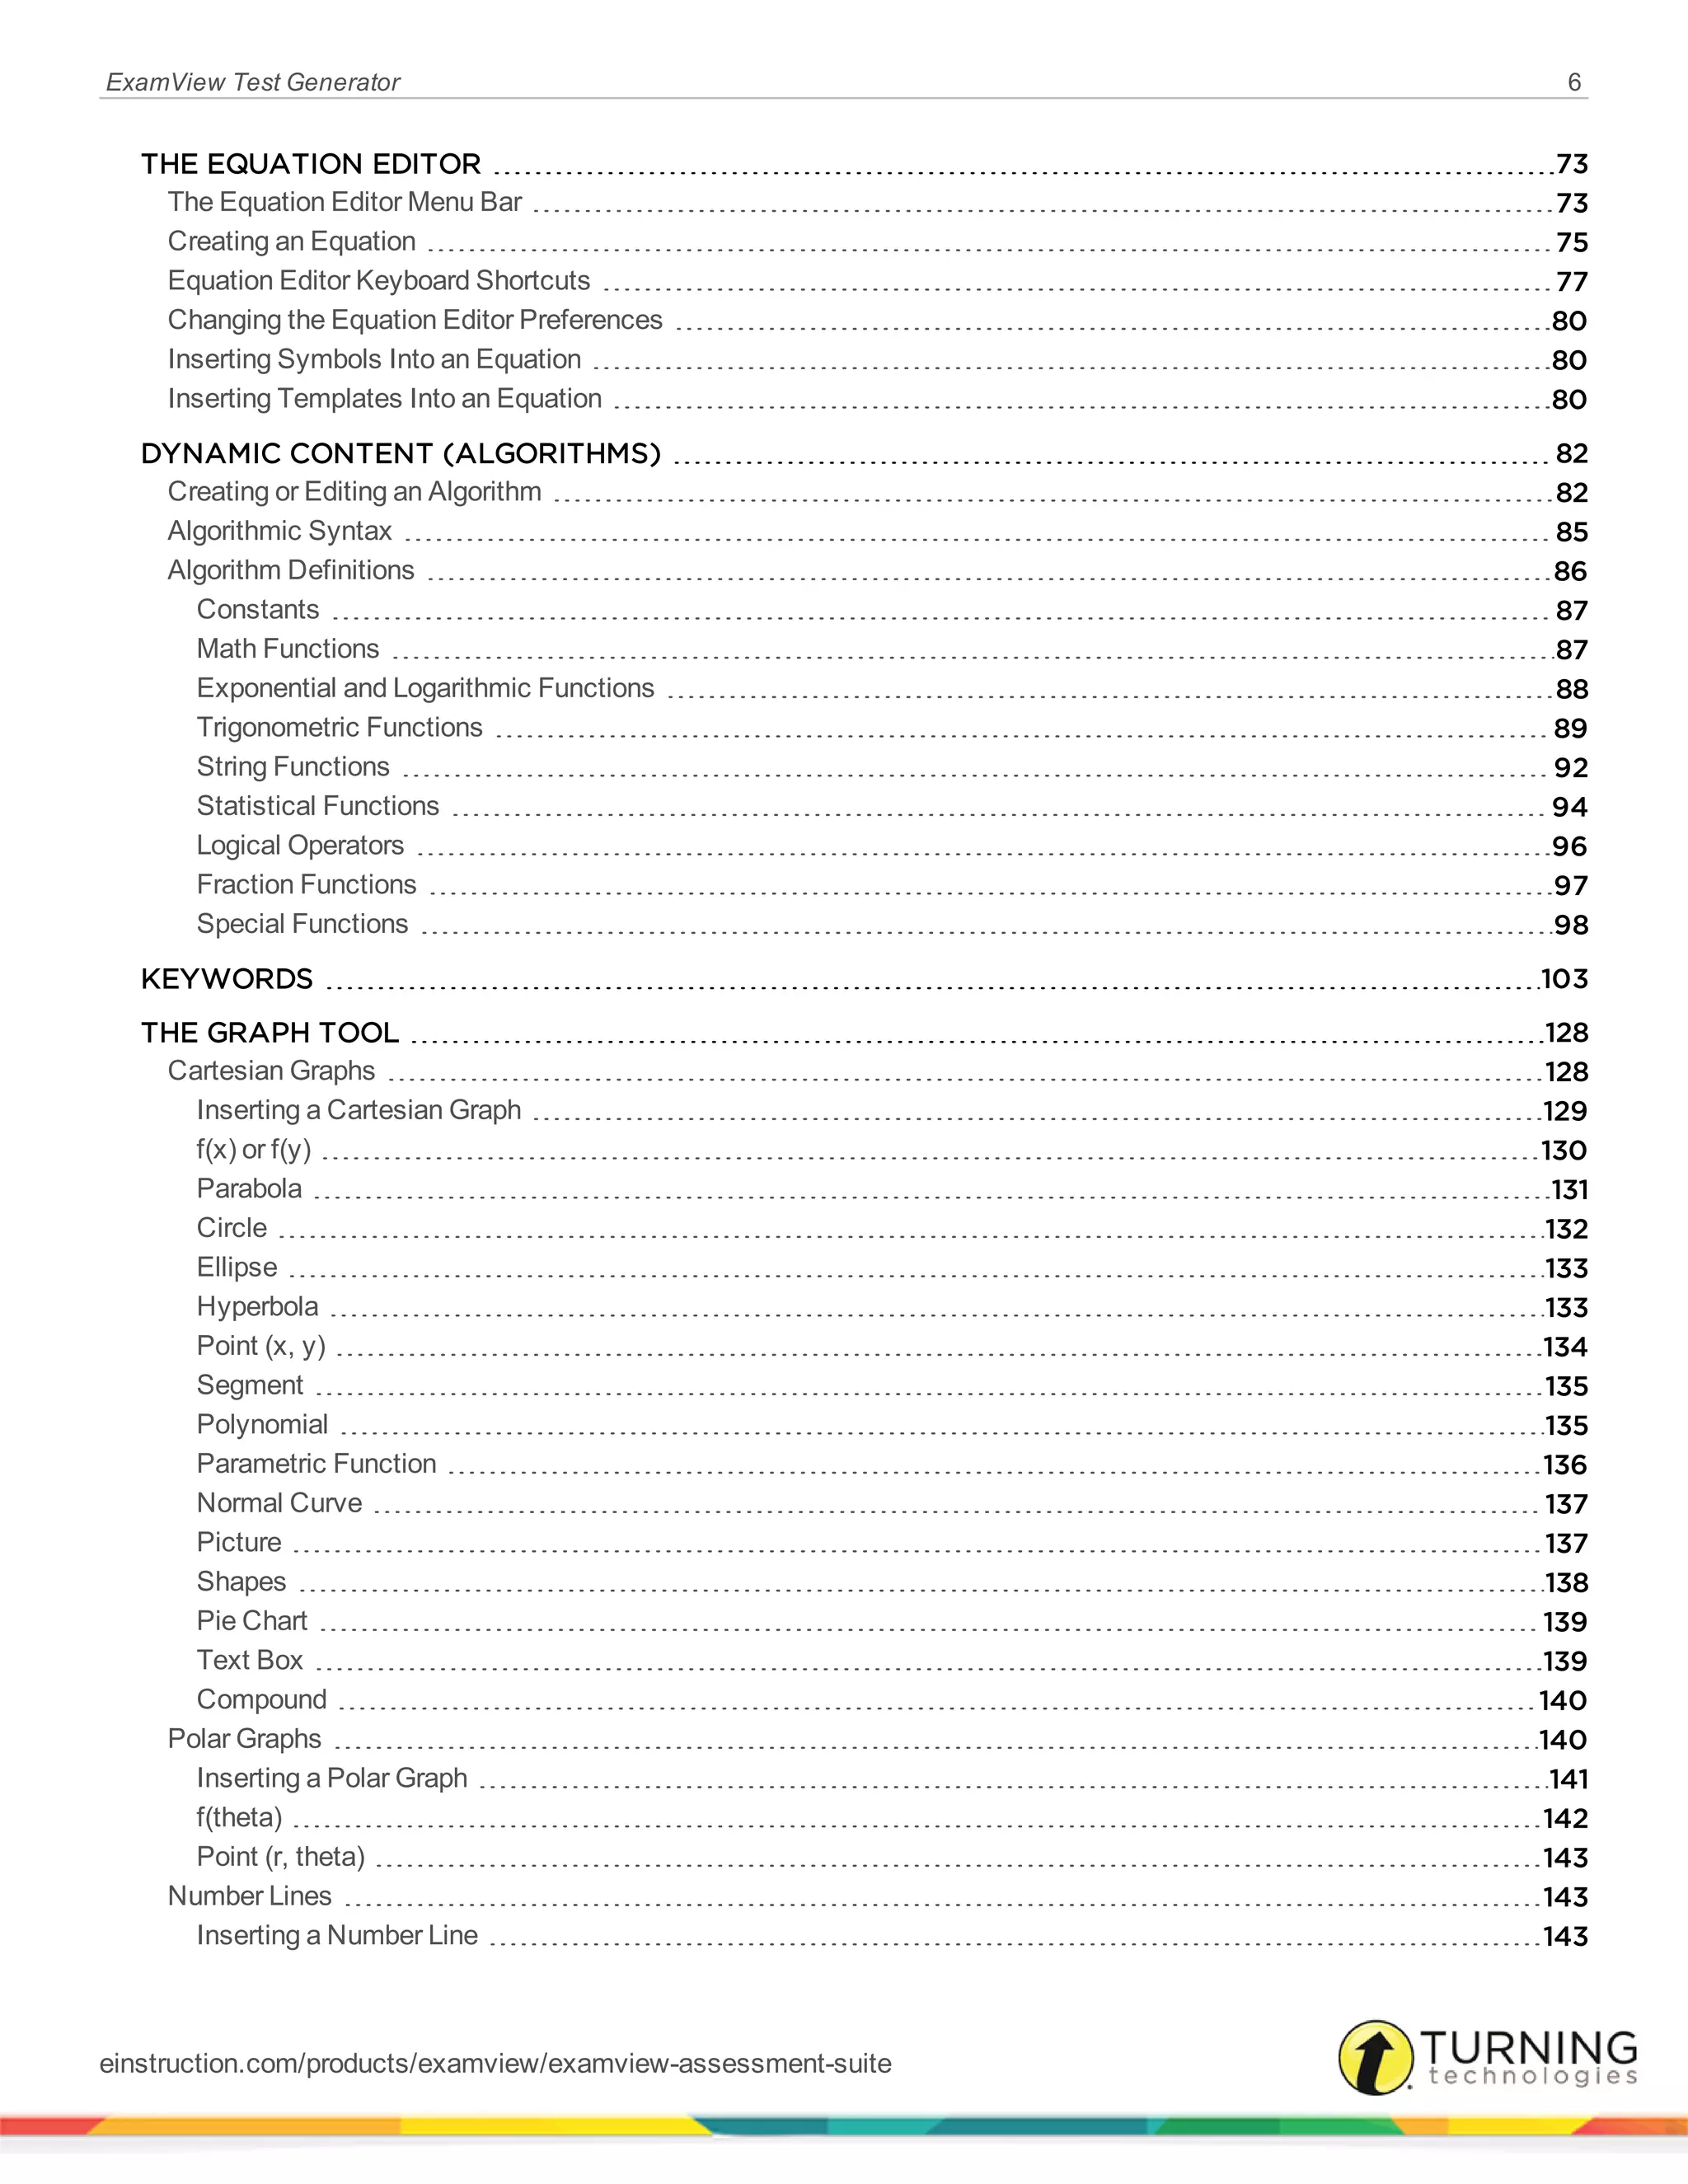
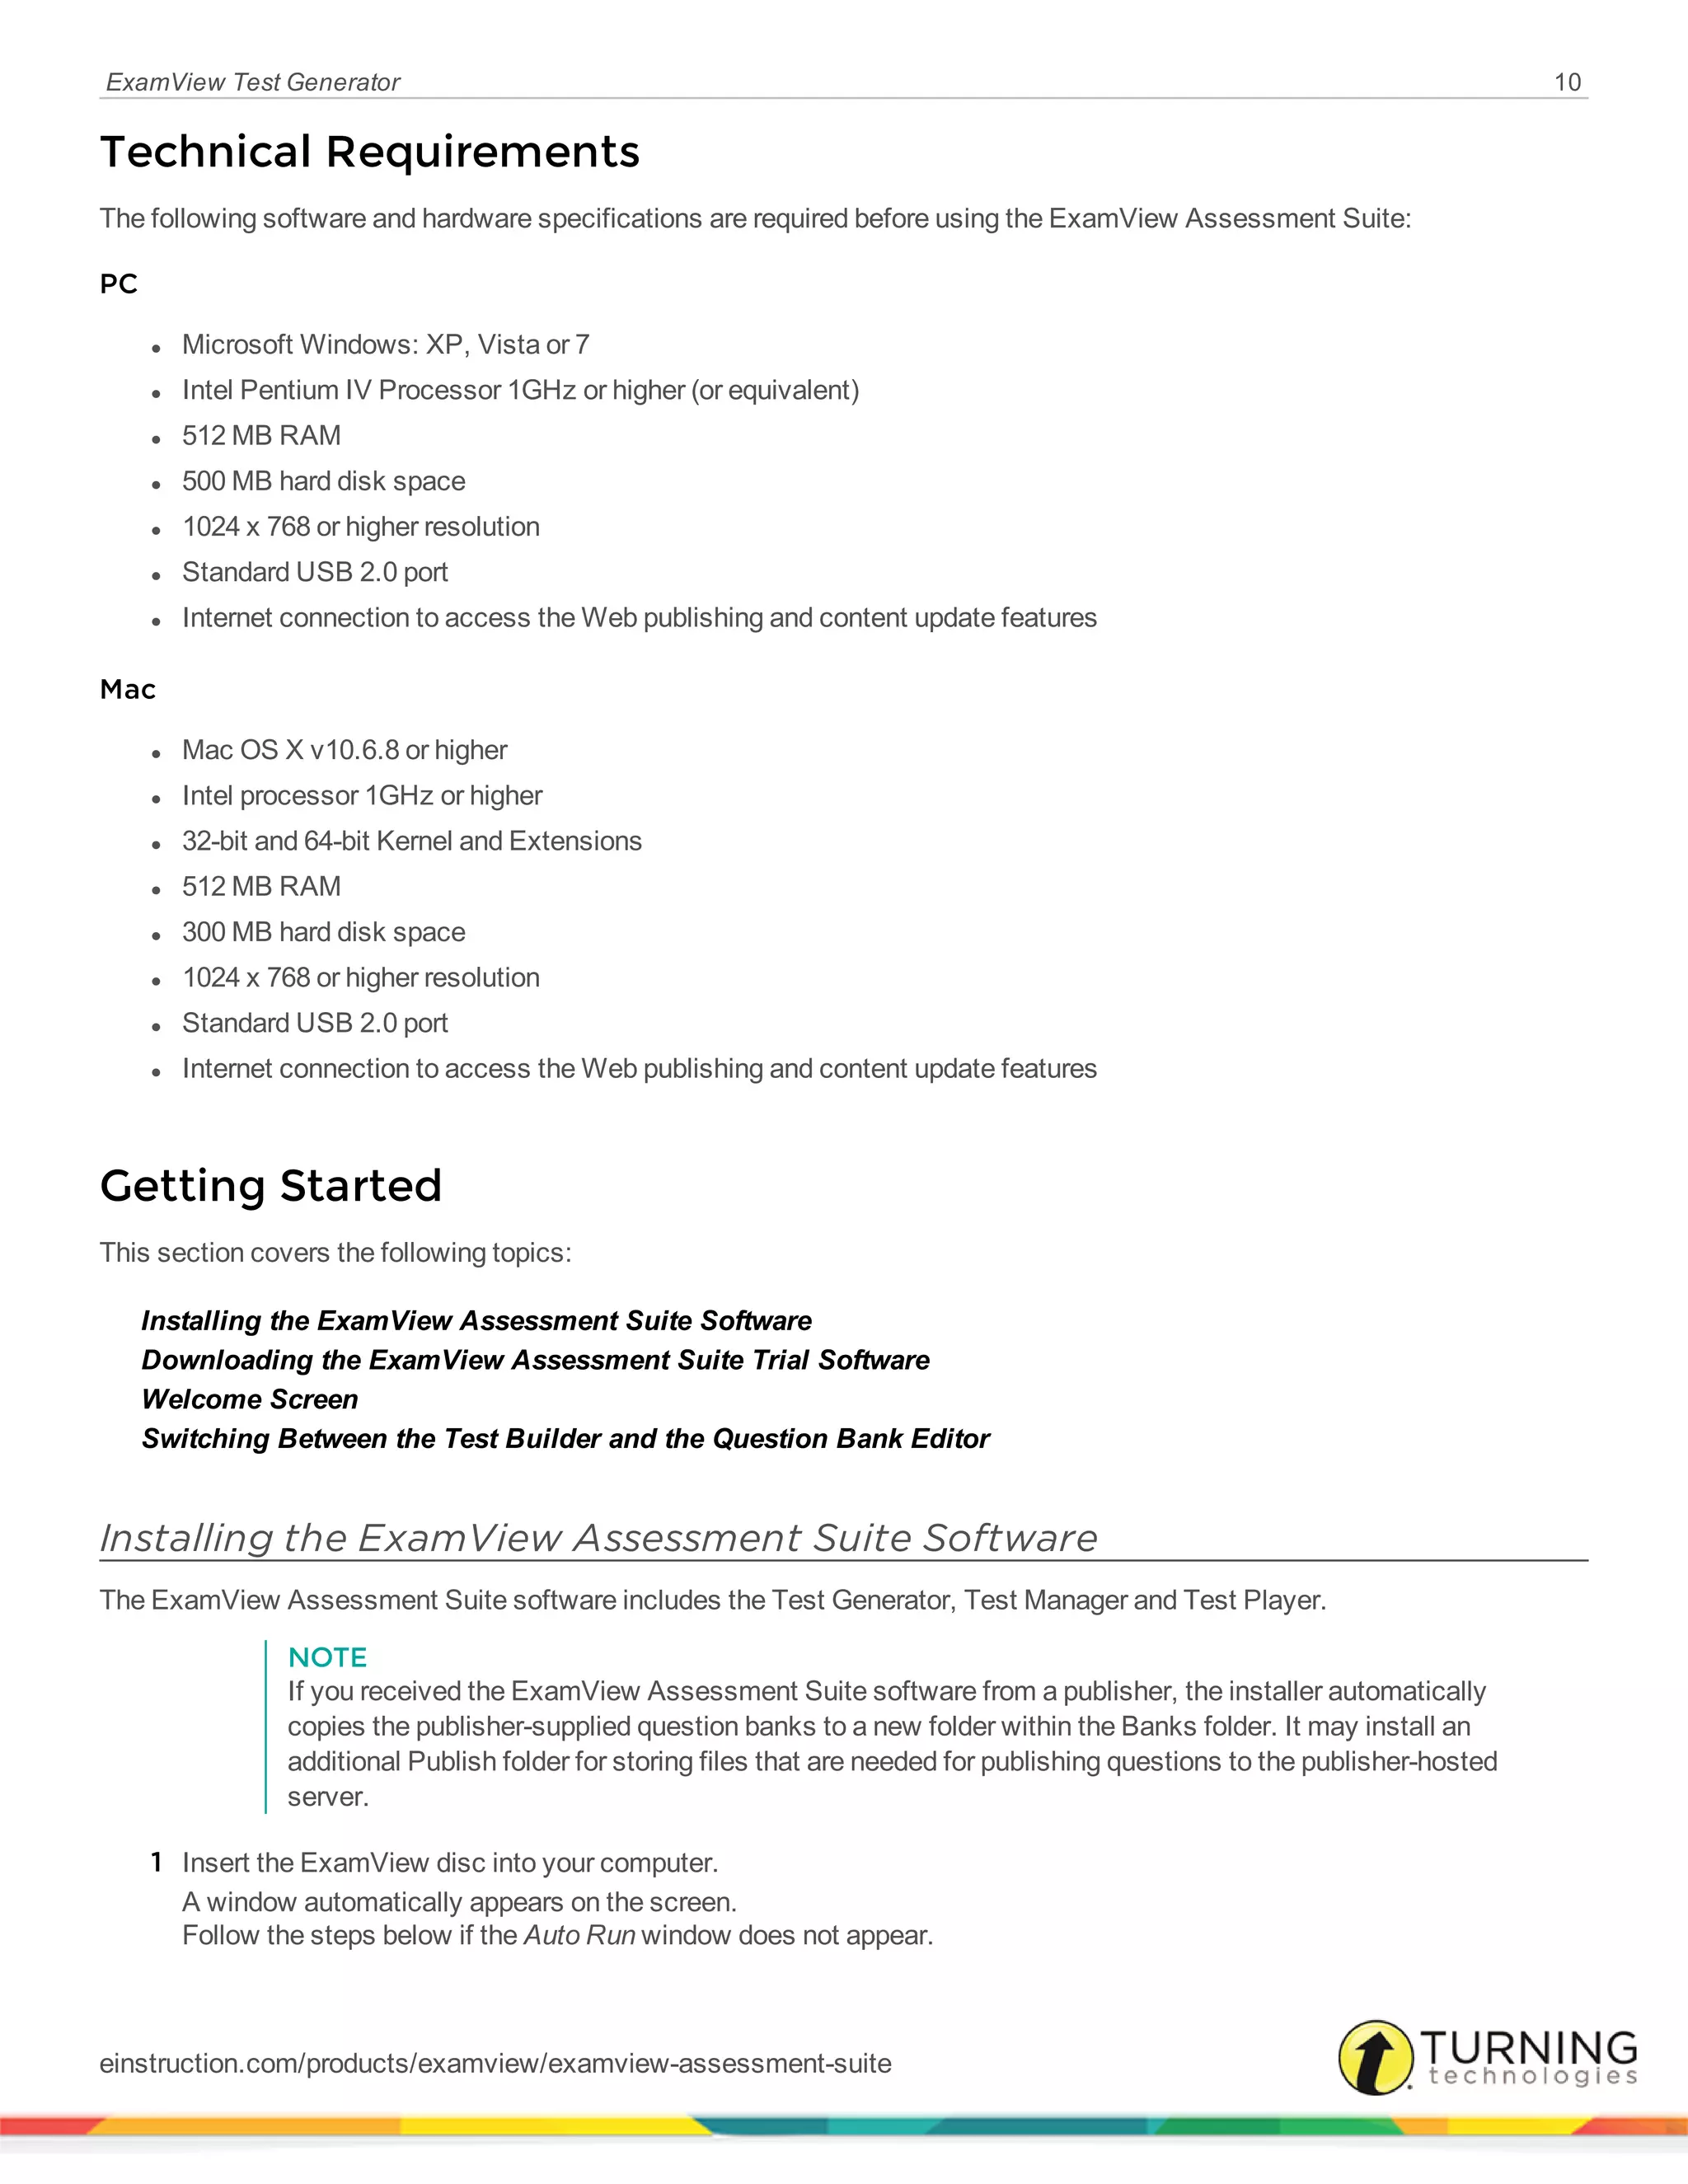
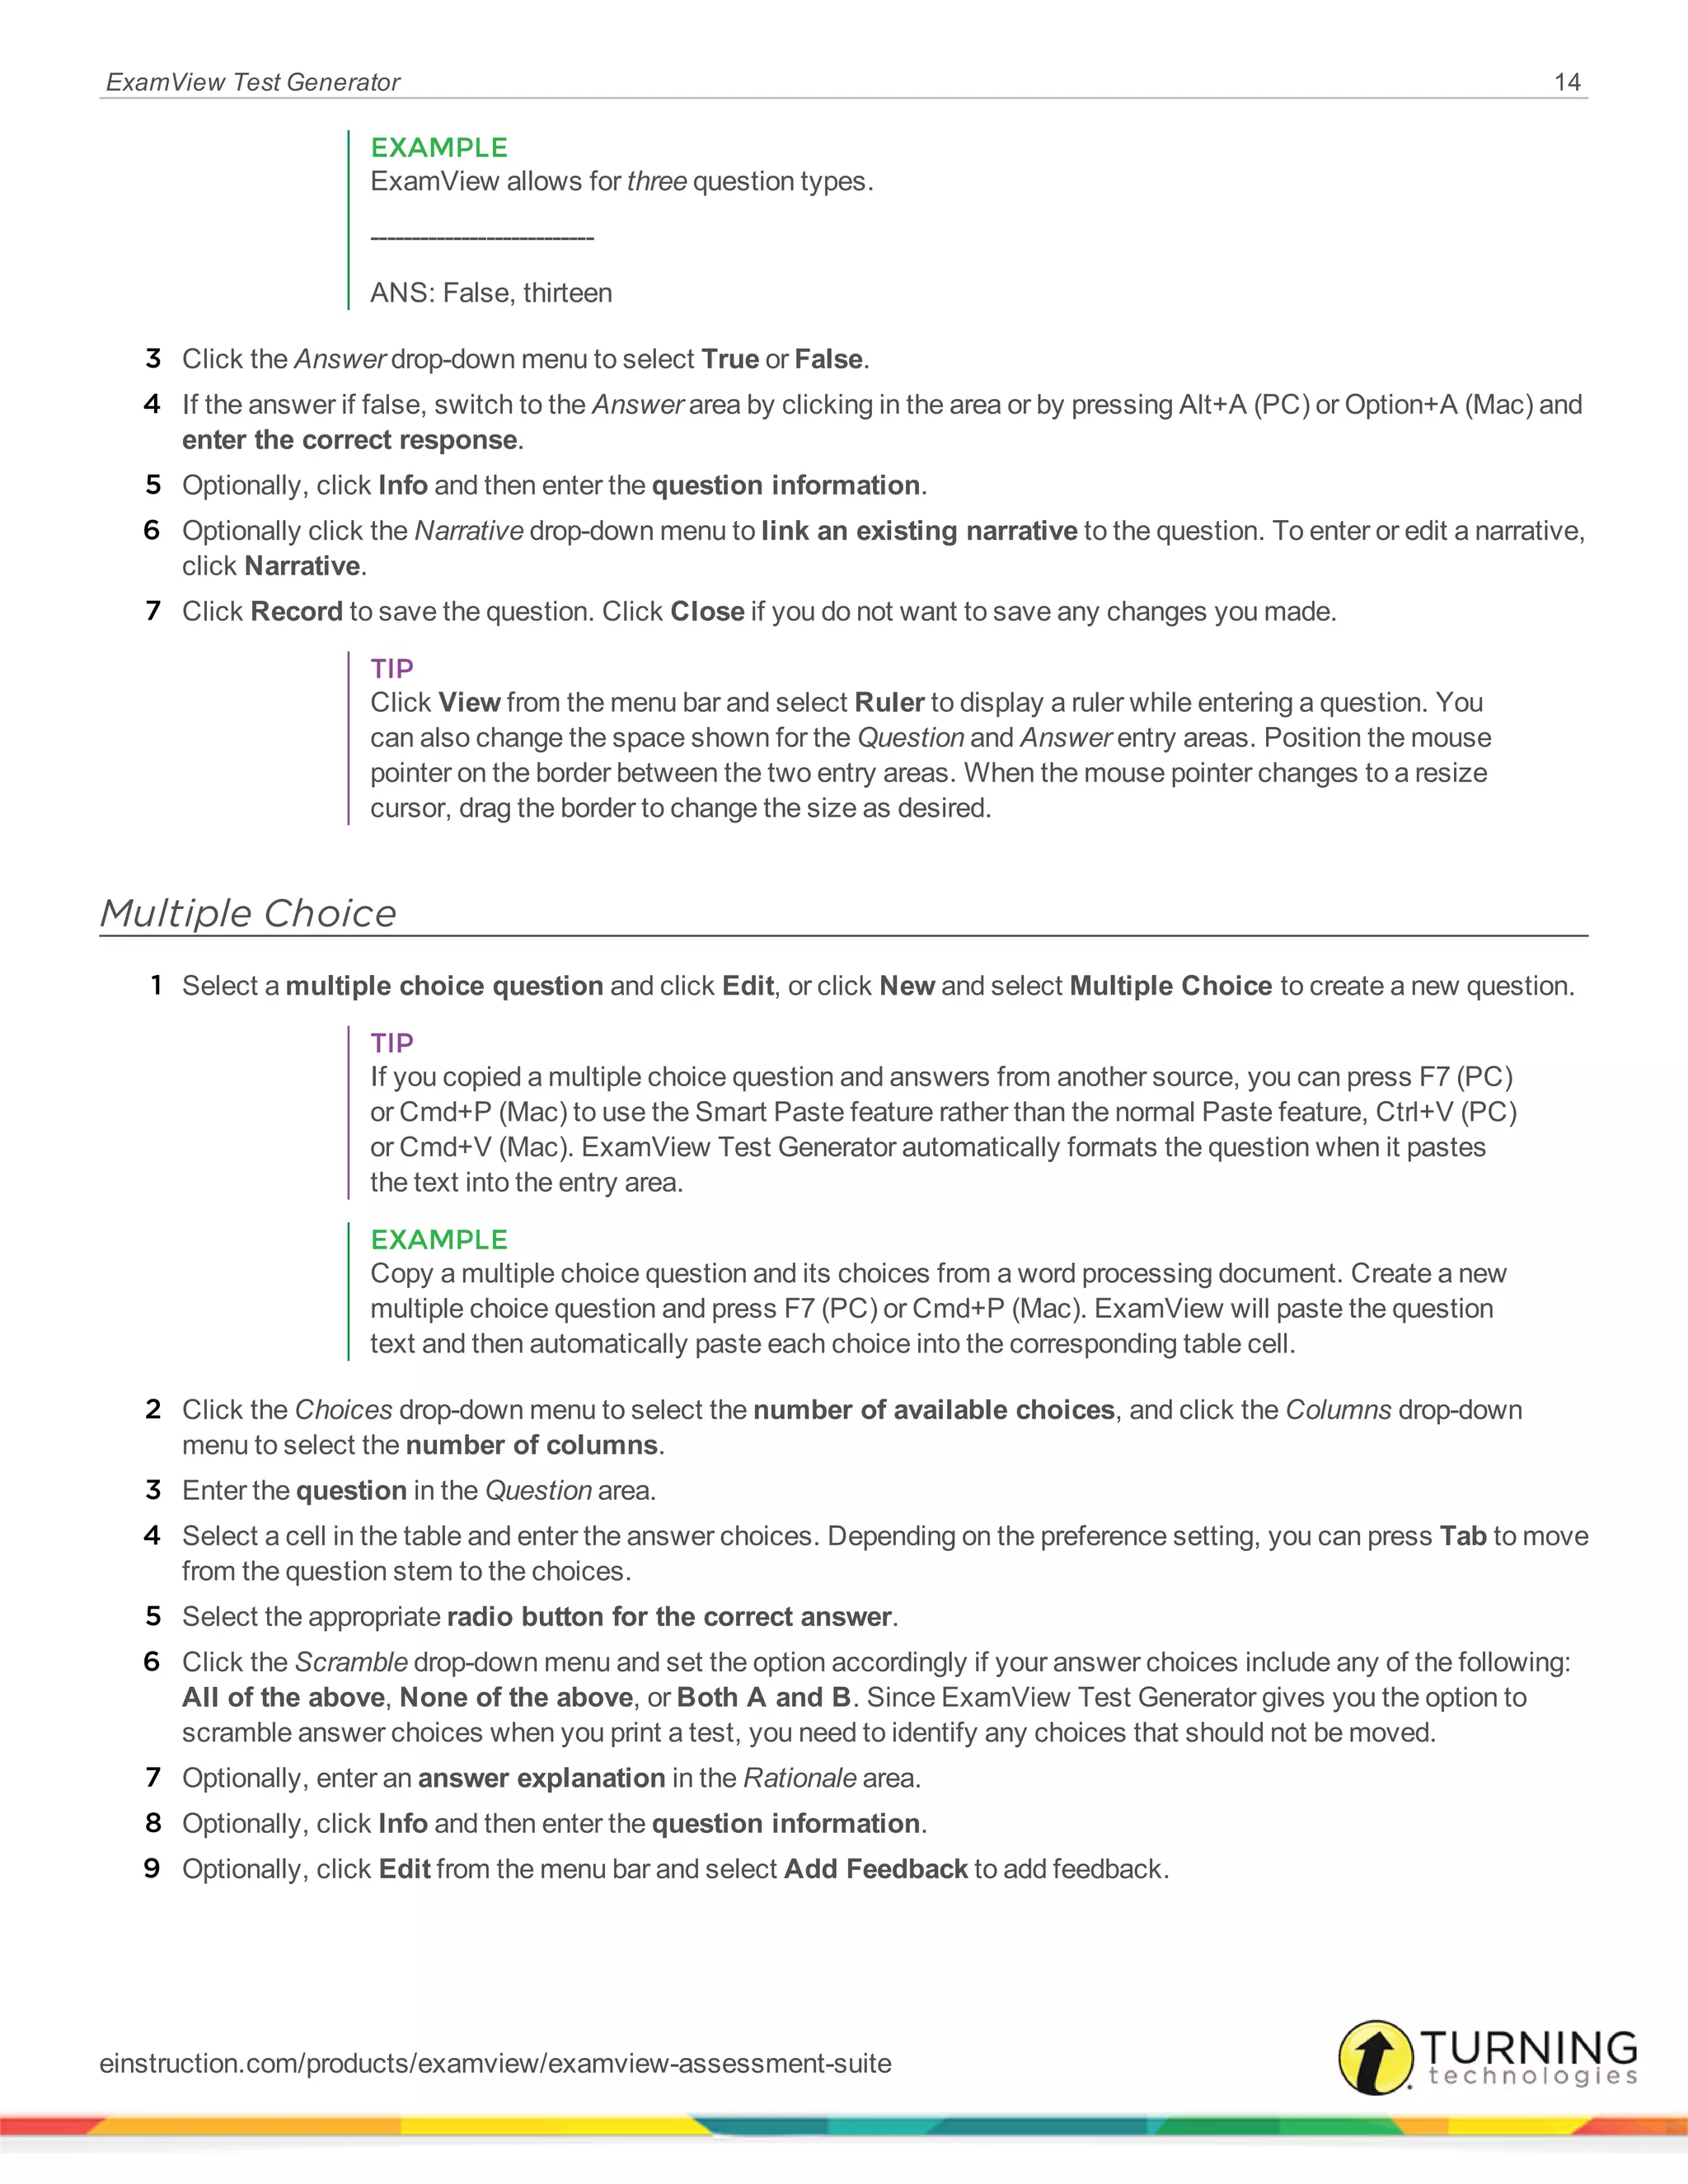
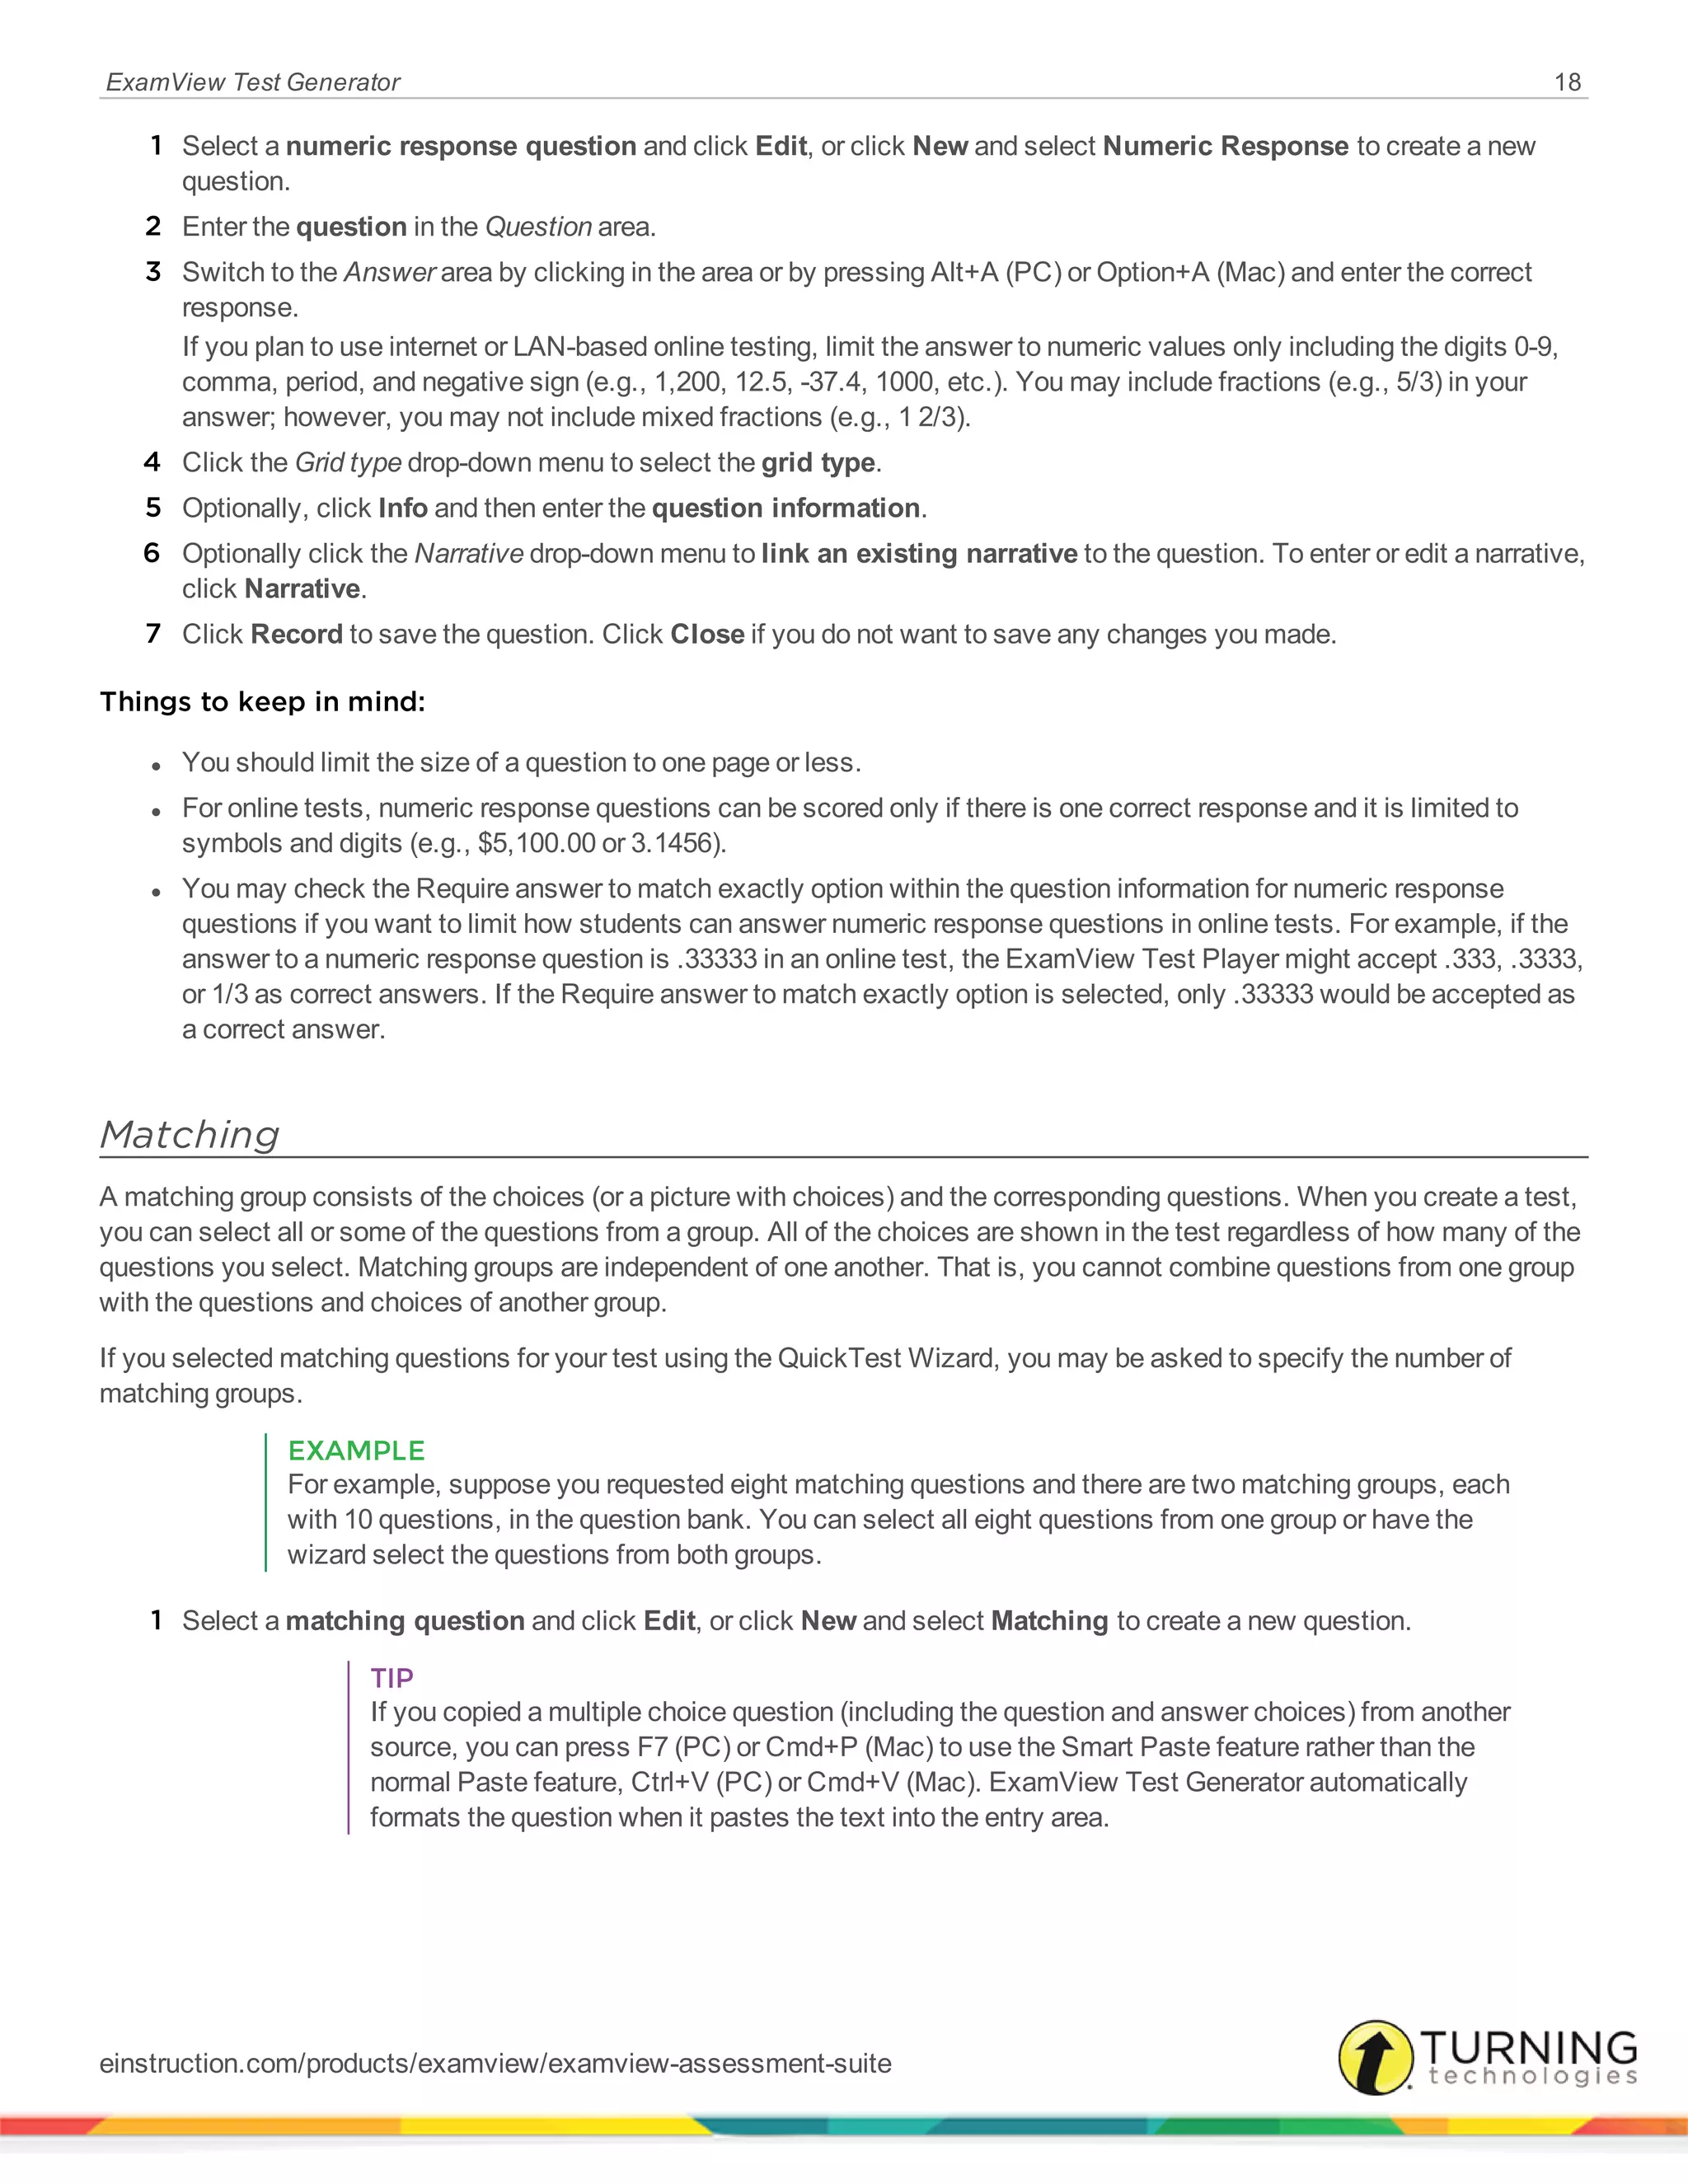
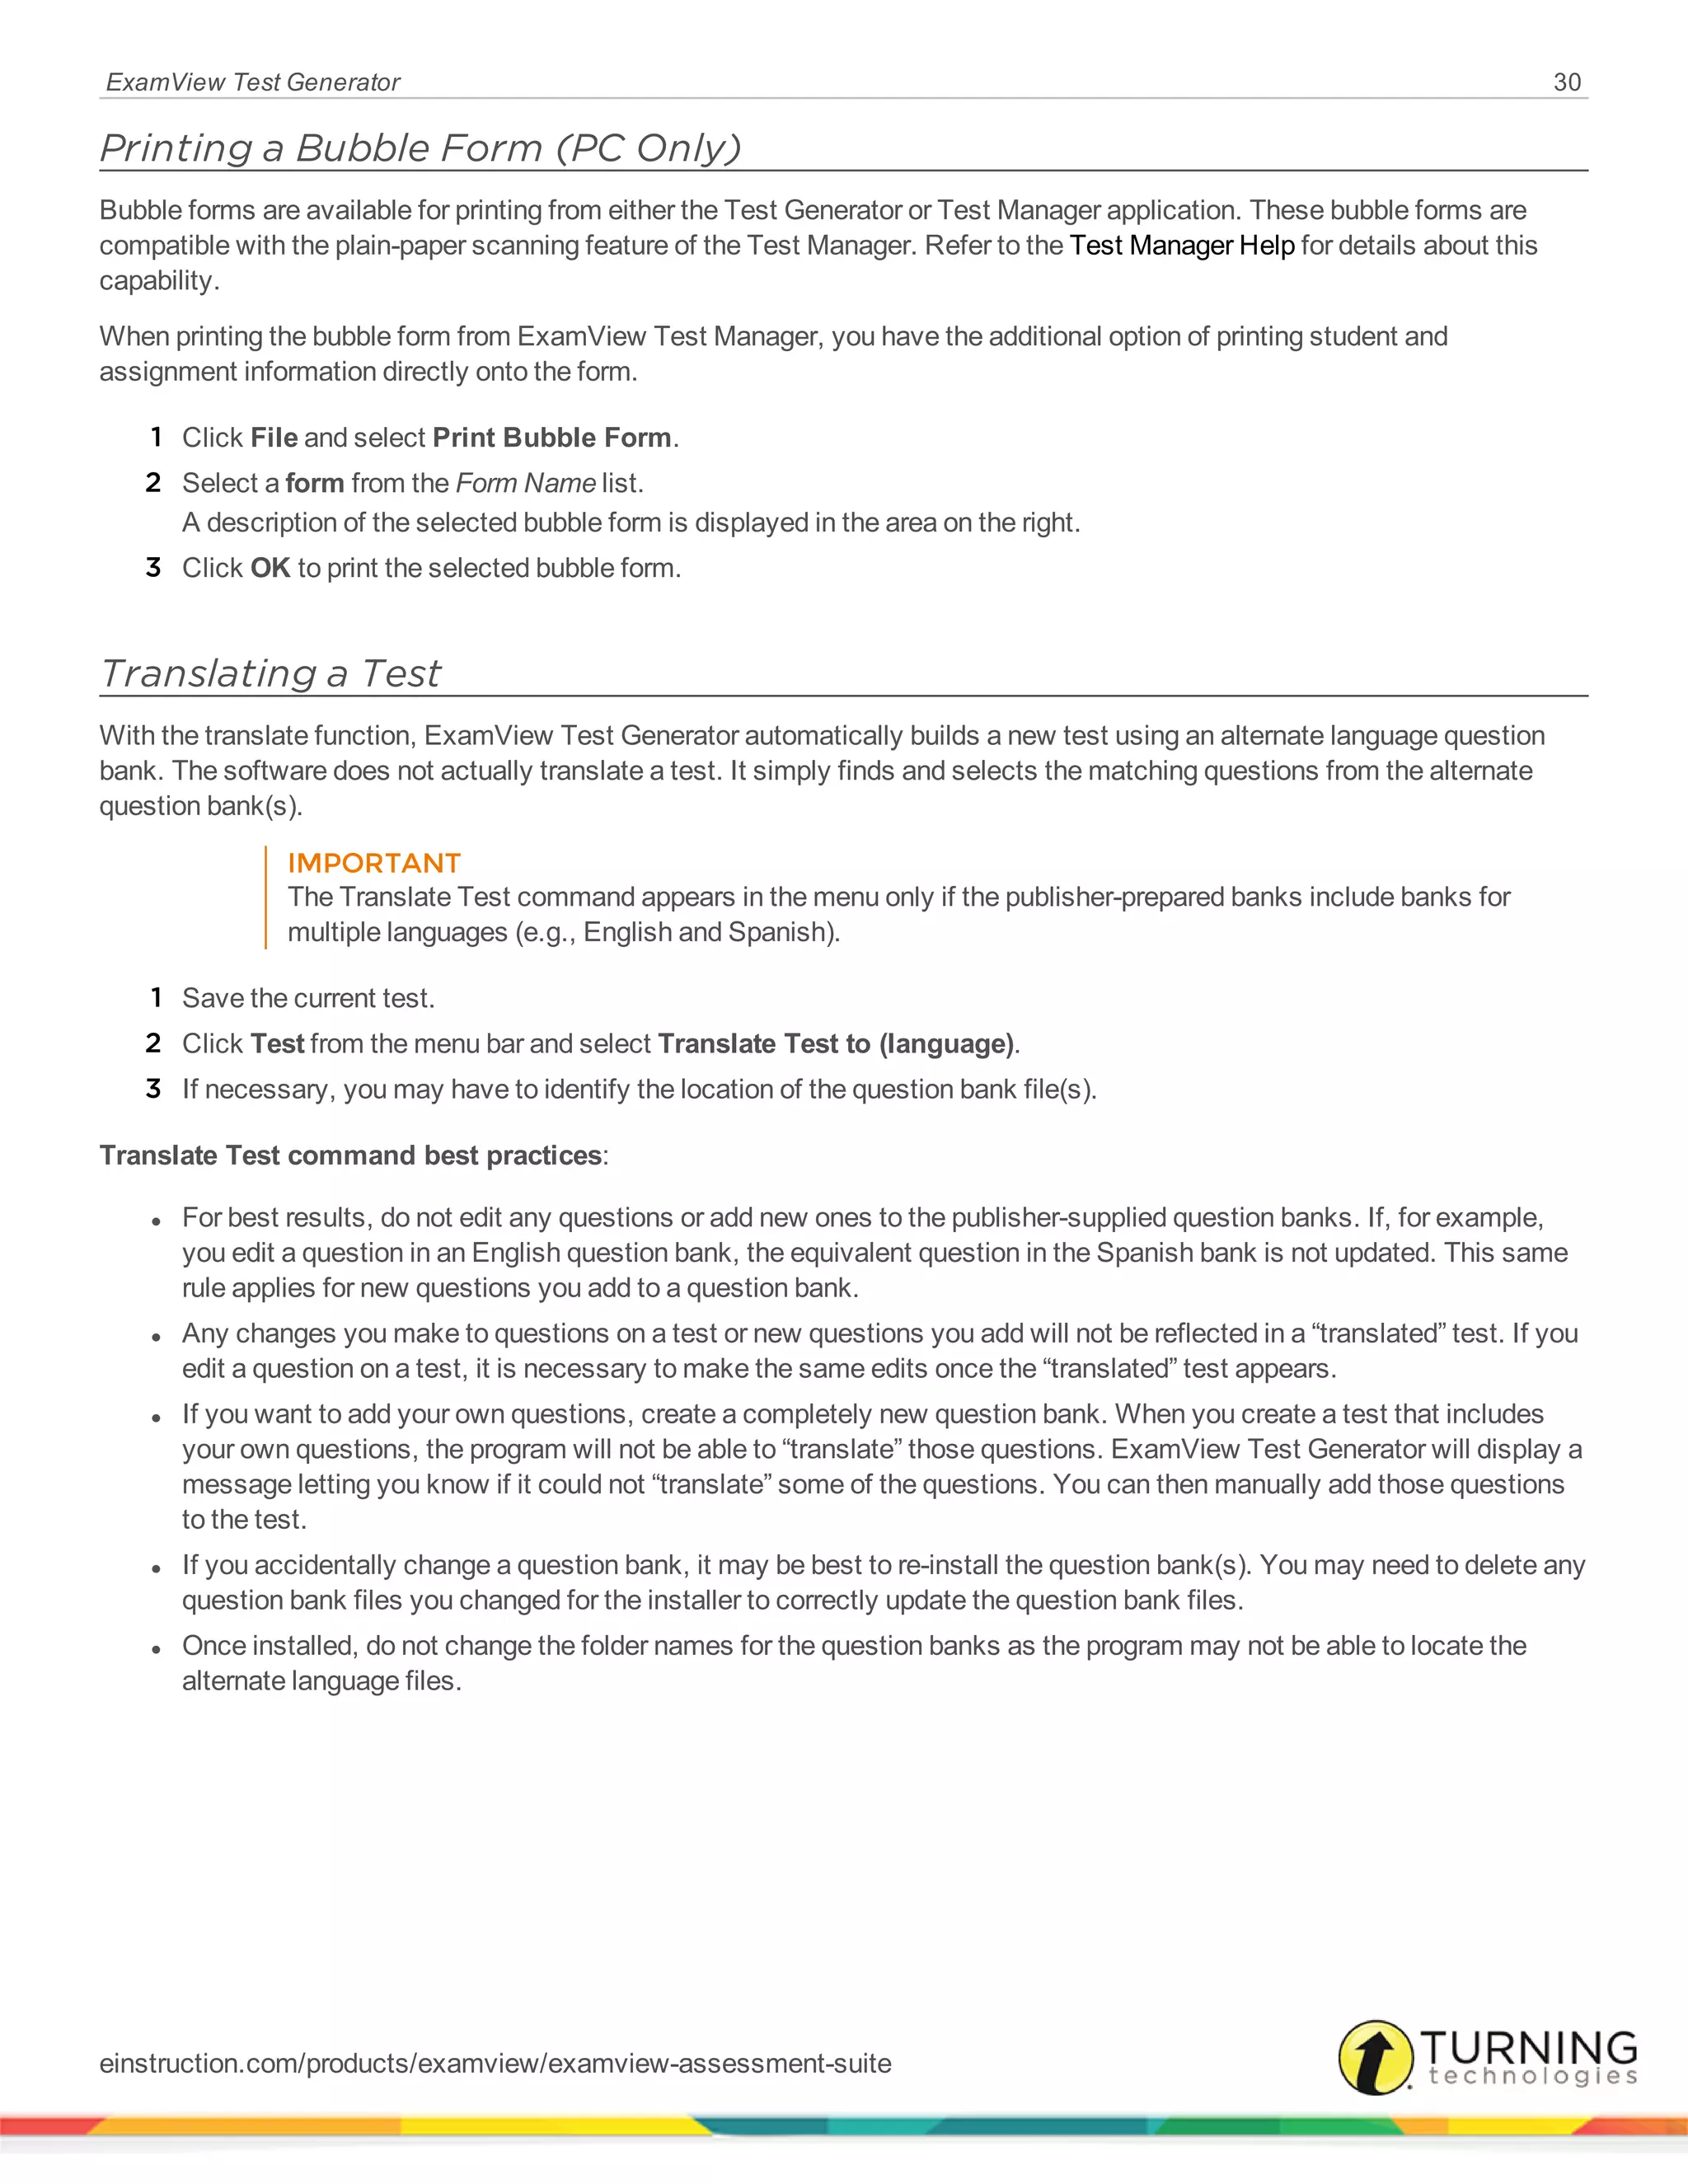
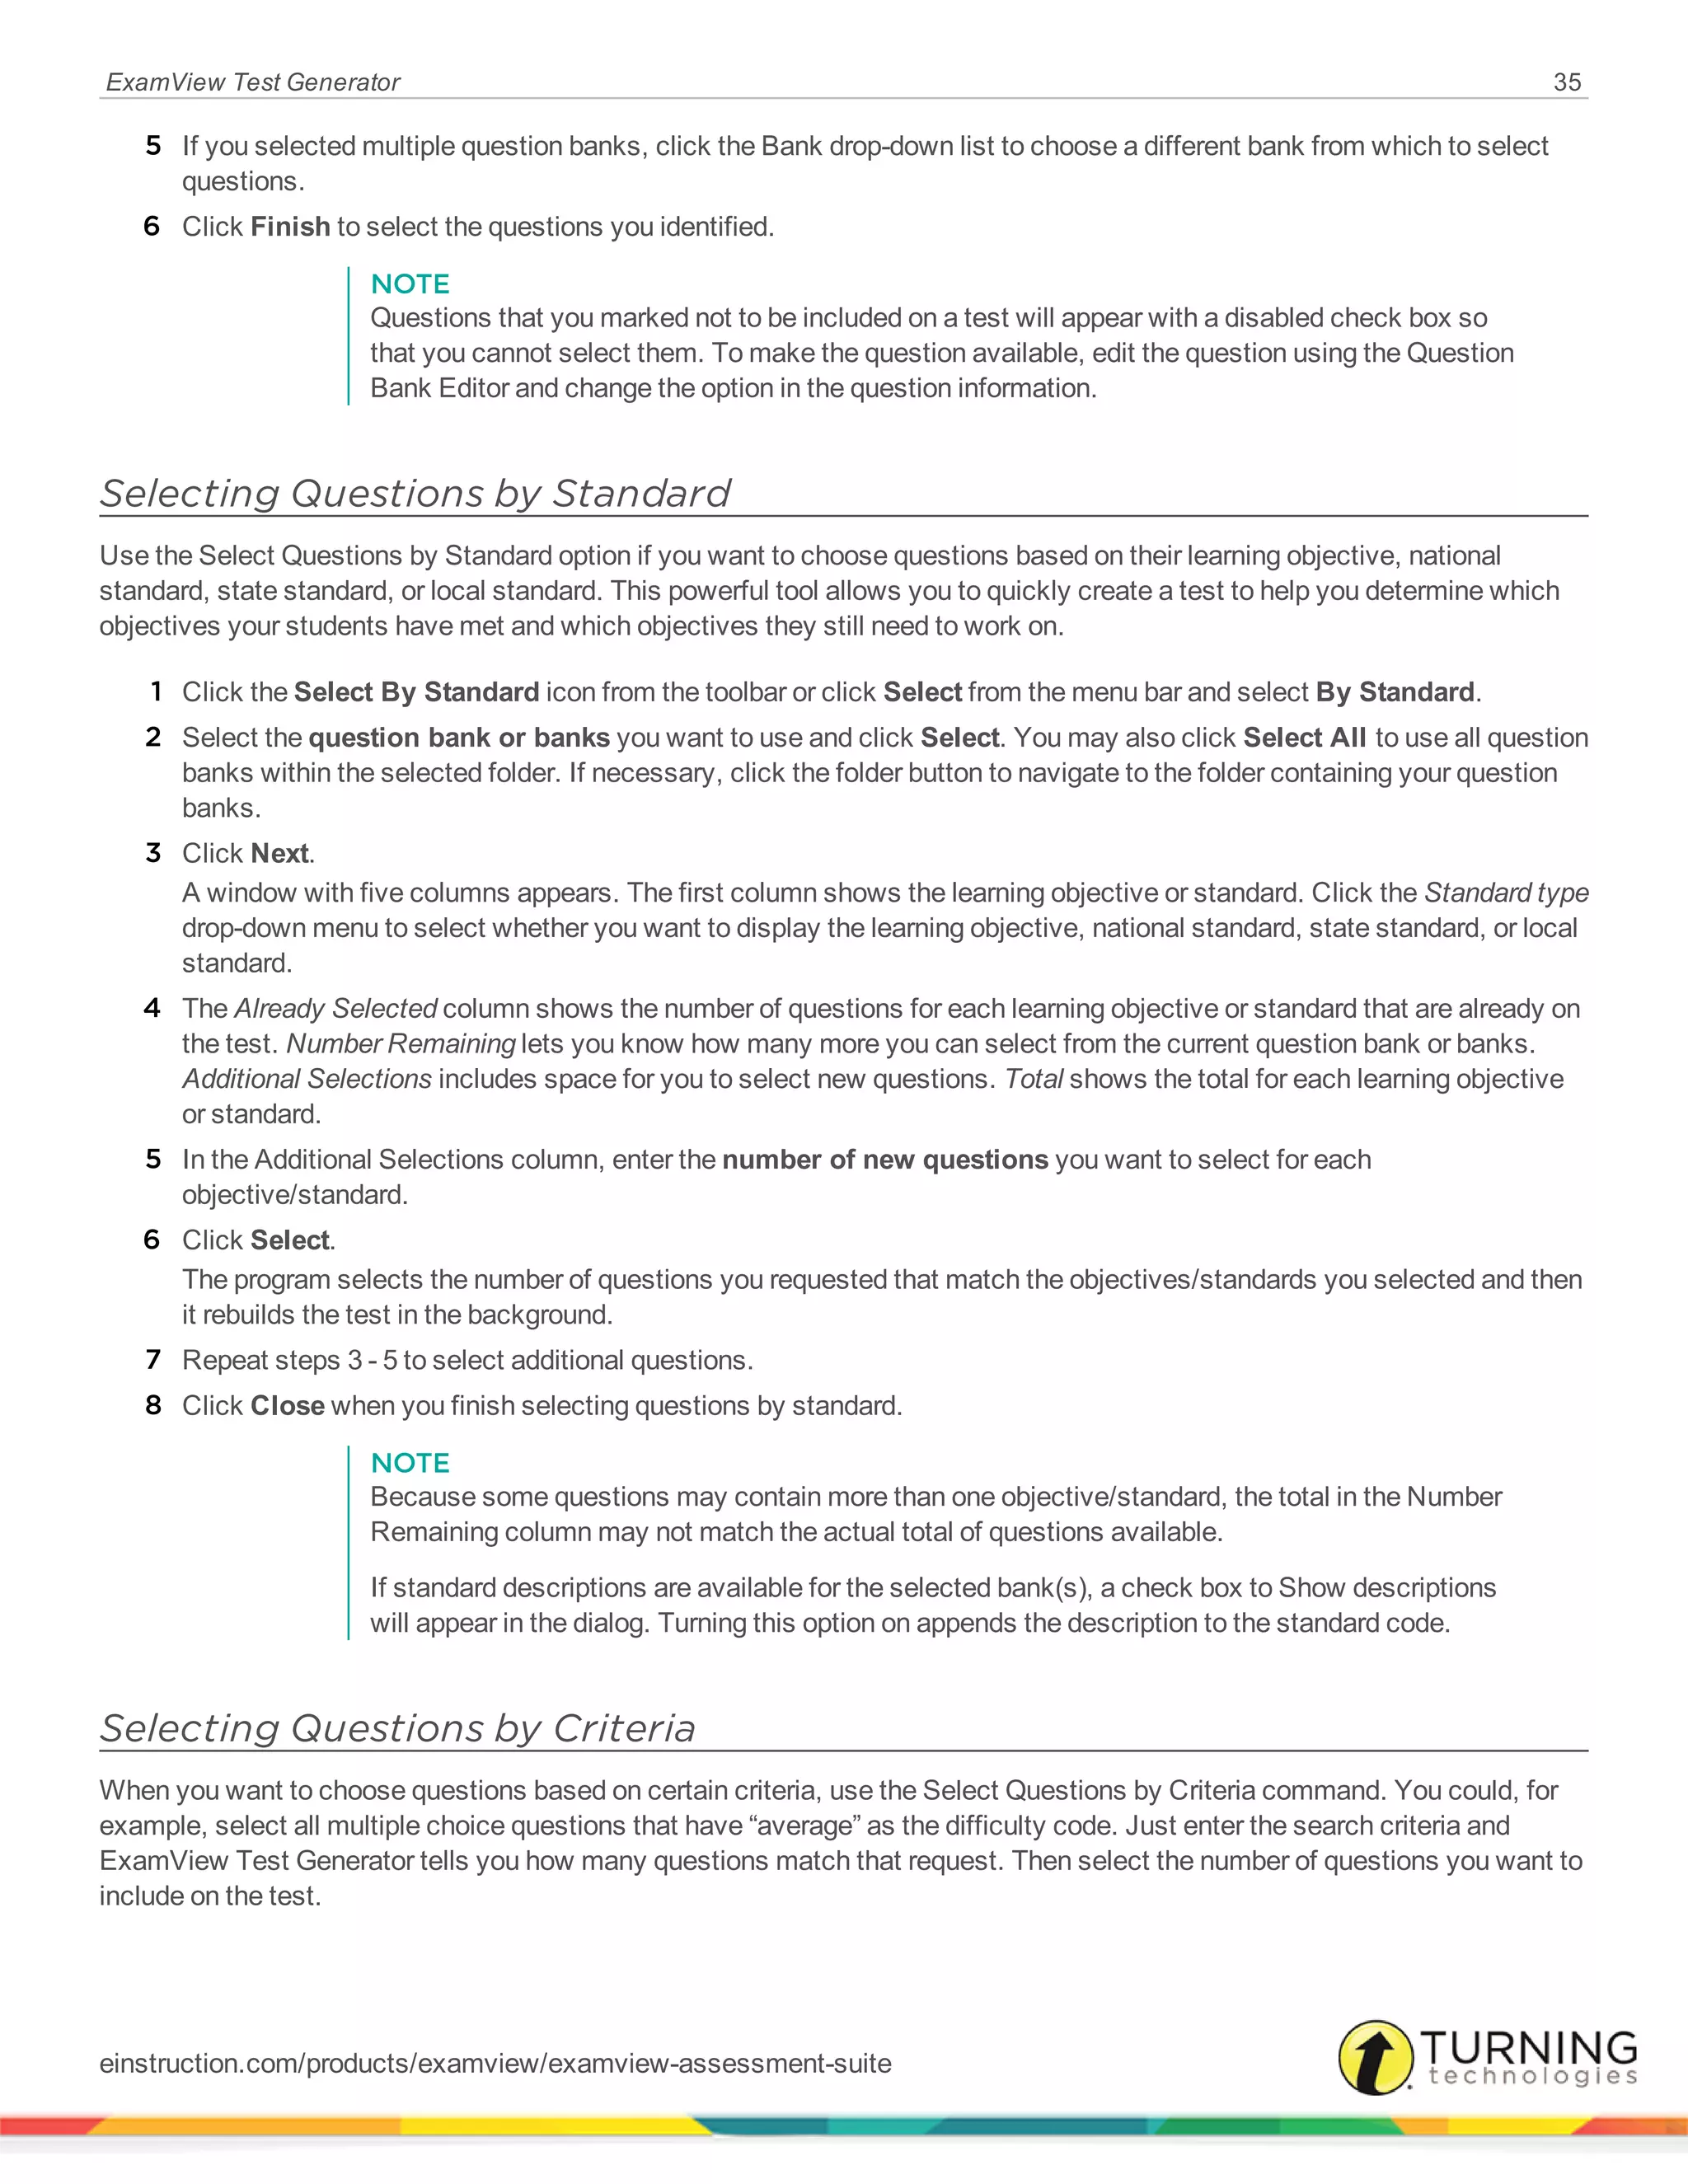
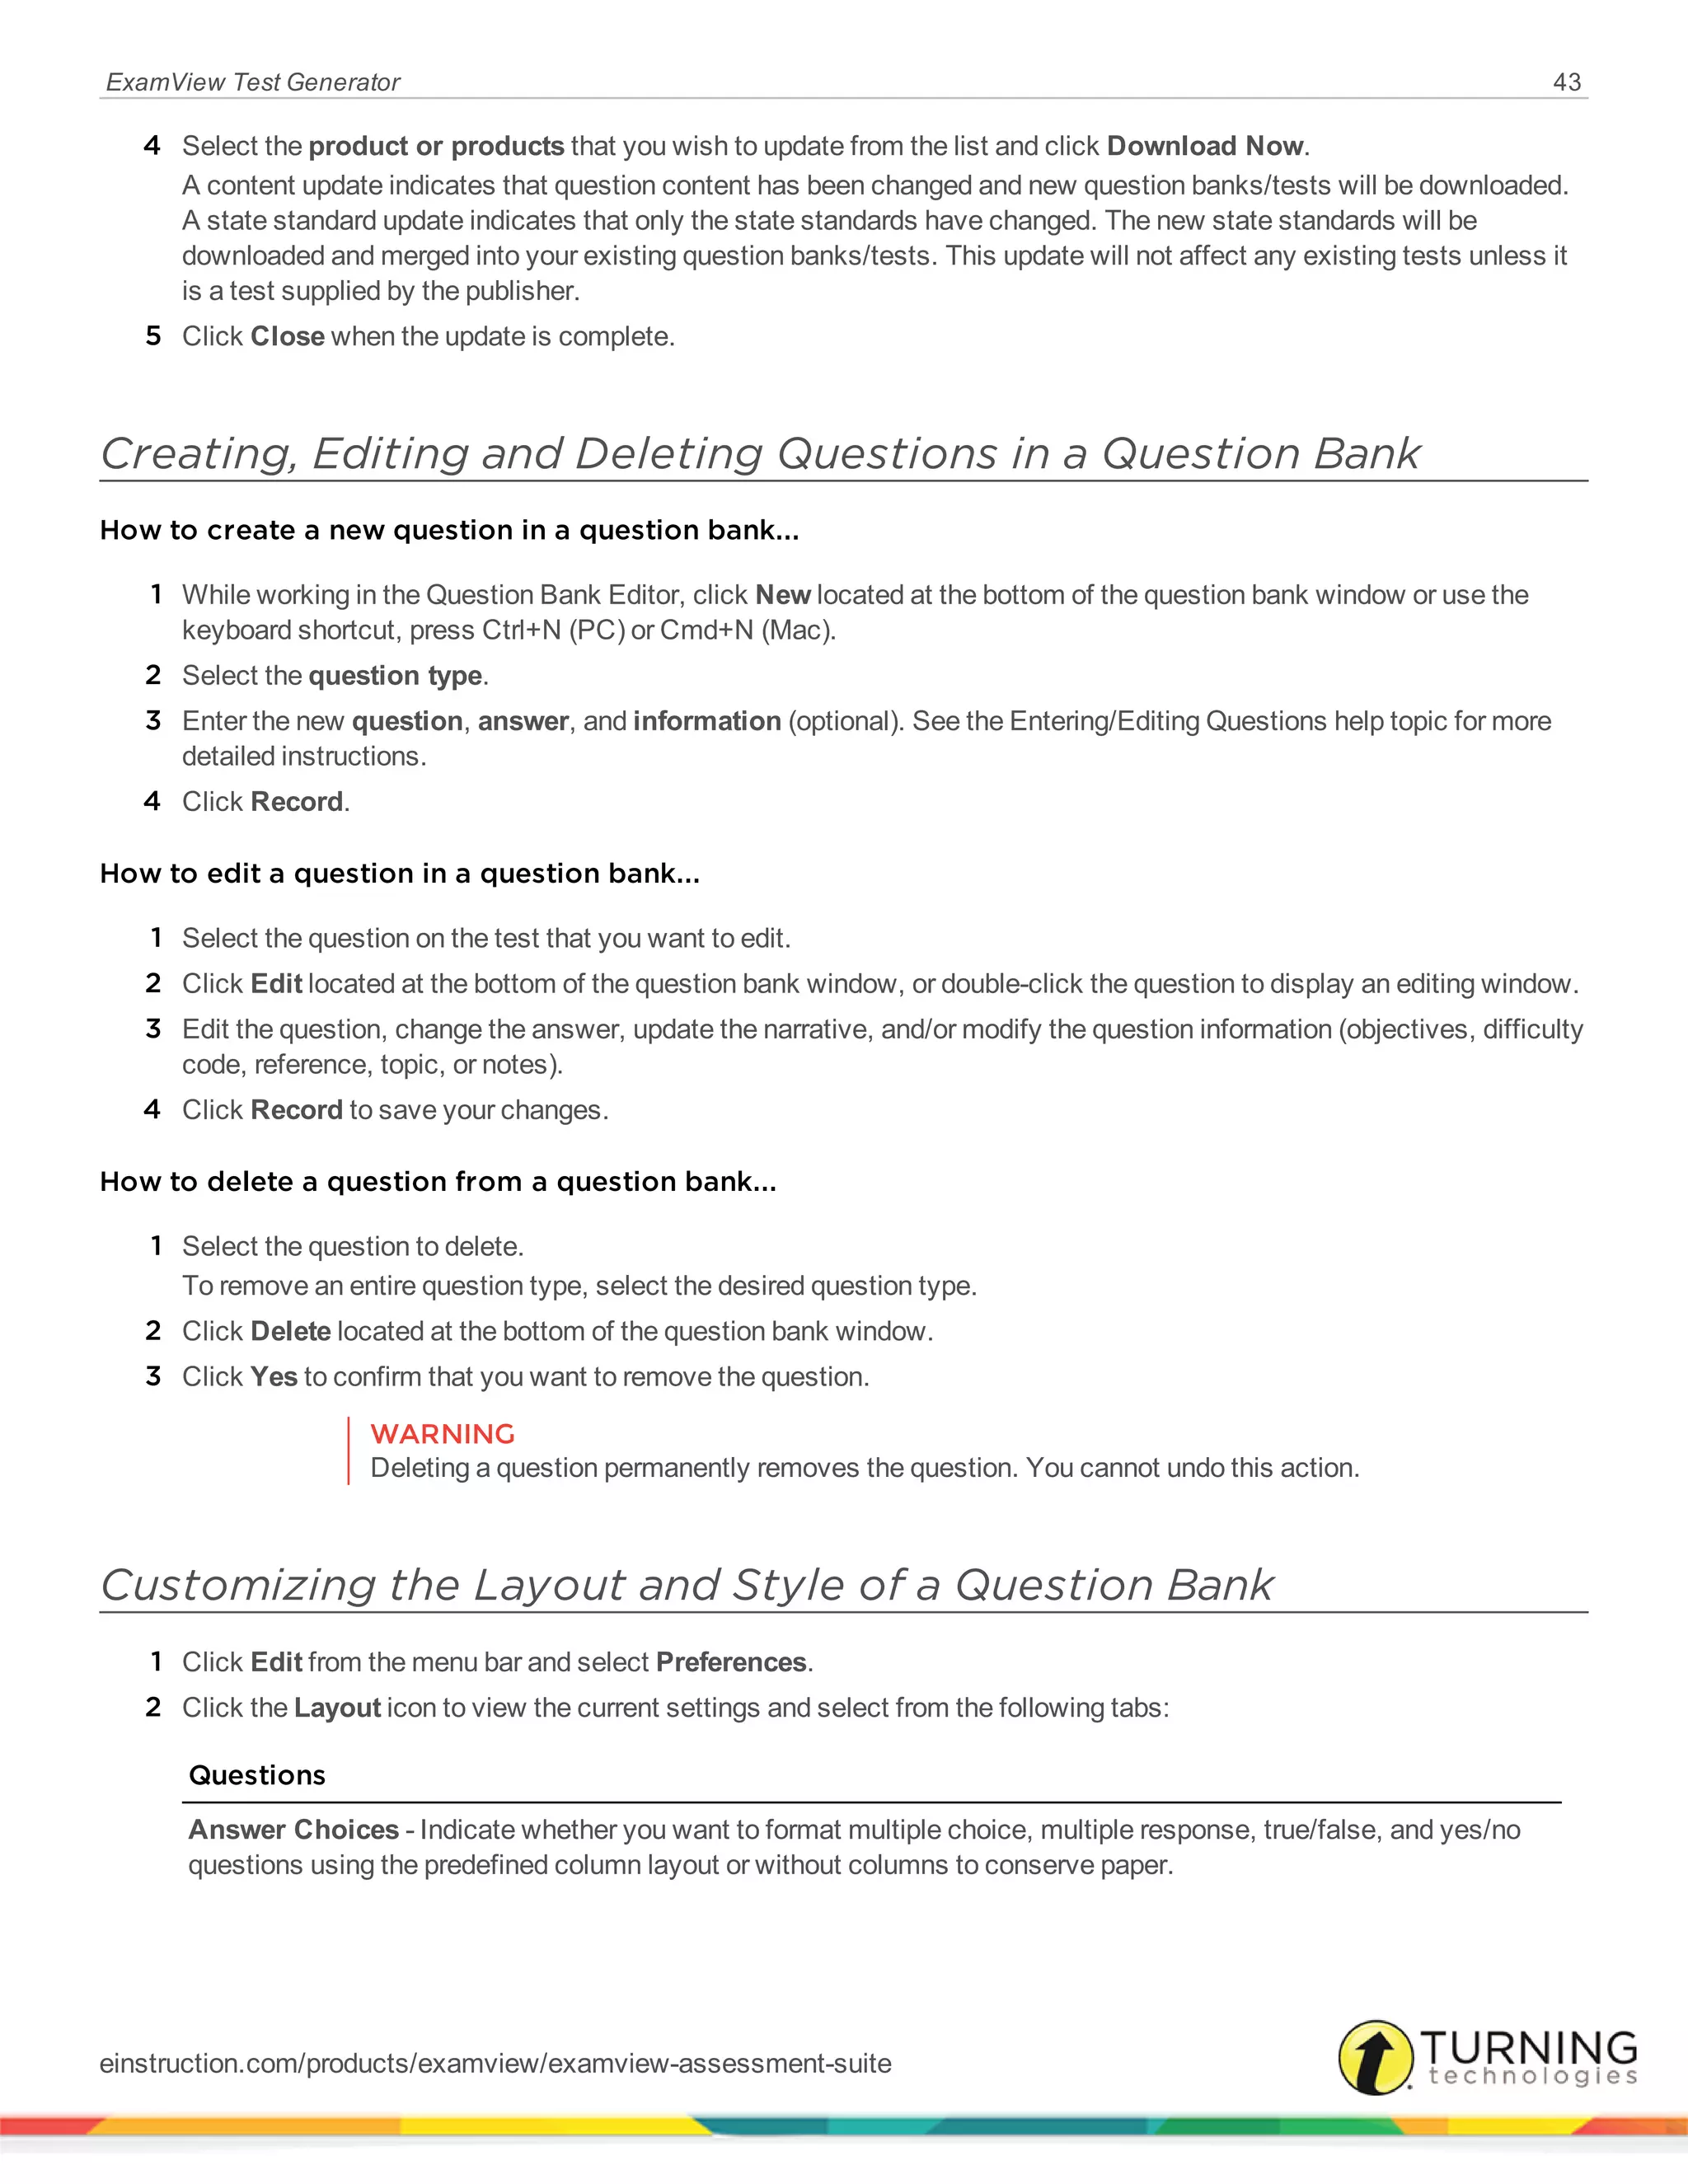
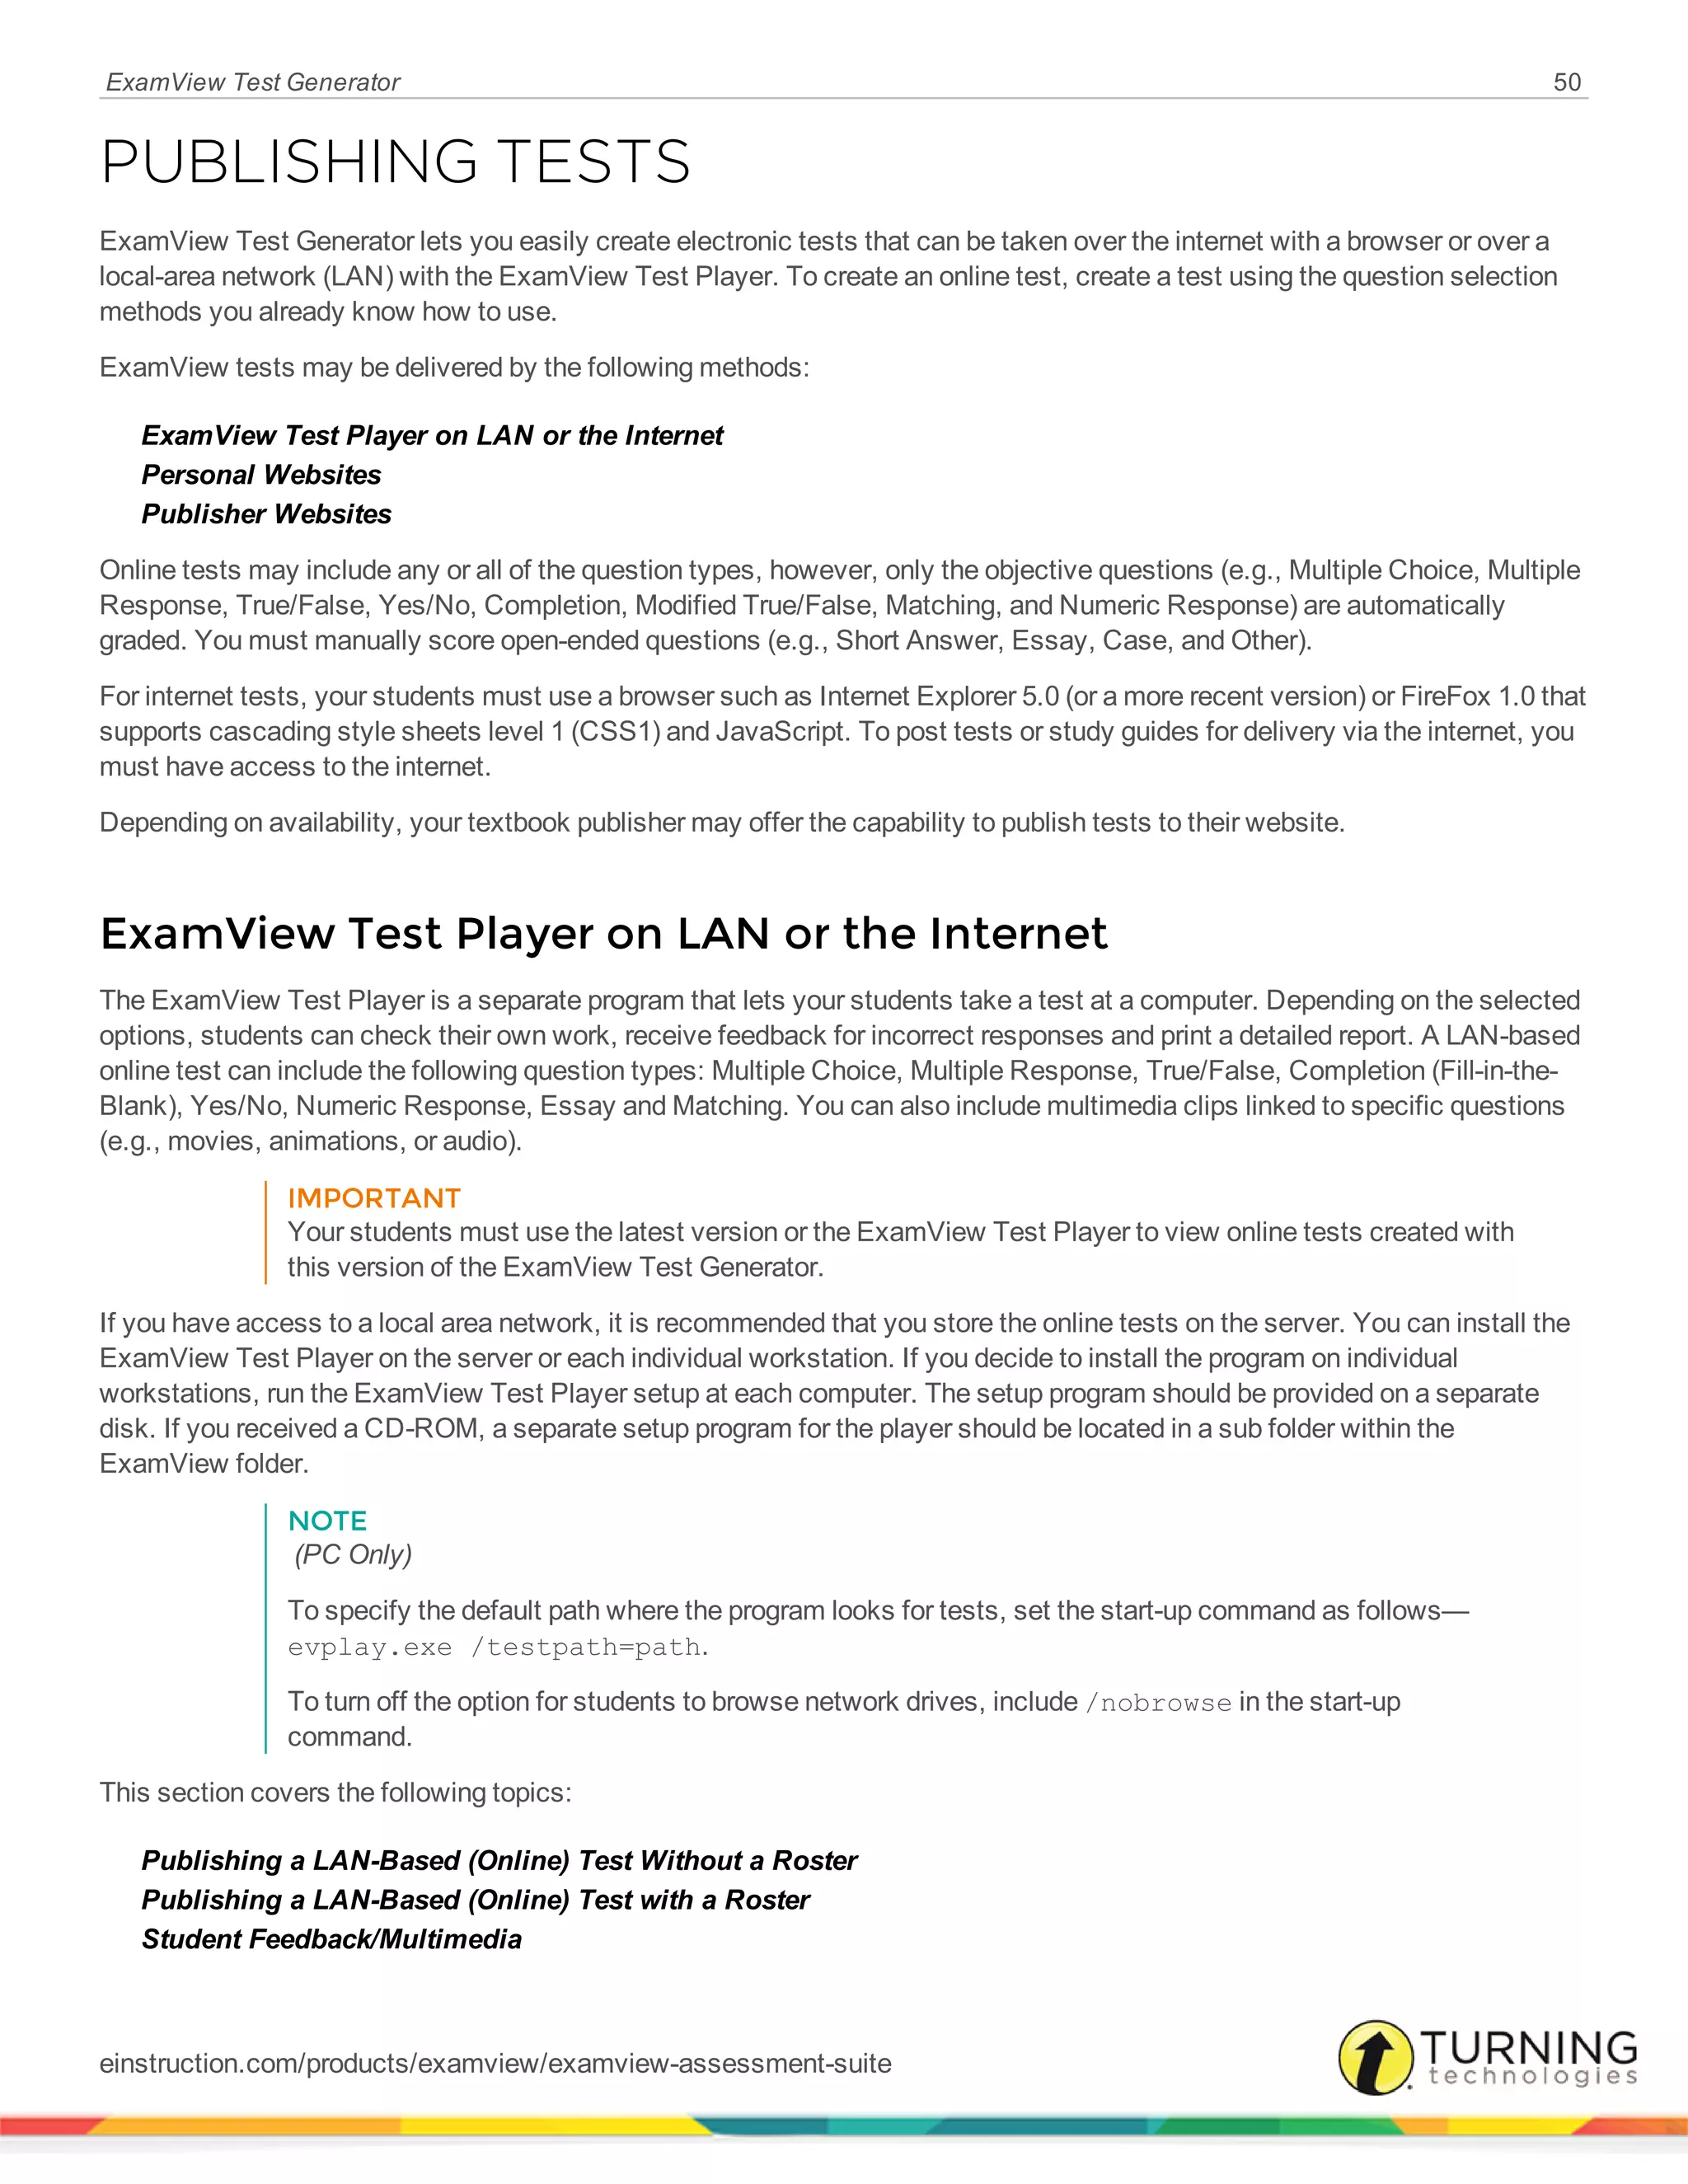
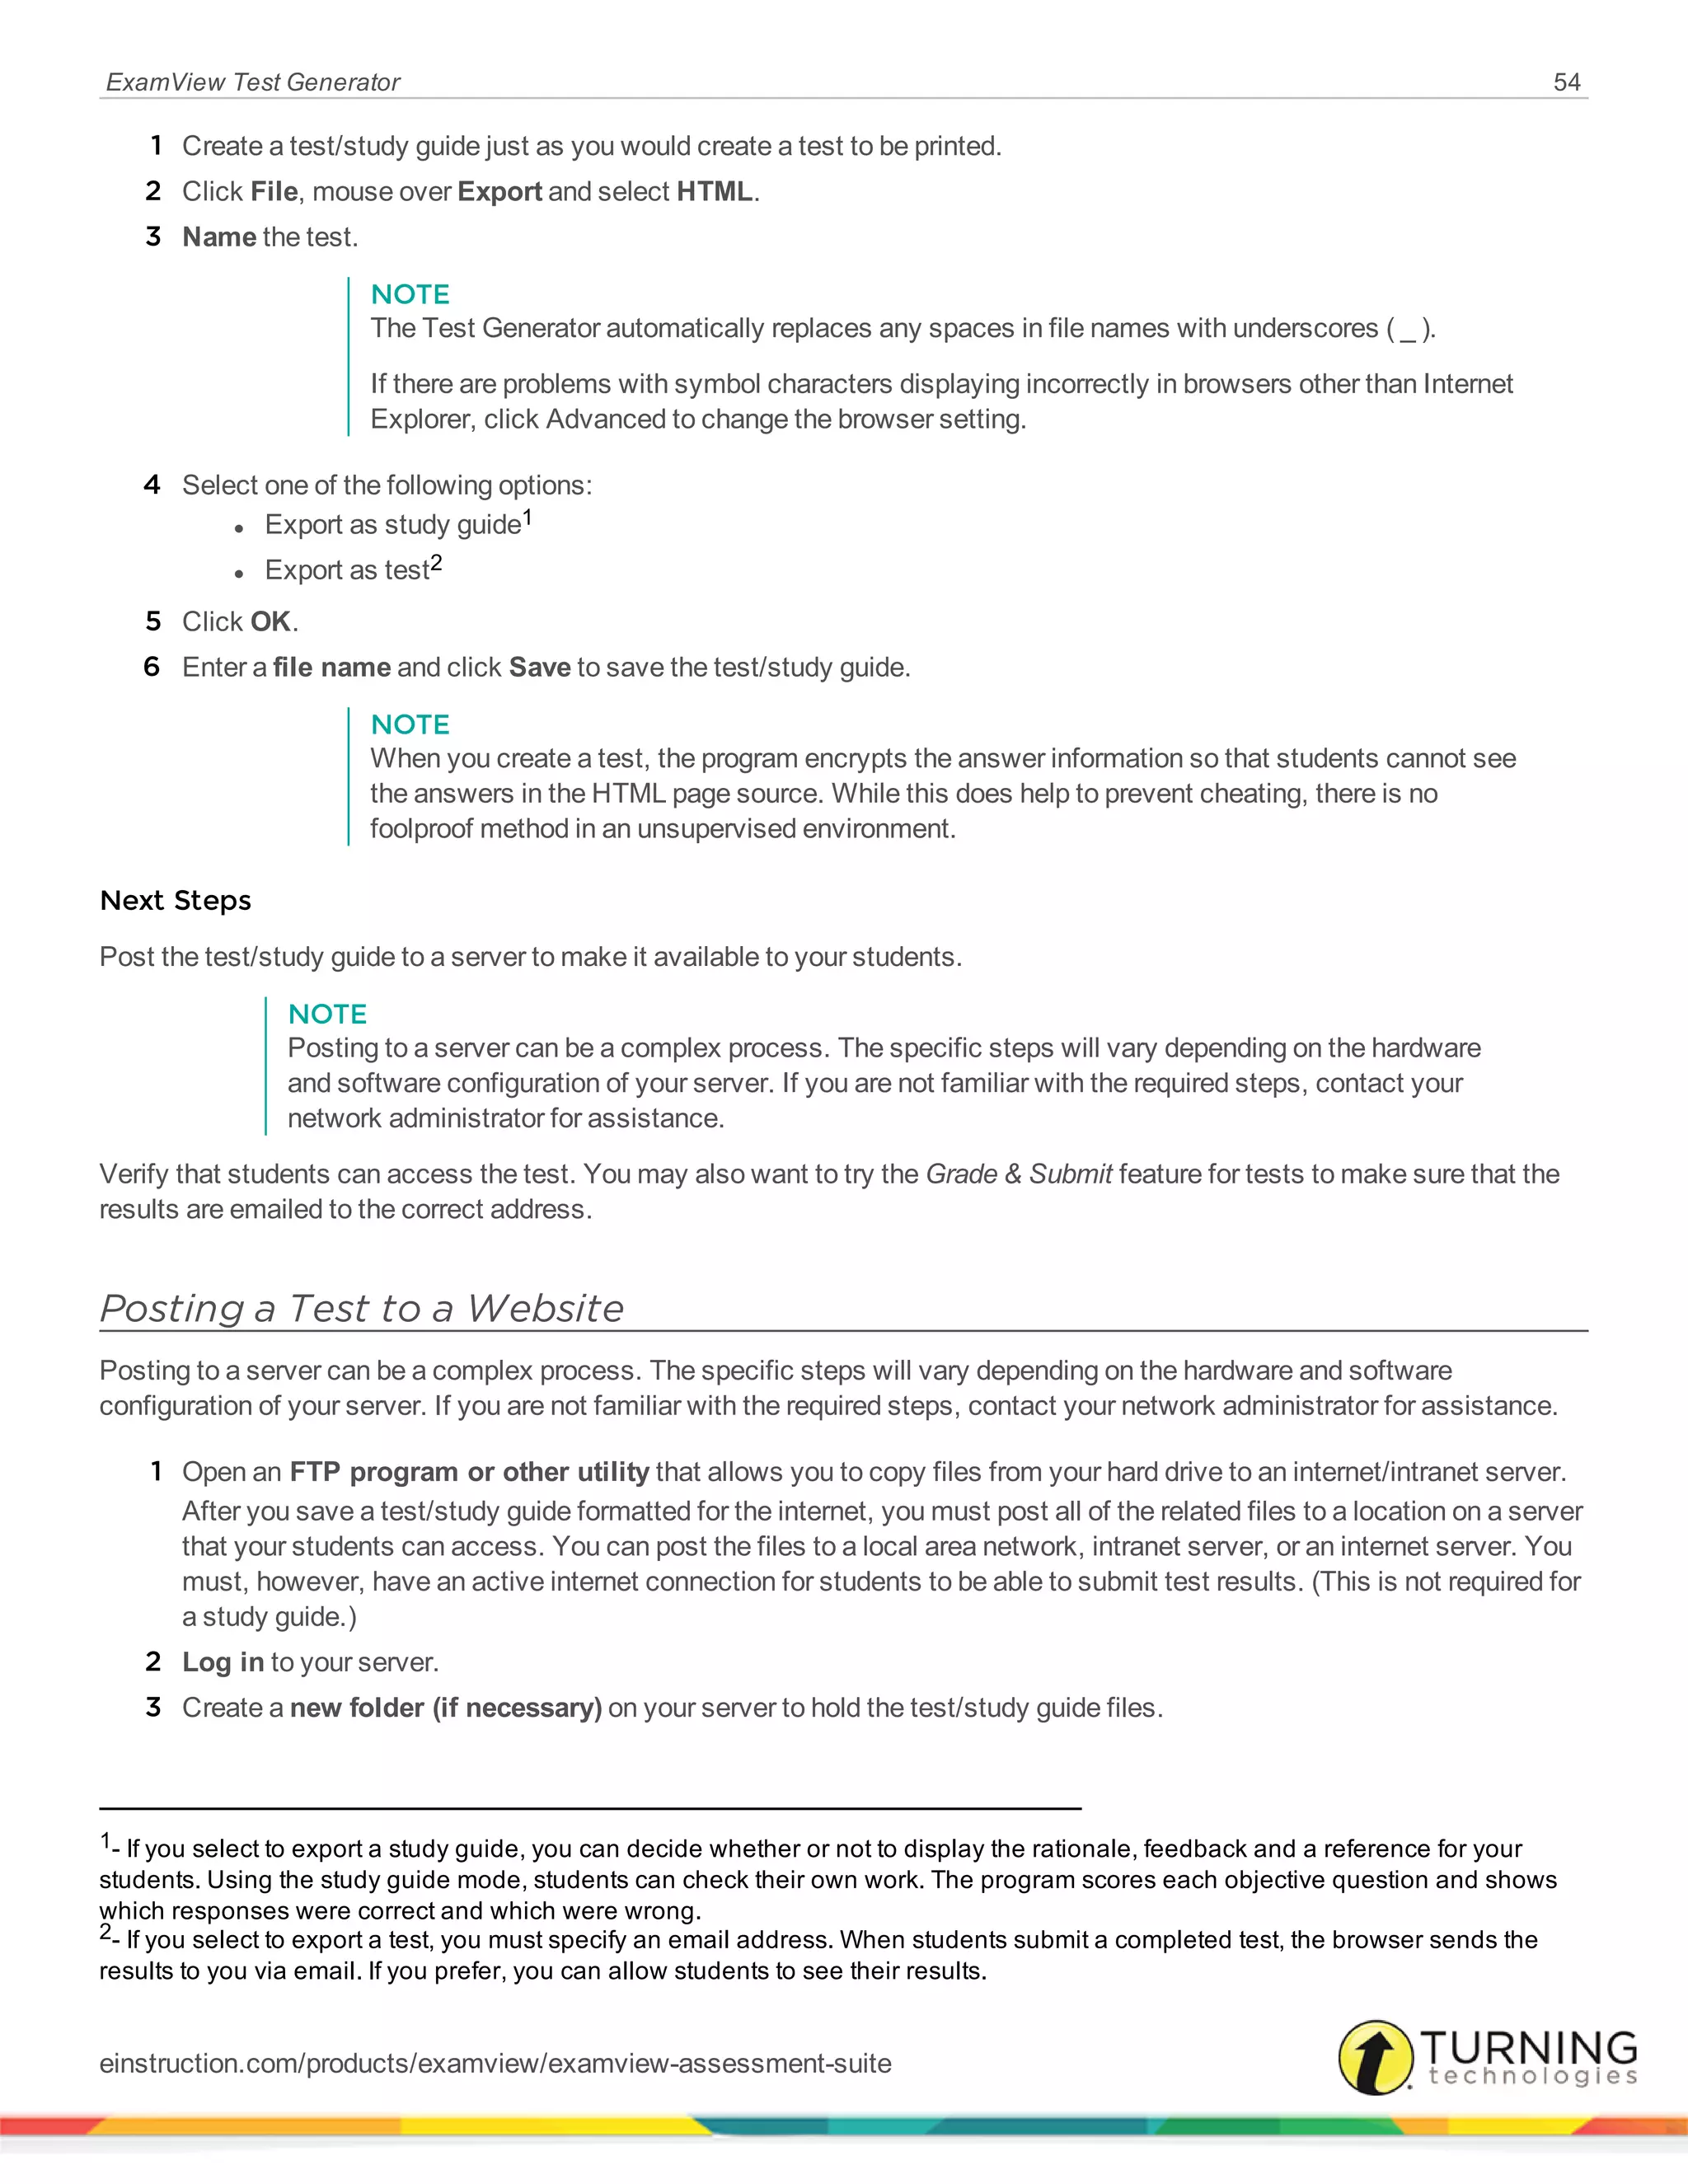
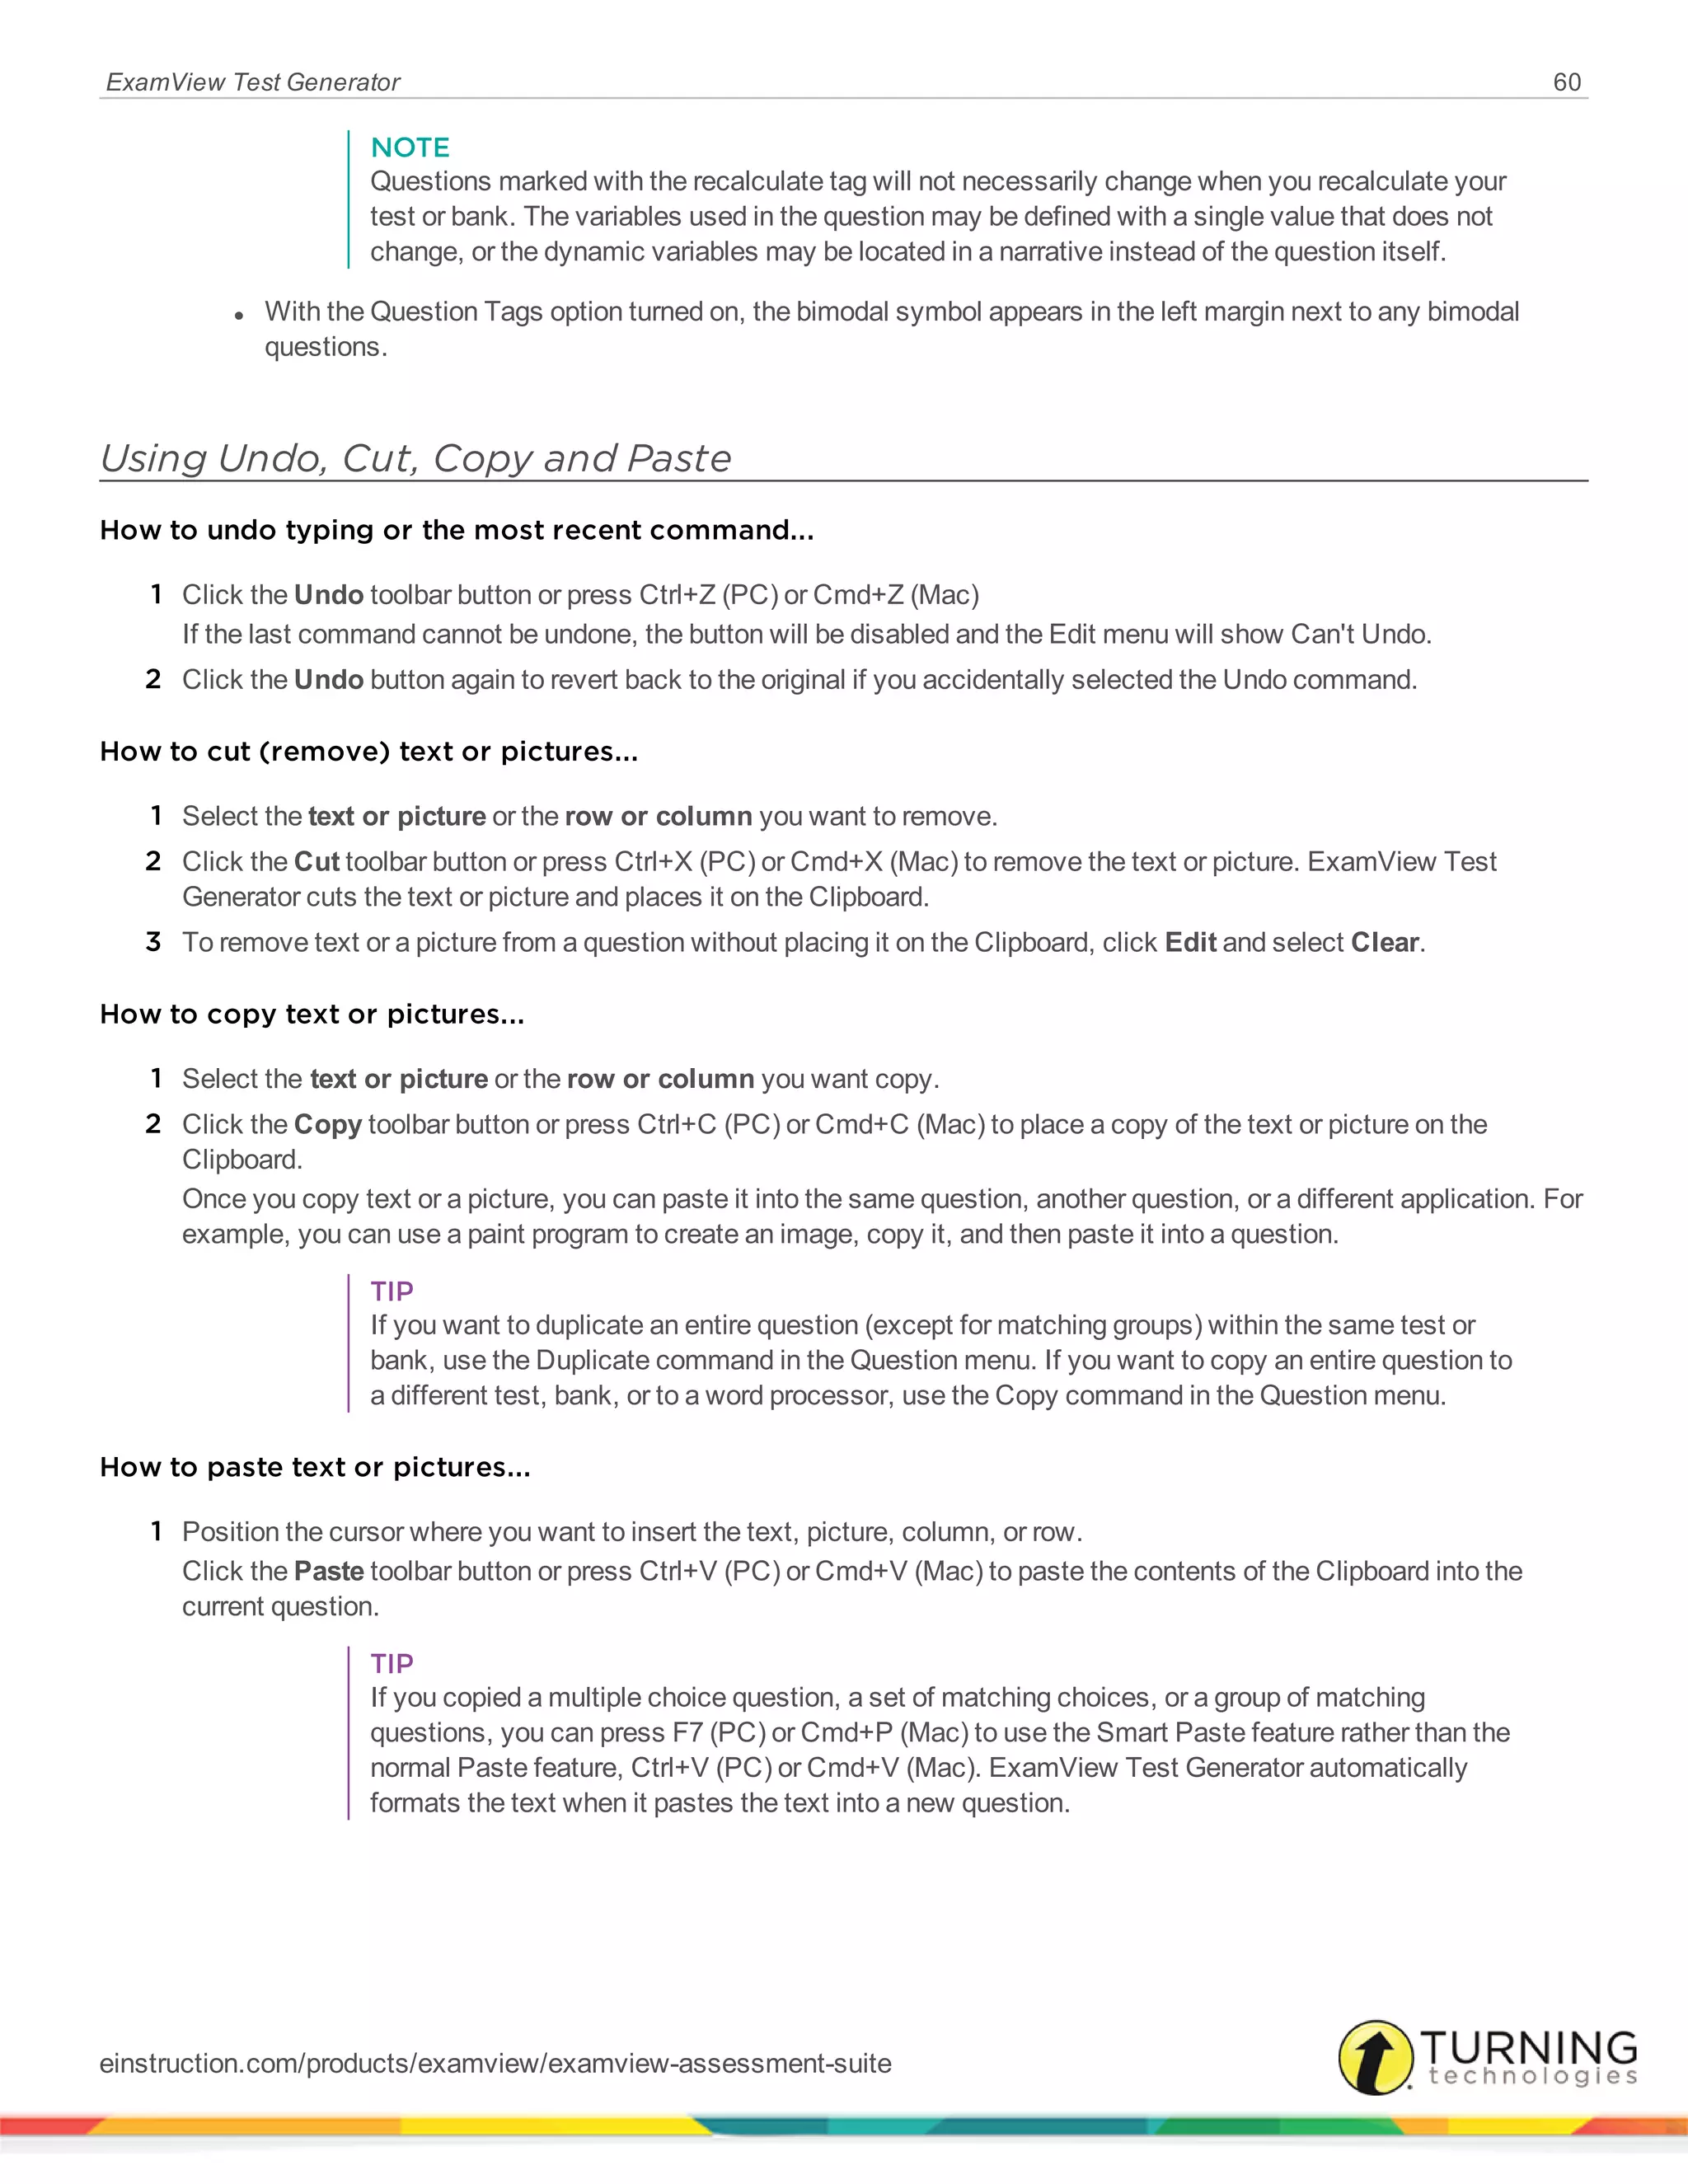
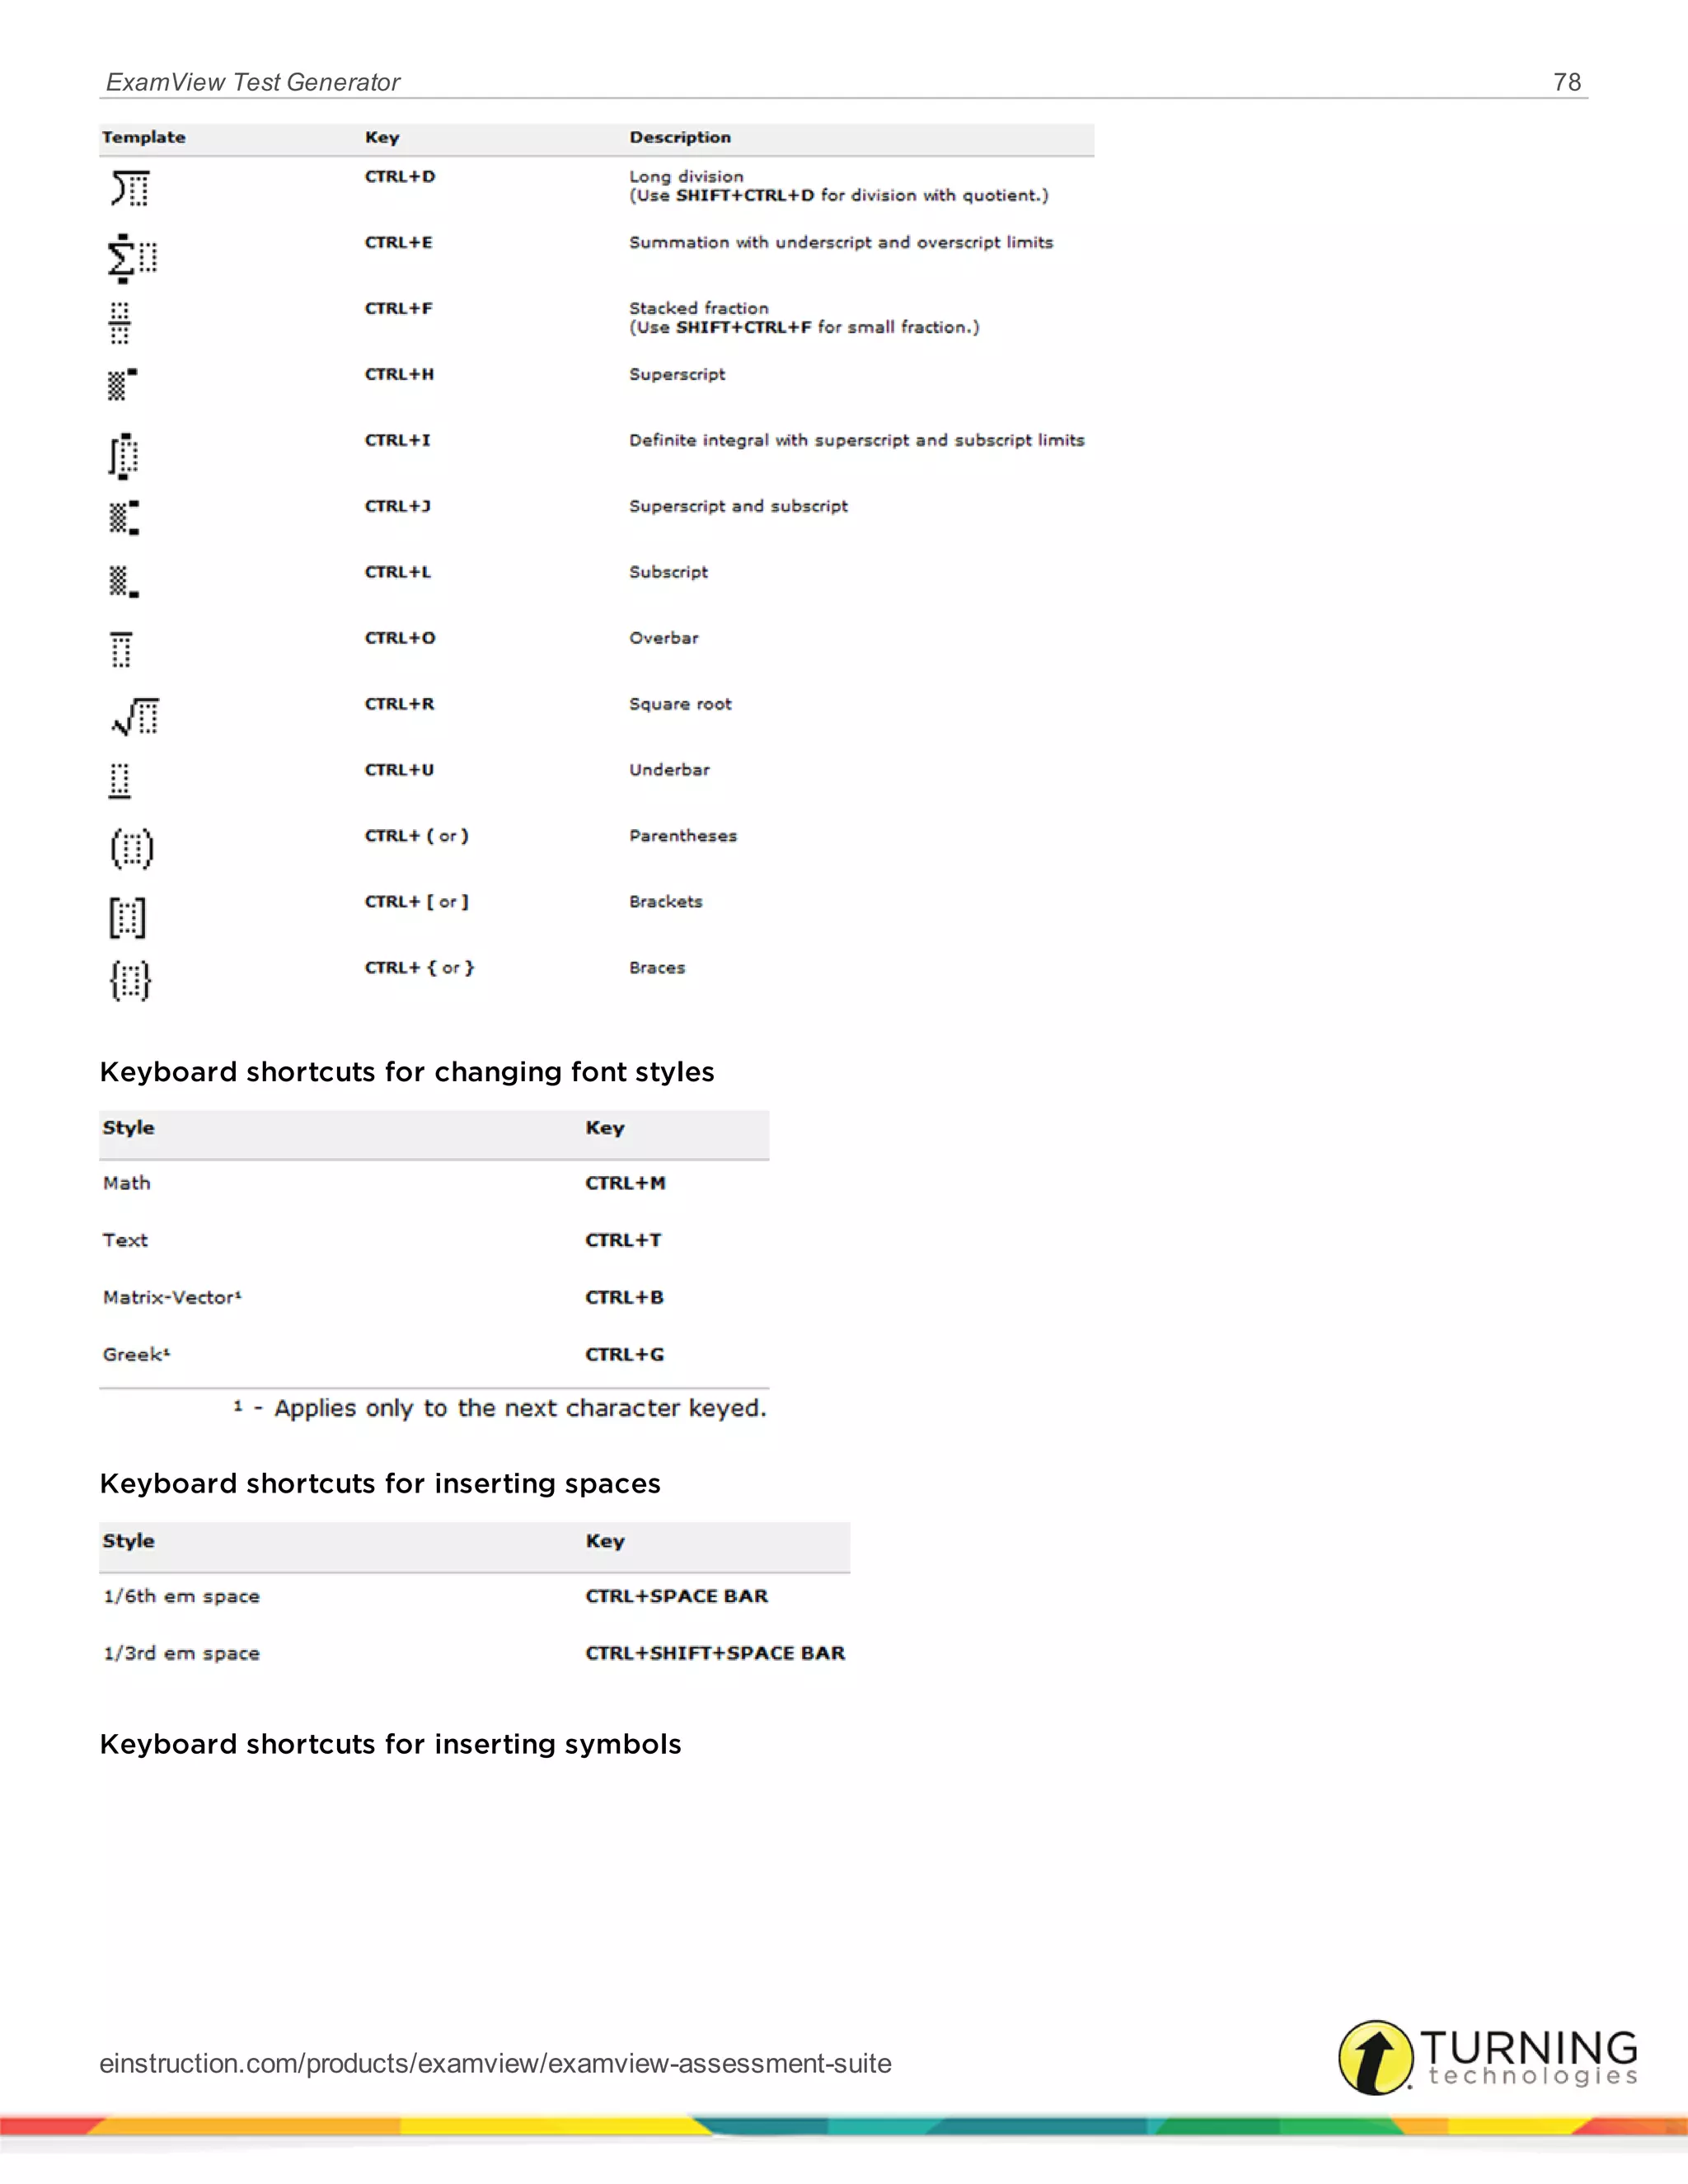
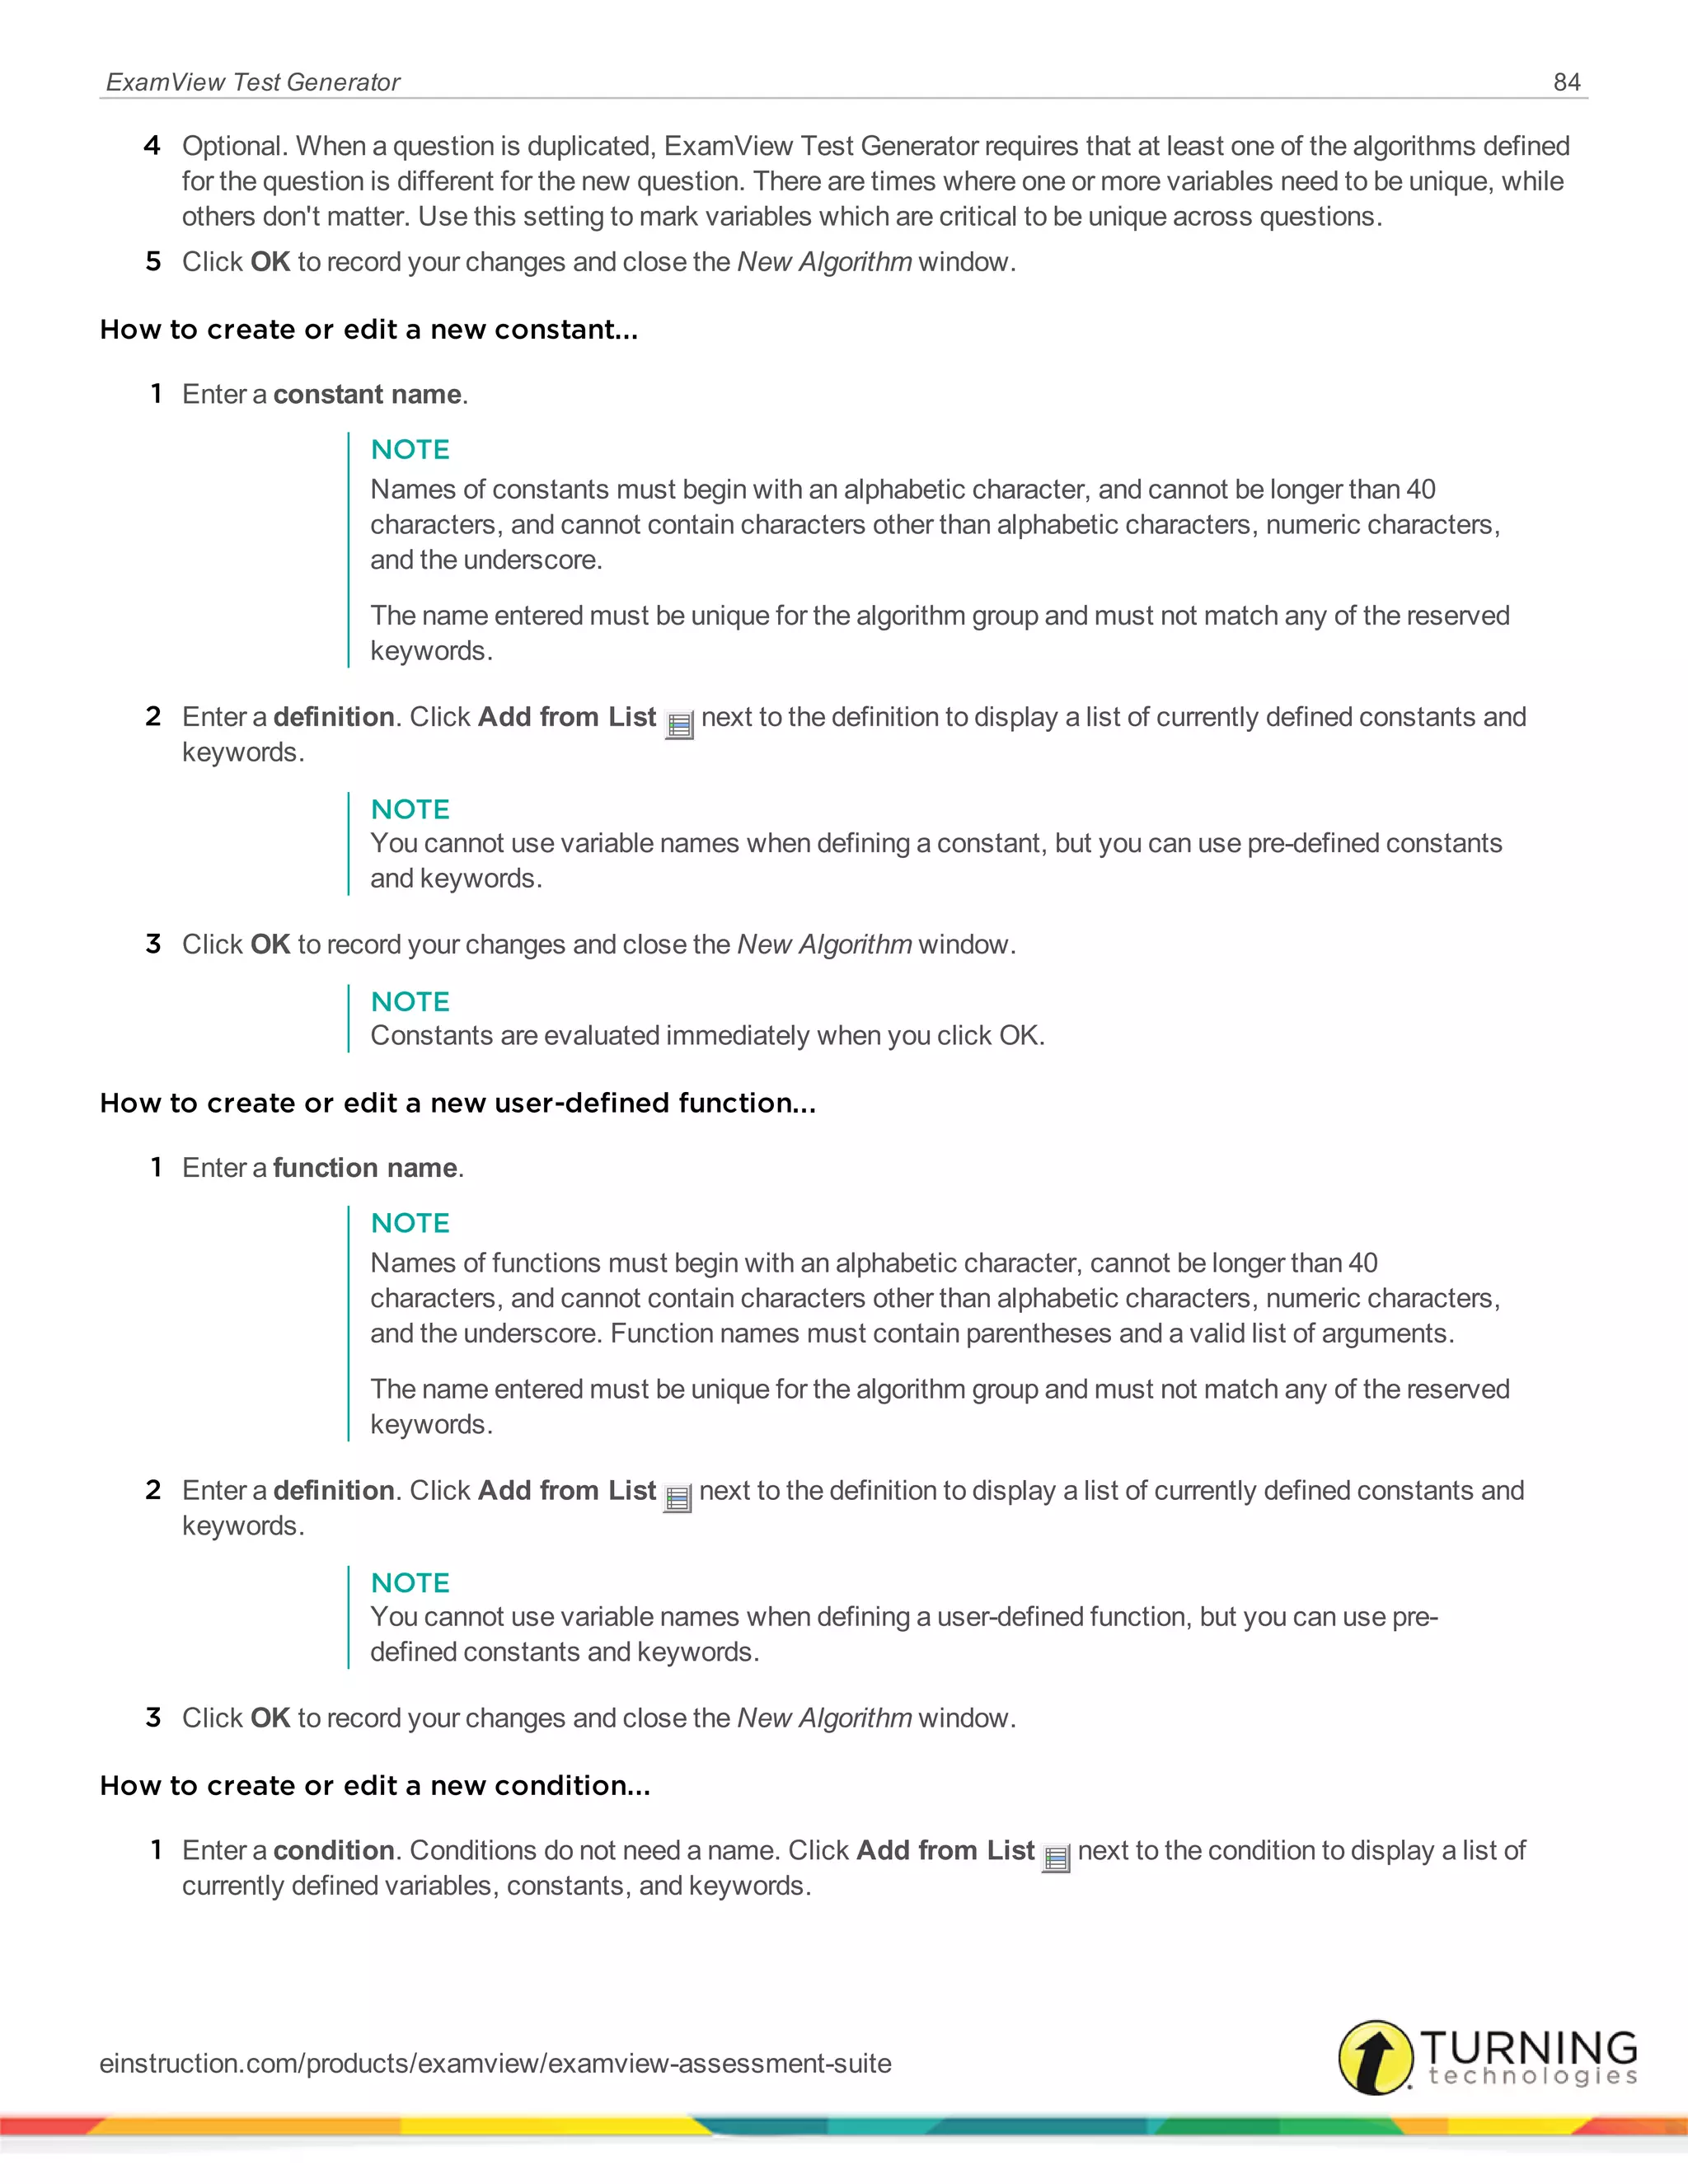
EXAMPLE
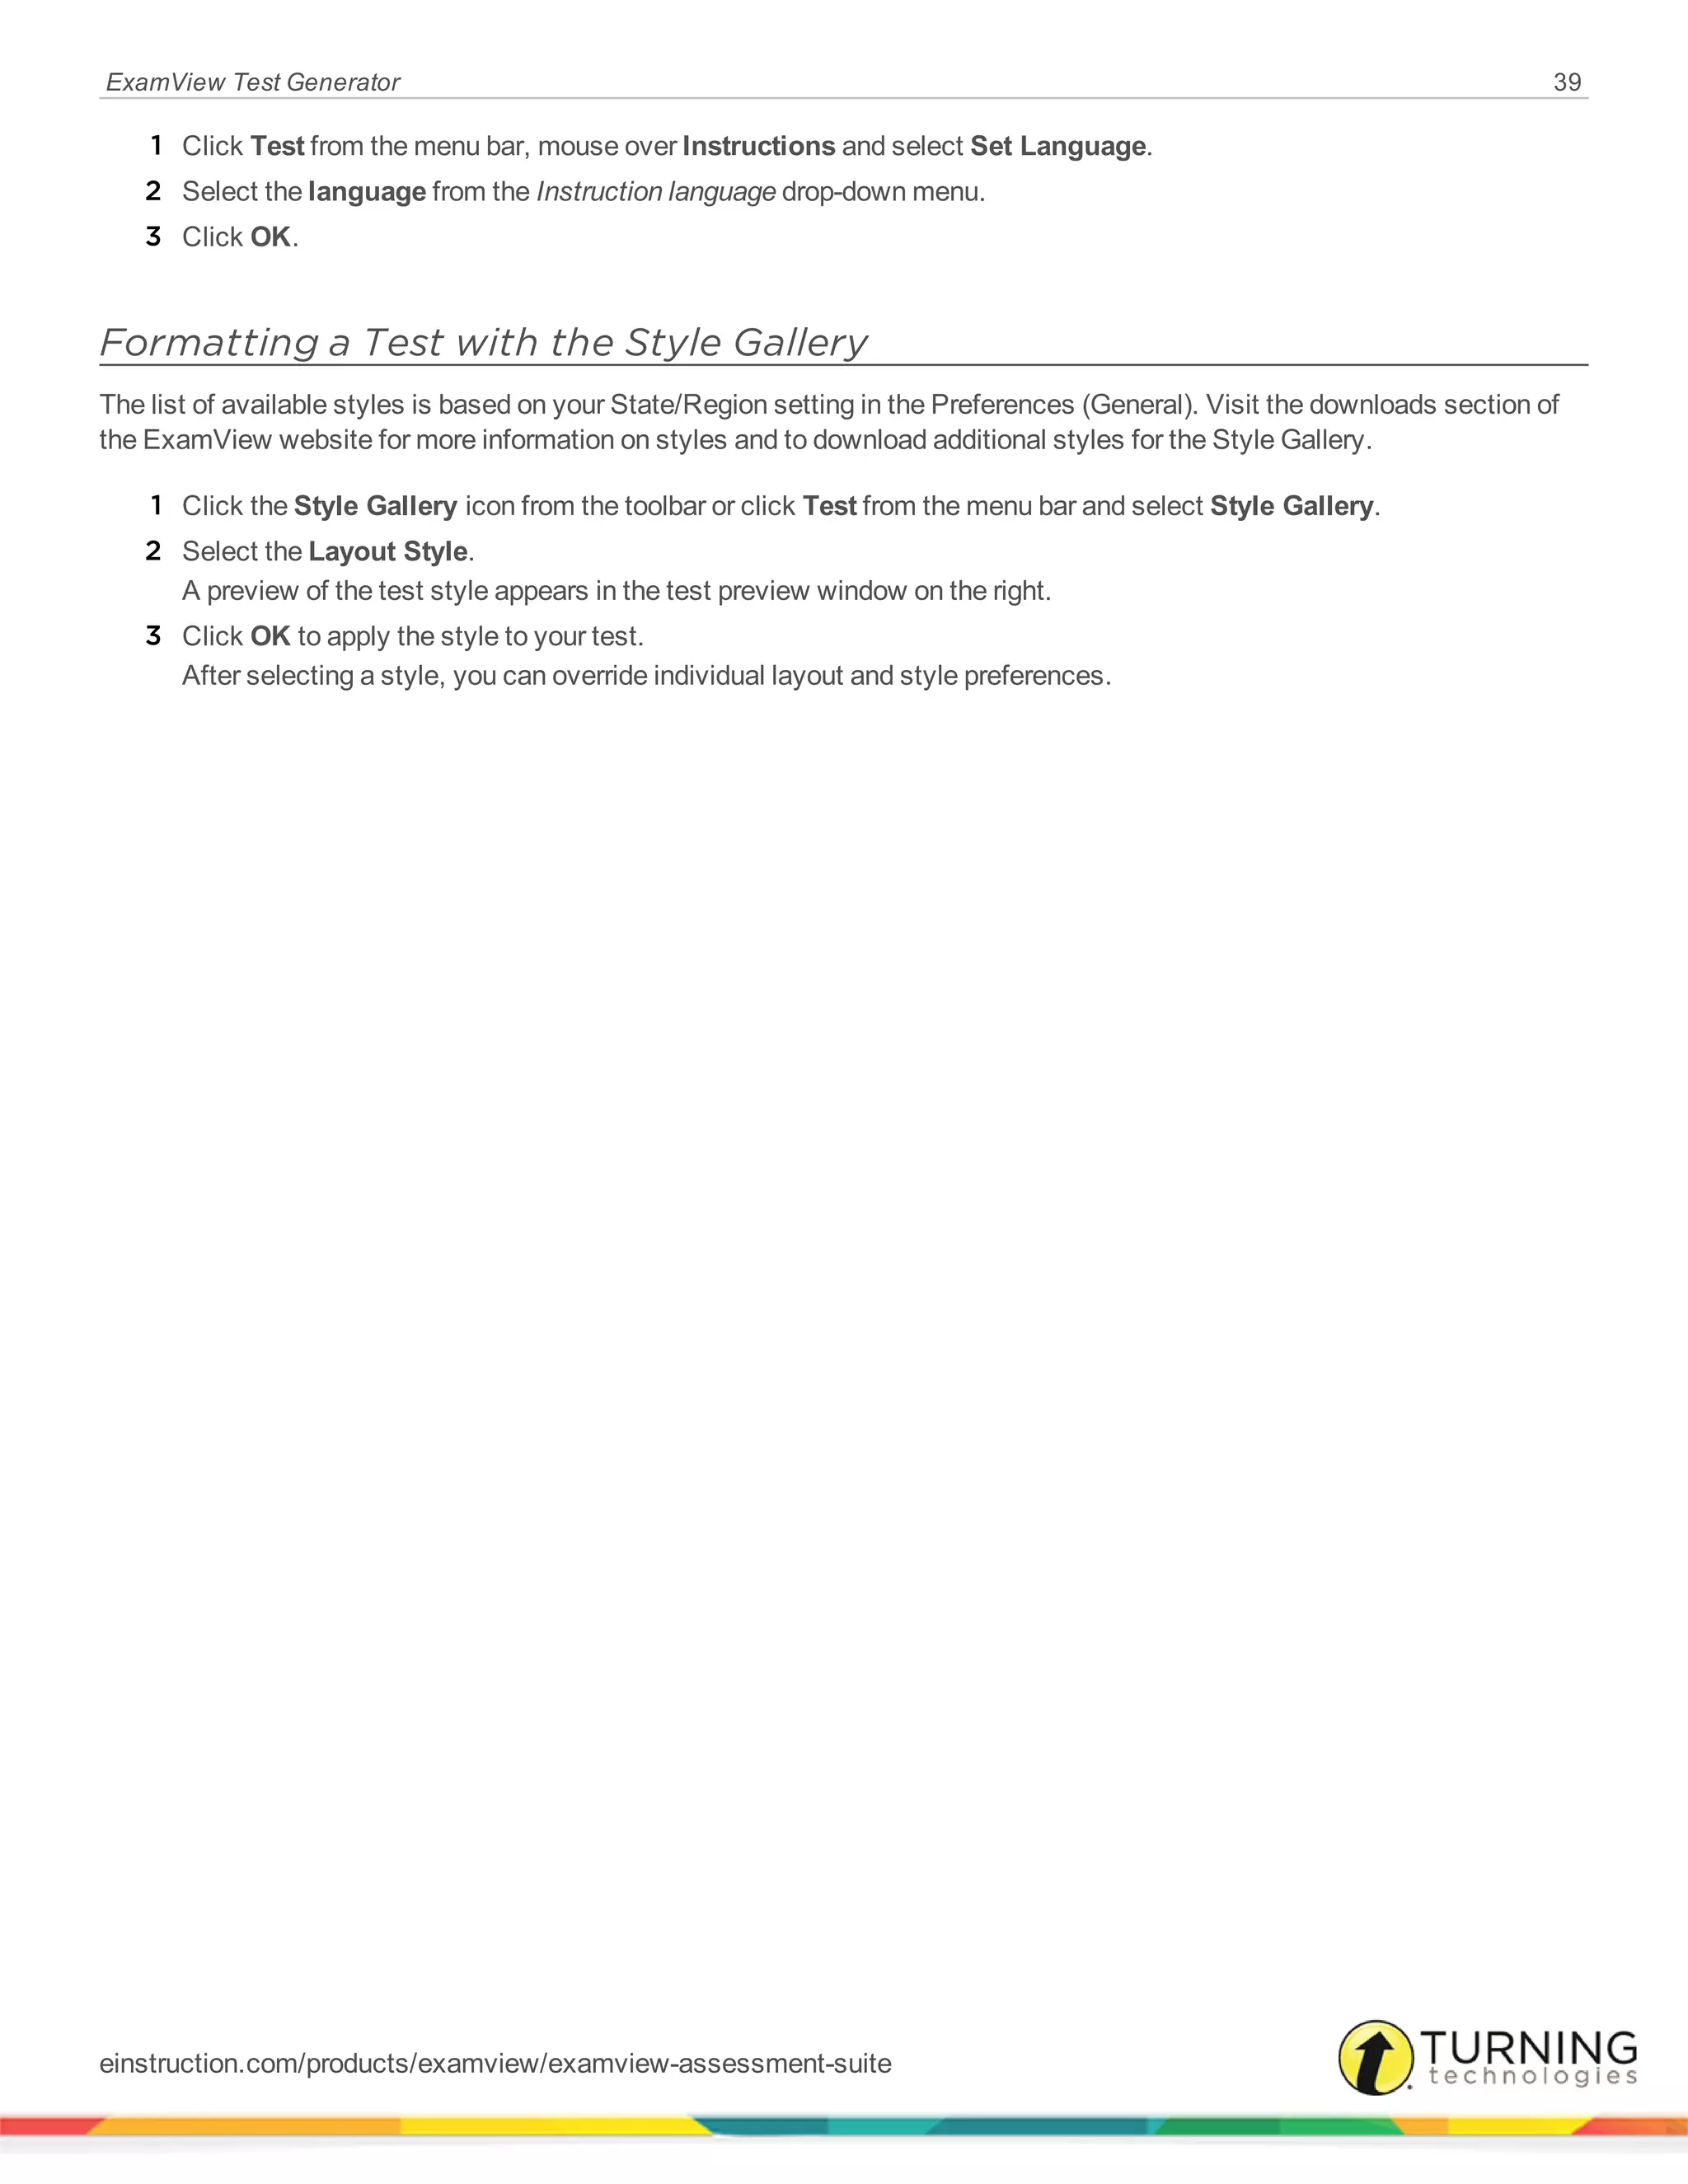
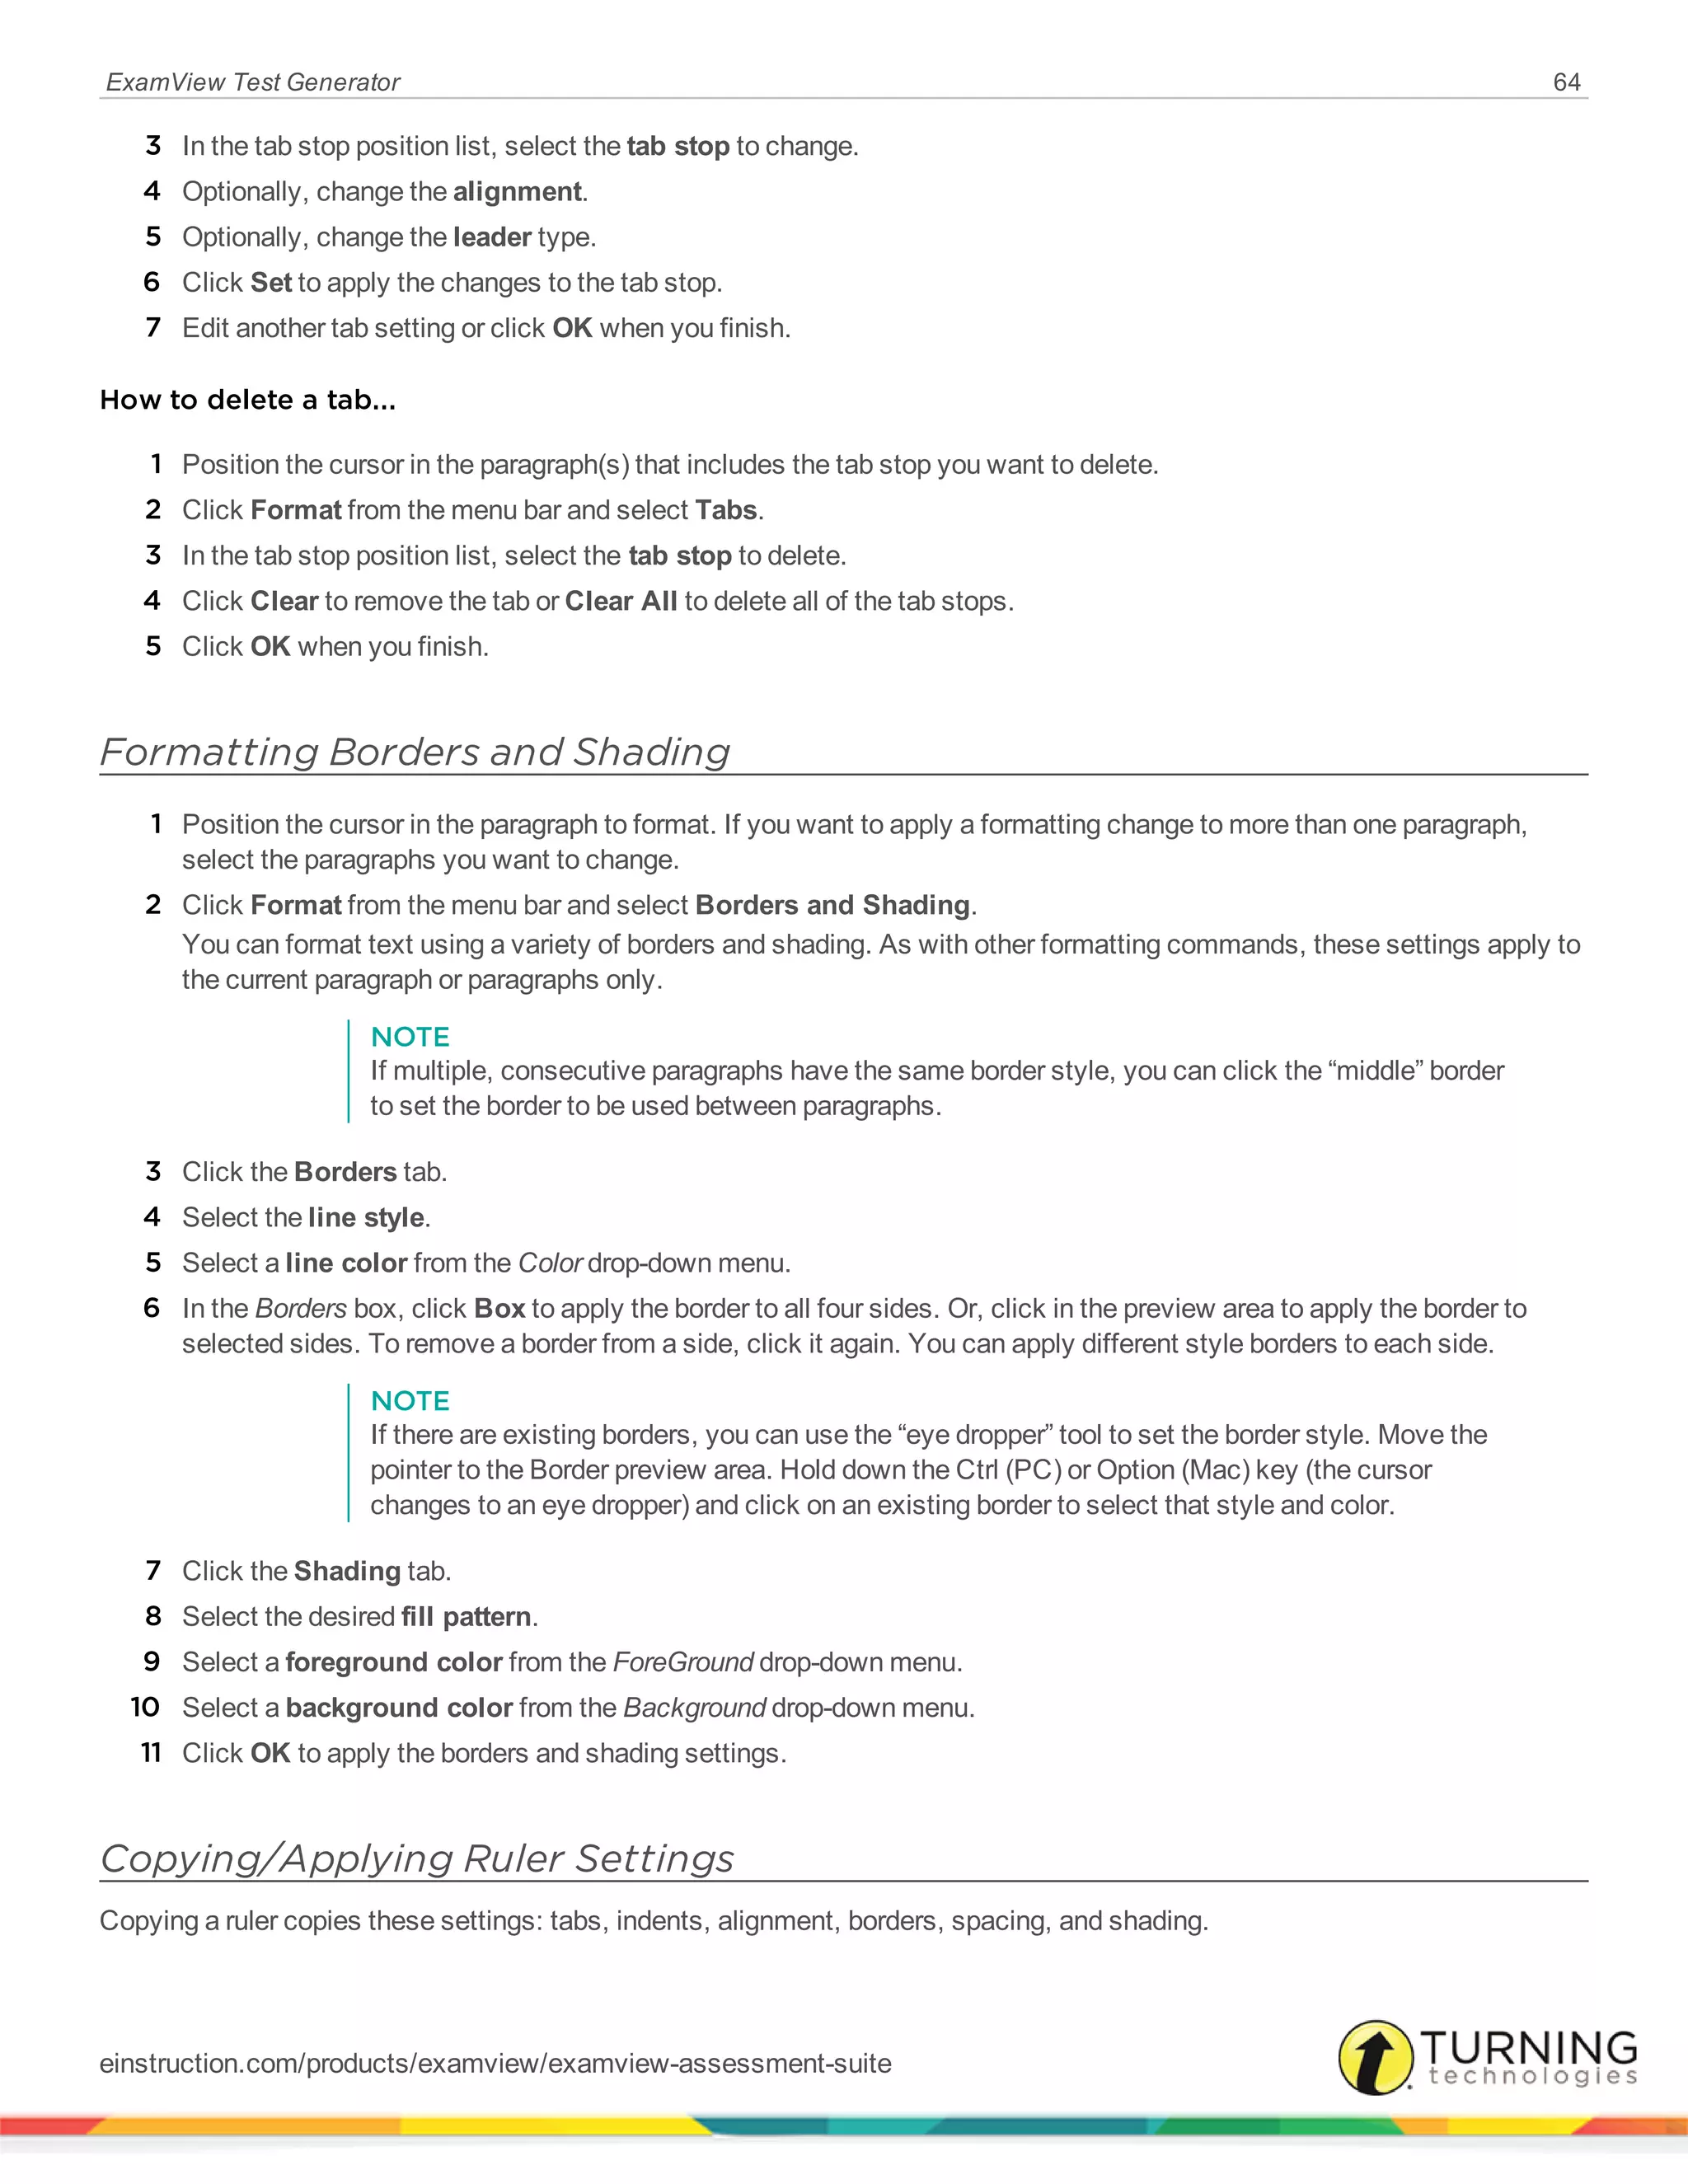
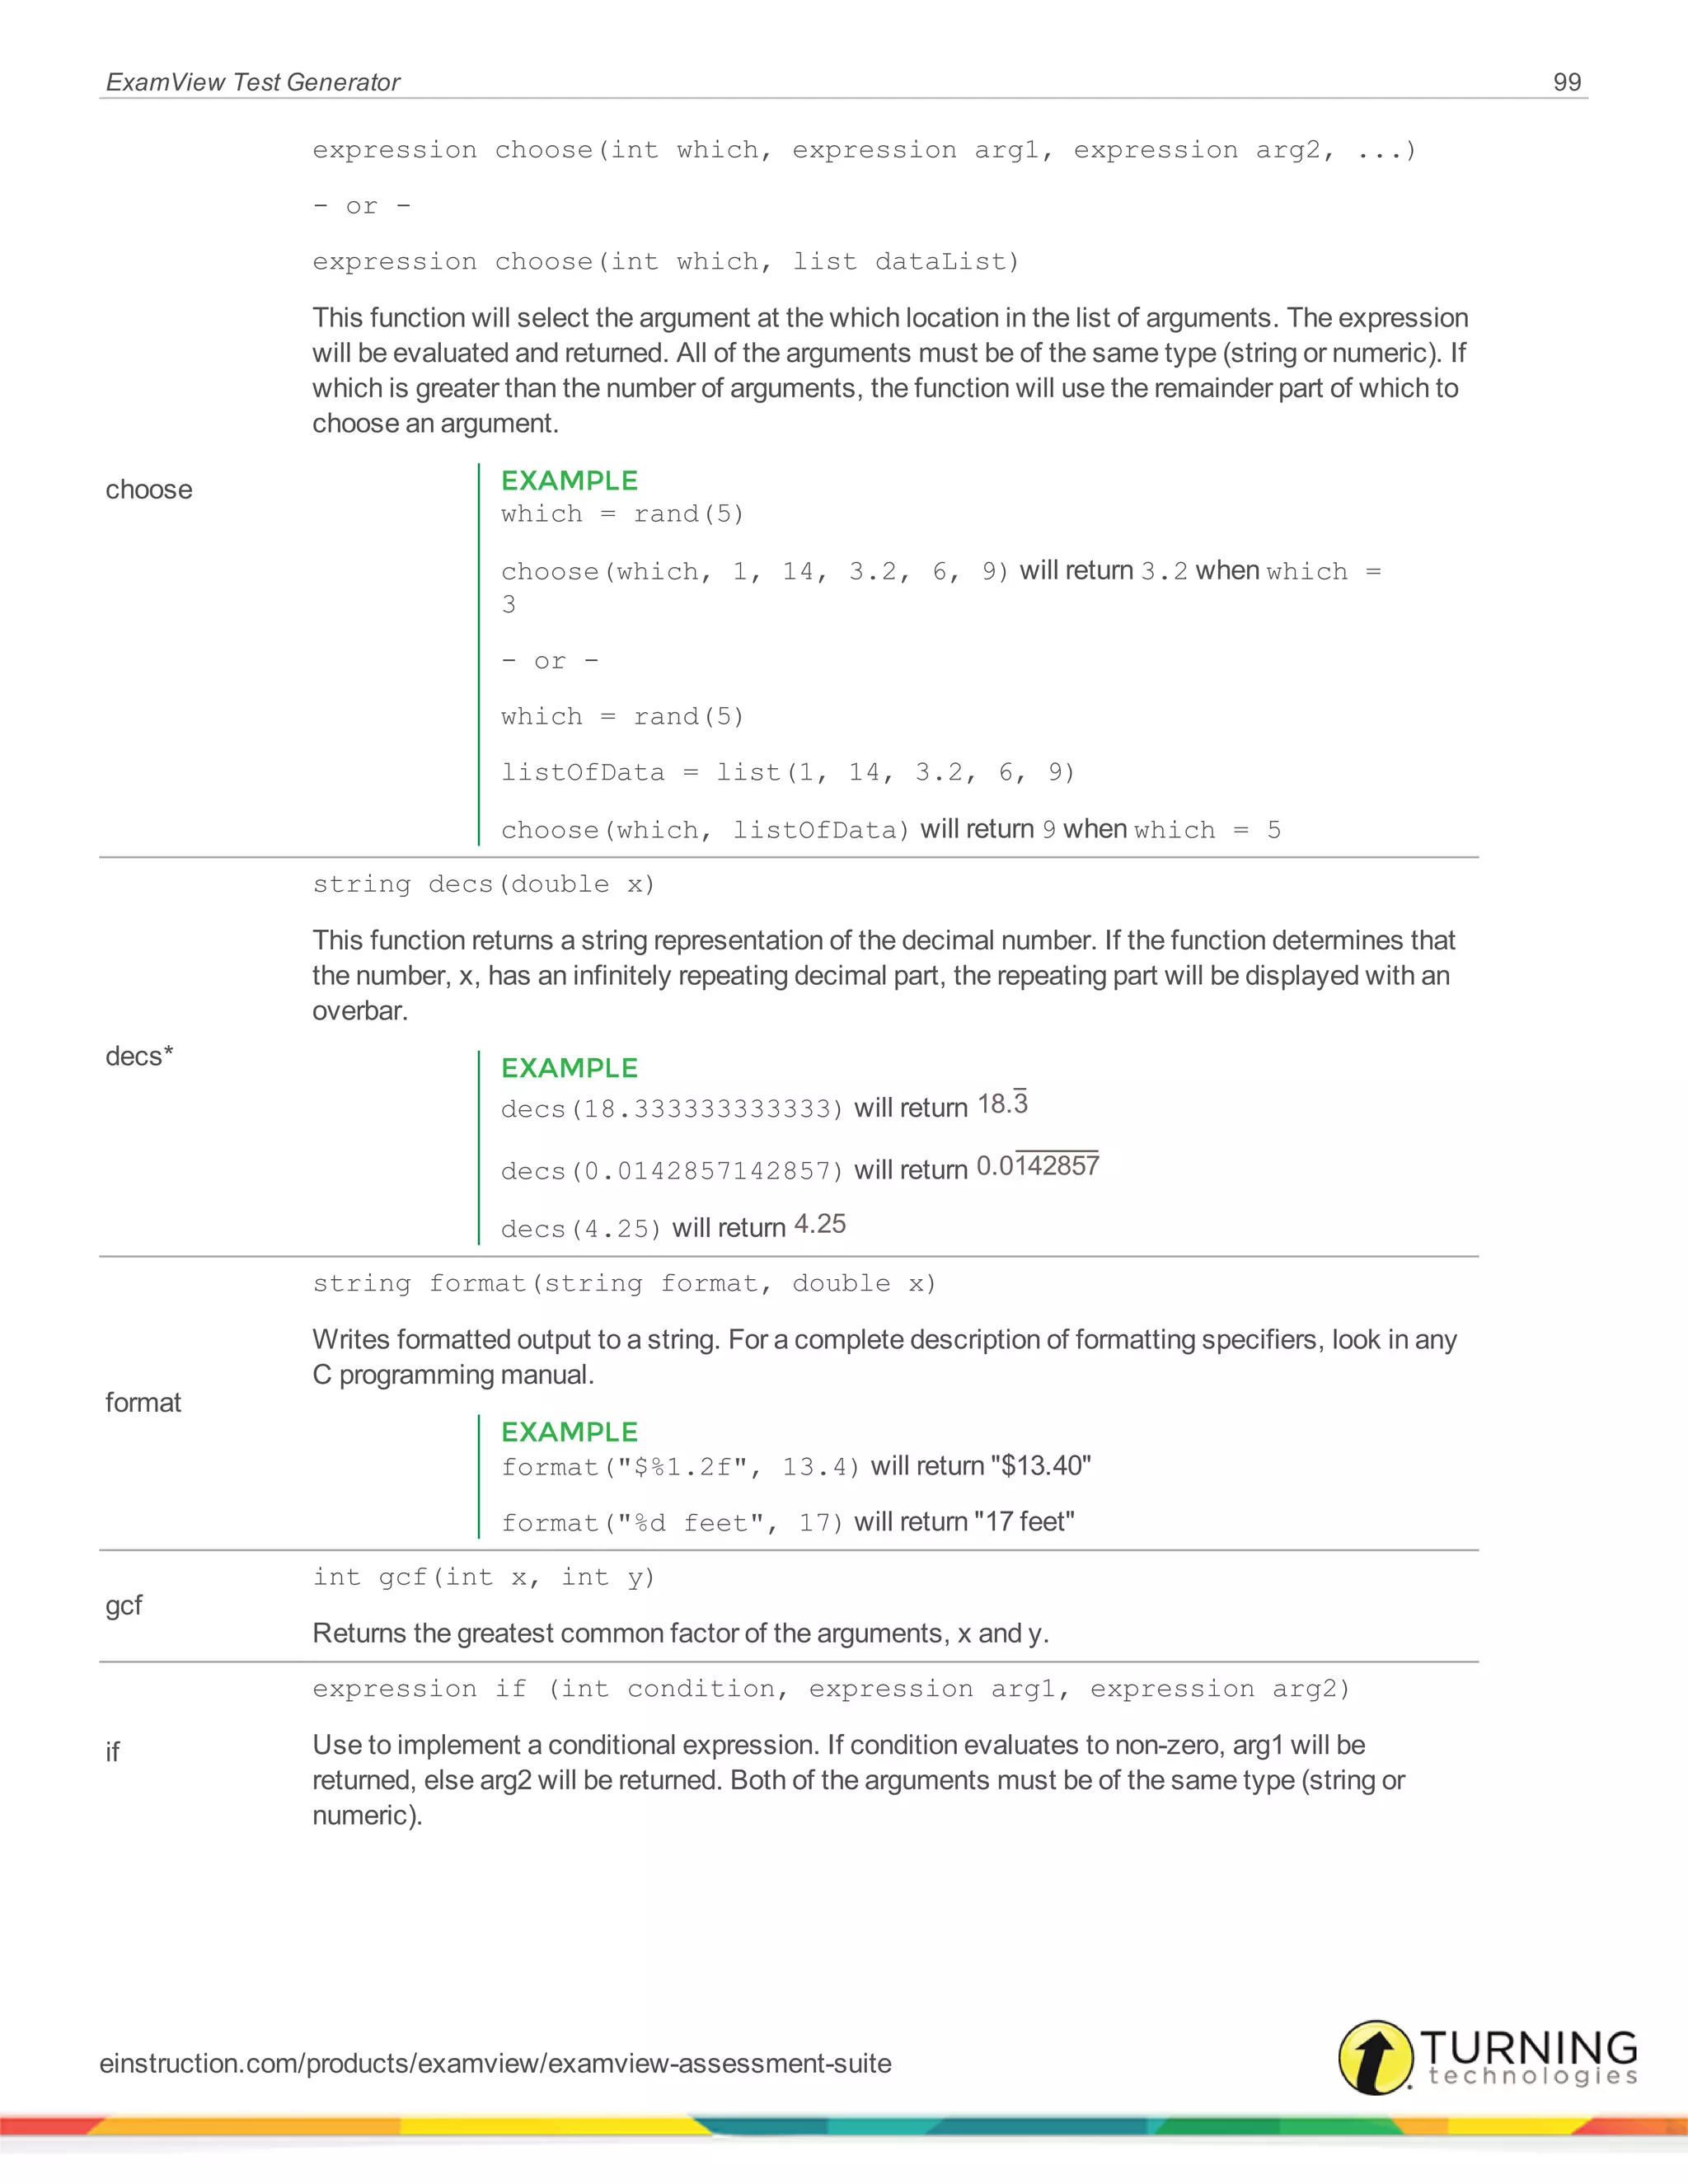
decs(18.333333333333) will return 18.3
decs(0.0142857142857) will return 0.0142857
decs(4.25) will return 4.25
--------------------------------------------------------------------------------
Syntax
double deg(double x)
Description
Converts an argument, x, in radians to degrees.
--------------------------------------------------------------------------------
Syntax
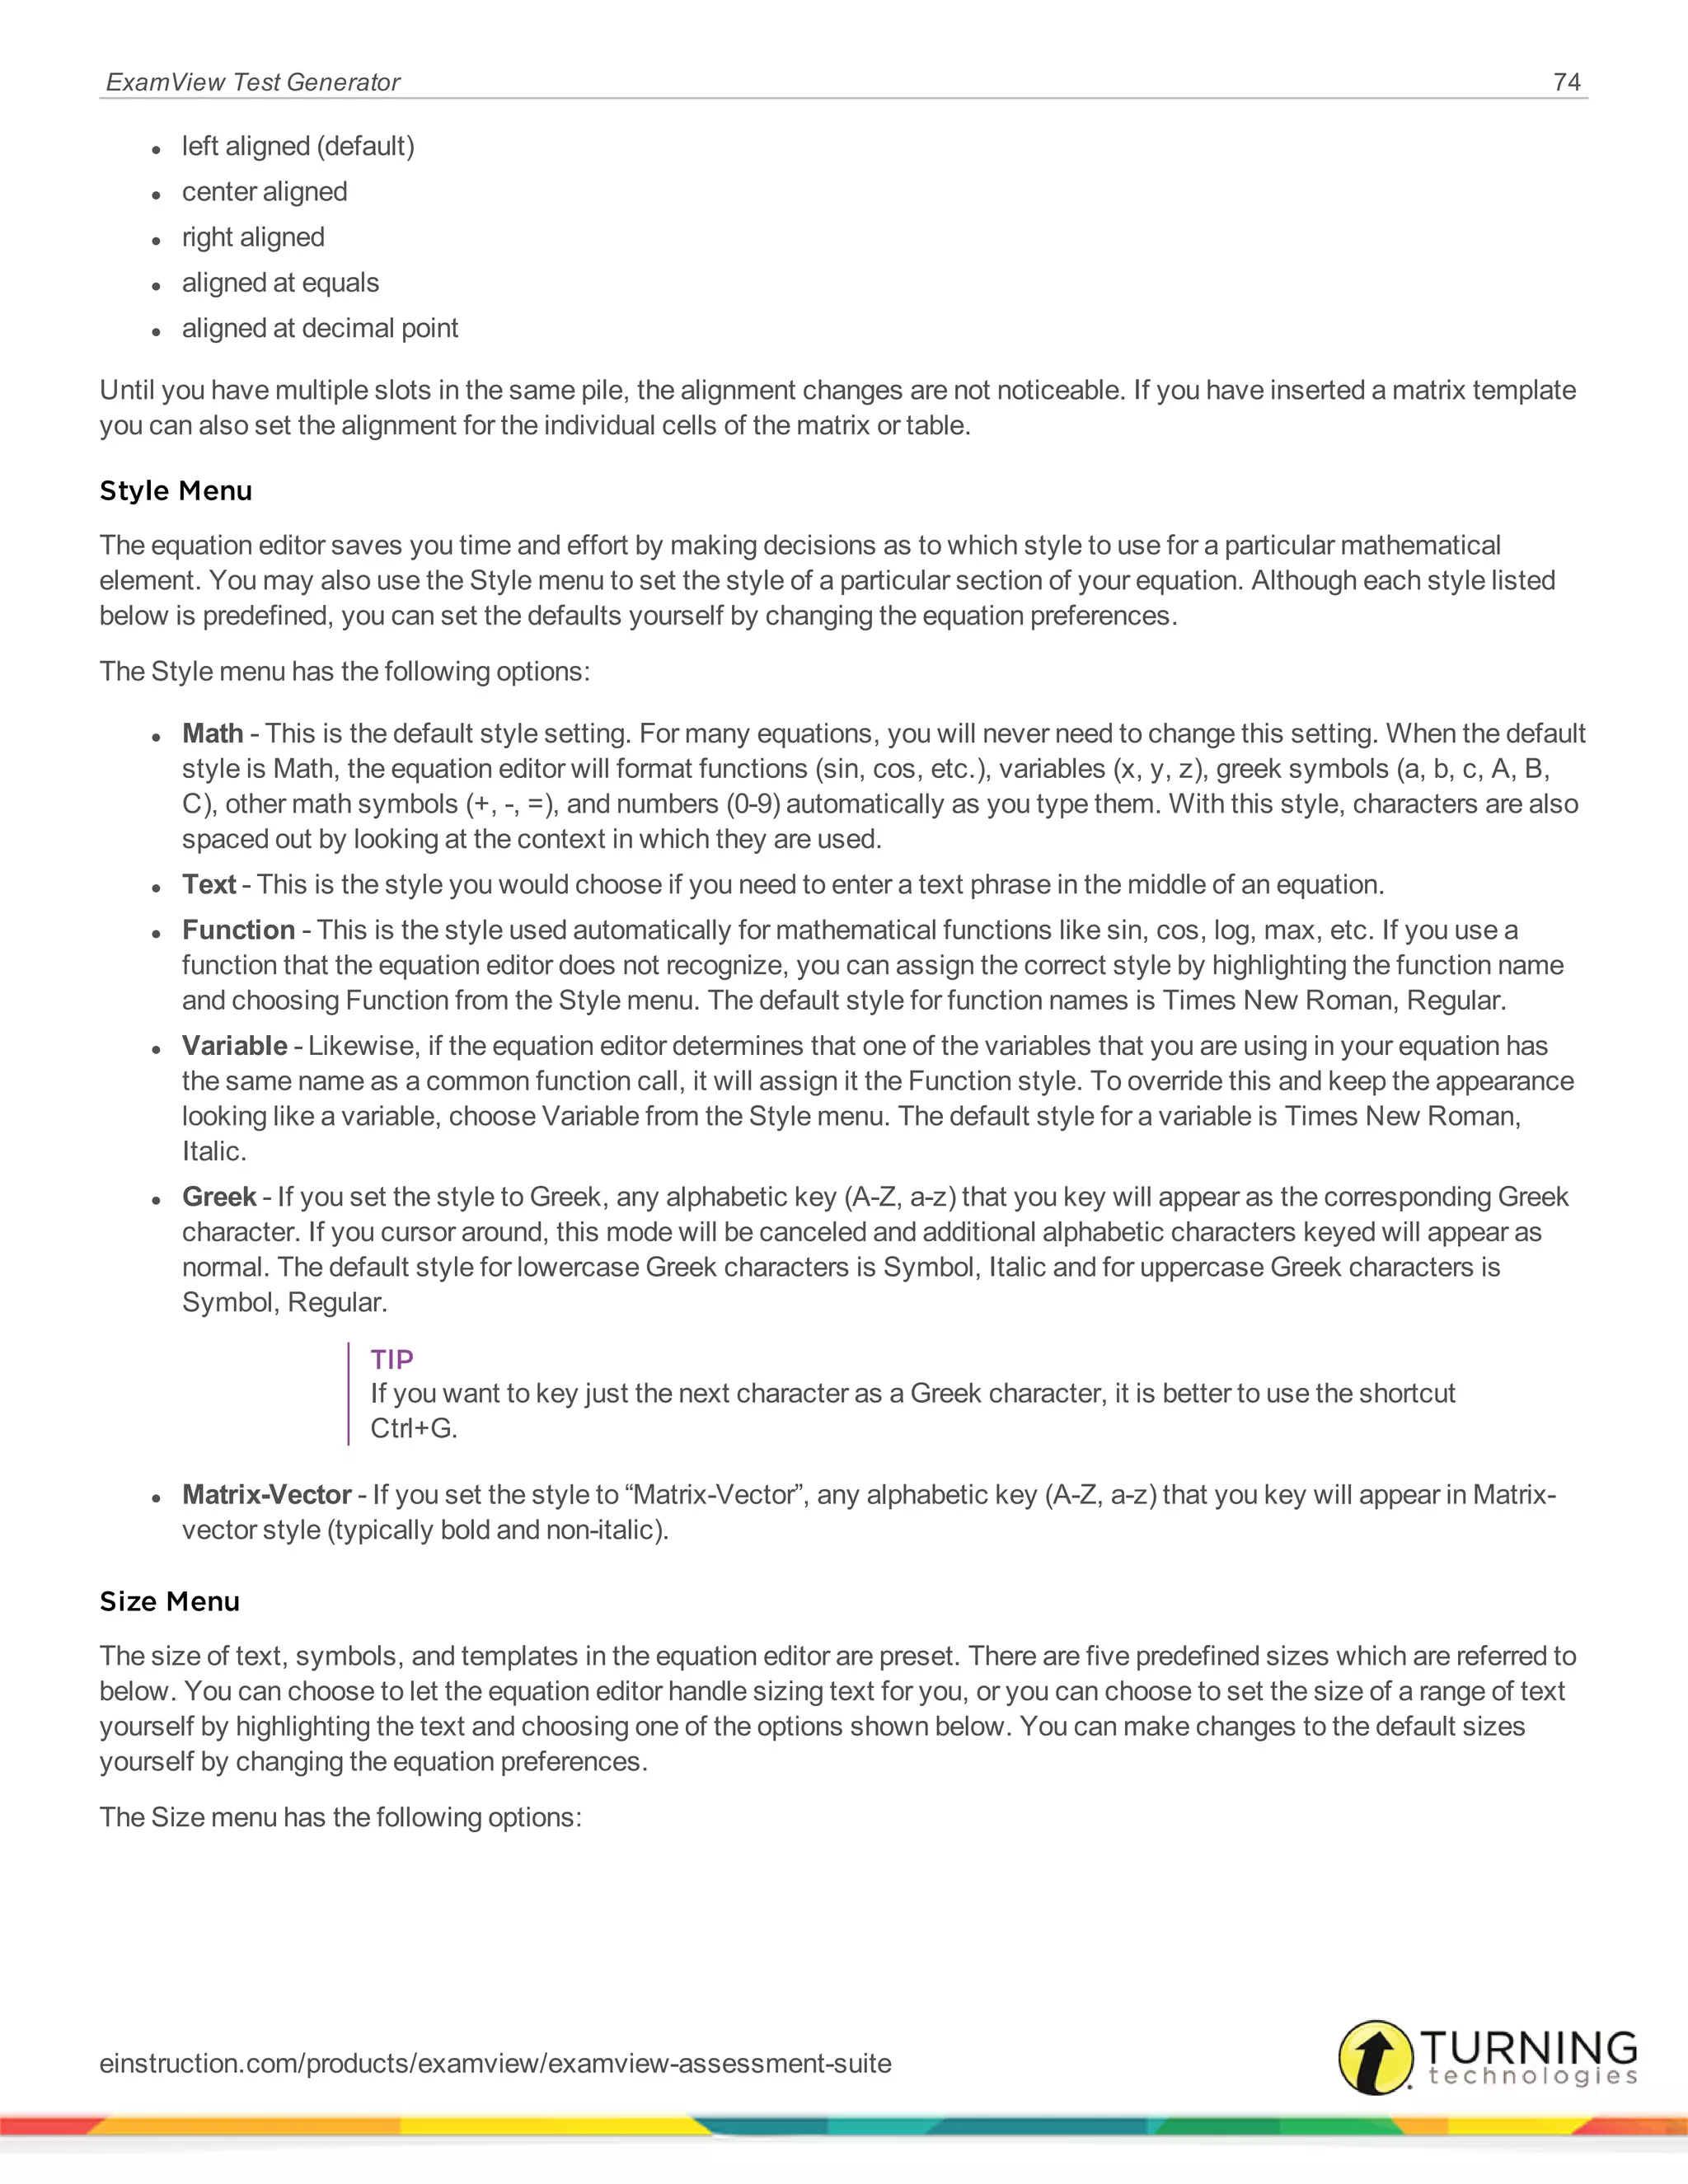
e
Description
[Constant] 2.71828..., used in problems involving growth or decay (or compound interest). Usually defined by the following
equation:
( )e= lim 1 +
x n
n
→∞
1
--------------------------------------------------------------------------------
Syntax
expression EQV expression
Description
Returns TRUE (1) if both expressions evaluate to non-zero or if both expressions evaluate to zero, otherwise returns FALSE
(0).
--------------------------------------------------------------------------------
Syntax
double exp(double x)
Description
Calculates the exponential e to the x.
--------------------------------------------------------------------------------
Syntax
FALSE
Description
[Constant] 0.
--------------------------------------------------------------------------------
einstruction.com/products/examview/examview-assessment-suite](https://image.slidesharecdn.com/examviewtestgeneratoruserguide8-150118204102-conversion-gate02/75/Examview-test-generator-userguide-8-1-110-2048.jpg)
![ExamView Test Generator 112
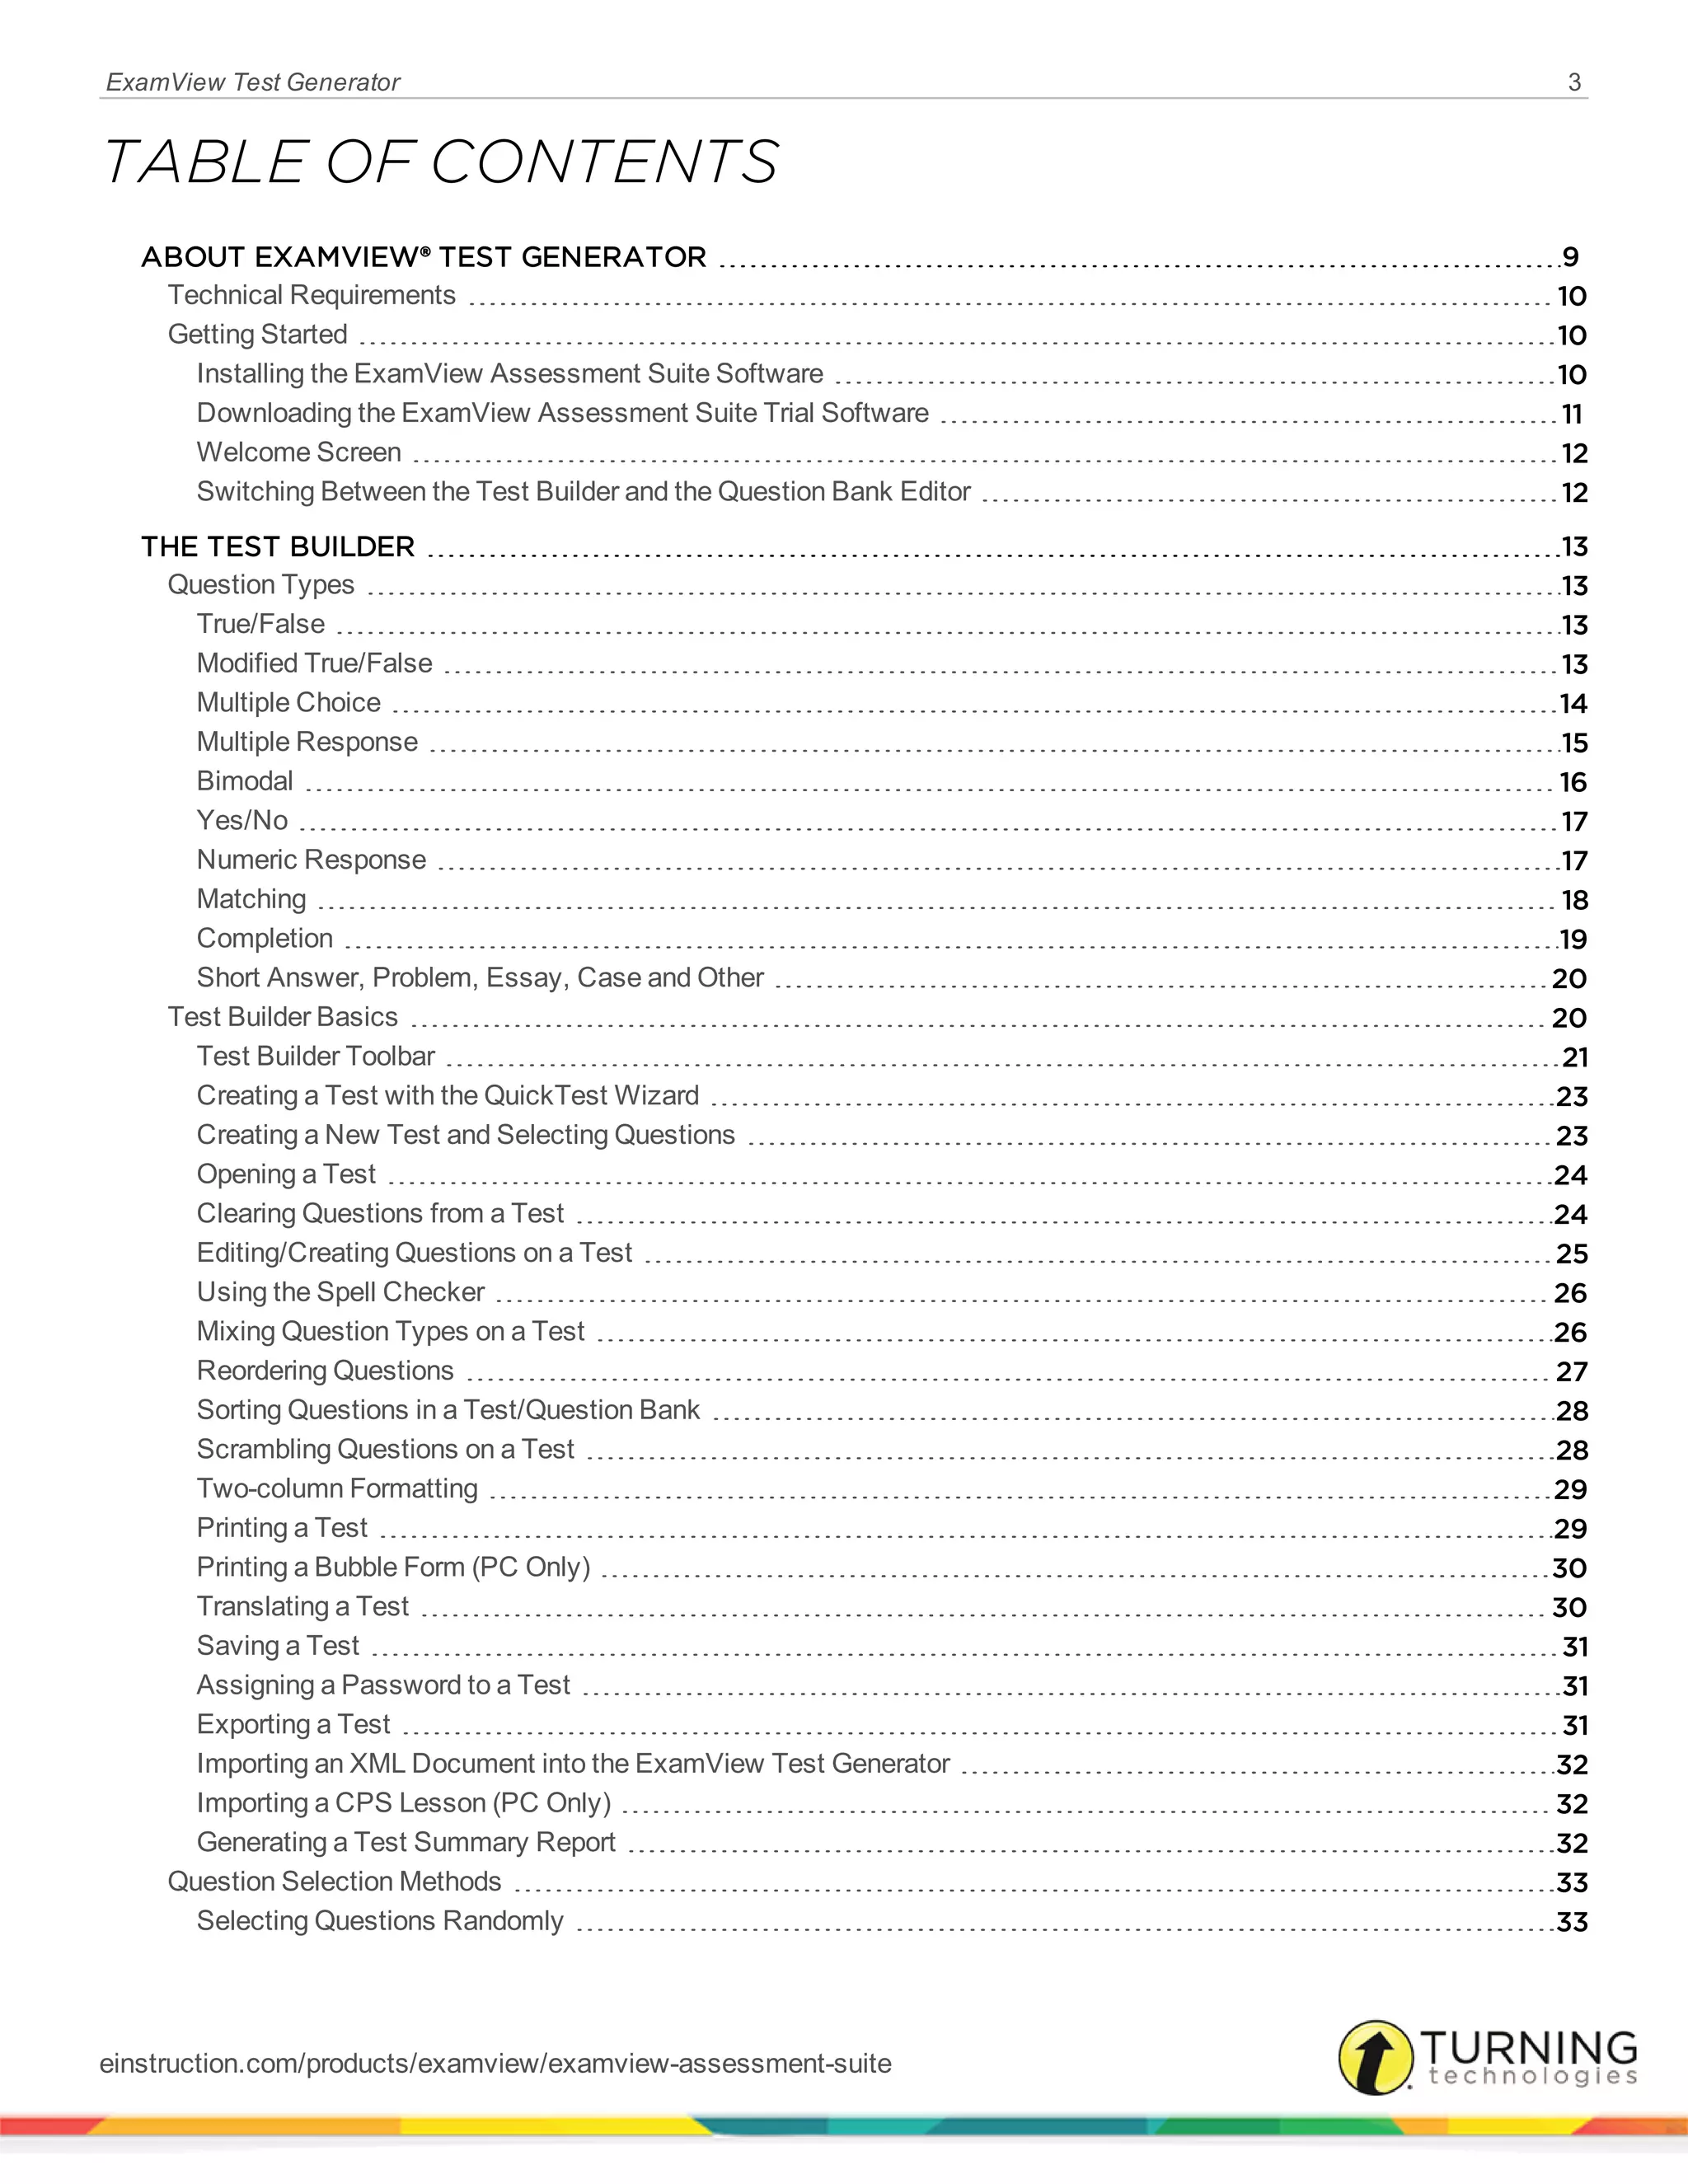
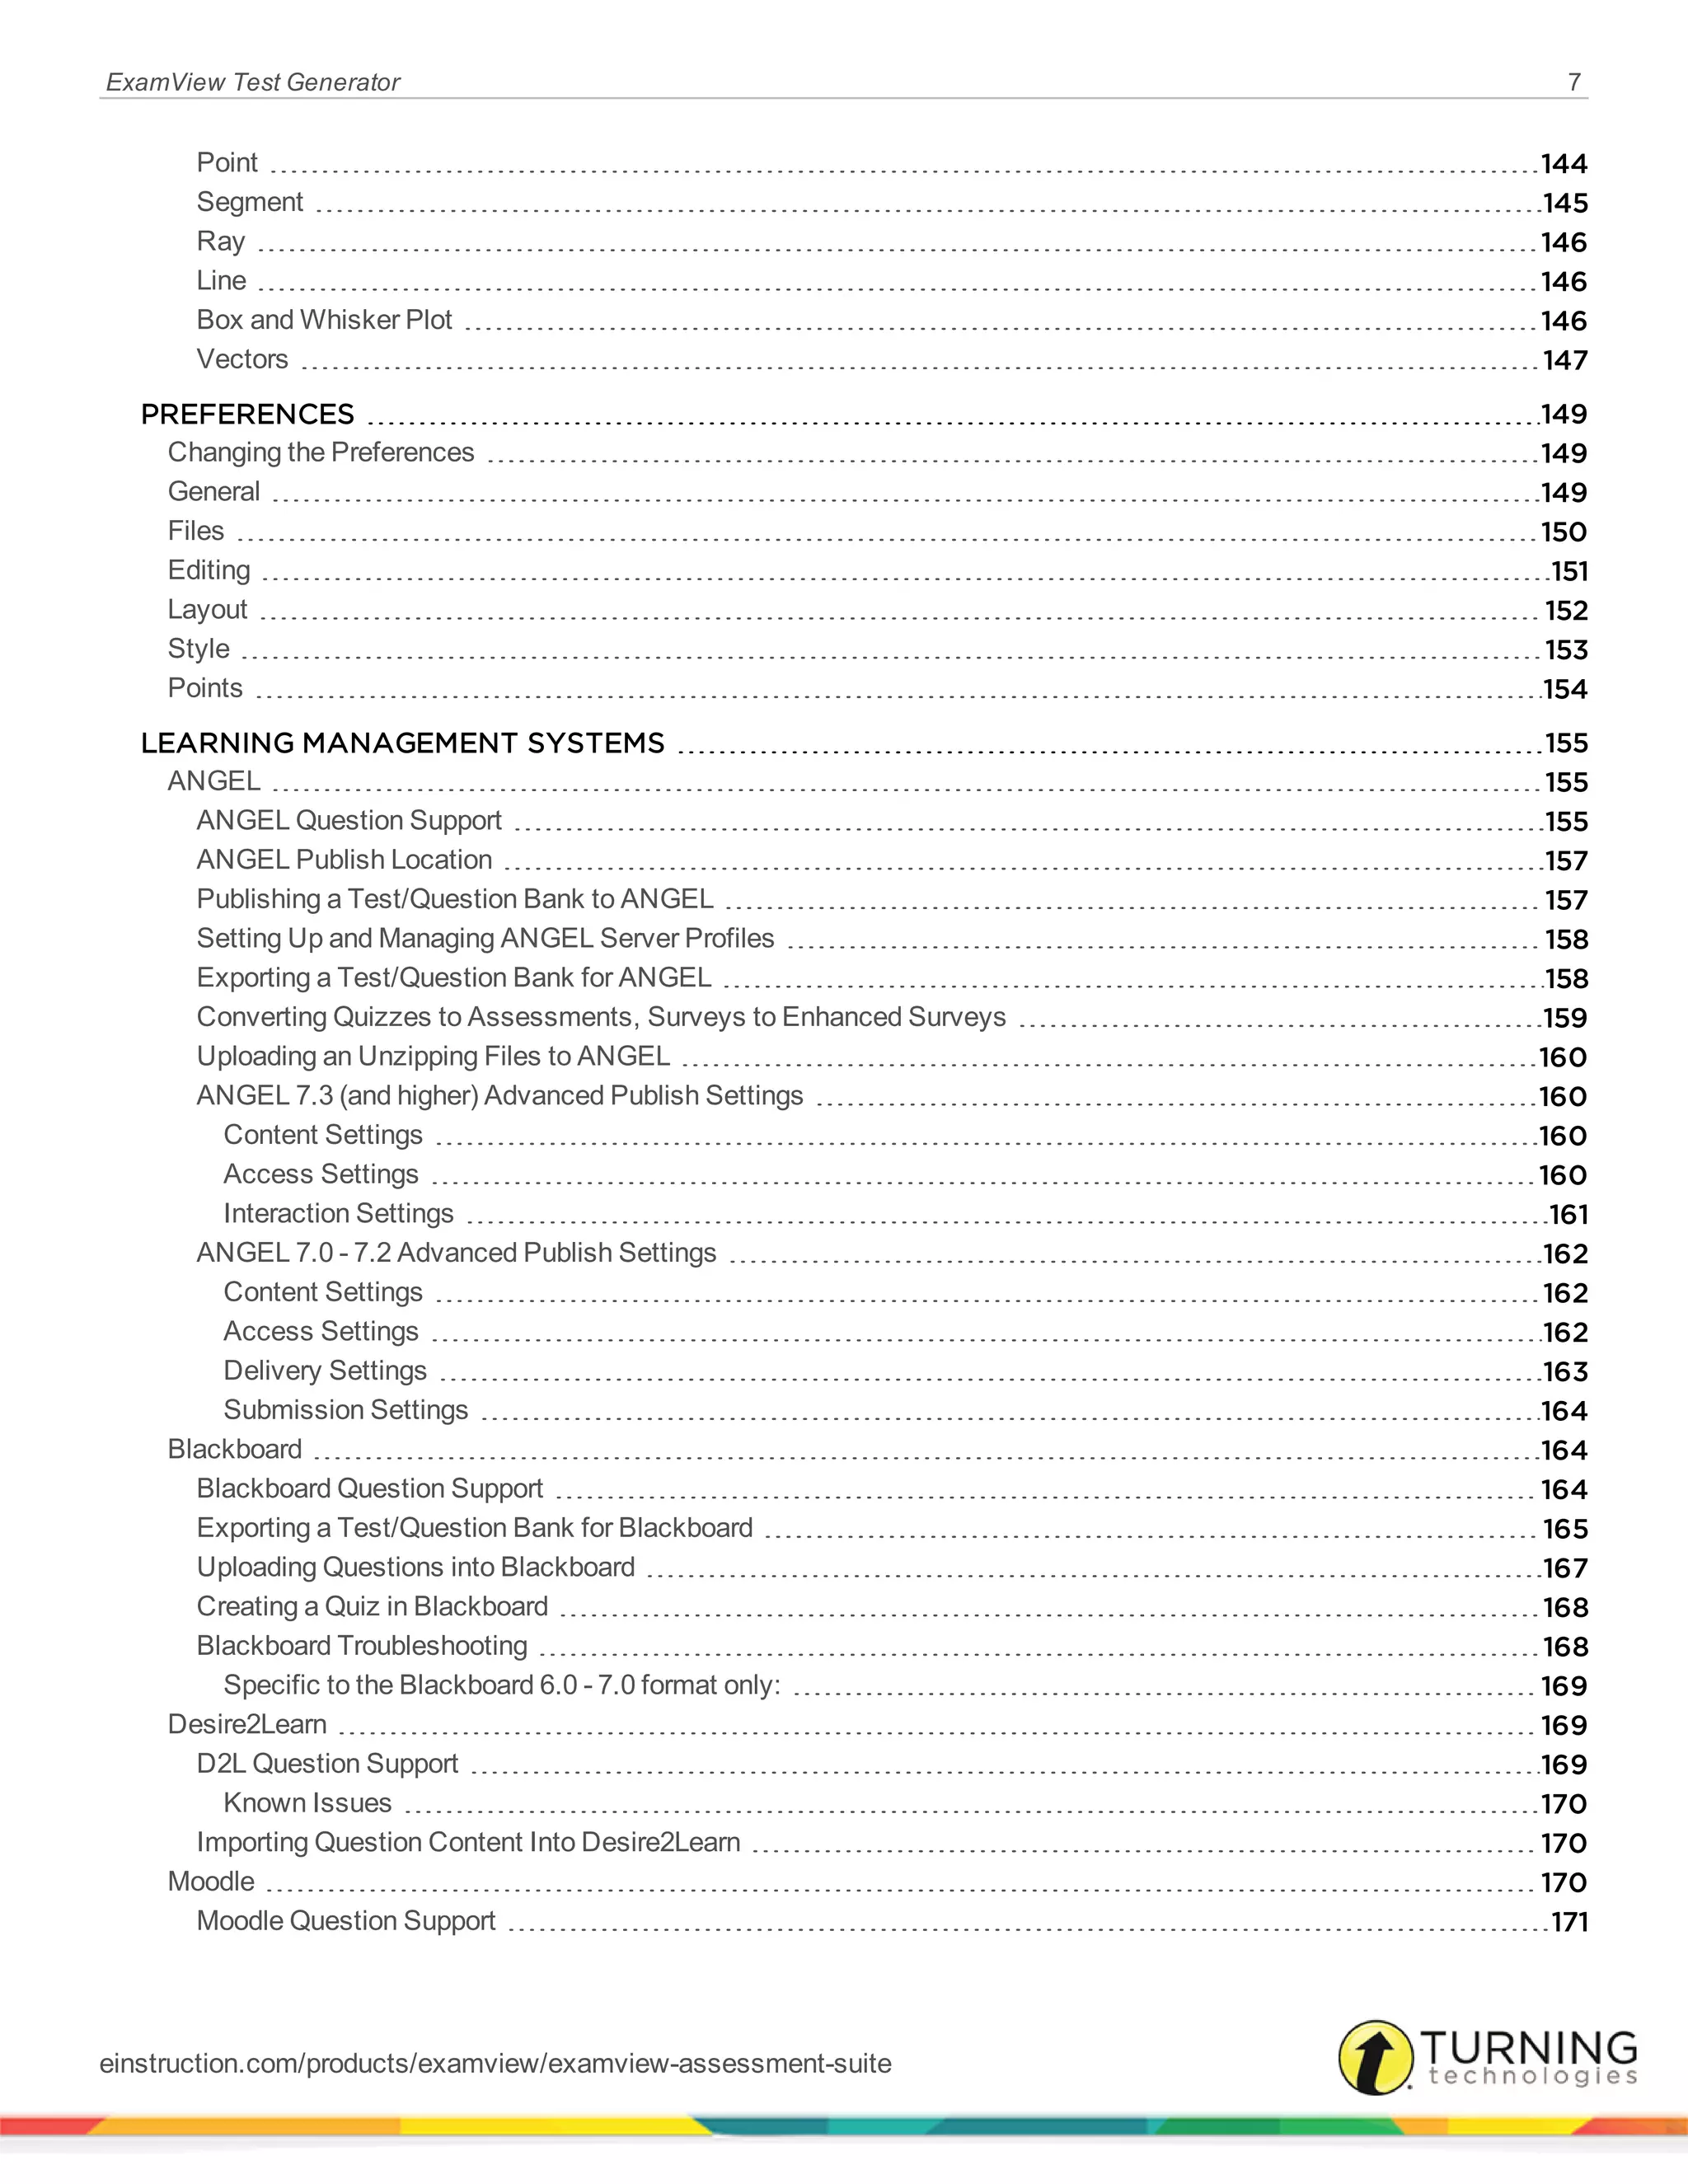
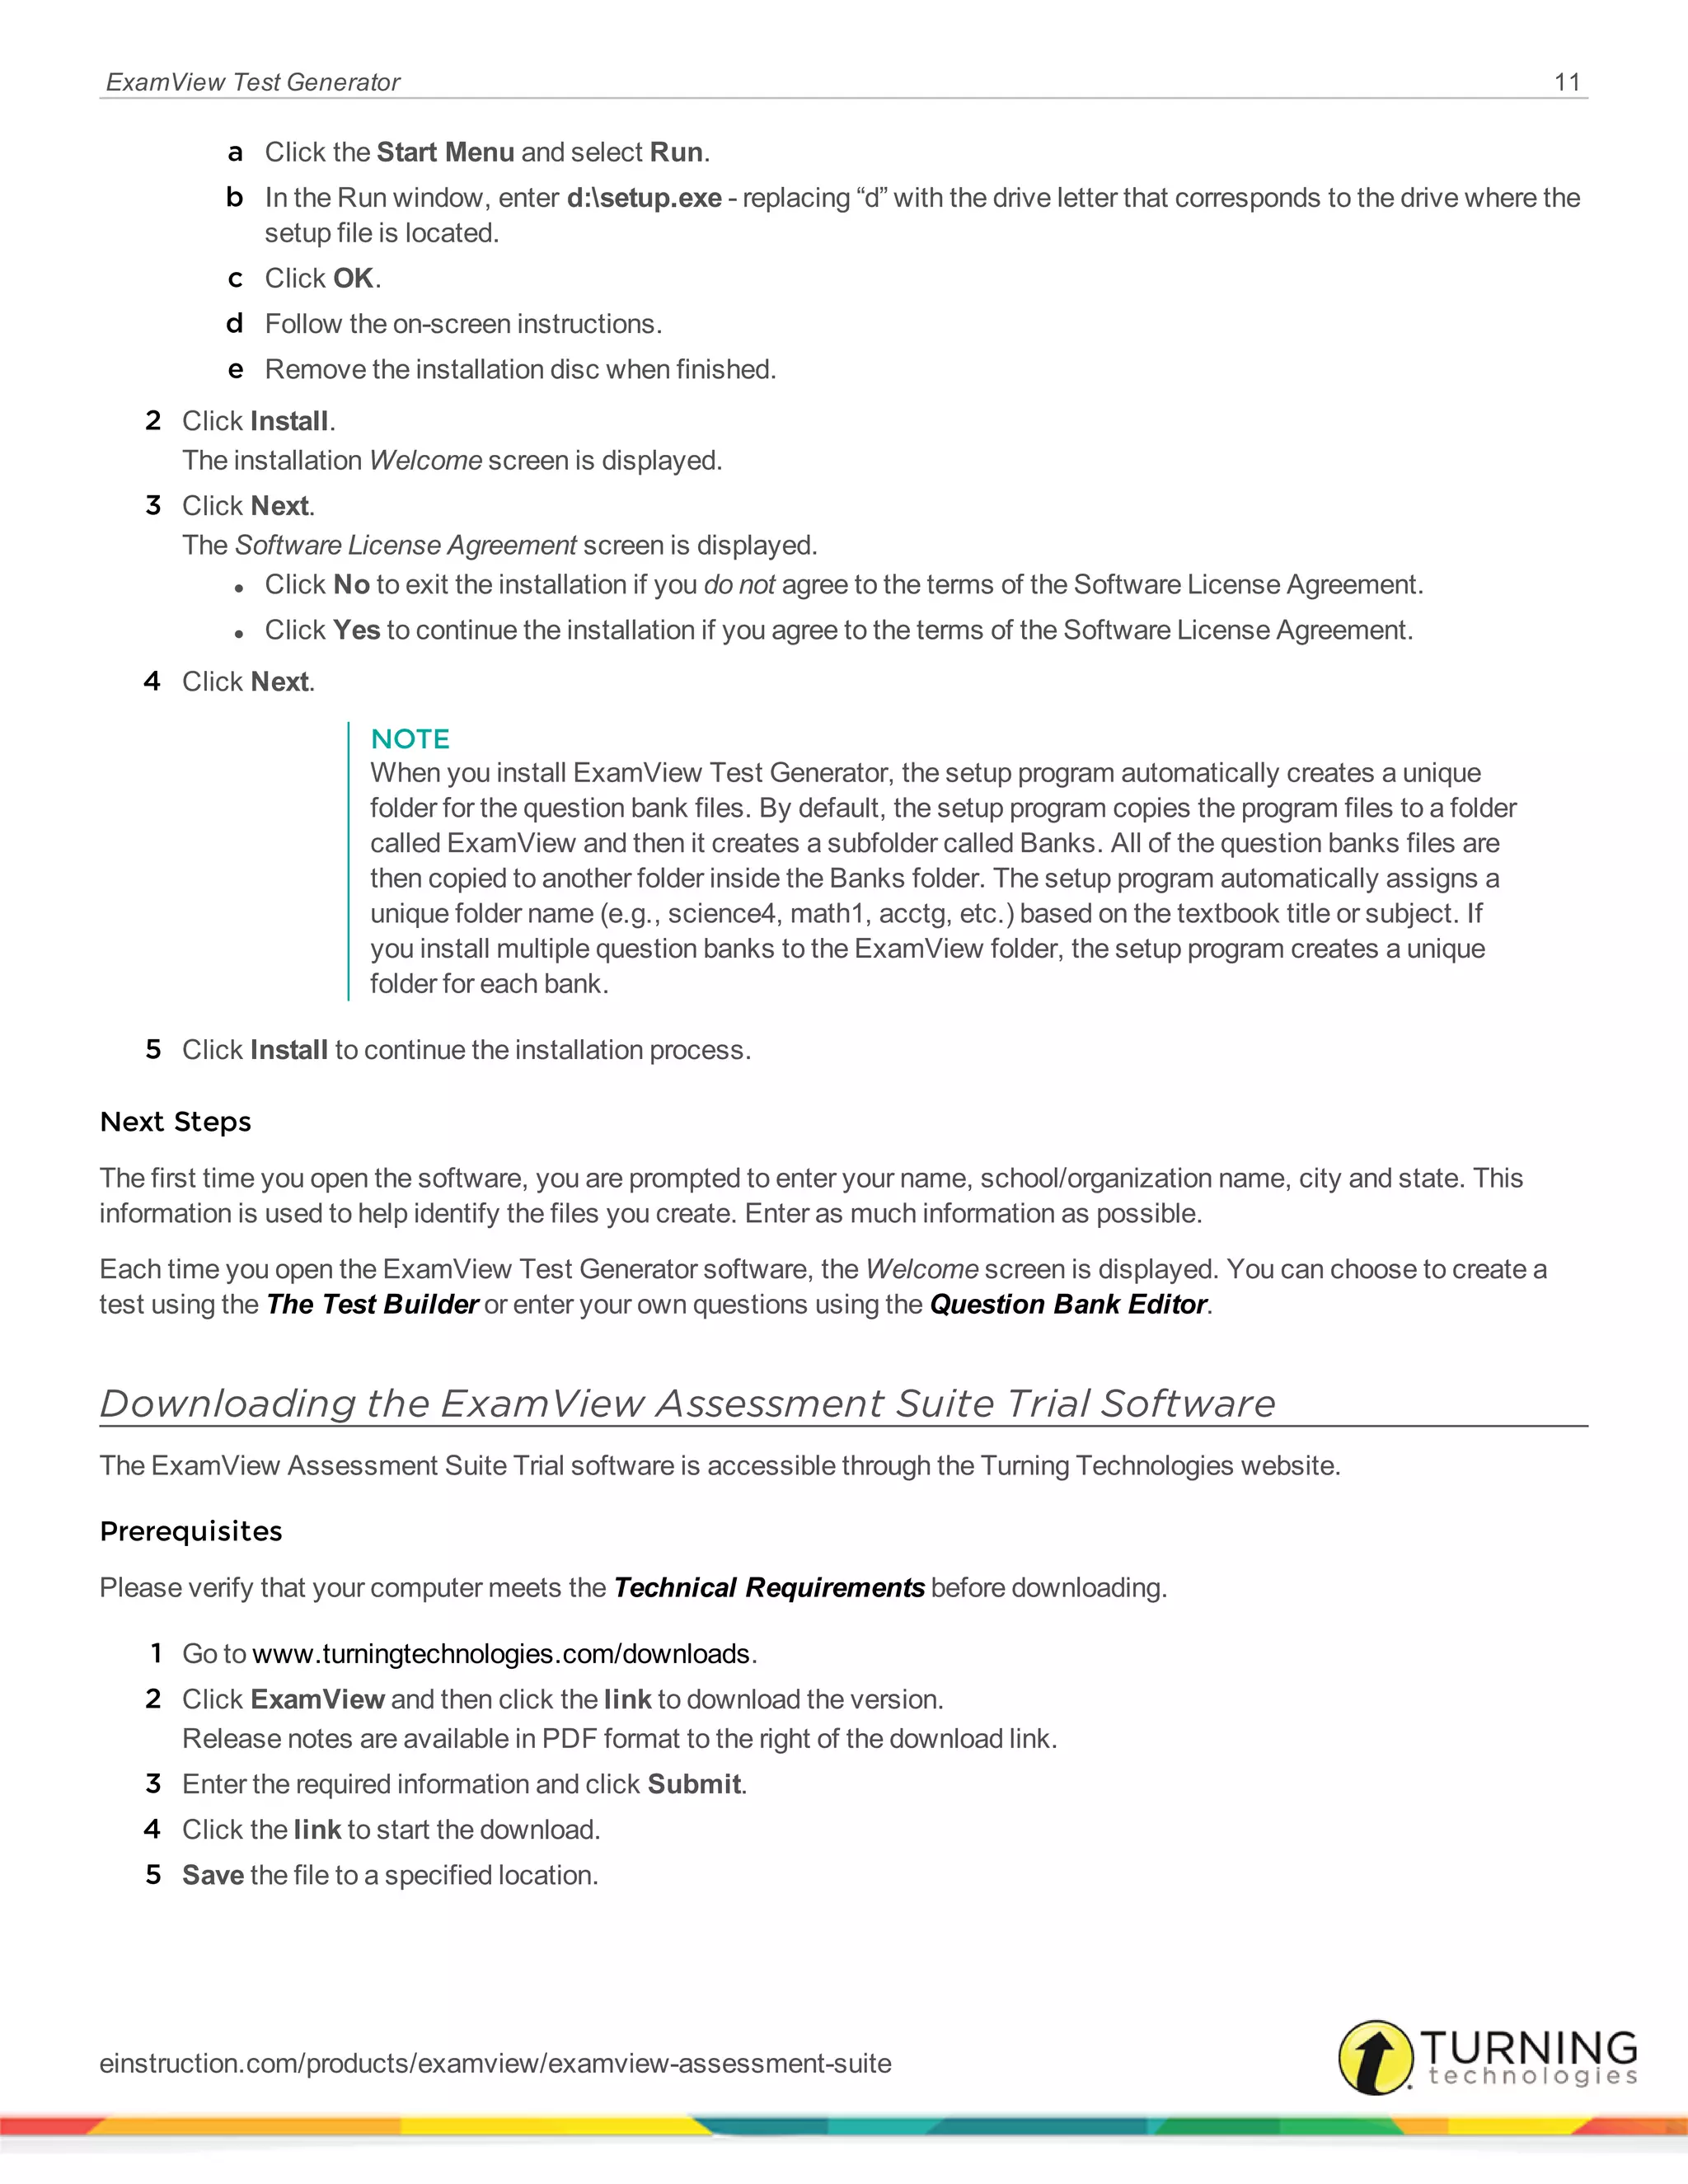
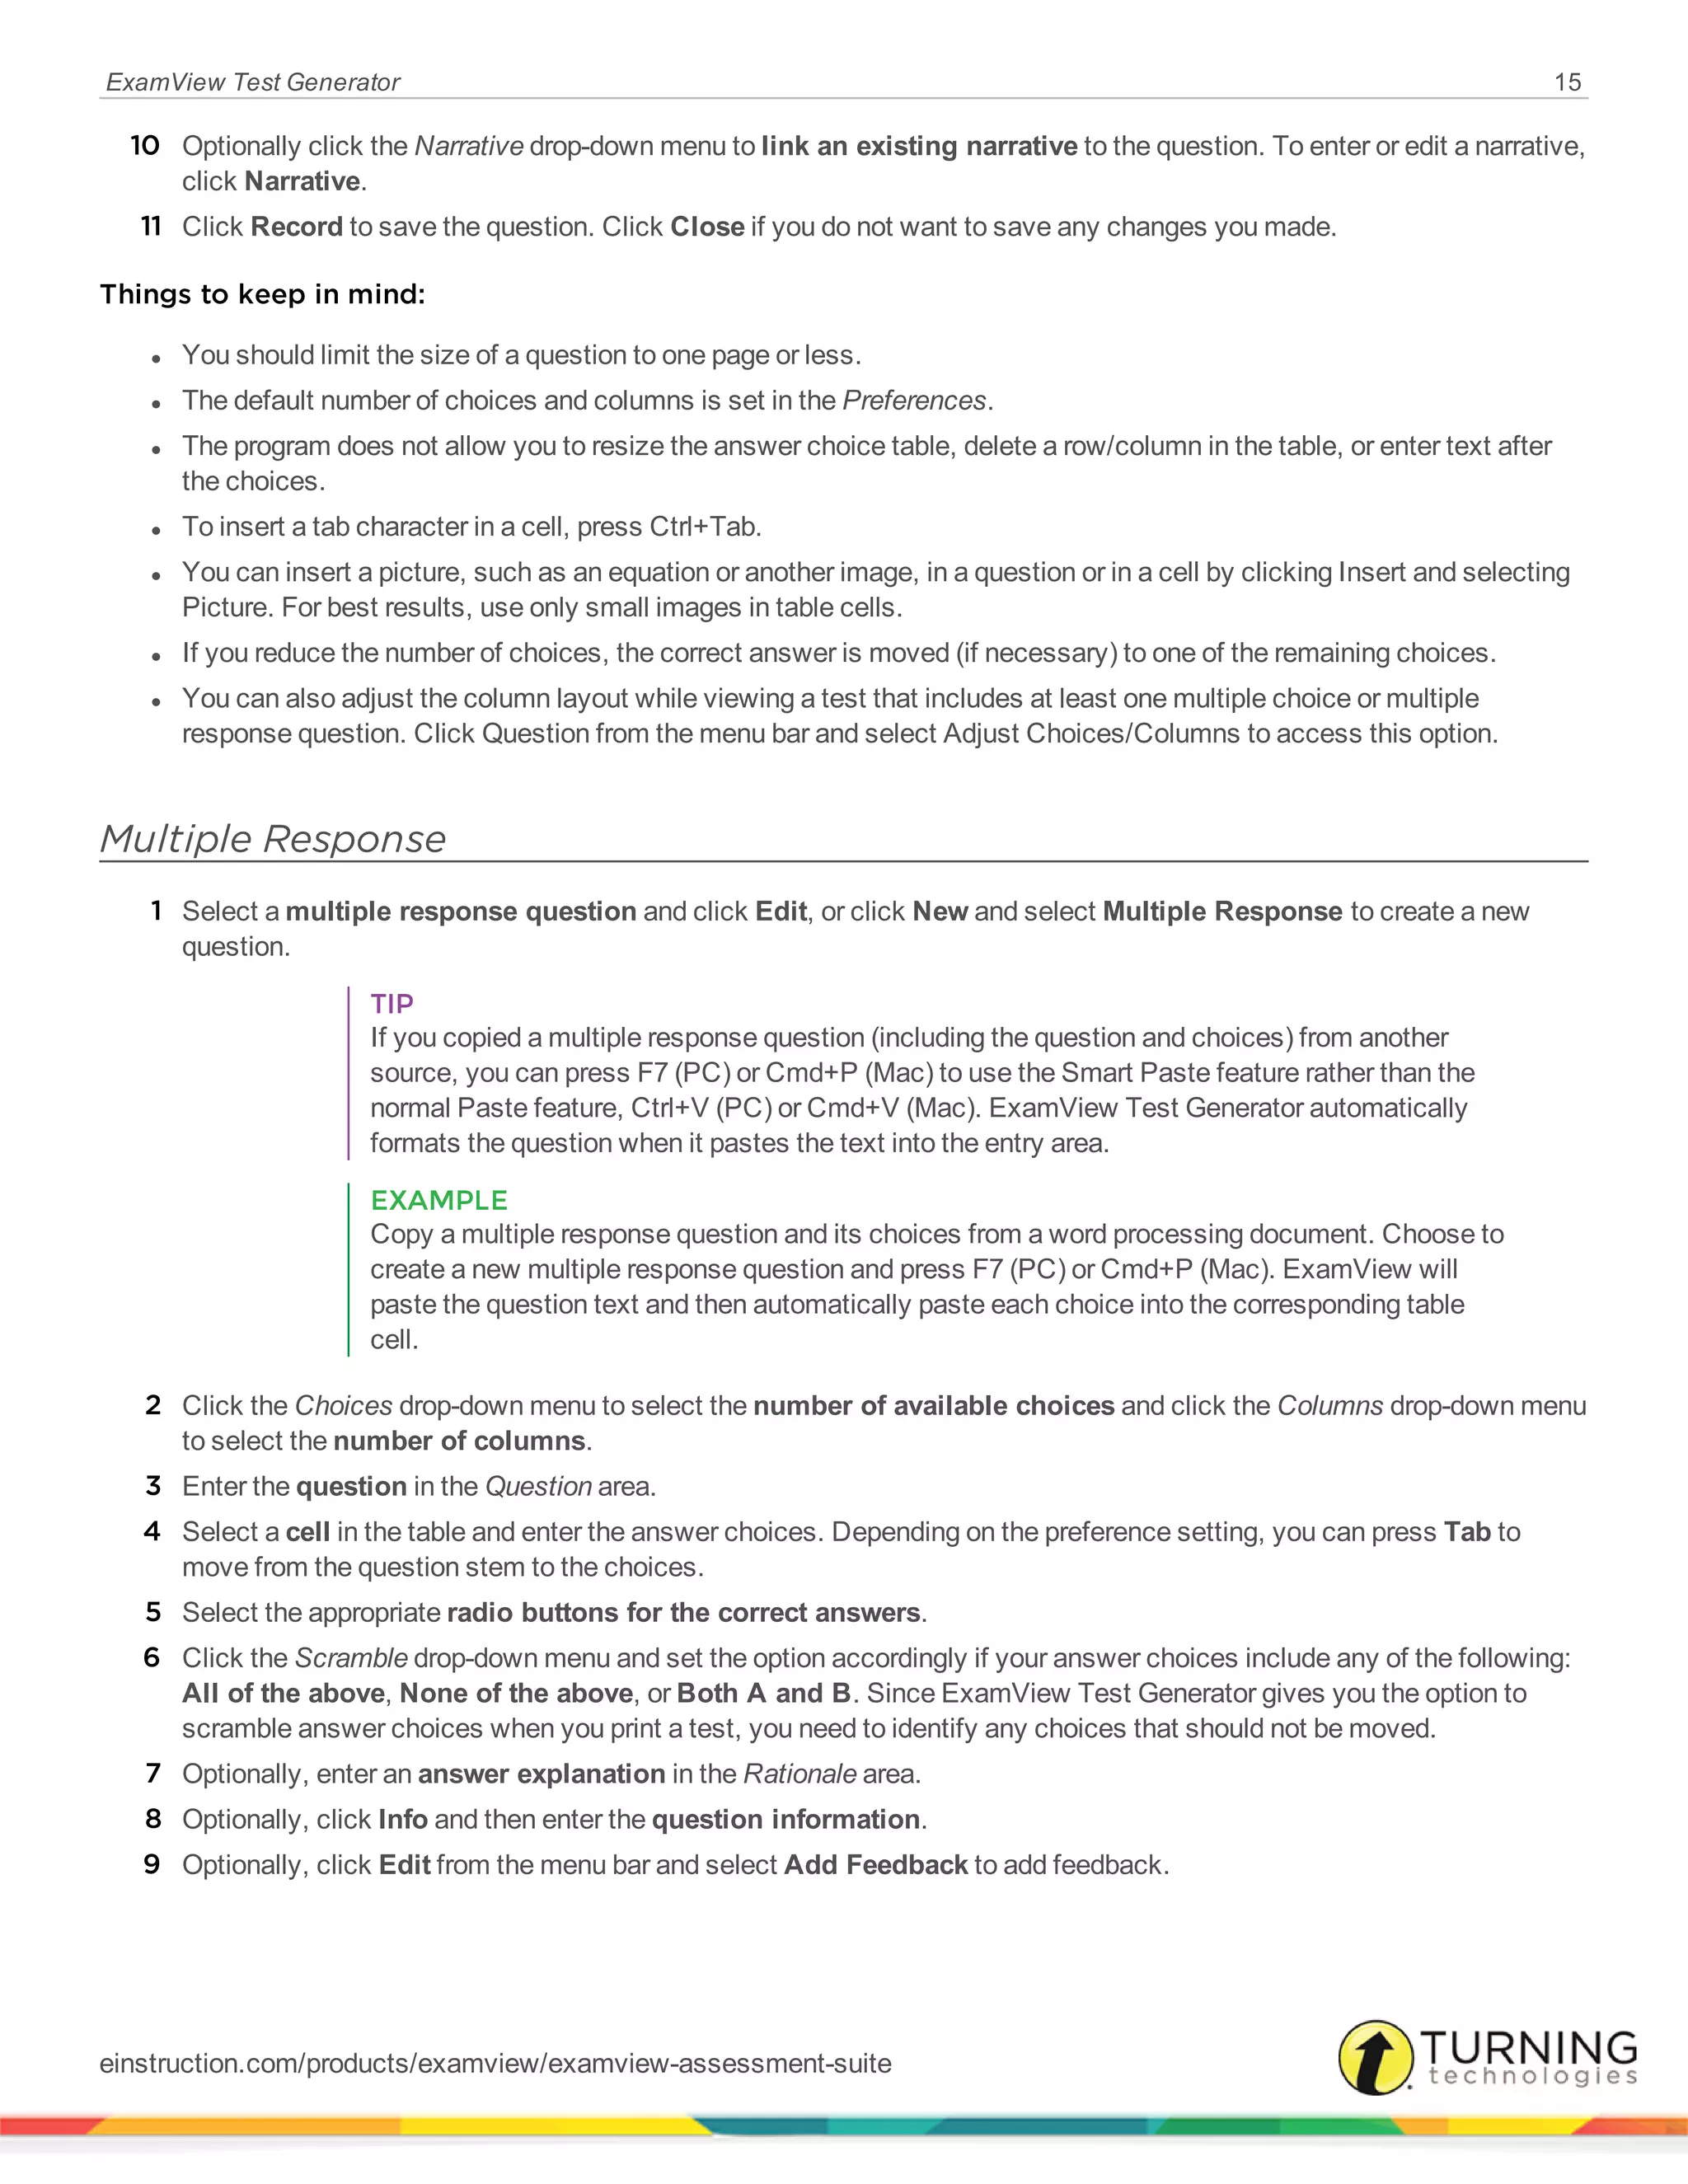
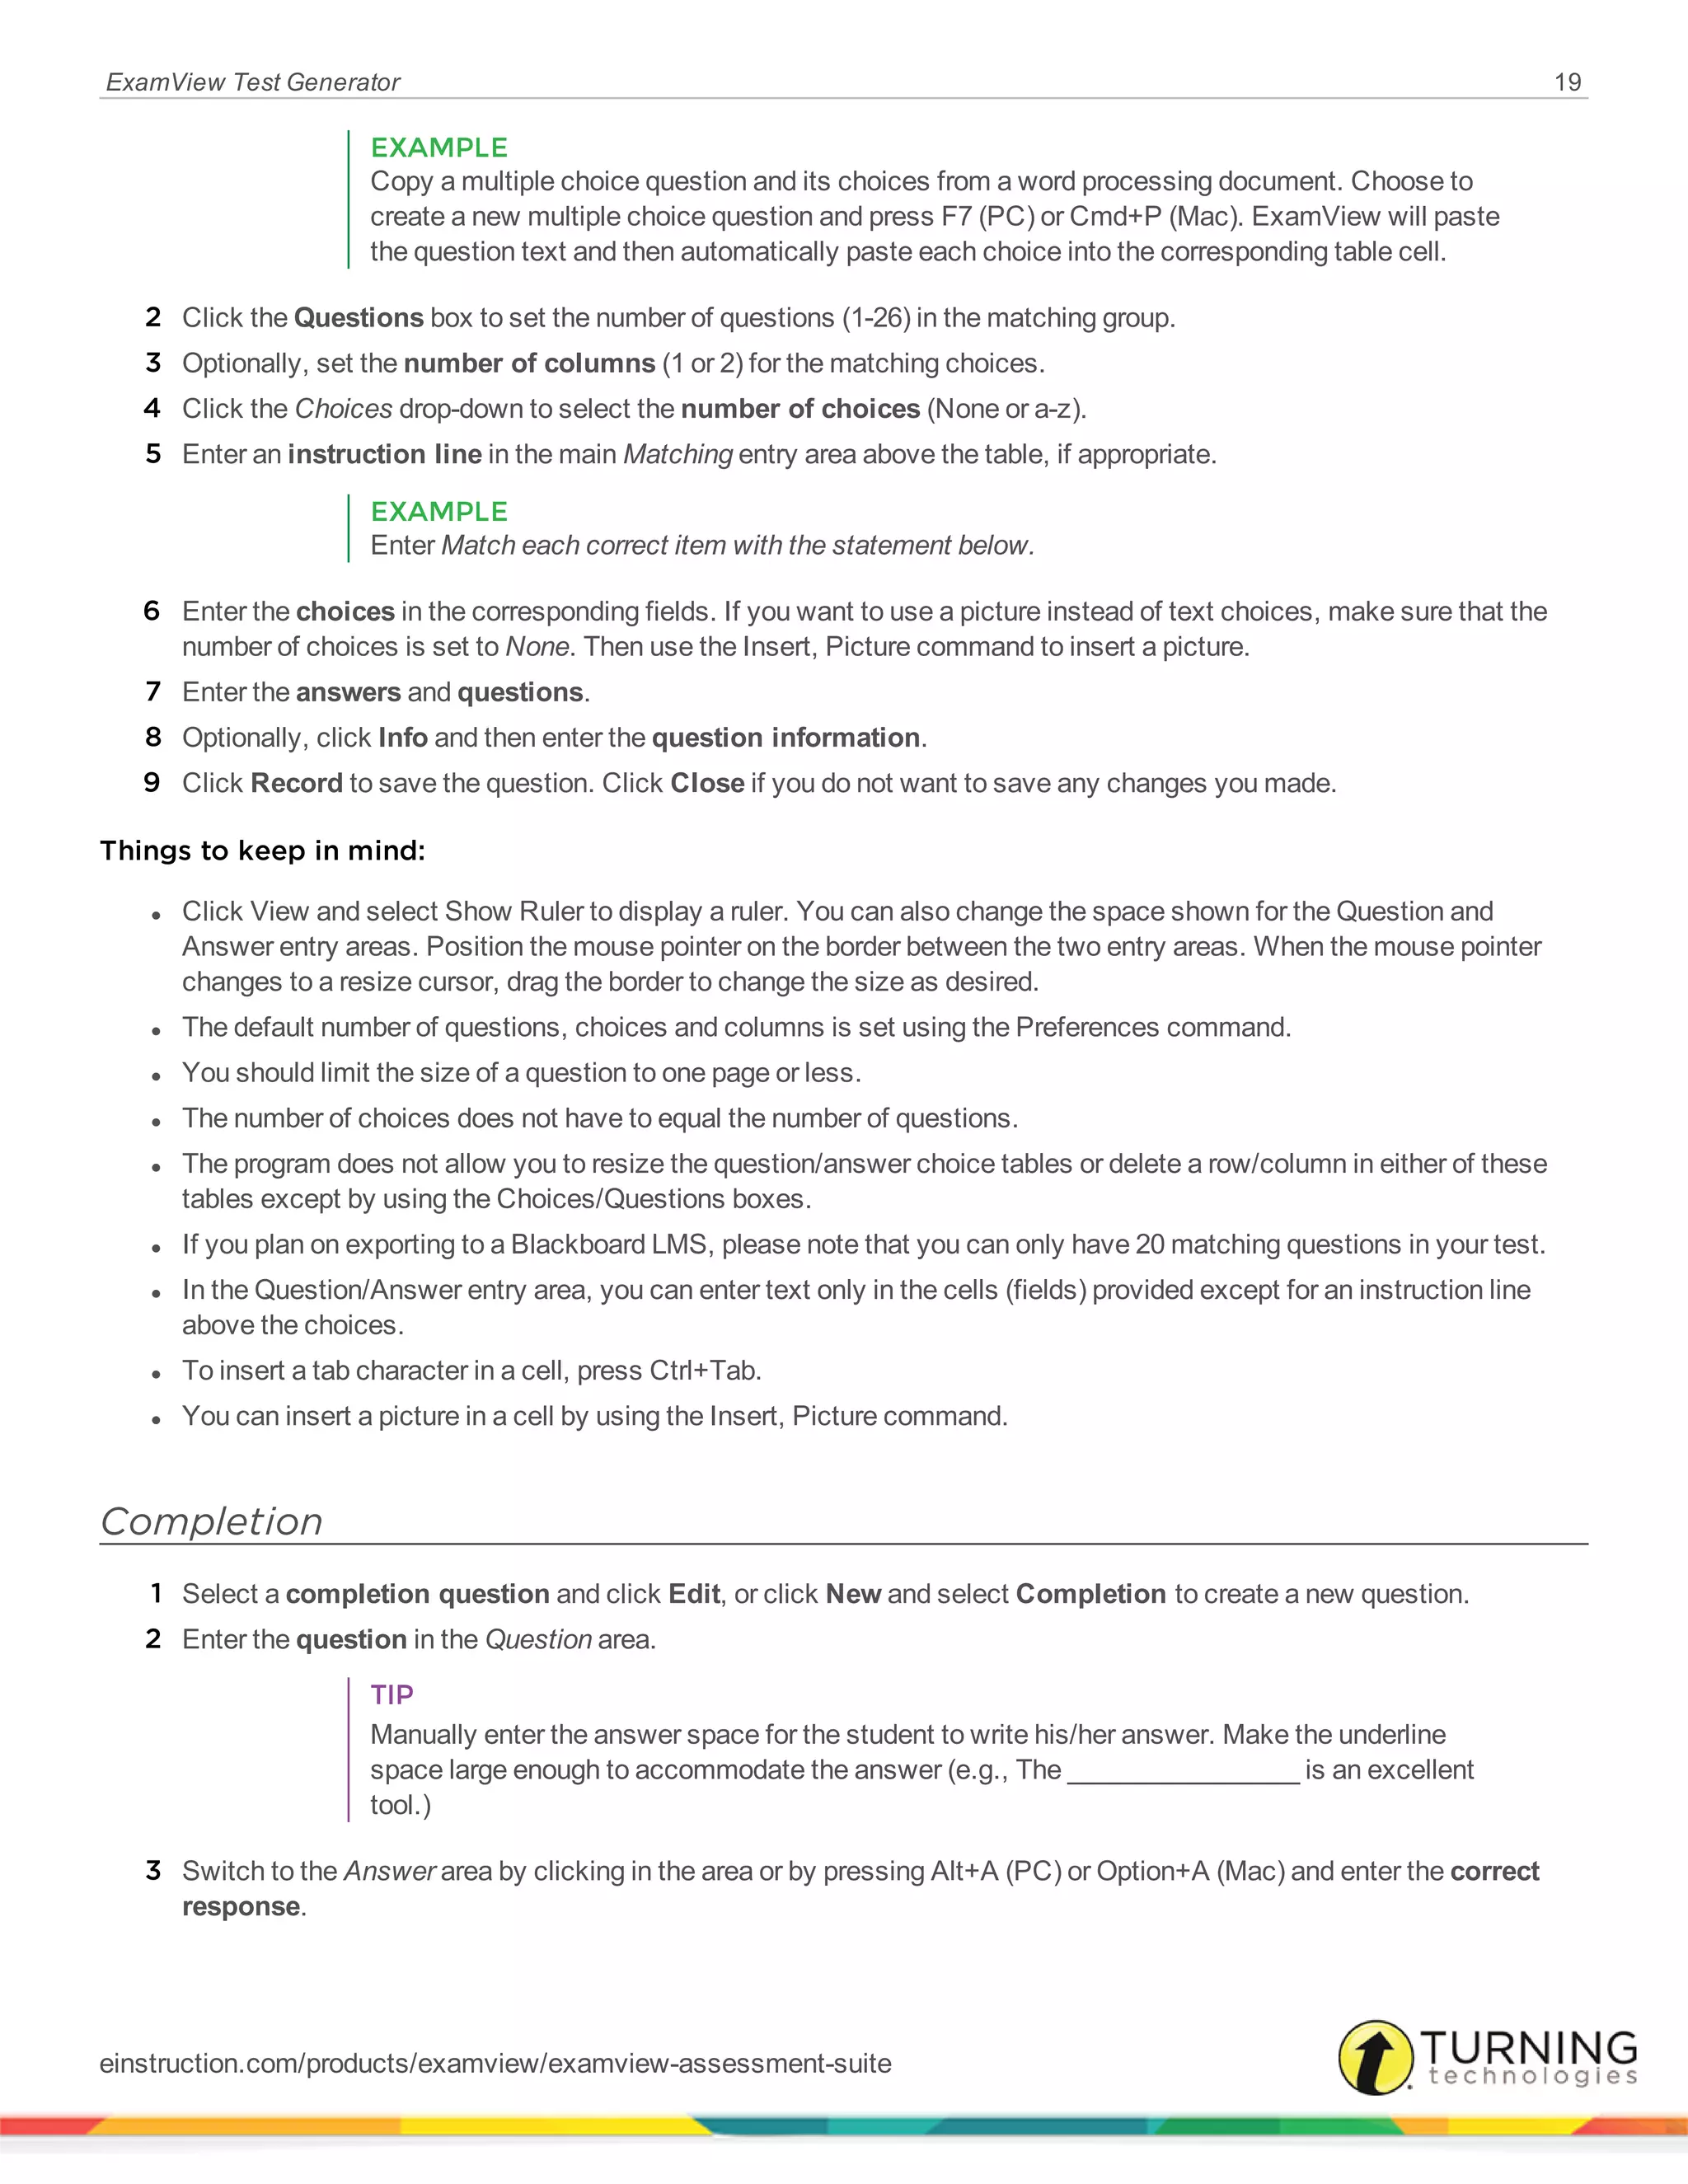
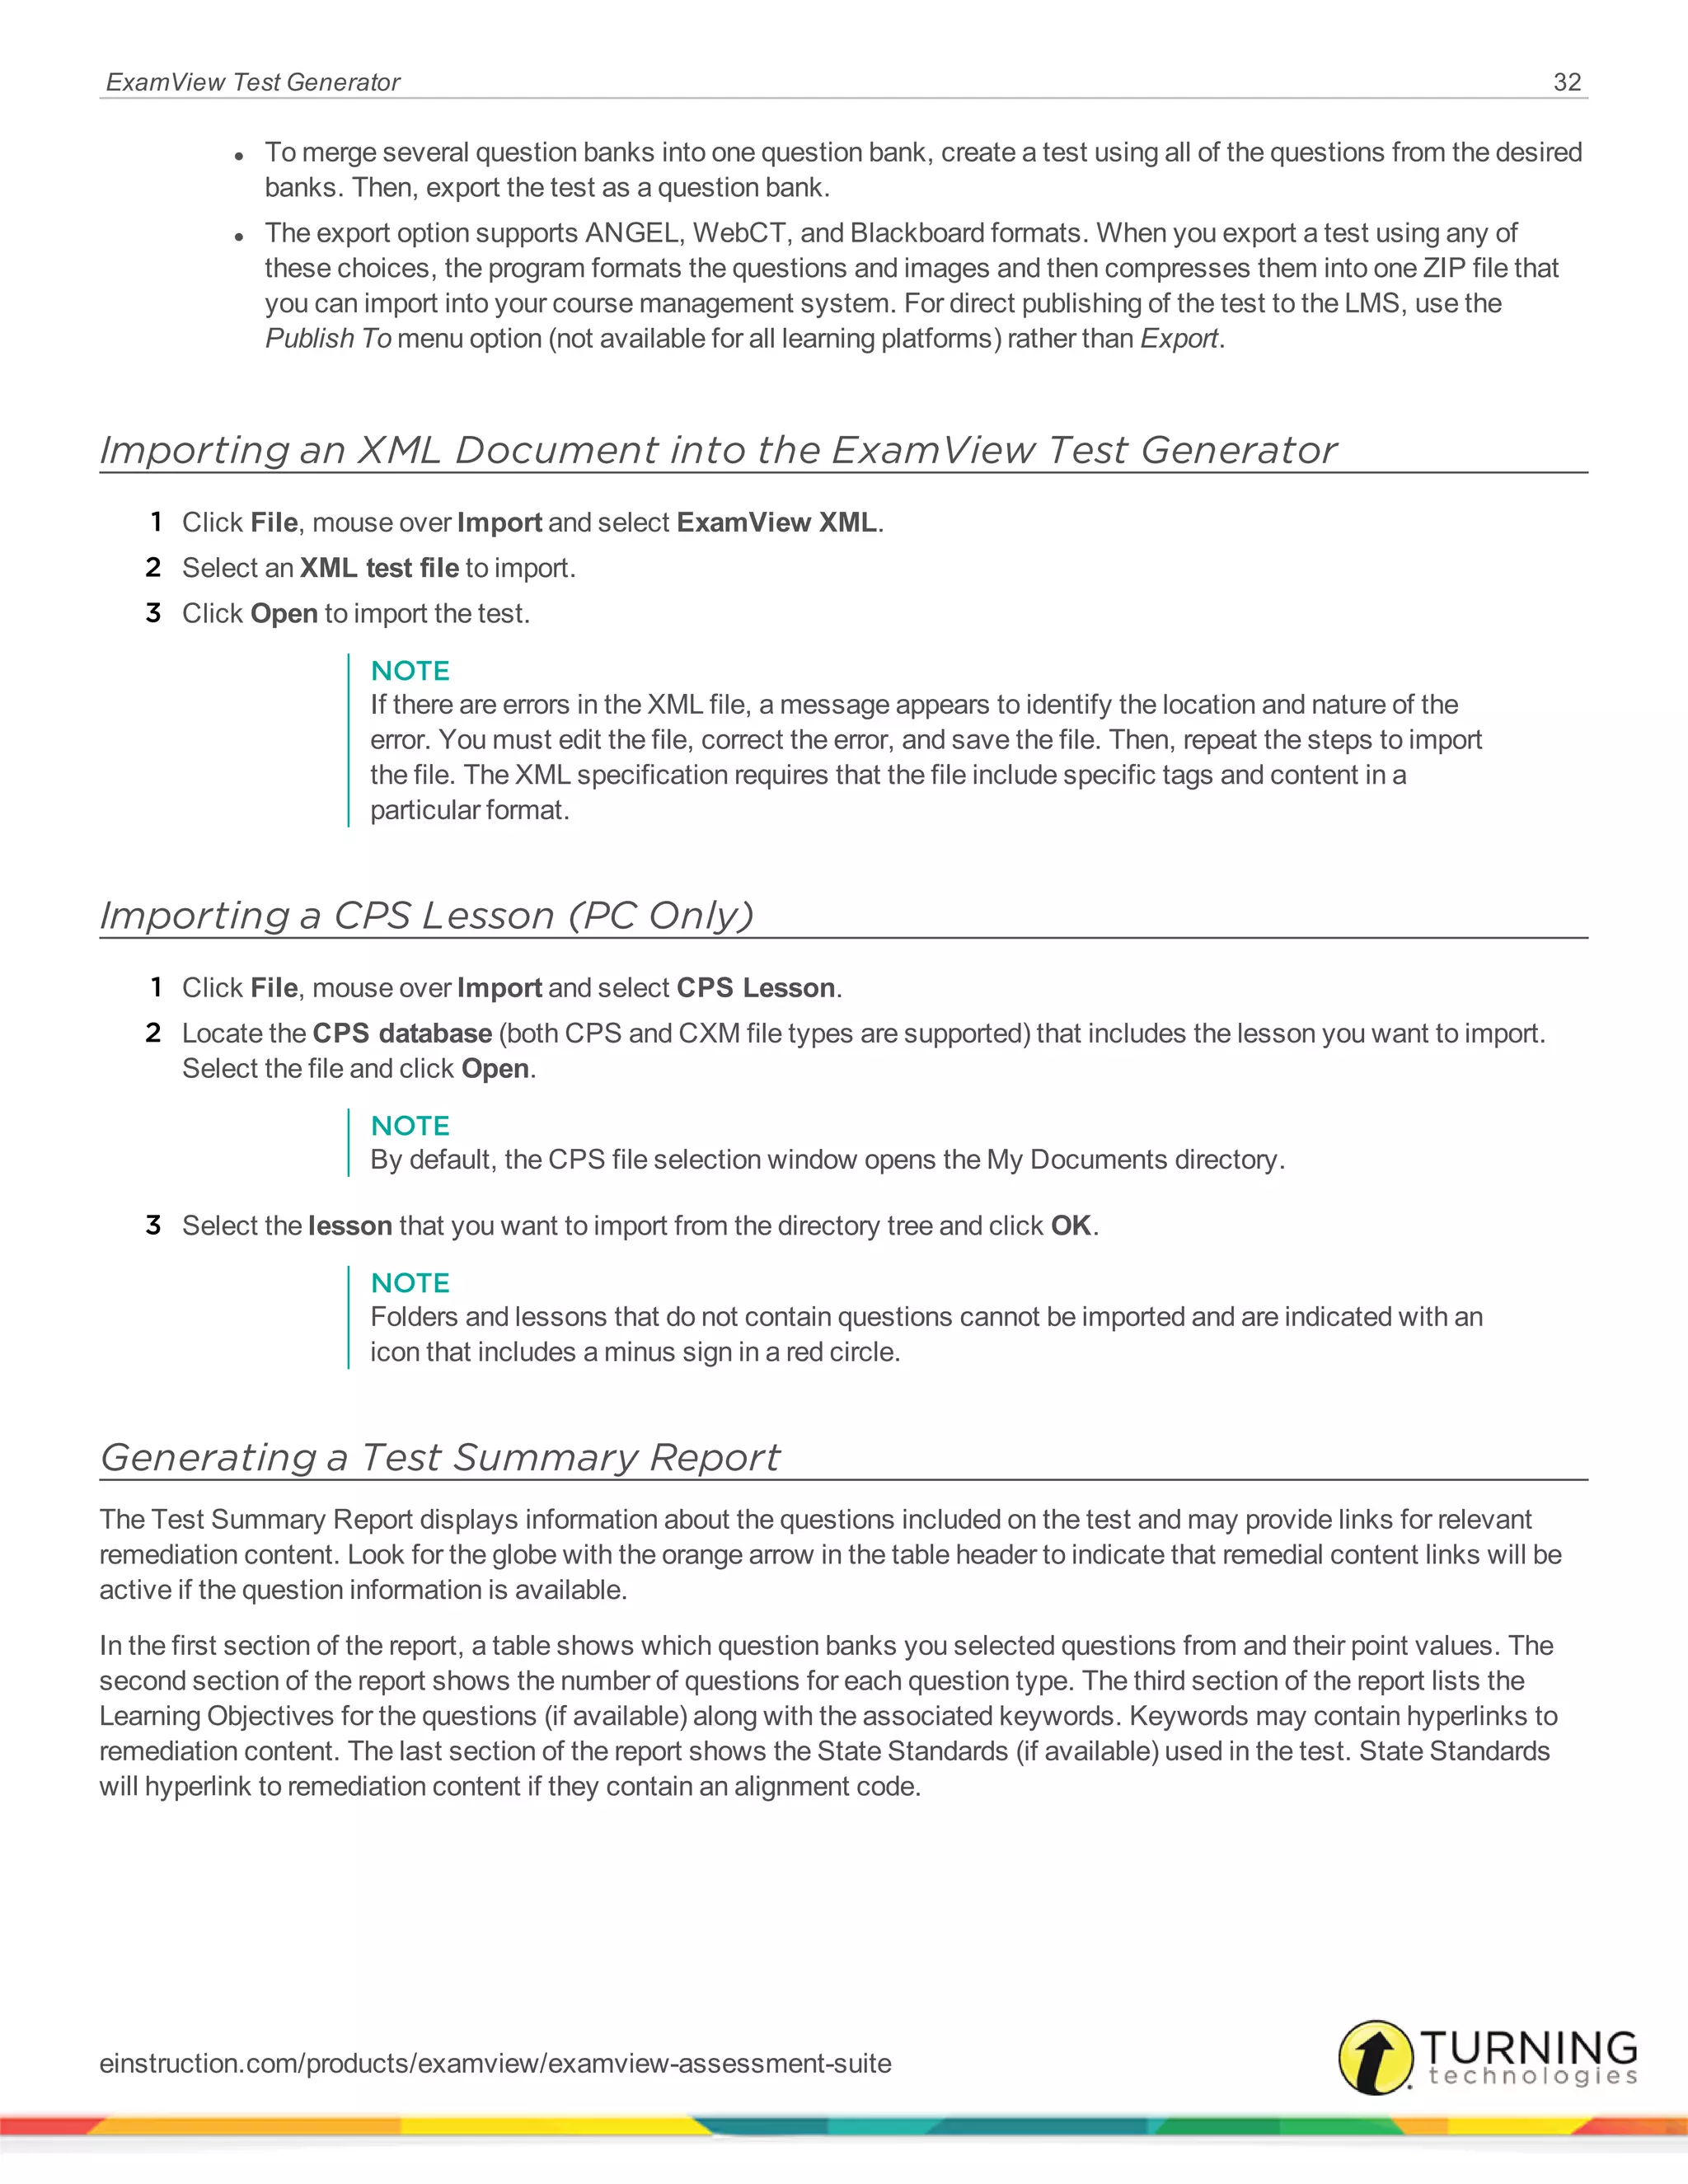
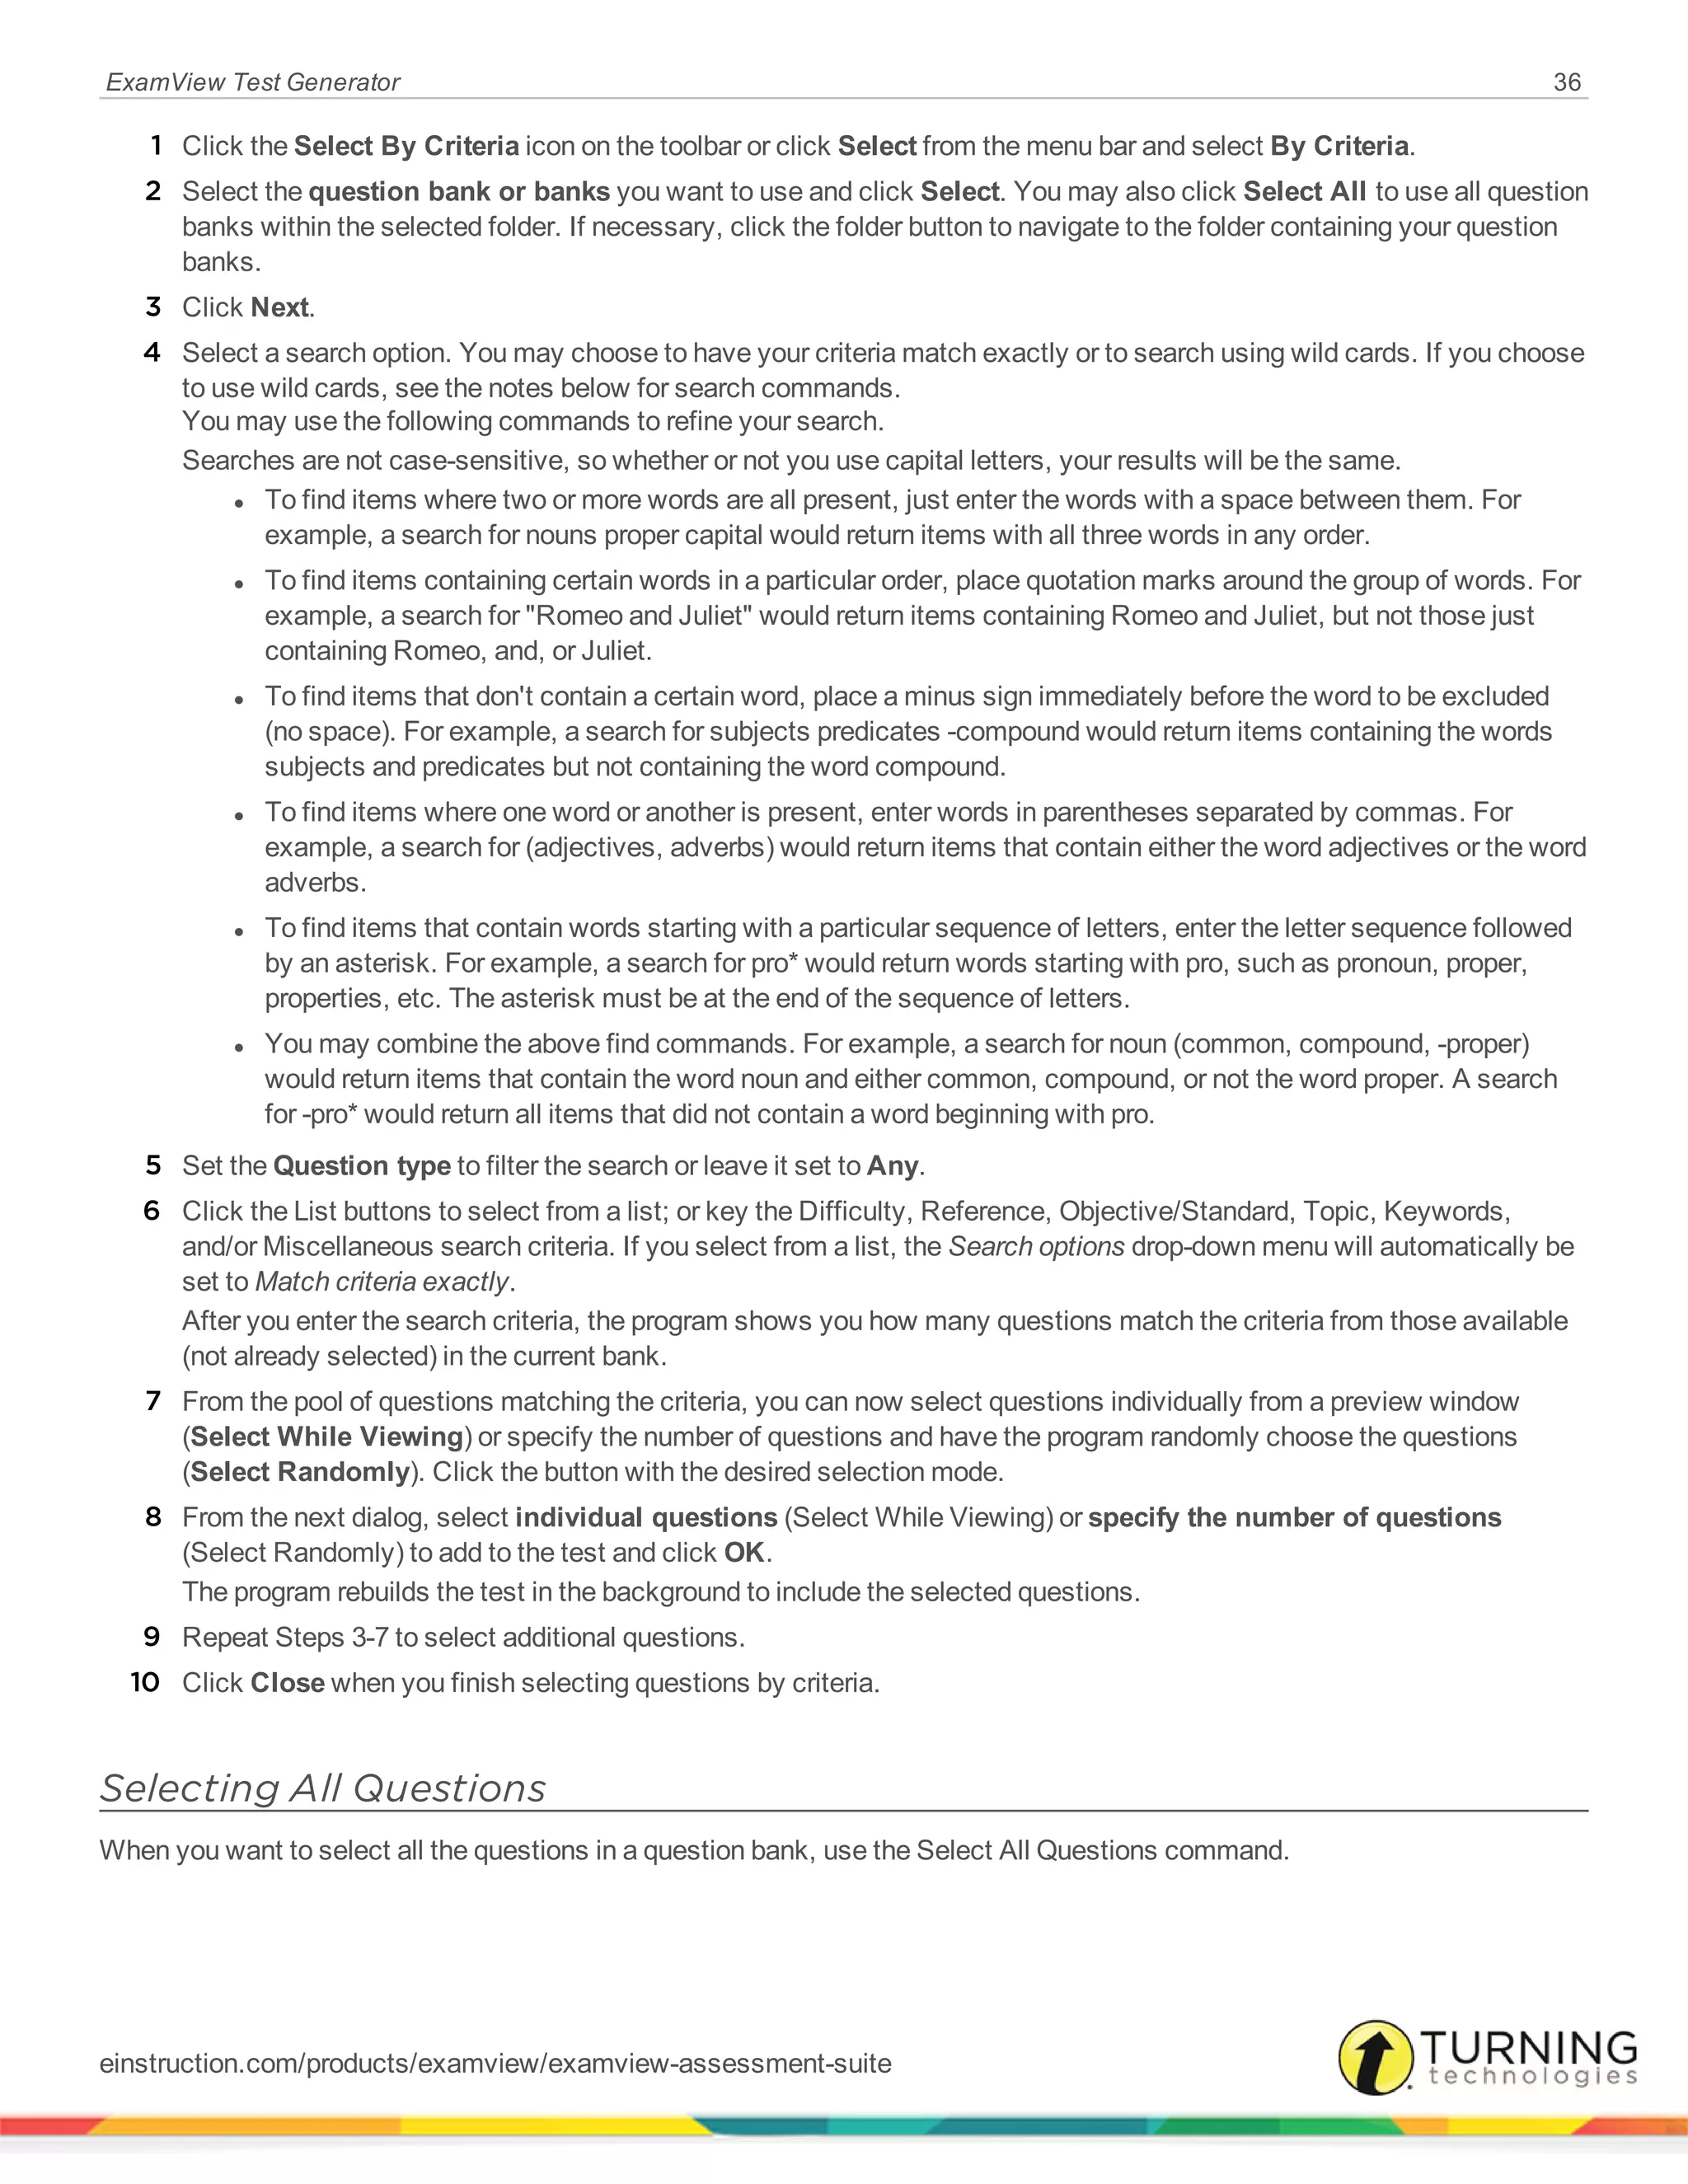
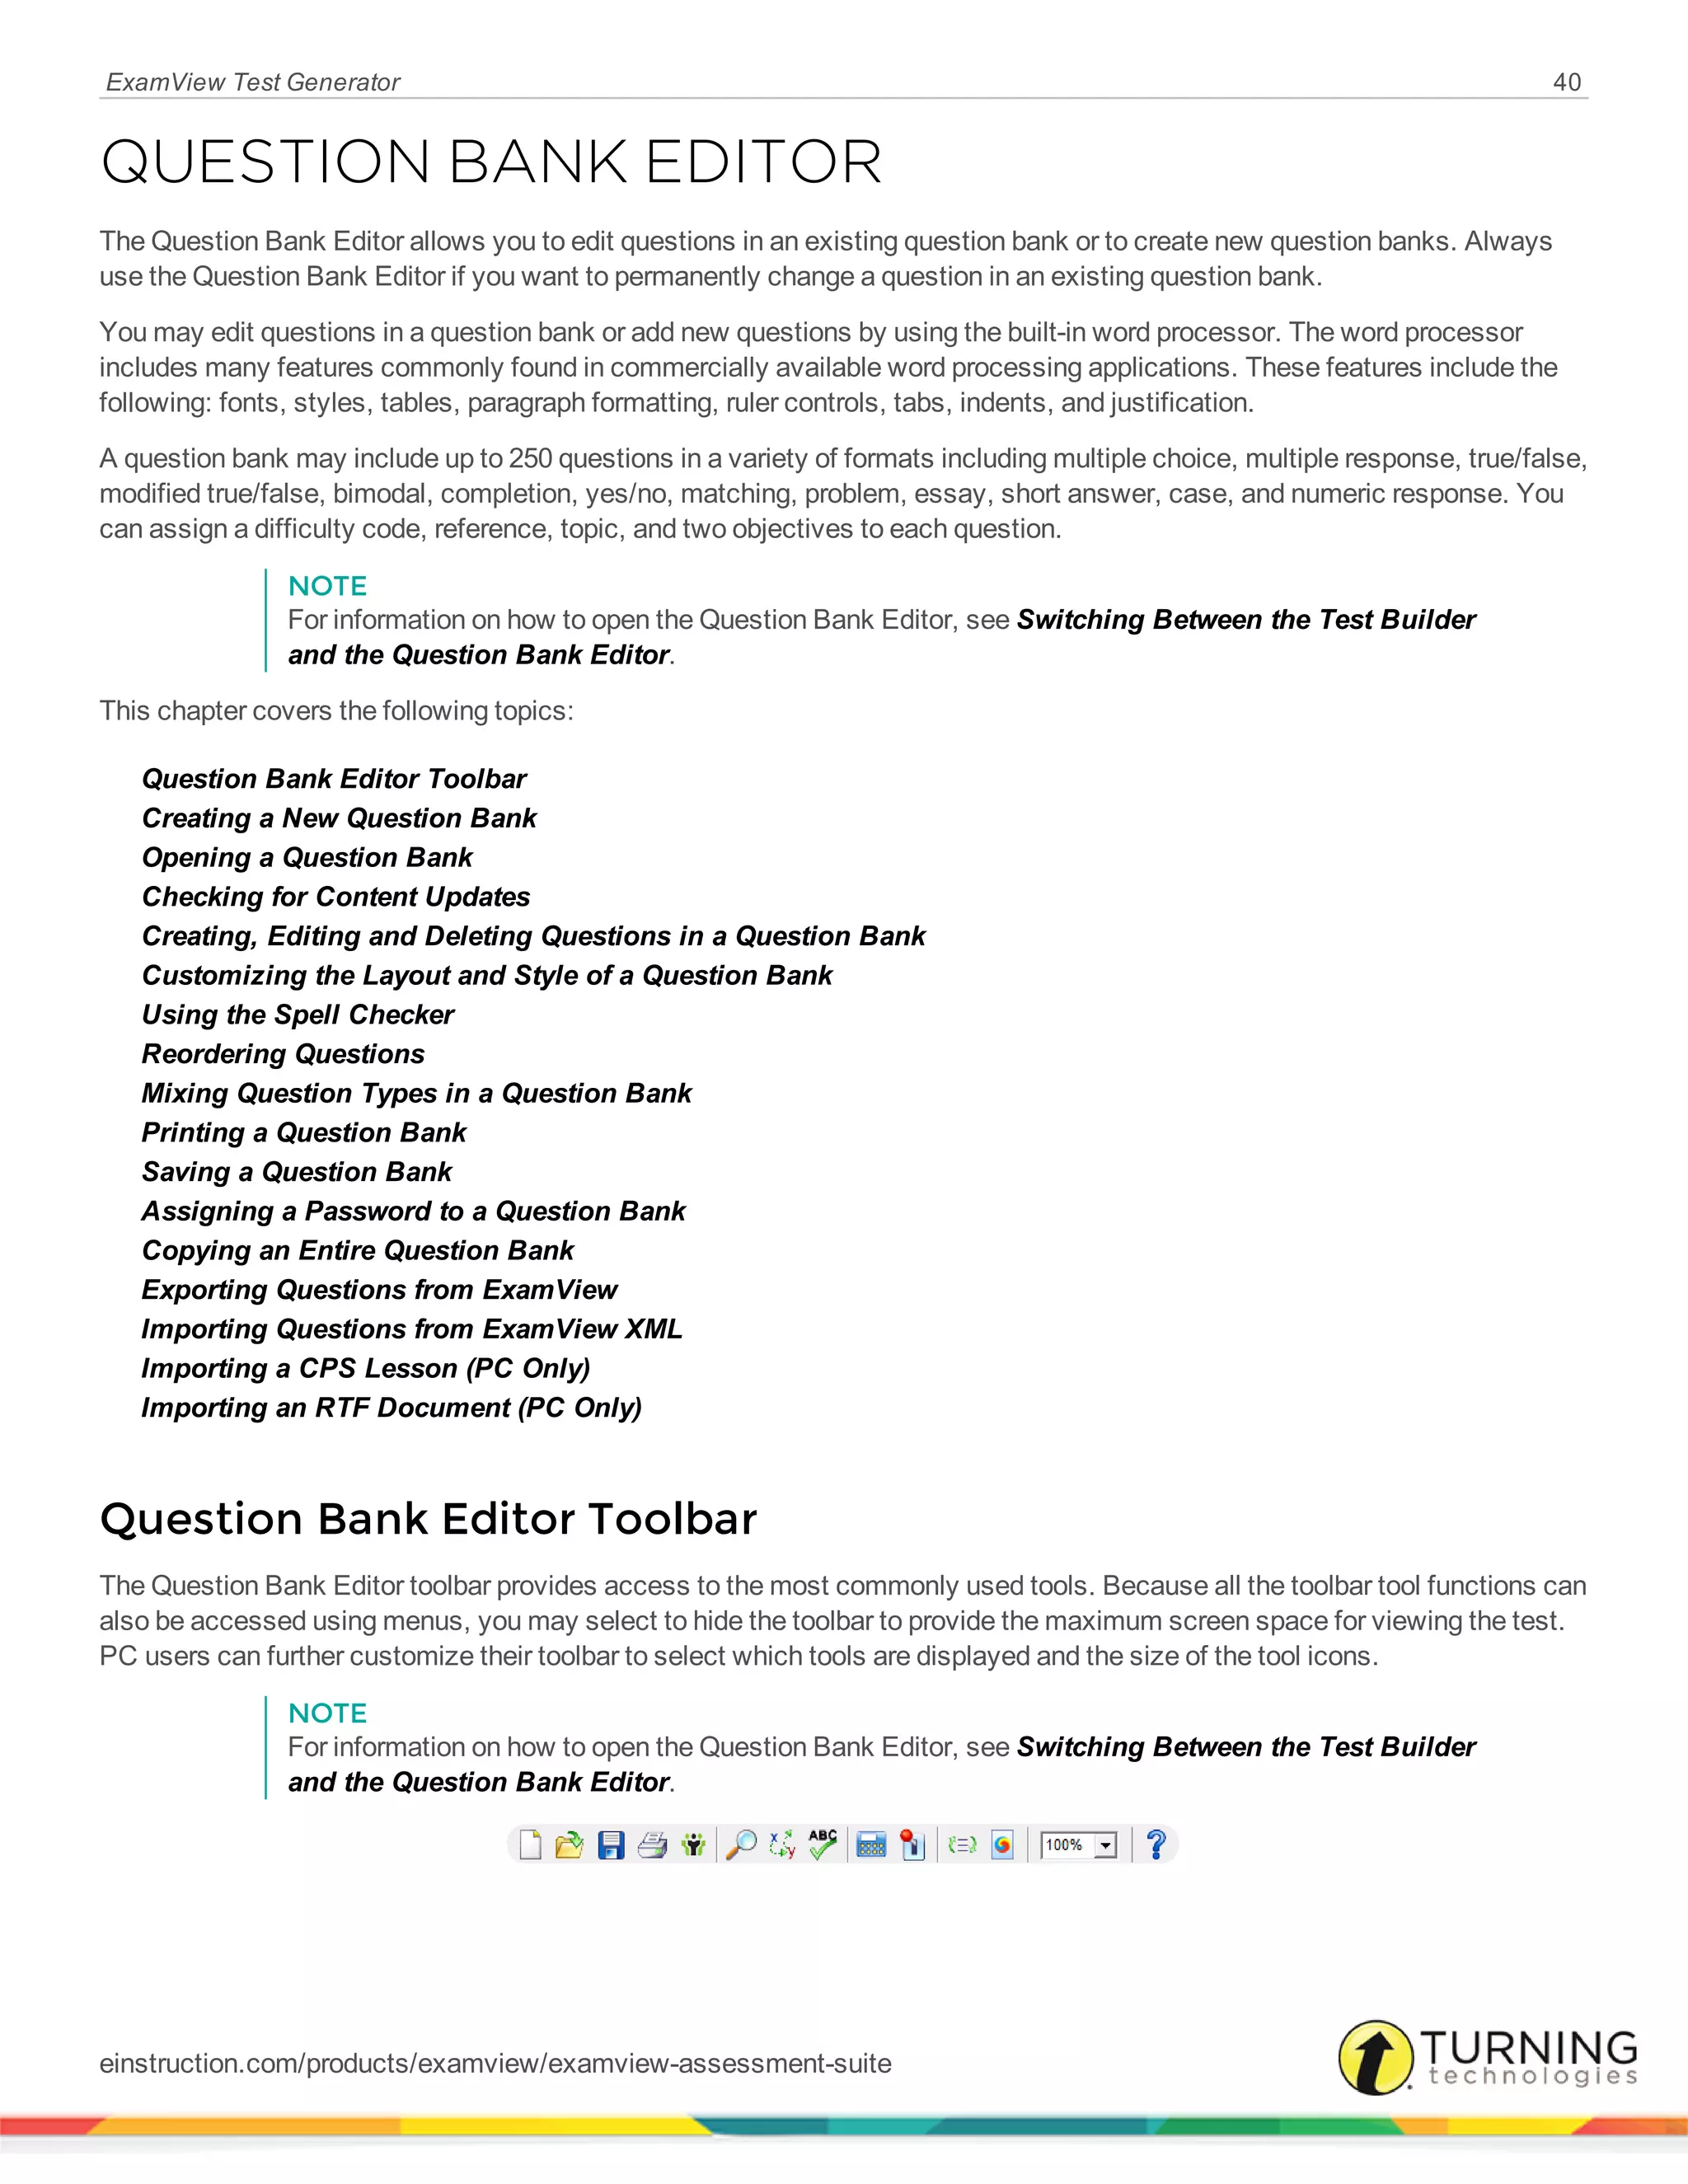
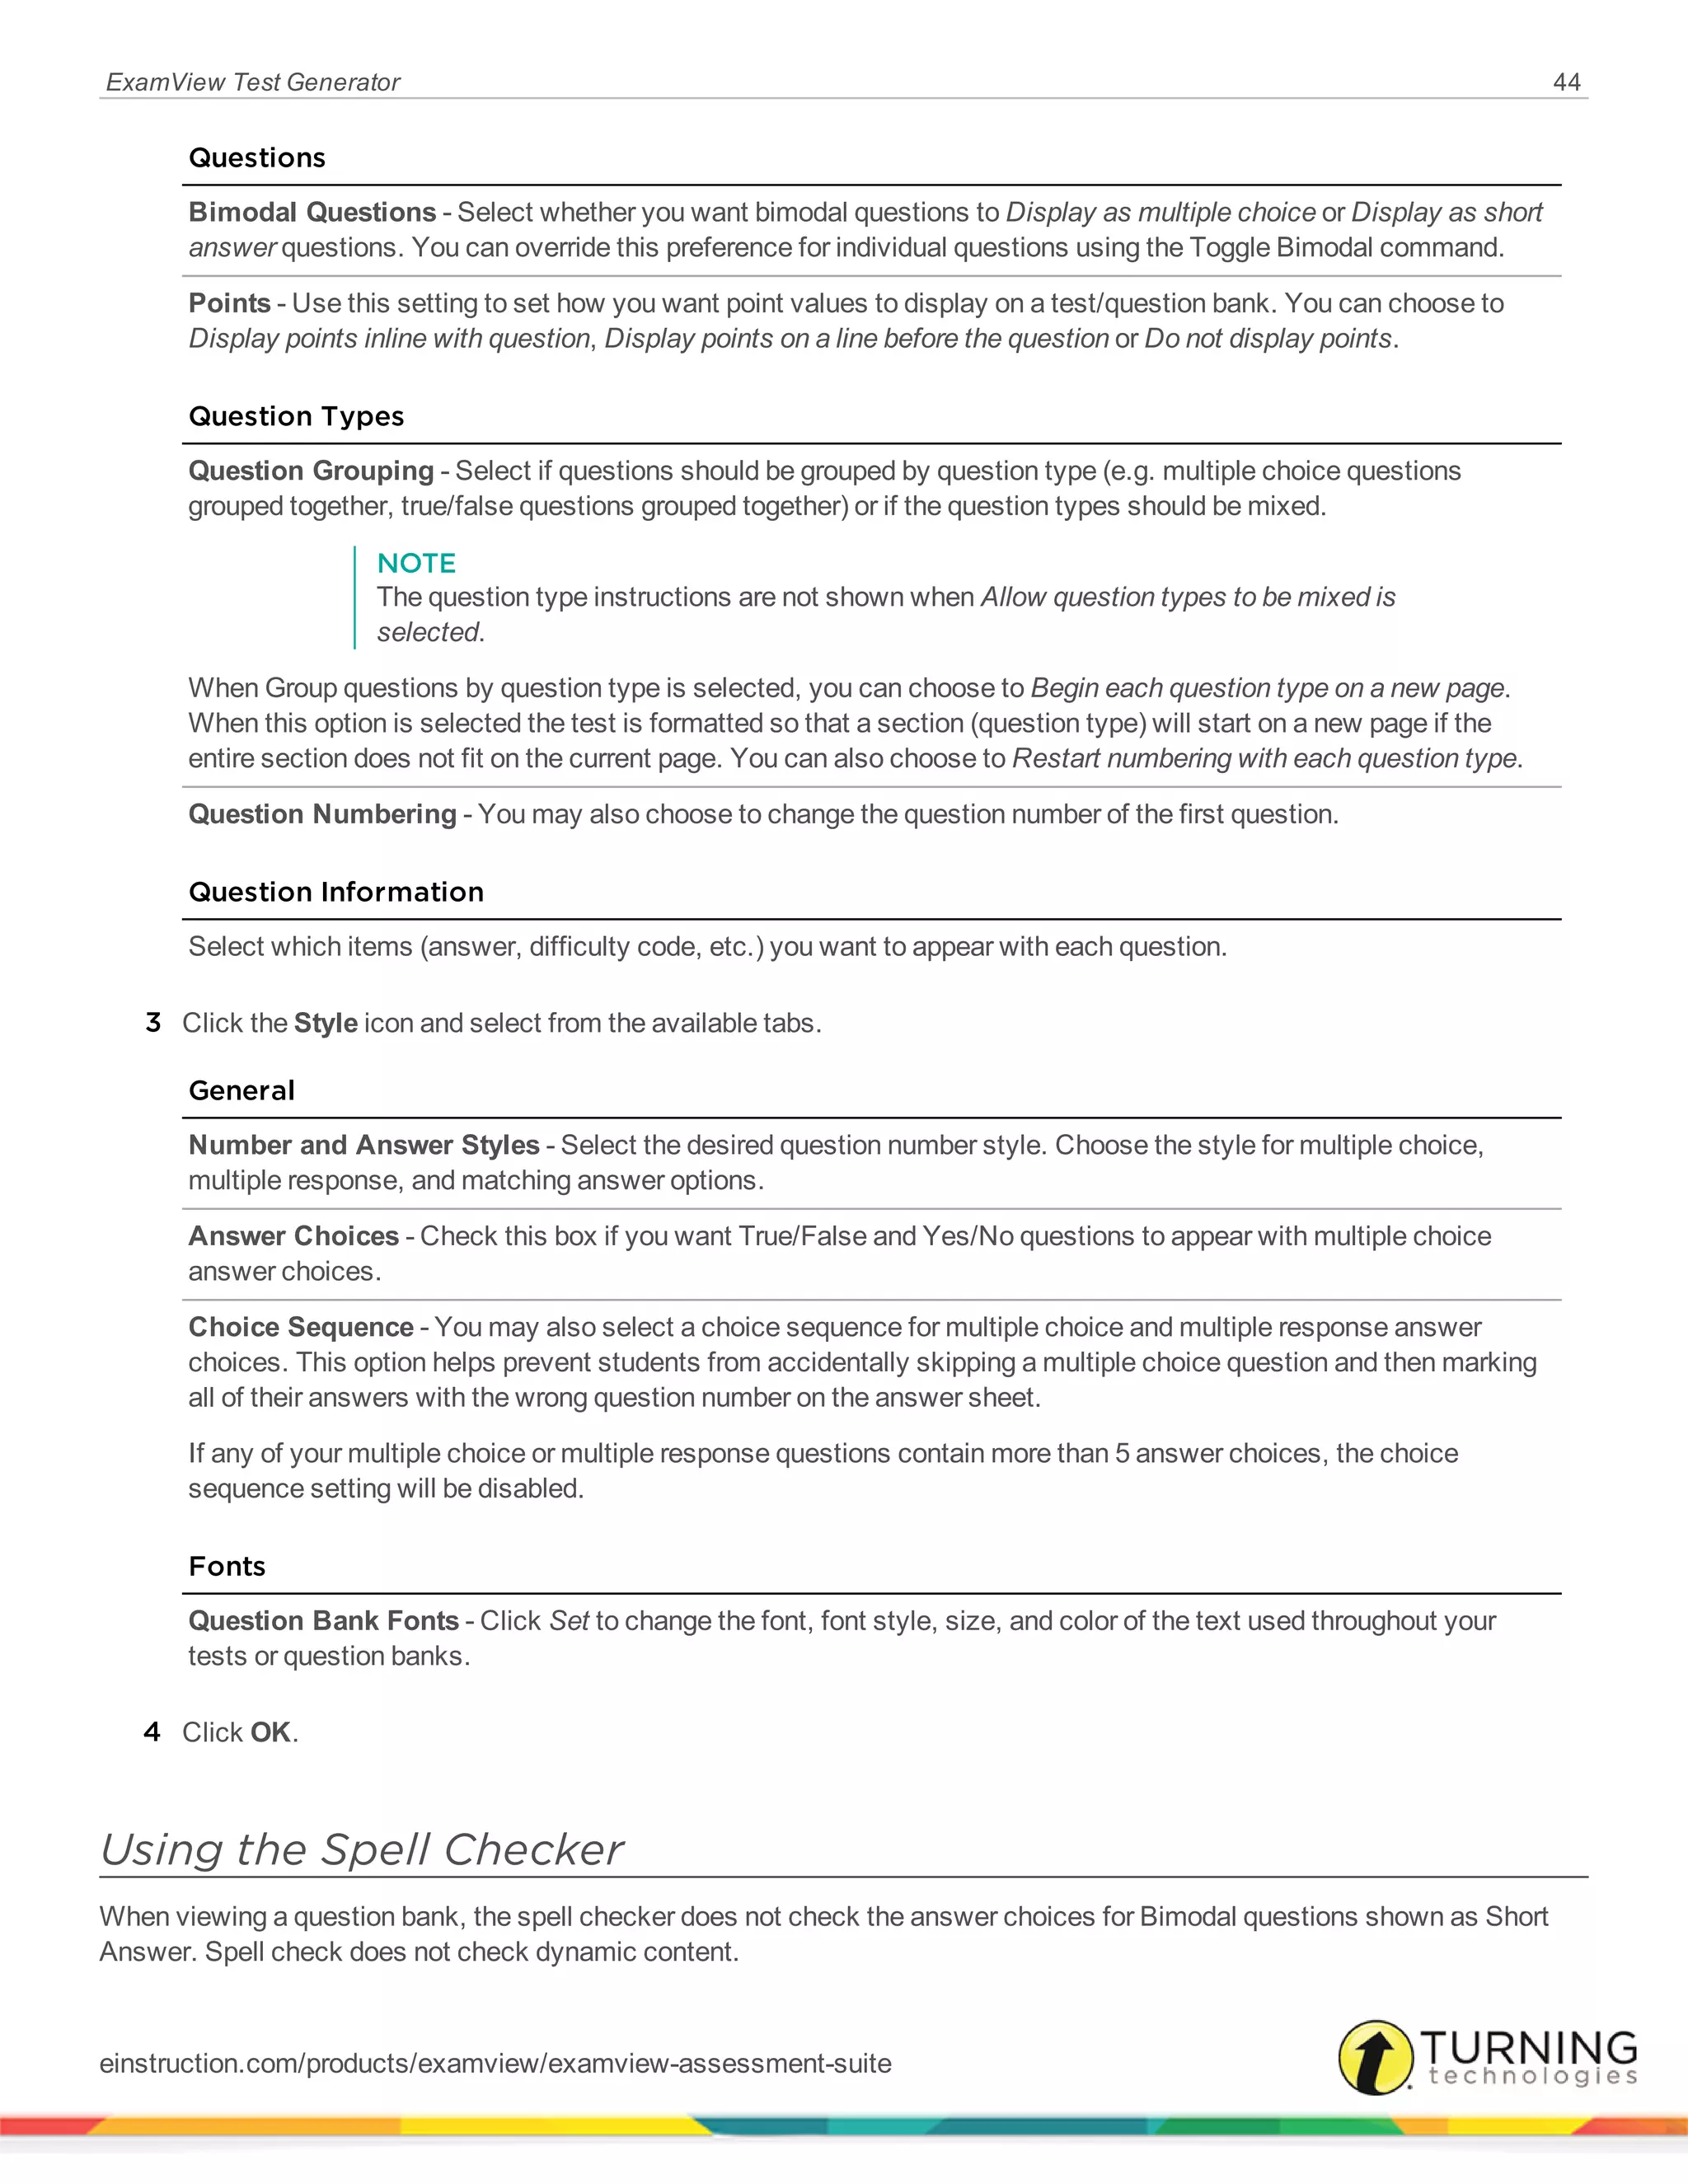
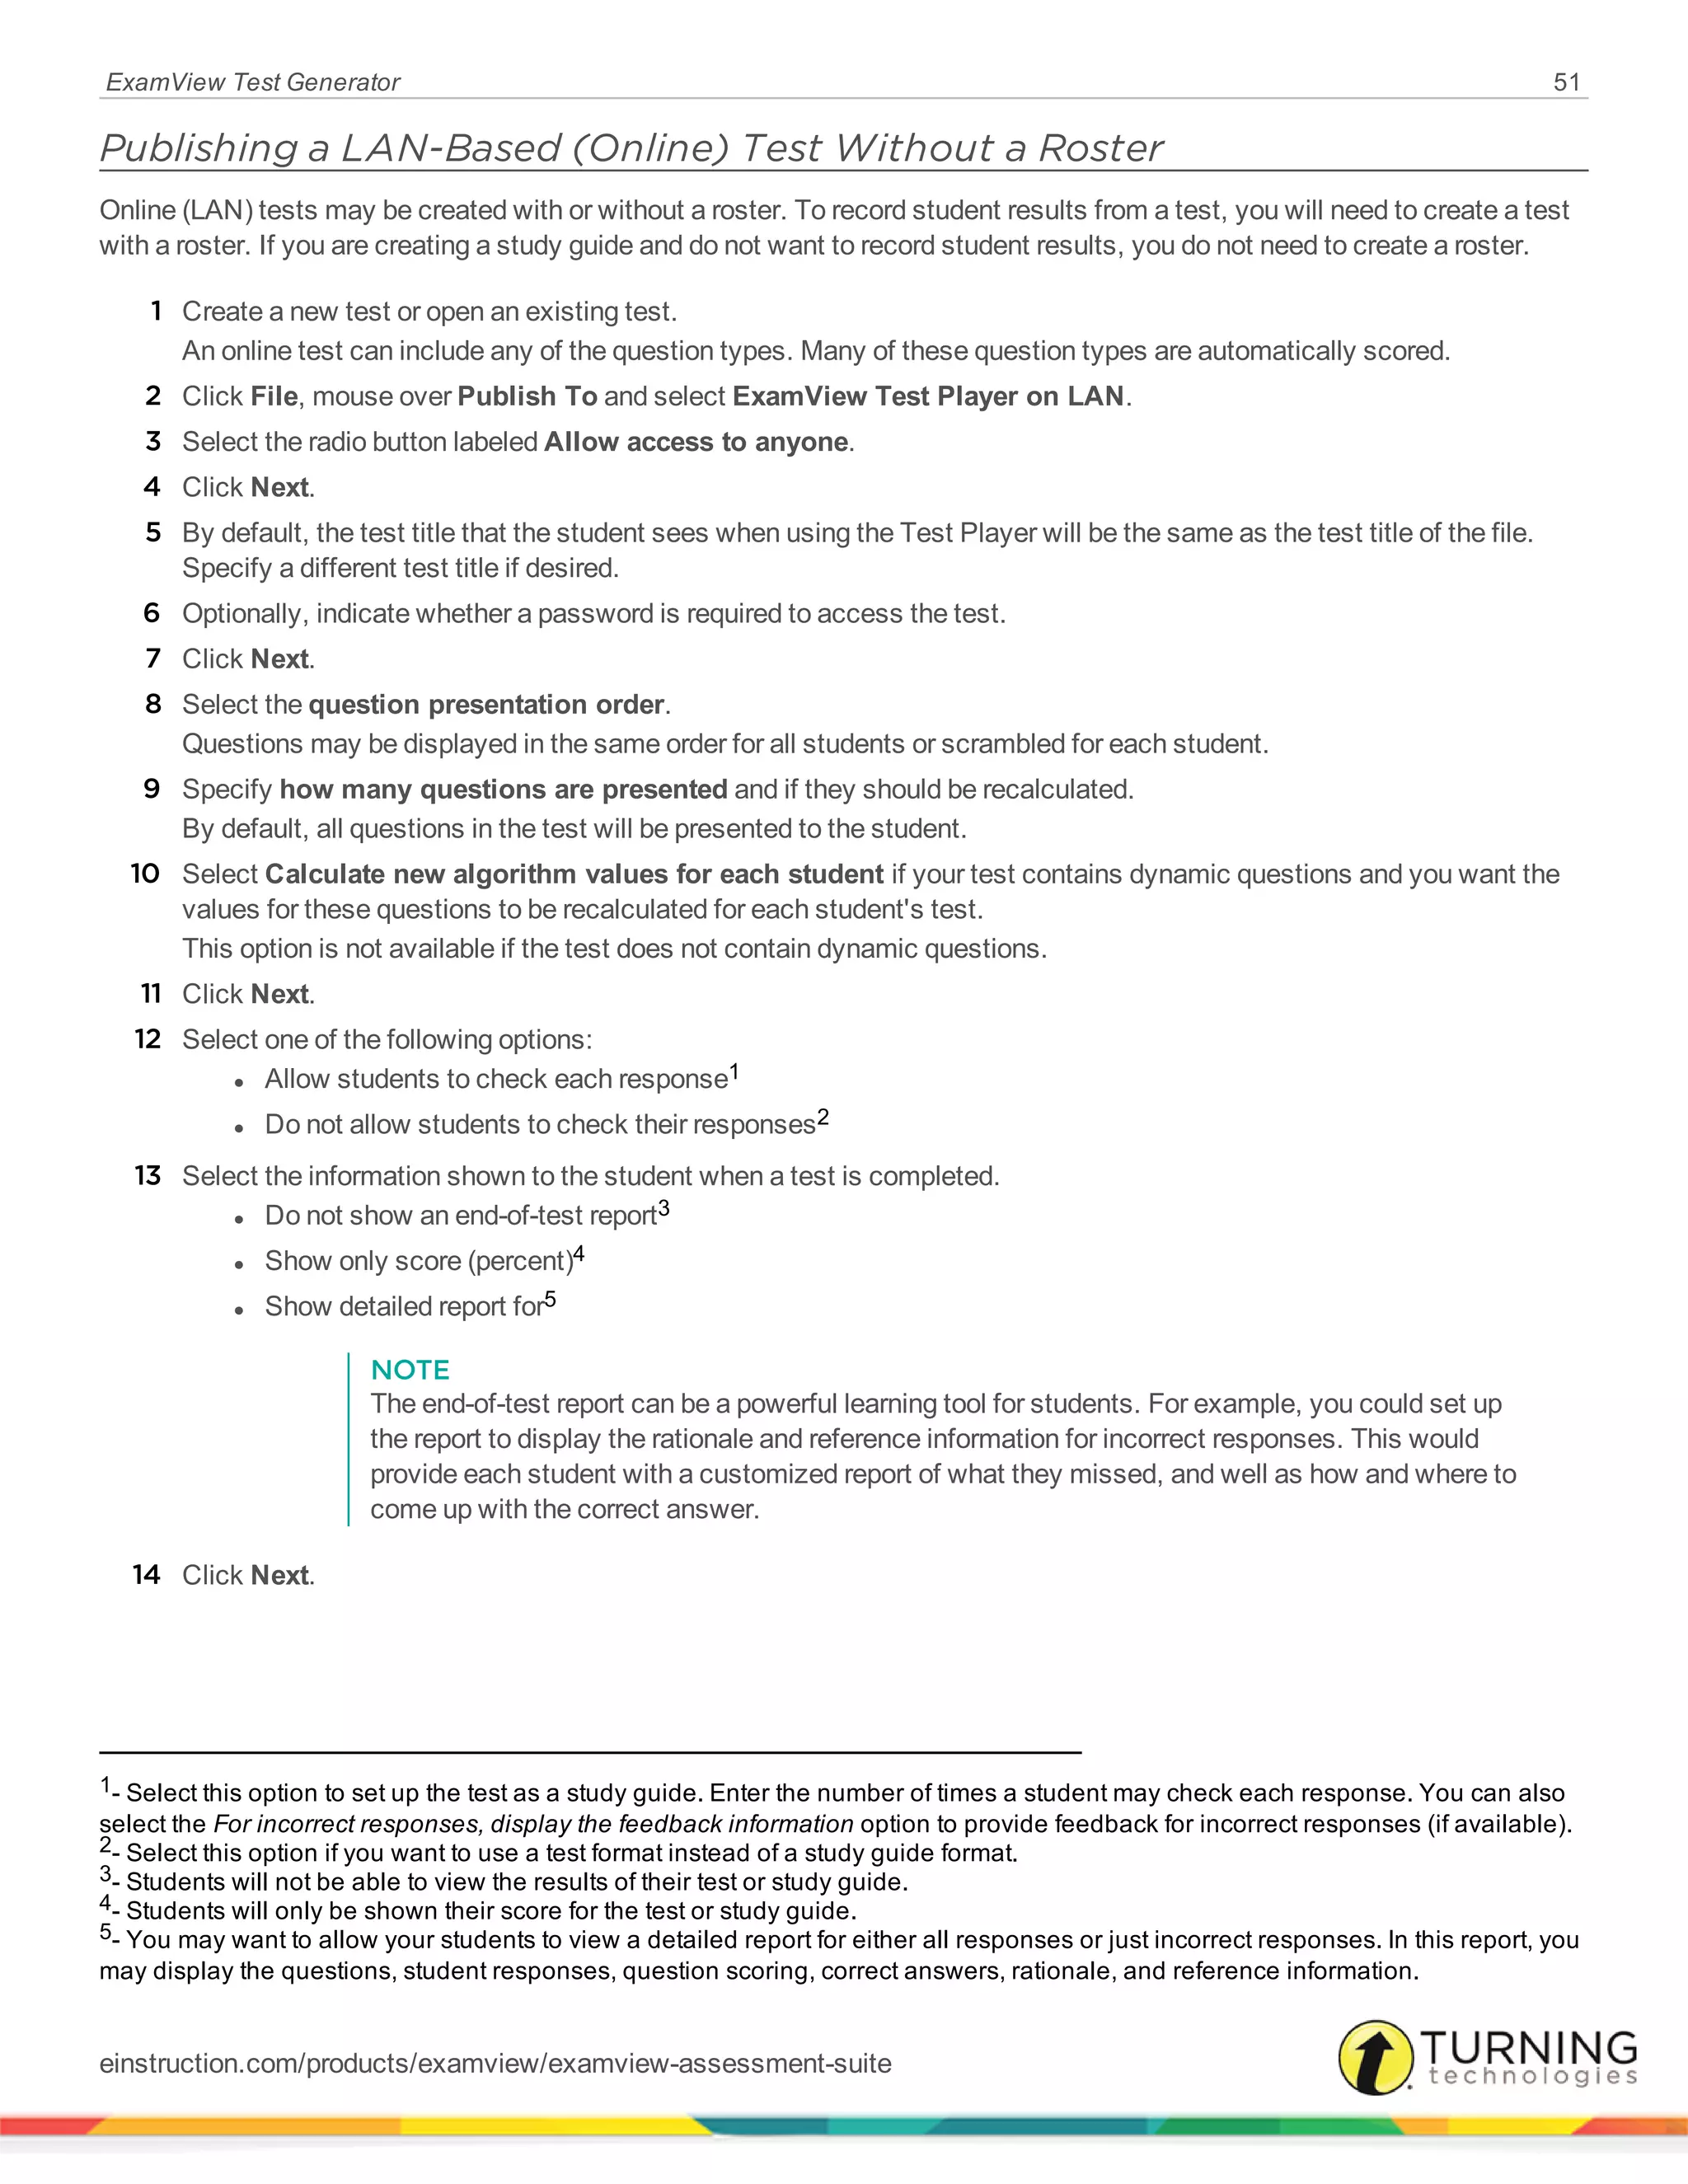
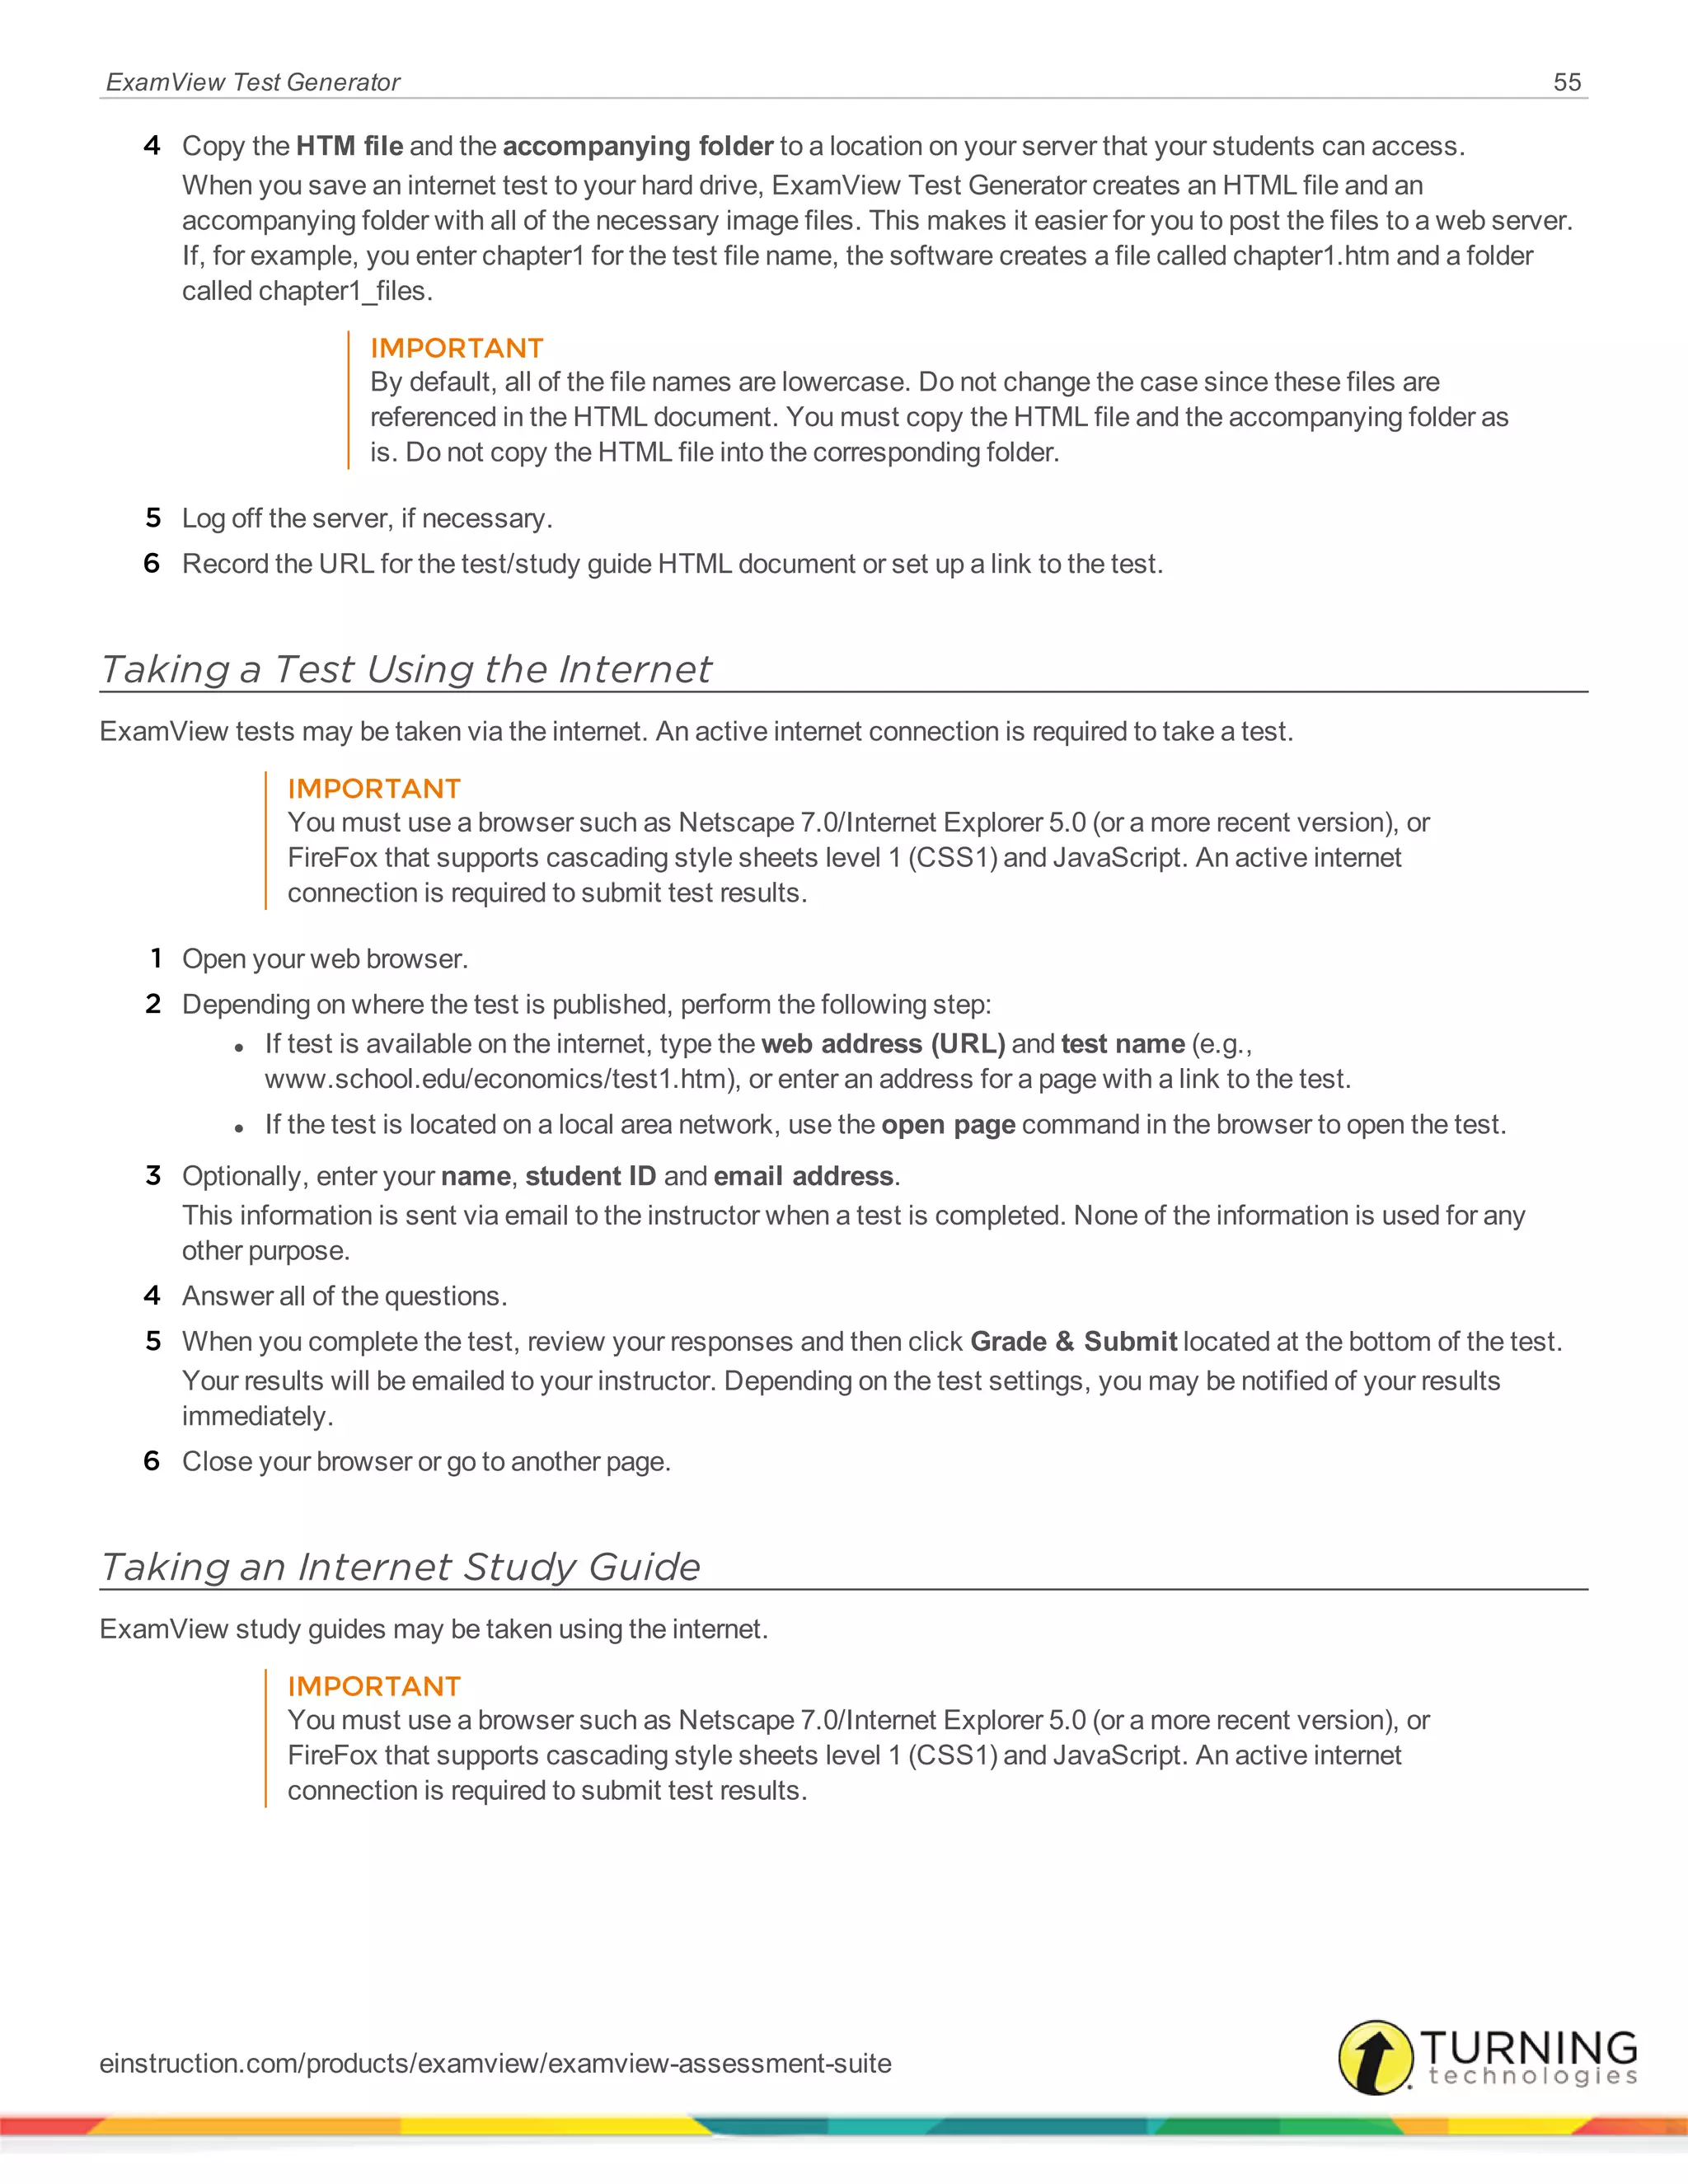
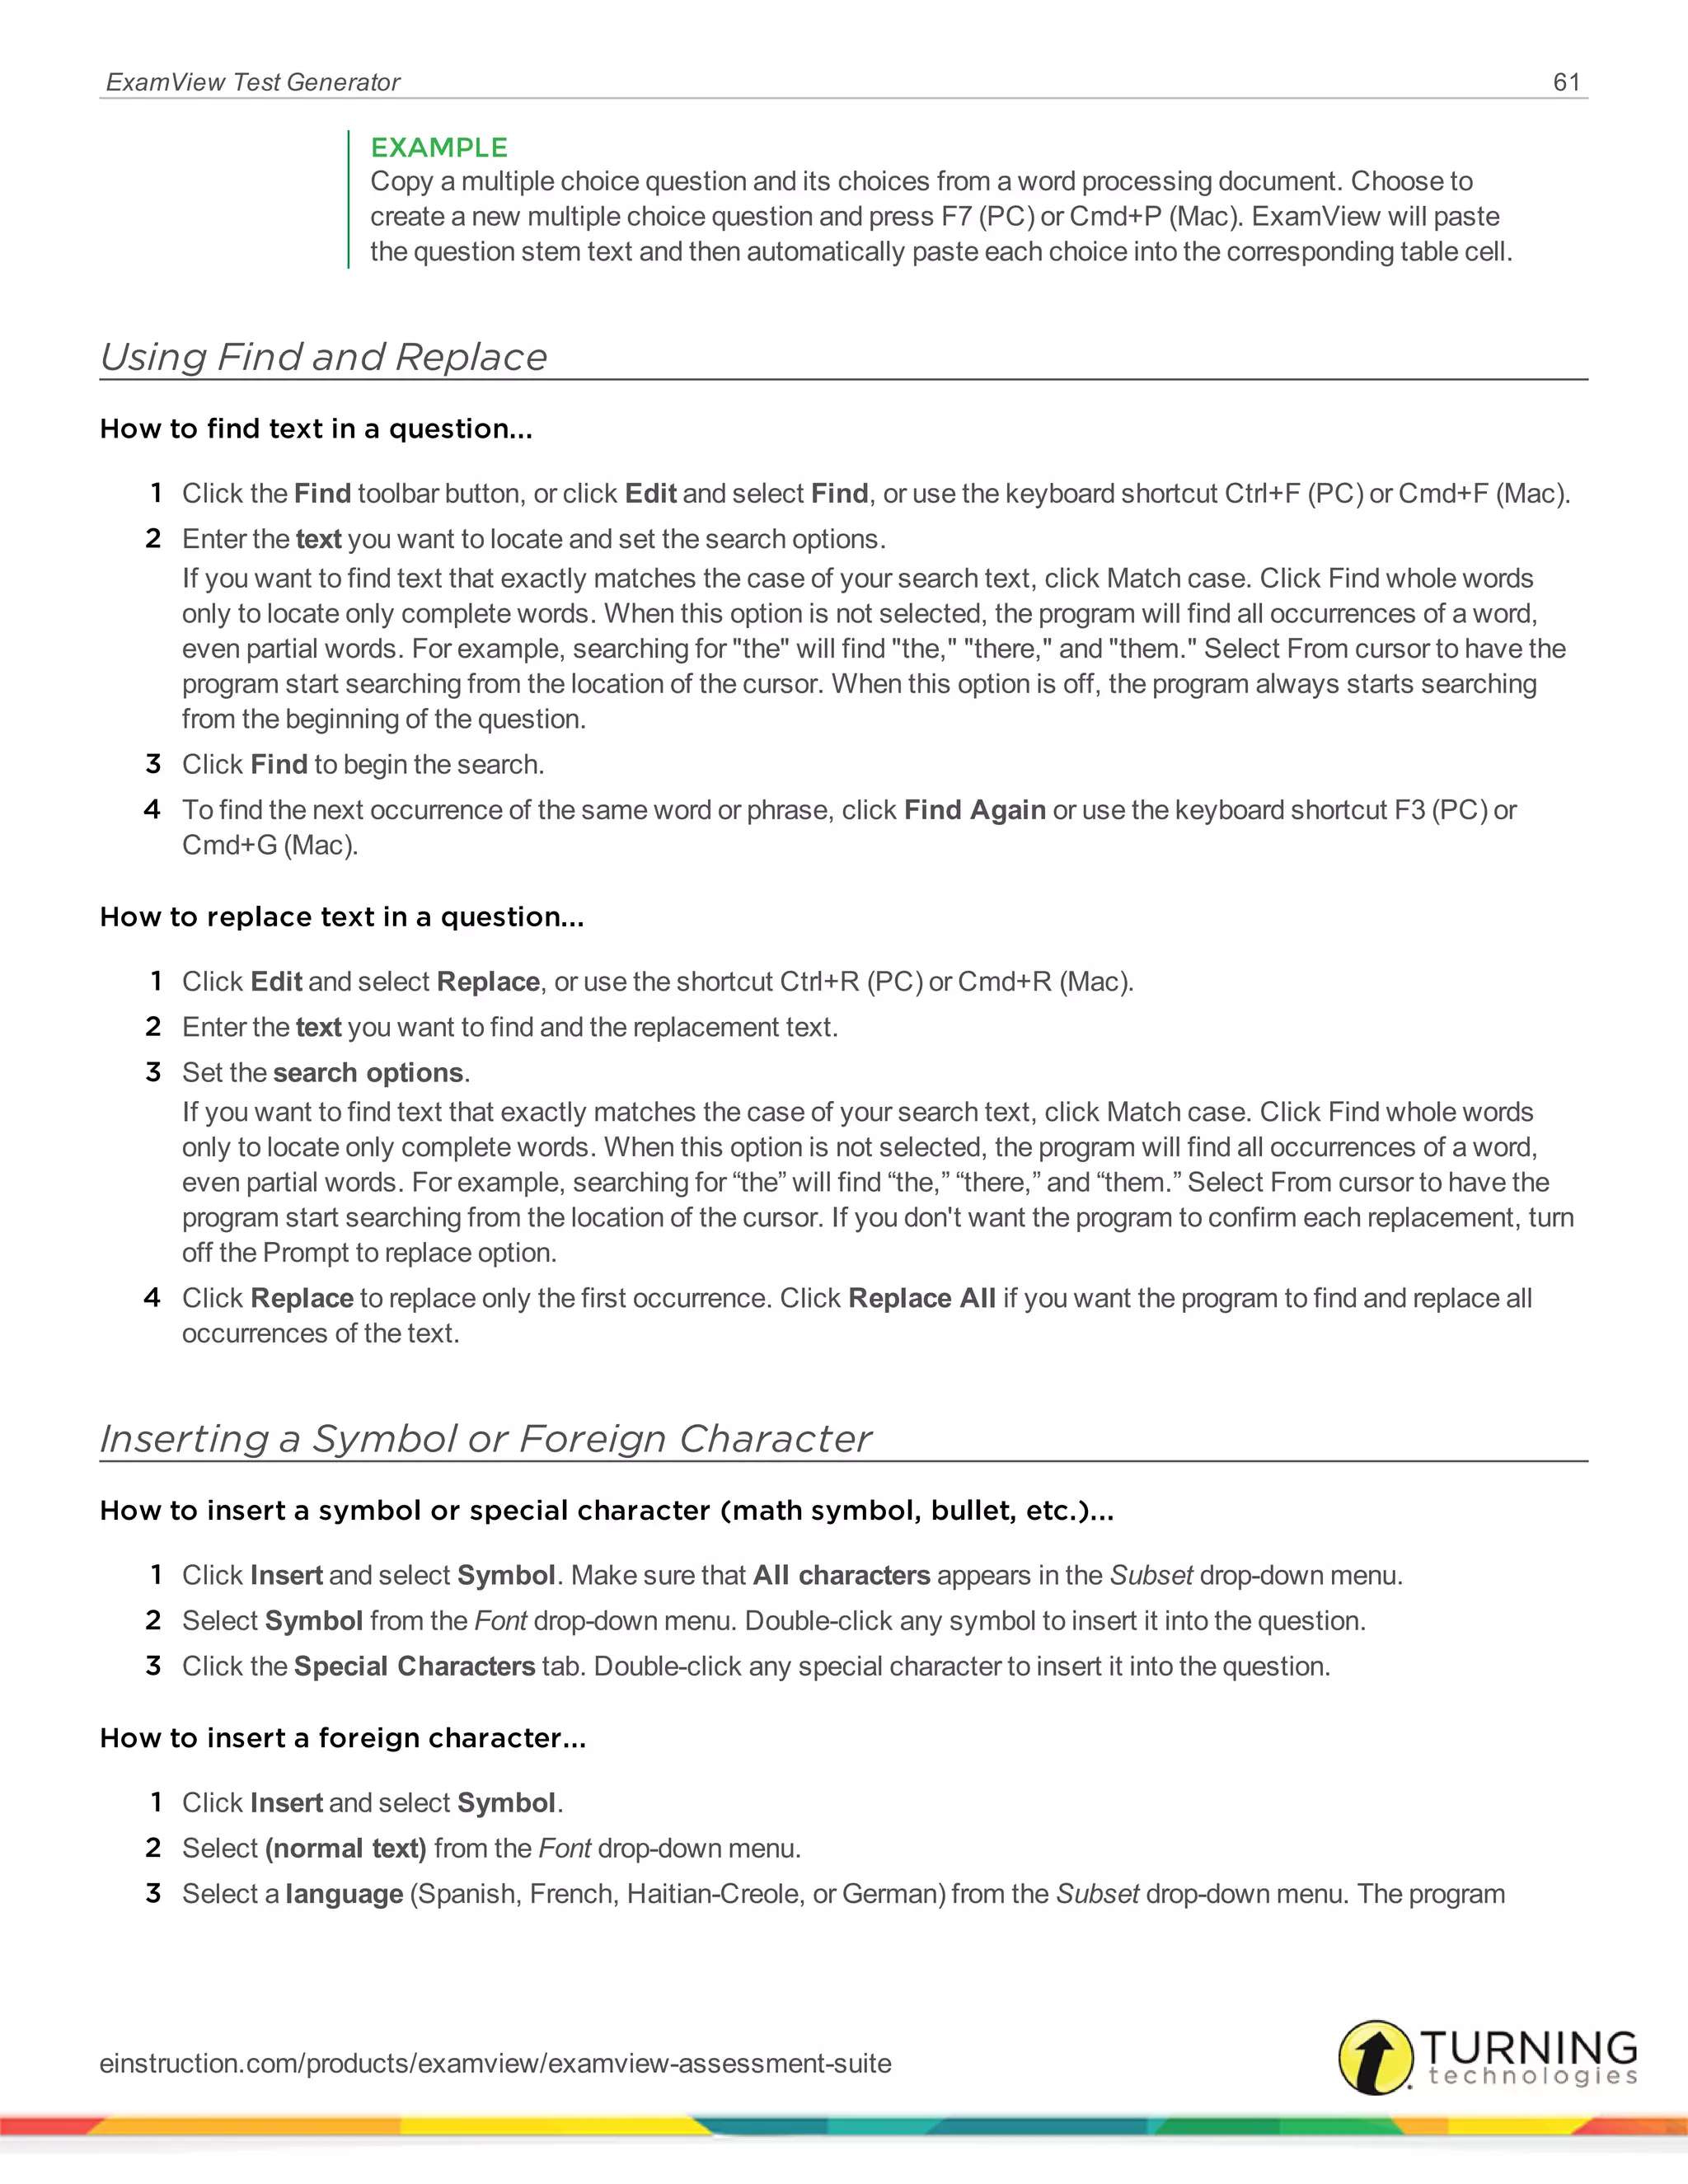
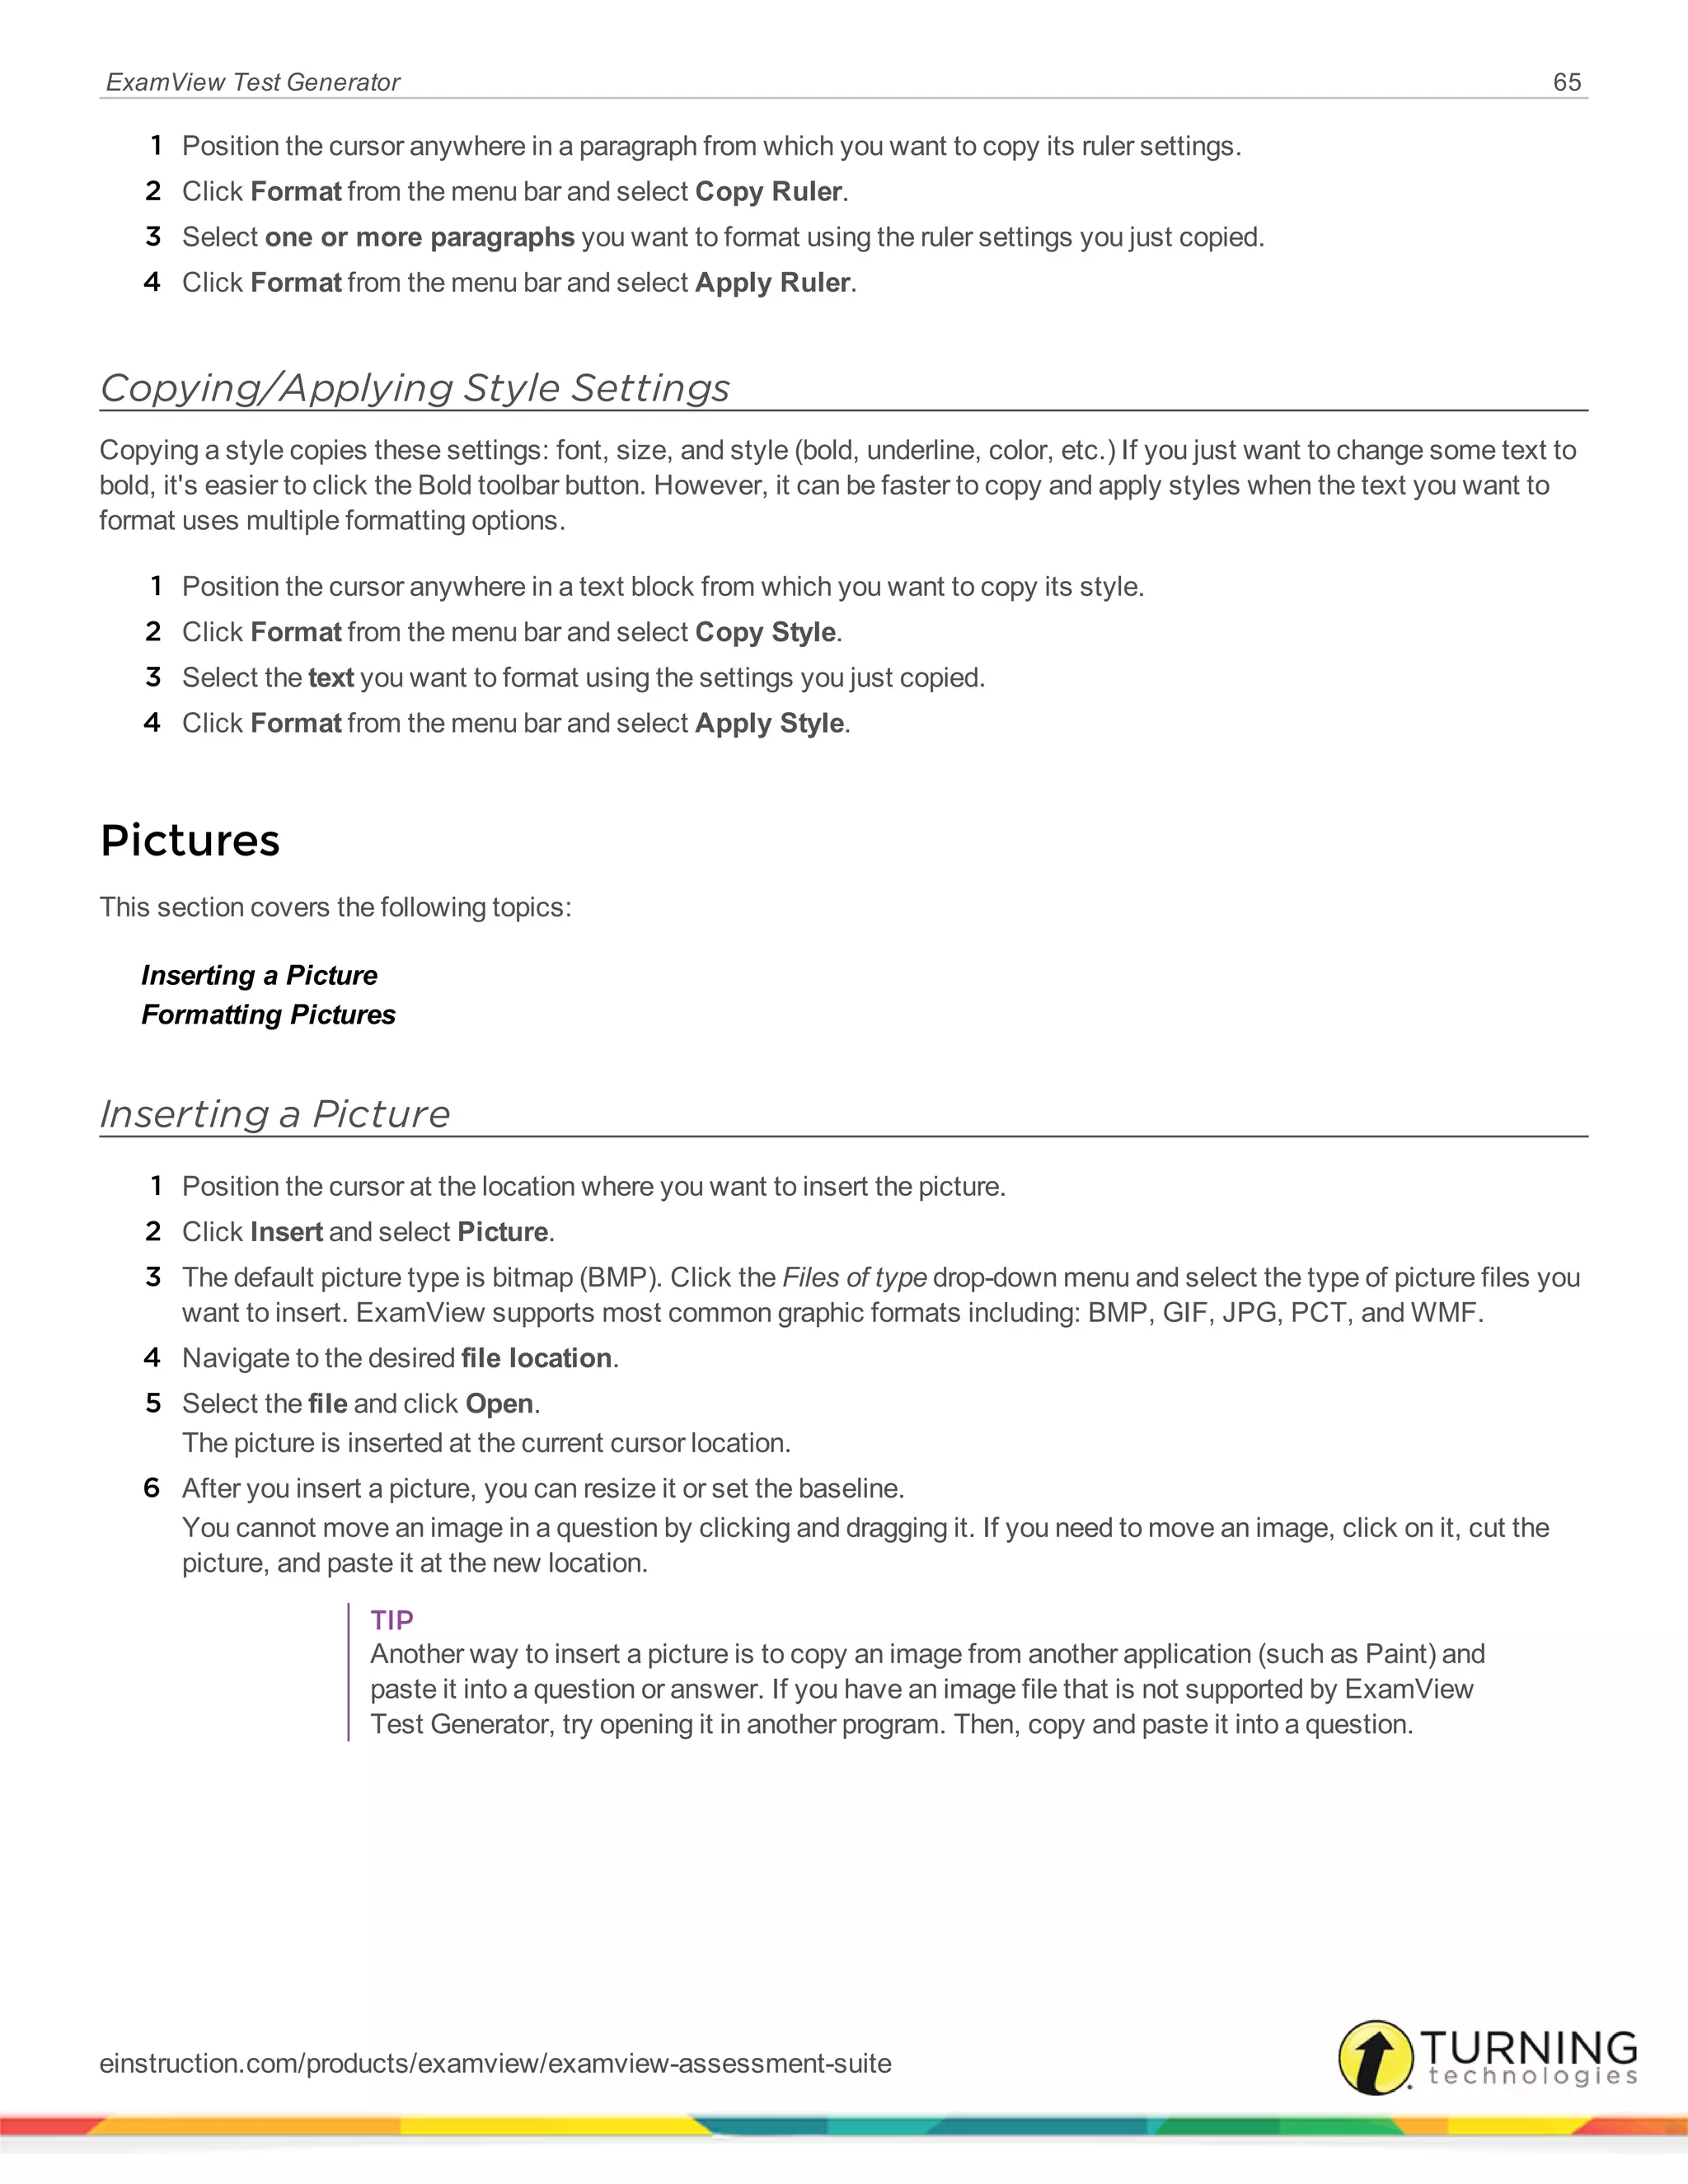
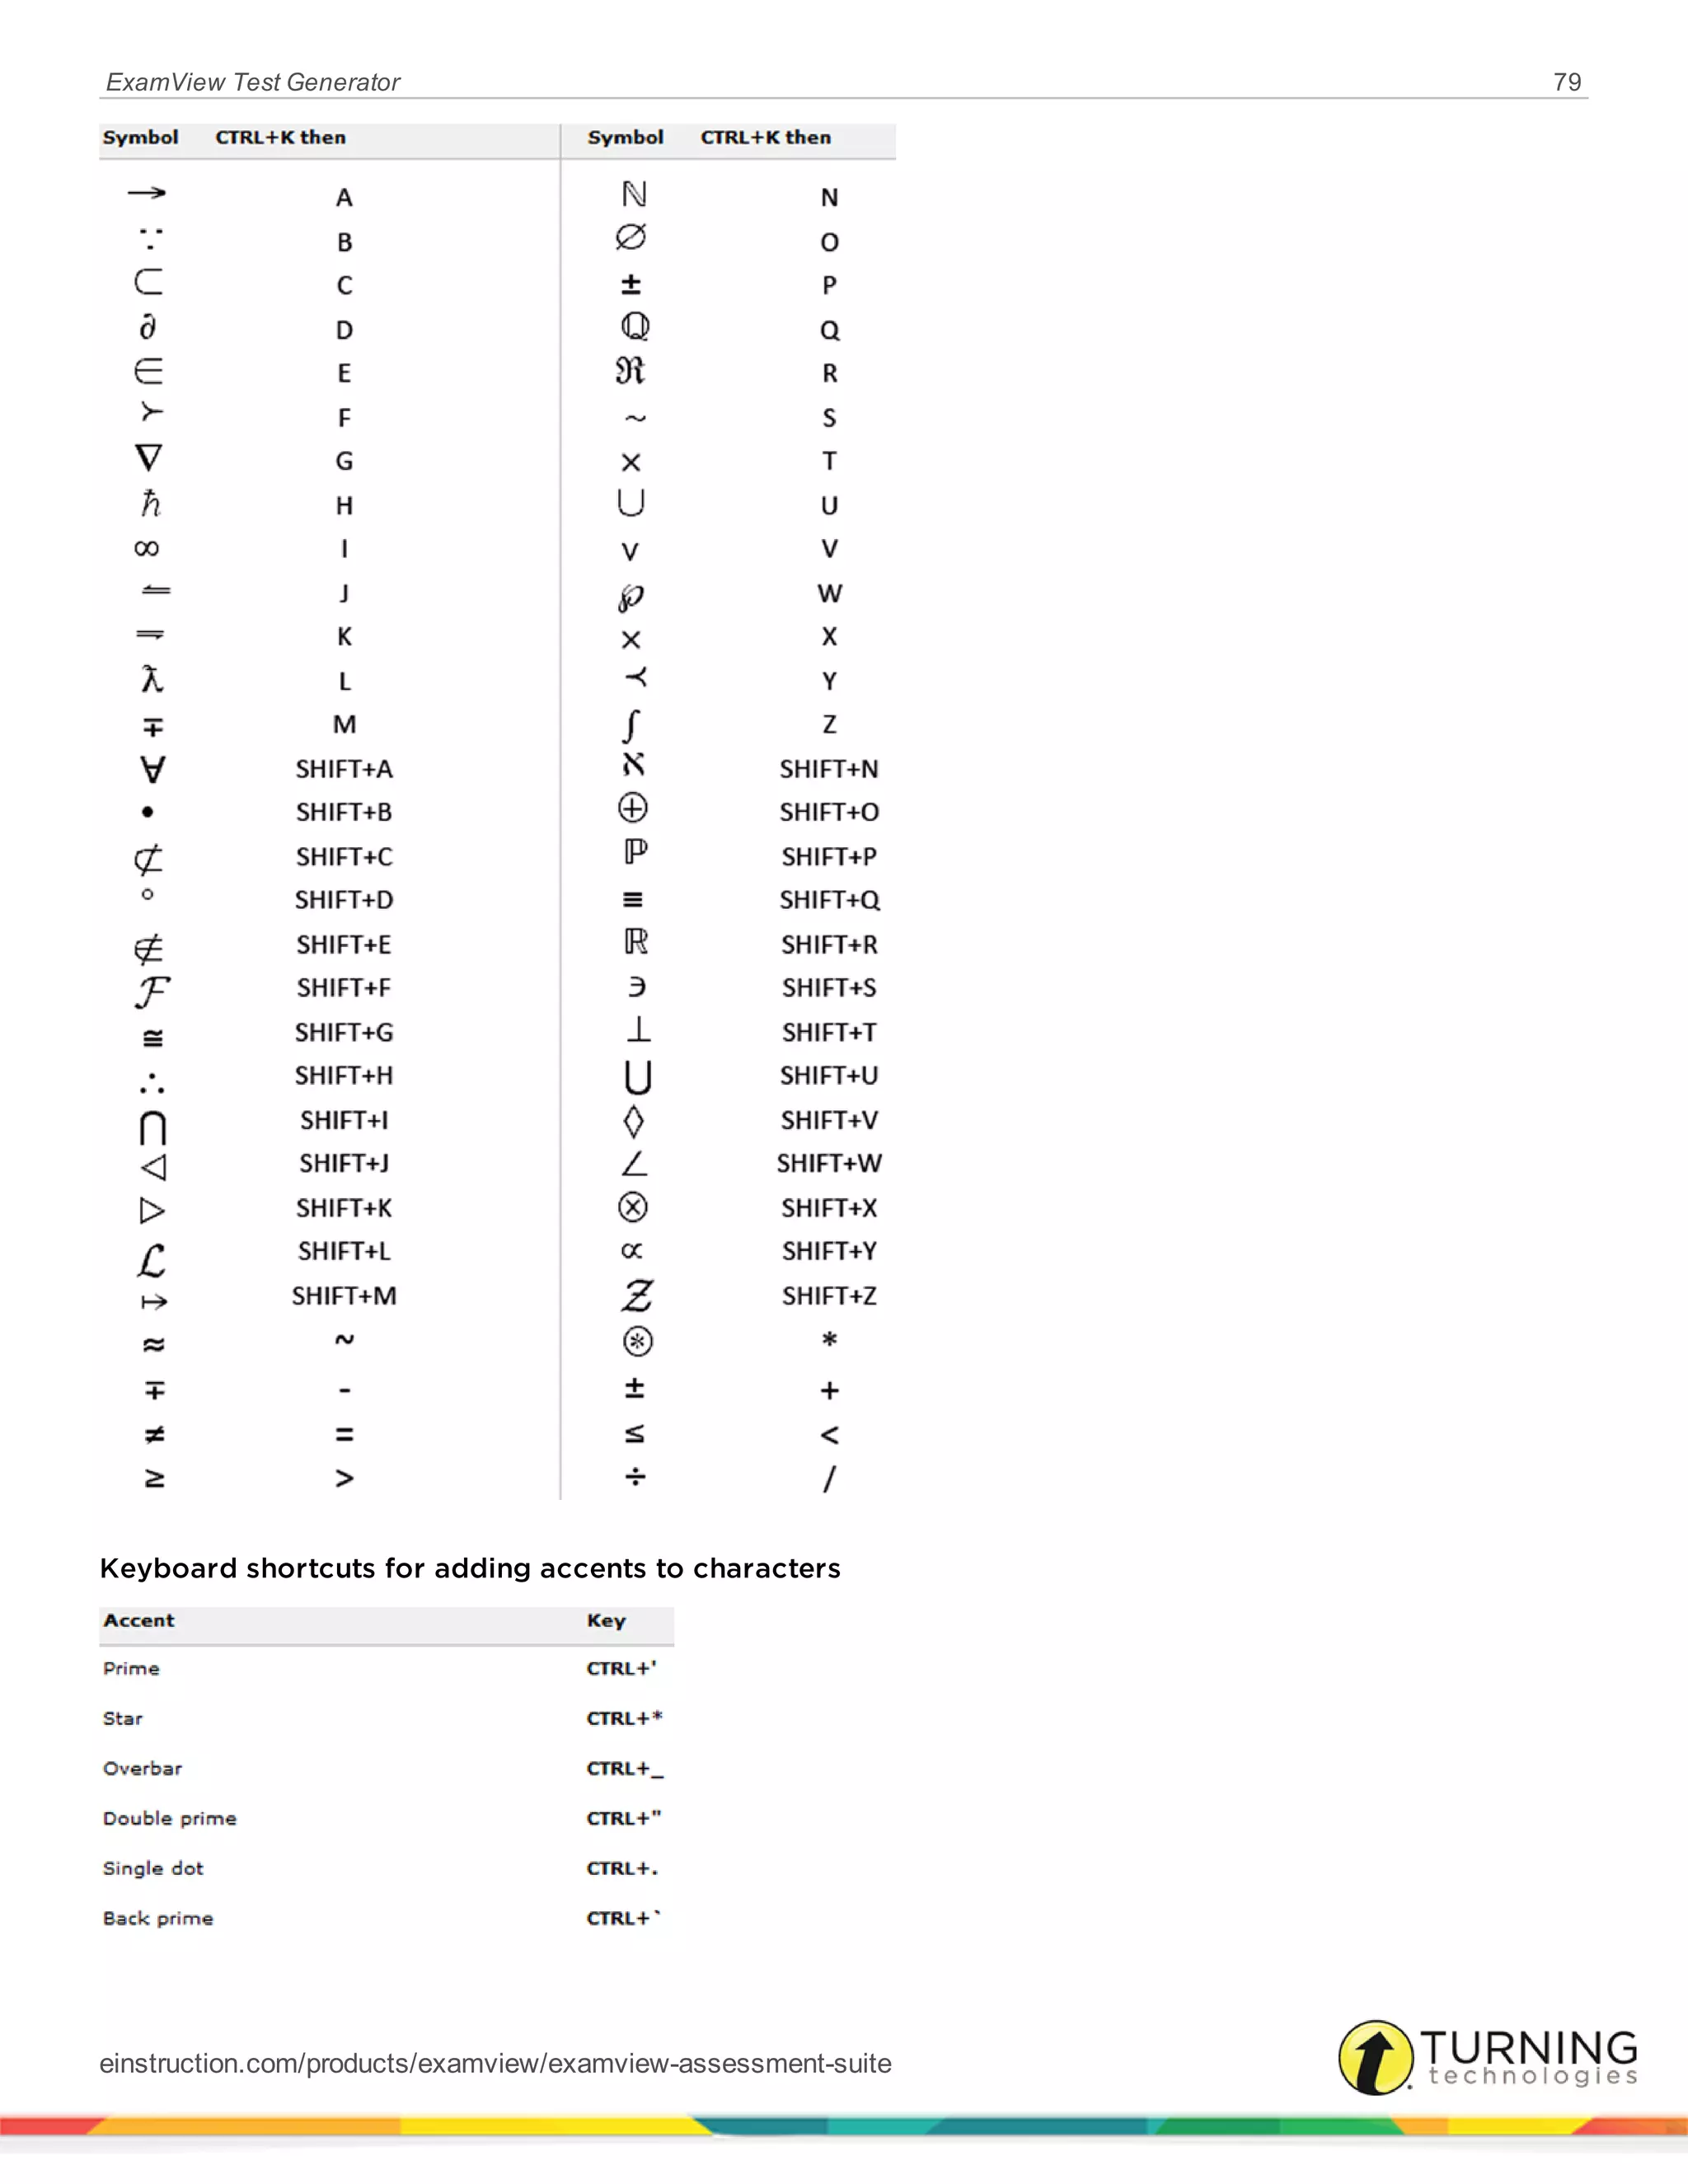
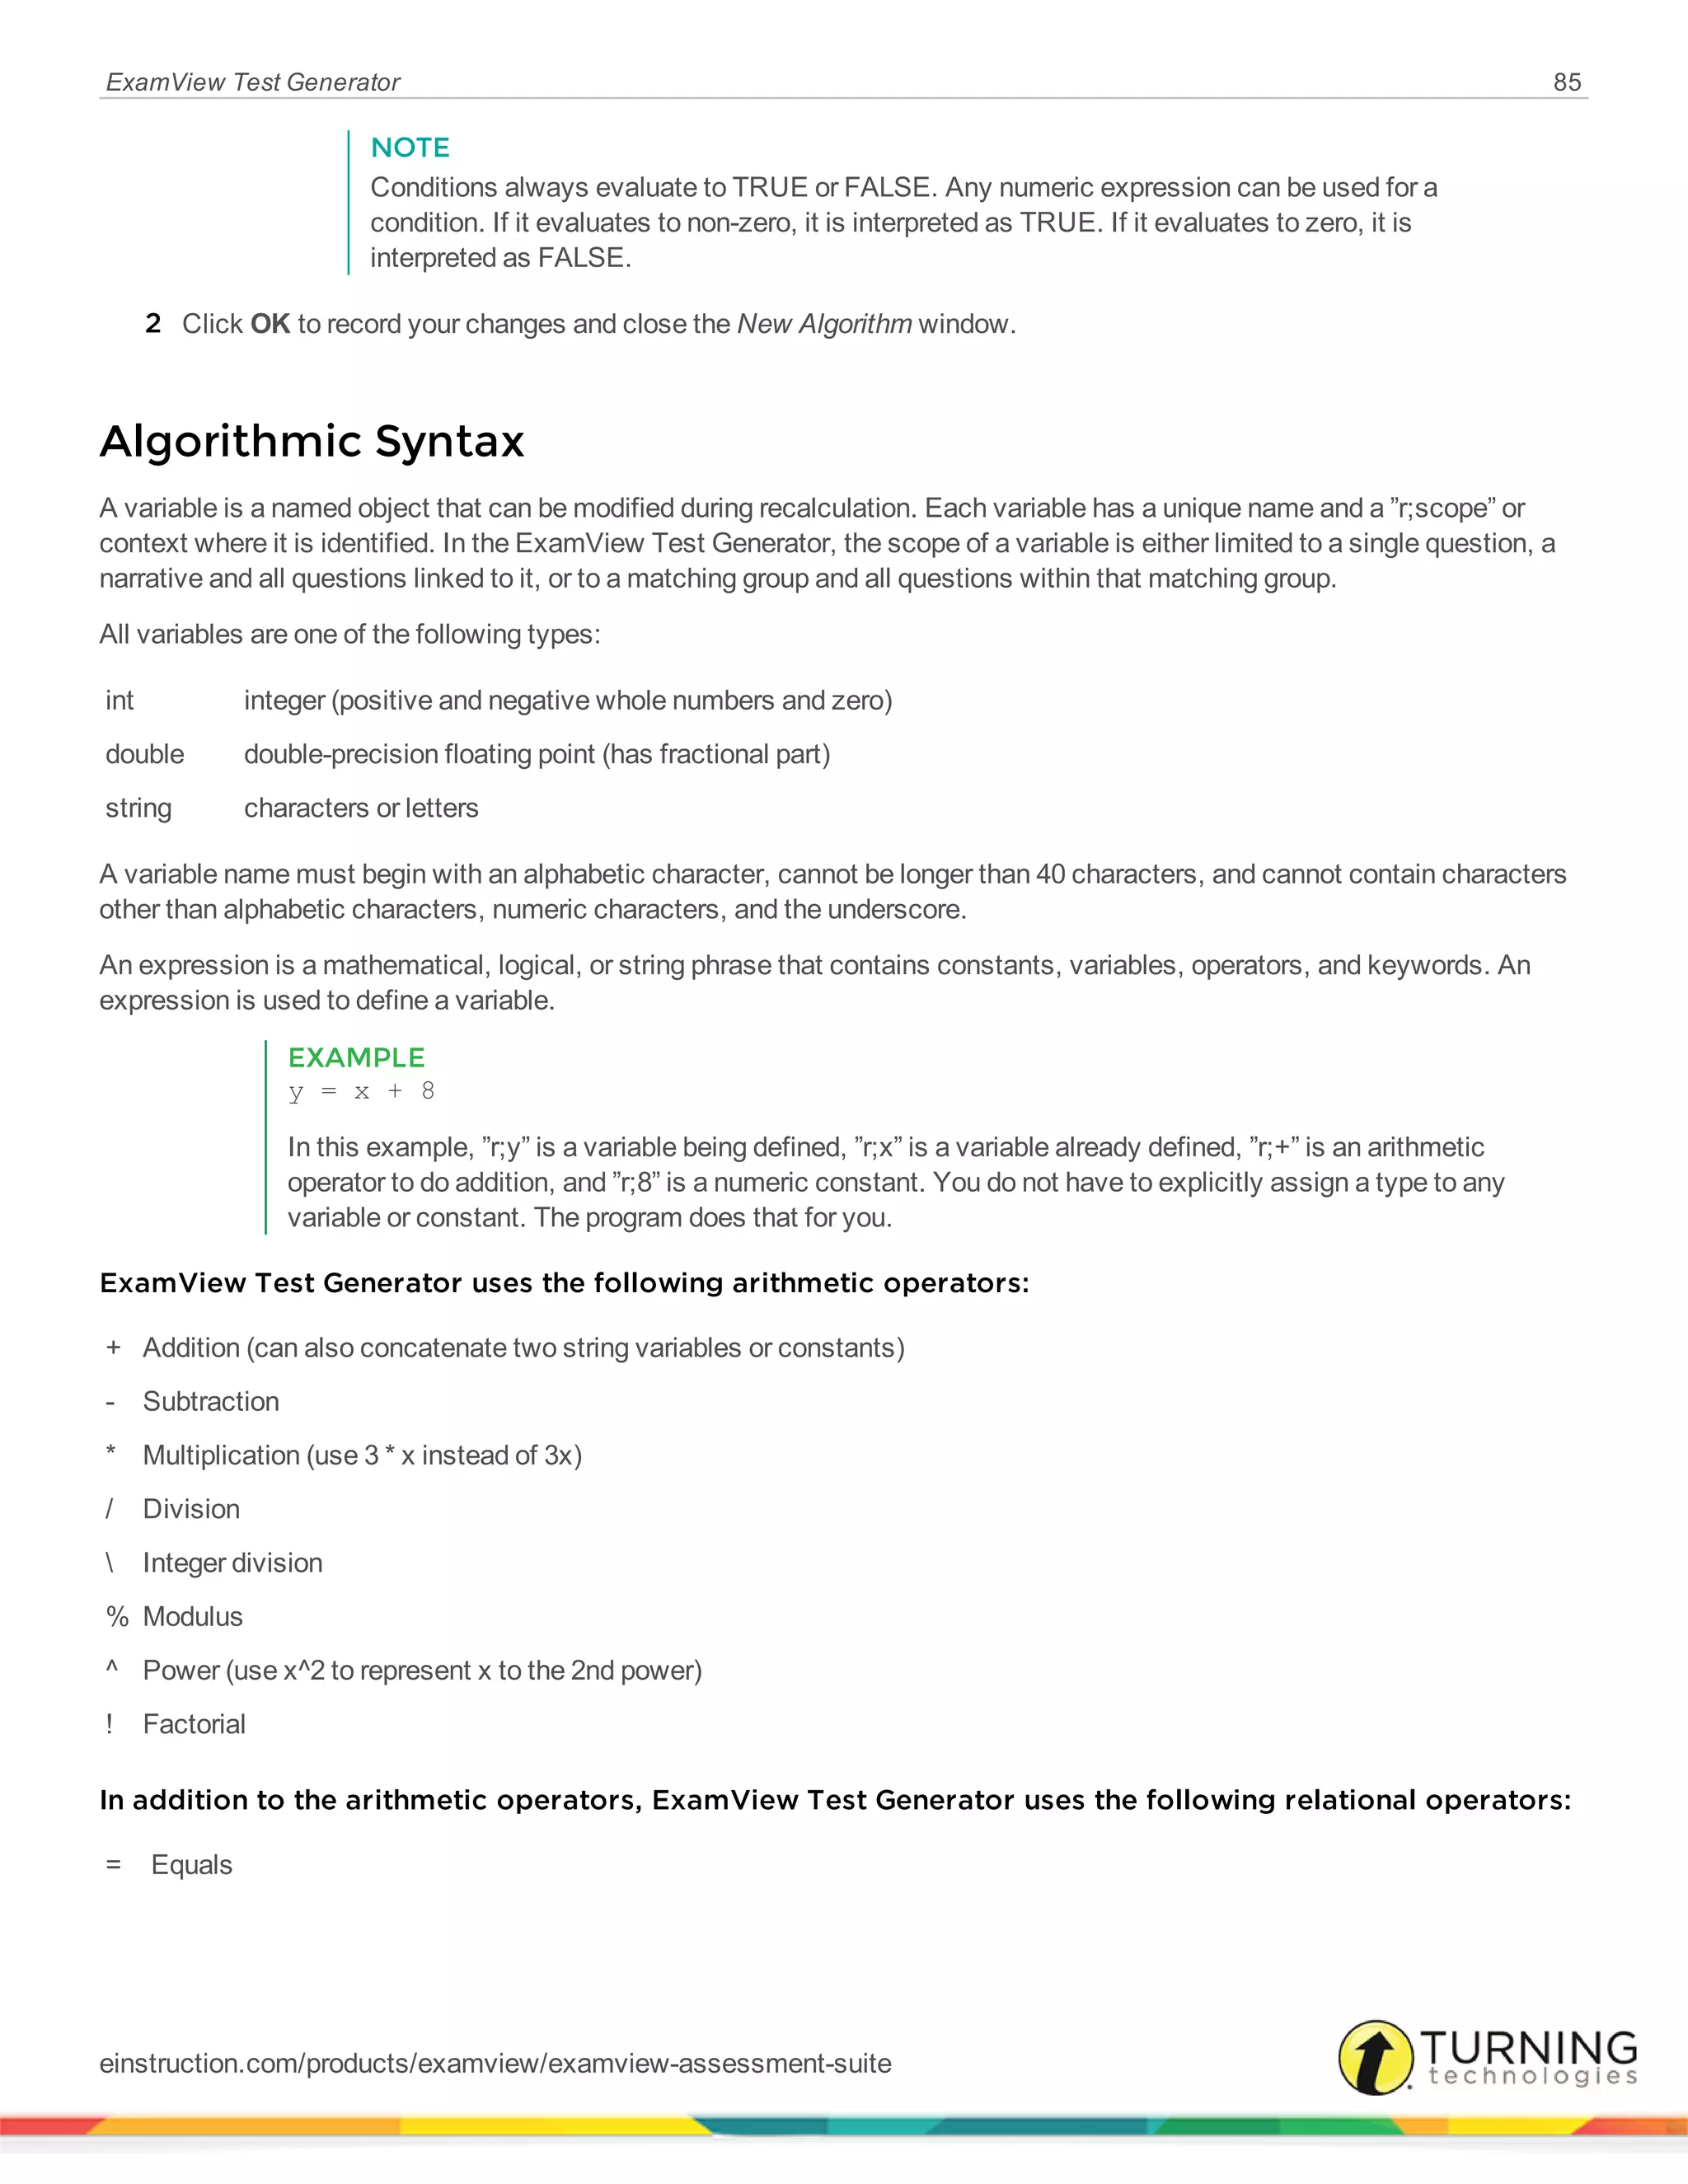
expression if (int condition, expression arg1, expression arg2)
Description
Use to implement a conditional expression. If condition evaluates to non-zero, arg1 will be returned, else arg2 will be returned.
Both of the arguments must be of the same type (string or numeric).
--------------------------------------------------------------------------------
Syntax
expression IMP expression
Description
Returns TRUE (1) if the first expression evaluates to non-zero and the second expression evaluates to zero, otherwise returns
FALSE (0).
--------------------------------------------------------------------------------
Syntax
INF
Description
[Constant] ∞. Can be used to represent positive or negative infinity (INF).
--------------------------------------------------------------------------------
Syntax
int instr(string x, string y)
Description
Searches in the string, x, for the sub-string, y. If it finds it, the function will return the position in the string, x, where the first
occurrence of y was found (between 1 and the length of string, x). If the substring is not found, the function returns FALSE (0).
--------------------------------------------------------------------------------
Syntax
int int(double x)
Description
Returns the integer portion of the argument, x. If x is positive, it rounds down. If x is negative, it rounds up.
--------------------------------------------------------------------------------
Syntax
double inv(double x)
Description
Returns the inverse of the argument, x. Actual function is 1 / x. Arguments to the function must not be equal to zero.
--------------------------------------------------------------------------------
Syntax
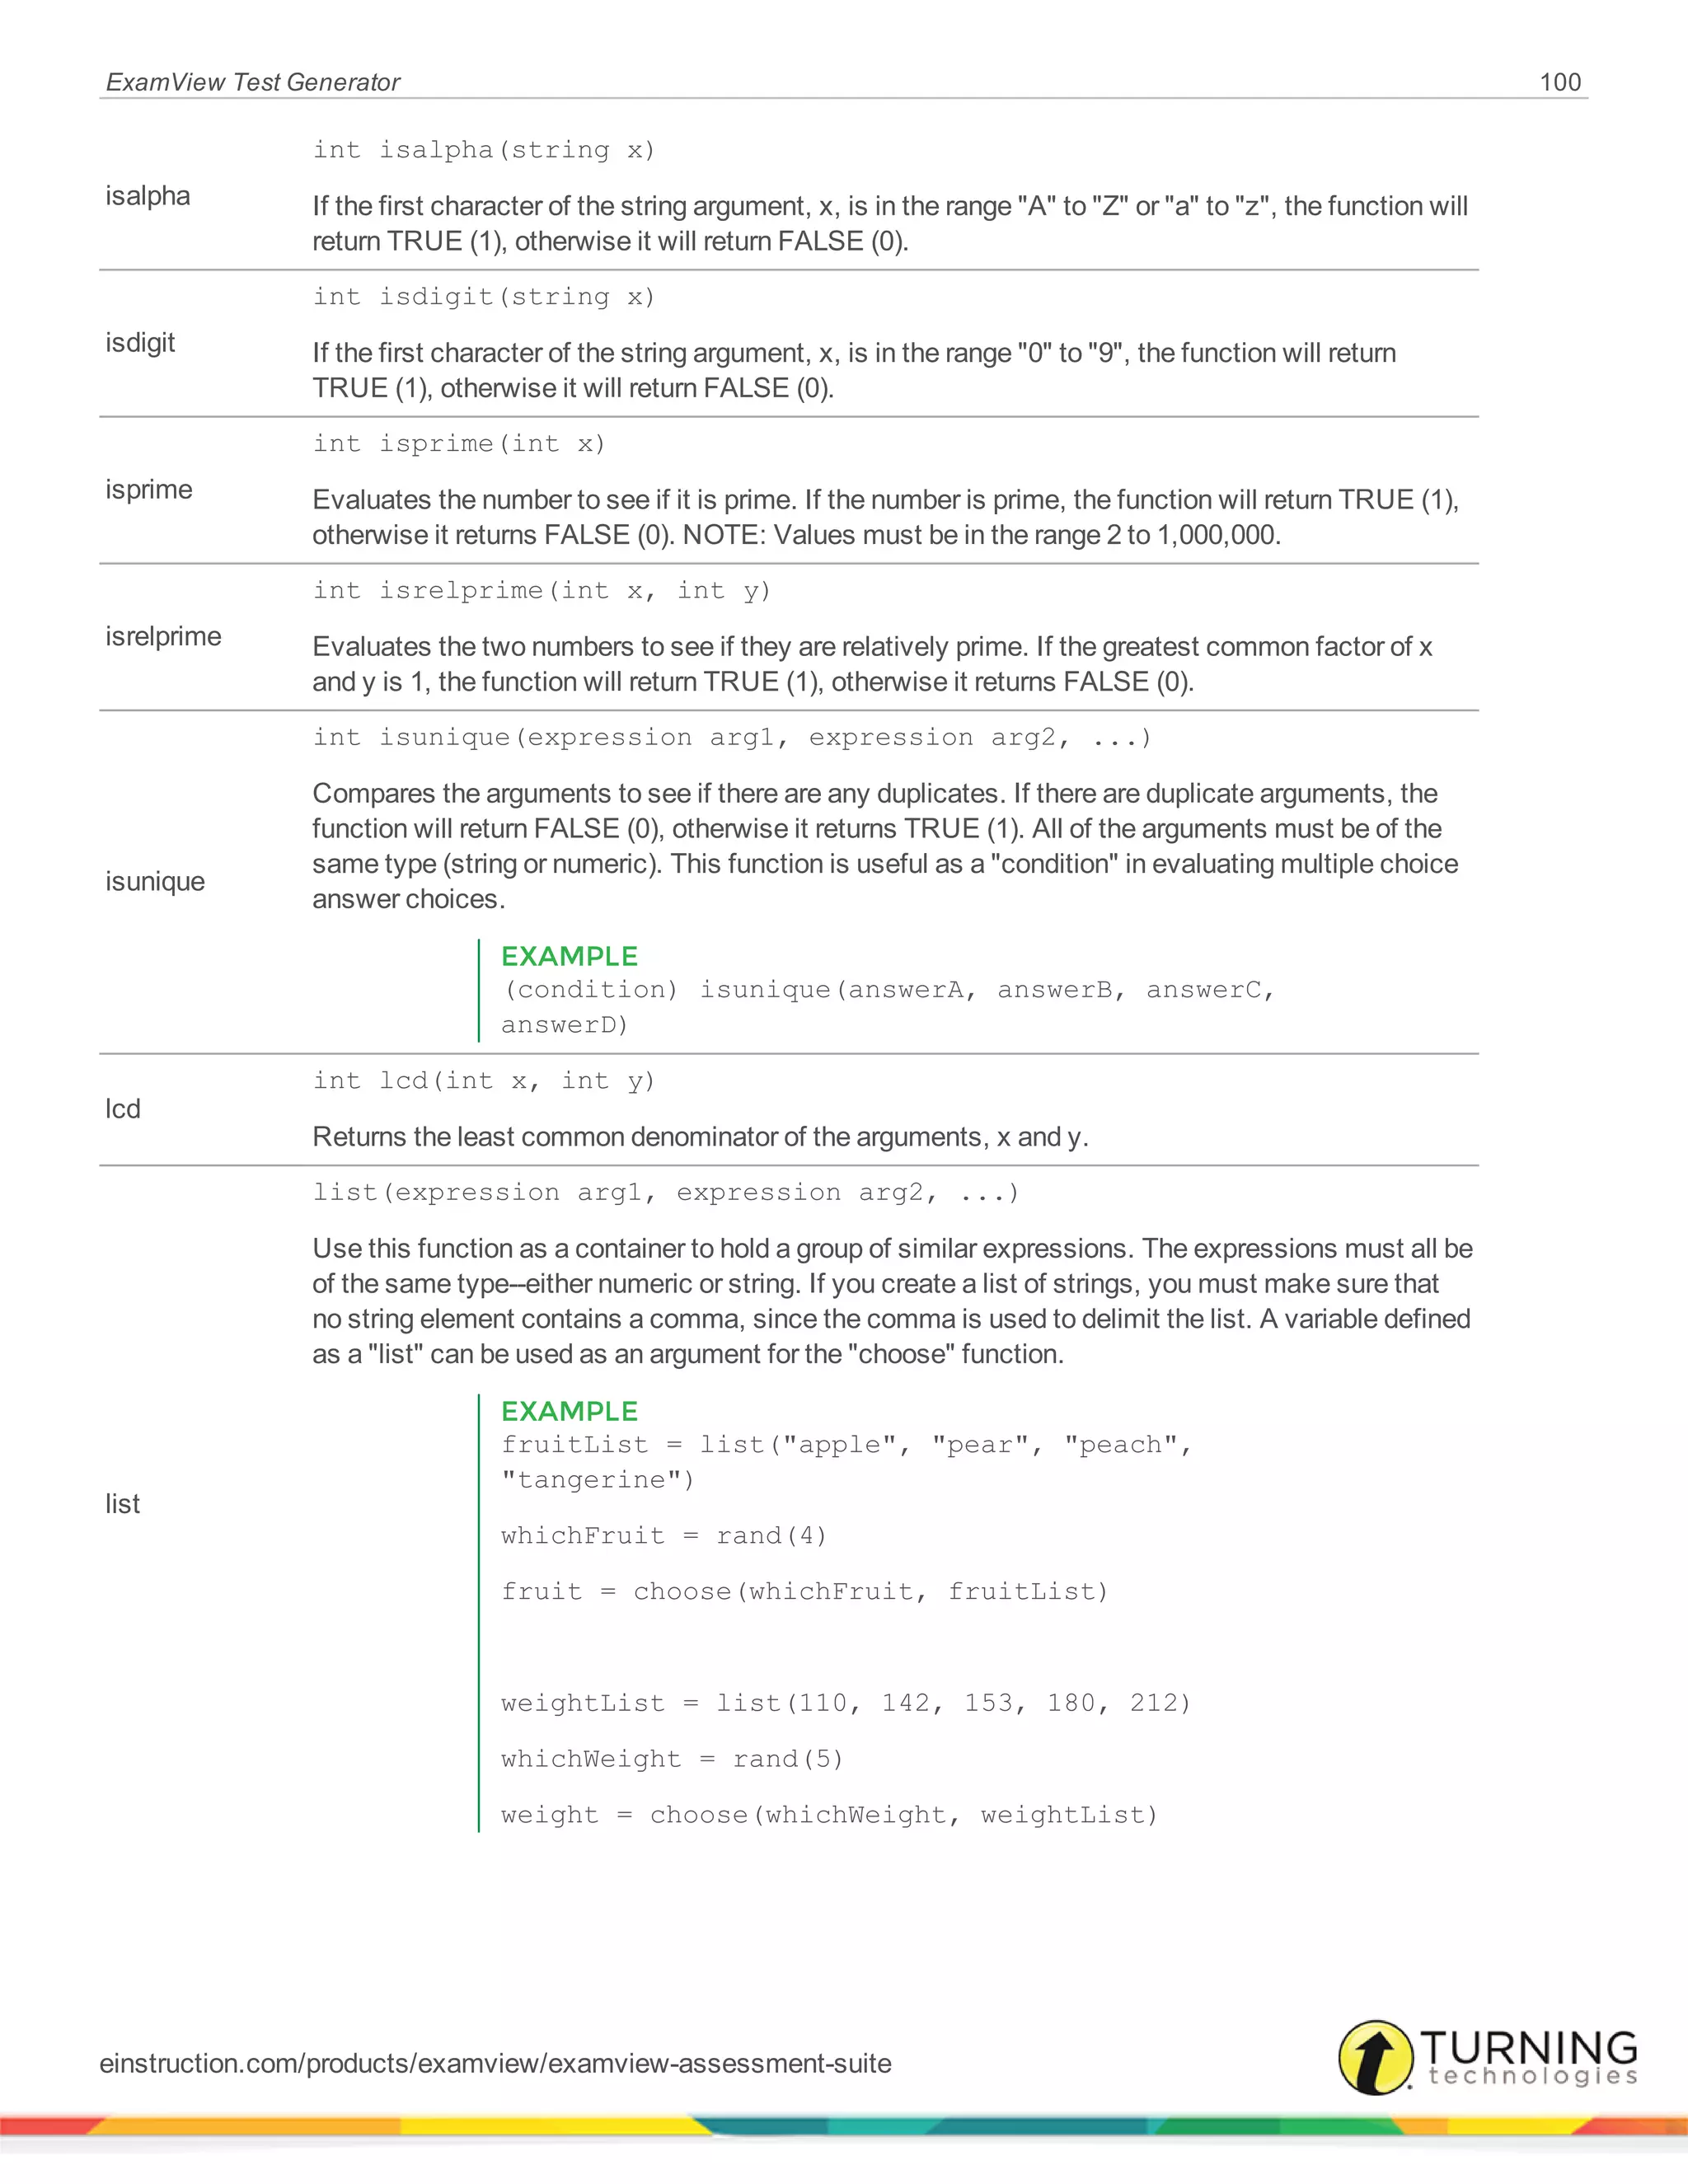
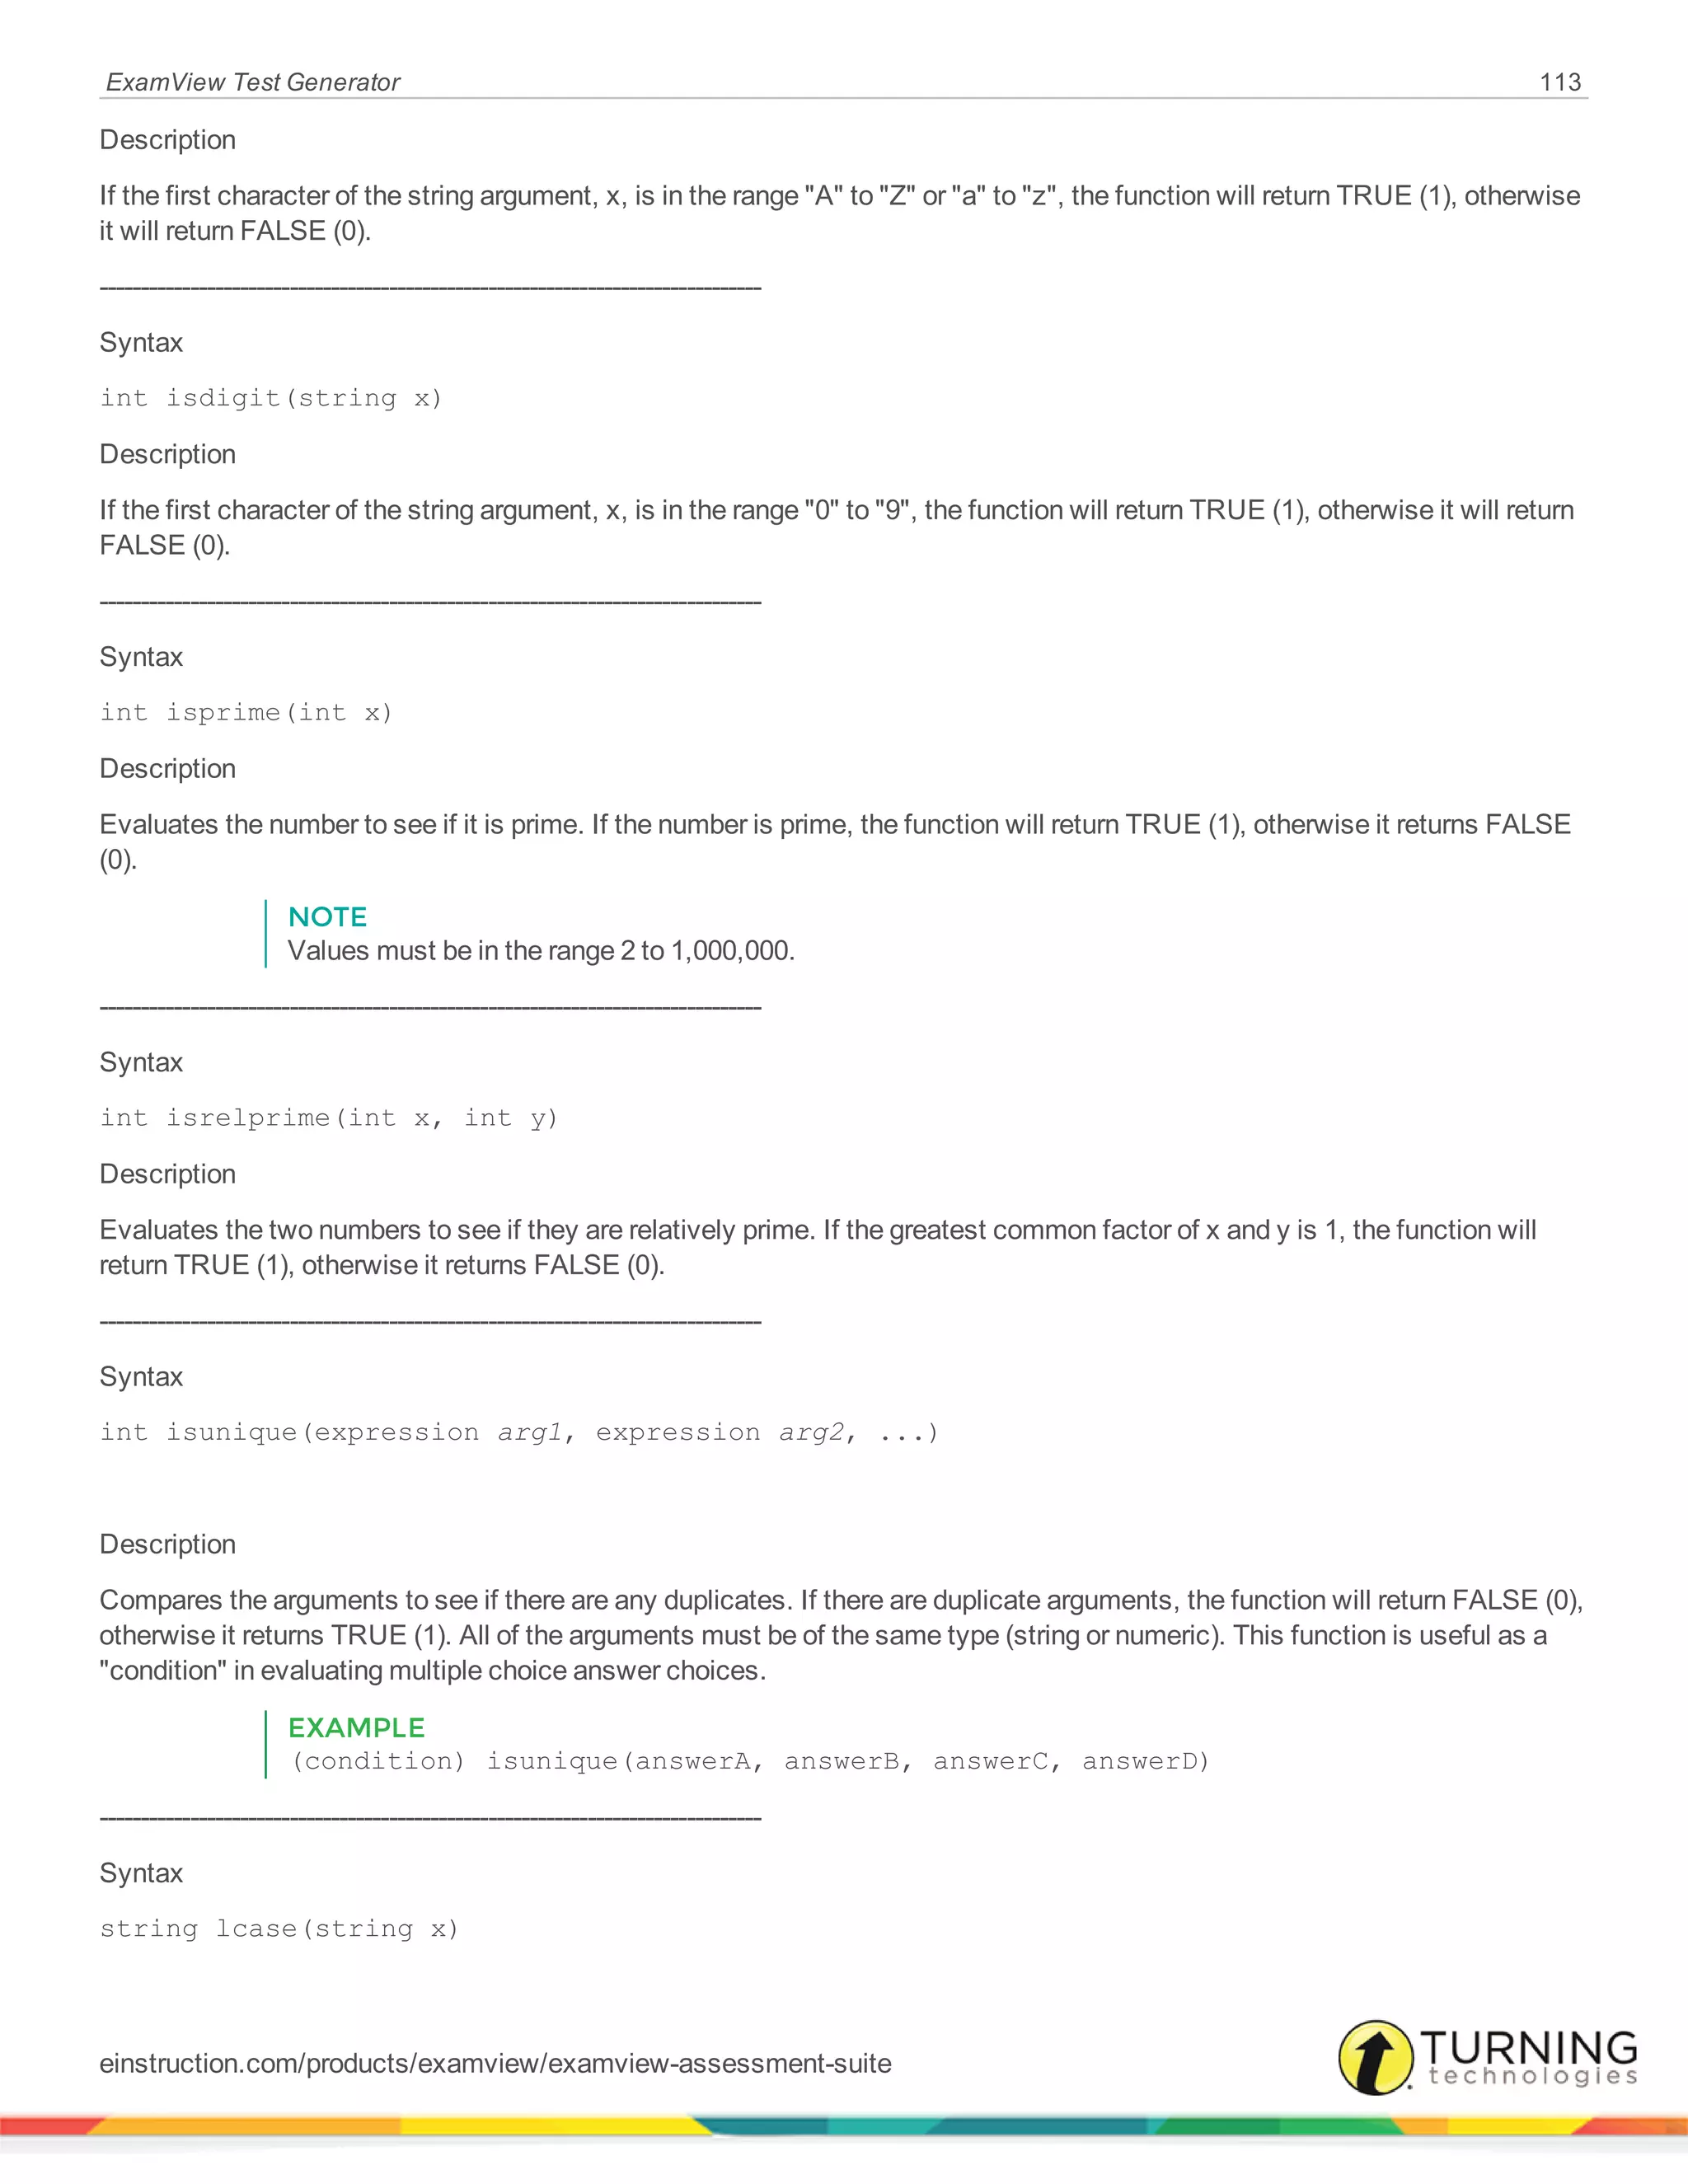
int isalpha(string x)
einstruction.com/products/examview/examview-assessment-suite](https://image.slidesharecdn.com/examviewtestgeneratoruserguide8-150118204102-conversion-gate02/75/Examview-test-generator-userguide-8-1-112-2048.jpg)
![ExamView Test Generator 118
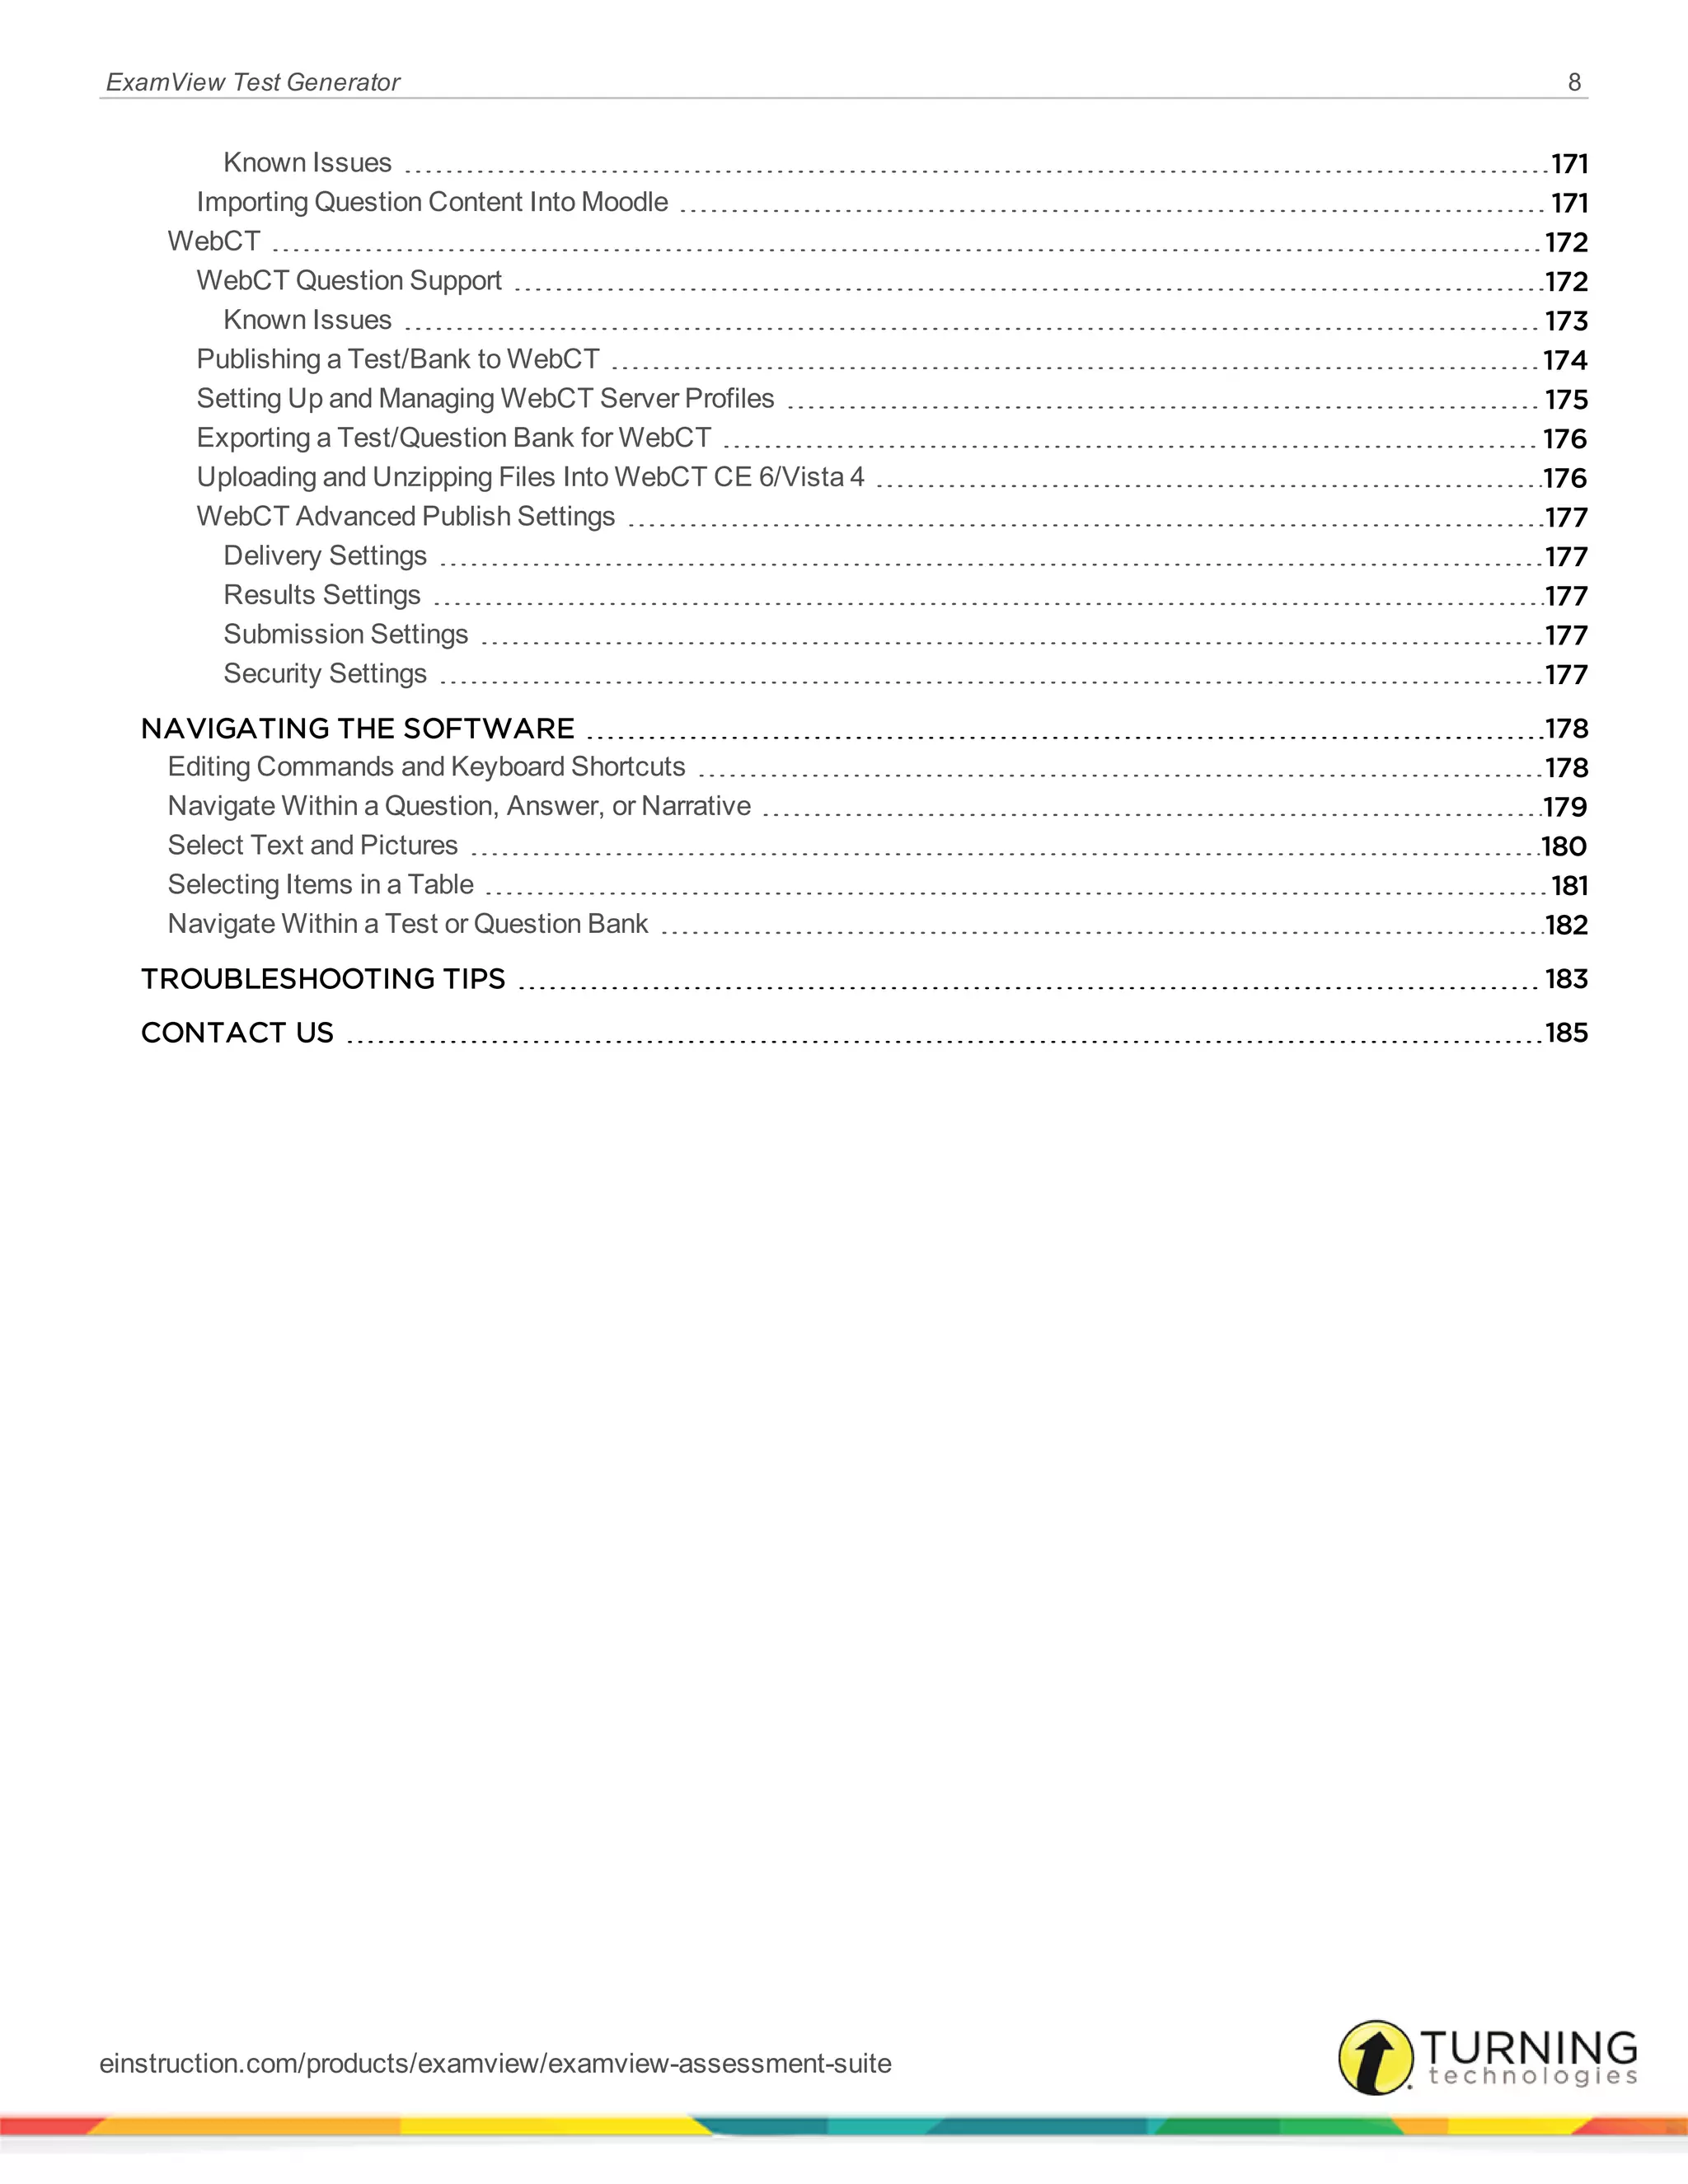
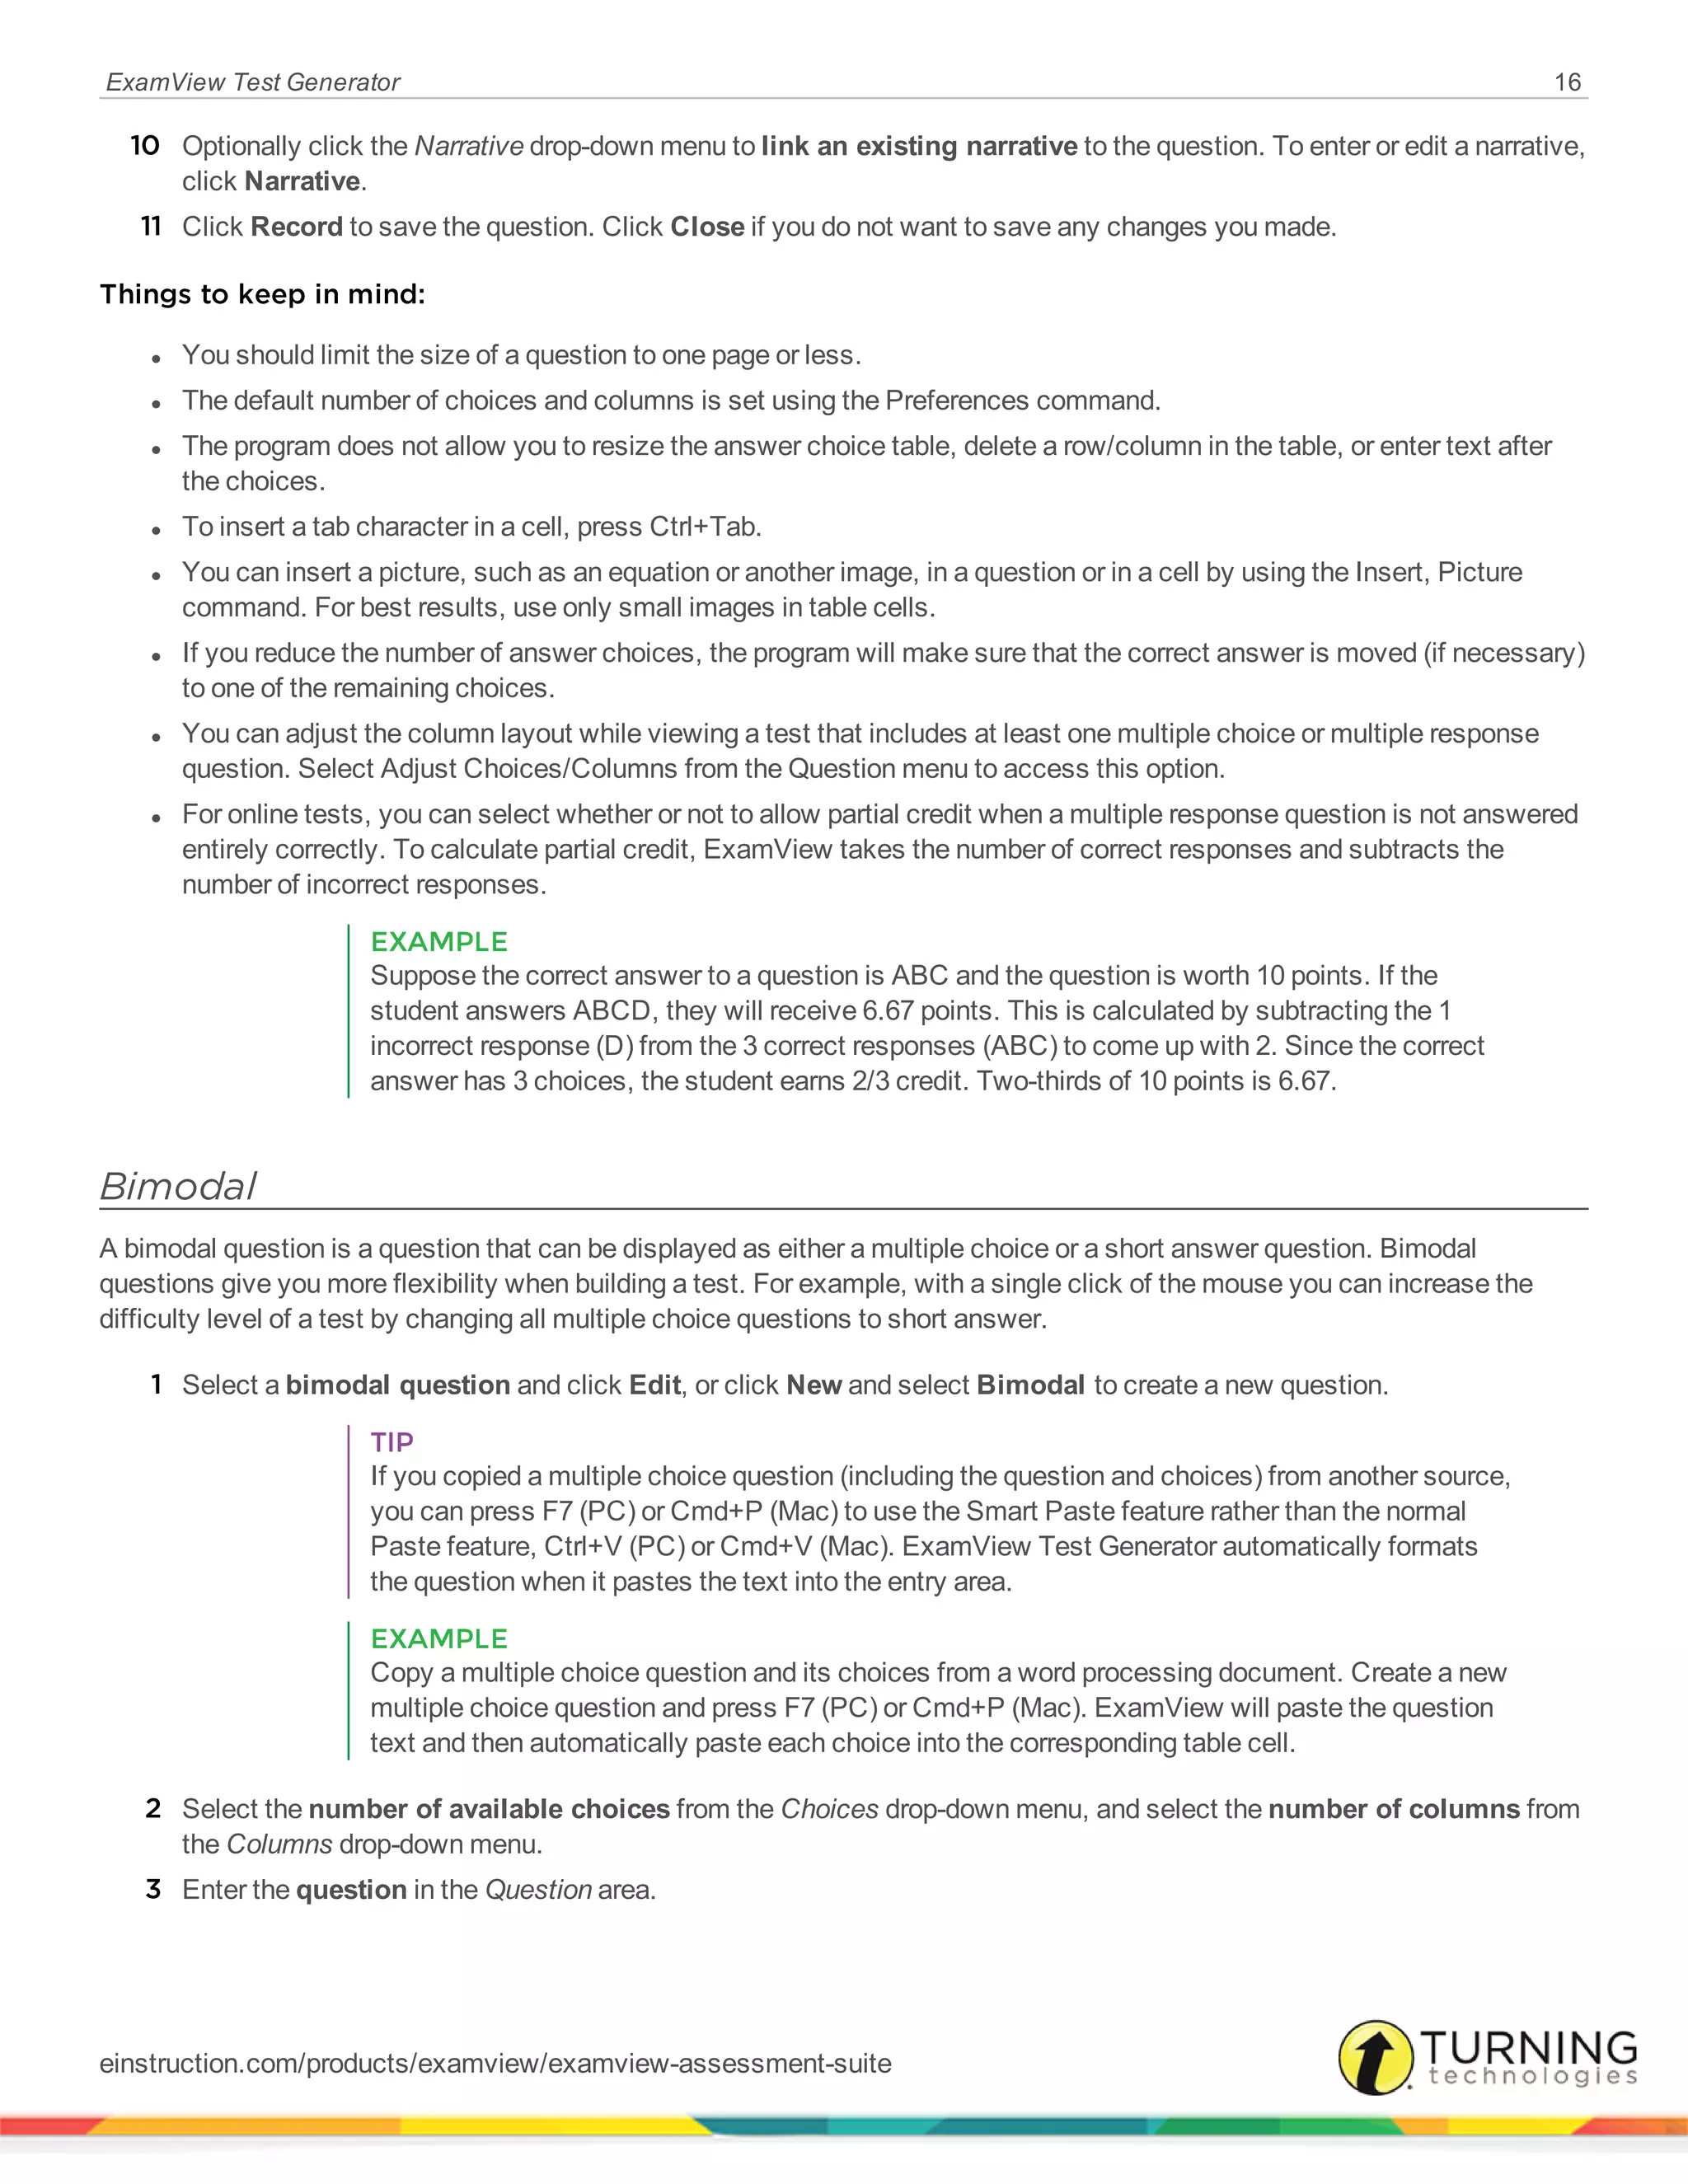
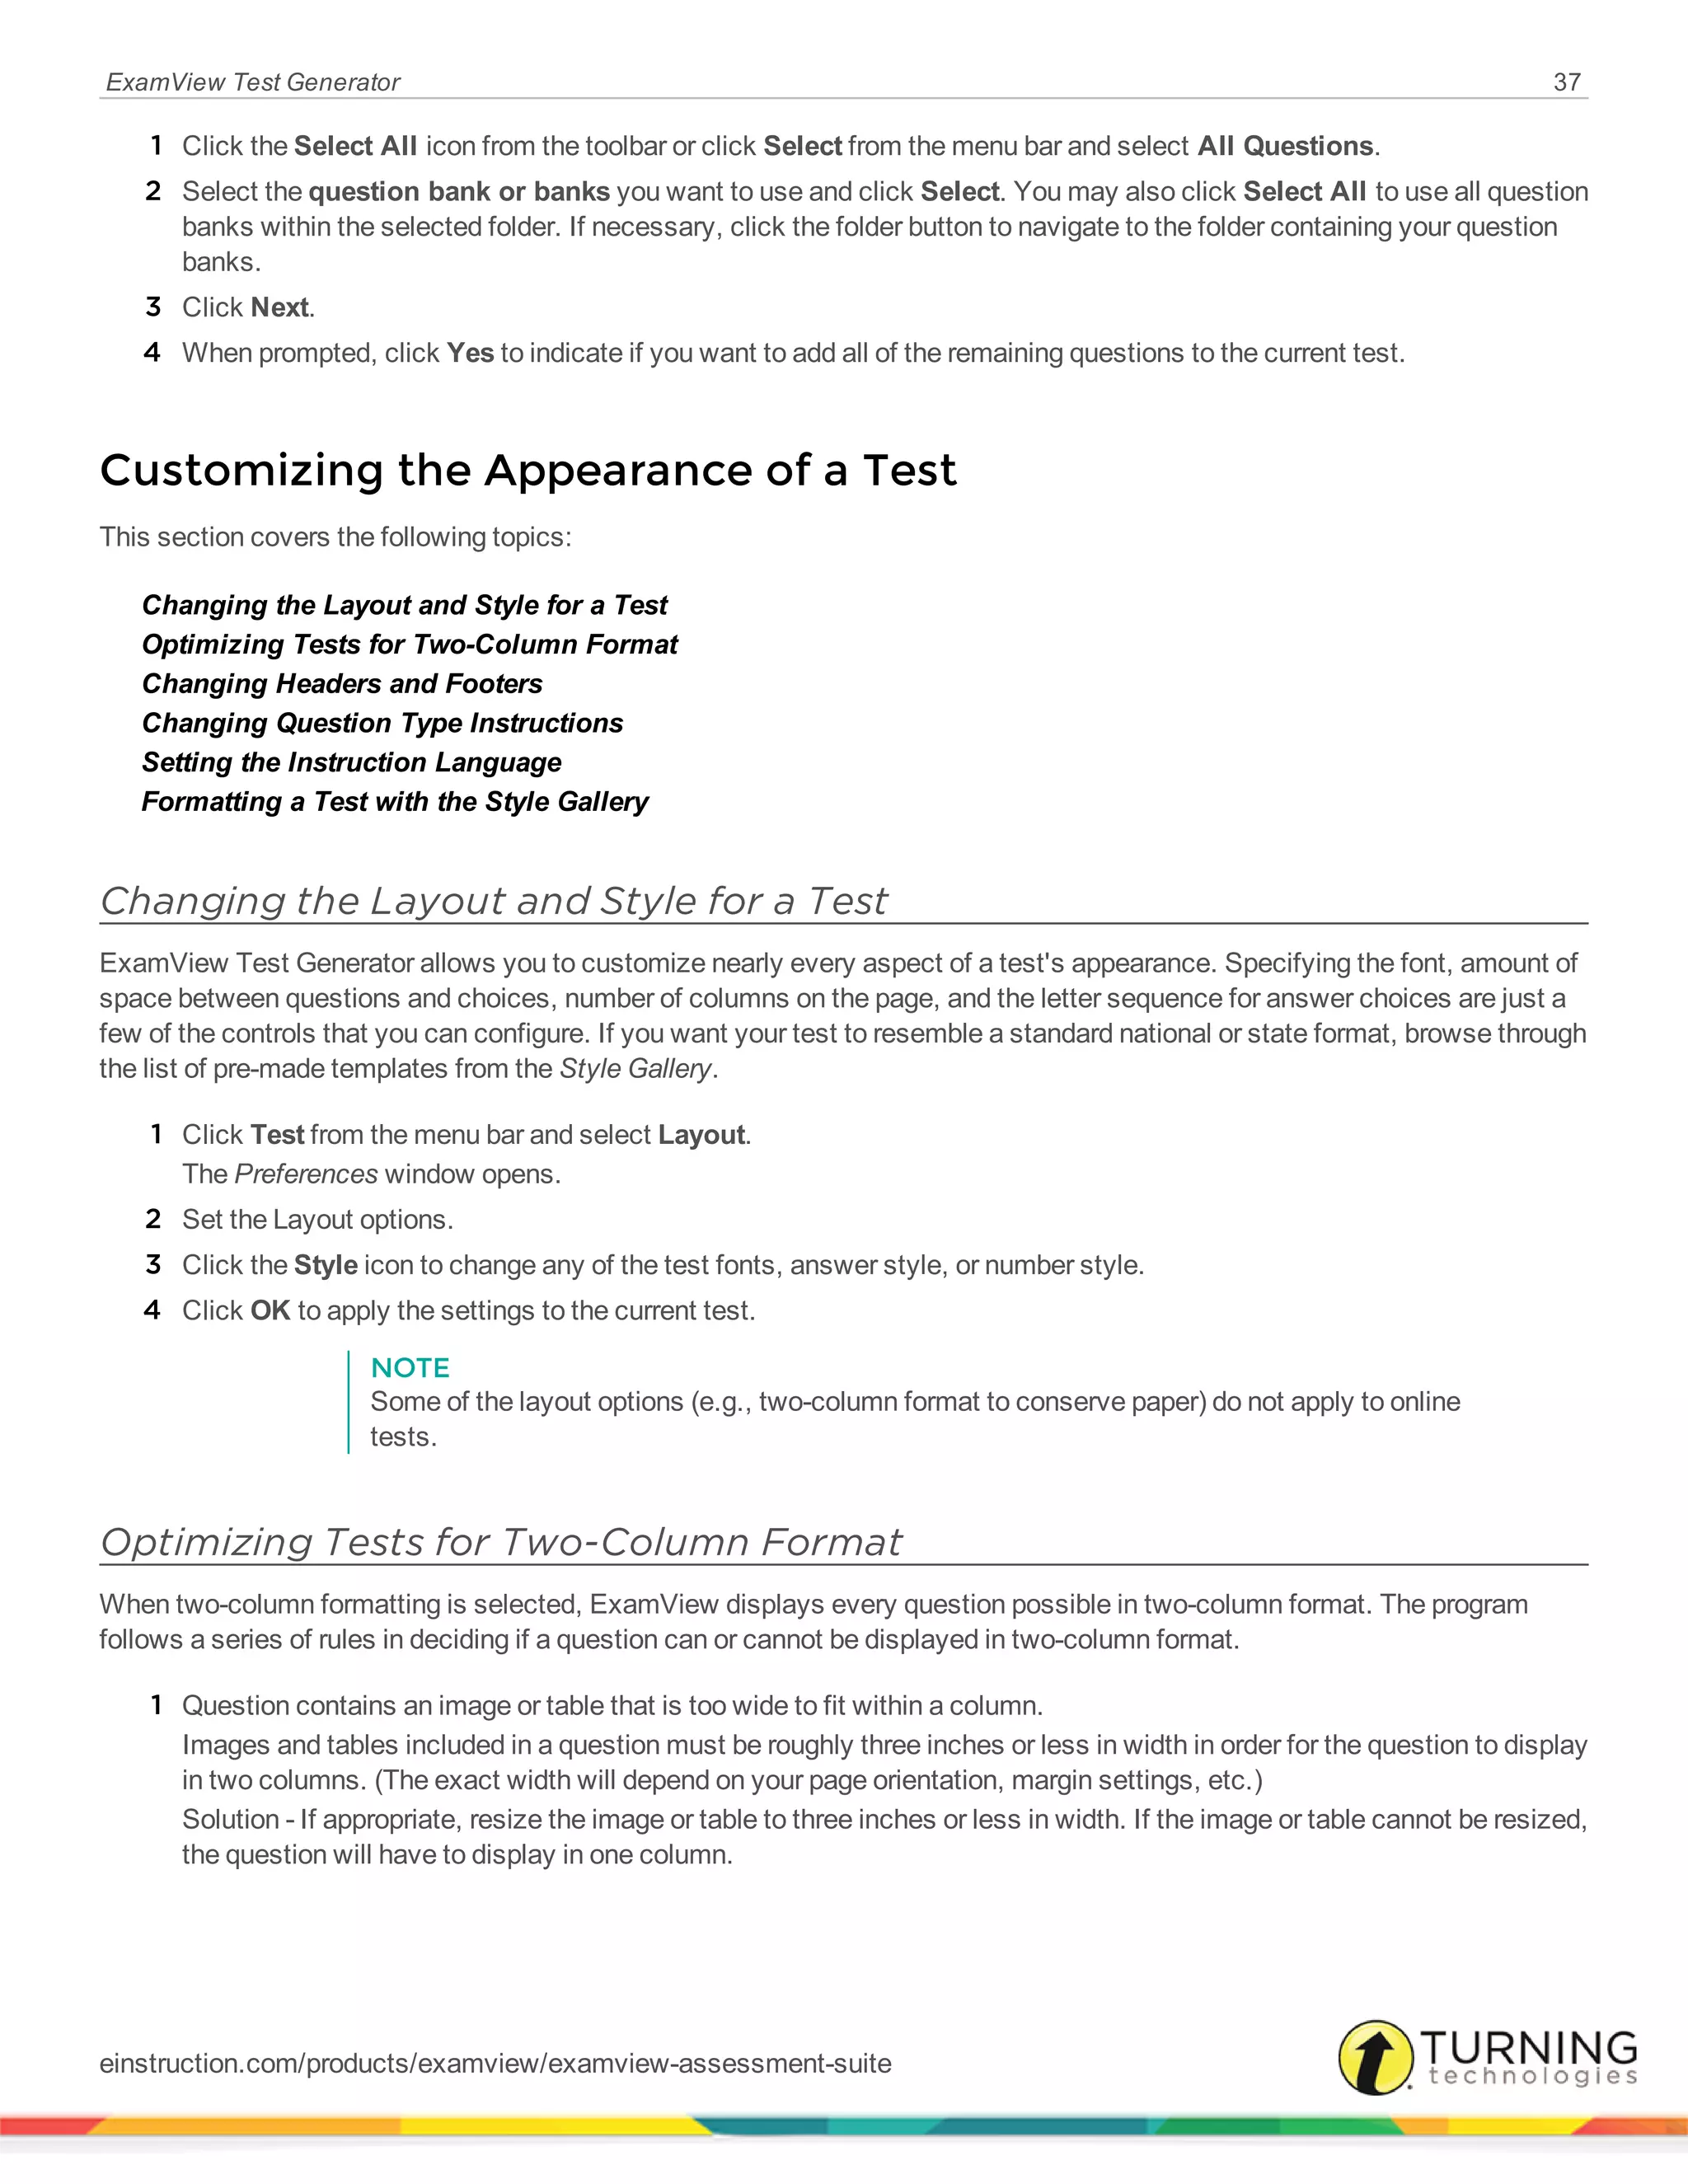
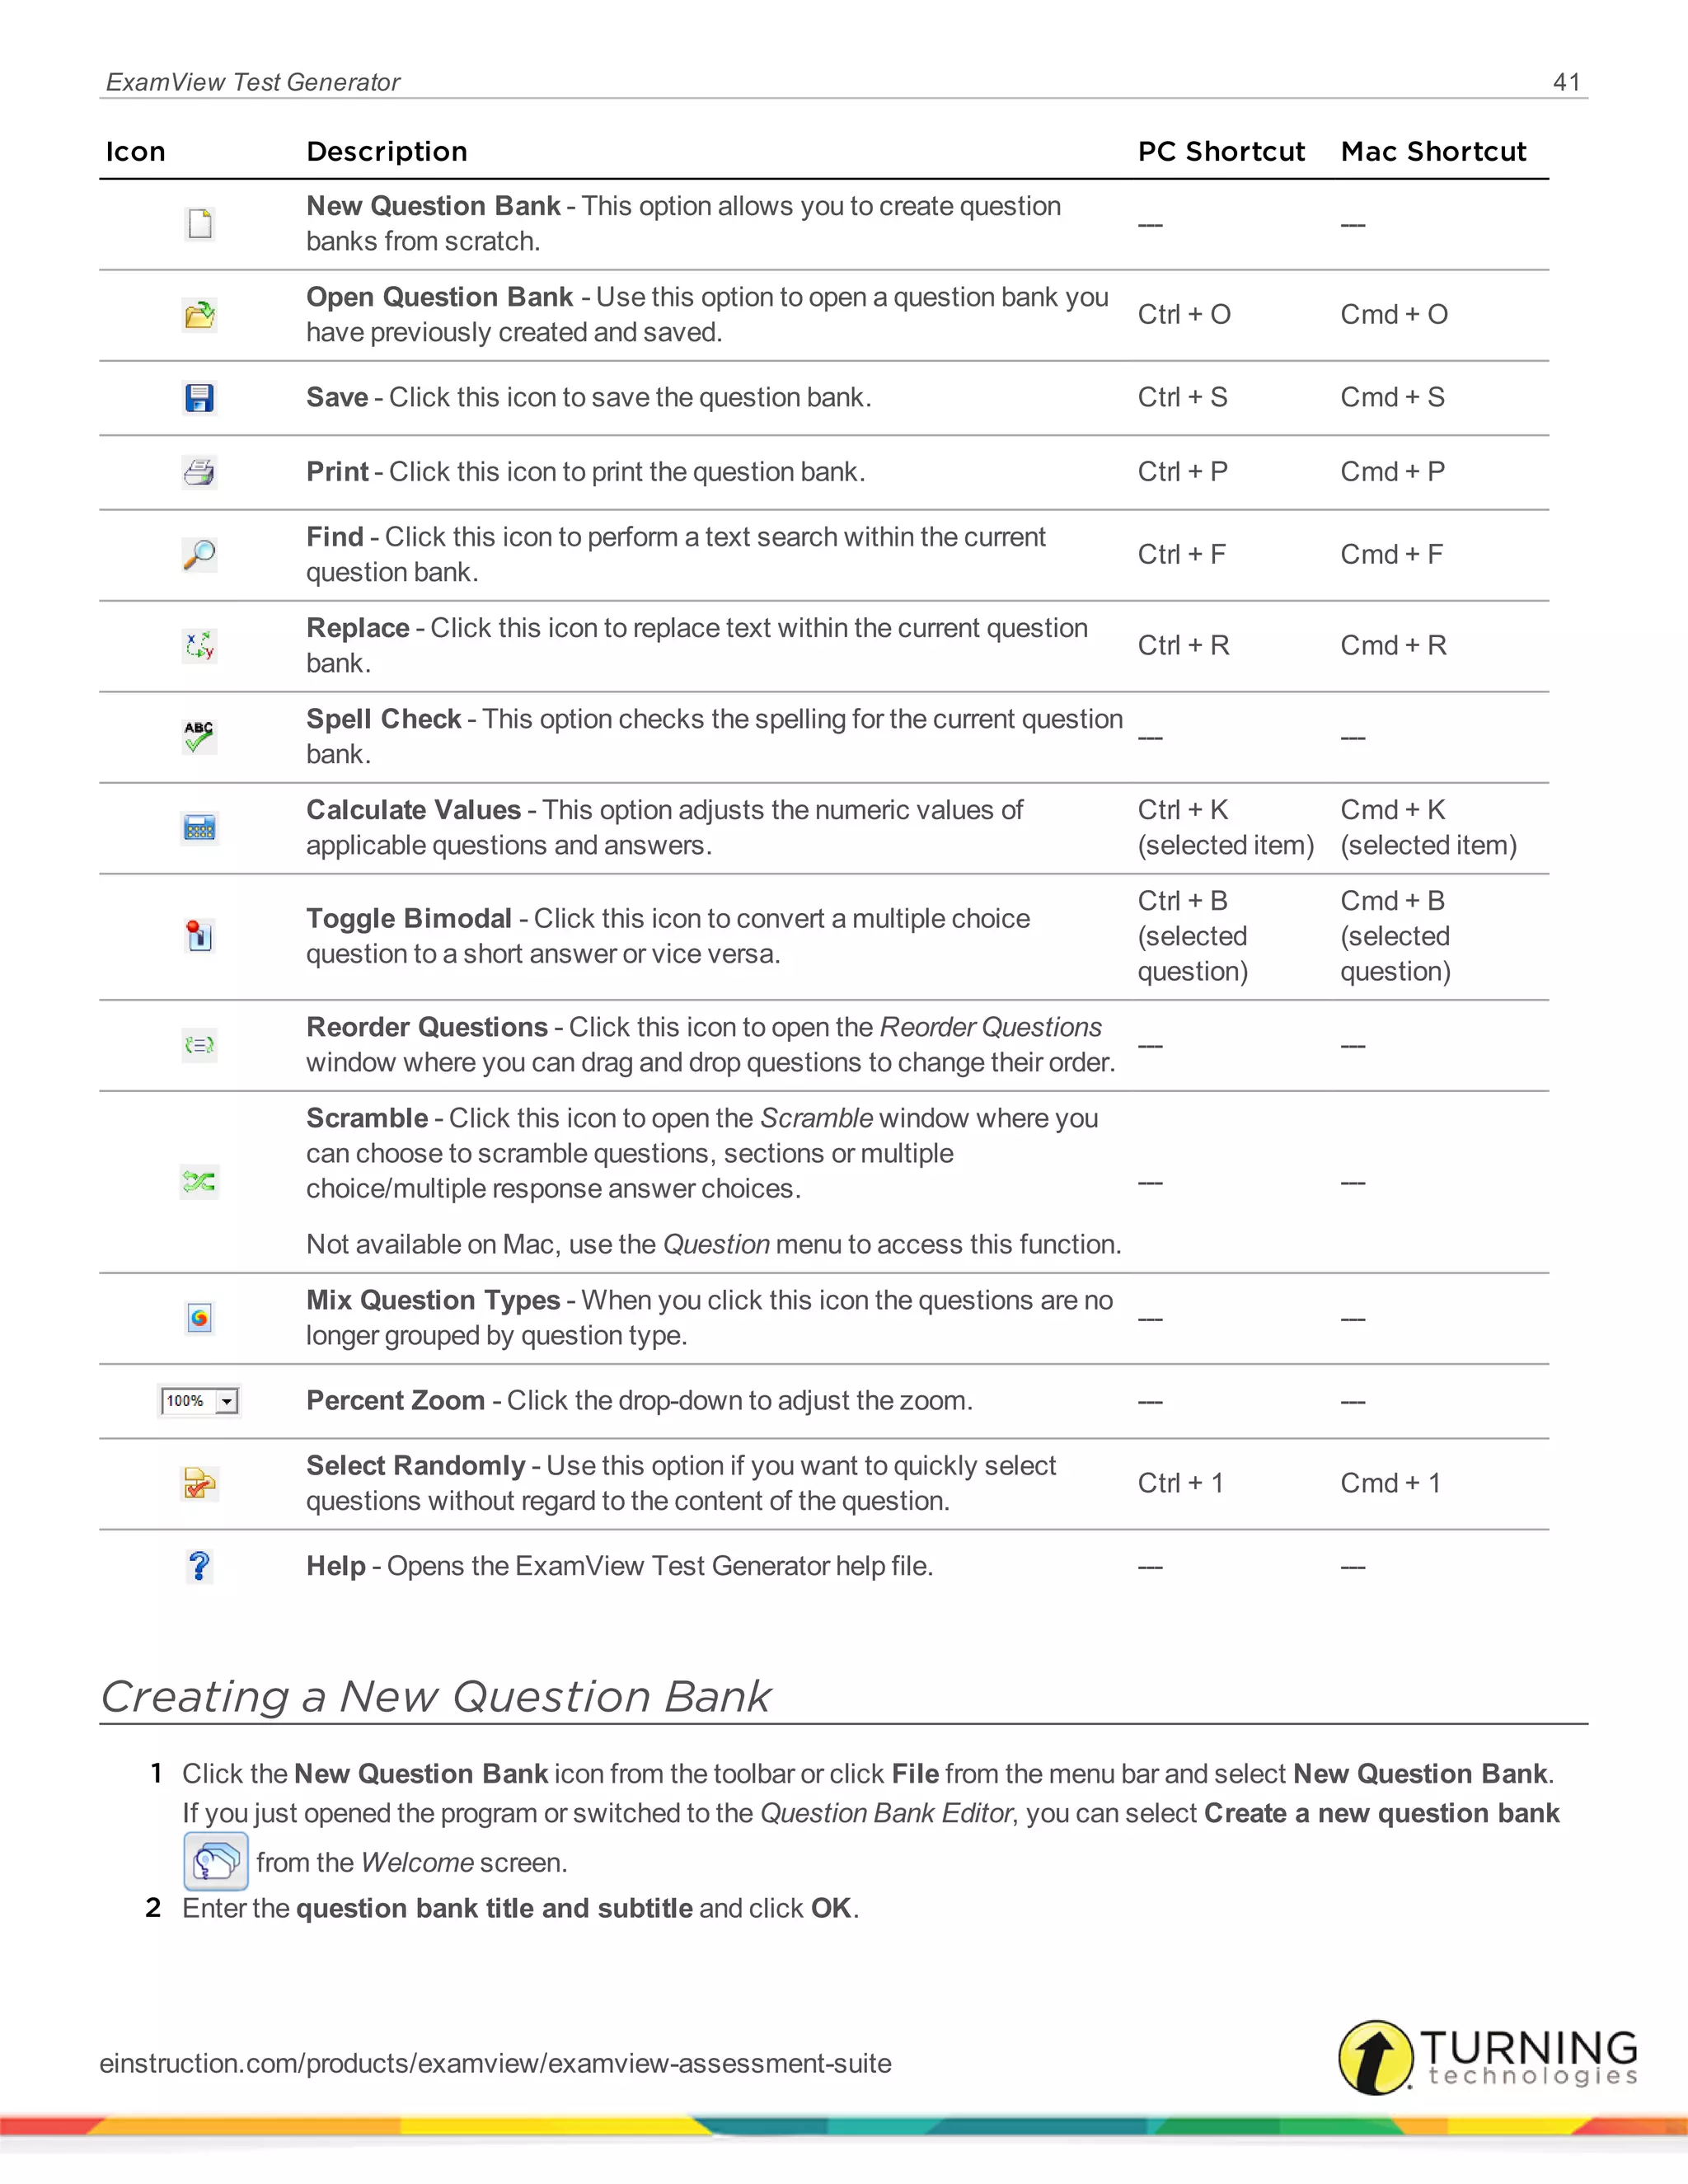
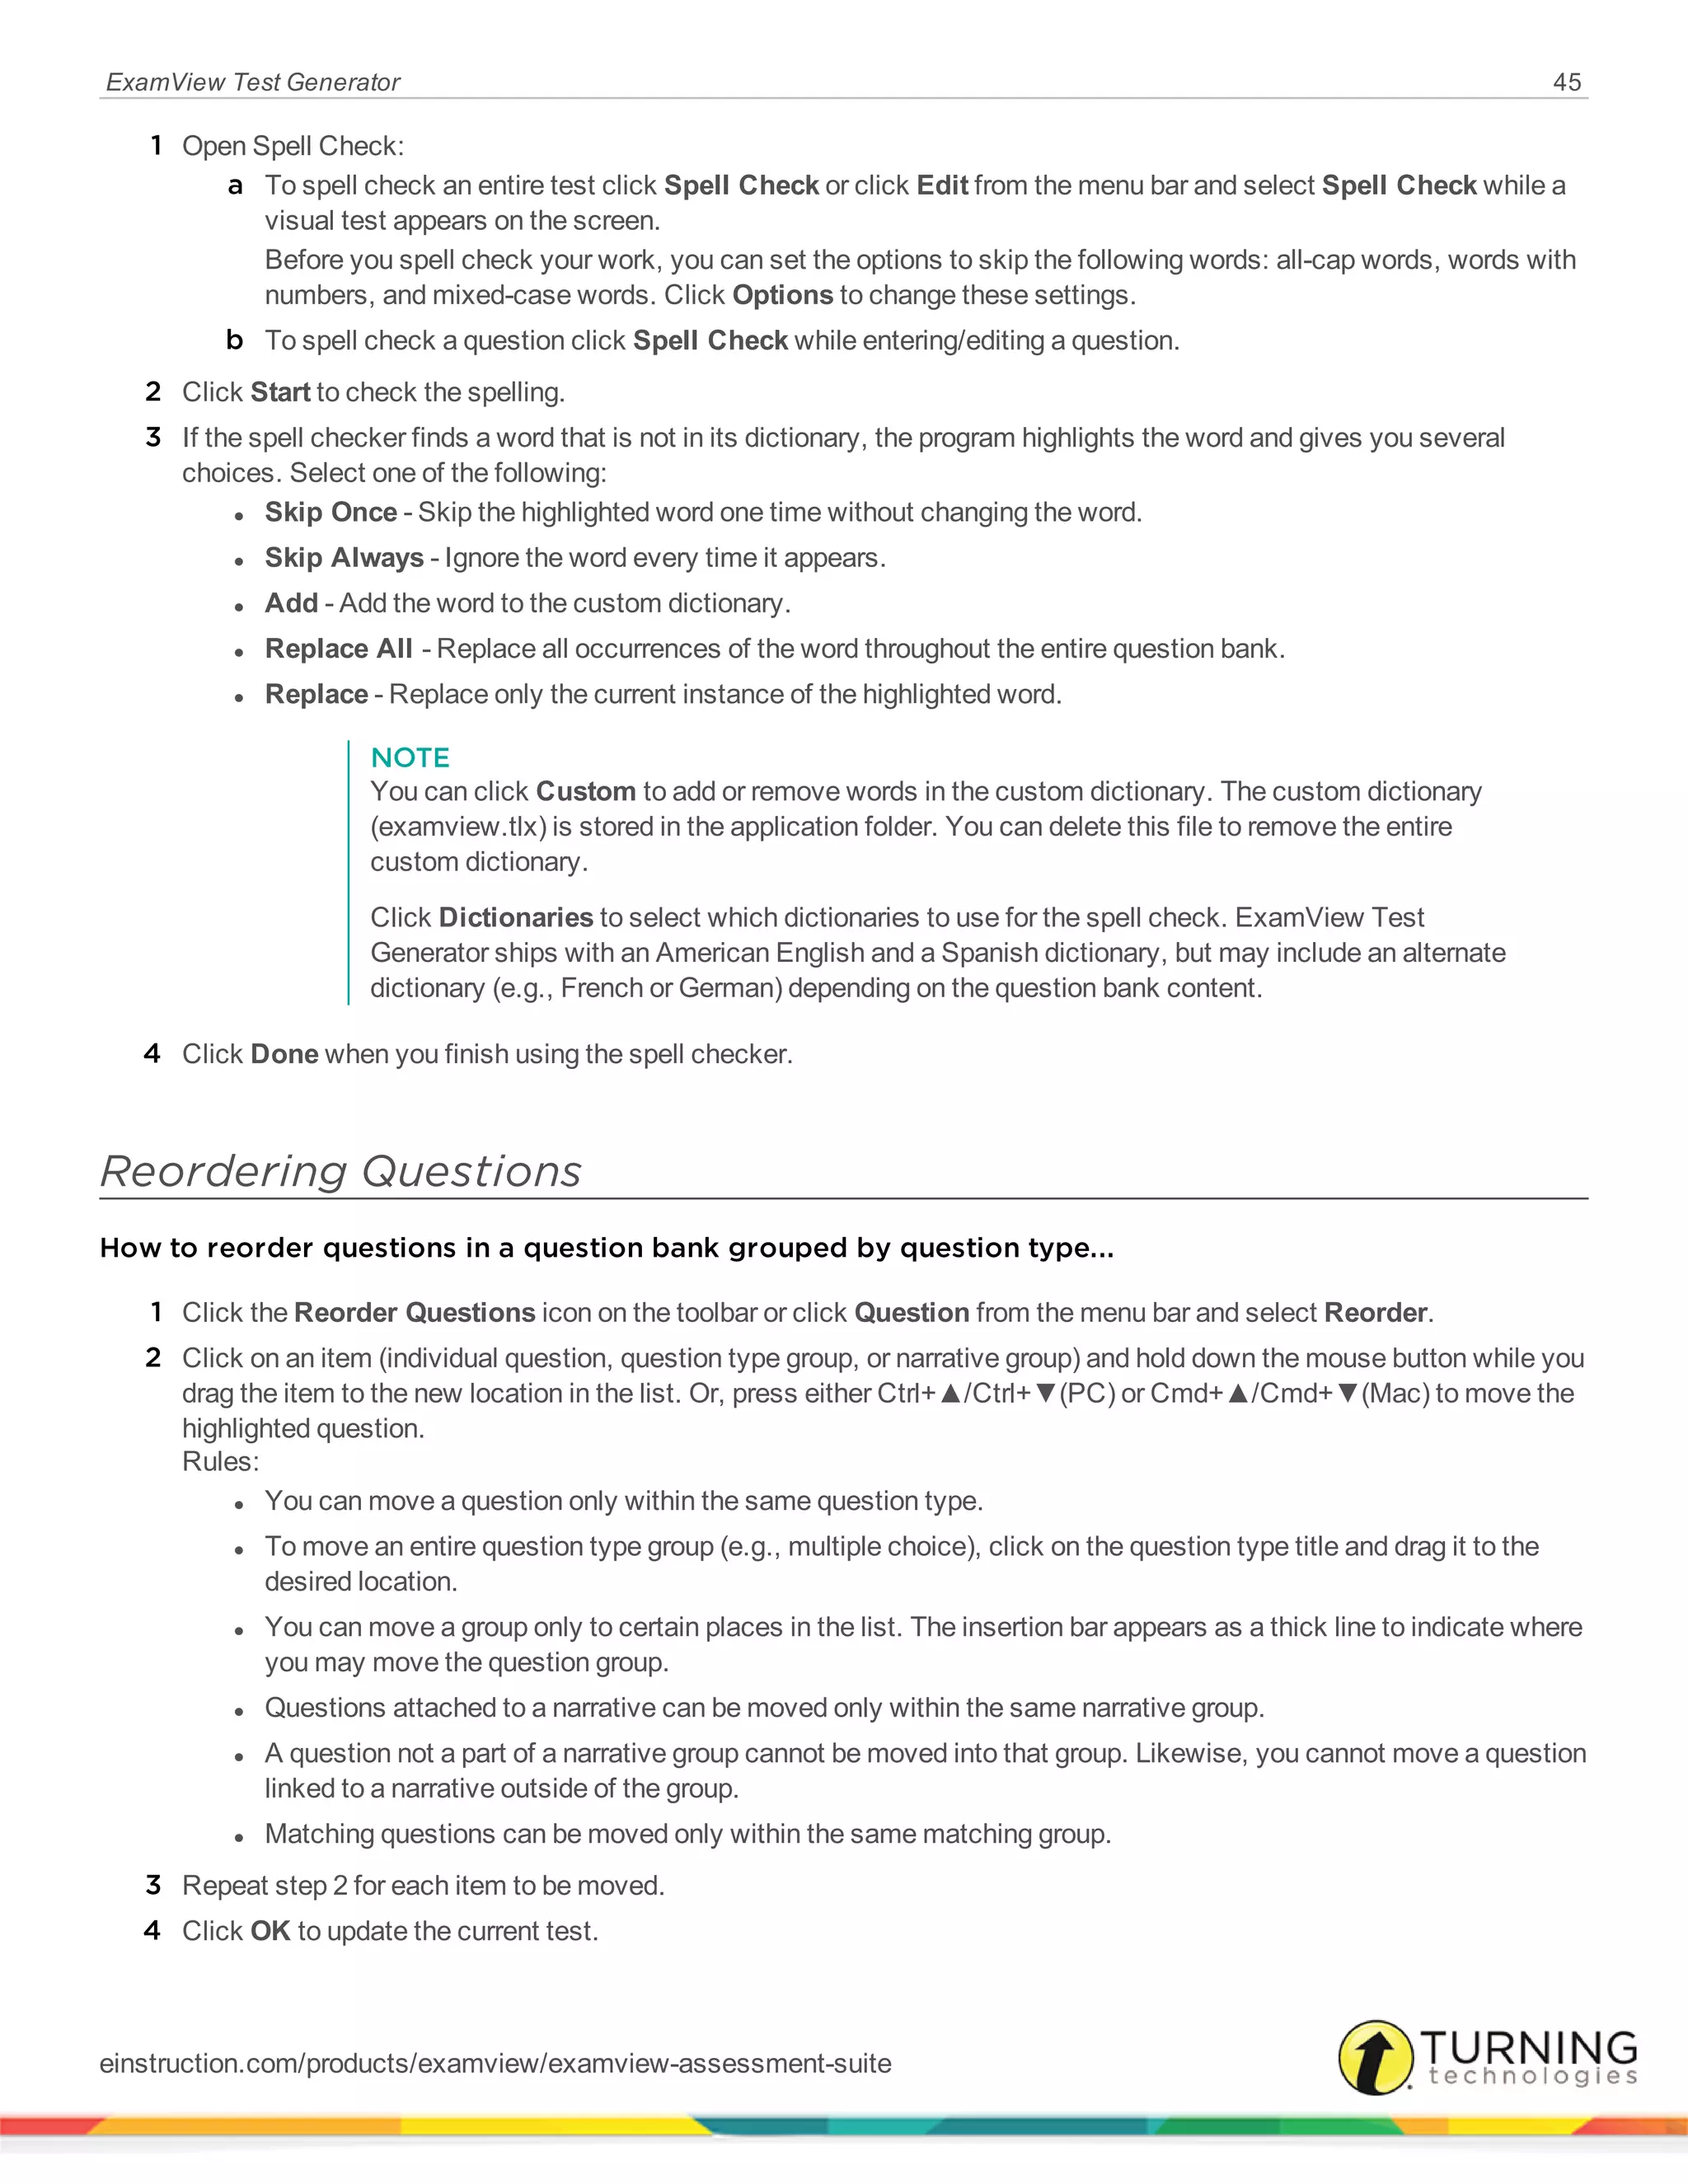
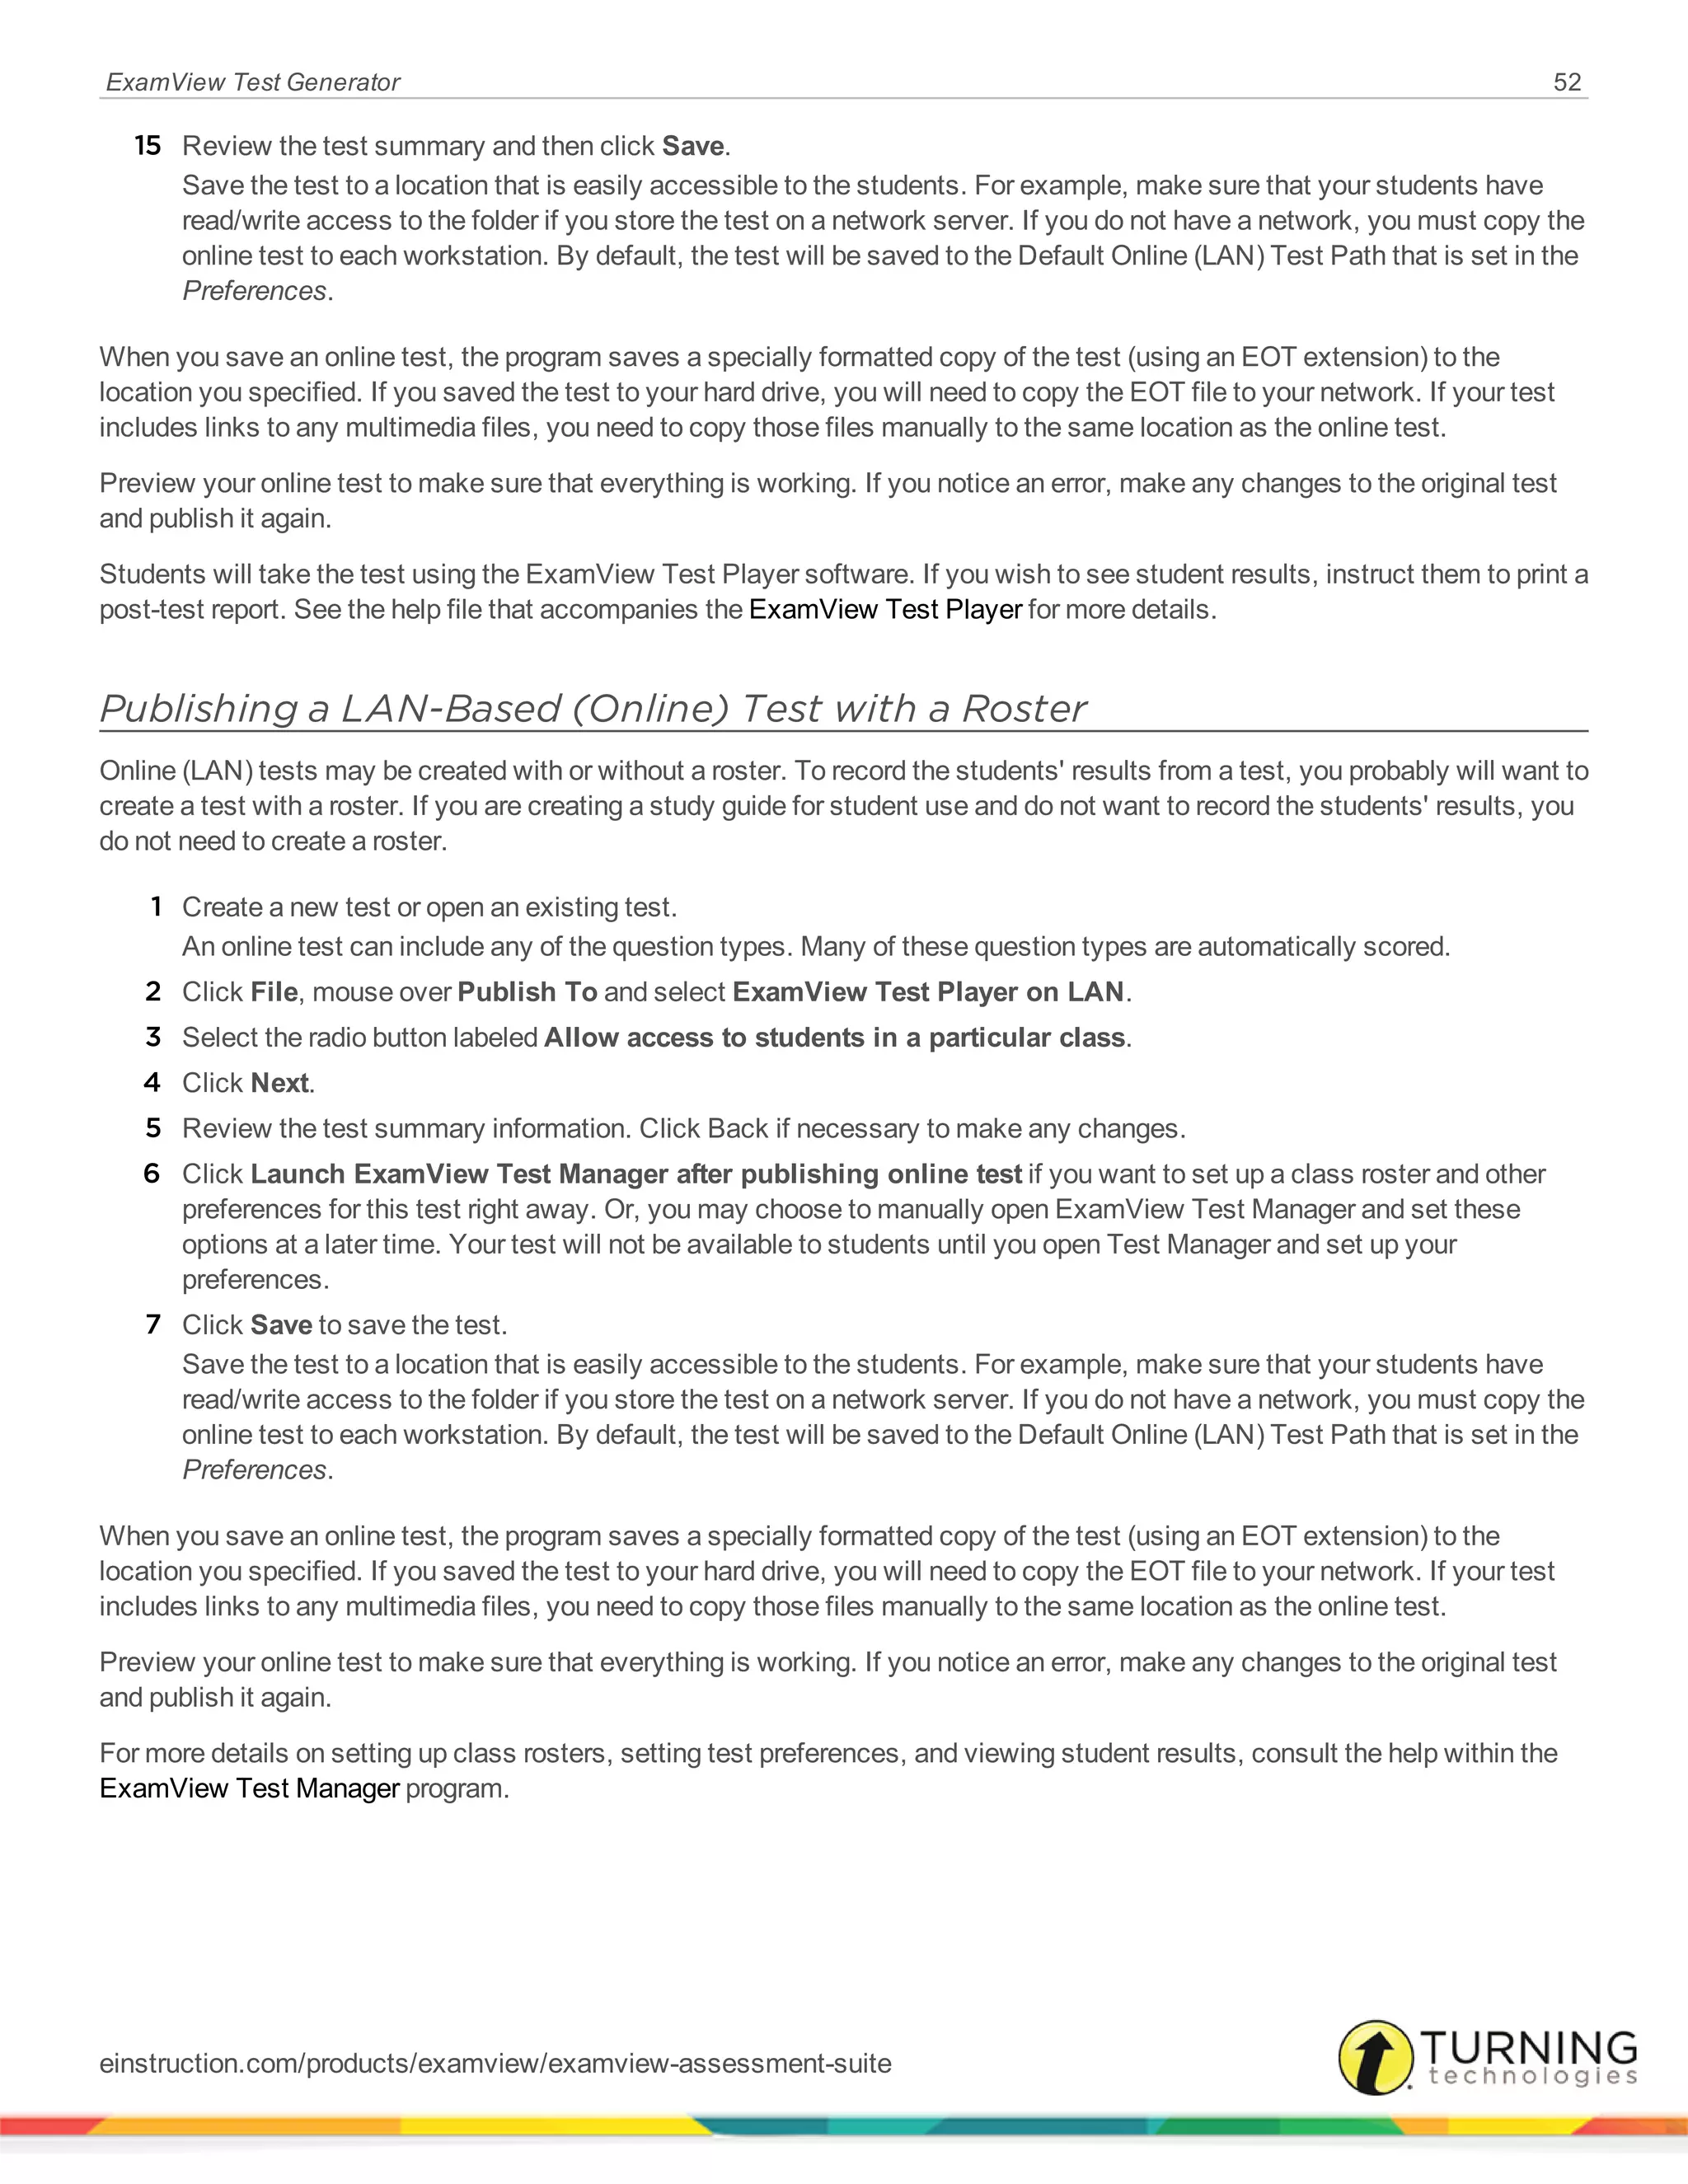
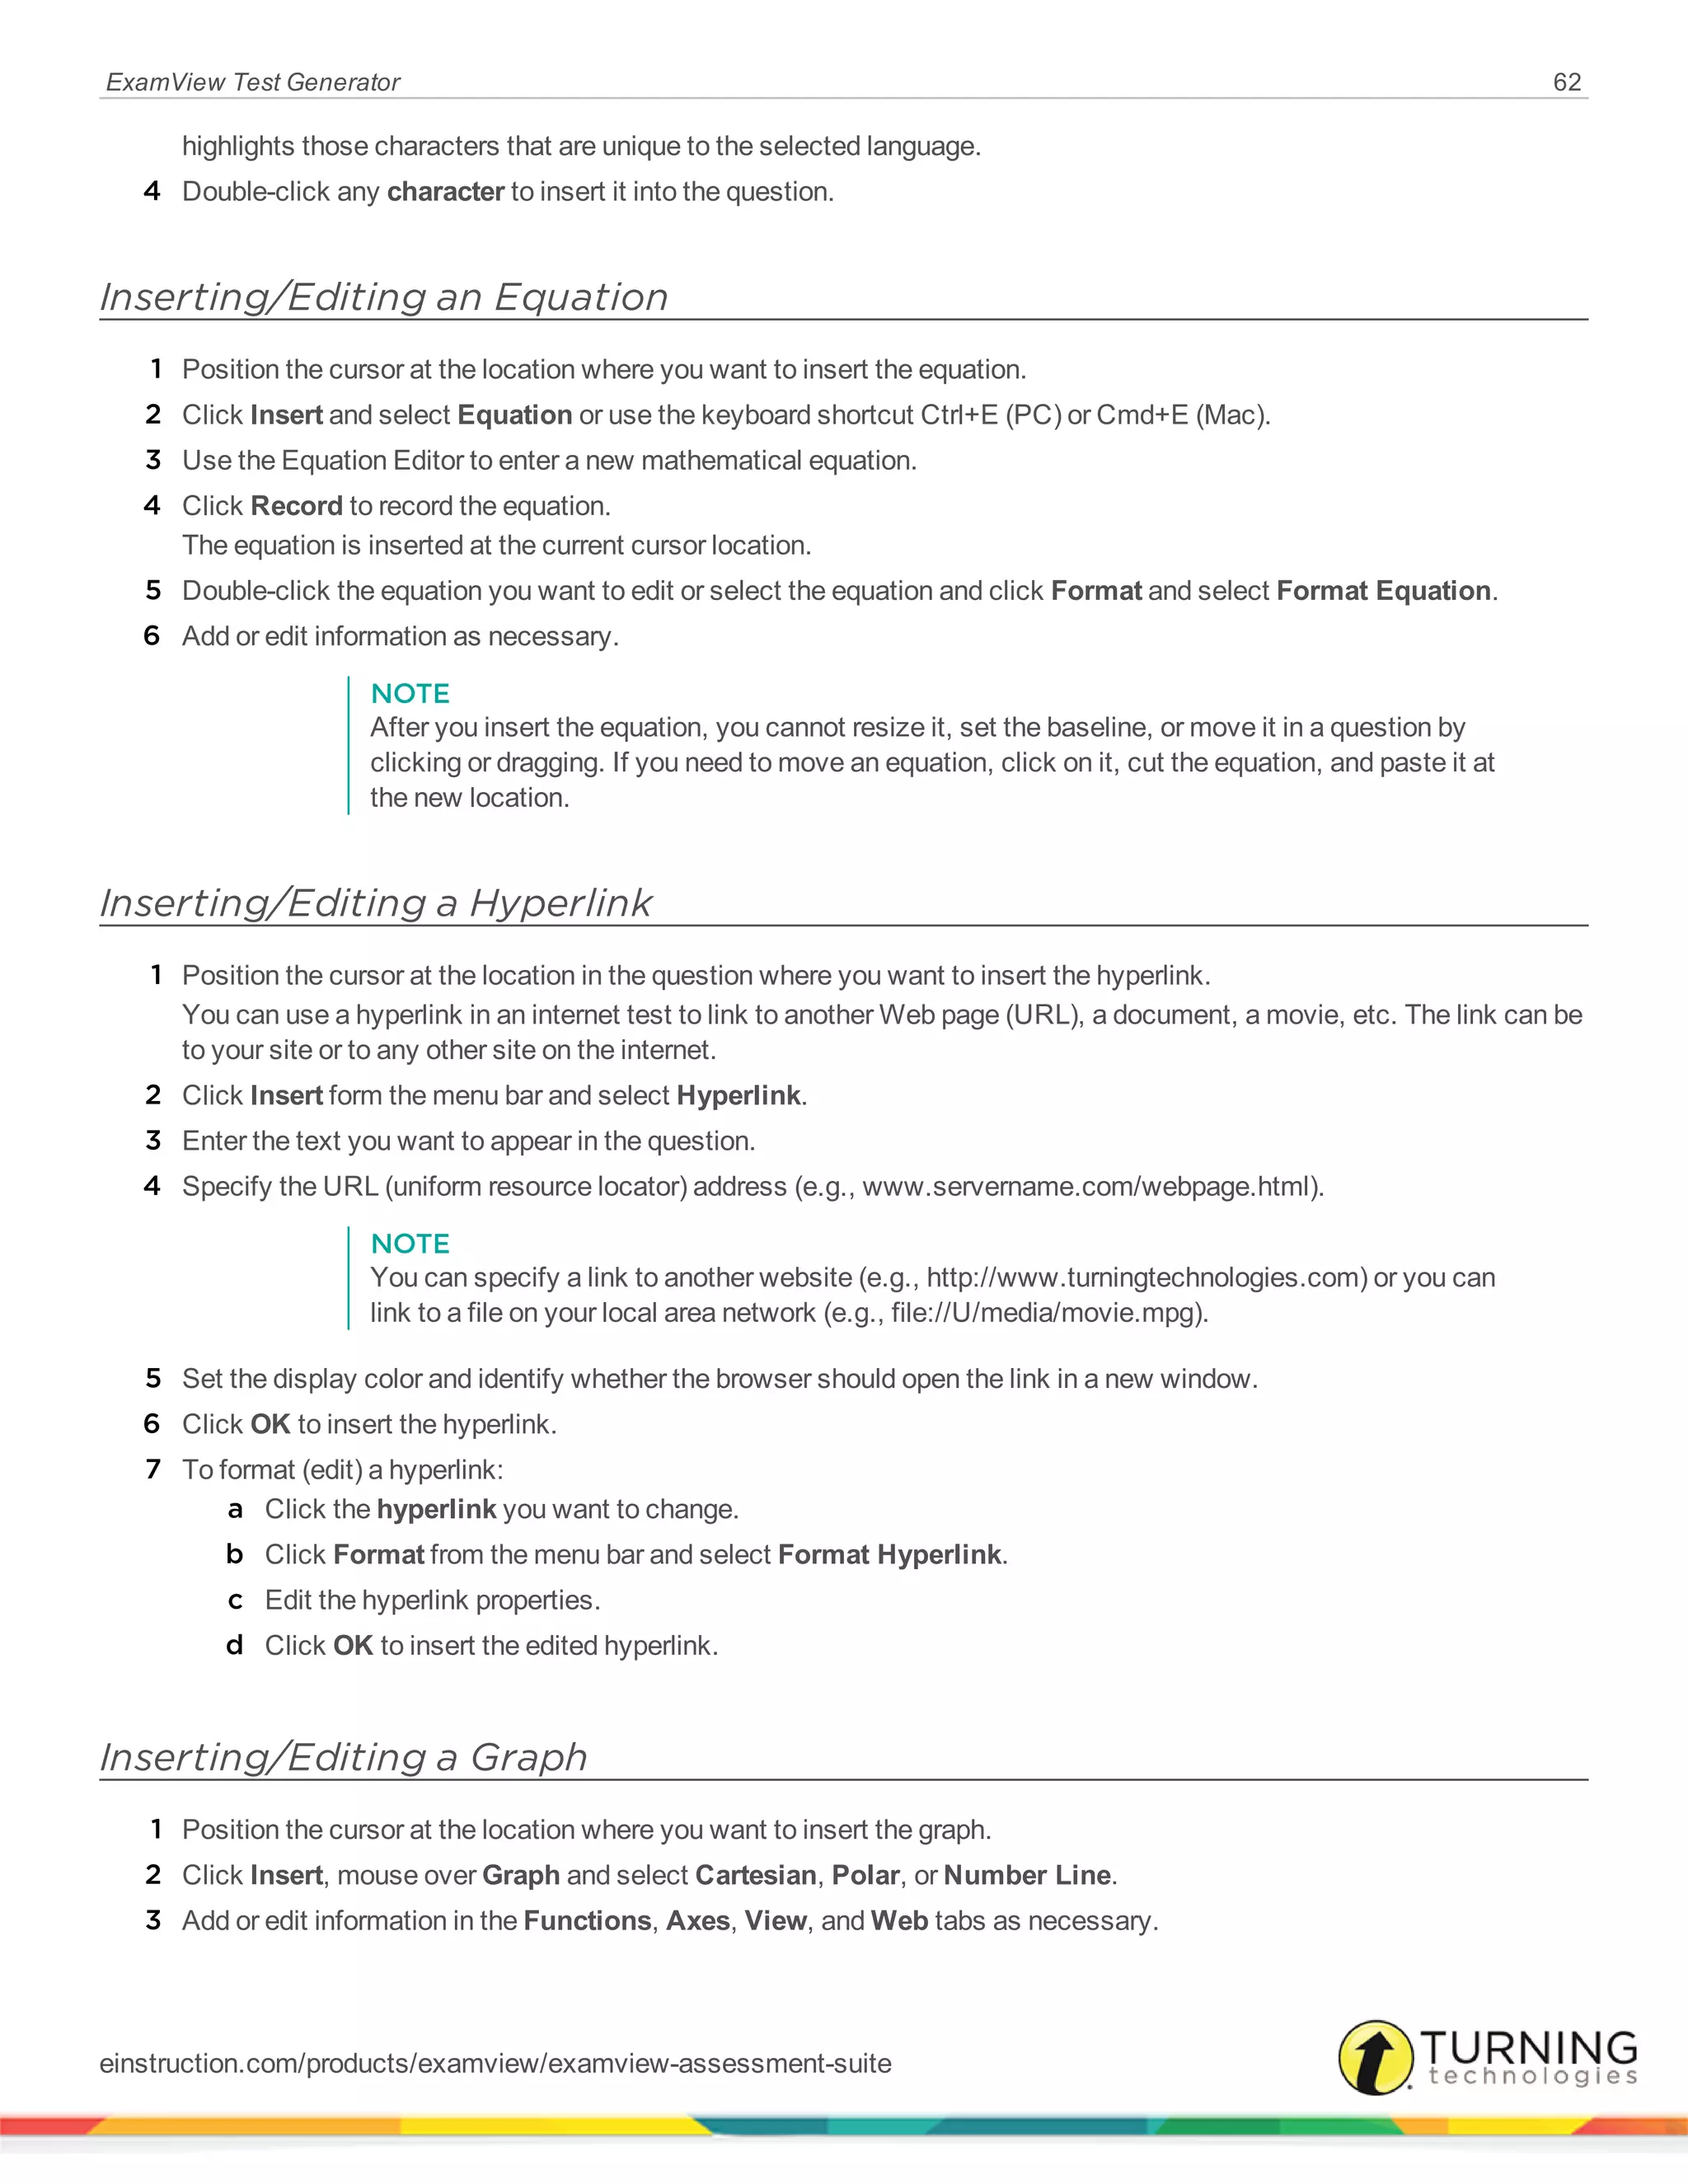
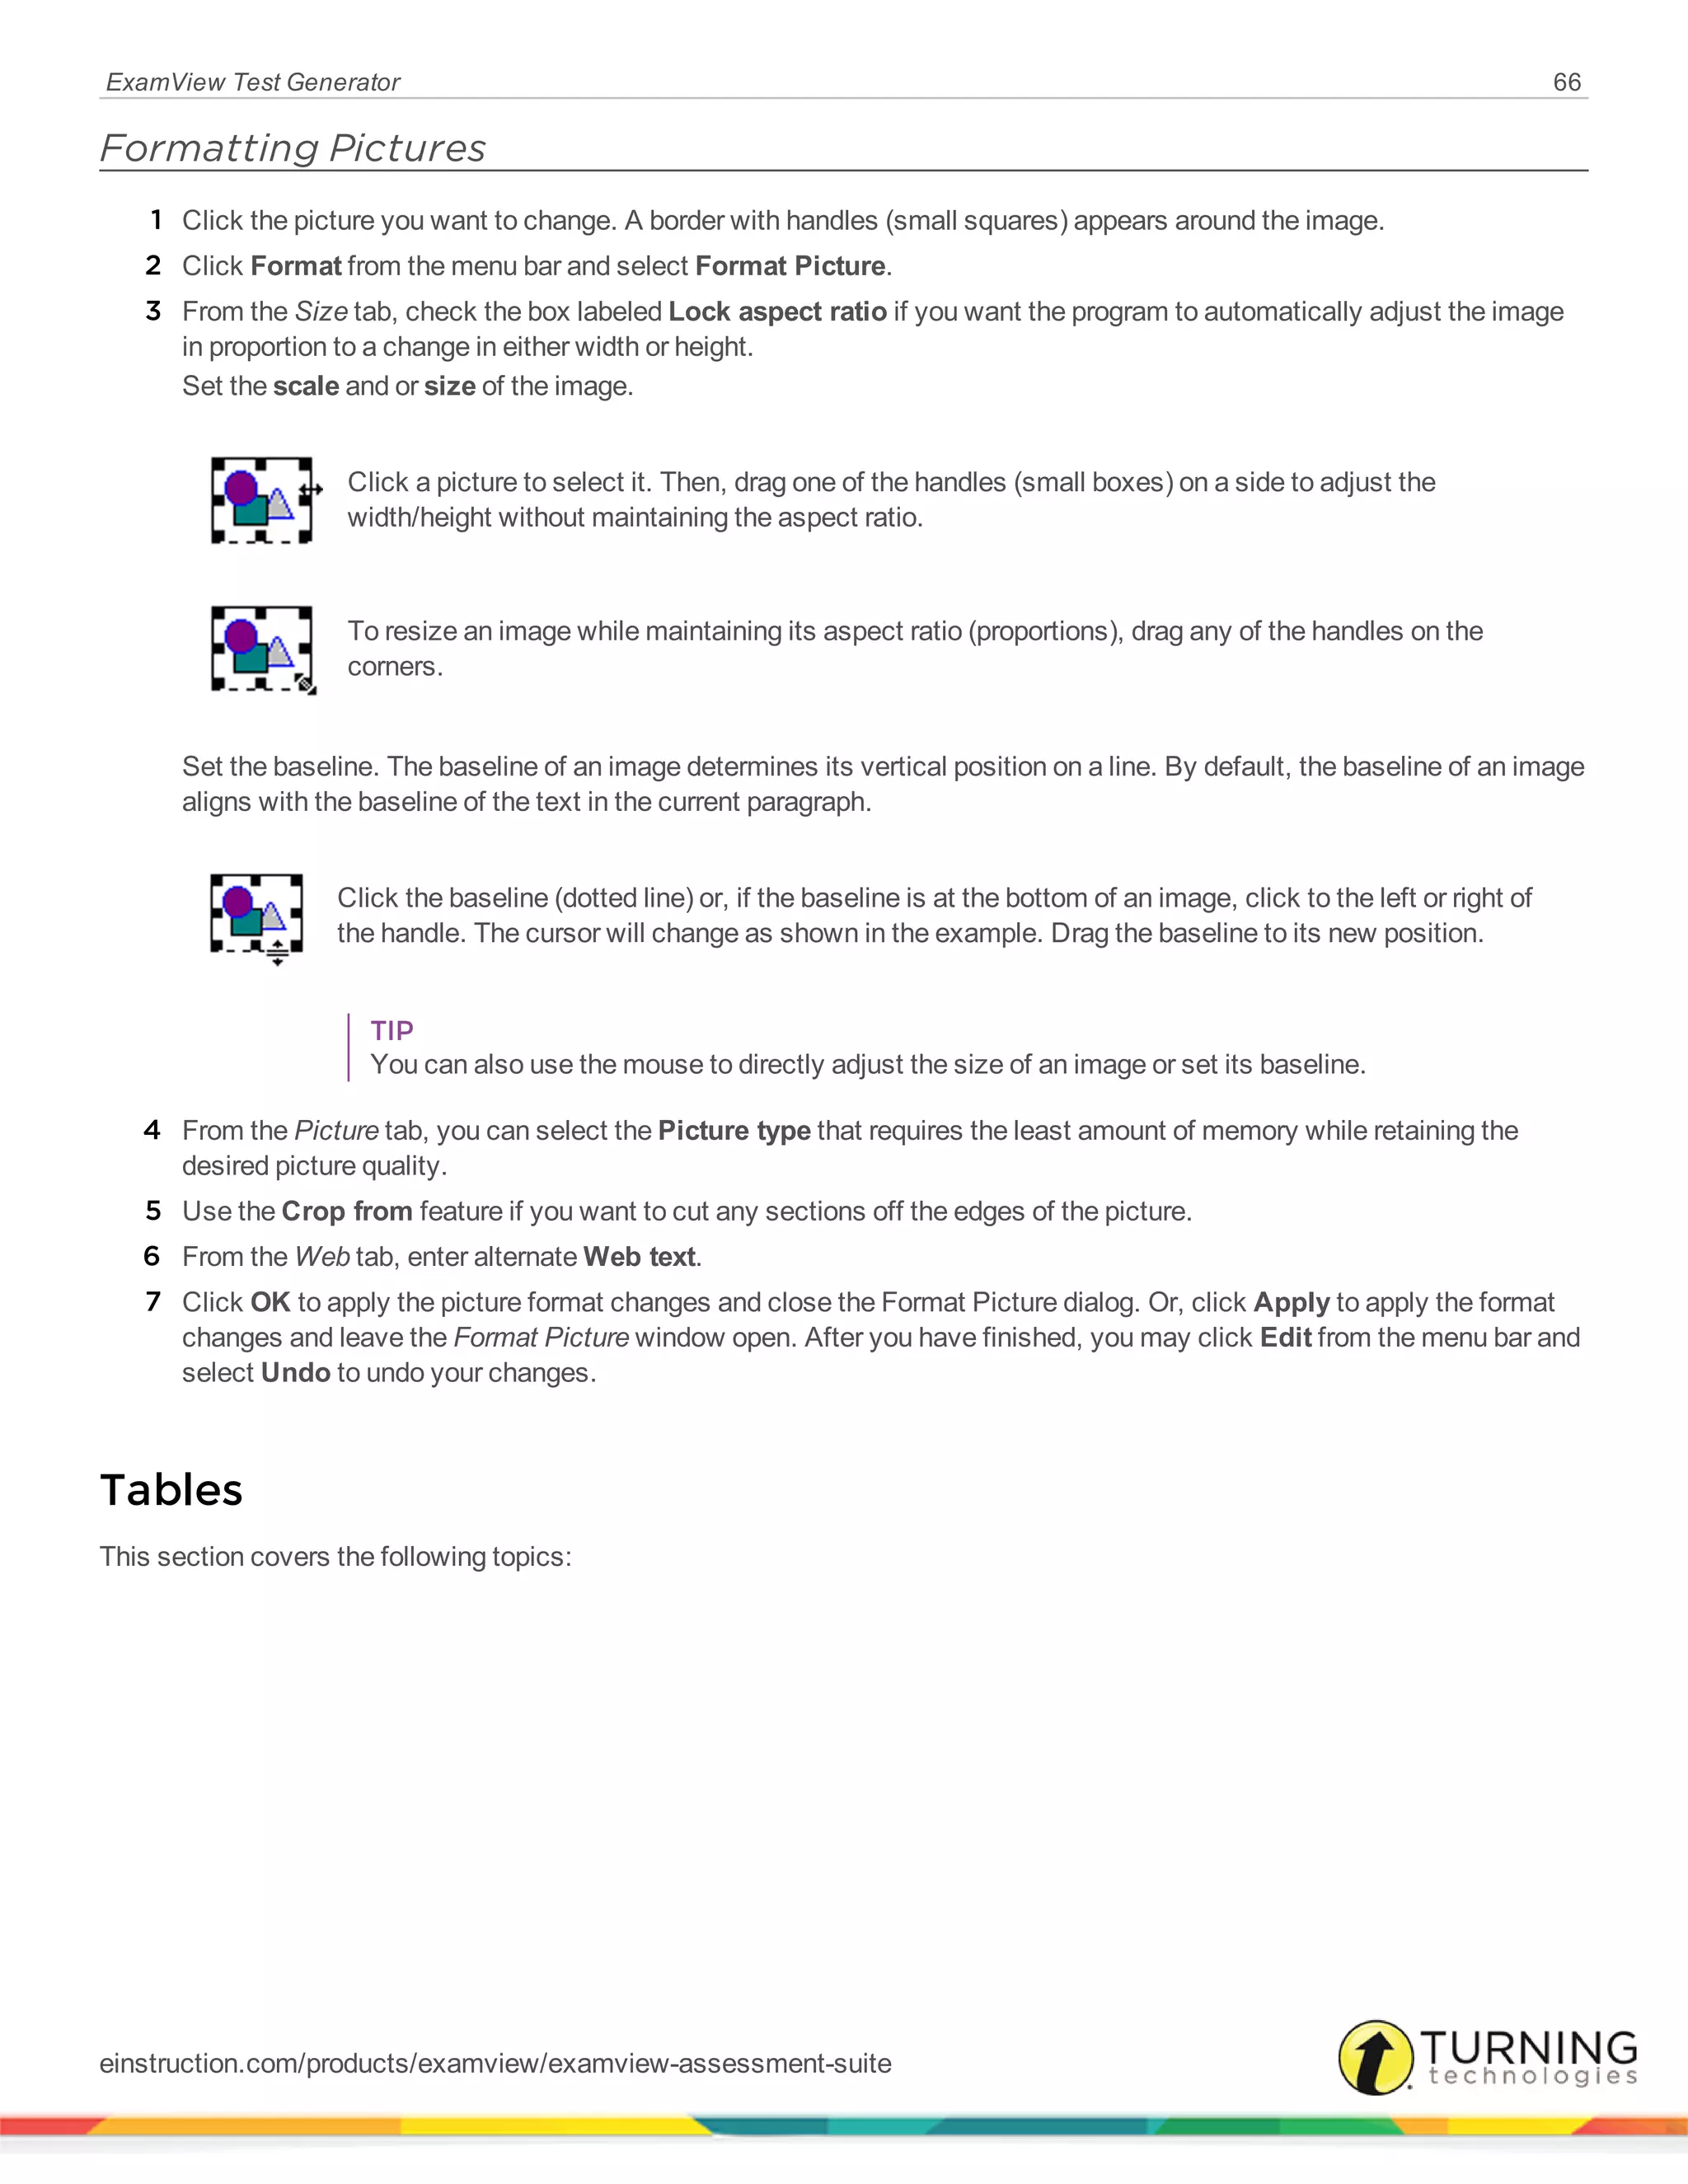
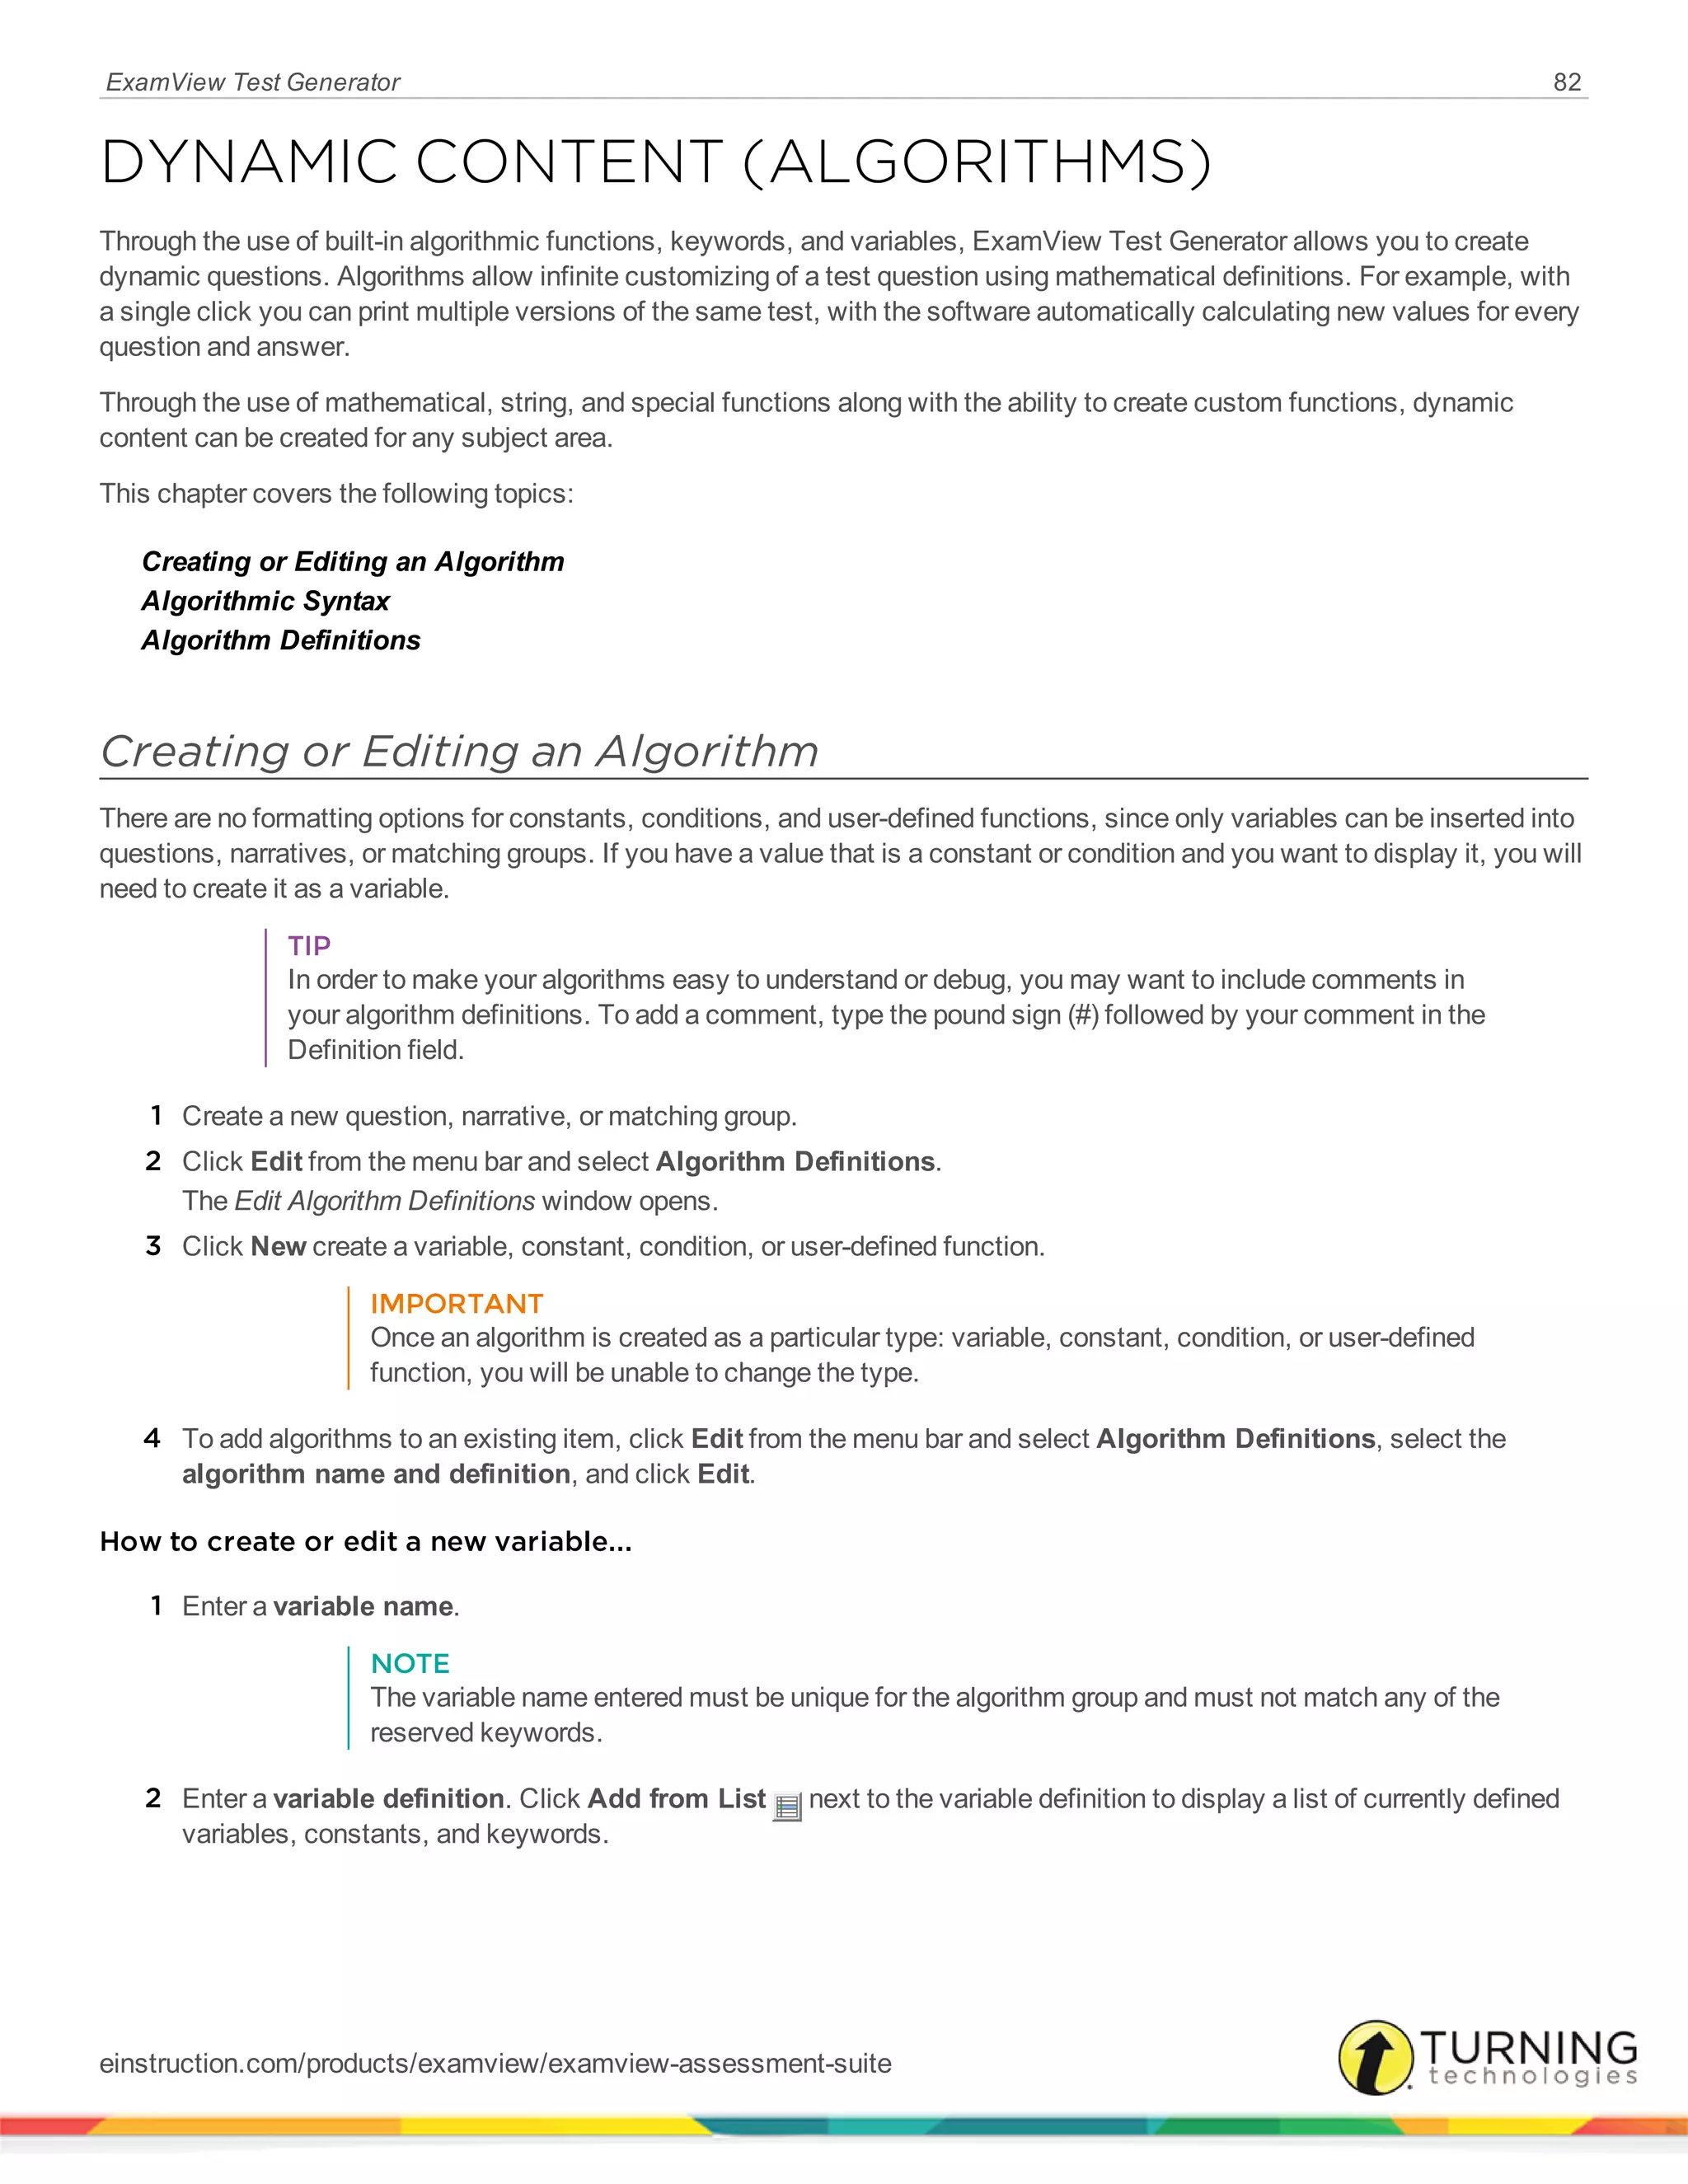
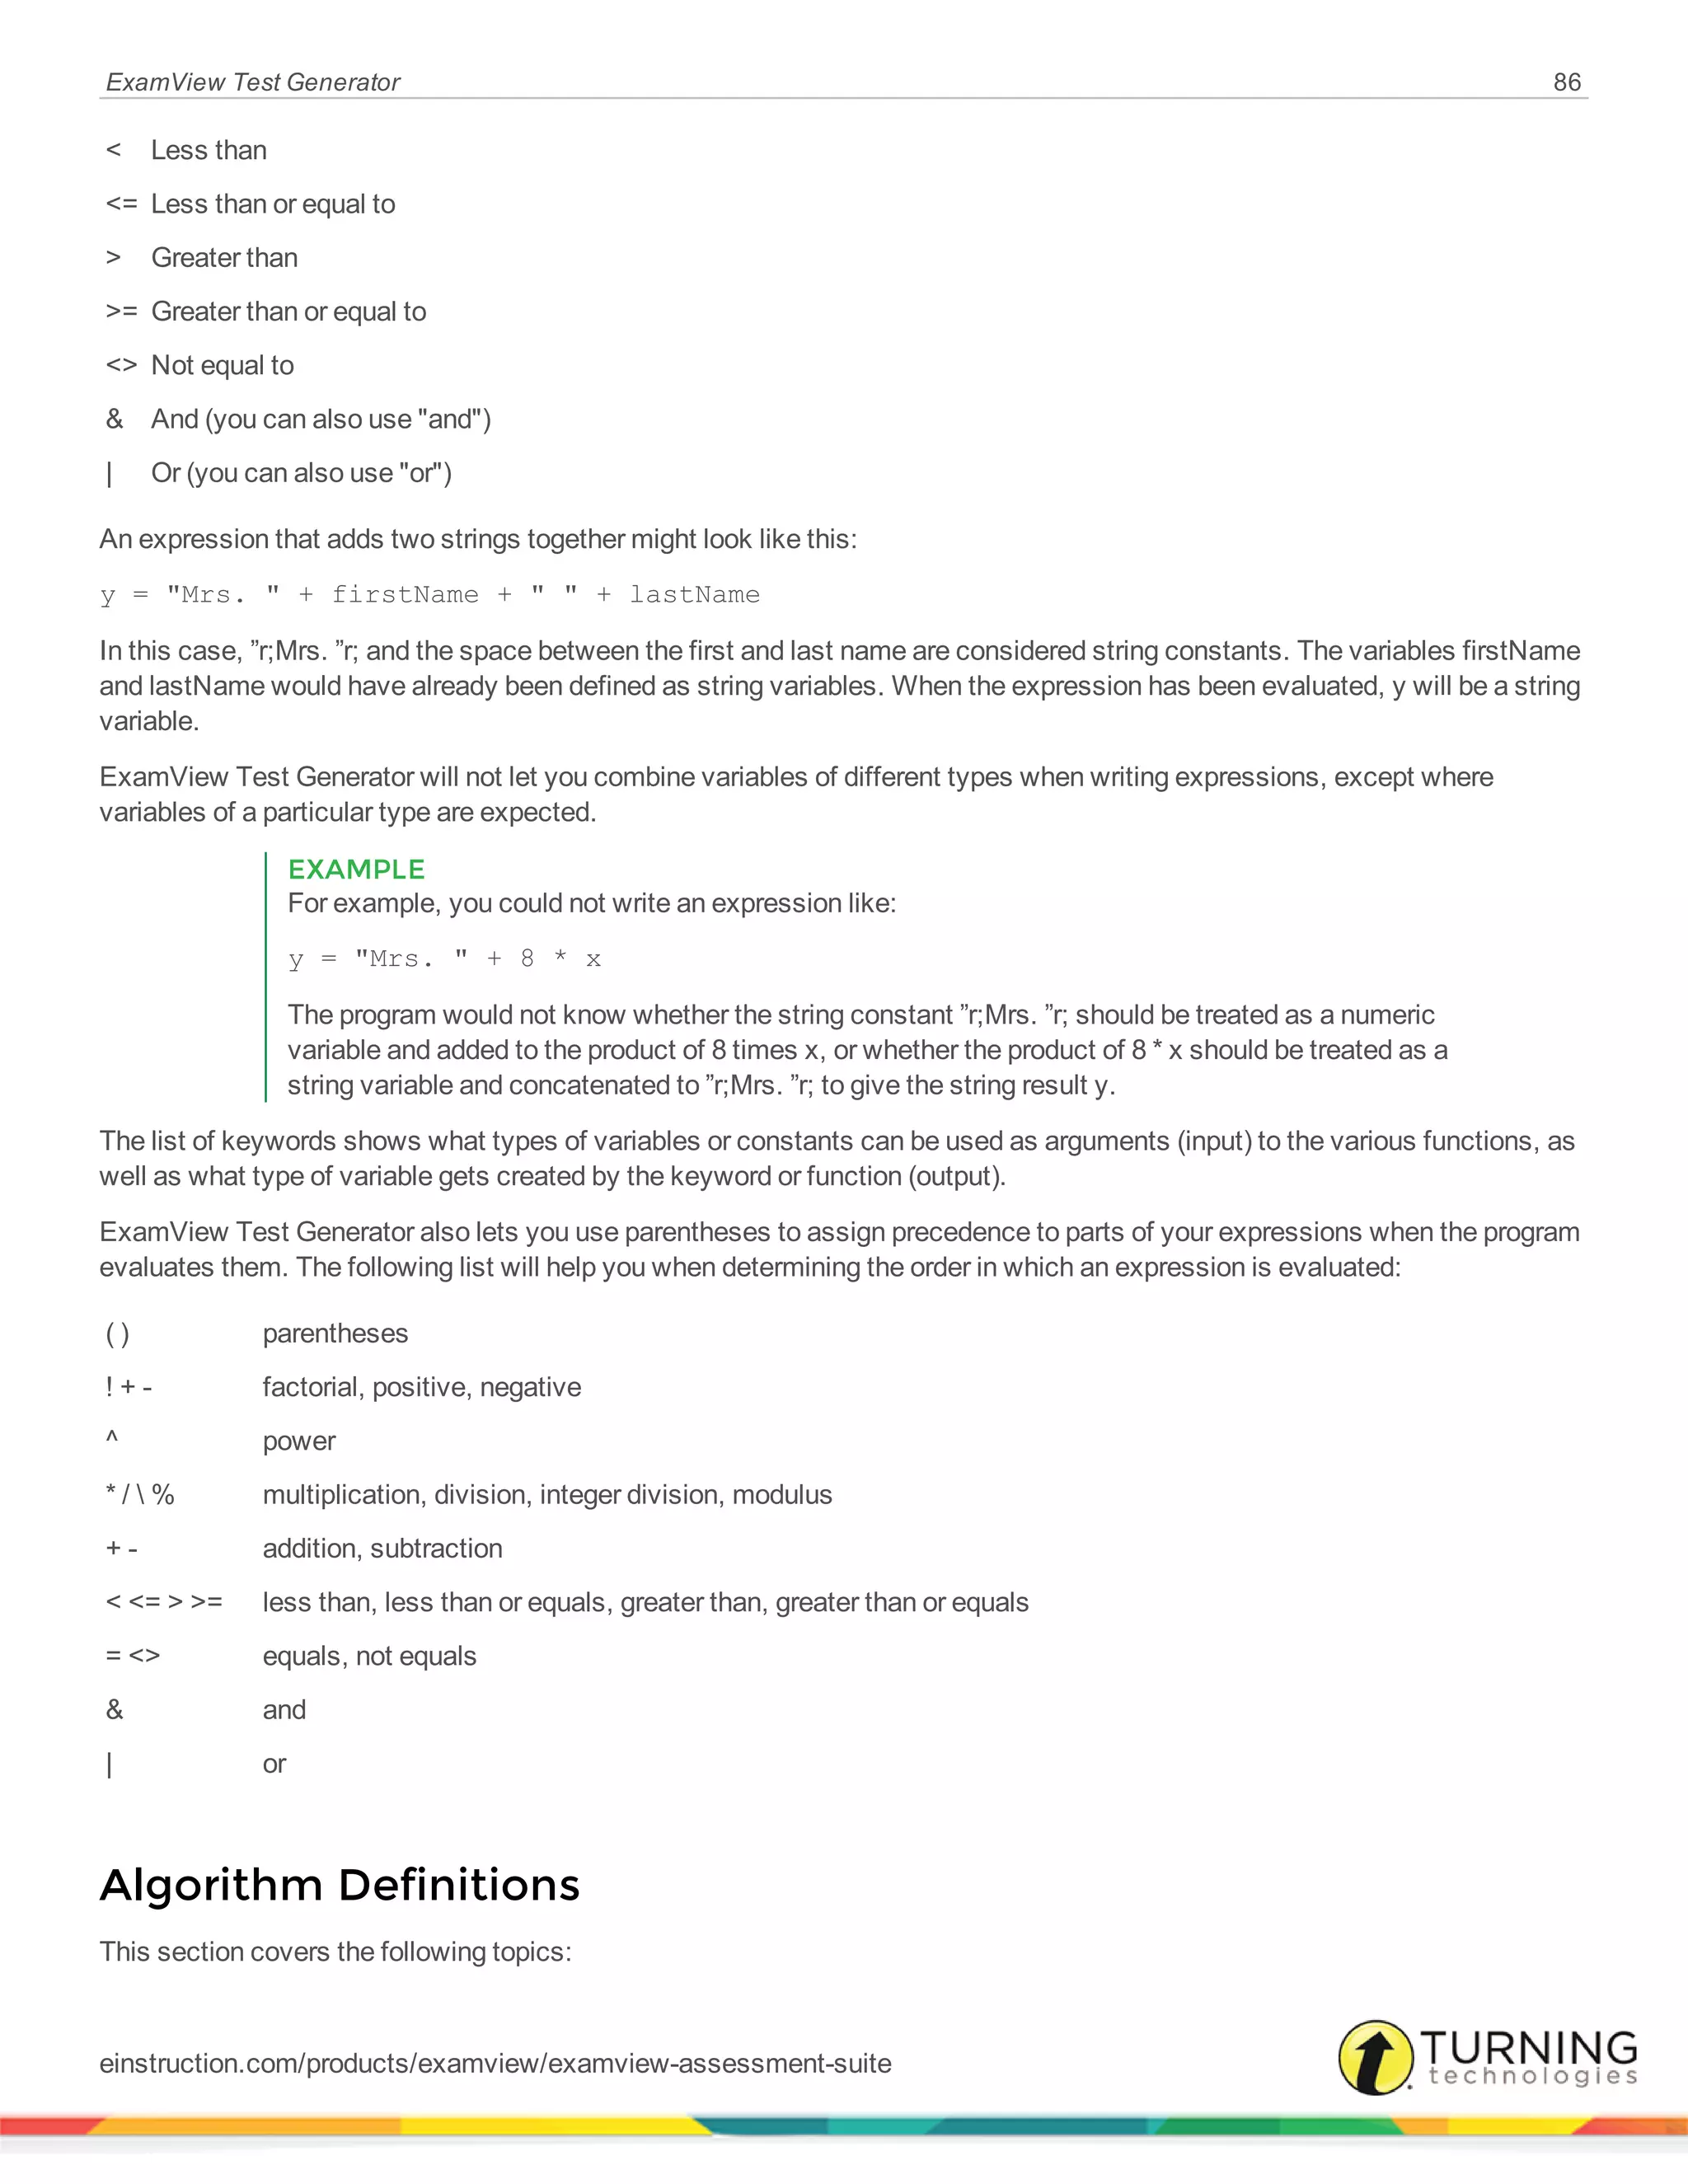
Syntax
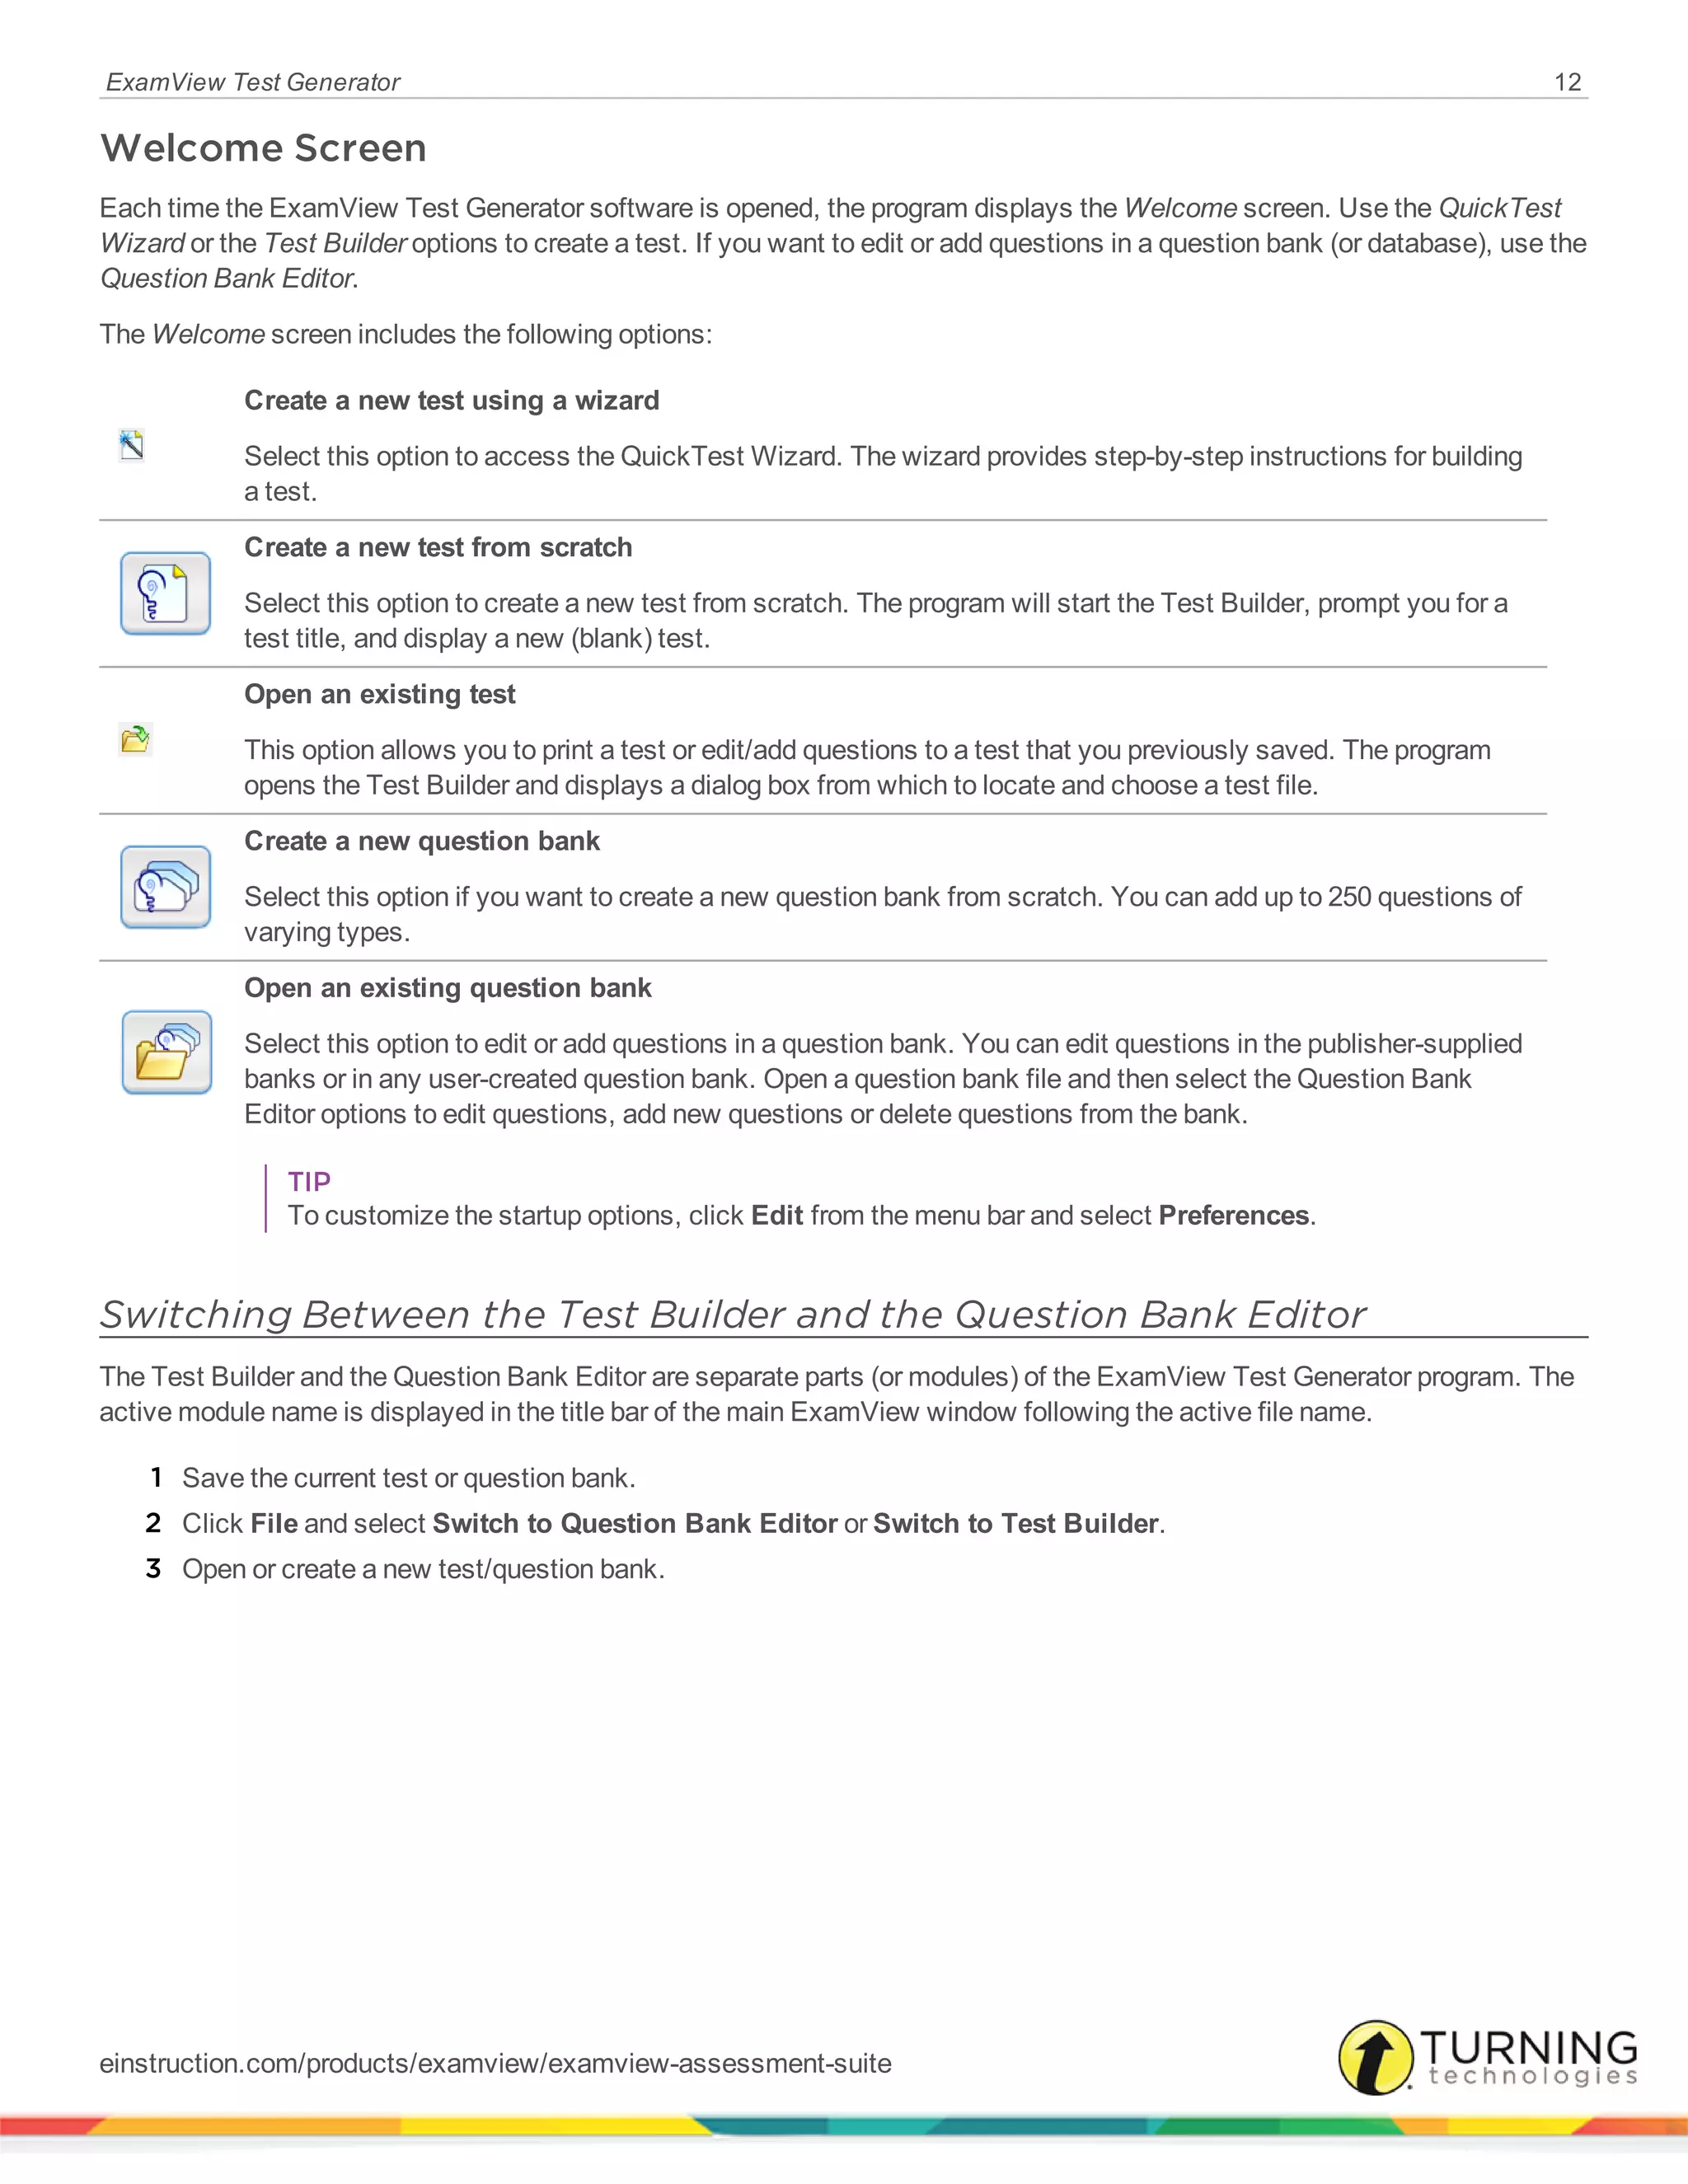
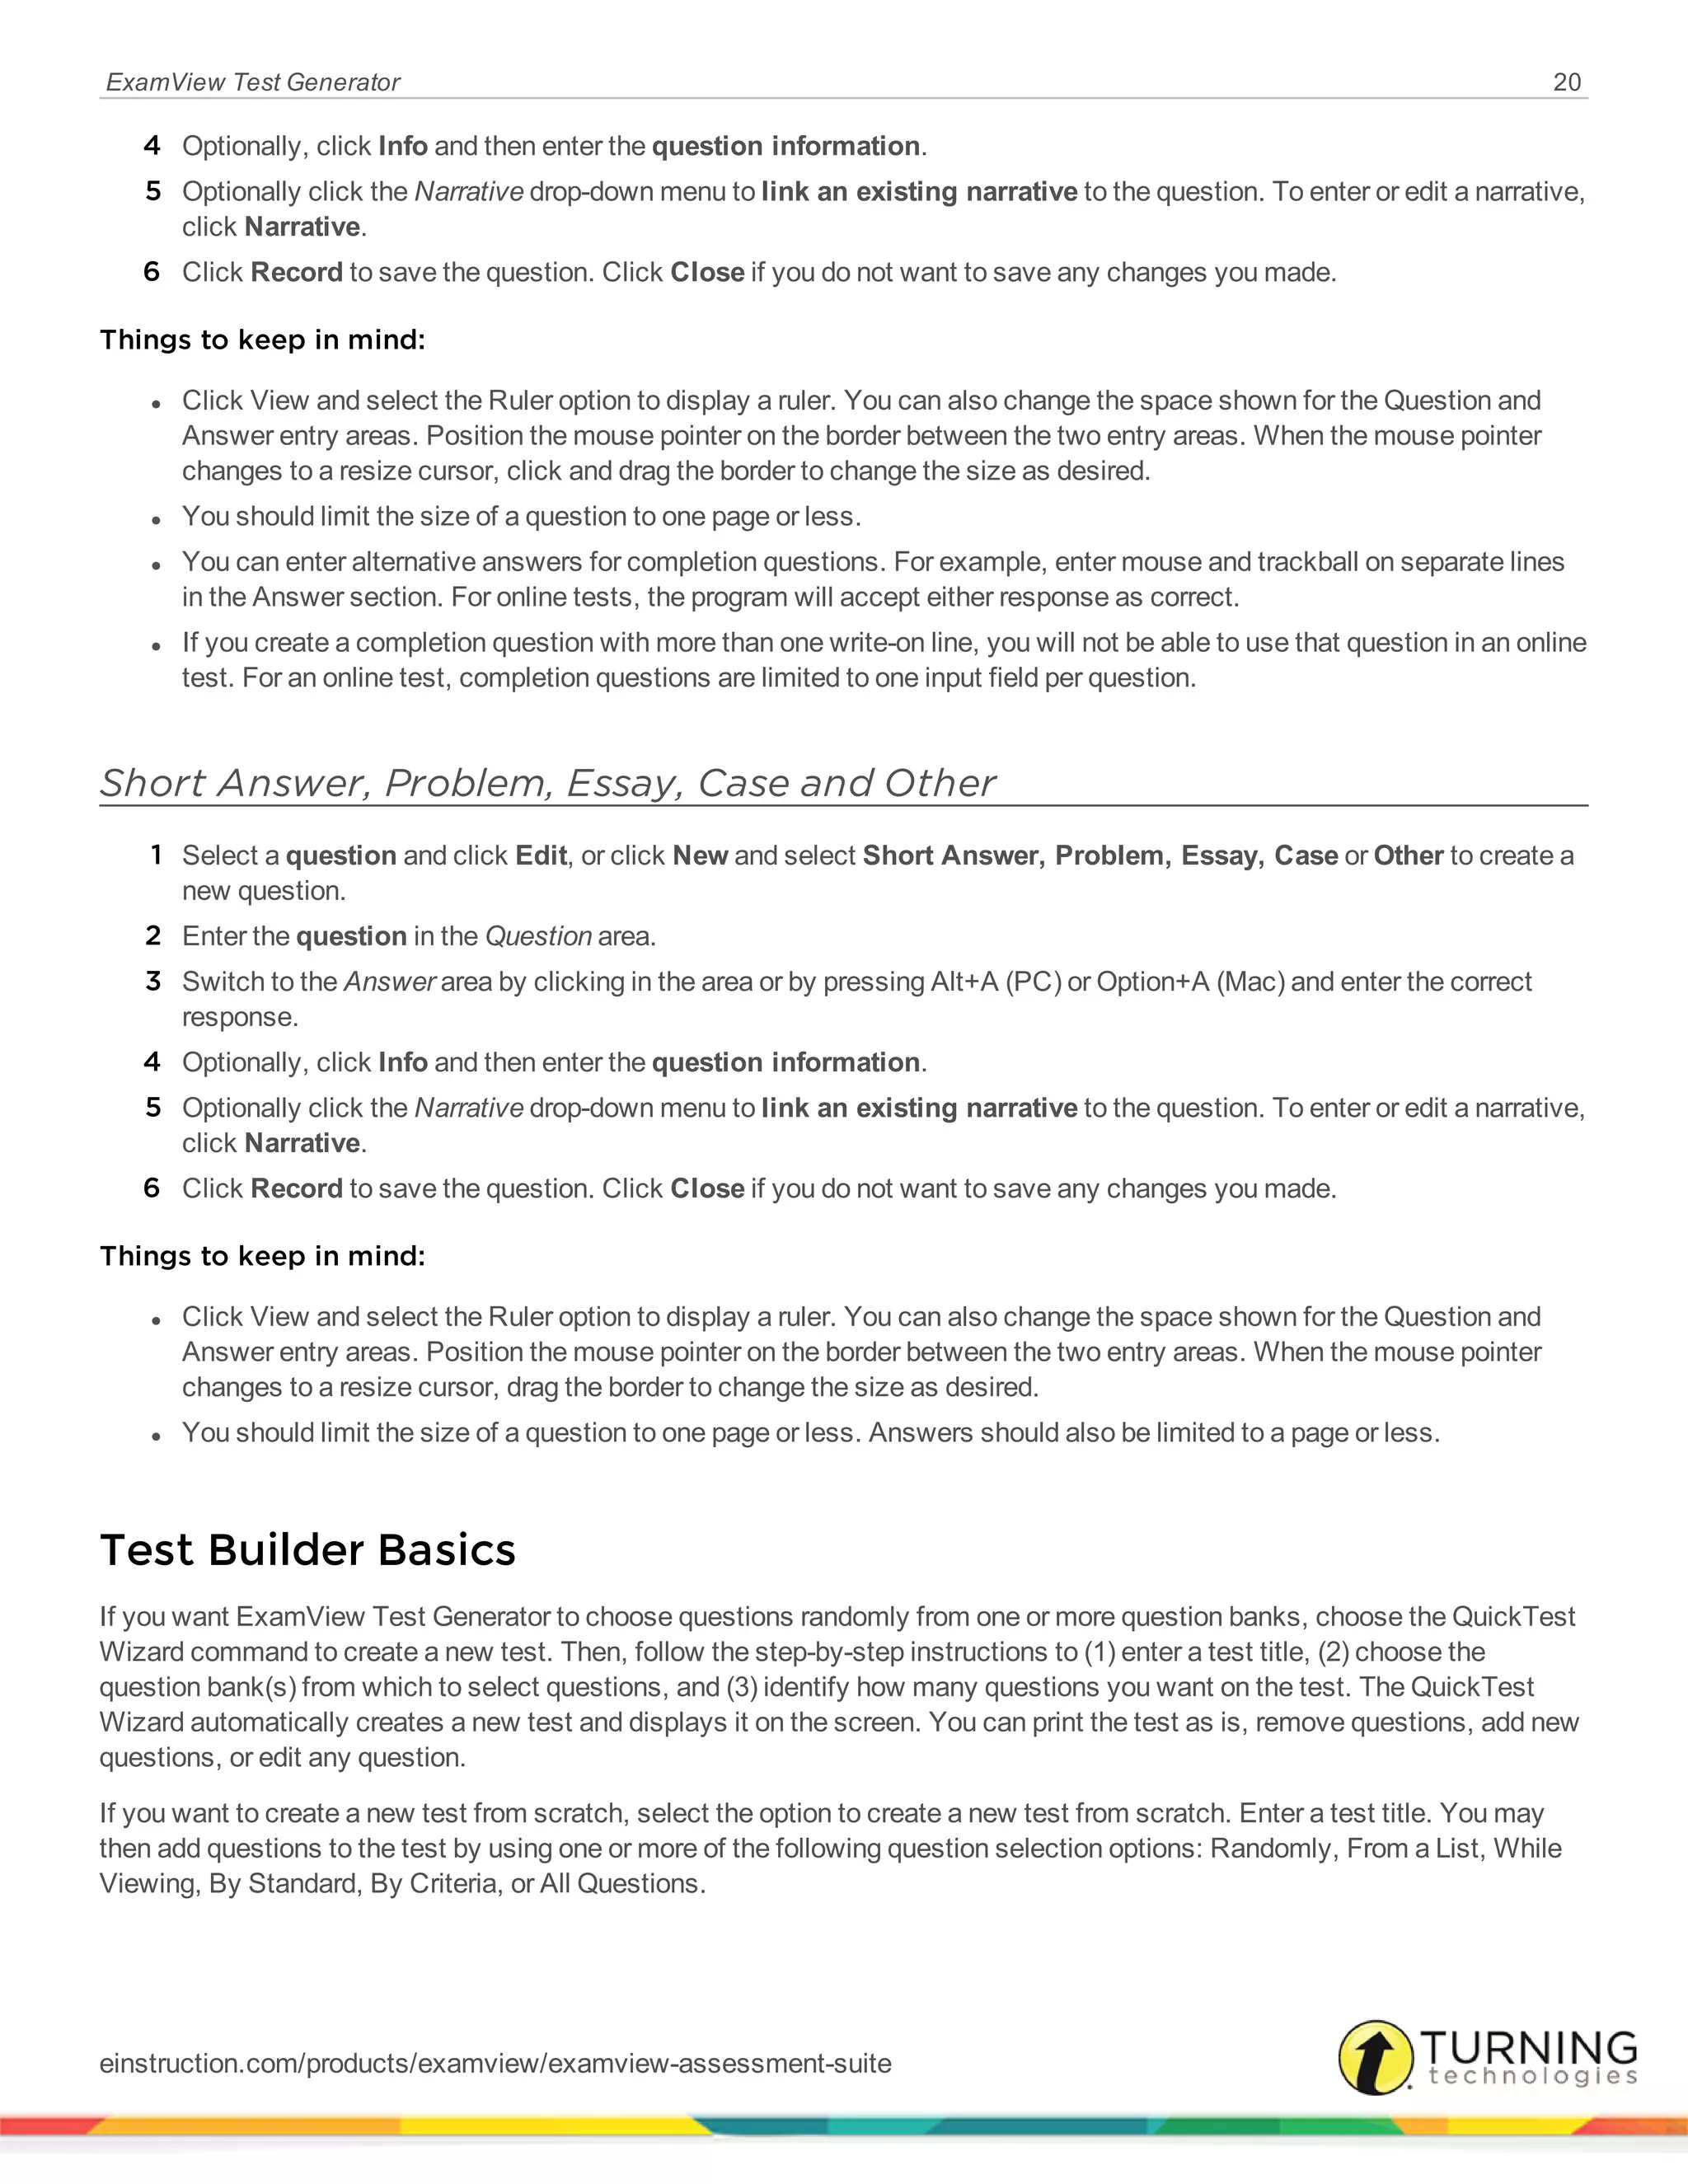
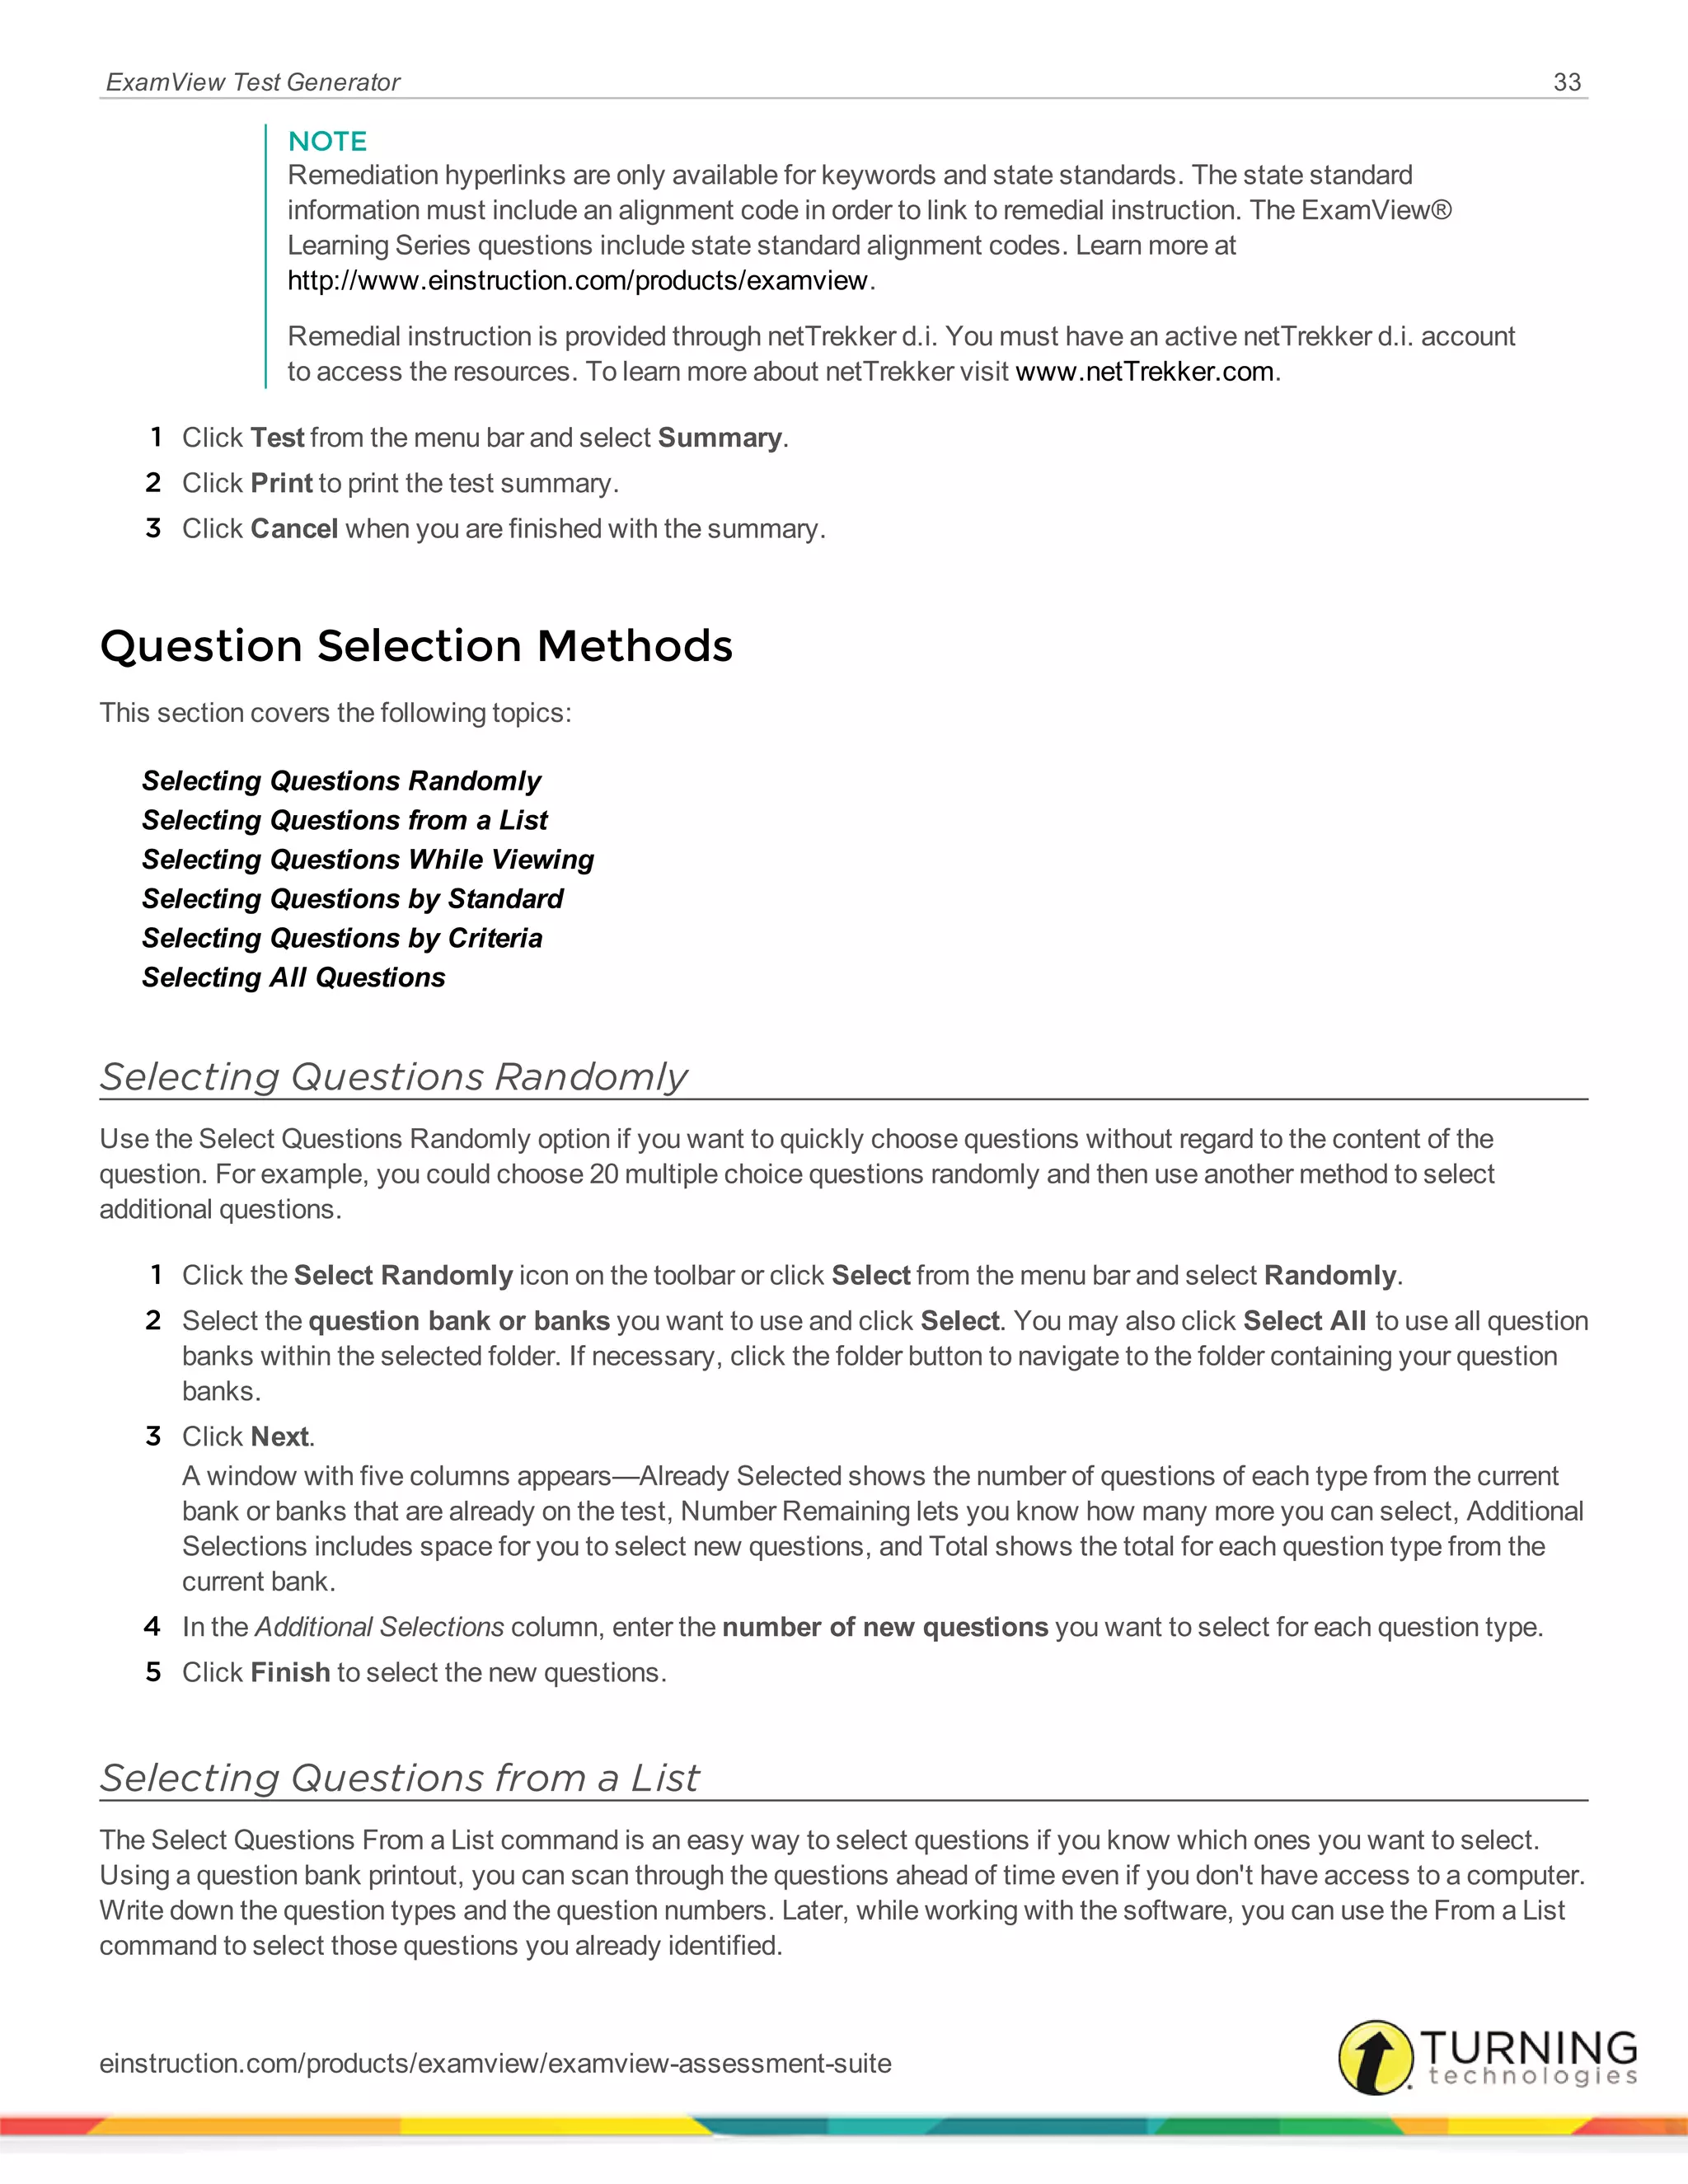
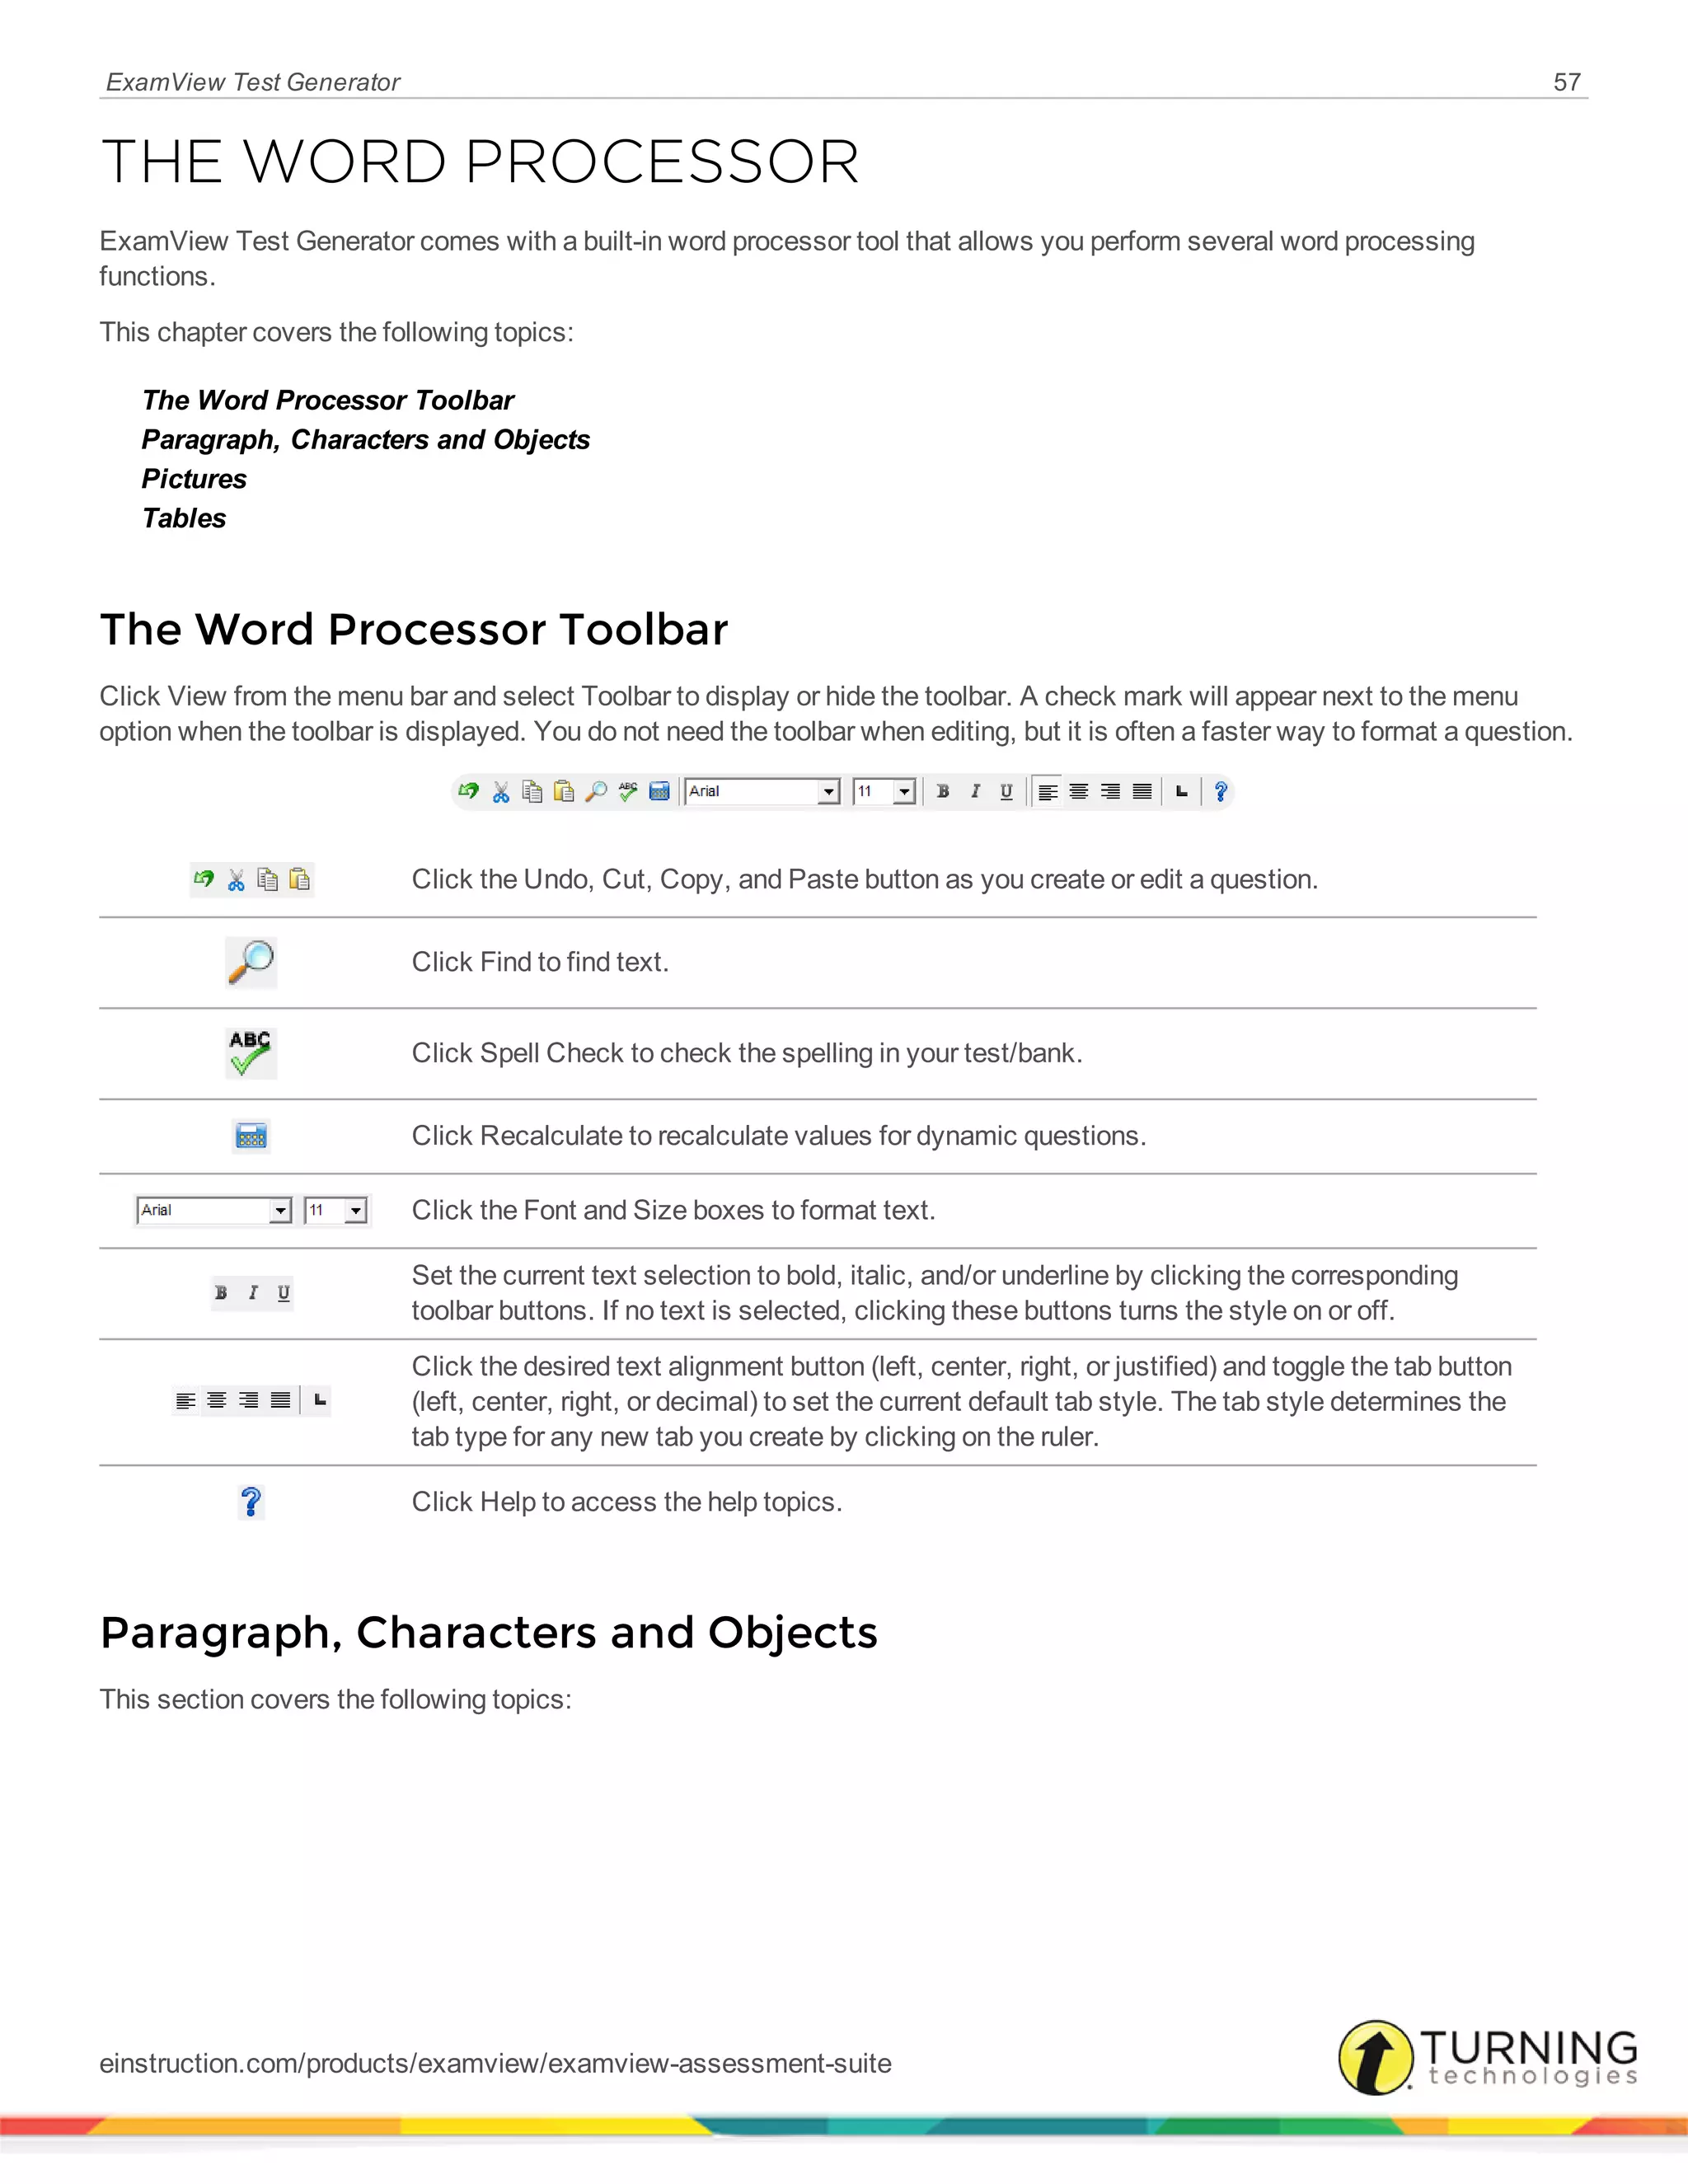
NO
Description
[Constant] 0.
--------------------------------------------------------------------------------
Syntax
NOT expression
Description
If expression evaluates to non-zero, this will return FALSE (0), otherwise it will return TRUE (1).
--------------------------------------------------------------------------------
Syntax
expression OR expression
Description
Returns TRUE (1) if either expression evaluates to non-zero, otherwise returns FALSE (0). If the first expression evaluates to
TRUE, the second expression is not evaluated.
--------------------------------------------------------------------------------
Syntax
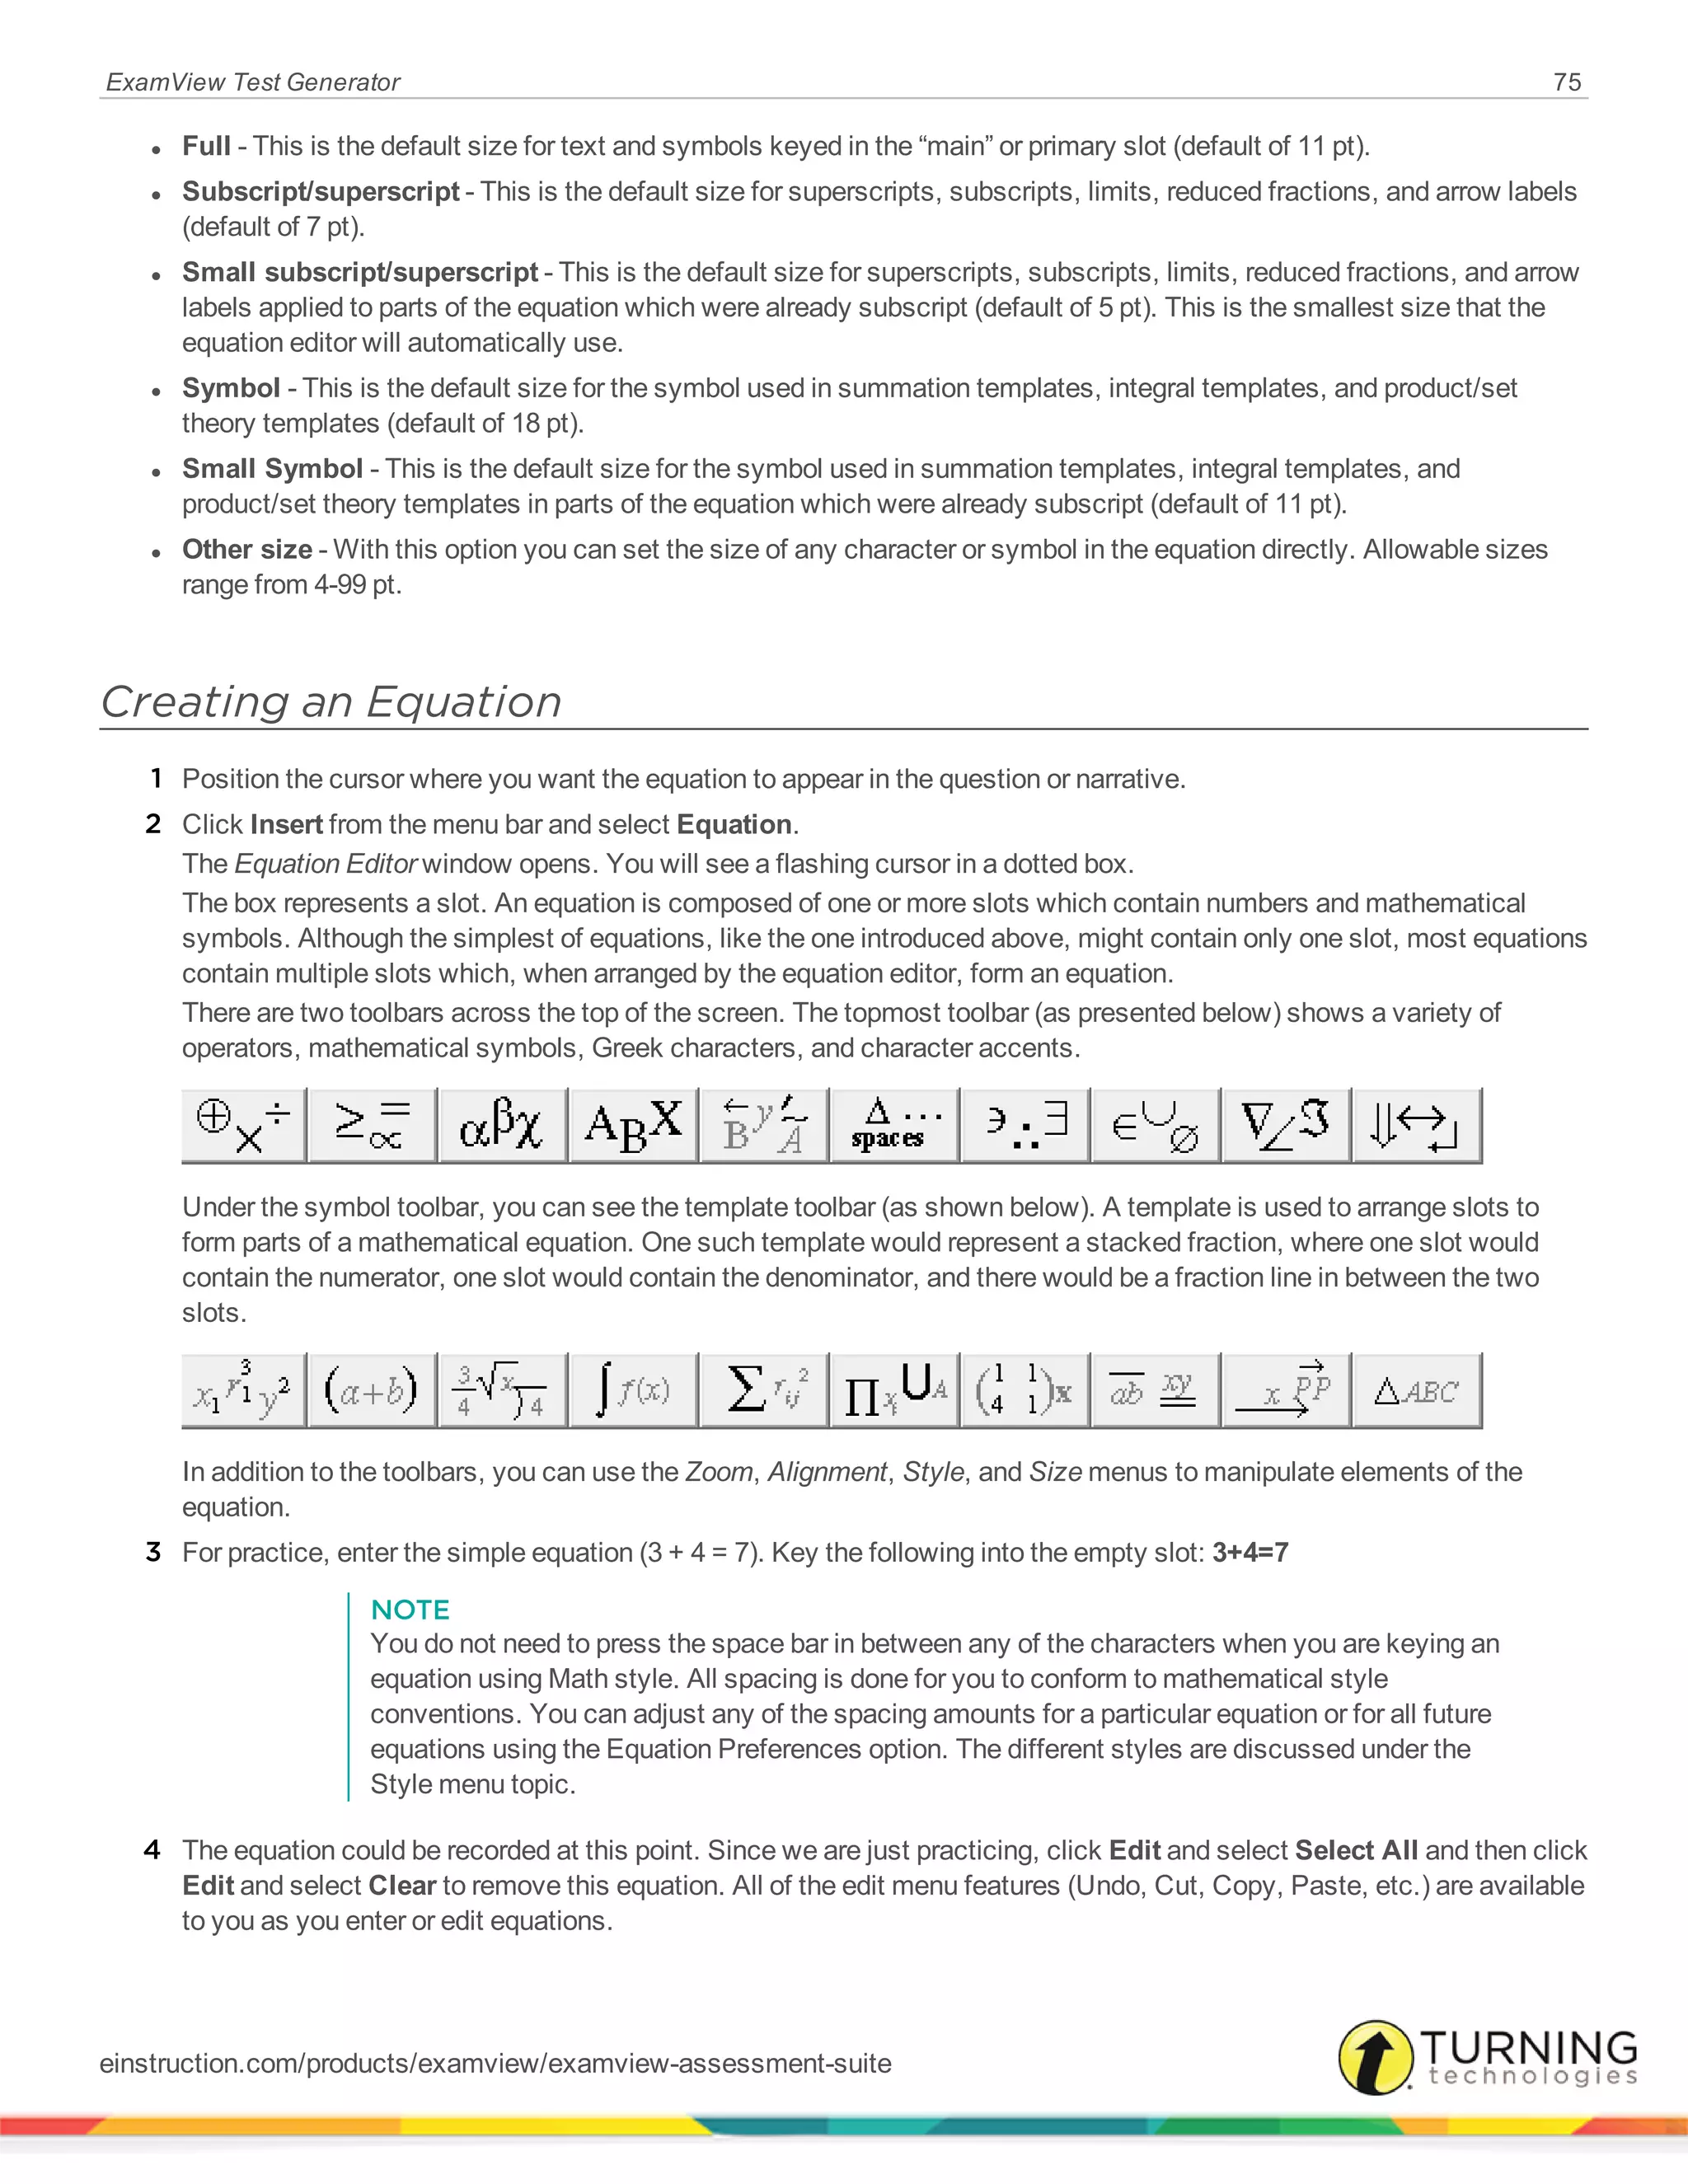
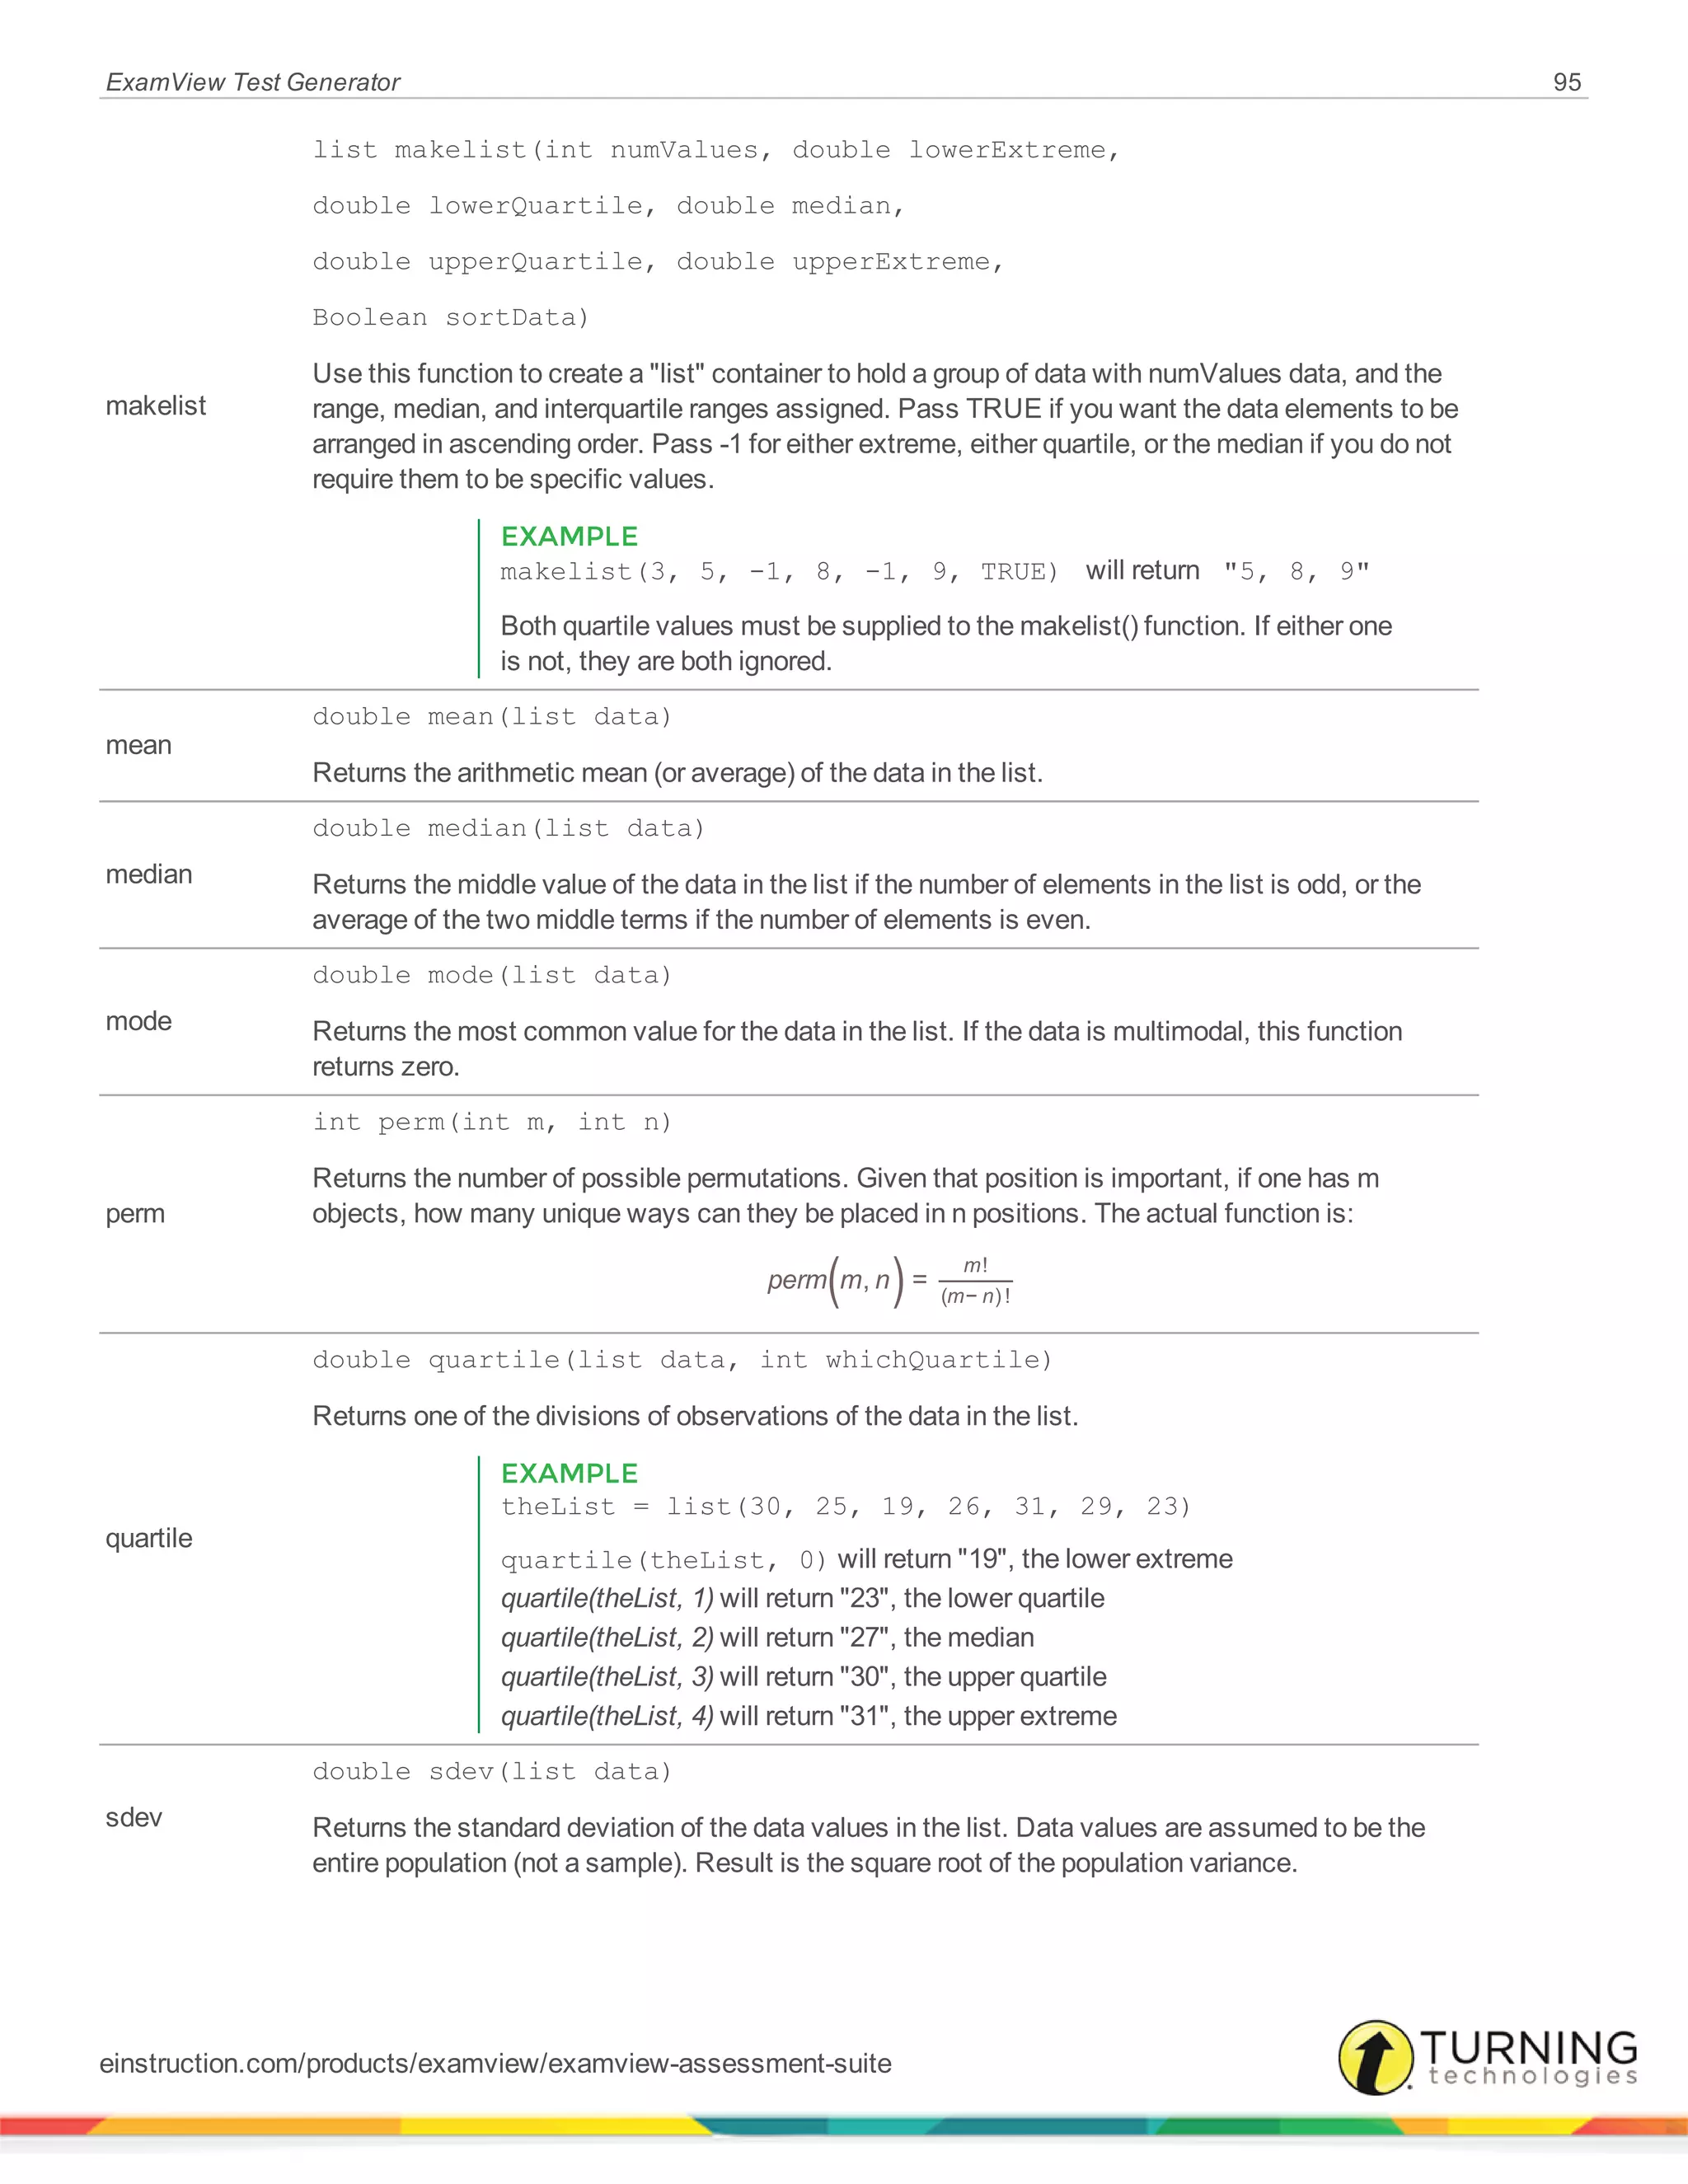
int perm(int m, int n)
Description
Returns the number of possible permutations. Given that position is important, if one has m objects, how many unique ways
can they be placed in n positions. The actual function is:
( )perm m n, =
m
m n
!
( − ) !
--------------------------------------------------------------------------------
Syntax
PI
Description
[Constant] 3.1415926.... By definition, PI is the ratio of the circumference of a circle to its diameter.
--------------------------------------------------------------------------------
Syntax
double pow(double x, double y)
Description
Calculates x to the power of y.
--------------------------------------------------------------------------------
einstruction.com/products/examview/examview-assessment-suite](https://image.slidesharecdn.com/examviewtestgeneratoruserguide8-150118204102-conversion-gate02/75/Examview-test-generator-userguide-8-1-118-2048.jpg)
![ExamView Test Generator 126
Syntax
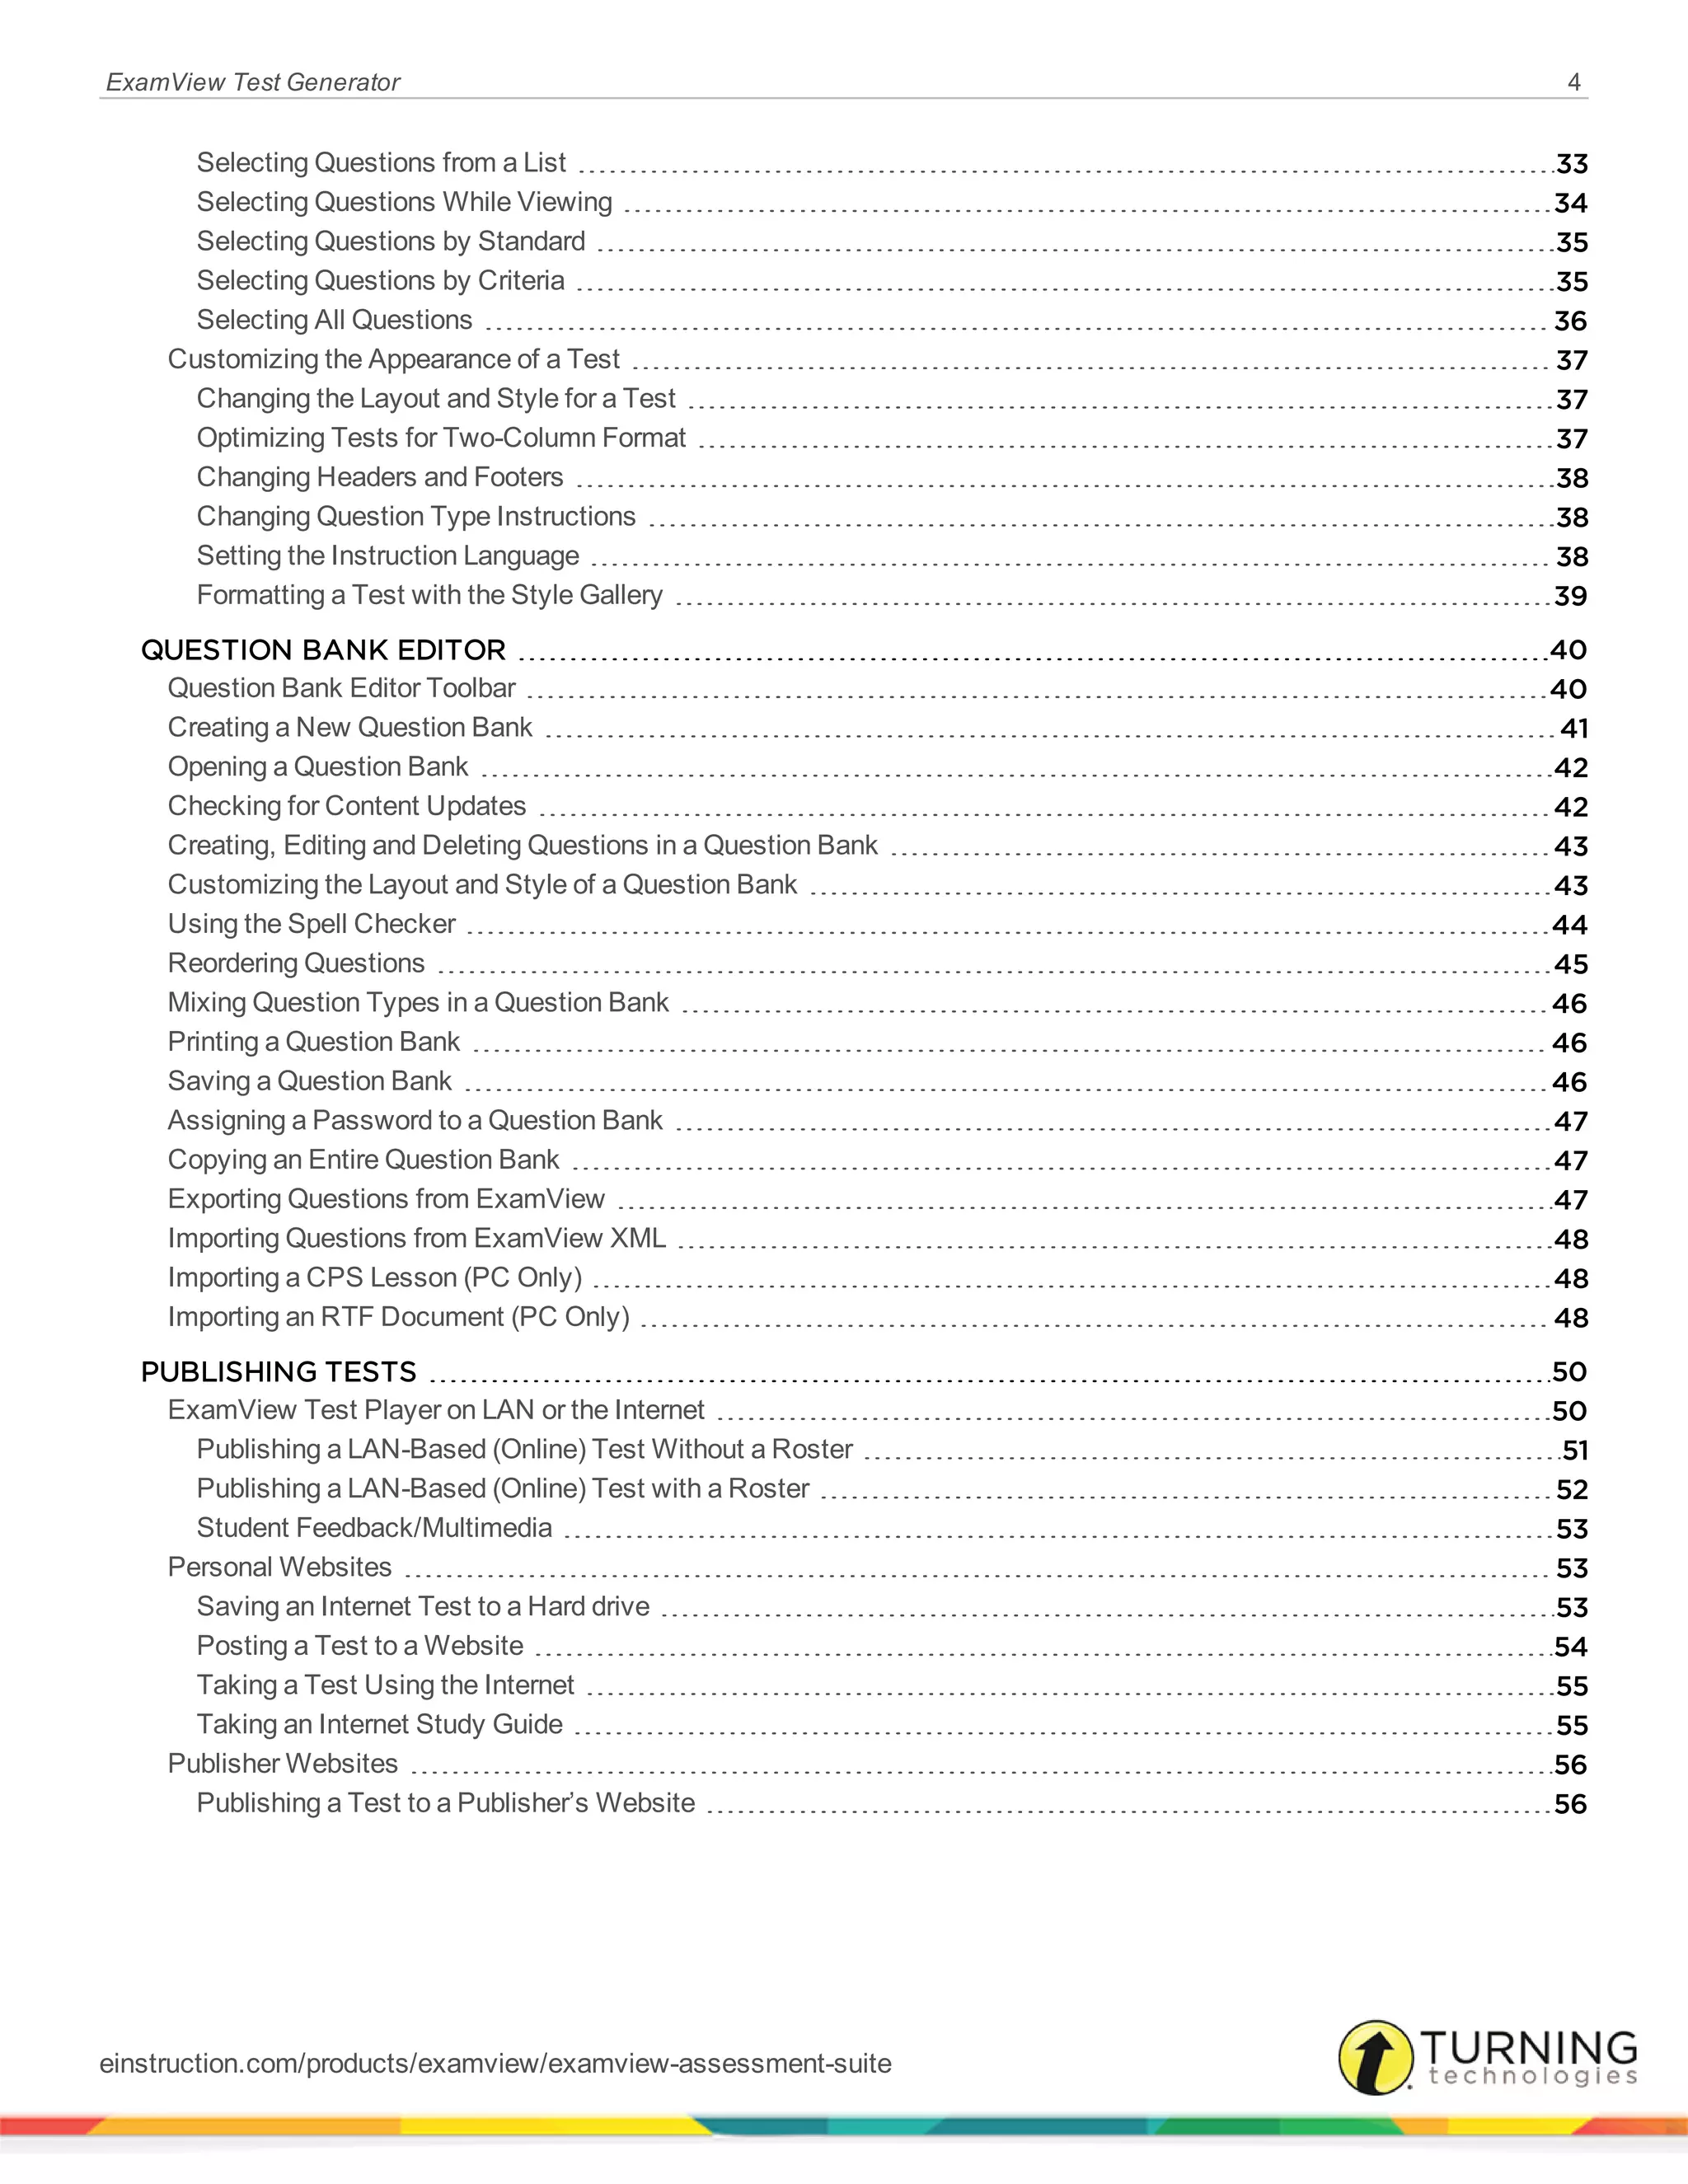
double tanh(double x)
Description
Computes the hyperbolic tangent of the argument, x. This evaluates to sinh(x) / cosh(x).
--------------------------------------------------------------------------------
Syntax
testversion
Description
[pseudo constant] Represents the current test version ("A", "B", "C", etc.).
--------------------------------------------------------------------------------
Syntax
string trim(string x)
Description
Trims spaces from both the left and the right side of the string argument, x.
EXAMPLE
trim(" ExamView ") will return "ExamView"
--------------------------------------------------------------------------------
Syntax
TRUE
Description
[Constant] 1.
--------------------------------------------------------------------------------
Syntax
string ucase(string x)
Description
Converts the string argument, x, to upper case.
EXAMPLE
ucase("ExamView") will return "EXAMVIEW"
--------------------------------------------------------------------------------
Syntax
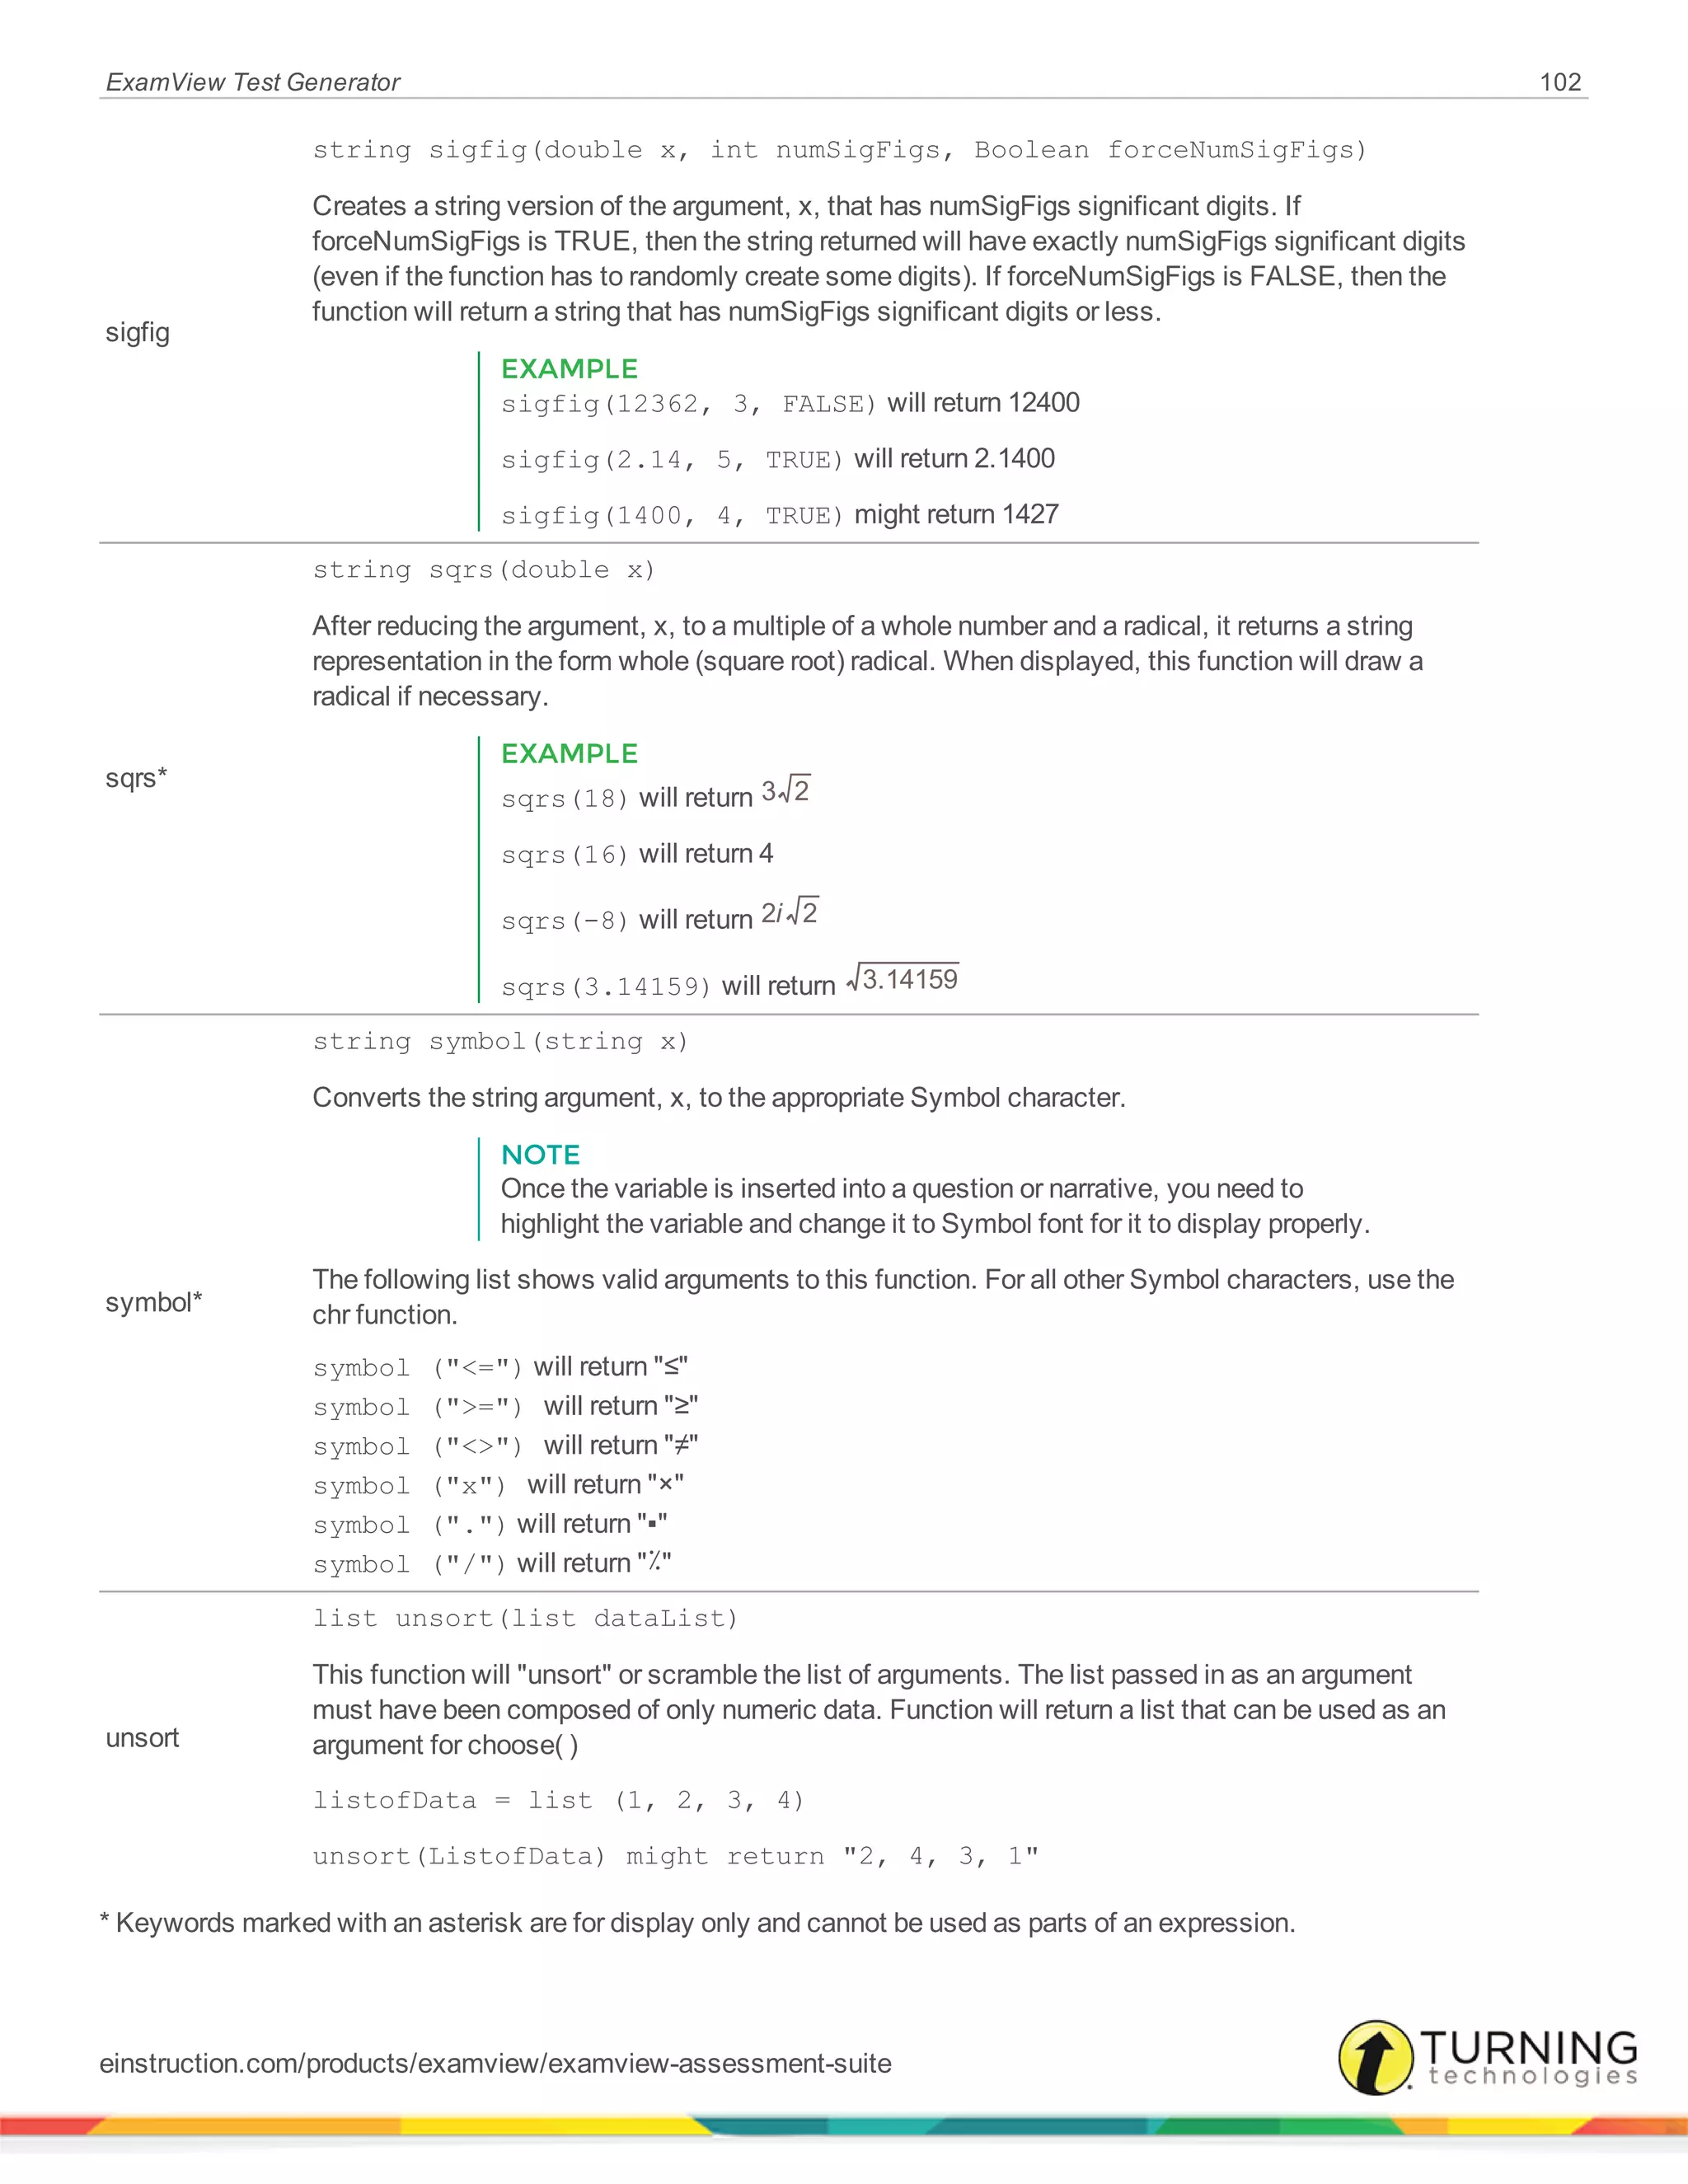
list unsort(list dataList)
Description
This function will "unsort" or scramble the list of arguments. The list passed in as an argument must have been composed of
only numeric data. Function will return a list that can be used as an argument for choose( )
einstruction.com/products/examview/examview-assessment-suite](https://image.slidesharecdn.com/examviewtestgeneratoruserguide8-150118204102-conversion-gate02/75/Examview-test-generator-userguide-8-1-126-2048.jpg)
![ExamView Test Generator 127
listofData = list (1, 2, 3, 4)
unsort(ListofData) might return "2, 4, 3, 1"
--------------------------------------------------------------------------------
Syntax
double val(string x)
Description
Returns a numeric representation of the string argument, x.
EXAMPLE
val("18") will return 18
val("-4") will return -4
--------------------------------------------------------------------------------
Syntax
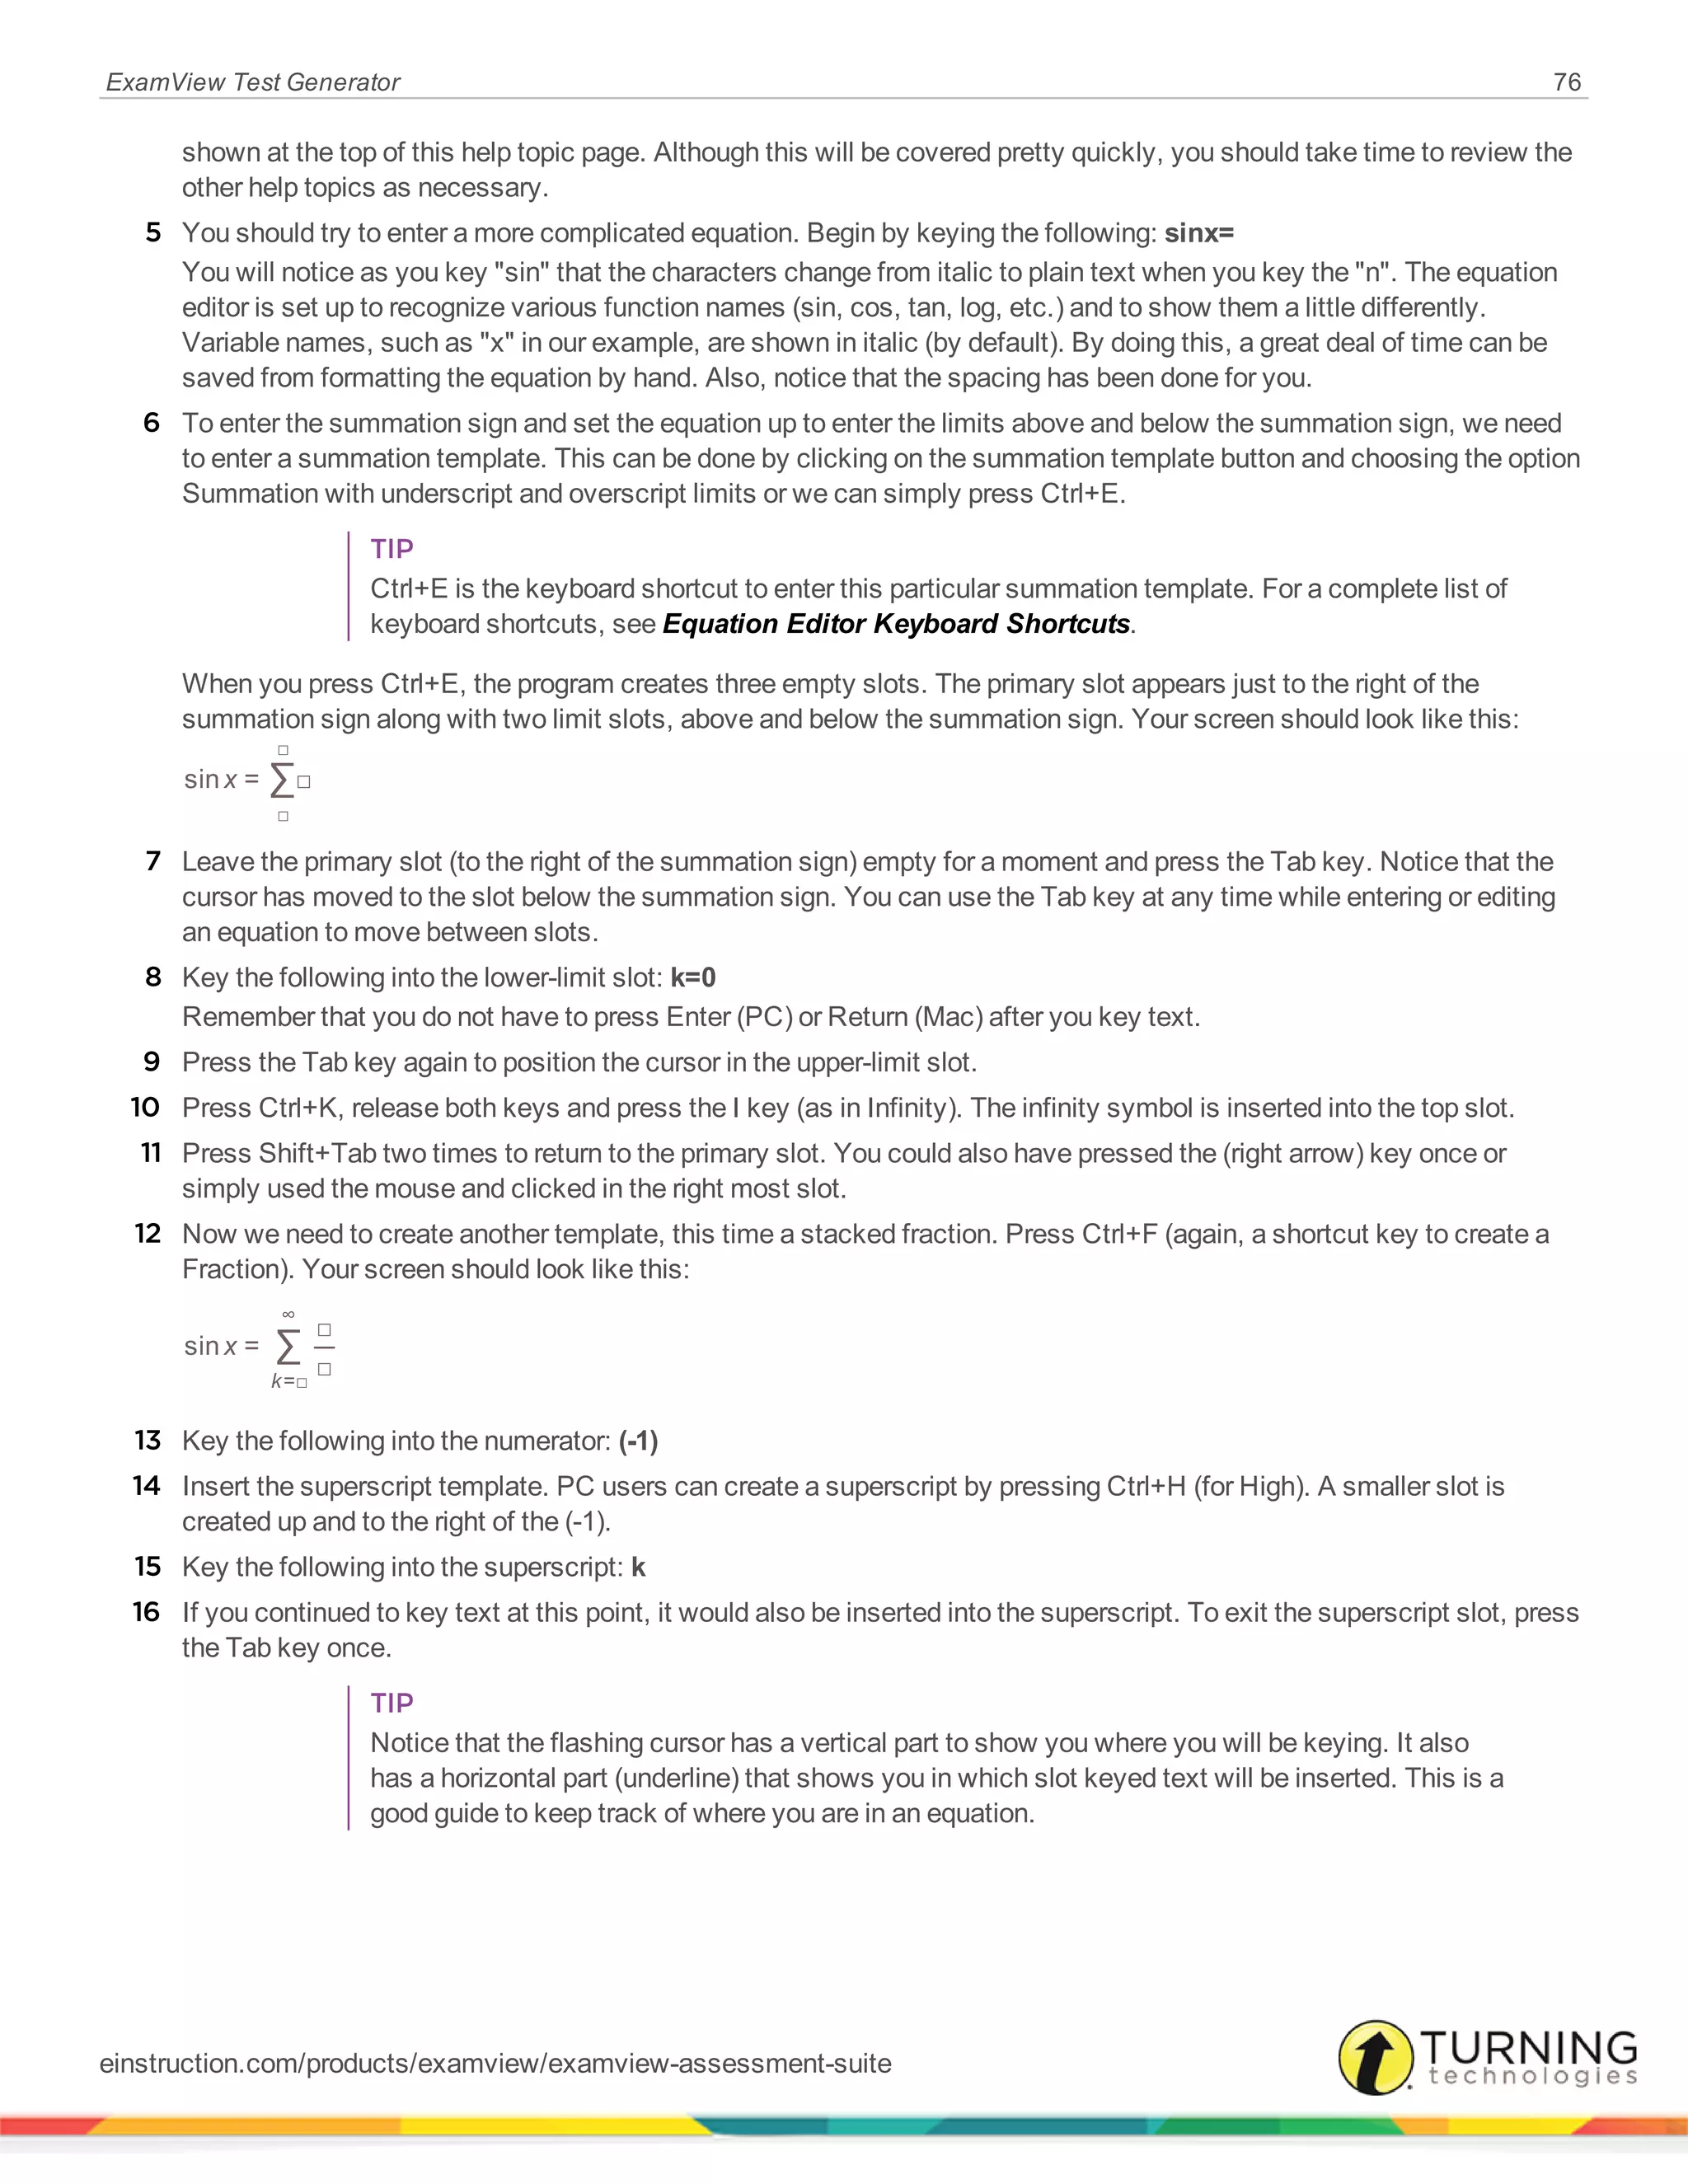
double variance(list data)
Description
Returns the variance of the data values in the list. Data values are assumed to be the entire population (not a sample). Actual
formula used is:
∑x X µvariance = ( − )
N
i
n
i
1
=1
2
--------------------------------------------------------------------------------
Syntax
expression XOR expression
Description
Returns the bitwise exclusive-OR or the two expressions.
--------------------------------------------------------------------------------
Syntax
YES
Description
[Constant] 1.
einstruction.com/products/examview/examview-assessment-suite](https://image.slidesharecdn.com/examviewtestgeneratoruserguide8-150118204102-conversion-gate02/75/Examview-test-generator-userguide-8-1-127-2048.jpg)


![ExamView Test Generator 160
The Assessments will be published to the Lessons section of the ANGEL server. The exact save location within the Lessons
section is set in the Publish to ANGEL window. For more information, see ANGEL Publish Location.
Uploading an Unzipping Files to ANGEL
Zip files may be uploaded into ANGEL by following the steps below.
1 Log in to your ANGEL 7.1-7.4 server. Your Home page will appear.
2 Select the desired course name from the Courses box. Your Course page for this selection will appear.
3 Click Manage in the tabbed navigation strip. The Management Console page appears.
4 Click the Import Wizard link from the Data Management box. The Content Import Wizard page appears.
5 Click the Content Package link, the Content Package Import Wizard page appears.
6 Click Browse to navigate to the desired file and click Upload File.
The ExamView Import page appears.
7 Select the desired import settings.
It is recommended that the Optimize folder structure and Remove unused files after import check boxes are selected.
8 Click OK. An Upload Successful message page appears.
9 Click OK. A new ExamView Import page appears.
10 Click OK to return to the Management Console when the progress animation indicates that import is complete.
Next Steps
To access the questions, click the Lessons link in the tabbed navigation strip. The questions will be listed under their
ExamView test/question bank title.
ANGEL 7.3 (and higher) Advanced Publish Settings
Left unchanged, the default values shown for each setting will be transmitted along with the question content.
Content Settings
Setting Name Default Description
Subtitle [blank]
The subtitle text is used when listing the item and also appears at the top of the
page when the item itself is selected. The subtitle appears in a smaller font directly
beneath the title text. Use subtitles to give longer descriptions of an item.
Directions [blank]
Description display when the assessment is selected. Use the description to
provide additional instructions or descriptive text to the student.
Access Settings
Setting Name Default Description
User Tracking Disabled
Use the tracking option to control when information about visits to a page are
logged. You can elect to log access by only certain types of users so that you get
the information you need without wasting valuable drive space on the server.
einstruction.com/products/examview/examview-assessment-suite](https://image.slidesharecdn.com/examviewtestgeneratoruserguide8-150118204102-conversion-gate02/75/Examview-test-generator-userguide-8-1-160-2048.jpg)
![ExamView Test Generator 161
Setting Name Default Description
Do not allow users to
view this item
[unchecked]
This check box setting allows you to temporarily hide the assessment so that it
does not appear. Checking this check box will hide the item even from those people
that would normally have rights to view it. This can be helpful if you want to enter an
assessment ahead of time, but you do not want it to show up until sometime in the
future.
Viewable By Students
The Viewable By setting allows you to define which types of users should be able to
view the assessment. The most common use of this setting is to configure whether
guests visiting your course or group should be able to view the assessment.
Password [blank]
Assign a password to a quiz to further restrict viewing. When not in edit mode, a
user must enter a password view the quiz.
Start Date [unchecked]
Selecting a Start Date prevents the assessment from being displayed until the
specified date. This can be useful if you want to enter assessments ahead of time,
but you do not want them displayed until a specific date. You might use this setting
in conjunction with the End Date setting to restrict access to an assessment to a
specific date.
End Date [unchecked]
Selecting an End Date will prevent the assessment from being displayed after the
specified date. You might use this setting in conjunction with the Start Date setting
to restrict access to a assessment to a specific day.
Interaction Settings
Setting Name Default Description
Display Mode All Questions
Display Mode specifies whether the questions will all be displayed together on the
same page (All Questions), whether they appear on question set at a time (Question
Set at a Time) or whether they appear one at a time (Single Question).
Show question titles [unchecked]
This check box setting allows you to enable or disable showing a the titles for the
questions.
Randomize the order
in which questions are
delivered
[unchecked]
Provides a choice of scrambling questions and/or choices (answers) on an
assessment. The Scramble option randomly displays questions and choices so
that users are not given the same assessment.
Randomize the order
of each question's
answer options
[unchecked]
Provides a choice of scrambling questions and/or choices (answers) on an
assessment. The Scramble option randomly displays questions and choices so
that users are not given the same quiz.
Allow backtrack [unchecked]
Not allowing backtrack prevents users from going back to previous questions or
questions sets once they have advanced past them. This option is only applicable
when using the ’r;Question set at a time’ or ’r;Question at a time’ Display mode
settings.
Display feedback
after each question
[unchecked]
Sets feedback to display after each question is answered. This option is only
applicable when using the ’r;Question at a time’ Display mode setting.
Correct answer must
be selected before
next question
presented
[unchecked]
Disables the assessment from advancing to the next question until users select the
correct answer.This option is only applicable when using the ’r;Question at a time’
Display mode setting.
einstruction.com/products/examview/examview-assessment-suite](https://image.slidesharecdn.com/examviewtestgeneratoruserguide8-150118204102-conversion-gate02/75/Examview-test-generator-userguide-8-1-161-2048.jpg)
![ExamView Test Generator 162
Setting Name Default Description
Attempts allowed 1 Sets the number of times a user can complete the assessment.
Deny additional
attempts (Mastery
settings)
[unchecked]
0%
When selected, the course editor specifies a percentage to represent mastery on
the assessment. User scores equal to or higher than this percentage are considered
to demonstrate mastery of the assessment and denied access to retake the
assessment.
Validation
Warn about
incomplete
items
Sets validation options upon submission.
Show save button [unchecked] Allows users to save answers and finish the assessment at a later date/time.
Make submissions
anonymous
[unchecked] Allows assessments to be completed and submitted anonymously.
Time Limit
[unchecked]
[blank] min.
Determines if the assessment is timed and sets the amount of time allowed to
complete the assessment.
Time Warning Disabled Provides a warning message to users indicating the amount of time left on the quiz.
Automatically submit
when time limit
expires
[unchecked]
Determines if the quiz results are automatically submitted when the time limit
expires.
ANGEL 7.0 - 7.2 Advanced Publish Settings
Left unchanged, the default values shown for each setting will be transmitted along with the question content.
Content Settings
Setting Name Default Description
Quiz Subtitle [blank]
The subtitle text will be used when listing the quiz in its parent and also appears at
the top of the page when the quiz itself is selected. The subtitle appears in a smaller
font directly beneath the title text. Use subtitles to give longer descriptions of a
quiz.
Directions [blank]
Directions display when the quiz is selected. Use directions to provide additional
instructions to the student.
Access Settings
Setting Name Default Description
User Tracking Disabled
Use the tracking option to control when information about visits to a page are
logged. You can elect to log access by only certain types of users so that you get
the information you need without wasting valuable drive space on the server.
einstruction.com/products/examview/examview-assessment-suite](https://image.slidesharecdn.com/examviewtestgeneratoruserguide8-150118204102-conversion-gate02/75/Examview-test-generator-userguide-8-1-162-2048.jpg)
![ExamView Test Generator 163
Setting Name Default Description
Do not allow users to
view this item
[unchecked]
This check box setting allows you to temporarily hide the quiz. Checking this check
box will hide the item from those people that would normally have rights to view it.
This can be helpful if you want to enter a quiz ahead of time, but you do not want it
to show up until sometime in the future.
Viewable By Students
The Viewable By setting allows you to define which types of users will be able to
view the quiz. The most common use of this setting is to configure whether guests
visiting your course or group should be able to view the quiz.
Password [blank]
Assign a password to a quiz to further restrict viewing. When not in edit mode, a
user must enter a password view the quiz.
Start Date [unchecked]
Selecting a Start Date prevents the quiz from being displayed until the specified
date. This can be useful if you want to enter quizzes ahead of time, but you do not
want them displayed until a specific date. You might use this setting in conjunction
with the End Date setting to restrict access to a quiz to a specific date.
End Date [unchecked]
Selecting an End Date prevents the quiz from being displayed after the specified
date. You might use this setting in conjunction with the Start Date setting to restrict
access to a quiz to a specific day.
Delivery Settings
Setting Name Default Description
Display Mode All Questions
Display Mode specifies whether the questions will all be displayed together on the
same page (All Questions), whether they appear one at a time (Single Question), or
whether they appear one at a time and do not allow the student to navigate back to
previous questions (Single Question - No Backtrack).
Display 'Take Quiz'
hyperlink to user
[checked]
This check box setting allows you to enable or disable showing a hyperlink to the
quiz.
Scramble the order of
the questions
[unchecked]
Provides a choice of scrambling questions and/or choices (answers) on a quiz. The
Scramble option randomly displays questions and choices so that users are not
given the same quiz.
Scramble the order of
the question choices
[unchecked]
Provides a choice of scrambling questions and/or choices (answers) on a quiz. The
Scramble option randomly displays questions and choices so that users are not
given the same quiz.
Time Limit 0 min. Determines if the quiz is a timed quiz.
Time Warning Disabled Provides a warning message to users indicating the amount of time left on the quiz.
Automatically submit
when time limit
expires
[unchecked]
Determines if the quiz results are automatically submitted when the time limit
expires.
einstruction.com/products/examview/examview-assessment-suite](https://image.slidesharecdn.com/examviewtestgeneratoruserguide8-150118204102-conversion-gate02/75/Examview-test-generator-userguide-8-1-163-2048.jpg)
![ExamView Test Generator 164
Submission Settings
Setting Name Default Description
Max Attempts 1
Restricts the number of times an individual user can take a quiz or survey. Setting
may be set to Unlimited or restricted to a value between 1 to 10.
Validation
Warn about
incomplete
items
Allows the instructor to specify what, if any, validation is done when the user
attempts to submit the quiz.
Auto-save Disabled
Allows the instructor to determine if auto-saving is disabled or how frequently a quiz
will be saved. This option can be used as a safeguard if the Save button is disabled.
Setting may be set to Disabled or values ranging from 5 to 60 minutes.
Do not allow users to
save and finish later
[unchecked]
You have to option to disable or enable the Save Button on a quiz. With the Save
Button enabled, a student can begin a quiz, save their work, exit the quiz and return
with their completed answers intact.
Make submissions
anonymous
[unchecked]
This setting makes the quiz anonymous so that responses are not assigned to user
IDs.
Blackboard
Using ExamView you can export tests and question banks to Blackboard. This feature gives you the flexibility to create tests
in ExamView and then deliver them online via Blackboard. You can also set up your Learning Management System (LMS)
platform to automatically store the test results into your online gradebook.
This section covers the following topics:
Blackboard Question Support
Exporting a Test/Question Bank for Blackboard
Uploading Questions into Blackboard
Creating a Quiz in Blackboard
Blackboard Troubleshooting
Blackboard Question Support
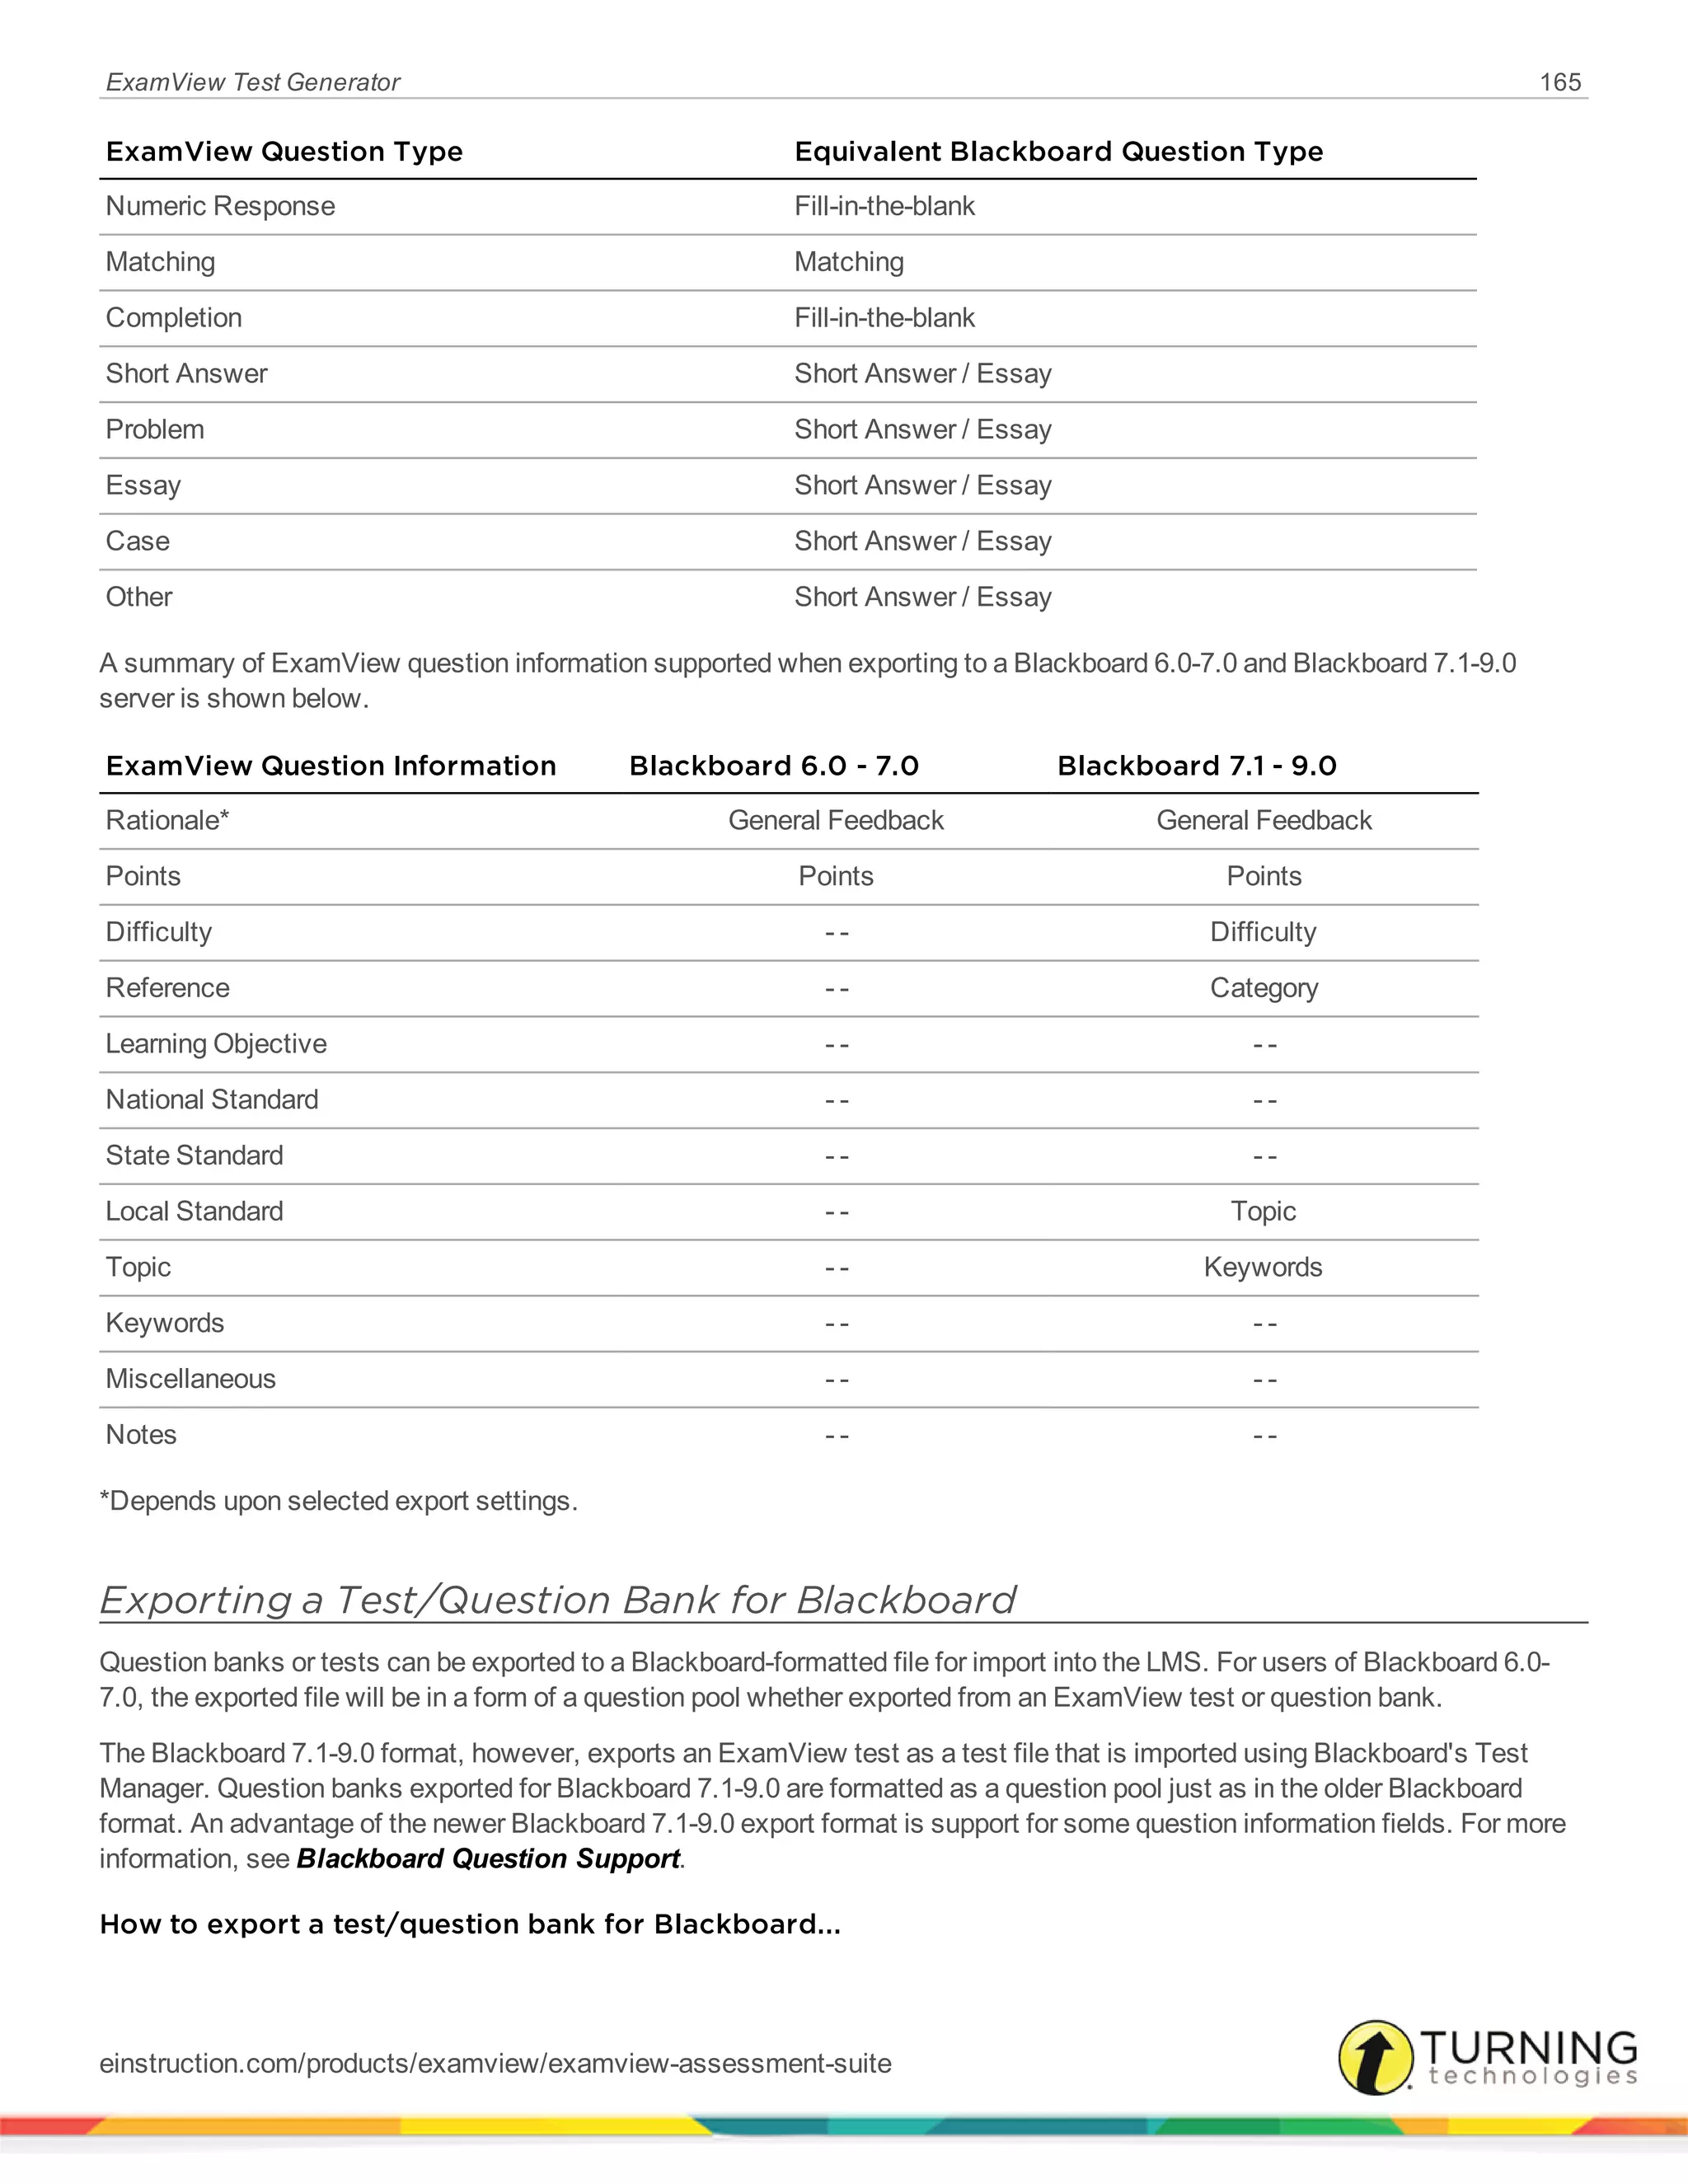
The export feature maps ExamView question types to a the closest corresponding Blackboard question format. A summary of
the question type mapping is shown in the table below.
ExamView Question Type Equivalent Blackboard Question Type
True/False True/False
Modified True/False True/False
Multiple Choice Multiple Choice
Bimodal Multiple Choice
Multiple Response Multiple Answer
Yes/No True/False
einstruction.com/products/examview/examview-assessment-suite](https://image.slidesharecdn.com/examviewtestgeneratoruserguide8-150118204102-conversion-gate02/75/Examview-test-generator-userguide-8-1-164-2048.jpg)


![ExamView Test Generator 177
WebCT Advanced Publish Settings
ExamView allows you to set additional, advanced WebCT settings when publishing from the Test Builder. Not all settings are
available, depending on the assessment type (Quiz, Survey, or Self Test) is selected. Left unchanged, the default values
shown for each setting will be transmitted along with the question content.
Delivery Settings
Setting Name Default Description
Deliver Questions All at once This setting specifies how questions will be delivered.
Display question titles [checked]
Determines whether the question title is displayed when the quiz is
delivered.
Number of allowed
attempts
1
Specifies the number of attempts a student is allowed to take the quiz.
Number can be set to a value from 1 to 5 or set to Unlimited.
Attempt used for
student grade
First
If more than 1 attempt is allowed, this setting specifies whether the student
receives their First, Last, Highest, or Average score for the quiz.
Minimum period
between attempts
0 Minute(s)
If more than 1 attempt is allowed, this setting determines the length of time
and units (Minutes, Hours, Days) that the student must wait before making
another attempt.
Results Settings
Setting Name Default Description
Student Scores
Do not release the
score
This setting specifies if and when the score will be released to the student.
Results Displayed to
Student
[all checked] Checkbox options specify what results are displayed to the student.
E-mail Address [blank] Enter the e-mail address to which you want student results to be sent.
Submission Settings
Setting Name Default Description
Submission Message [blank] The message that students will receive when they submit a quiz.
E-mail Address [blank] Enter the email address to which you want student submissions to be sent.
Security Settings
Setting Name Default Description
Password [blank] Enter a password that students must enter in order to access the quiz.
IP Address 0, 0, 0, 0
Enter values for an IP address if you want to restrict access to an
assessment to machines that match the all or part of an IP address. The IP
address mask automatically updates when the IP values are modified.
einstruction.com/products/examview/examview-assessment-suite](https://image.slidesharecdn.com/examviewtestgeneratoruserguide8-150118204102-conversion-gate02/75/Examview-test-generator-userguide-8-1-177-2048.jpg)

The ExamView Test Generator User Guide 8.1 provides comprehensive instructions for the software, which allows users to create and customize tests for various platforms, including internet and LAN-based testing. It details functionality such as question selection methods, test formatting, and the use of a word processor, along with technical requirements and installation procedures. Additionally, it covers integration with learning management systems like Blackboard and Moodle, and includes troubleshooting tips for users.


