Download to read offline


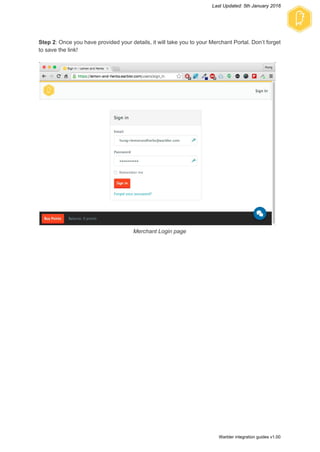
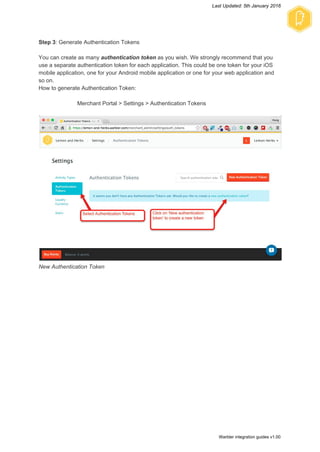


This document provides guidance on integrating with the Warbler Loyalty API. It outlines setting up sandbox and production environments, including generating authentication tokens. The sandbox allows testing integration without impacting live accounts. Developers can use the API documentation and sample code to integrate loyalty features like rewarding users into their applications.


![[@NaukriEngineering] Mobile Web app scripts execution using Appium](https://cdn.slidesharecdn.com/ss_thumbnails/html5mobilesiteautomationusingappiumdemo-161117070734-thumbnail.jpg?width=640&height=640&fit=bounds)