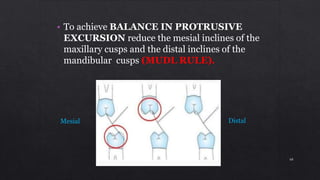
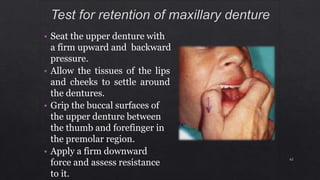
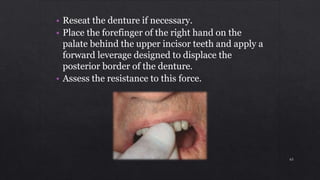
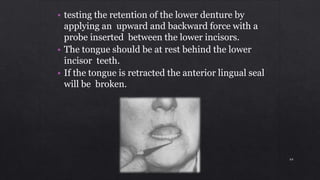
The document provides instructions for denture insertion and adjustment. Key steps include:
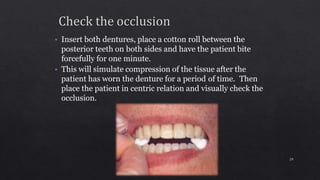
1. Checking the retention, jaw relations, and accuracy of the completed dentures and making any necessary adjustments.
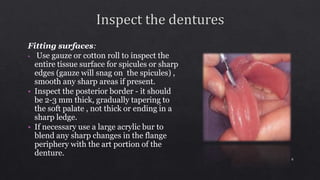
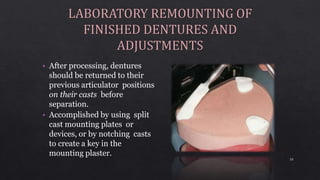
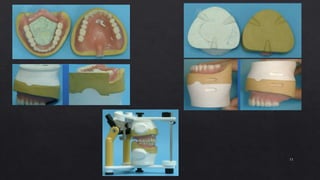
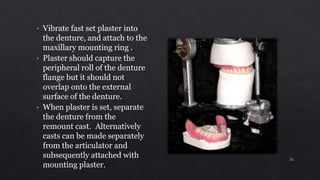
2. Ensuring dentures are properly finished with smooth surfaces and accurate casts before remounting on the articulator.
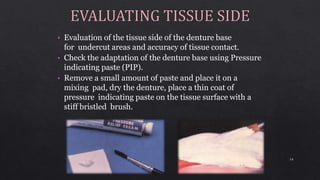
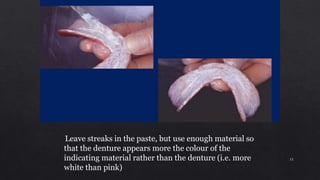
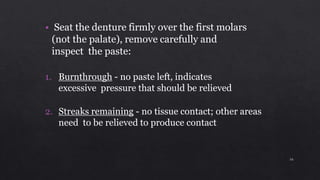
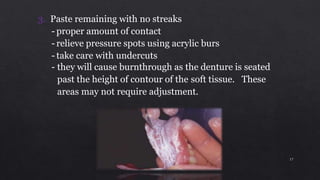
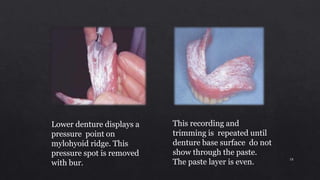
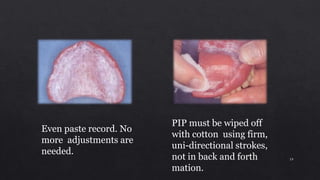
3. Using pressure indicating paste to evaluate tissue contact and relieve any pressure spots by adjusting the denture base.
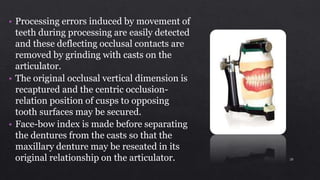
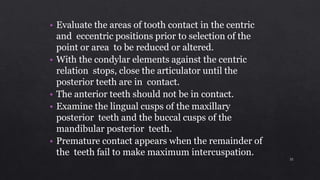
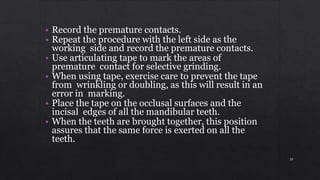
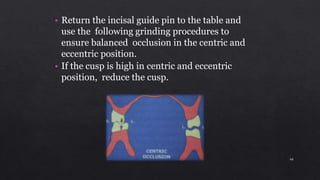
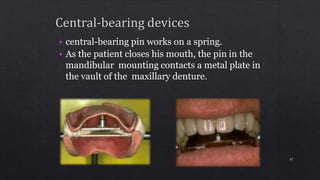
4. Verifying centric relation and removing any deflecting occlusal contacts by grinding with casts mounted on the articulator.