Download to read offline
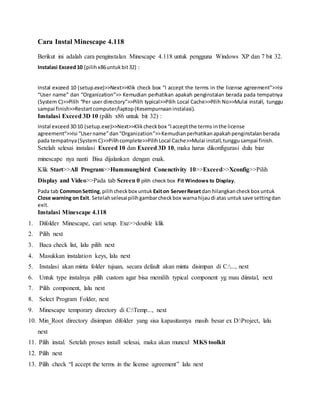


Dokumen ini menjelaskan langkah-langkah instalasi Minescape 4.118 dan konfigurasi Exceed 10 serta MKS Toolkit untuk pengguna Windows XP dan 7 bit 32. Proses instalasi mencakup pengaturan user, pemilihan direktori, dan konfigurasi tampilan agar perangkat lunak dapat berjalan dengan lancar. Setelah semua langkah dilalui, Minescape 4.118 dapat digunakan dengan baik.