Download to read offline

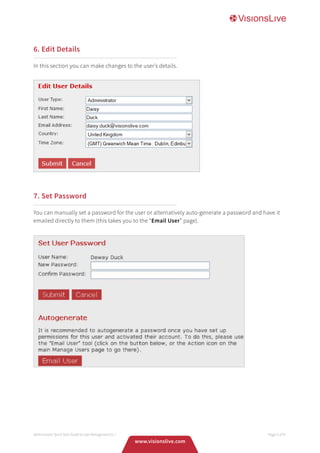


This document is an administrator quick start guide for user management on the VisionsLive online qualitative research platform. It provides instructions on how to perform common administrator tasks like creating a new project, viewing subscription details, managing users by adding, editing, setting permissions for, emailing, and deleting users. It also describes the different types of users (Moderators, Accountants, Administrators) and their permissions. The guide covers accessing modules for online synchronous and asynchronous research.


![[rokonz.com] Glossary of Semantic SEO Part-3.pdf](https://cdn.slidesharecdn.com/ss_thumbnails/rokonz-260123200835-55123e1e-thumbnail.jpg?width=640&height=640&fit=bounds)


