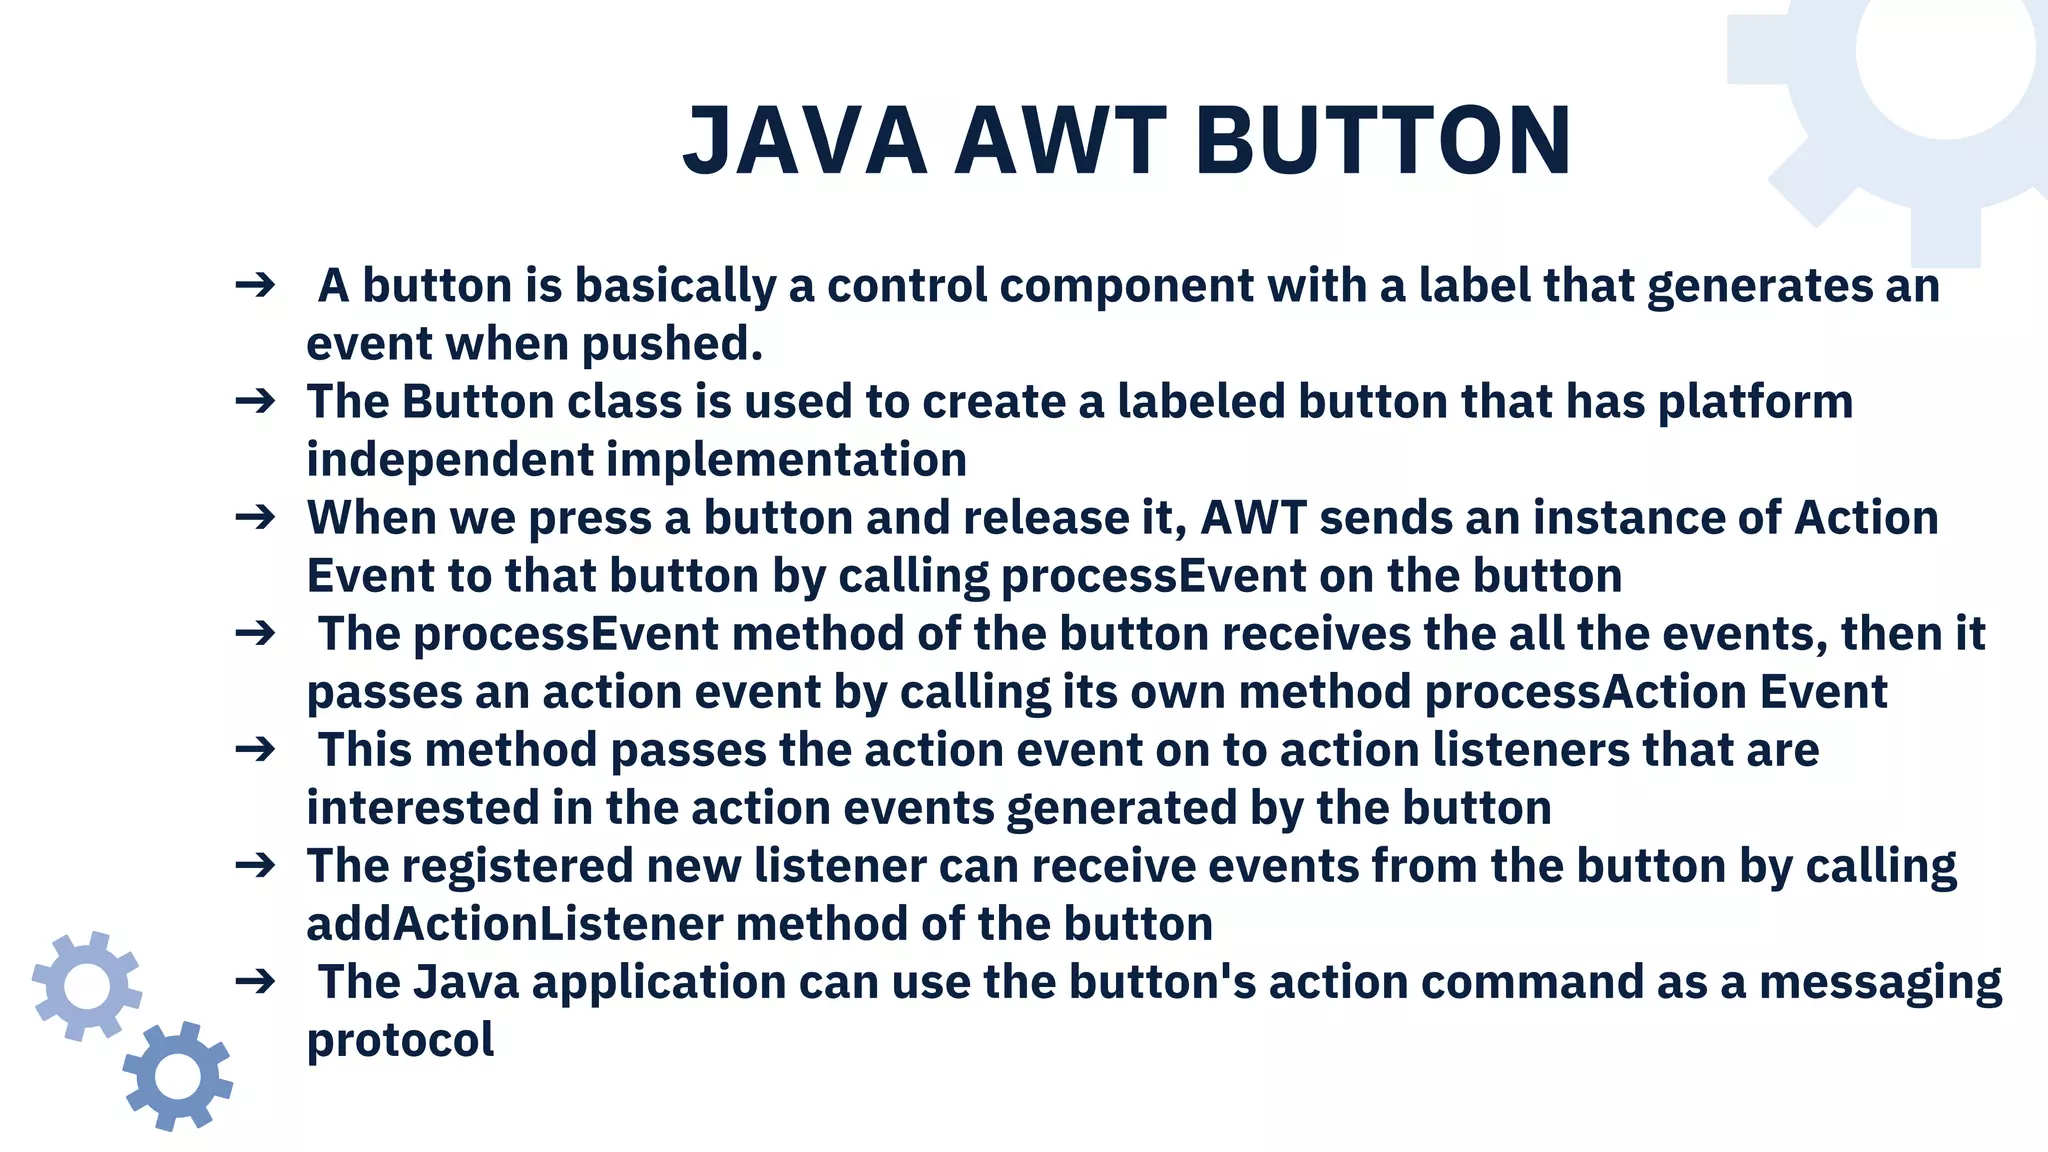
2. Adding and Removing Controls
➔ To include a control in a window, you must add it to the window. To do this,
you must first create an instance of the desired control and then add it to a
window by calling add( ),
➔ Which is defined by Container. The add( ) method has several forms.
➔ The following form is the one that is used for the first part of this chapter:
Component add(Component compObj)
➔ Here, compObj is an instance of the control that you want to add. A reference
to compObj is returned. Once a control has been added, it will automatically
be visible whenever its parent window is displayed.
3. CONTROL FUNDAMENTALS
The AWT supports the following types of controls
• Labels
• Push buttons
• Check boxes
• Choice lists
• Lists
• Scroll bars
• Text editing
4. JAVA AWT LABEL
➔ Label is the easiest control.
➔ It is used to display a single line of read only text.
➔ The text can be changed by a programmer but a user cannot edit it directly.
➔ Labels are passive controls that do not support any interaction with the user
Label defines the following constructors:
Label( ) throws HeadlessException
Label(String str) throws HeadlessException
Label(String str, int how) throws HeadlessException
➔ The first version creates a blank label.
➔ The second version creates a label that contains the string specified by str.
This string is left-justified.
➔ The third version creates a label that contains the string specified by str
using the alignment specified by how.
5. ➔ The value of how must be one of these three constants: Label.LEFT,
Label.RIGHT, or Label.CENTER.
➔ You can set or change the text in a label by using the setText( ) method. You
can obtain the current label by calling getText( ). These methods are shown
here:
➔ void setText(String str)
➔ String getText( )
LabelExample.java
import java.awt.*;
public class LabelExample {
public static void main(String args[]){
// creating the object of Frame class and Label class
Frame f= new Frame ("Label example");
Label 11, 12;
// initializing the labels
11 = new Label ("First Label.");
12 = new Label ("Second Label.");
6. // set the location of label
11.setBounds(50, 100, 100, 30);
12.setBounds(50, 150, 100, 30);
// adding labels to the frame
fadd(I1): f.add(12);
/ setting size, layout and visibility of frame
fsetSize(400,400);
fsetLayout(null);
f.set Visible(true);
}
}
7. JAVA AWT BUTTON
➔ A button is basically a control component with a label that generates an
event when pushed.
➔ The Button class is used to create a labeled button that has platform
independent implementation
➔ When we press a button and release it, AWT sends an instance of Action
Event to that button by calling processEvent on the button
➔ The processEvent method of the button receives the all the events, then it
passes an action event by calling its own method processAction Event
➔ This method passes the action event on to action listeners that are
interested in the action events generated by the button
➔ The registered new listener can receive events from the button by calling
addActionListener method of the button
➔ The Java application can use the button's action command as a messaging
protocol