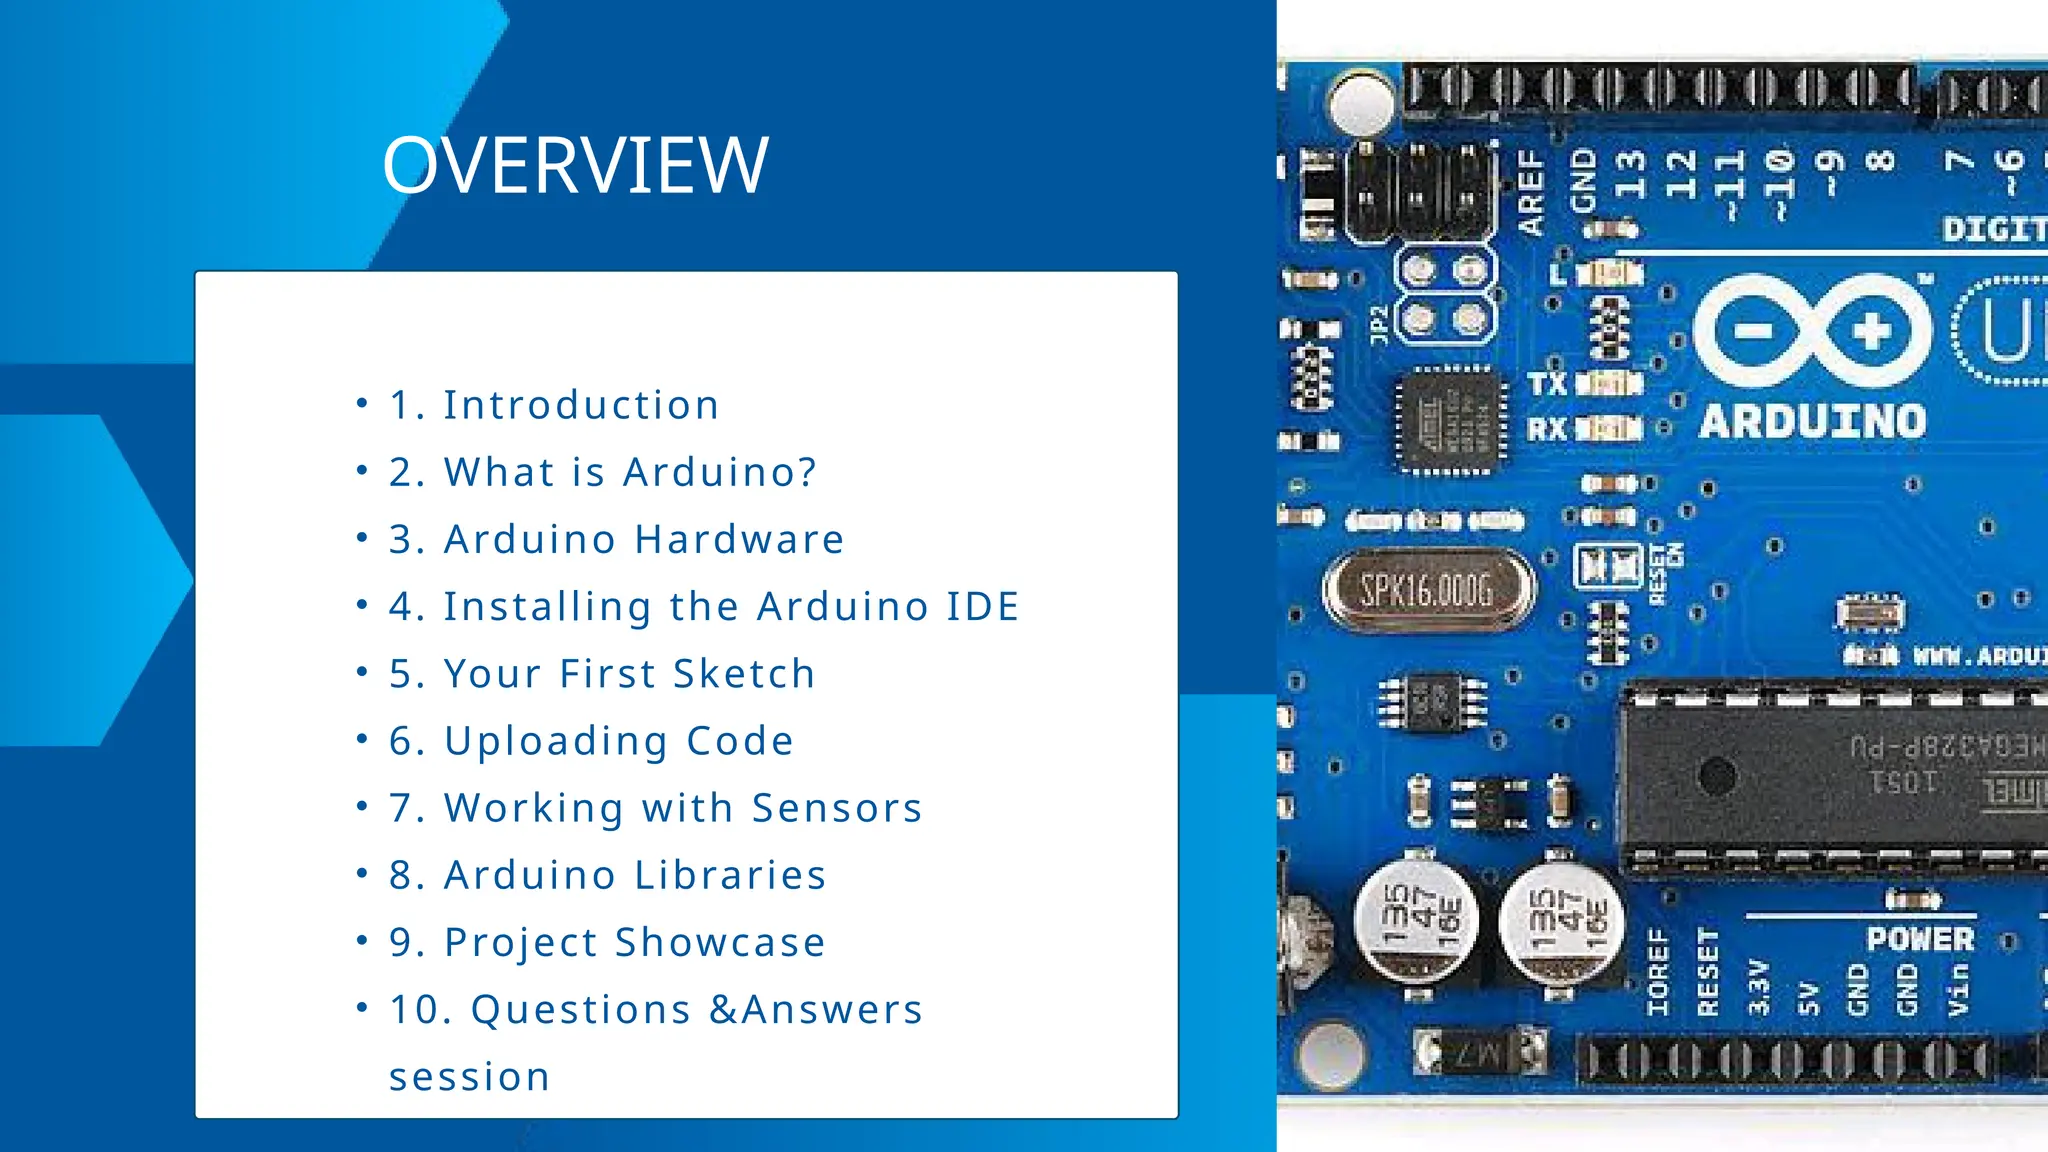
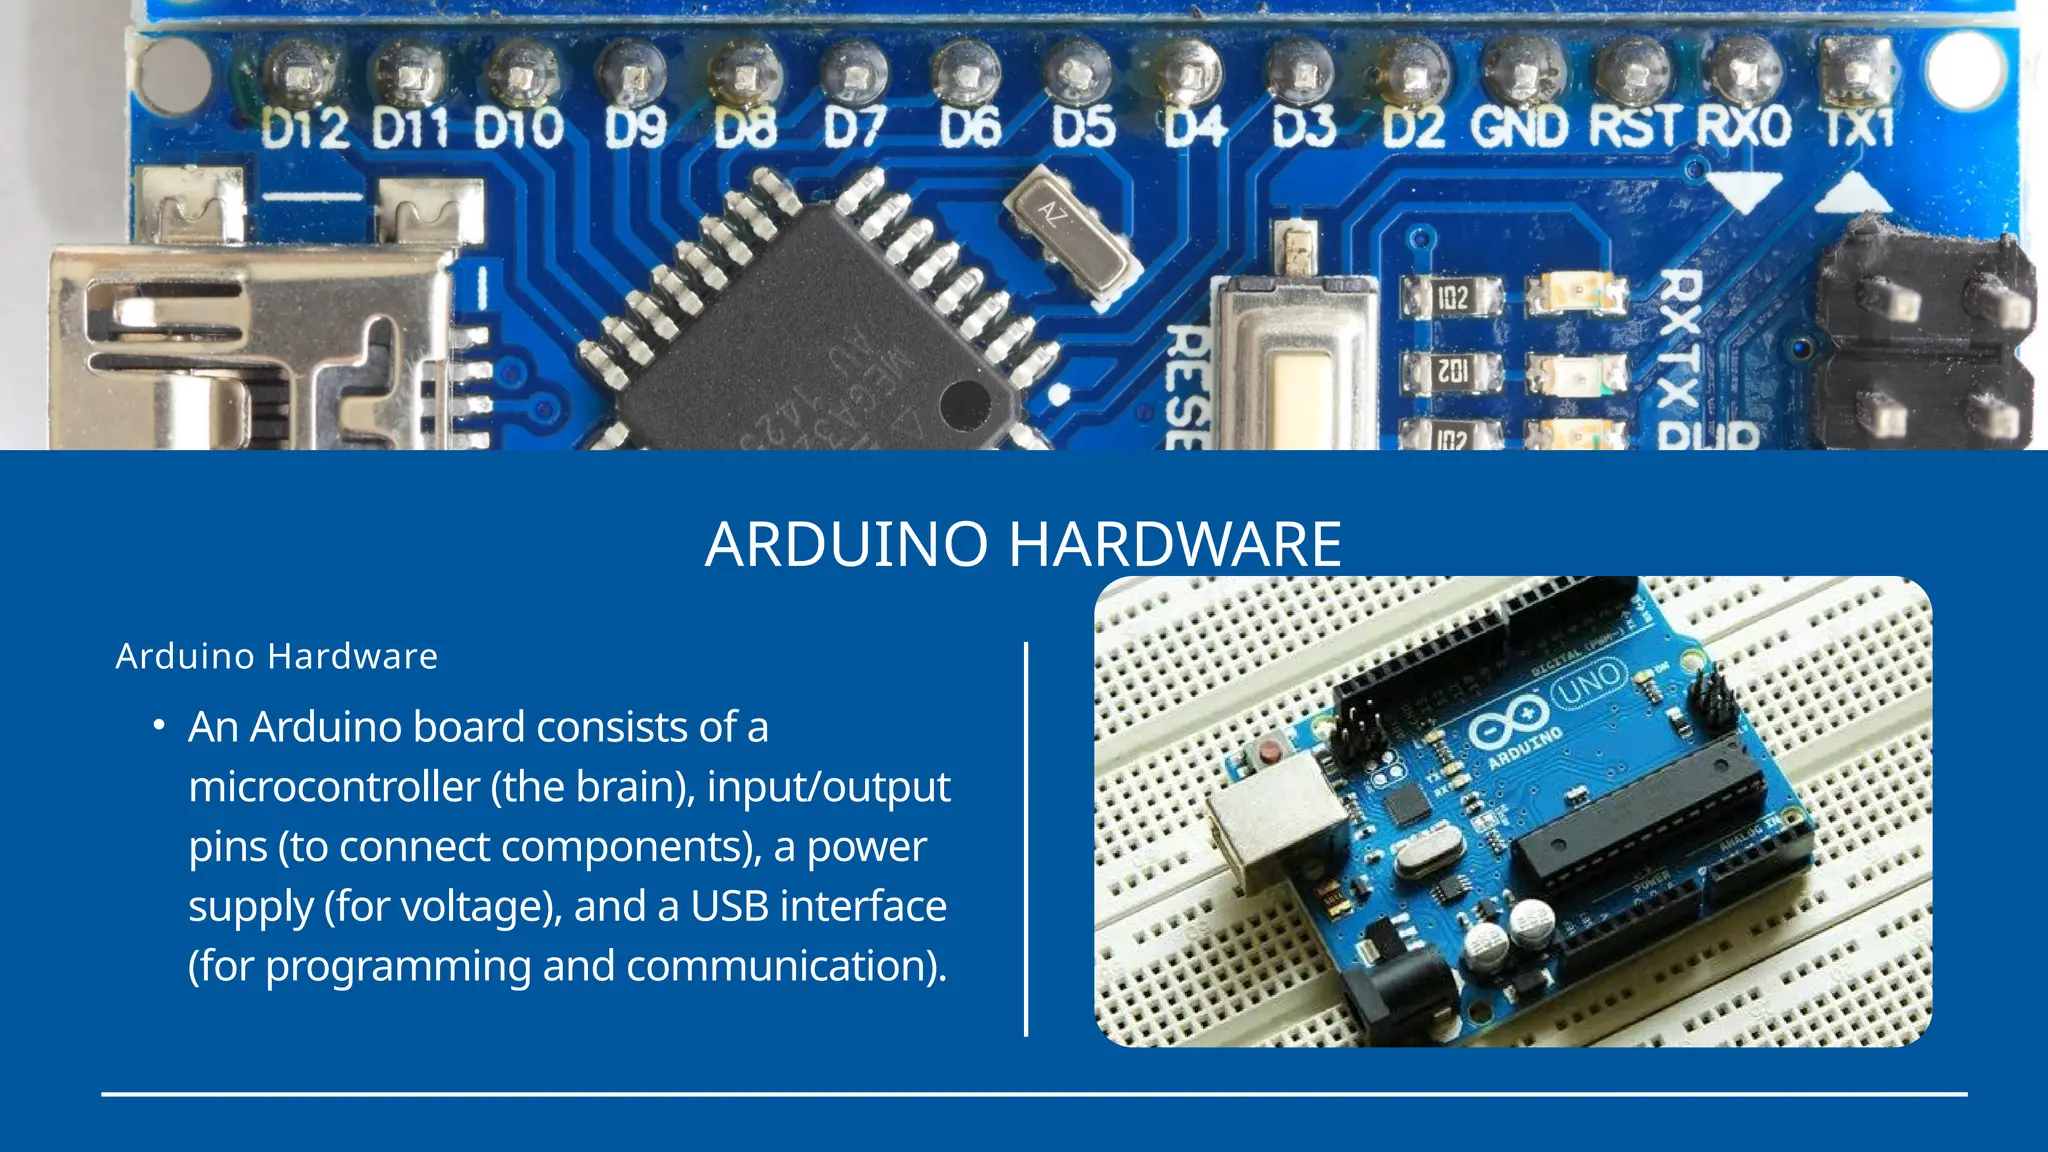
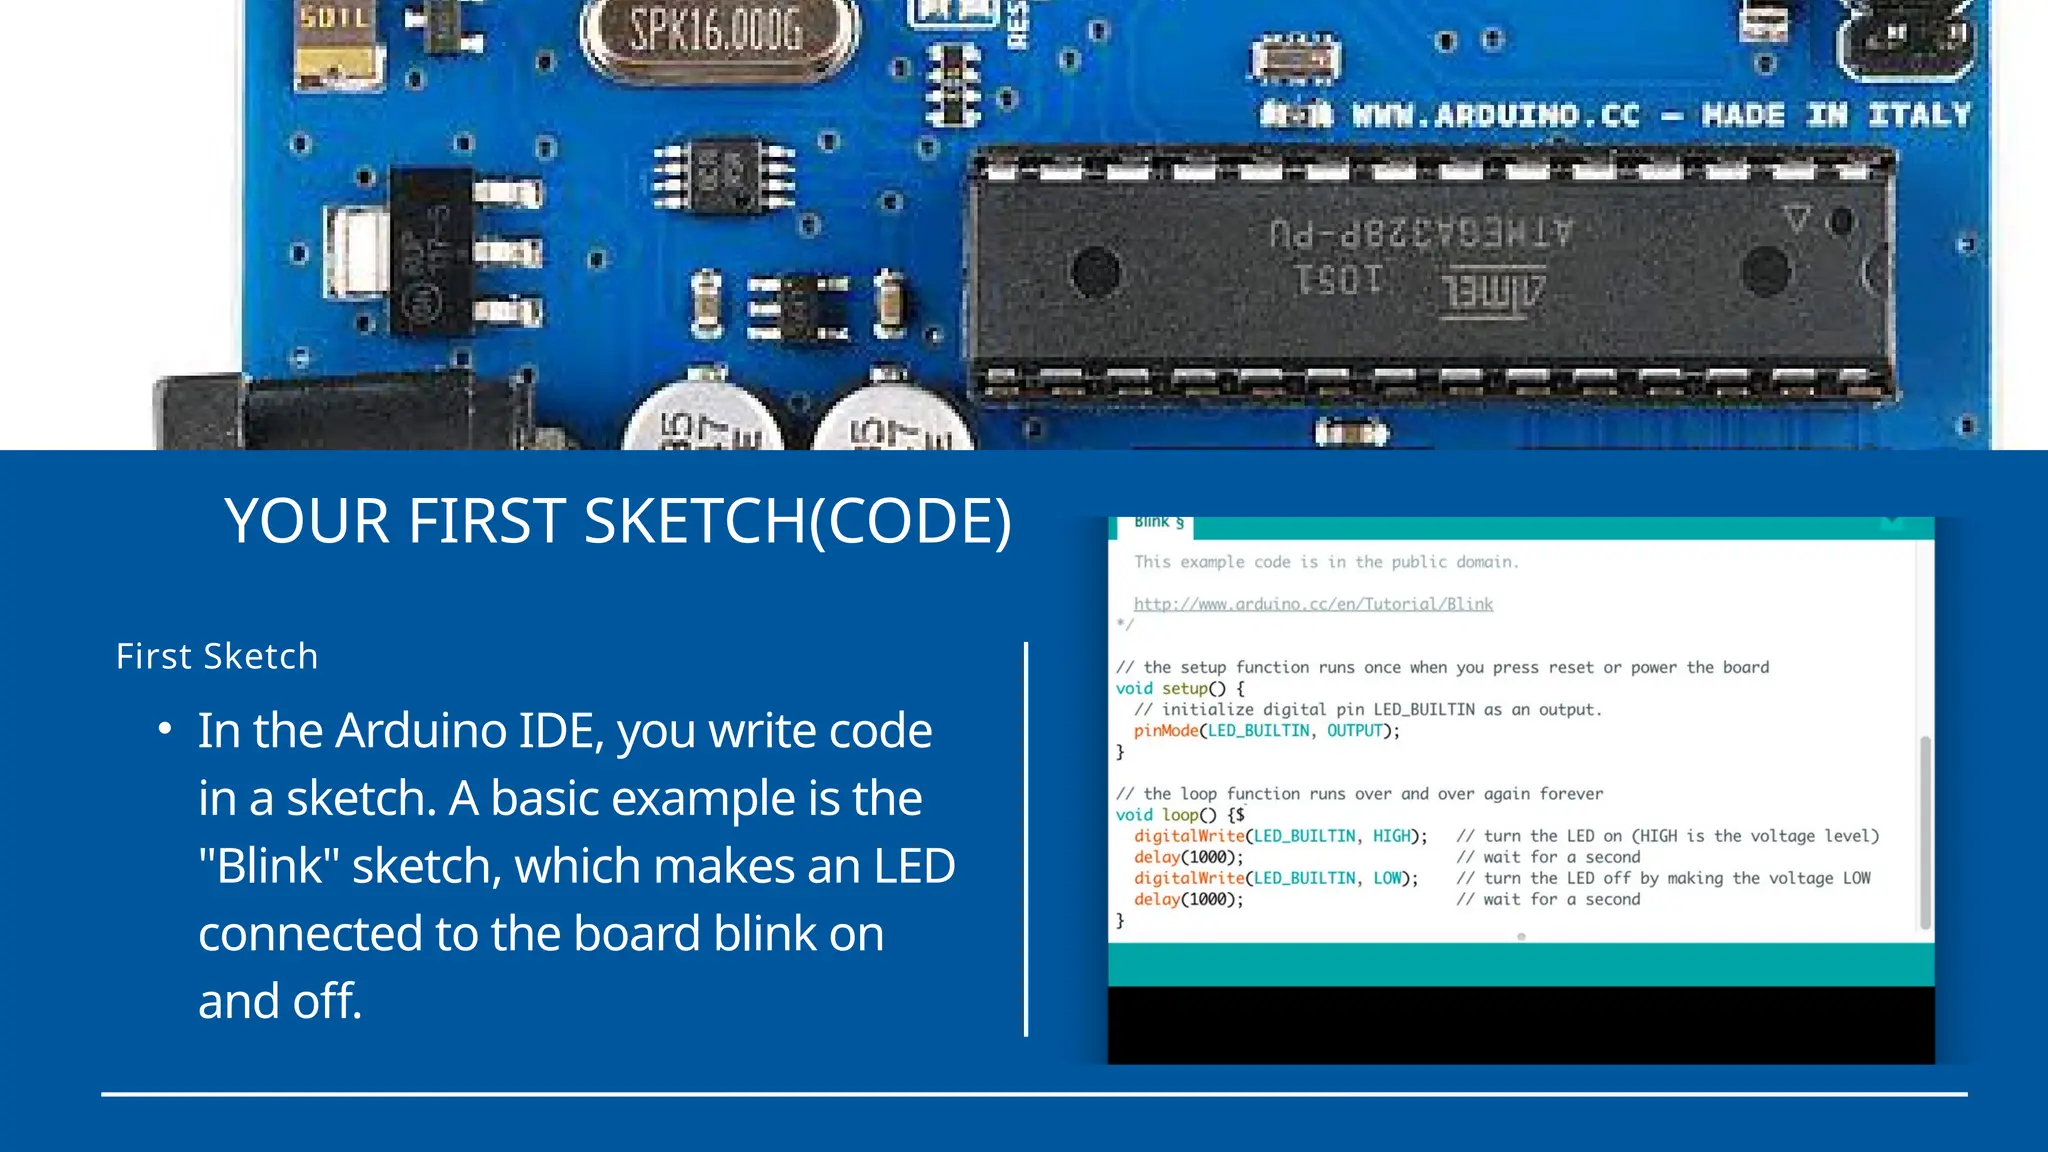
GETTING
STARTED
Presented by: Joseph Adeyemi
BEGINNERS ARDUINO COURSE
WITH ARDUINO
• 1. Introduction
• 2. What is Arduino?
• 3. Arduino Hardware
• 4. Installing the Arduino IDE
• 5. Your First Sketch
• 6. Uploading Code
• 7. Working with Sensors
• 8. Arduino Libraries
• 9. Project Showcase
• 10. Questions &Answers
session
OVERVIEW
INTRODUCTION
• Welcome!
• "Getting Started with Arduino for
Beginners"
• In this course, you will embark on
an exciting journey into the world of
electronics and programming.
• Arduino is an open-source hardware
and software platform designed for
creating interactive electronic projects.
It's used by hobbyists, students, and
professionals to build a wide range of
devices.
Introduction What is Arduino
ARDUINO HARDWARE
• An Arduino board consists of a
microcontroller (the brain), input/output
pins (to connect components), a power
supply (for voltage), and a USB interface
(for programming and communication).
Arduino Hardware
Arduino
Hardware
Layout
INSTALLING THE ARDUINO IDE OR SOFTWARE
• To start coding for Arduino, you
need the Arduino IDE. Download
it from the official website, install
it on your computer, and you're
ready to go!
https://www.arduino.cc/
Installing The Arduino IDE
YOUR FIRST SKETCH(CODE)
• In the Arduino IDE, you write code
in a sketch. A basic example is the
"Blink" sketch, which makes an LED
connected to the board blink on
and off.
First Sketch
UPLOADING (CODE)
Connect the Arduino hardware via USB, by
choosing the connection type USB. Choose
the board type and the port number from
the Choose board and Choose port menus.
Then, select the libraries that you want to
include in your Arduino server. Click Program
to begin uploading the server to your
Arduino board.
WORKING WITH SENSORS
Sensors are essential for input in
Arduino projects. You'll learn how to
connect and read data from sensors,
such as a light-dependent resistor
(LDR) to measure light levels.
Arduino Libraries
Libraries are pre-written code
packages that simplify complex tasks.
For instance, the Servo library makes it
easy to control servo motors or the
LiquidCrystal library for driving LCD
displays.
PROJECT SHOWCASE
Explore a beginner project: You are
required to blink a Led with a code.
Write a code to switch on and off a
Led. (Light Emitting Diode)
YOUR FIRST SKETCH(CODE)
• In the Arduino IDE, you write code
in a sketch. A basic example is the
"Blink" sketch, which makes an LED
connected to the board blink on
and off.
First Sketch
Q & A
SESSION
Thank you for
participating
+2349060717943
Let's connect
adeyemiadejare65@gmail.com
Joseph
Adeyemi

Arduino Project Presentation Slides.pptx

  • 1.
    GETTING STARTED Presented by: JosephAdeyemi BEGINNERS ARDUINO COURSE WITH ARDUINO
  • 2.
    • 1. Introduction •2. What is Arduino? • 3. Arduino Hardware • 4. Installing the Arduino IDE • 5. Your First Sketch • 6. Uploading Code • 7. Working with Sensors • 8. Arduino Libraries • 9. Project Showcase • 10. Questions &Answers session OVERVIEW
  • 4.
    INTRODUCTION • Welcome! • "GettingStarted with Arduino for Beginners" • In this course, you will embark on an exciting journey into the world of electronics and programming. • Arduino is an open-source hardware and software platform designed for creating interactive electronic projects. It's used by hobbyists, students, and professionals to build a wide range of devices. Introduction What is Arduino
  • 5.
    ARDUINO HARDWARE • AnArduino board consists of a microcontroller (the brain), input/output pins (to connect components), a power supply (for voltage), and a USB interface (for programming and communication). Arduino Hardware
  • 6.
  • 7.
    INSTALLING THE ARDUINOIDE OR SOFTWARE • To start coding for Arduino, you need the Arduino IDE. Download it from the official website, install it on your computer, and you're ready to go! https://www.arduino.cc/ Installing The Arduino IDE
  • 8.
    YOUR FIRST SKETCH(CODE) •In the Arduino IDE, you write code in a sketch. A basic example is the "Blink" sketch, which makes an LED connected to the board blink on and off. First Sketch
  • 9.
    UPLOADING (CODE) Connect theArduino hardware via USB, by choosing the connection type USB. Choose the board type and the port number from the Choose board and Choose port menus. Then, select the libraries that you want to include in your Arduino server. Click Program to begin uploading the server to your Arduino board.
  • 10.
    WORKING WITH SENSORS Sensorsare essential for input in Arduino projects. You'll learn how to connect and read data from sensors, such as a light-dependent resistor (LDR) to measure light levels.
  • 11.
    Arduino Libraries Libraries arepre-written code packages that simplify complex tasks. For instance, the Servo library makes it easy to control servo motors or the LiquidCrystal library for driving LCD displays.
  • 12.
    PROJECT SHOWCASE Explore abeginner project: You are required to blink a Led with a code. Write a code to switch on and off a Led. (Light Emitting Diode)
  • 13.
    YOUR FIRST SKETCH(CODE) •In the Arduino IDE, you write code in a sketch. A basic example is the "Blink" sketch, which makes an LED connected to the board blink on and off. First Sketch
  • 14.
  • 15.
    Thank you for participating +2349060717943 Let'sconnect adeyemiadejare65@gmail.com Joseph Adeyemi