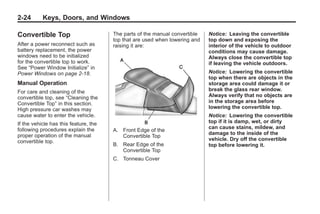
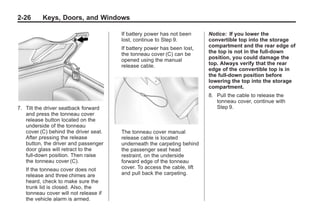
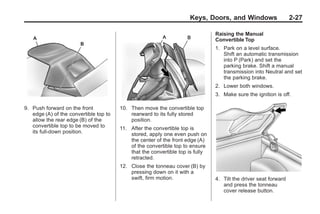
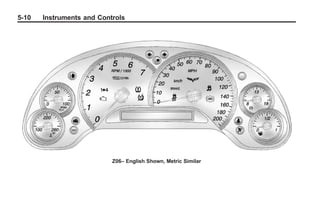
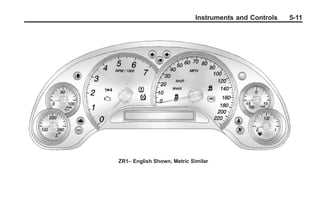
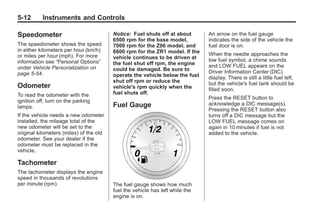
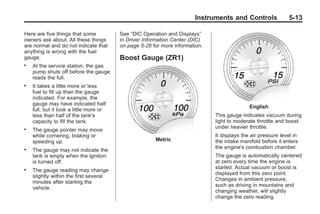
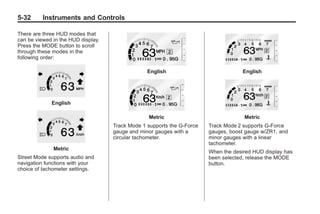
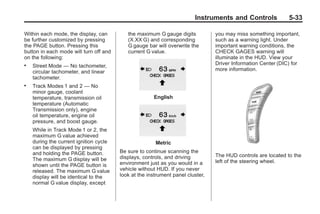
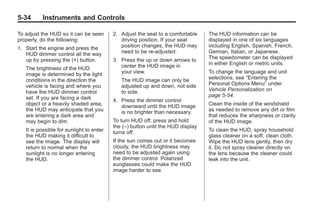
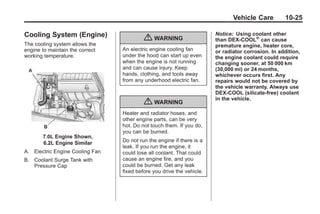
Download as PDF, PPTX


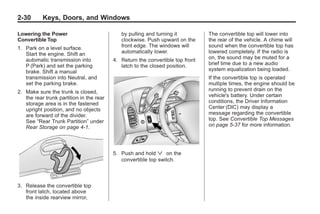


The 2012 Chevrolet Corvette owner manual provides essential information on vehicle features, maintenance, and safety. It covers topics including initial driving information, seating and restraint systems, lighting, and infotainment systems, along with warnings and cautions for safe operation. It also details vehicle customization options and maintenance schedules for optimal performance.


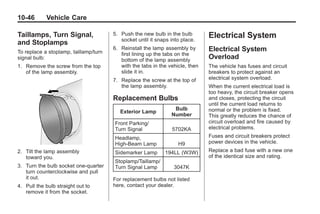
![DESIGN AND FABRICATION OF THE IBM 90-90 SEAT BELT CLAMP KIA VEHICLE[1].pptx 2...](https://cdn.slidesharecdn.com/ss_thumbnails/designandfabricationoftheibm90-90seatbeltclampkiavehicle1-260116160442-70ff67fc-thumbnail.jpg?width=640&height=640&fit=bounds)


