Download as PDF, PPTX


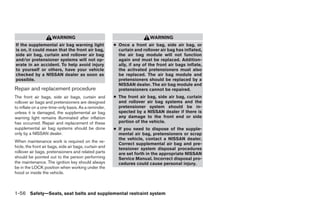

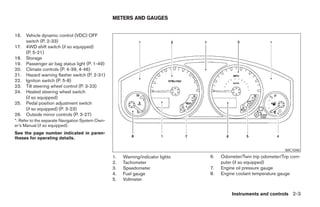


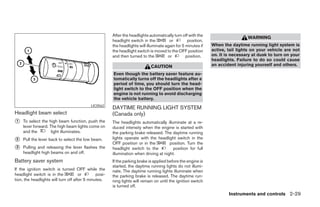

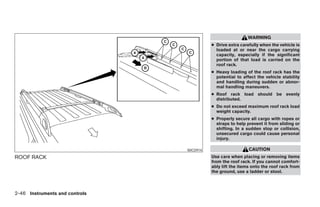


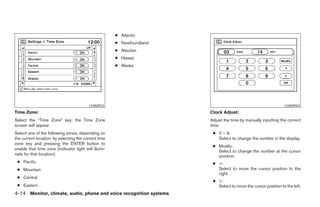

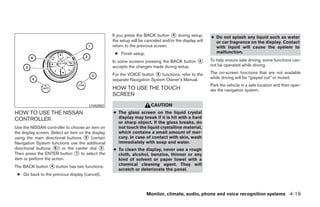
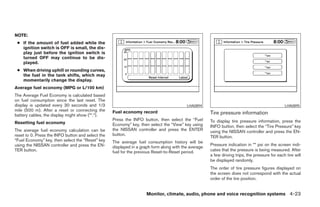

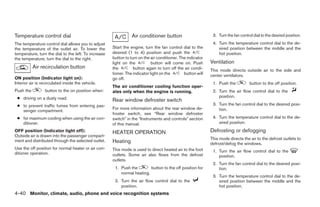

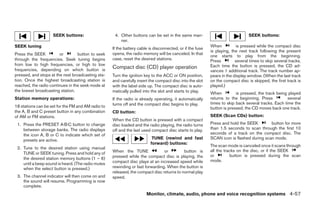
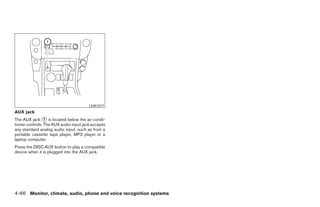
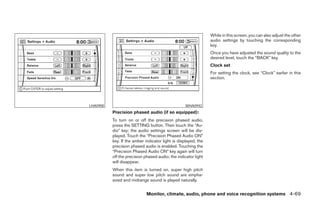
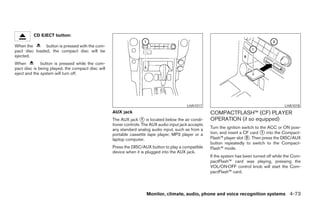
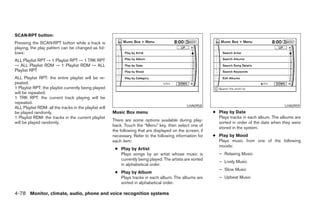
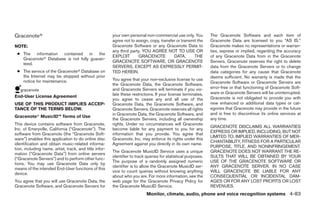
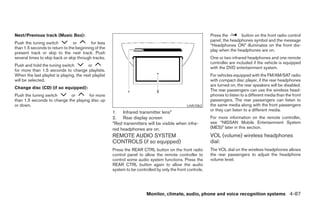
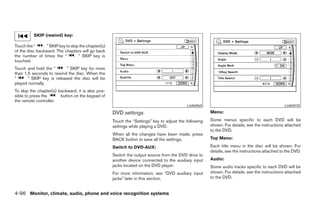
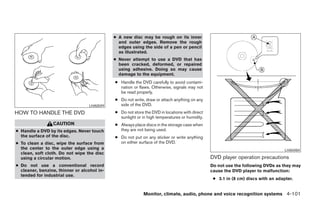
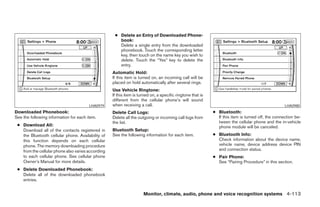
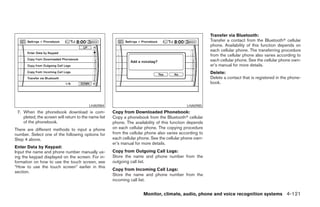
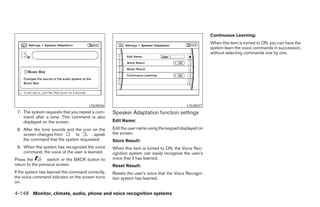
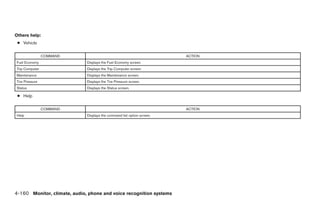
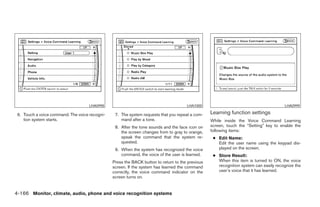
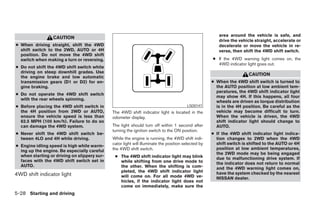
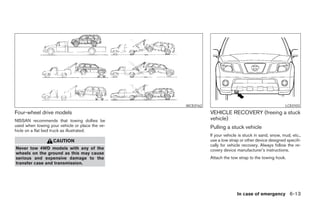
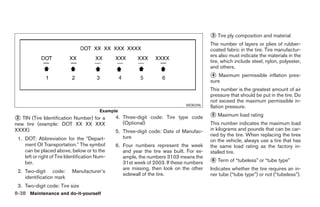
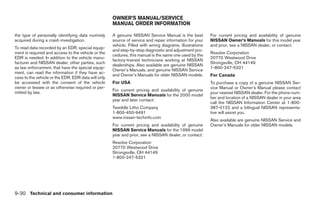
![MUSIC BOX HARD-DISK DRIVE
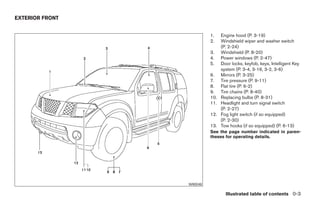
AUDIO SYSTEM (if so equipped)
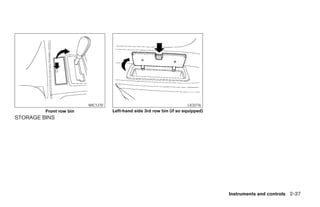
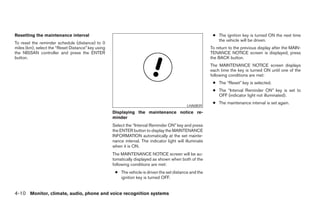
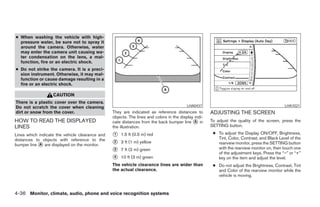
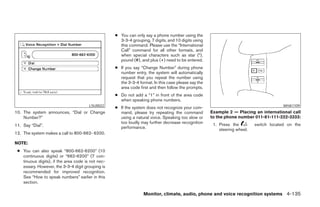
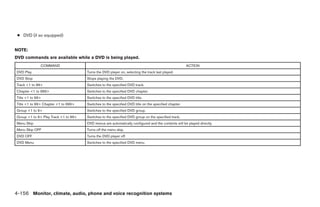
The Music Box hard-disk drive audio system can
store songs from CDs being played. The system
has a 9.3 gigabyte (GB) storage capacity and
can record up to 200 hours (approximately 2,900
songs).
The following CDs can be recorded in the Music
Box hard-disk drive audio system:
● CDs without MP3/WMA files.
● Hybrid Compact Disc Digital Audio (Hybrid
CD-DA) specification in Super Audio CDs.
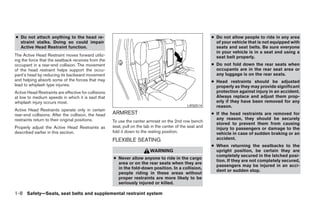
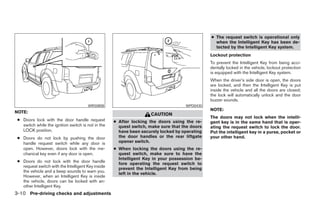
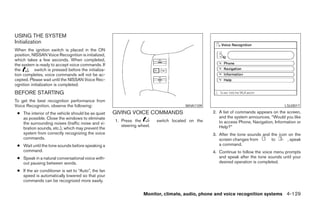
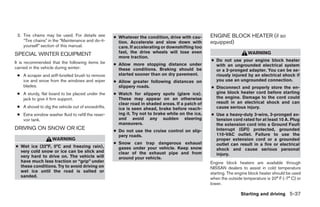
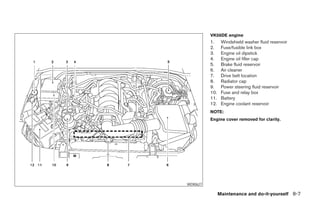
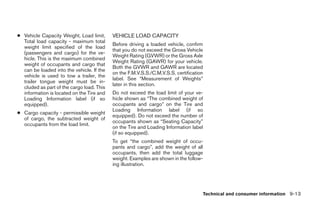
WHA0955 WHA0956
● Compact Disc Digital Audio (CD-DA) speci-
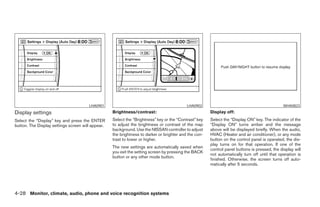
fication in CD-Extras. Recording songs If the title information of the track being recorded
is stored either in the hard-disk drive or in the CD,
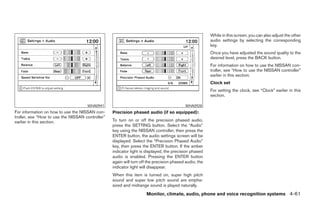
● First session of multisession disc. 1. Operate the audio system to play a CD. the title is automatically displayed on the screen.
For information on playing CDs, see “Com- For title acquisition from the hard-disk drive, mu-
Extreme temperature conditions [below Ϫ4°F pact Disc (CD) player operation” earlier in
(Ϫ20°C) and above 158°F (70°C)] could affect sic recognition technology and related data are
this section.
the performance of the hard disk. provided by Gracenoteா.
2. Touch the “REC” key.
To view the details of the track, touch the “Text”
NOTE: The system starts recording the track being key on the screen or use the NISSAN controller
If the hard disk needs to be replaced due to played and REC CD appears on the screen. and press the ENTER button. The track name and
a malfunction, all stored music data will be album title are displayed on the screen.
erased.
If a track is not recorded successfully due to
skipping sounds, the symbol is displayed
behind the track number.
4-76 Monitor, climate, audio, phone and voice recognition systems
੬ REVIEW COPY—2008 Pathfinder (pat)
Owners Manual—USA_English (nna)
10/01/07—debbie ੭](https://image.slidesharecdn.com/2008-path-120818113201-phpapp01/85/2008-PATHFINDER-OWNER-S-MANUAL-243-320.jpg)

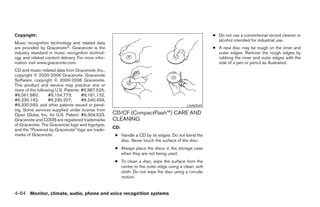
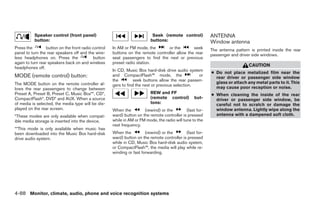
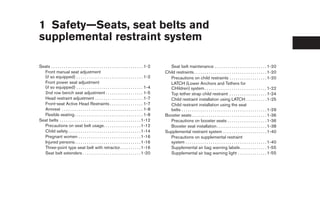
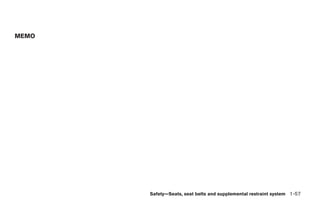
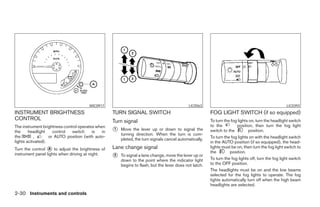
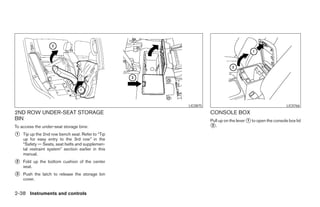
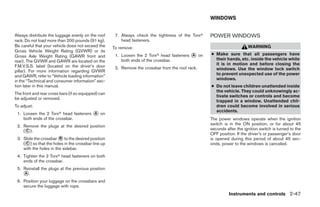
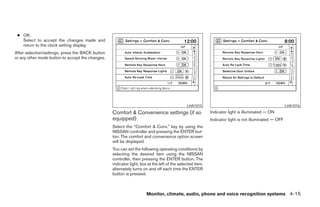
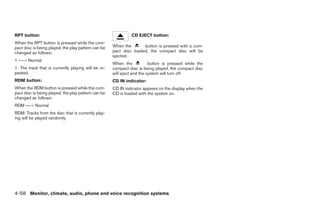
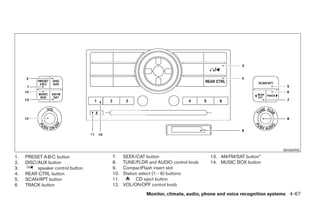
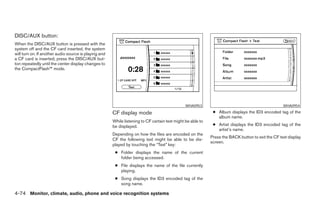
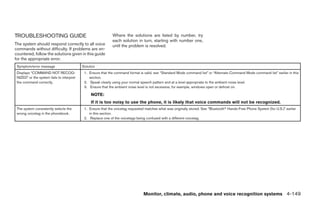
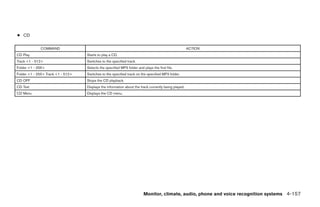
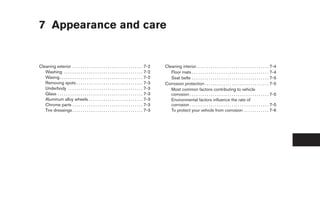
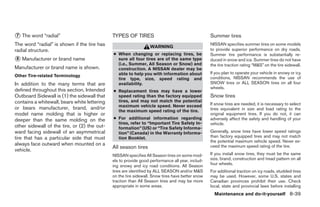
![NISSAN MOBILE ENTERTAINMENT
SYSTEM (MES) (if so equipped)
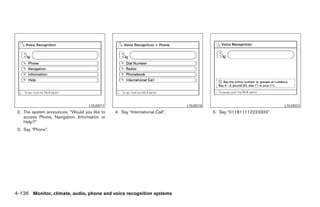
Do not attempt to use the system in extreme
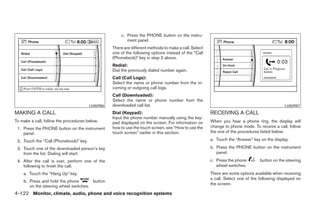
WARNING
temperature conditions [below -4°F (-20°C) or
● The driver must not attempt to operate above 158°F (70°C)].
or view the Mobile Entertainment Sys-
tem while the vehicle is in motion so To avoid discharging the vehicle battery, do not
that full attention may be given to ve- operate the system more than 15 minutes without
hicle operation. starting the engine.
● Do not attempt to modify the system to Movies will not be shown on the front display
display a movie on the front screen while the vehicle is in any drive position to reduce
while the vehicle is being driven. Doing driver distraction. Audio is available when a movie
so may distract the driver and may is played. To view movies in the front display, stop
cause a collision and serious personal the vehicle in a safe location, move the shift
injury or death. selector lever to the P (Park) position and apply
the parking brake.
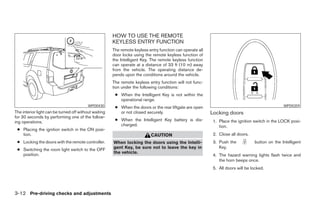
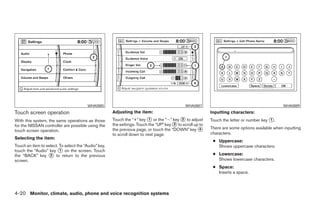
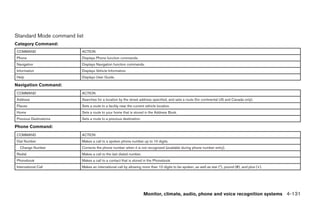
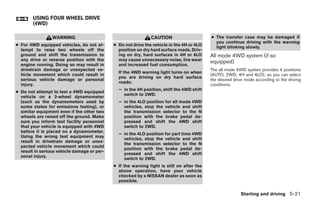
LHA1019
CAUTION
This vehicle is equipped with the mobile enter-
tainment system, which enables you to play a ● The glass screen on the liquid crystal
Digital Versatile Disc (DVD), providing the im- display may break if hit with a hard or
ages and sounds both in the front and rear dis- sharp object. If the glass breaks, do not
play screens. touch the liquid crystalline material,
which contains a small amount of mer-
cury. In case of contact with skin, wash
immediately with soap and water.
● Use a damp, soft cloth when cleaning
the Mobile Entertainment System com-
ponents. Do not use solvents or clean-
ing solutions.
Monitor, climate, audio, phone and voice recognition systems 4-89
੬ REVIEW COPY—2008 Pathfinder (pat)
Owners Manual—USA_English (nna)
10/01/07—debbie ੭](https://image.slidesharecdn.com/2008-path-120818113201-phpapp01/85/2008-PATHFINDER-OWNER-S-MANUAL-256-320.jpg)
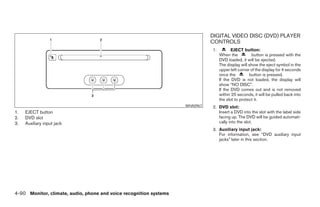
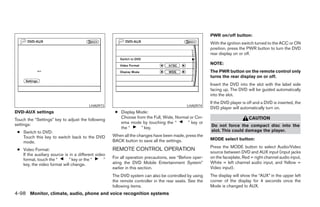
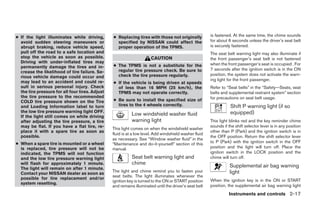
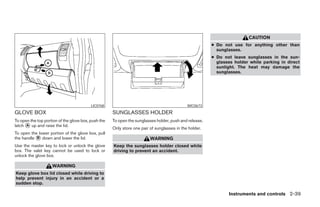
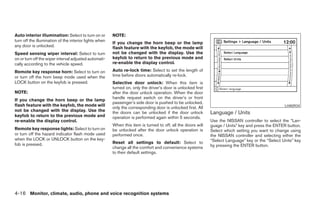
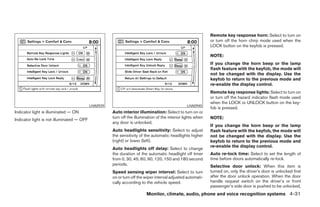
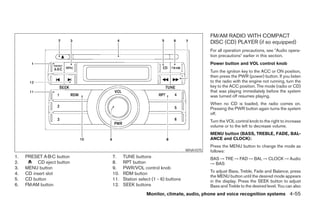
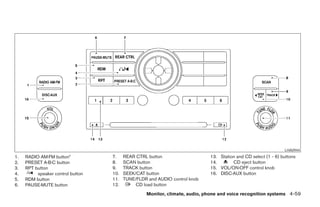
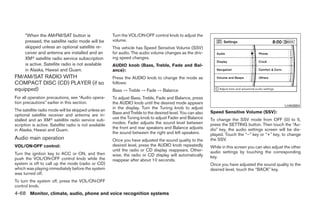
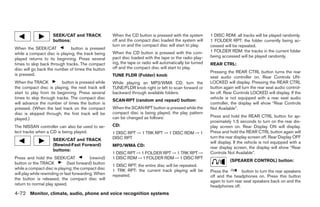
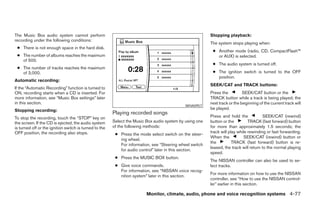
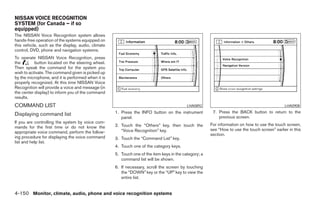
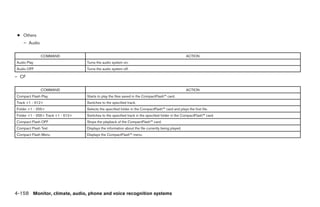
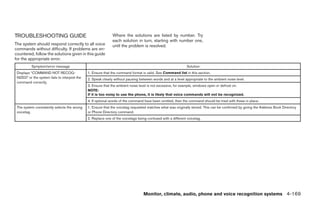
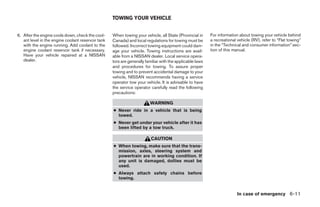
![Press the MENU button again to return to PLAY CLEAR: CARE AND MAINTENANCE
mode.
Press the CLEAR button to clear all numeric Use a lightly dampened, lint free cloth to clean the
TITLE: inputs, if actuated prior to expiration of the surfaces of your NISSAN Mobile Entertainment
3-second timer. System (DVD player face, screen, remote control,
Press TITLE button to return the DVD media to
the “title” of the DVD. NUMERIC KEYPAD (0–9 & ≥10): etc.).
Press TITLE button again to return to the previous Press the NUMERIC KEYPAD to directly access Do not attempt to use the system in extreme
stop point and play. disc chapters, titles or tracks by inputting their temperature conditions [below -4°F (-20°C) or
numeric value. above 158°F (70°C)].
BACK:
The “≥10” button input numbers greater than or Do not attempt to operate the system in extreme
Press the BACK button to exit the current active equal to 10, allowing up three digits to be input humidity conditions (less than 10% or more than
menu and return to the previous menu. for selecting chapter/title/track number. 75%).
SUBTITLE: The subsequent actuation of numeric buttons will CAUTION
Press the SUBTITLE button to call up subtitle continuously shift the previously input number to
selection menu. the “left”. ● Do not use any solvents or cleaning
solutions when cleaning the video
Repeatedly press the SUBTITLE button to cycle The chapter/title/track number will be automati- system.
through each available subtitle. cally selected (if valid, based on media content) if
3 seconds expire without any keypad inputs. ● Do not use excessive force on the moni-
AUDIO: tor screen.
The operator can cancel the input
Press the AUDIO button to call up audio menu. chapter/title/track number by actuating the ● Avoid touching or scratching the moni-
CLEAR control prior to the expiration of the tor screen as it may become dirty or
Repeatedly press the AUDIO button to cycle
3-second timer. damaged.
through each available audio track.
ANGLE: These functions can be used only for the DVD
discs which correspond to them.
Press the ANGLE button to call up camera angle
menu.
Repeatedly press the ANGLE button to cycle
through each available angle.
4-100 Monitor, climate, audio, phone and voice recognition systems
੬ REVIEW COPY—2008 Pathfinder (pat)
Owners Manual—USA_English (nna)
10/01/07—debbie ੭](https://image.slidesharecdn.com/2008-path-120818113201-phpapp01/85/2008-PATHFINDER-OWNER-S-MANUAL-267-320.jpg)


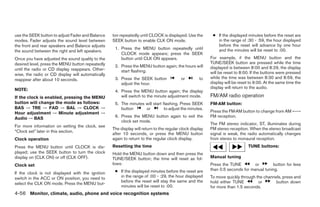
This document is the owner's manual for the 2008 Nissan Pathfinder, containing important information about vehicle operation, maintenance, and safety features. It advises users to read it thoroughly to ensure safe driving practices and familiarity with the vehicle's systems, and warns against modifications that may affect performance and safety. Additionally, it outlines customer care resources for addressing concerns with the vehicle.


