Download as PDF, PPTX
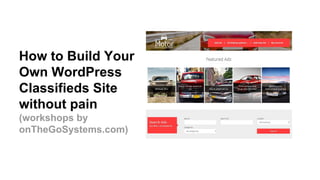

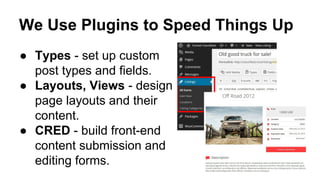
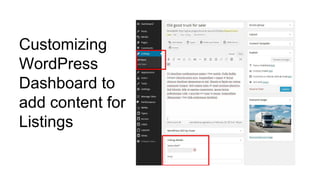
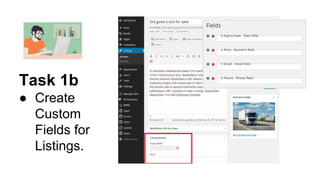

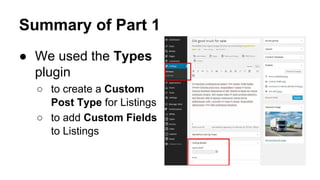


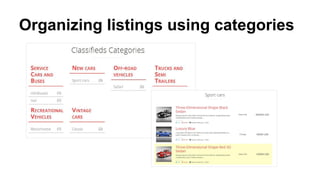
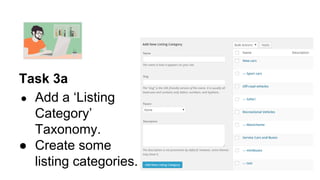
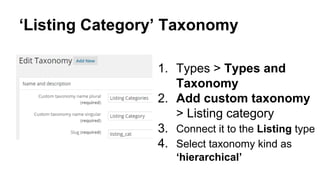
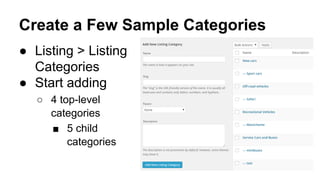

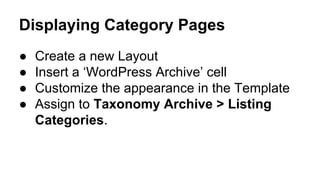
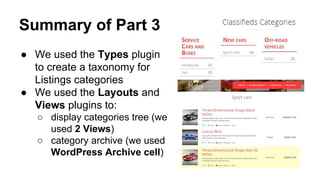
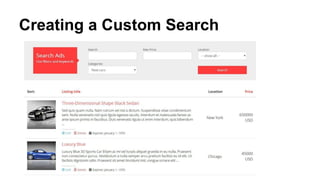
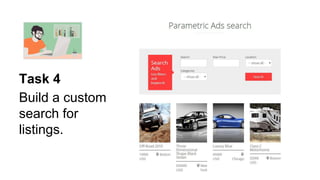
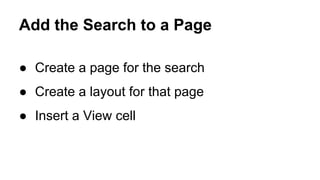
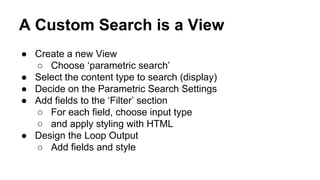
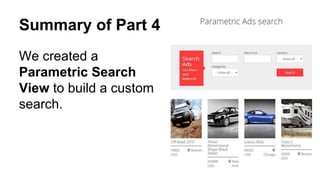

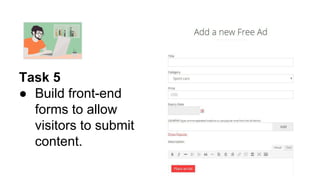
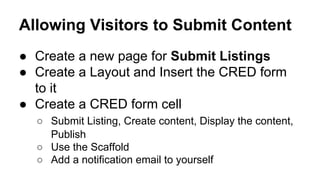
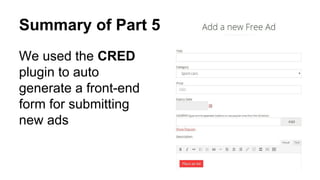

This document provides instructions for building a classified ads site using WordPress. It covers: 1) Creating custom post types and fields for listings using the Types plugin. 2) Displaying single listings using Layouts and Views plugins to output custom fields. 3) Organizing listings with categories using a custom taxonomy, and displaying them hierarchically with Views. 4) Building a custom search view to filter listings. 5) Allowing visitors to submit new listings using front-end forms from the CRED plugin. The full tutorial provides step-by-step guidance on setting up each element and integrating the plugins to construct a fully-functional classifieds site without custom code.


![How Big Brands are Taking Your Traffic in Alberta [Data Inside].pptx](https://cdn.slidesharecdn.com/ss_thumbnails/howbigbrandsaretakingyourtrafficinalbertadatainside-260123180142-42d276f3-thumbnail.jpg?width=640&height=640&fit=bounds)


