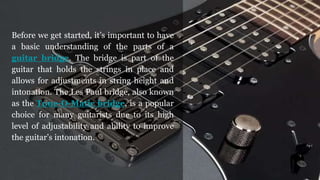
Before we get started, it’s important to have a basic understanding of the parts of a guitar bridge. The bridge is part of the guitar that holds the strings in place and allows for adjustments in string height and intonation. The Les Paul bridge, also known as the Tune-O-Matic bridge, is a popular choice for many guitarists due to its high level of adjustability and ability to improve the guitar’s intonation.
Visit - https://faberusa.com/what-is-the-difference-between-the-different-bridge-types/