Line Follower Robot
•Download as PPSX, PDF•
6 likes•2,350 views

Line / Path Follower Project For Electronics Students

Recommended
More Related Content
Viewers also liked
Viewers also liked (20)
Recently uploaded
Recently uploaded (20)
Line Follower Robot
- 3. Introduction A Line Follower Robot is an Autonomous Robot which tracks the line and follow them. The robot has two sensors installed underneath the front part of the body, and two DC motors drive wheels moving forward. A circuit inside takes an input signal from two sensors and controls the speed of wheels’ rotation. The control is done in such a way that when a sensor senses a black line, the motor slows down or even stops. Then the difference of rotation speed makes it possible to make turns. For instance, in the figure on the right, if the sensor somehow senses a black line, the wheel on that side slows down and the robot will make a right turn.
- 4. Theory of Operation i) How to sense a black line The sensors used for the project are Reflective Object Sensors, 0PB710F that are already ready in the Electronic Lab. The single sensor consists of an infrared emitting diode and a NPN Darlington phototransistor. When a light emitted from the diode is reflected off an object and back into the phototransistor, output current is produced, depending on the amount of infrared light, which triggers the base current of the phototransistor. In my case, the amount of light reflected off a black line is much less than that of a white background, so we can detect the black line somehow by measuring the current. (This current is converted to voltage.)
- 5. ii) How to control a DC motor Instead of applying a constant voltage across a DC motor, we repeat switching on and off the motor with a fixed voltage (Vcc) applied to the motor. This is done by sending a train of PWM (Pulse Width Modulation) pulses to a power MOSFET in order to turn it on and off. Then, the motor sees the average voltage while it depends on duty cycle of PWM pulses. The speed of rotation is proportion to this average voltage. By PWM method, it’s easier to control the DC motor than by directly controlling the voltage across it. All we have to do is to modulate pulse width, in order words, a duty cycle. Also, a power MOSFET consumes only negligible power in switching.
- 7. Start Building RoBot Before starting to build a real circuit, built is on the lab breadboard and verified everything worked fine. Then, bought a blank breadboard from ECE storeroom. put together each electronic part and wires on the board and soldered them all. (The work would have been much easier to use a PCB (Printed Circuit Board).) After that, checked if there is any bad connection, and tested if the circuit generates correct pulses at each point. (i.e. Q1 and Q2) This whole work took quite a time, much longer than I expected. For a robot body, bought a container and two flying wheel toys at the Wal-Mart. With every part ready, drilled holes to fix two DC motors, some supporting aluminum plates and sensors in front
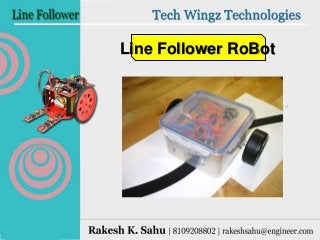
- 8. Complete BOT
- 9. Thank You!! For More Projects Visit : www.slideshare.net/rexrakes h
- 10. -: Project By :- Rakesh K. Sahu Contact : +91-8109208802 Email : rakeshsahu@engineer.com