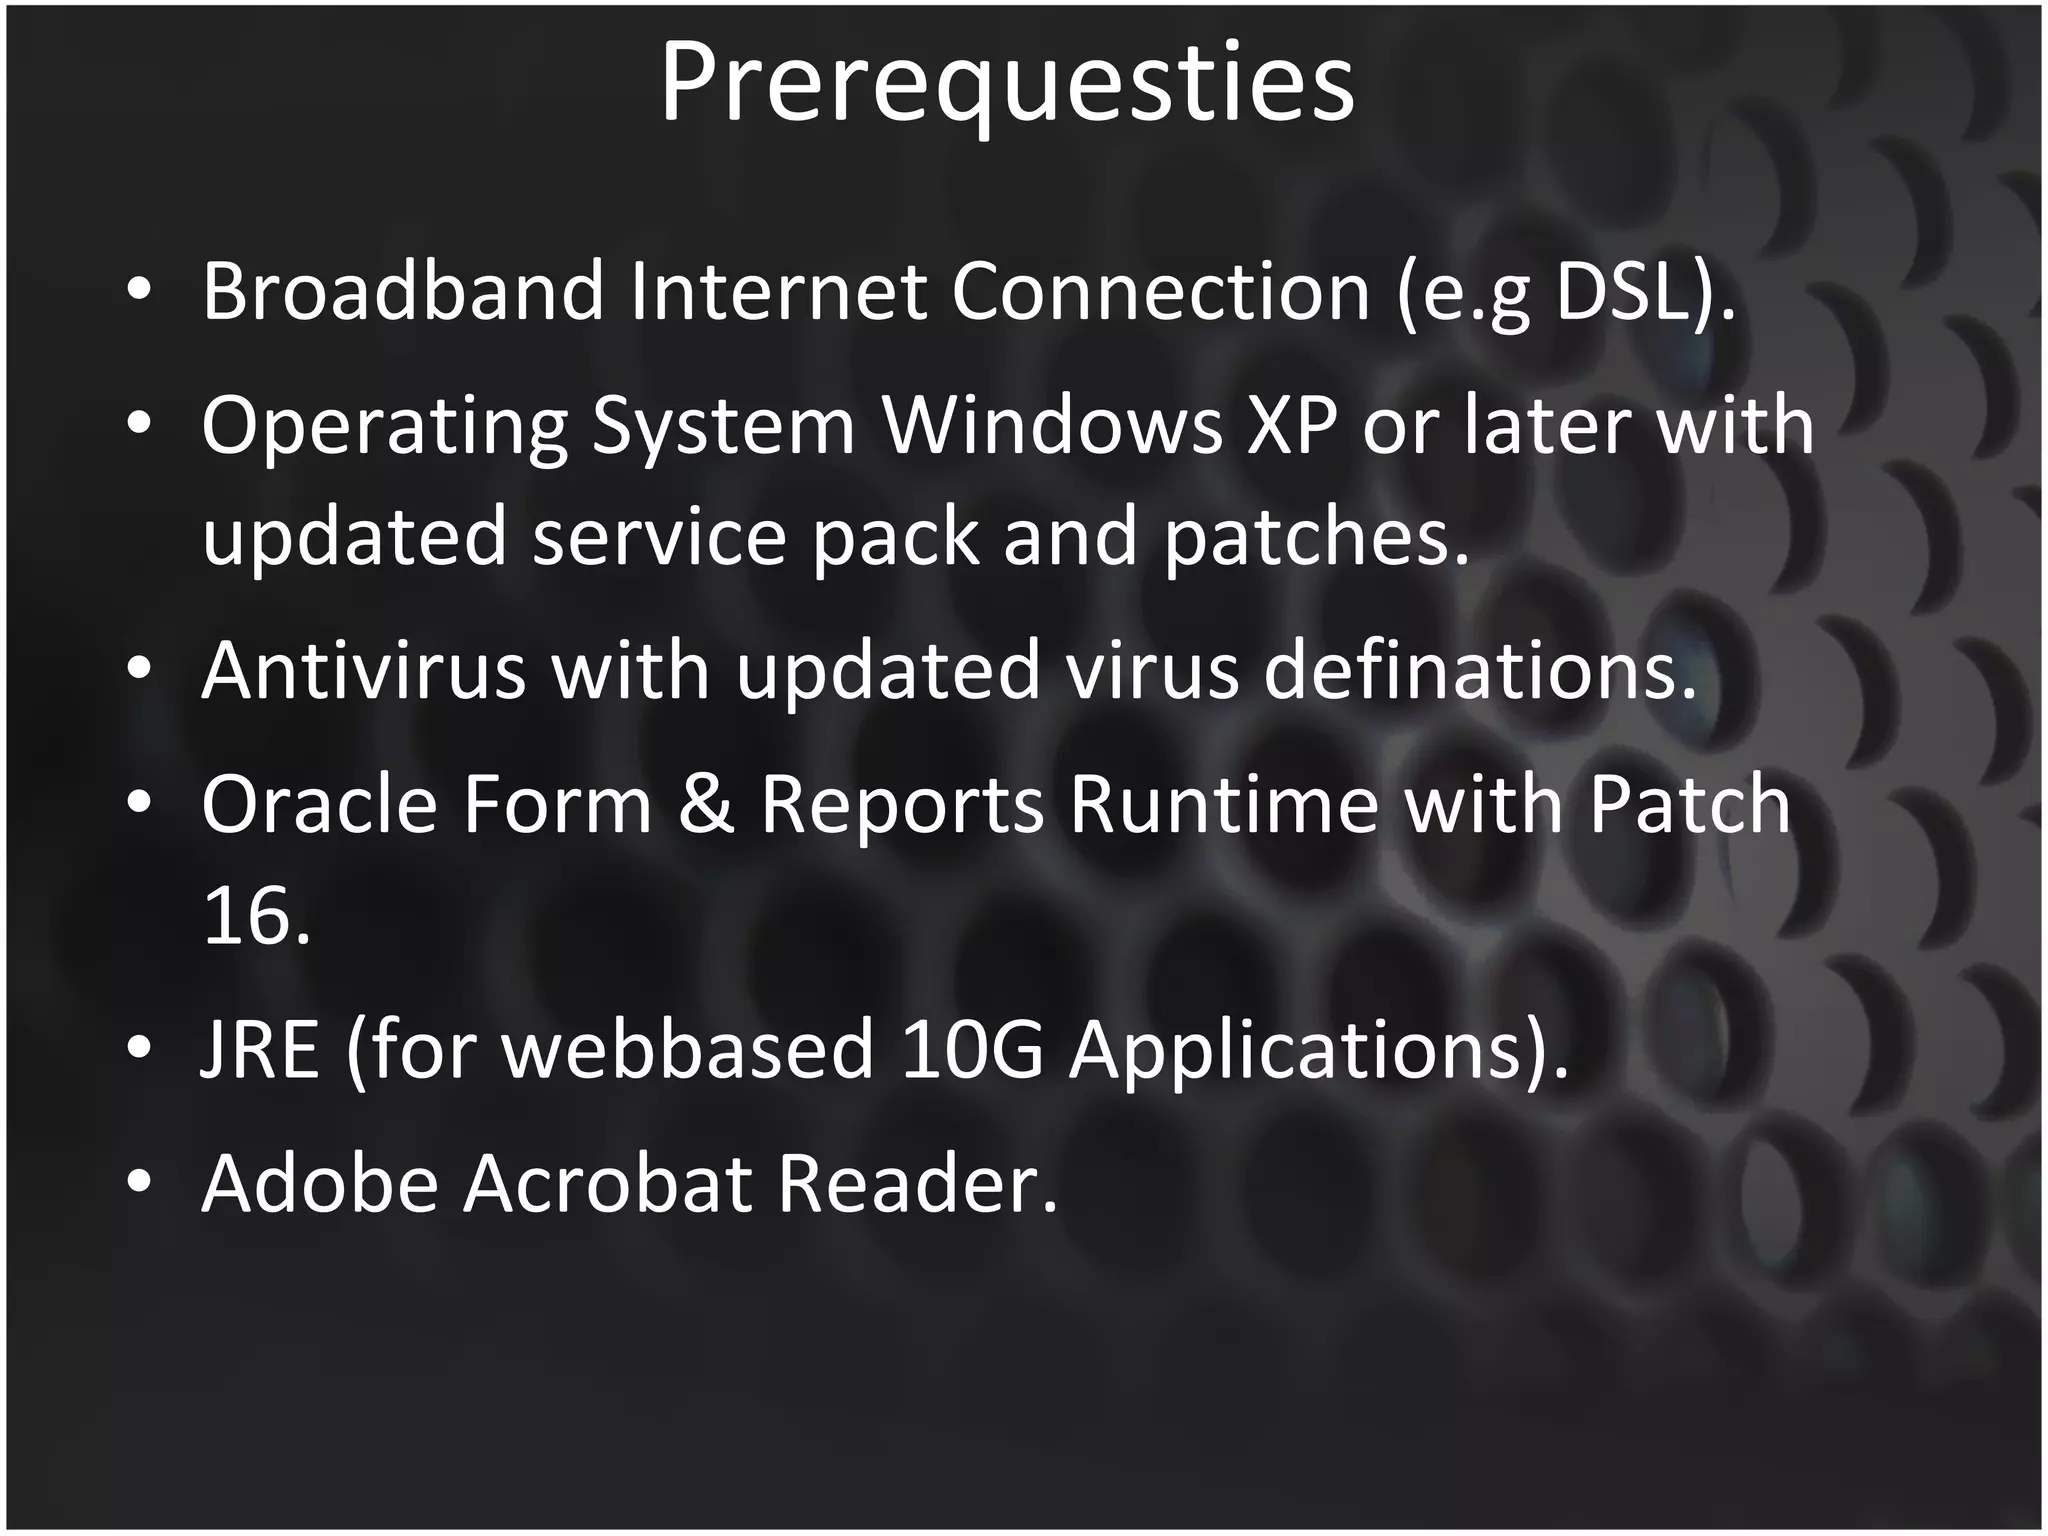
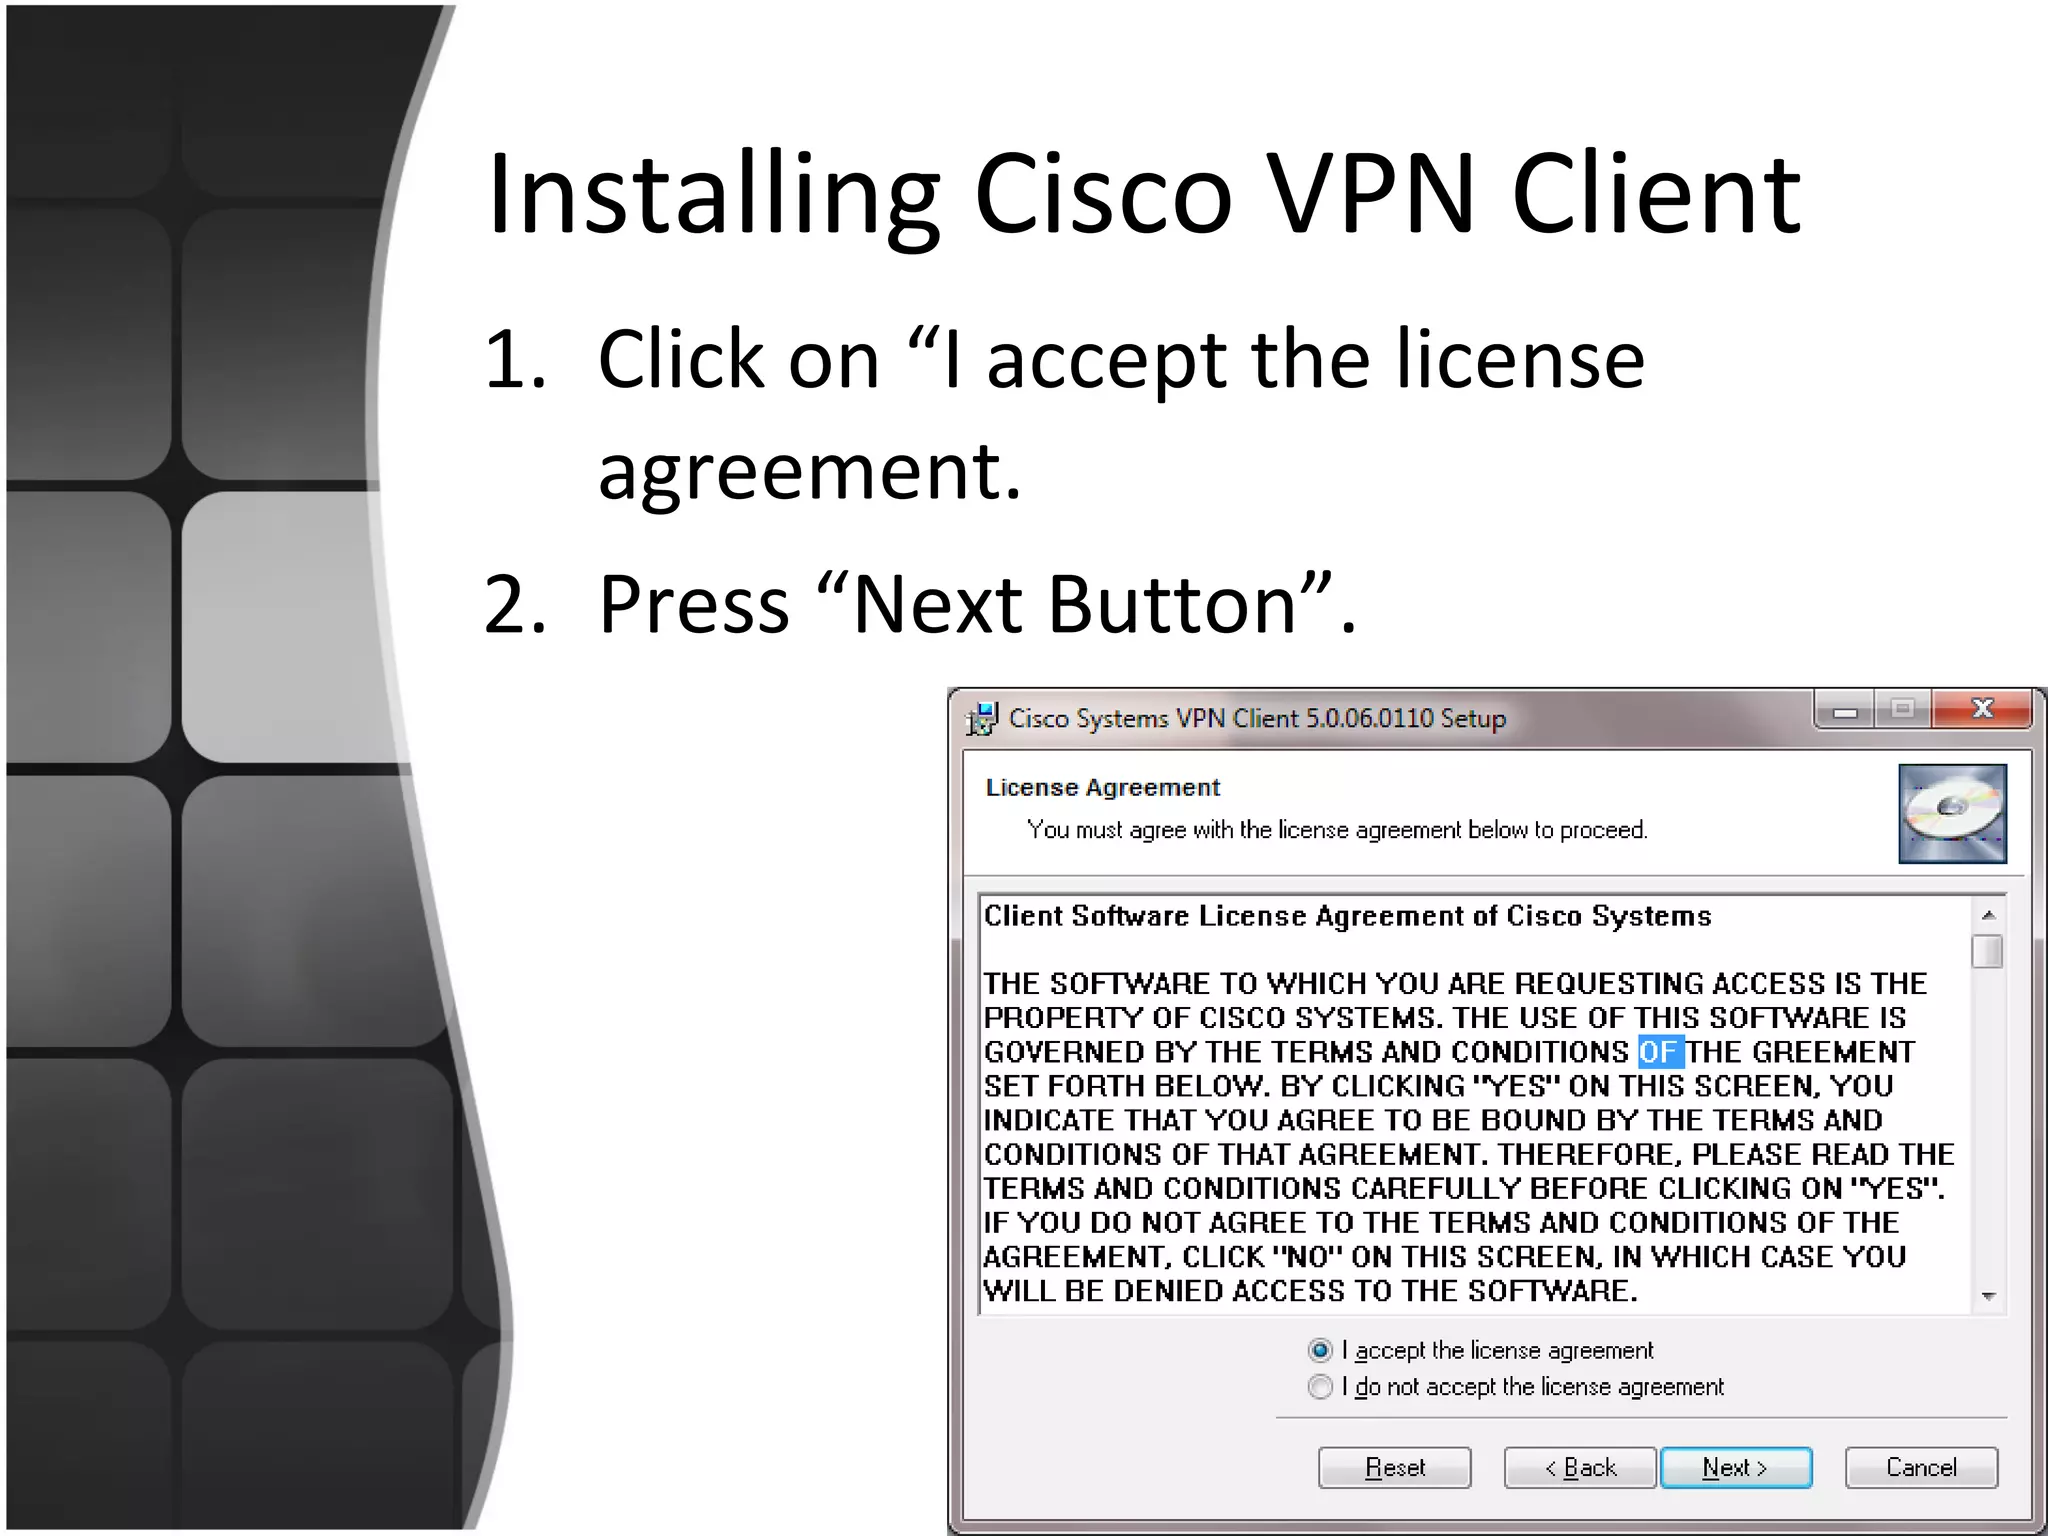
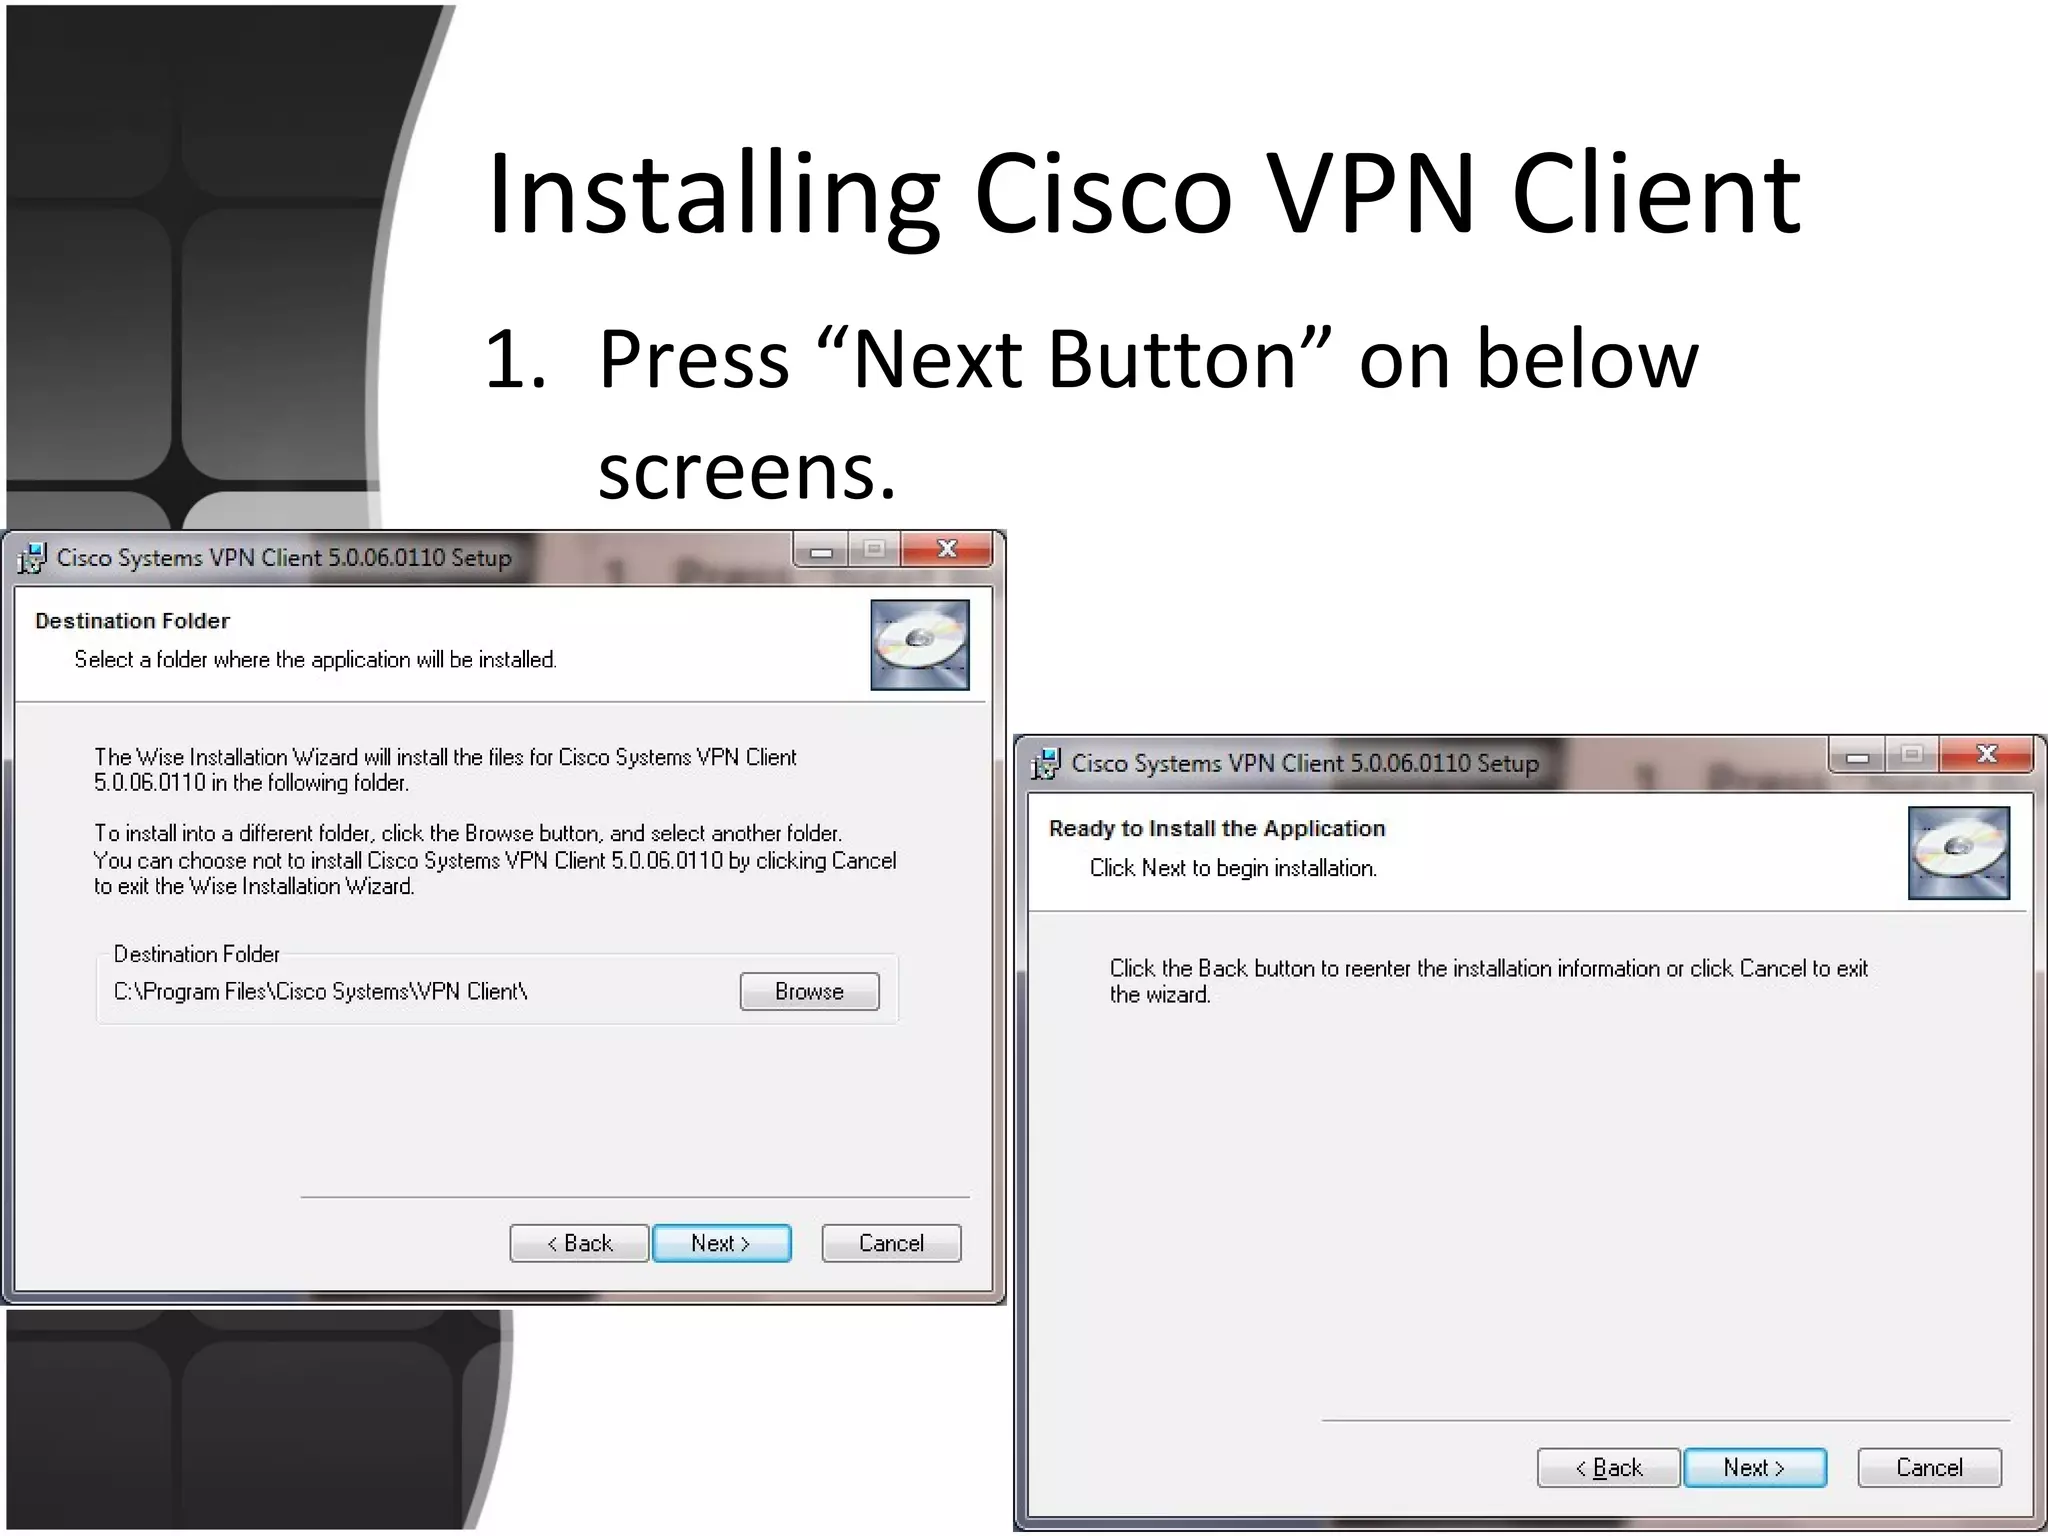
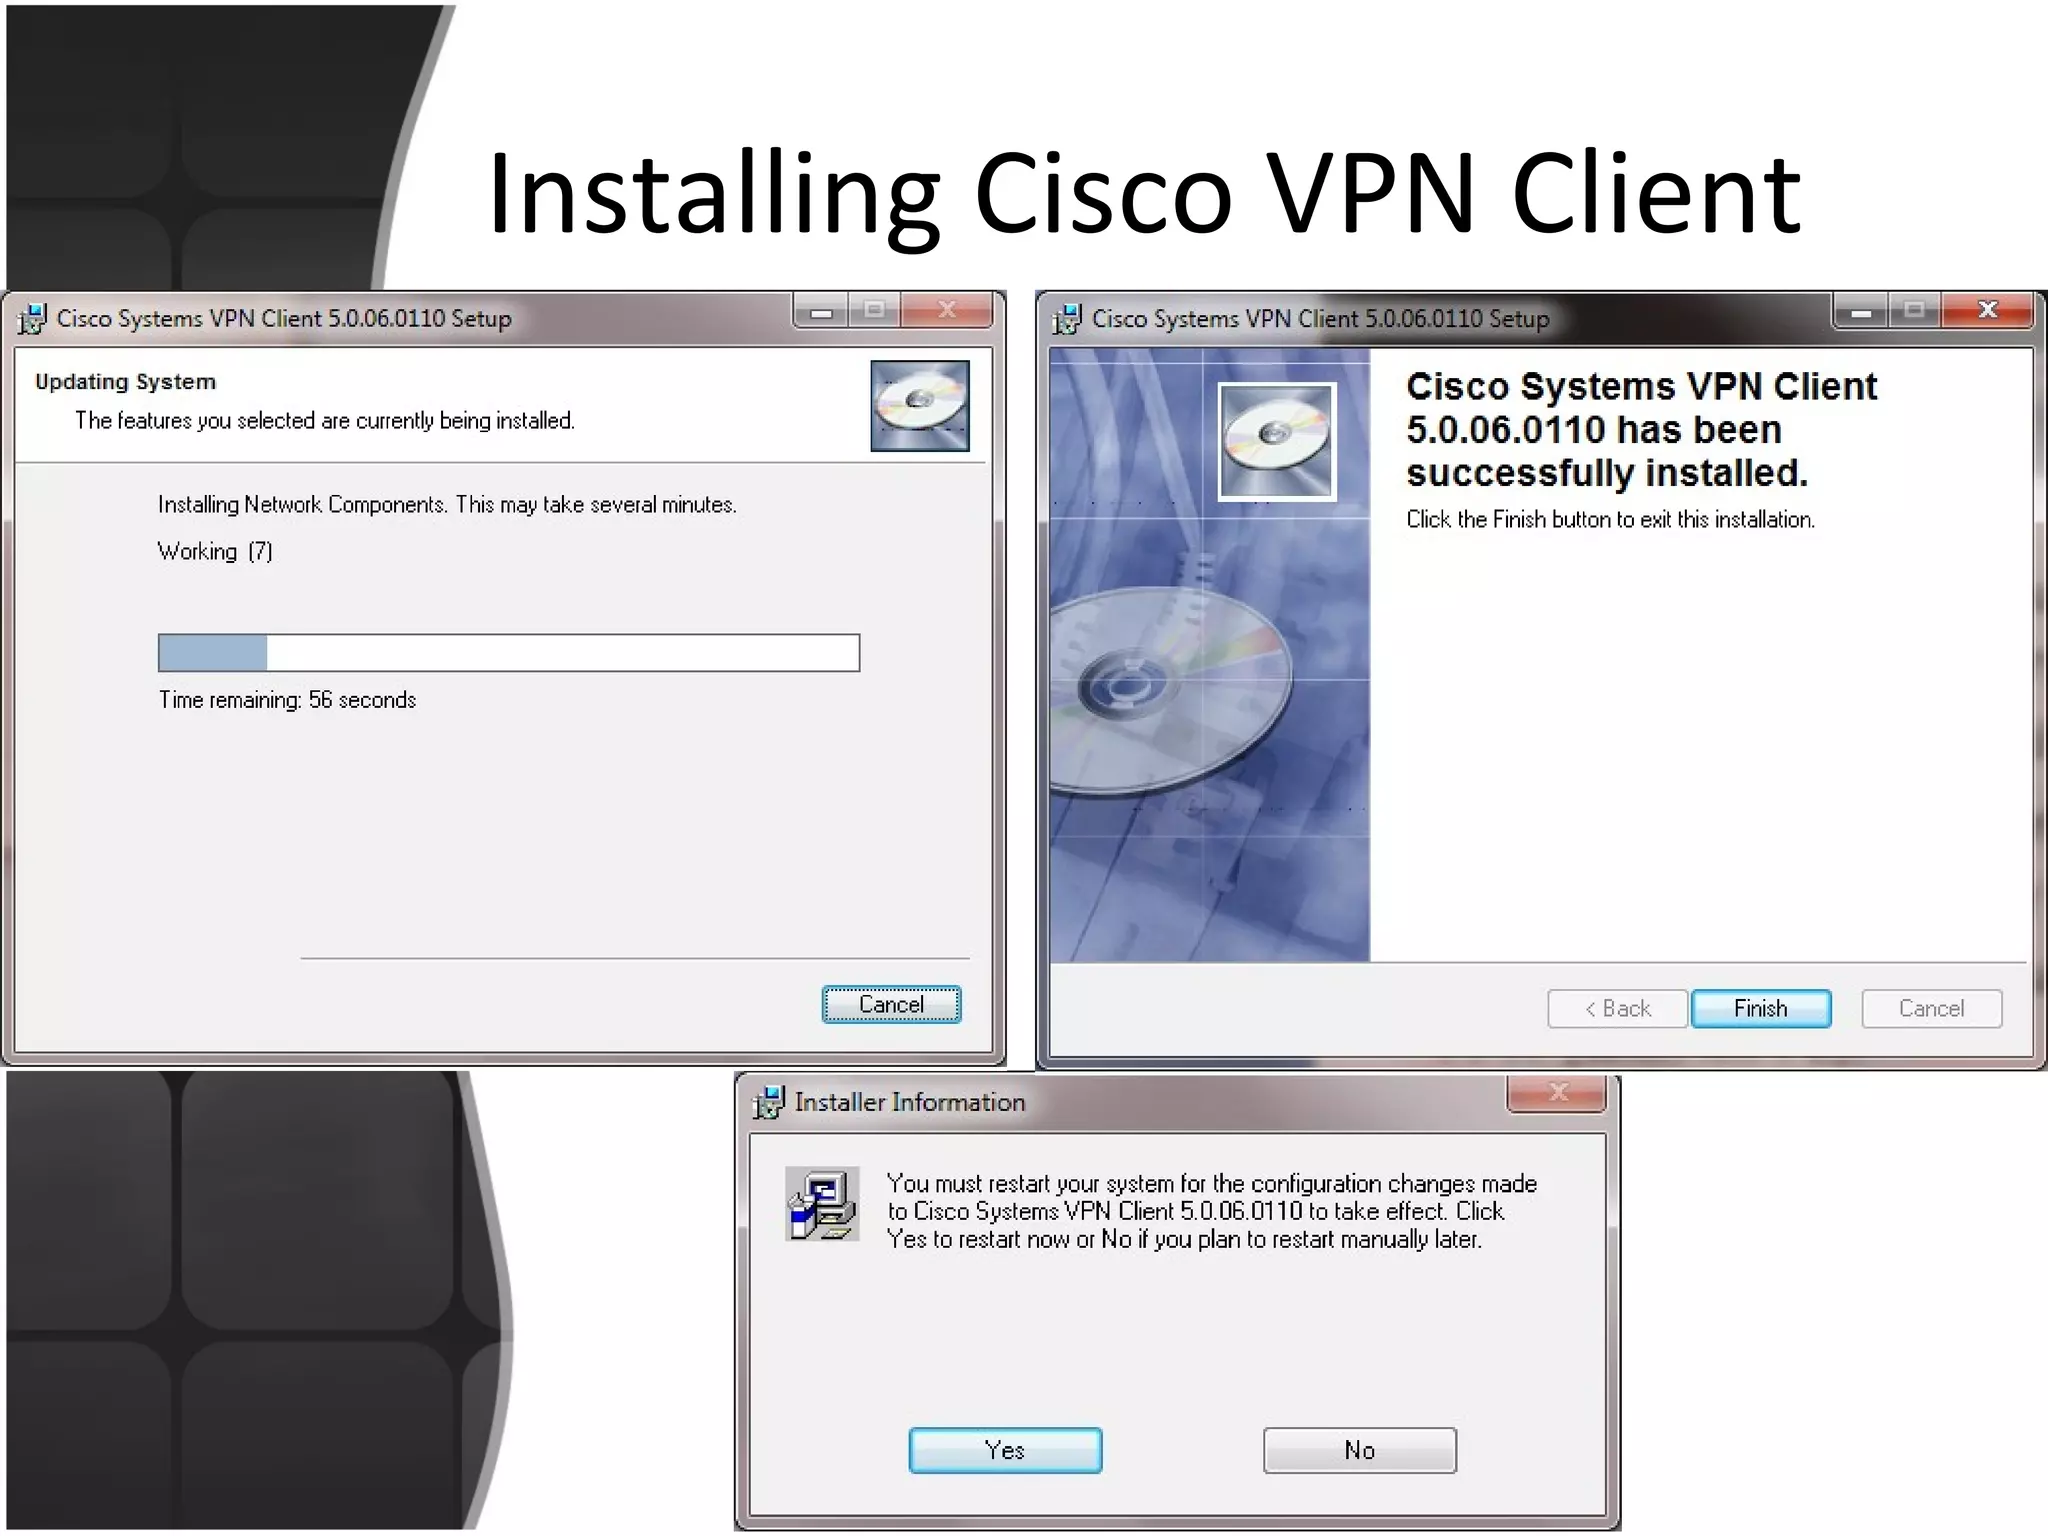
Installing  / Configuring  Cisco VPN Client
Prerequesties Broadband Internet Connection (e.g DSL). Operating System Windows XP or later with updated service pack and patches. Antivirus with updated virus definations. Oracle Form & Reports Runtime with Patch 16. JRE (for webbased 10G Applications). Adobe Acrobat Reader.
Installing Cisco VPN Client Insert the CD which contains Cisco VPN Client. Run “vpnclient_setup.exe” file to start installation and press “Next” button.
Installing Cisco VPN Client Click on “I accept the license agreement. Press “Next Button”.
Installing Cisco VPN Client Press “Next Button” on below screens.
Installing Cisco VPN Client
Configuring Cisco VPN Client Open Cisco VPN Client Click on “Connection Entries” and select “New”.
Configuring Cisco VPN Client Open Cisco VPN Client Click on “Connection Entries” and select “New” and enters the following .
Configuring Cisco VPN Client Enter the Group Authentication “Name” , “Password” and “Confirm Password” (contact ISD HO for credentials). Press “Save”.
Configuring Cisco VPN Client Click on “Connect” button. Enter Username: “vpnuser”. Enter Password: “uservpn”.  Press “OK” button.
Configuring Cisco VPN Client After Successful authentication check connectivity use “ping” command.
Server Names & IP Address Mail Server  192.168.0.6 Application Server 6i  192.168.0.7 OLP Intranet  192.168.0.48 Application Server 10g  192.168.0.10 Proxy Server  192.168.0.37

Ciscovpn

  • 1.
    Installing /Configuring Cisco VPN Client
  • 2.
    Prerequesties Broadband InternetConnection (e.g DSL). Operating System Windows XP or later with updated service pack and patches. Antivirus with updated virus definations. Oracle Form & Reports Runtime with Patch 16. JRE (for webbased 10G Applications). Adobe Acrobat Reader.
  • 3.
    Installing Cisco VPNClient Insert the CD which contains Cisco VPN Client. Run “vpnclient_setup.exe” file to start installation and press “Next” button.
  • 4.
    Installing Cisco VPNClient Click on “I accept the license agreement. Press “Next Button”.
  • 5.
    Installing Cisco VPNClient Press “Next Button” on below screens.
  • 6.
  • 7.
    Configuring Cisco VPNClient Open Cisco VPN Client Click on “Connection Entries” and select “New”.
  • 8.
    Configuring Cisco VPNClient Open Cisco VPN Client Click on “Connection Entries” and select “New” and enters the following .
  • 9.
    Configuring Cisco VPNClient Enter the Group Authentication “Name” , “Password” and “Confirm Password” (contact ISD HO for credentials). Press “Save”.
  • 10.
    Configuring Cisco VPNClient Click on “Connect” button. Enter Username: “vpnuser”. Enter Password: “uservpn”. Press “OK” button.
  • 11.
    Configuring Cisco VPNClient After Successful authentication check connectivity use “ping” command.
  • 12.
    Server Names &IP Address Mail Server 192.168.0.6 Application Server 6i 192.168.0.7 OLP Intranet 192.168.0.48 Application Server 10g 192.168.0.10 Proxy Server 192.168.0.37