Download to read offline
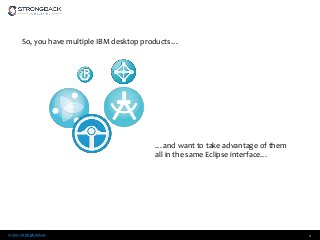
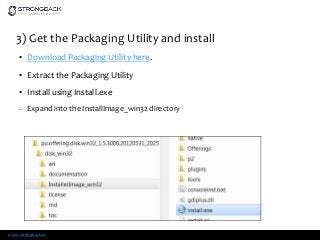
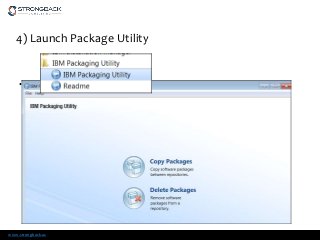


Many IBM Desktop products are Eclipsed based, and can share the same Eclipse shell. This often results in greater functionality than having them installed separately. IBM Packaging Utility is a great tool to manage deployment and update of combined product packages in a controlled centralized manner.