
Recommended
More Related Content
Similar to How to Insert a Watermark in Excel (a Step-by-step Guide).pdf
Similar to How to Insert a Watermark in Excel (a Step-by-step Guide).pdf (20)
More from Project Cubicle
More from Project Cubicle (8)
Recently uploaded
Recently uploaded (20)
How to Insert a Watermark in Excel (a Step-by-step Guide).pdf
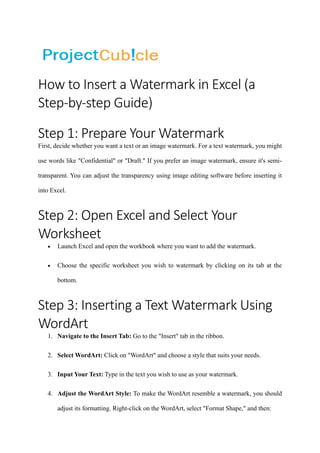
- 1. How to Insert a Watermark in Excel (a Step-by-step Guide) Step 1: Prepare Your Watermark First, decide whether you want a text or an image watermark. For a text watermark, you might use words like "Confidential" or "Draft." If you prefer an image watermark, ensure it's semi- transparent. You can adjust the transparency using image editing software before inserting it into Excel. Step 2: Open Excel and Select Your Worksheet • Launch Excel and open the workbook where you want to add the watermark. • Choose the specific worksheet you wish to watermark by clicking on its tab at the bottom. Step 3: Inserting a Text Watermark Using WordArt 1. Navigate to the Insert Tab: Go to the "Insert" tab in the ribbon. 2. Select WordArt: Click on "WordArt" and choose a style that suits your needs. 3. Input Your Text: Type in the text you wish to use as your watermark. 4. Adjust the WordArt Style: To make the WordArt resemble a watermark, you should adjust its formatting. Right-click on the WordArt, select "Format Shape," and then:
- 2. • Fill: Choose a light color or a semi-transparent fill to make the text appear as a watermark. • Transparency: Increase the transparency to make sure the text is subtle and doesn't interfere with the visibility of your data. 5. Position the WordArt: Drag your WordArt to the desired location. If it’s in the way of your data, you can send it to the back by right-clicking on it and selecting "Send to Back." Step 4: Inserting an Image Watermark 1. Navigate to the Insert Tab: Just like with the text watermark, start by going to the "Insert" tab. 2. Insert Picture: Click on "Pictures" and select the image file you prepared earlier. After inserting it, you may need to resize the image to fit your worksheet. 3. Adjust the Image: Right-click on the image, select "Format Picture," and then adjust the transparency slider under the "Fill" option to make your image look like a watermark. 4. Position the Image: Move the image to where you want it on your worksheet. If it obstructs your data, right-click on the image, select "Send to Back," and then choose "Send Behind Text." Step 5: Final Adjustments After inserting either a text or image watermark, you might need to make final adjustments to ensure it doesn't overshadow the worksheet's content. This can involve further tweaking the transparency, size, or position of your watermark.
- 3. Step 6: Save Your Workbook Once satisfied with the appearance of your watermark, save your workbook to preserve the changes. Additional Tips • Printing Watermarks: To ensure your watermark prints as it appears on screen, check your printer settings. Some printers or Excel versions might require you to adjust settings for background images or colors. • Multiple Sheets: If you want the watermark to appear on multiple sheets, you'll need to repeat this process for each sheet individually, as Excel does not automatically apply watermarks to every sheet in a workbook. By following these steps, you can effectively add watermarks to your Excel worksheets, enhancing both their appearance and the security of your information.