Downloaded 165 times

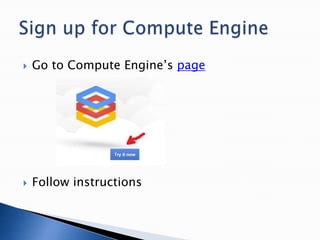
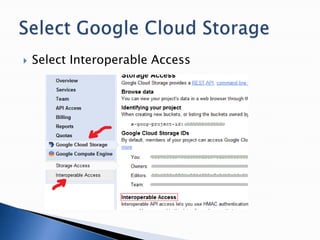
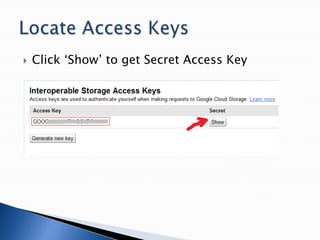
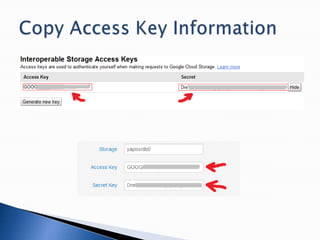
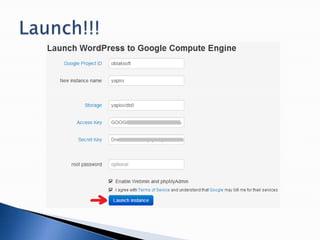
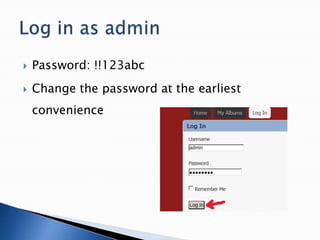
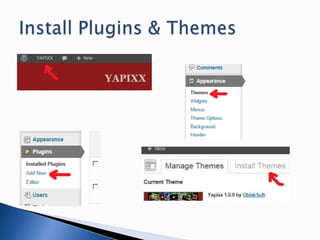
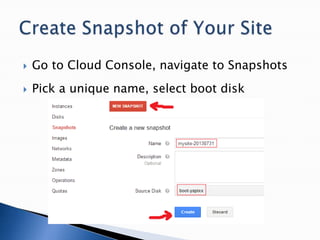
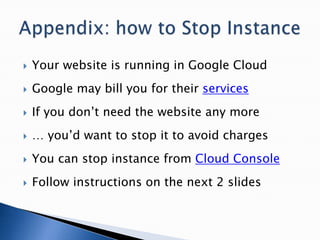


The document provides a step-by-step guide for setting up a website using Google Cloud services, including signing up for Google Compute Engine and Cloud Storage, launching a WordPress instance, and creating a unique storage bucket. It also includes instructions on how to stop and delete instances and disks to avoid charges when the site is no longer needed. Users are advised to change the default admin password and are informed about potential billing from Google for their services.