Download as PDF, PPTX


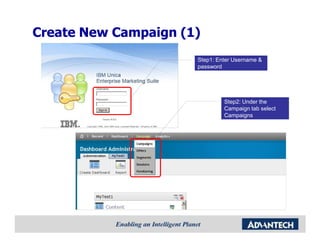
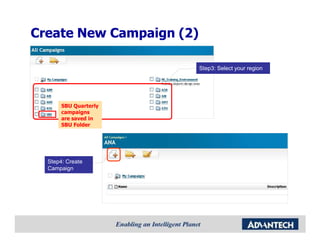
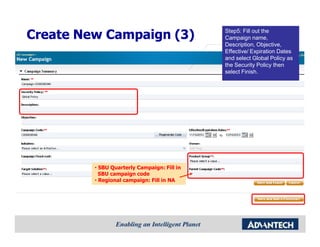
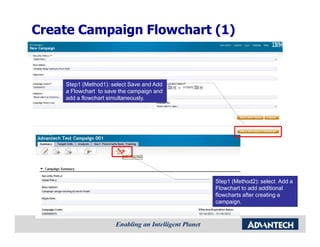
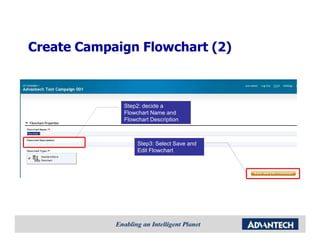
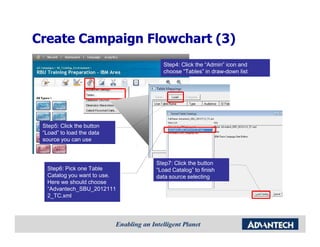
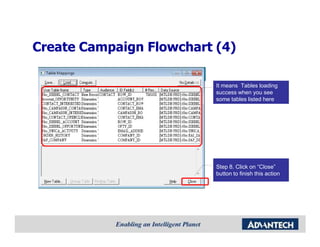
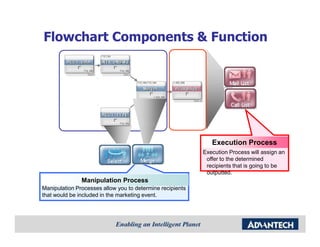
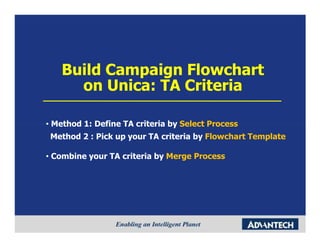
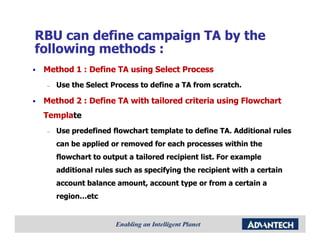
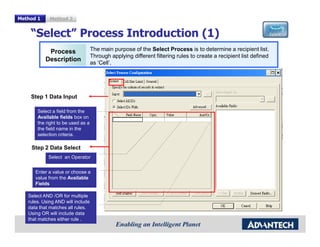

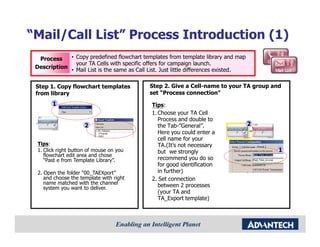
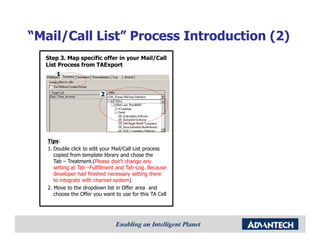

The document provides steps for creating and managing campaigns in the Unica Campaign system. It outlines uploading materials, creating a new campaign and building flowcharts to define target audiences and offers. Key steps include selecting target criteria using select and merge processes, profiling fields, copying flowchart templates and mapping specific offers. The document ensures campaigns are properly configured and integrated with downstream systems before launch.


