Small woodworking projects
•
0 likes•319 views

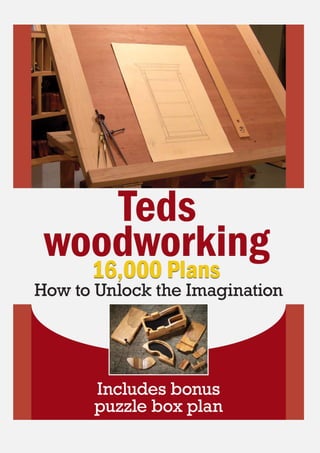
Instant Access To 16,000 Woodworking Designs, DIY Patterns & Crafts | Popular Woodworking Kits, Ideas and Furniture Plans

Recommended
More Related Content
Viewers also liked
Similar to Small woodworking projects
Similar to Small woodworking projects (20)
Recently uploaded
Recently uploaded (10)
Small woodworking projects
- 2. After about a week and a half of planning and debating over what dimensions of wood I would use I finally got this started and finished in one day. Here is the plans that were made using Google Sketch-up.
- 3. I was going back and forth on using 2x4s or going with 4x4s. I finally decided on 2x4s. Here are the materials used for the project: Nine 2x4s by 8' One sheet of 4x8' plywood (I used ½" but was debating on going thicker) 2½"-3" drywall screws --- 1 pound box 1" drywall screws ---1 pound box Some construction adhesive (optional) Here are the cuts needed from the 2x4s: 56" x 4 38" x 4 31" x 8 13" x 12 Cuts for the plywood: 3'2" x 1'4" x 2 4'9" x 1'4" x 2 4'1" x 1'4" x 1 Here is a diagram. I chose to have Home Depot cut it for me.
- 4. KEEP ALL SCRAP PIECES AS THEY DO COME IN HANDY... Then once I got started, the first step was to create the outer frames. Using the 56" and the 12" 2x4s as shown below.
- 5. My next step was to put in the cross bracing and I started with the outer most ones first. Now here is where one of the scrap pieces came in handy. I used it to set exactly where the first brace would go.
- 6. For all connections of 2x4s to 2x4s I am using 2½" drywall screws. Then I used a pair of 10" scrap pieces to set the position of the next crossbraces.
- 7. I did the same for both sides and the same on the top and bottom of the stand. At this point I attached the plywood to the top of the shelves. I did it this way so I could be sure that the 38" 2x4s went from plywood top to the ground. I screwed the uprights from three sides.
- 8. After correcting a mis-cut from Home Depot, the 31” pieces went on the outside of the main 2x4 uprights so that the weight of the outer frame does not rest on the drywall screws. Once I got those pieces on I put on the plywood on the end, and then did the same thing to the other side. Next step is to double check the width of the inside (where the bottom 55 would go) and then cut a piece of plywood to fit. For all plywood to 2x4 I used the 1" drywall screws.
- 9. At this point I had a piece of nice looking laminated pressed board from an old entertainment center that I used on the top just to make it look nicer. Here is what it looks like once everything is done. Of course the tanks will be cleaned up a bit more before they are filled. I enjoyed my project and I am please to be able to share it with you all!
- 10. READ MORE