
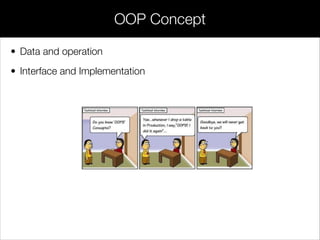
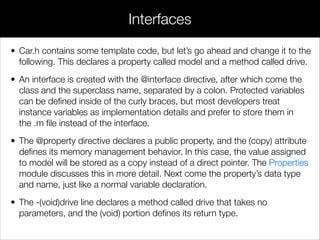

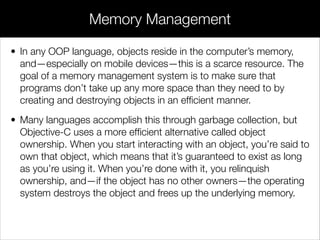
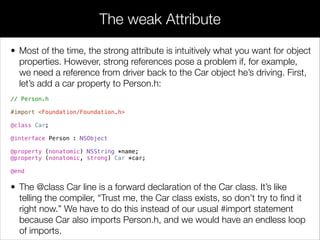
![• Any files that need access to a class must import its header file
(Car.h)—they should never, ever try to access the implementation
file directly. That would defeat the goal of separating the public API
from its underlying implementation.
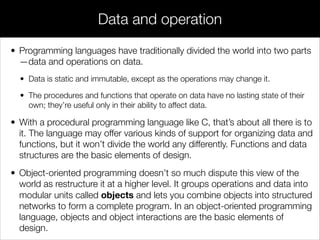
• After the interface has been imported with the #import directive,
you can instantiate objects with the alloc/init pattern shown above.
As you can see, instantiation is a two-step process: first you must
allocate some memory for the object by calling the alloc method,
then you need to initialize it so it’s ready to use. You should never
use an uninitialized object.
• To call a method on an Objective-C object, you place the instance
and the method in square brackets, separated by a space:
[toyota setModel:@"Toyota Corolla"]
Instantiation and Usage](https://image.slidesharecdn.com/session3-objectorientedprogrammingwithobjective-cpart1-140317160600-phpapp01/85/Session-3-Object-oriented-programming-with-Objective-C-part-1-17-320.jpg)
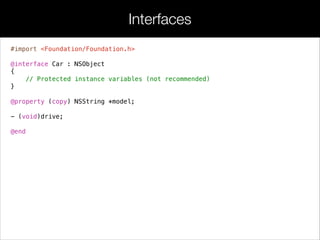
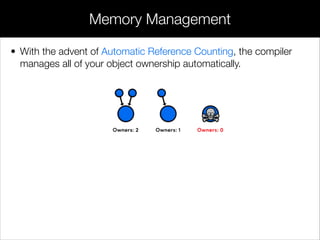
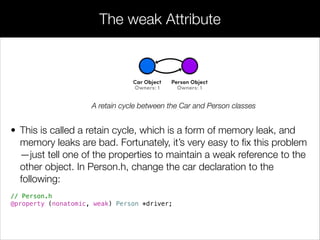
![#import <Foundation/Foundation.h>
#import "Car.h"
!
int main(int argc, const char * argv[])
{
@autoreleasepool
{
// Create an instance of Car object
Car *toyota = [[Car alloc]init];
// Use get/set model method to update car's model
[toyota setModel:@"Toyota Corolla"];
NSLog(@"Created a %@", [toyota model]);
// Use property to update car's model
toyota.model = @"Toyota Camry";
NSLog(@"Changed the car to %@", toyota.model);
// Call method drive of toyota object
[toyota drive];
}
return 0;
}
Instantiation and Usage](https://image.slidesharecdn.com/session3-objectorientedprogrammingwithobjective-cpart1-140317160600-phpapp01/85/Session-3-Object-oriented-programming-with-Objective-C-part-1-18-320.jpg)
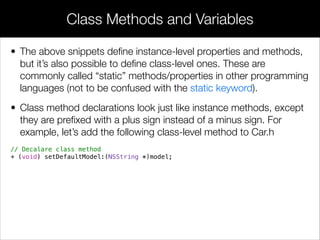
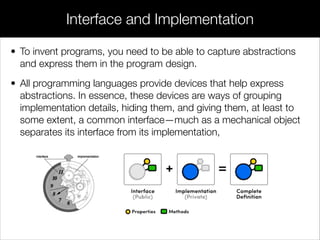
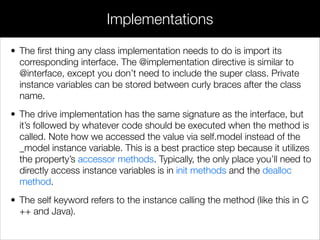
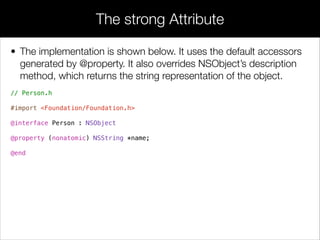
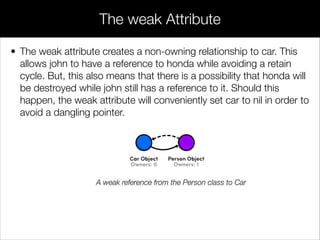
![• Similarly, a class method implementation is also preceded by a plus
sign. While there is technically no such thing as a class-level
variable in Objective-C, you can emulate one by declaring a static
variable before defining the implementation:
#import "Car.h"
!
static NSString *_defaultModel;
!
@implementation Car
!
...
!
+ (void)setDefaultModel:(NSString *)model
{
_defaultModel = [model copy];
}
!
@end
Class Methods and Variables](https://image.slidesharecdn.com/session3-objectorientedprogrammingwithobjective-cpart1-140317160600-phpapp01/85/Session-3-Object-oriented-programming-with-Objective-C-part-1-20-320.jpg)
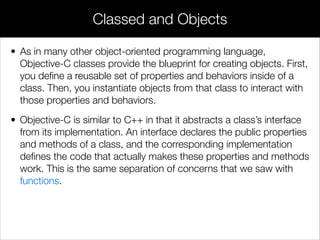
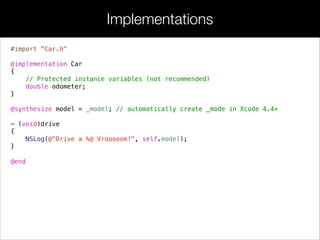
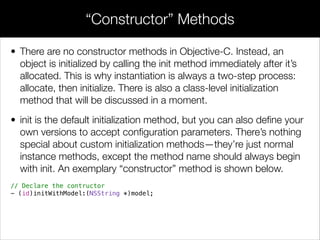
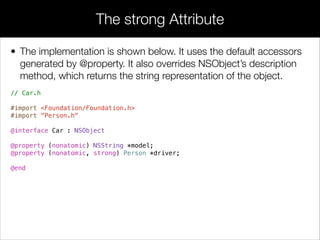
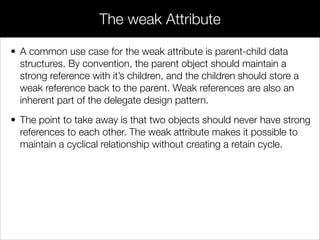
![• Class methods use the same square-bracket syntax as instance
methods, but they must be called directly on the class, as shown
below. They cannot be called on an instance of that class
([toyota setDefaultModel:@"Model T"] will throw an error).
// Call class method
[Car setDefaultModel:@"Nissan Versa"];
Class Methods and Variables](https://image.slidesharecdn.com/session3-objectorientedprogrammingwithobjective-cpart1-140317160600-phpapp01/85/Session-3-Object-oriented-programming-with-Objective-C-part-1-21-320.jpg)
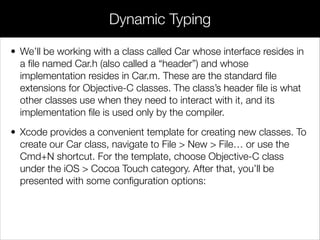
![• To implement this method, you should follow the canonical
initialization pattern shown in initWithModel: below. The super
keyword refers to the parent class, and again, the self keyword
refers to the instance calling the method. Go ahead and add the
following methods to Car.m.
- (id)initWithModel:(NSString *)aModel
{
self = [super init];
if (self)
{
_model = [aModel copy];
odometer = 0;
}
return self;
}
“Constructor” Methods](https://image.slidesharecdn.com/session3-objectorientedprogrammingwithobjective-cpart1-140317160600-phpapp01/85/Session-3-Object-oriented-programming-with-Objective-C-part-1-23-320.jpg)
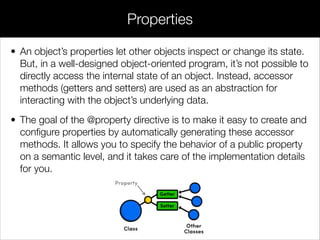
![• In main.m class you can create an instance of Car by using
initWitModel contructor:
// Car.m
Car *toyota = [[Car alloc]initWithModel:@"Toyota Corolla"];
“Constructor” Methods](https://image.slidesharecdn.com/session3-objectorientedprogrammingwithobjective-cpart1-140317160600-phpapp01/85/Session-3-Object-oriented-programming-with-Objective-C-part-1-24-320.jpg)
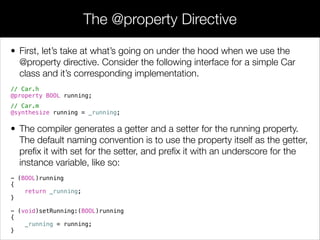
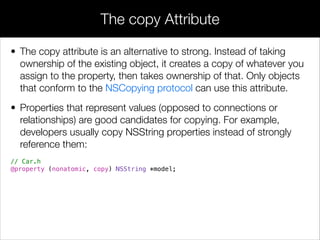
![• If you don’t like @property’s default naming conventions, you can
change the getter/setter method names with the getter= and
setter= attributes. A common use case for this is Boolean
properties, whose getters are conventionally prefixed with is. Try
changing the property declaration in Car.h to the following:
// Car.h
@property (getter = isRunning) BOOL running;
!
• The generated accessors are now called isRunning and
setRunning. Note that the public property is still called running, and
this is what you should use for dot-notation:
// Car.m
Car *honda = [[Car alloc]init];
honda.running = YES; // [honda setRunning:YES]
NSLog(@"%d", honda.running); // [honda isRunning]
NSLog(@"%d", [honda running]); // Error: method no longer exists
The getter= and setter= Attributes](https://image.slidesharecdn.com/session3-objectorientedprogrammingwithobjective-cpart1-140317160600-phpapp01/85/Session-3-Object-oriented-programming-with-Objective-C-part-1-28-320.jpg)
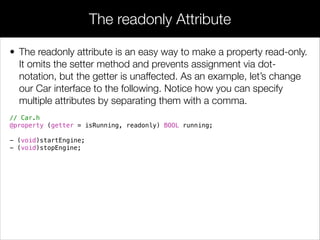
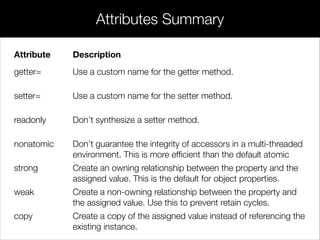
![• Remember that @property also generates an instance variable for
us, which is why we can access _running without declaring it
anywhere (we can’t use self.running here because the property is
read-only). Let’s test this new Car class by adding the following
snippet to main.m.
Car *honda = [[Car alloc]init];
[honda startEngine];
NSLog(@"%d", honda.running);
honda.running = NO; // Error: read-only property
The readonly Attribute](https://image.slidesharecdn.com/session3-objectorientedprogrammingwithobjective-cpart1-140317160600-phpapp01/85/Session-3-Object-oriented-programming-with-Objective-C-part-1-31-320.jpg)
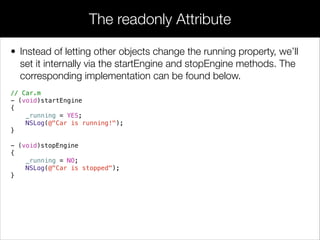
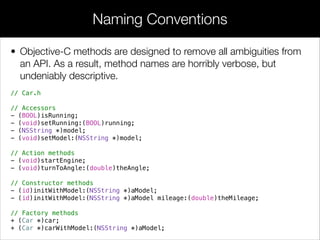
![• Then, consider the following iteration of main.m:
!
// main.m
!
Person *john = [[Person alloc]init];
john.name = @"John";
Car *honda = [[Car alloc]init];
honda.model = @"Honda Civic";
honda.driver = john;
NSLog(@"%@ drives a %@", honda.driver, honda.model);
The strong Attribute](https://image.slidesharecdn.com/session3-objectorientedprogrammingwithobjective-cpart1-140317160600-phpapp01/85/Session-3-Object-oriented-programming-with-Objective-C-part-1-37-320.jpg)

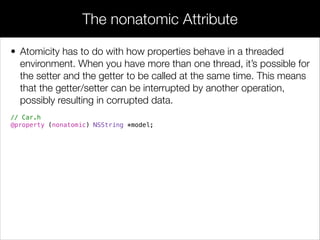
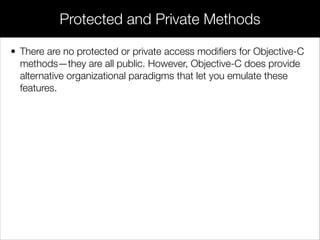
![• Now, Car will store a brand new instance of whatever value we
assign to model. If you’re working with mutable values, this has the
added perk of freezing the object at whatever value it had when it
was assigned. This is demonstrated below:
// main.m
!
Car *honda = [[Car alloc]init];
NSMutableString *model = [NSMutableString stringWithFormat:@"Honda Civic"];
honda.model = model;
NSLog(@"%@", honda.model);
[model setString:@"Nissa Versa"];
NSLog(@"%@", honda.model); // Still Honda Civic
• NSMutableString is a subclass of NSString that can be edited in-
place. If the model property didn’t create a copy of the original
instance, we would be able to see the altered string (Nissan Versa)
in the second NSLog() output.
The copy Attribute](https://image.slidesharecdn.com/session3-objectorientedprogrammingwithobjective-cpart1-140317160600-phpapp01/85/Session-3-Object-oriented-programming-with-Objective-C-part-1-44-320.jpg)

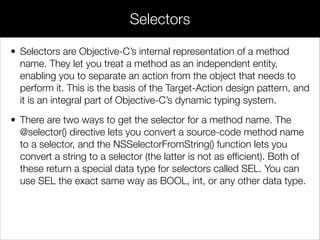
![• Nesting method calls is a common pattern in Objective-C
programs. It’s a natural way to pass the result of one call to another.
Conceptually, it’s the exact same as chaining methods, but the
square-bracket syntax makes them look a little bit different:
Car *car = [[Car alloc]initWithModel:@"Honda Civic" mileage:400];
• First, the [Car alloc] method is invoked, then the init method is
called on its return value.
Nested Calling Methods](https://image.slidesharecdn.com/session3-objectorientedprogrammingwithobjective-cpart1-140317160600-phpapp01/85/Session-3-Object-oriented-programming-with-Objective-C-part-1-48-320.jpg)
![// main.m
!
Car *porsche = [[Car alloc] init];
porsche.model = @"Porsche 911 Carrera";
!
SEL stepOne = NSSelectorFromString(@"startEngine");
SEL stepTwo = @selector(driveForDistance:);
!
// This is the same as:
// [porsche startEngine];
[porsche performSelector:stepOne];
!
// This is the same as:
// [porsche driveForDistance:[NSNumber numberWithDouble:5.7]];
[porsche performSelector:stepTwo withObject:[NSNumber numberWithDouble:5.7]];
Selectors](https://image.slidesharecdn.com/session3-objectorientedprogrammingwithobjective-cpart1-140317160600-phpapp01/85/Session-3-Object-oriented-programming-with-Objective-C-part-1-51-320.jpg)


This document discusses object-oriented programming concepts in Objective-C, including classes and objects, properties, methods, interfaces, implementations, memory management, and properties. It provides code examples for defining a Car class with properties like model and methods like drive(). It demonstrates creating instances of the Car class, setting properties, and calling methods.