1. The document provides instructions for making pinwheels as part of the Pinwheels for Peace installation art project, which aims to allow people of all ages to express feelings about world events and their lives.
2. Pinwheels for Peace started in 2005 as a way for children to express themselves, and millions have been displayed worldwide as part of the "whirled peace movement."
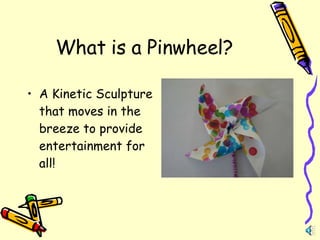
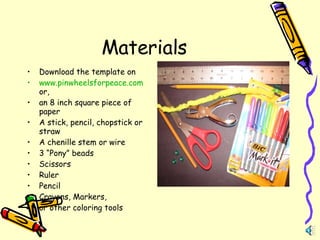
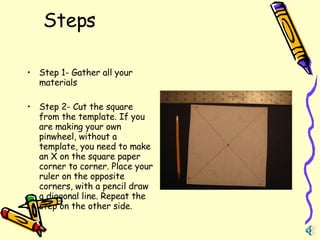
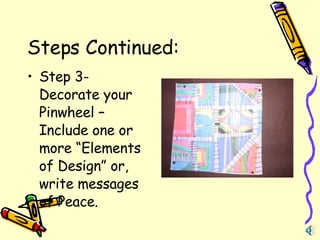
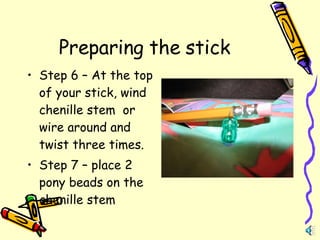
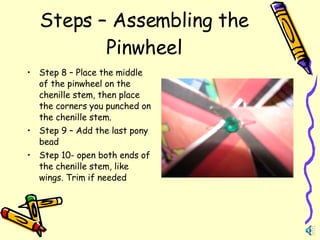
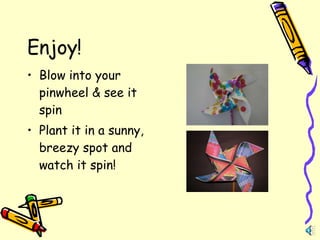
3. Detailed steps are provided for making a "pin-less" pinwheel using readily available materials like paper, sticks, chenille stems, and pony beads. The pinwheels are meant to spin in the breeze and provide entertainment for all.