Download to read offline
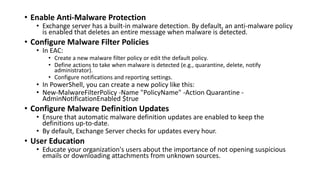
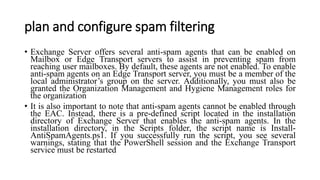
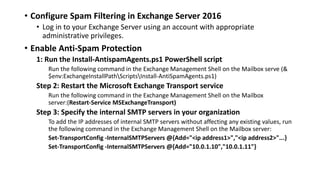
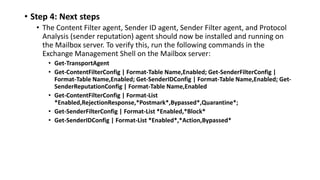
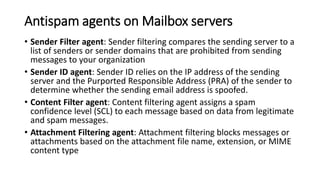


This document provides information on planning and configuring message hygiene in Exchange Server, including: - Defining message hygiene and its importance for email security and compliance. - Steps for planning message hygiene such as assessing needs, identifying threats, and user training. - Configuring malware filtering in Exchange Server by enabling built-in protection, creating policies, and updating definitions. - Configuring spam filtering by running scripts to enable anti-spam agents, specifying internal servers, and verifying agent status. - Details on the Sender Filter, Sender ID, Content Filter, and Attachment Filtering agents used for spam protection on Mailbox servers.


