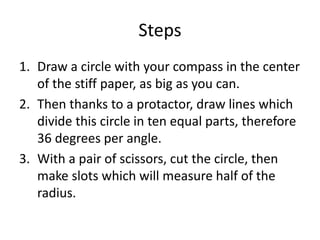
Phenakistoscope
By Flavie and Chloé
introduction
• The « Phenakistoscope » was invented in 1832
by a Belgian physicist Joseph Plateau.
• It is the predecessor of the flipbook, and the
best way to make this animation is cyclical.
You will need :
• Stiff paper
• Drawing paper
• A drawing compass
• A protractor
• A pencil
• A thumbtack
• A ruler
• Scissors
• A mirror
Steps
1. Draw a circle with your compass in the center
of the stiff paper, as big as you can.
2. Then thanks to a protactor, draw lines which
divide this circle in ten equal parts, therefore
36 degrees per angle.
3. With a pair of scissors, cut the circle, then
make slots which will measure half of the
radius.
4. On another piece of paper, draw a circle which
will have a radius which measures half of first
circle’s radius.
5. Remake, the same angles as the first time. In
each triangle draw a sketch of anything you
want that evolves as it goes along.
6. Once the drawings are done, cut the small circle
and glue it in the middle of the first one.
7. Make a hole at the centre of the circles with a
thumbtack which will help you to animate the
drawings.
THE END

Phenakistoscope

  • 1.
  • 2.
    introduction • The «Phenakistoscope » was invented in 1832 by a Belgian physicist Joseph Plateau. • It is the predecessor of the flipbook, and the best way to make this animation is cyclical.
  • 3.
    You will need: • Stiff paper • Drawing paper • A drawing compass • A protractor • A pencil • A thumbtack • A ruler • Scissors • A mirror
  • 4.
    Steps 1. Draw acircle with your compass in the center of the stiff paper, as big as you can. 2. Then thanks to a protactor, draw lines which divide this circle in ten equal parts, therefore 36 degrees per angle. 3. With a pair of scissors, cut the circle, then make slots which will measure half of the radius.
  • 5.
    4. On anotherpiece of paper, draw a circle which will have a radius which measures half of first circle’s radius. 5. Remake, the same angles as the first time. In each triangle draw a sketch of anything you want that evolves as it goes along. 6. Once the drawings are done, cut the small circle and glue it in the middle of the first one. 7. Make a hole at the centre of the circles with a thumbtack which will help you to animate the drawings.
  • 6.