Onshape Interface Overview:Navigation and Key
Features
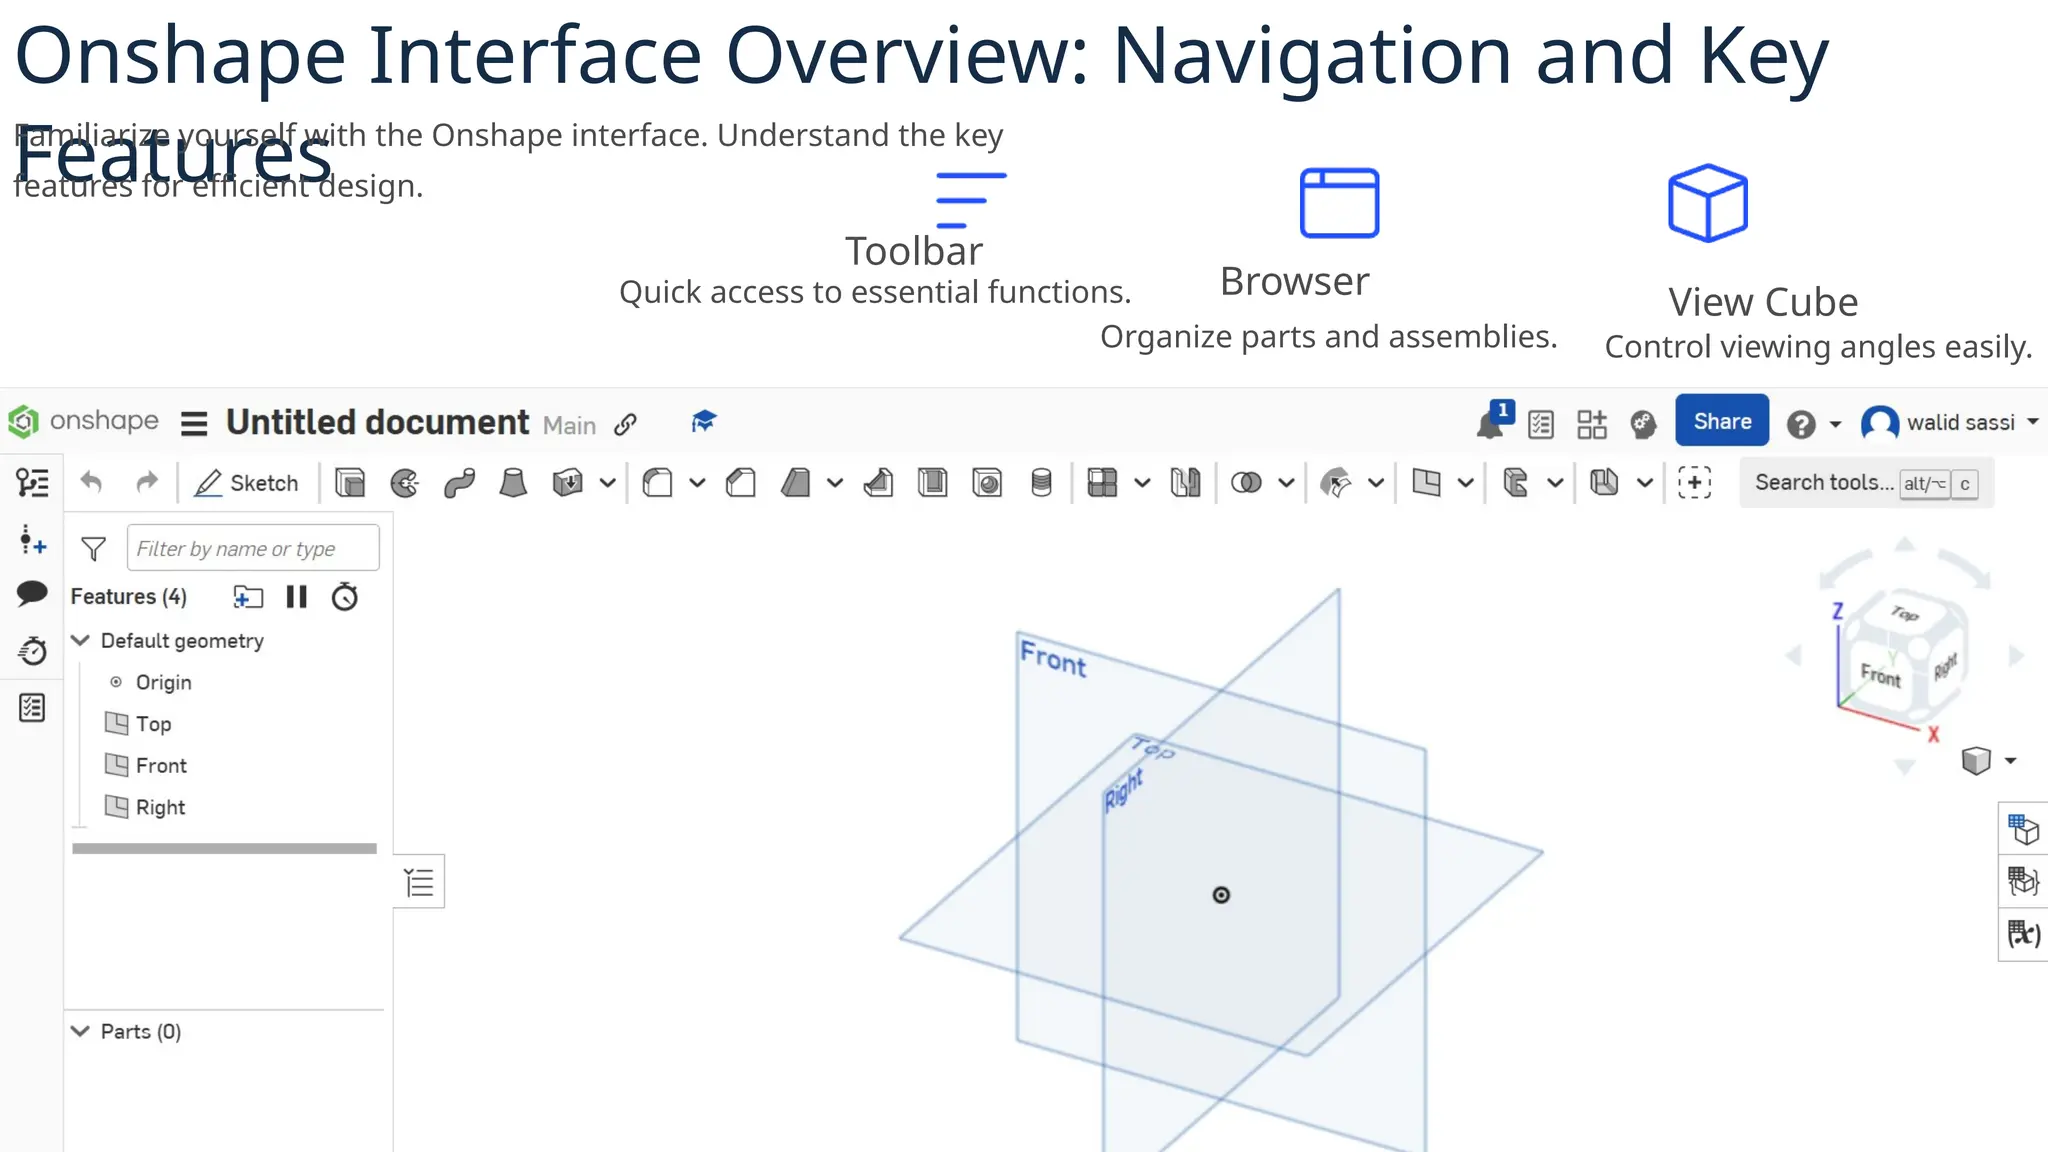
Familiarize yourself with the Onshape interface. Understand the key
features for efficient design.
Toolbar
Quick access to essential functions. Browser
Organize parts and assemblies.
View Cube
Control viewing angles easily.
3.
Creating Your First
Document:A Step-
by-Step Guide
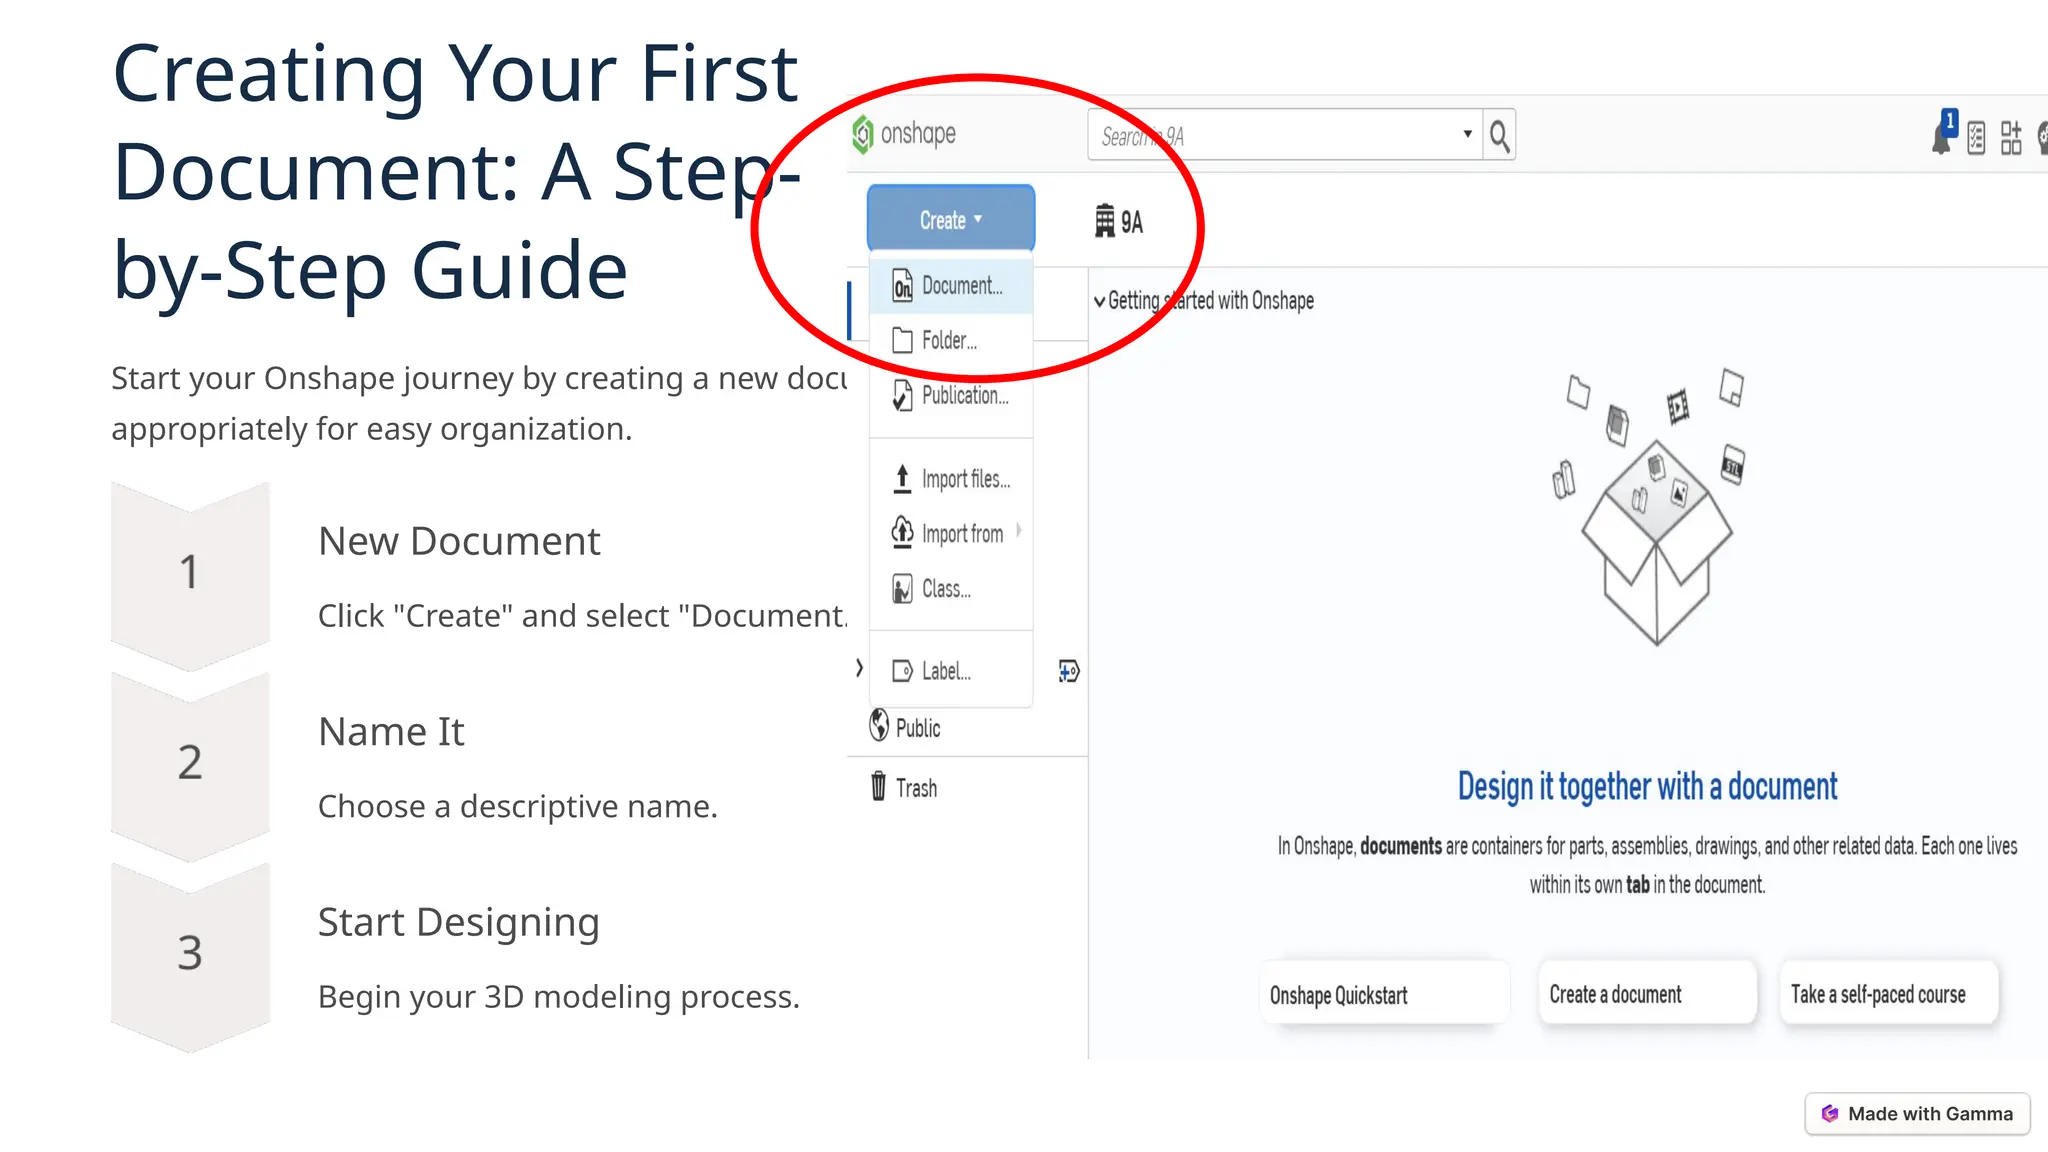
Start your Onshape journey by creating a new document. Name it
appropriately for easy organization.
New Document
Click "Create" and select "Document."
Name It
Choose a descriptive name.
Start Designing
Begin your 3D modeling process.
4.
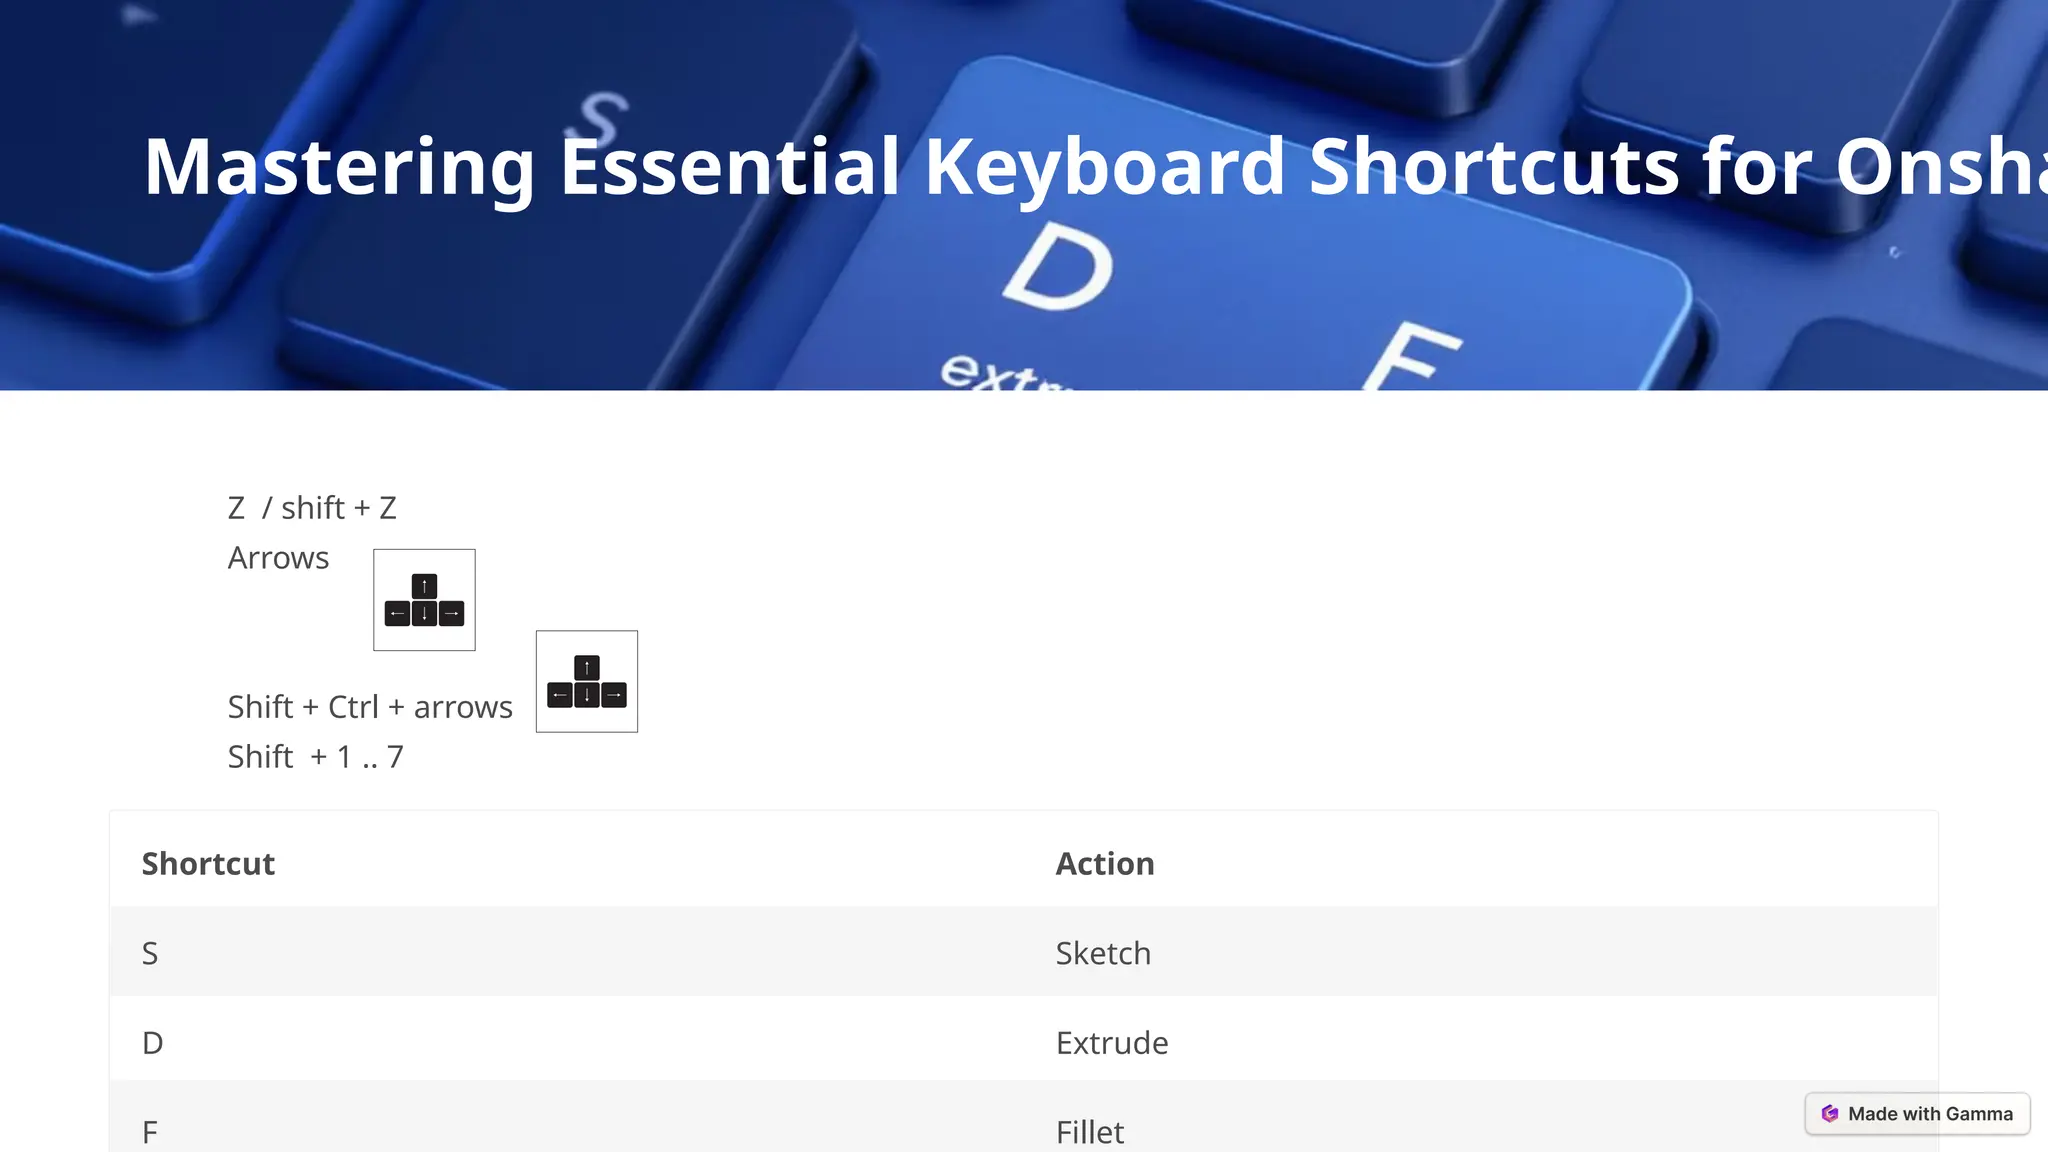
Mastering Essential KeyboardShortcuts for Onsha
Z / shift + Z
Arrows
Shift + Ctrl + arrows
Shift + 1 .. 7
Shortcut Action
S Sketch
D Extrude
F Fillet
5.
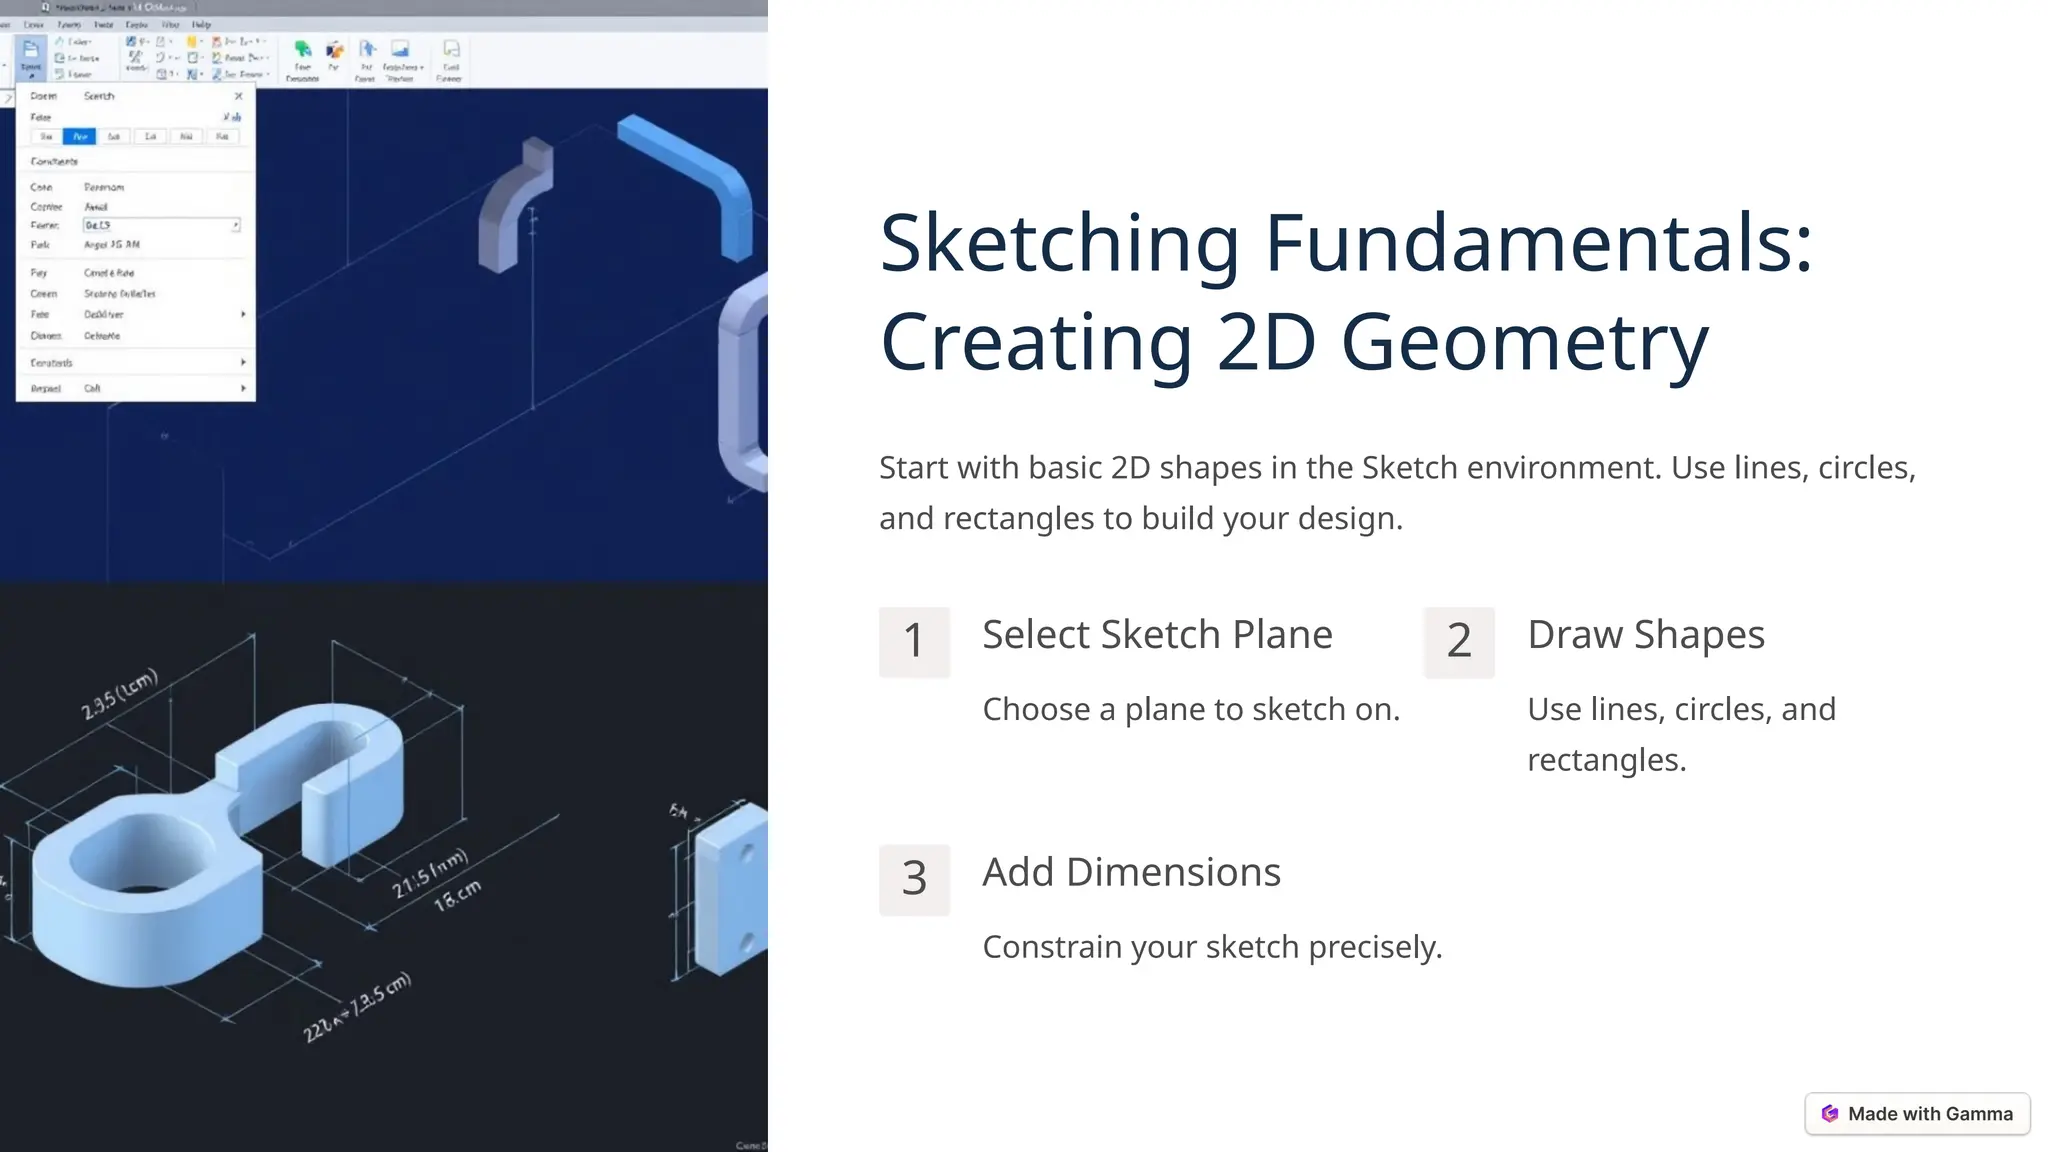
Sketching Fundamentals:
Creating 2DGeometry
Start with basic 2D shapes in the Sketch environment. Use lines, circles,
and rectangles to build your design.
1 Select Sketch Plane
Choose a plane to sketch on.
2 Draw Shapes
Use lines, circles, and
rectangles.
3 Add Dimensions
Constrain your sketch precisely.
6.
Extrude Tool: TransformingSketches into 3D Shapes
Turn your 2D sketches into 3D models using the Extrude tool. Define the depth and direction of the extrusion.
Select Sketch
Choose the sketch to extrude.
Set Depth
Define the extrusion distance.
Confirm Feature
Create your 3D shape.
7.
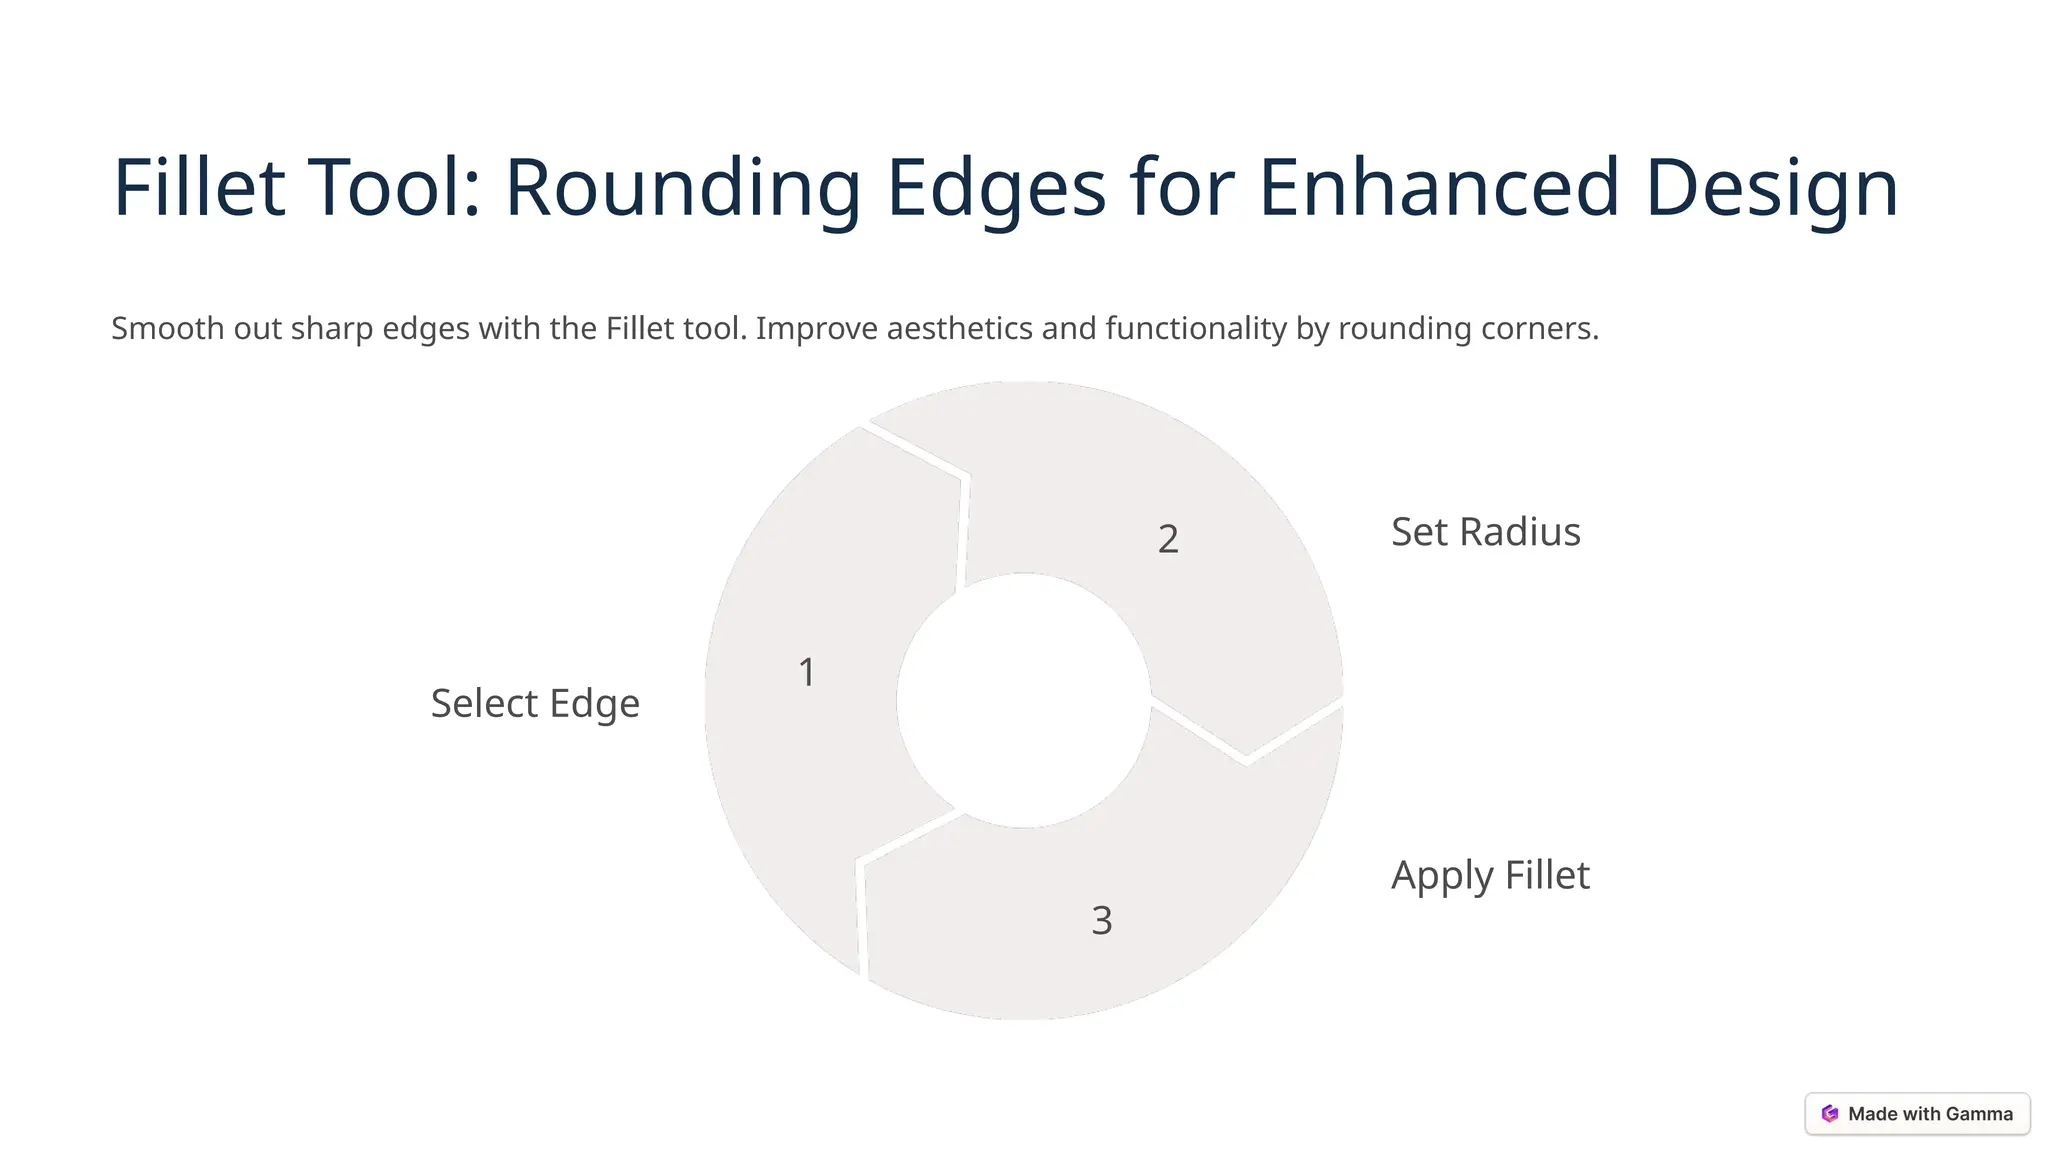
Fillet Tool: RoundingEdges for Enhanced Design
Smooth out sharp edges with the Fillet tool. Improve aesthetics and functionality by rounding corners.
Select Edge
1
Set Radius
2
Apply Fillet
3
8.
Recap: Key Takeawaysand Next
Steps for Onshape Mastery
You've learned the basics of Onshape! Continue practicing to improve your skills.
Interface
Explore the key features.
Shortcuts
Use them to speed up design.
Sketching
Create 2D geometry precisely.
Extrude
Turn sketches into 3D models.