

Recommended
More Related Content
Similar to Net4guest guide
Similar to Net4guest guide (20)
Recently uploaded
Recently uploaded (20)
Net4guest guide
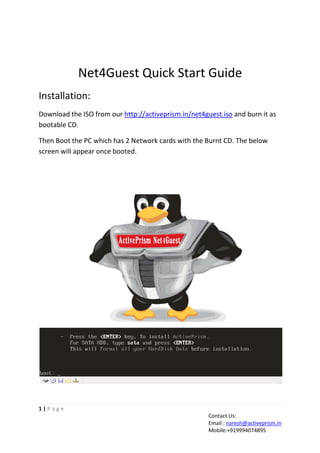
- 1. Net4Guest Quick Start Guide Installation: Download the ISO from our http://activeprism.in/net4guest.iso and burn it as bootable CD. Then Boot the PC which has 2 Network cards with the Burnt CD. The below screen will appear once booted. 1|Page Contact Us: Email : naresh@activeprism.in Mobile:+919994074895
- 2. Type “sata” and press enter if the Harddisk is SATA, else just press enter. 2|Page Contact Us: Email : naresh@activeprism.in Mobile:+919994074895
- 3. Then follow the screen instructions as below Select “remove all partitions on selected drives” and press OK as below 3|Page Contact Us: Email : naresh@activeprism.in Mobile:+919994074895
- 4. 4|Page Contact Us: Email : naresh@activeprism.in Mobile:+919994074895
- 5. Select the Appropriate time zone and press OK as below 5|Page Contact Us: Email : naresh@activeprism.in Mobile:+919994074895
- 6. 6|Page Contact Us: Email : naresh@activeprism.in Mobile:+919994074895
- 7. 7|Page Contact Us: Email : naresh@activeprism.in Mobile:+919994074895
- 8. After installation is completed, the system will reboot itself and you will see the below screen The network setting should be as below 8|Page Contact U Us: Email : na aresh@activeprism.in Mobile:+9 919994074895
- 9. Now to set the WAN IP, please login to the console as username : admin Password : admin123 9|Page Contact Us: Email : naresh@activeprism.in Mobile:+919994074895
- 10. The console menu will be as below Type 1 for network setting 10 | P a g e Contact Us: Email : naresh@activeprism.in Mobile:+919994074895
- 11. eth0 is WAN Connected to ADSL or Internet line and eth1 is LAN which should be connected to Guest network switch or accesspoints. You can set WAN ip as either static Ip by pressing 1 or to obtain from DHCP server by pressing 2 as show below 11 | P a g e Contact Us: Email : naresh@activeprism.in Mobile:+919994074895
- 12. Below diagram shows how to set WAN IP as static IP 12 | P a g e Contact Us: Email : naresh@activeprism.in Mobile:+919994074895
- 13. Then reboot the server once as show below 13 | P a g e Contact Us: Email : naresh@activeprism.in Mobile:+919994074895
- 14. 14 | P a g e Contact Us: Email : naresh@activeprism.in Mobile:+919994074895
- 15. Launching the WEB Admin panel of Net4Guest: Step 1) After Installation is done, Open the web admin panel of Net4Guest by the default LAN IP 192.168.100.1 from the client pc, ie http://192.168.100.1/admin , with Username : admin password : admin 15 | P a g e Contact Us: Email : naresh@activeprism.in Mobile:+919994074895
- 16. Step 2) Create a Service Plan (either prepaid or postpaid) by using the menu Service plans- > Add new plan Step 3) After create a service plan, Generate pack (voucher ) in the plan by using menu, Pack management-> Generate packs. While generating pack, make sure the option (Distribute to receptionist) is selected, so that they can be used by the clients directly. 16 | P a g e Contact Us: Email : naresh@activeprism.in Mobile:+919994074895
- 17. 17 | P a g e Contact Us: Email : naresh@activeprism.in Mobile:+919994074895
- 18. Step 4) Print the generated packs by using the menu “Pack Management-> Print Packs” Step 5) From the client PC, open the browser and try to navigate to any website, you will be redirected to Splash page, Click Login and enter the username/password shown in Printed pack (Case sensitive) 18 | P a g e Contact Us: Email : naresh@activeprism.in Mobile:+919994074895
- 19. On successful login, you will be redirected to the intended website with a Timer popup as show below 19 | P a g e Contact Us: Email : naresh@activeprism.in Mobile:+919994074895