Download as PDF, PPTX
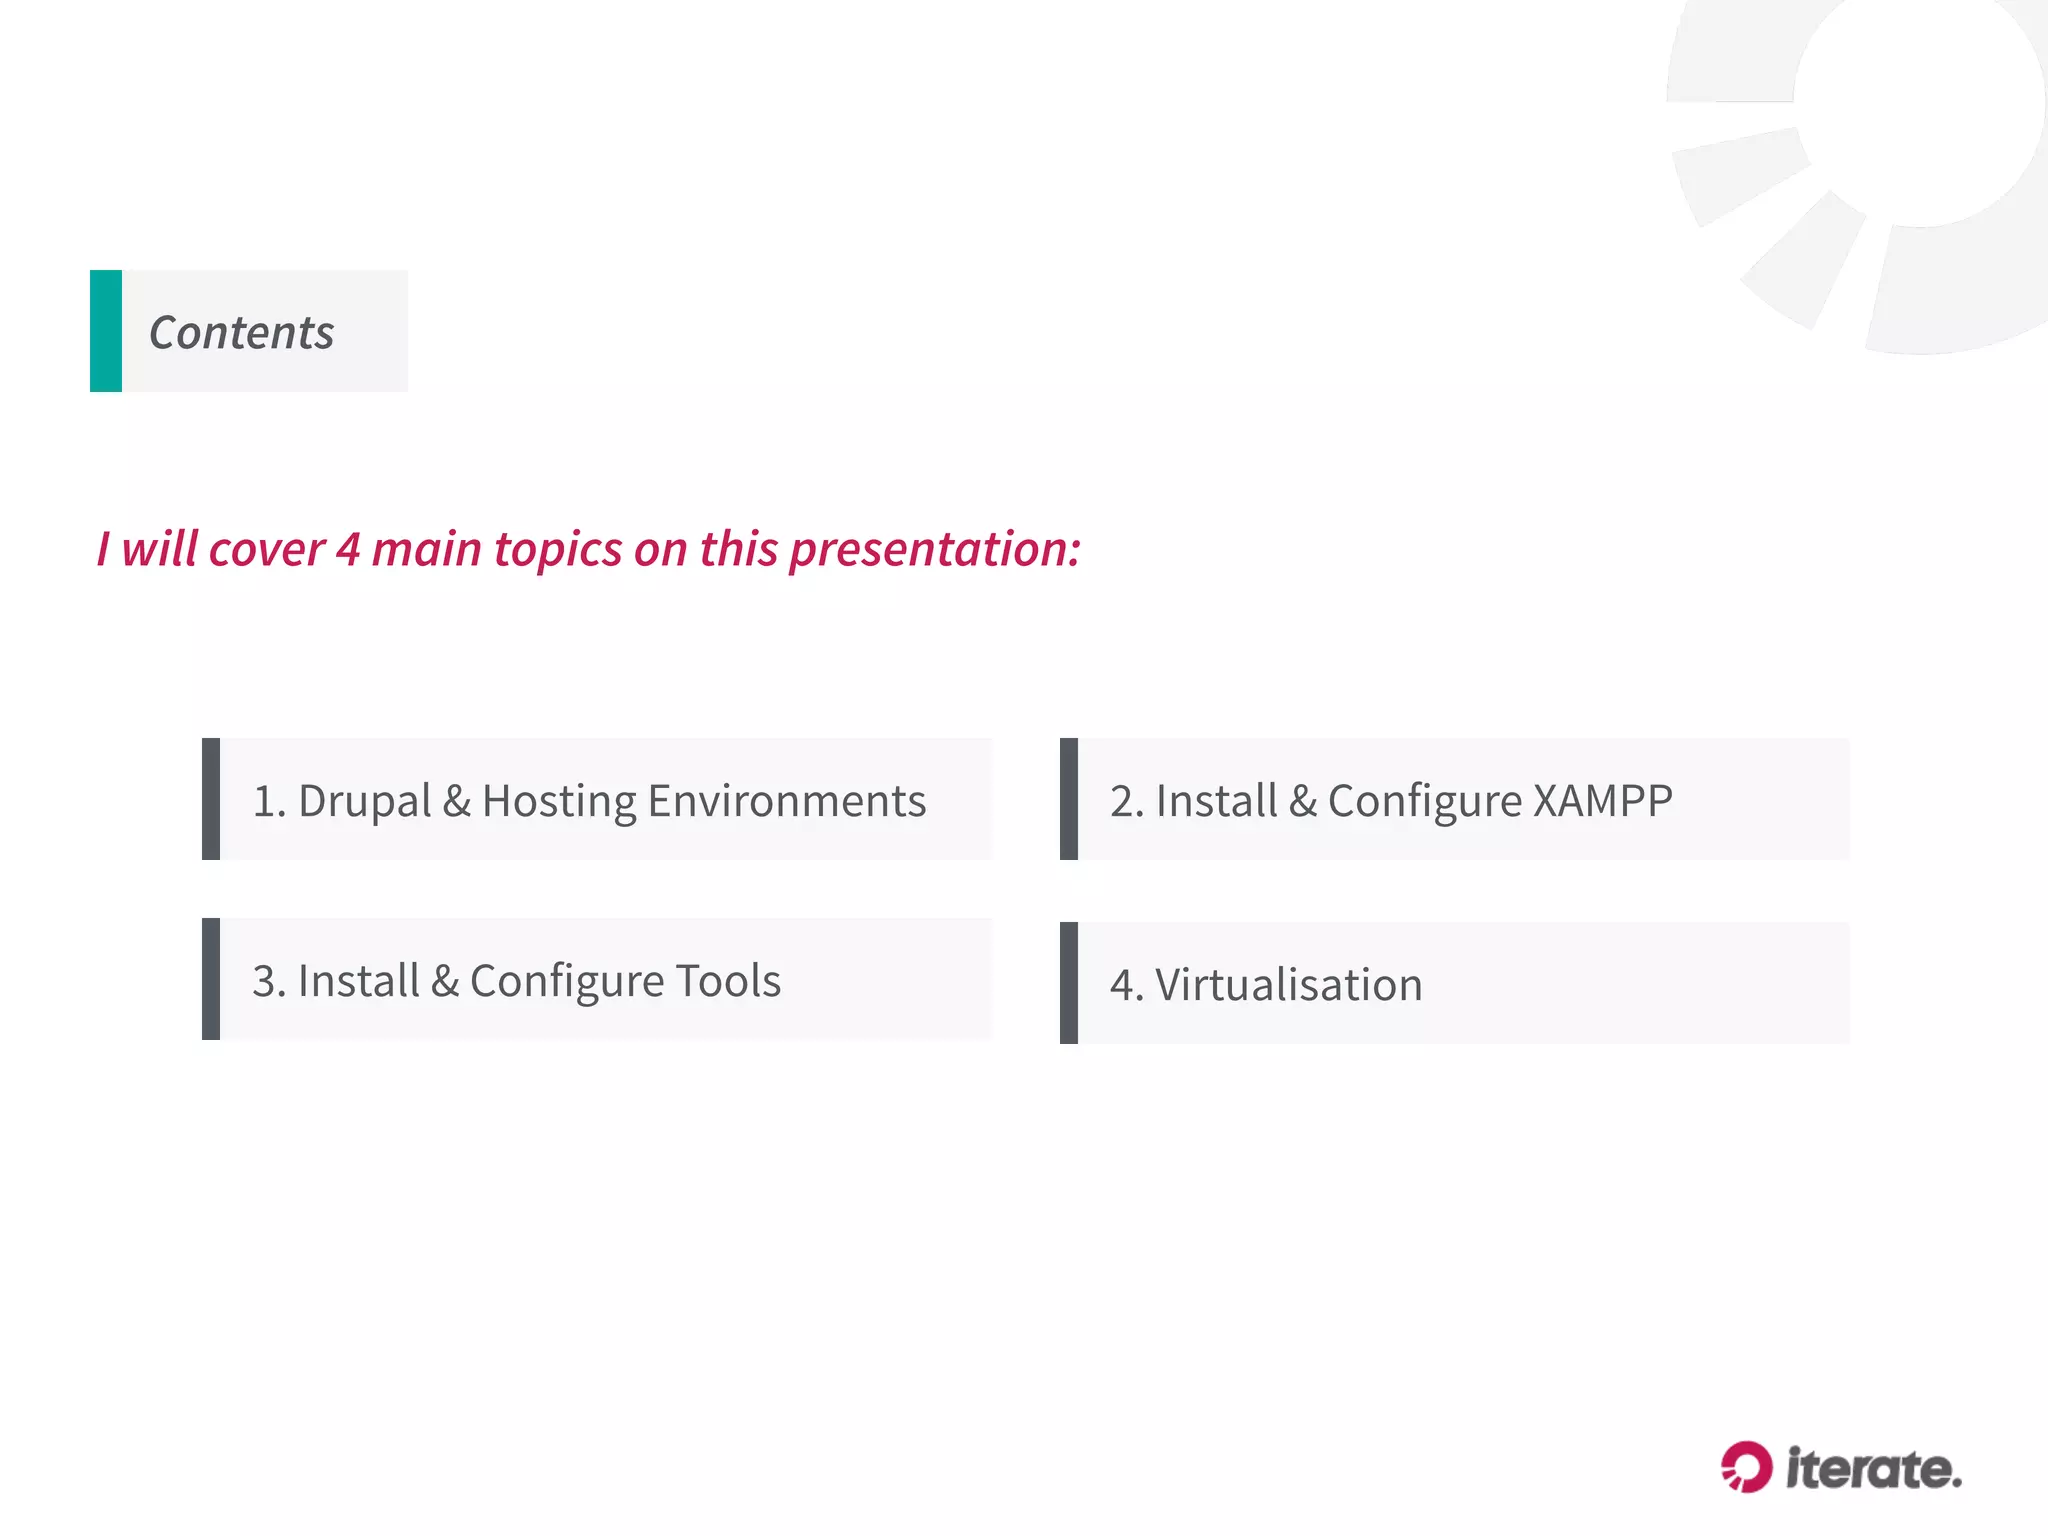

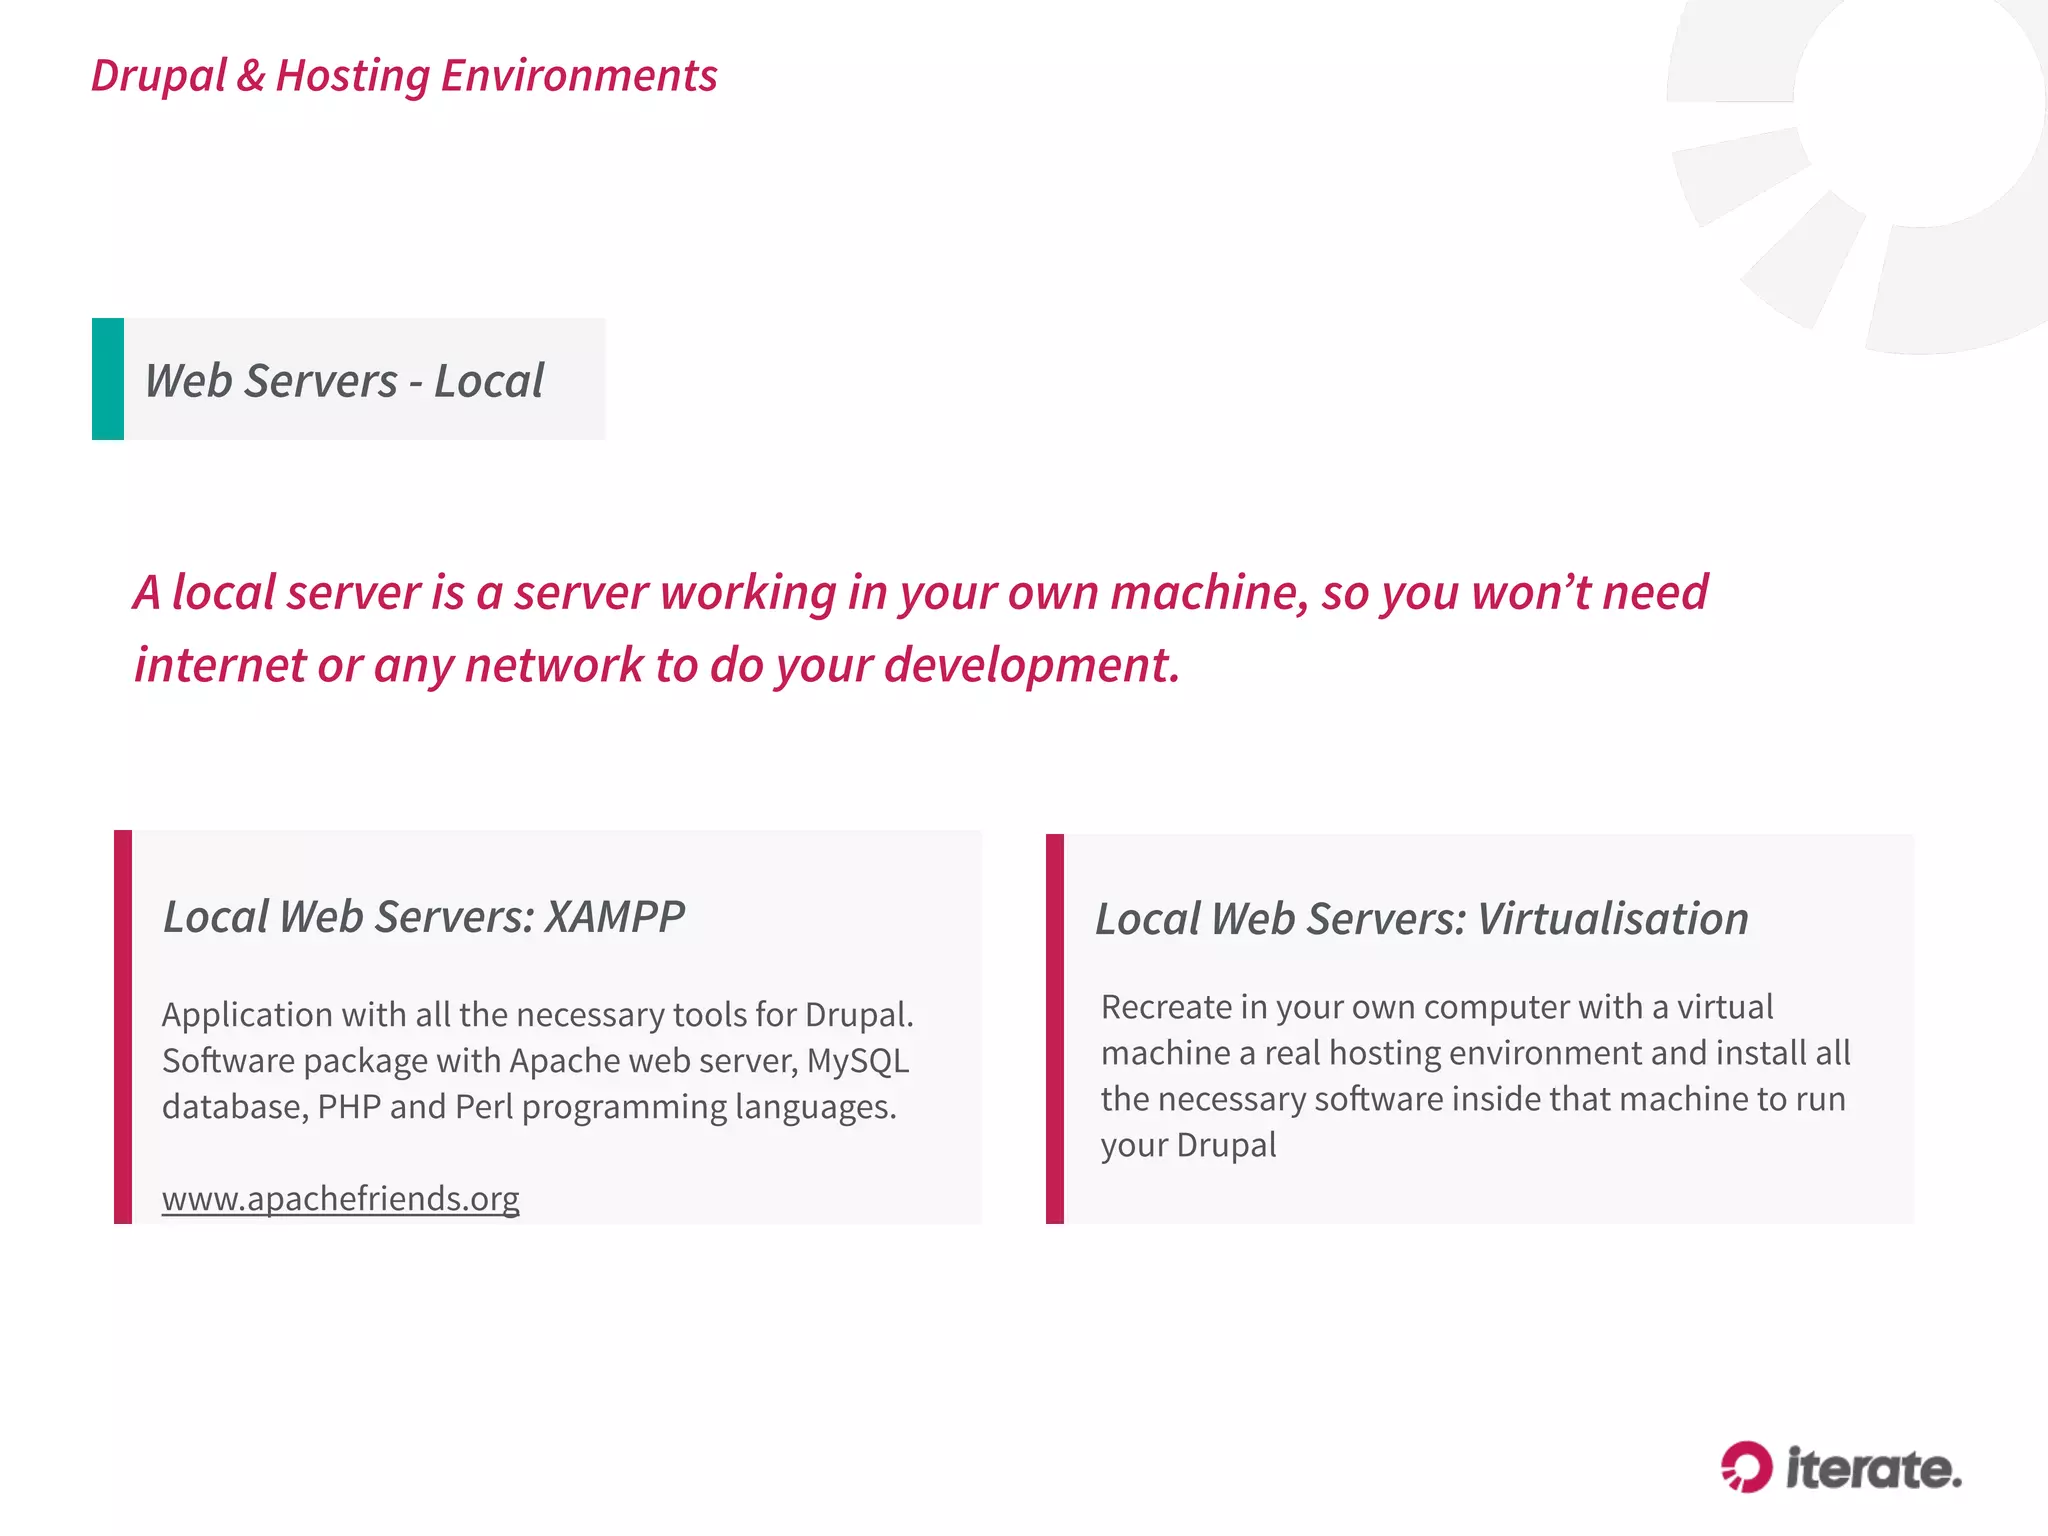


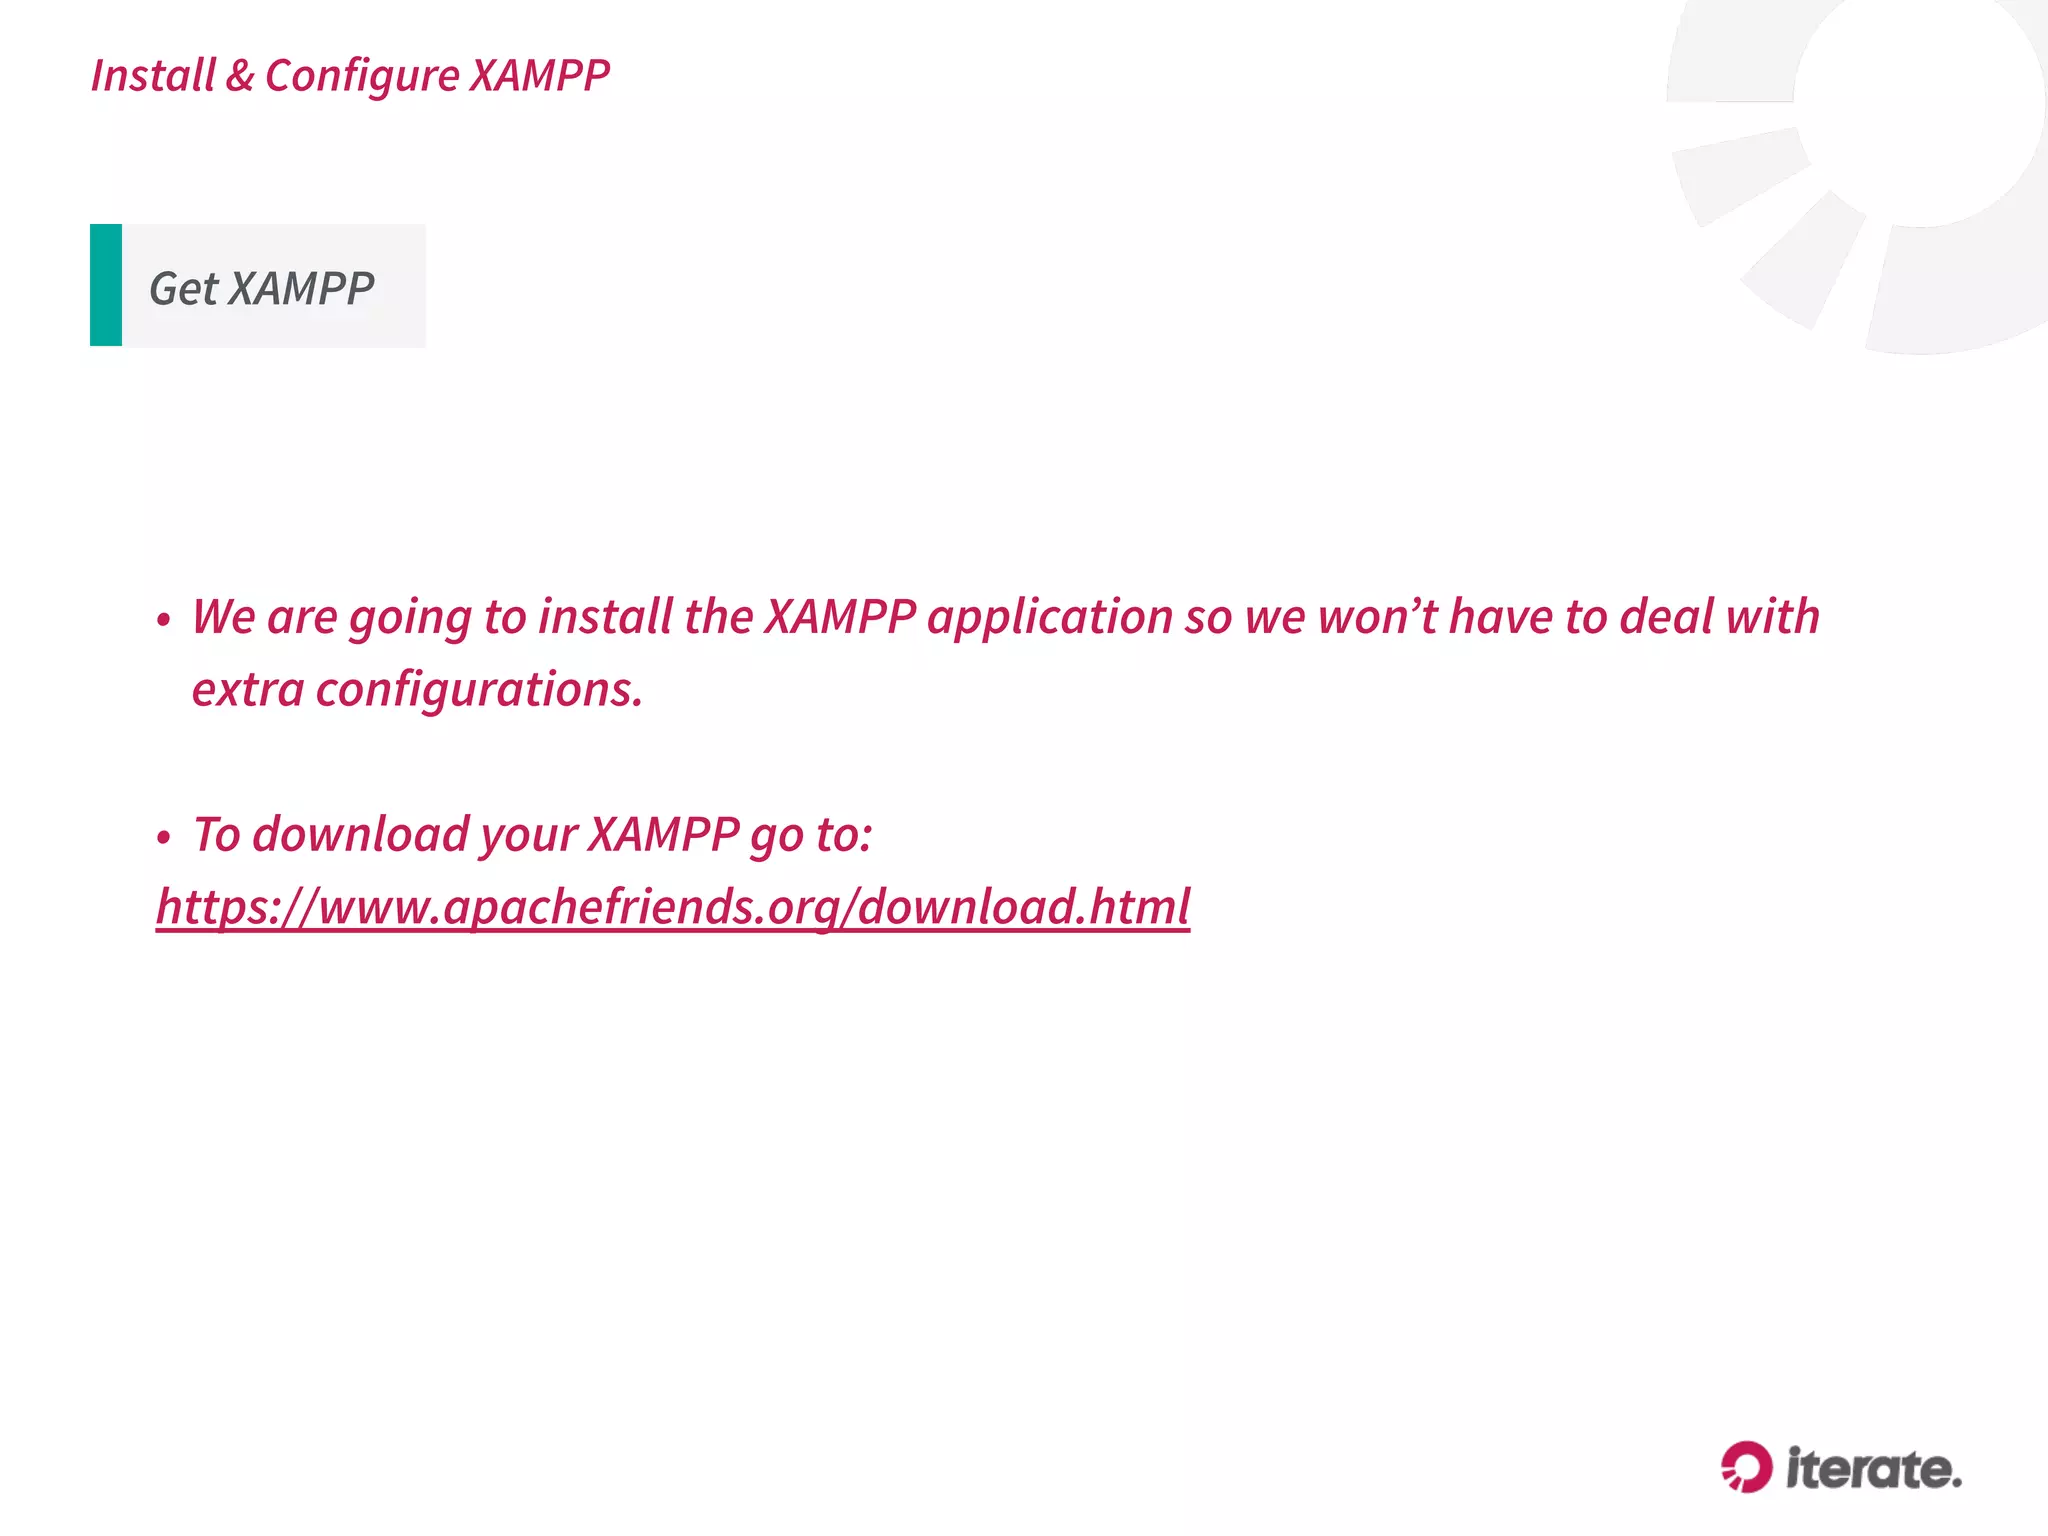
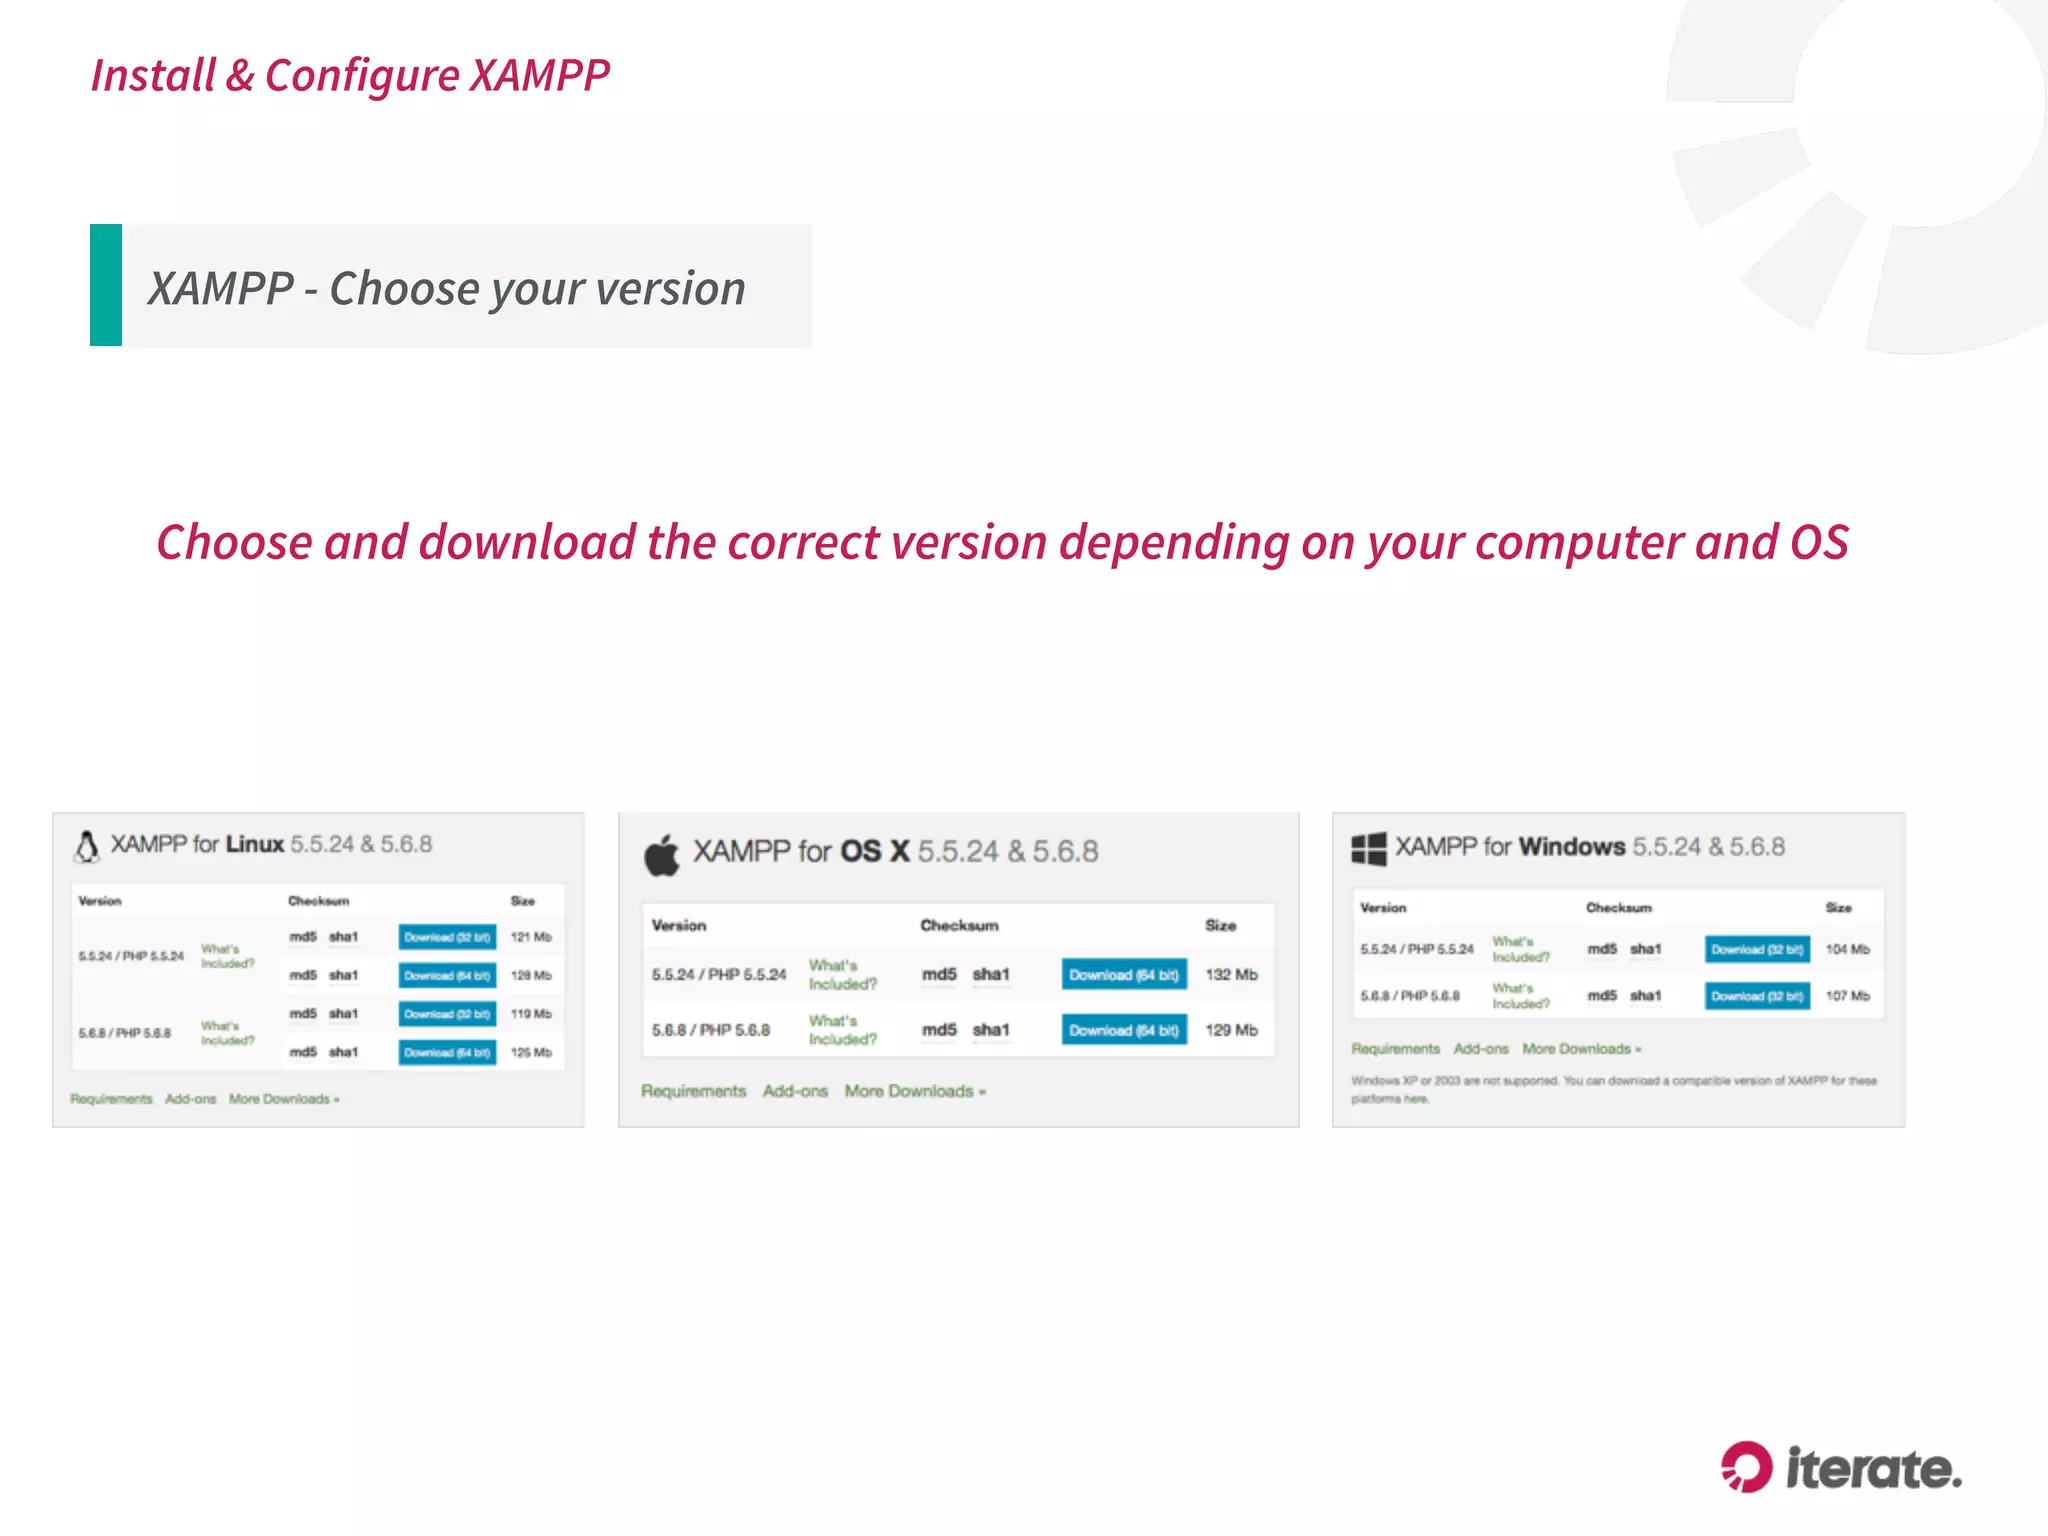


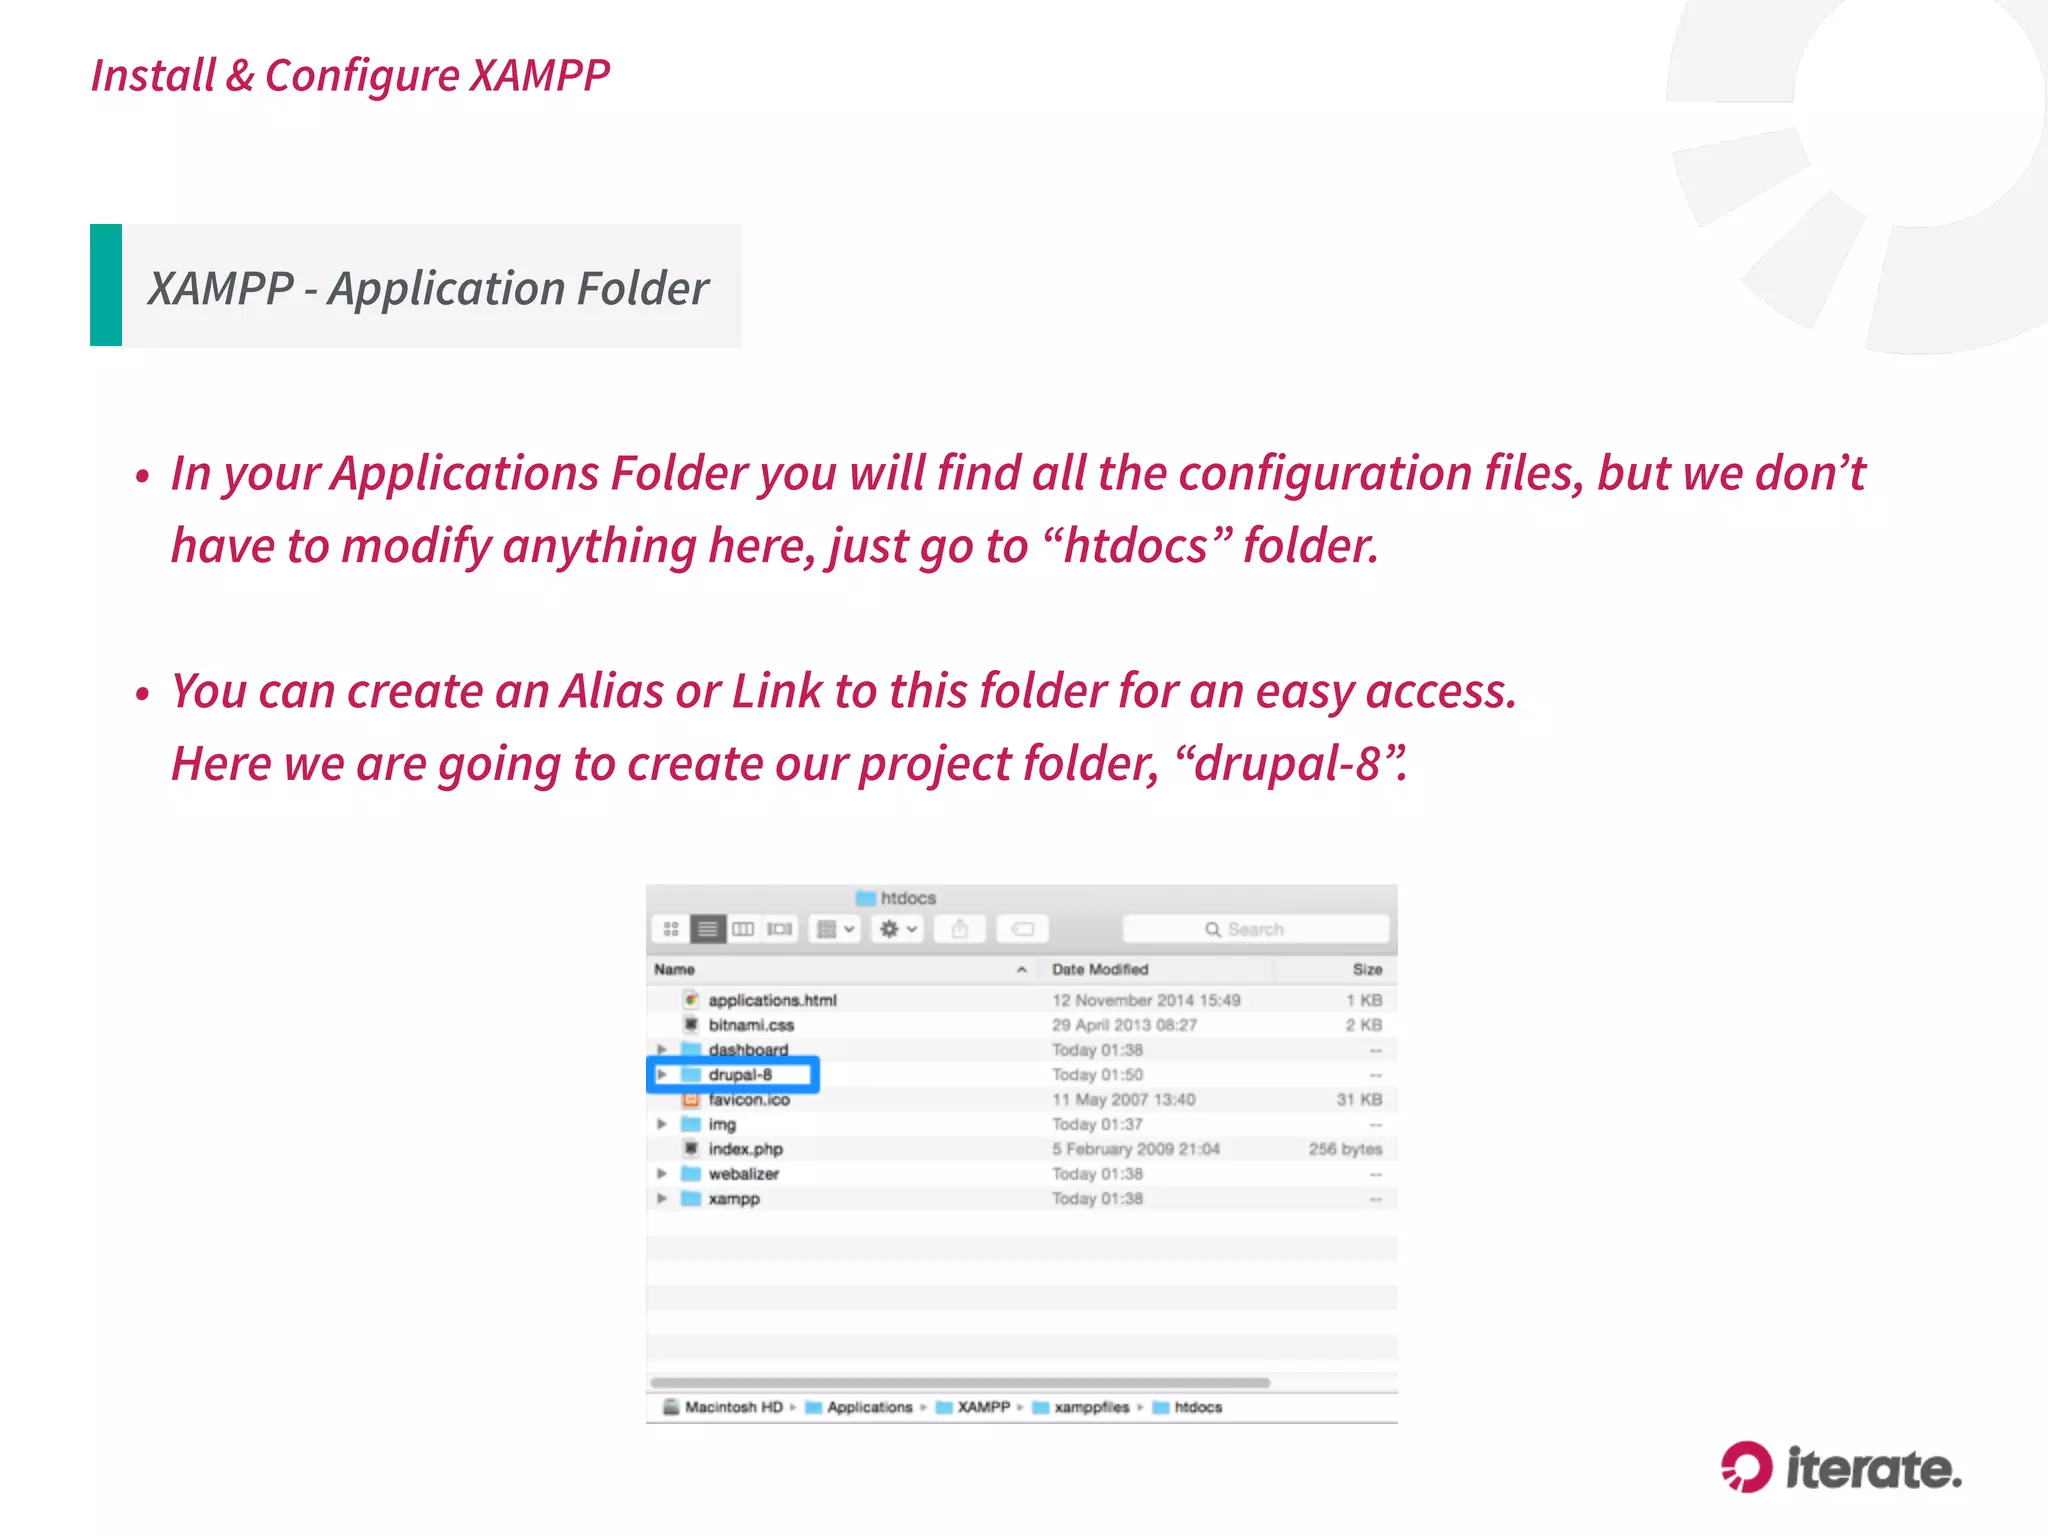


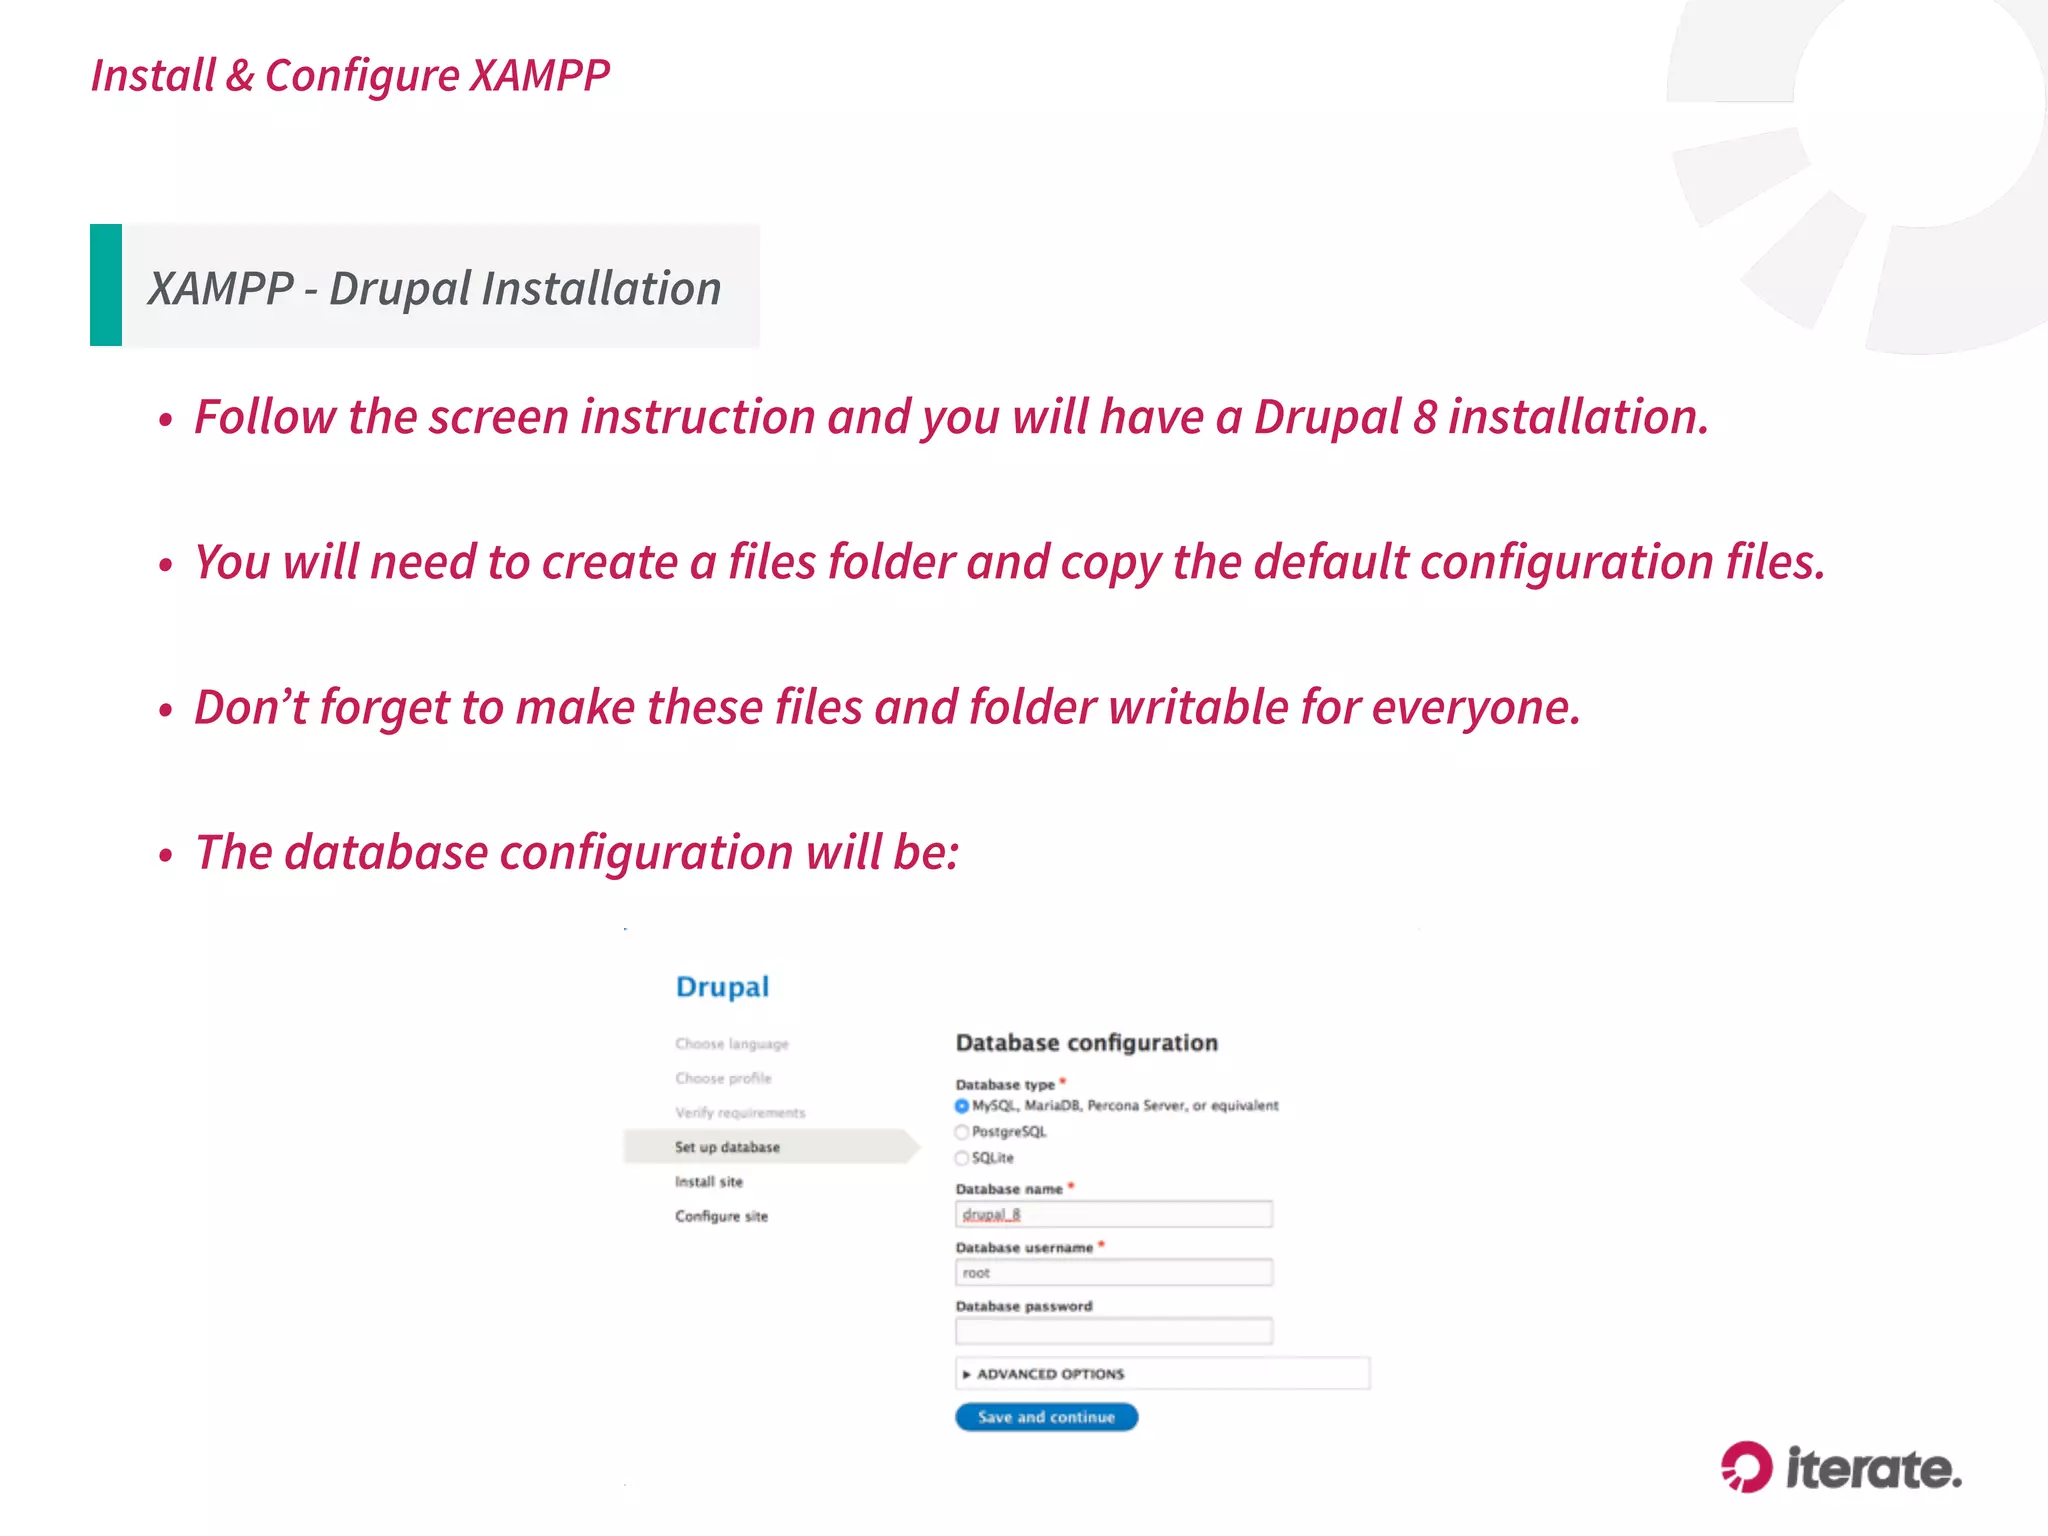


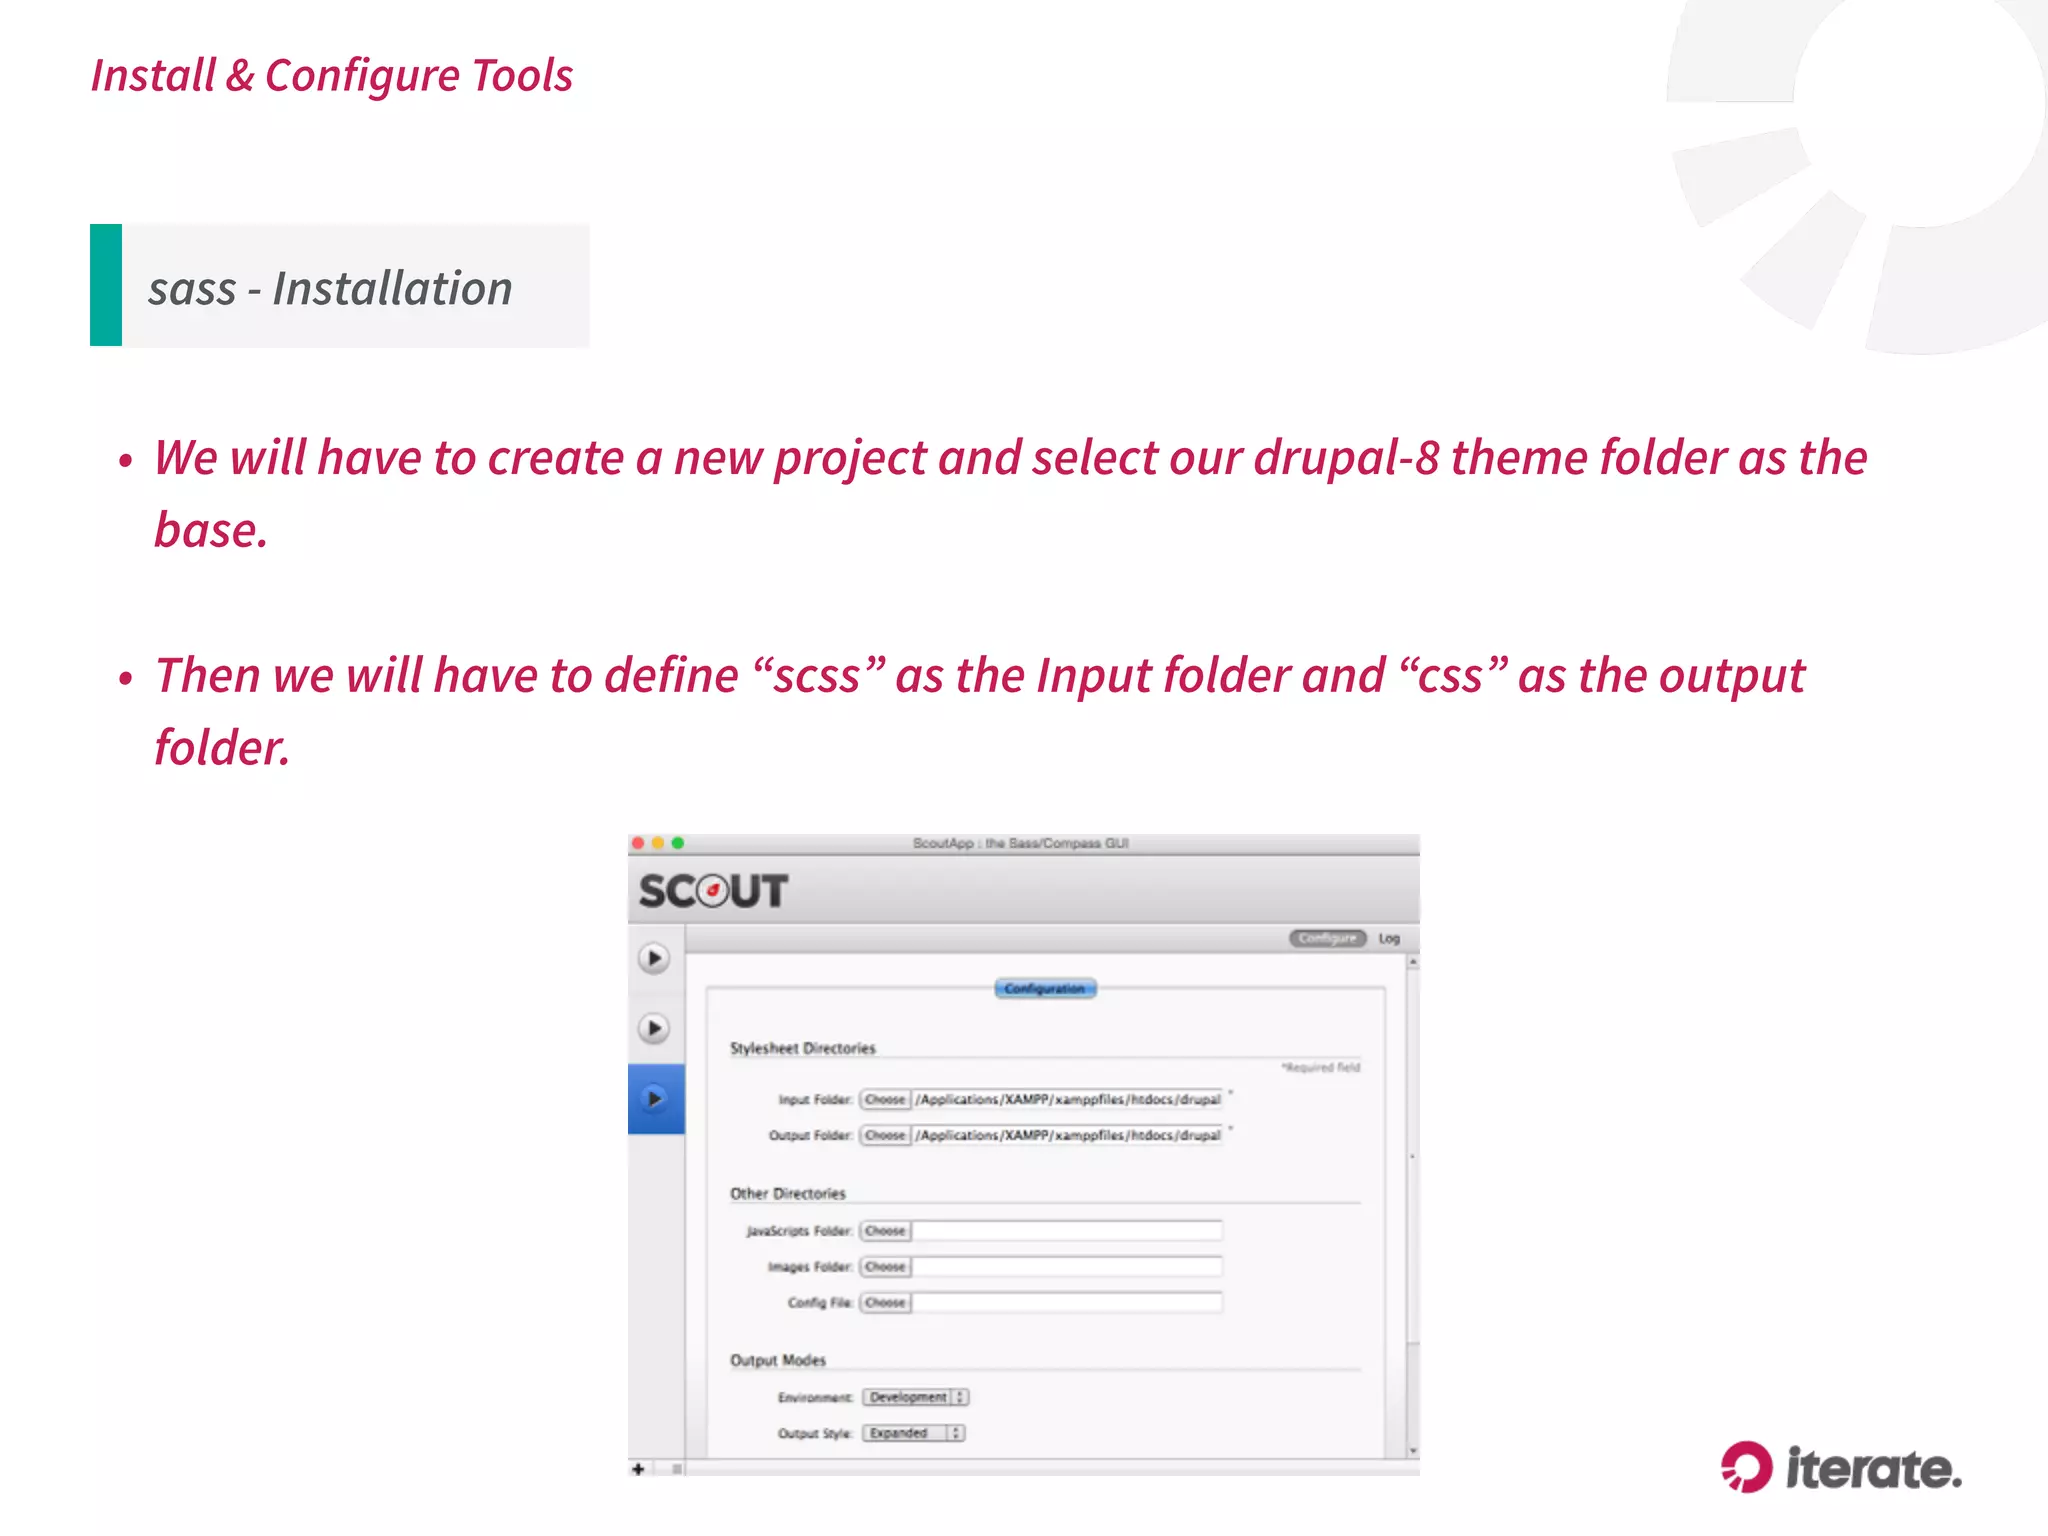
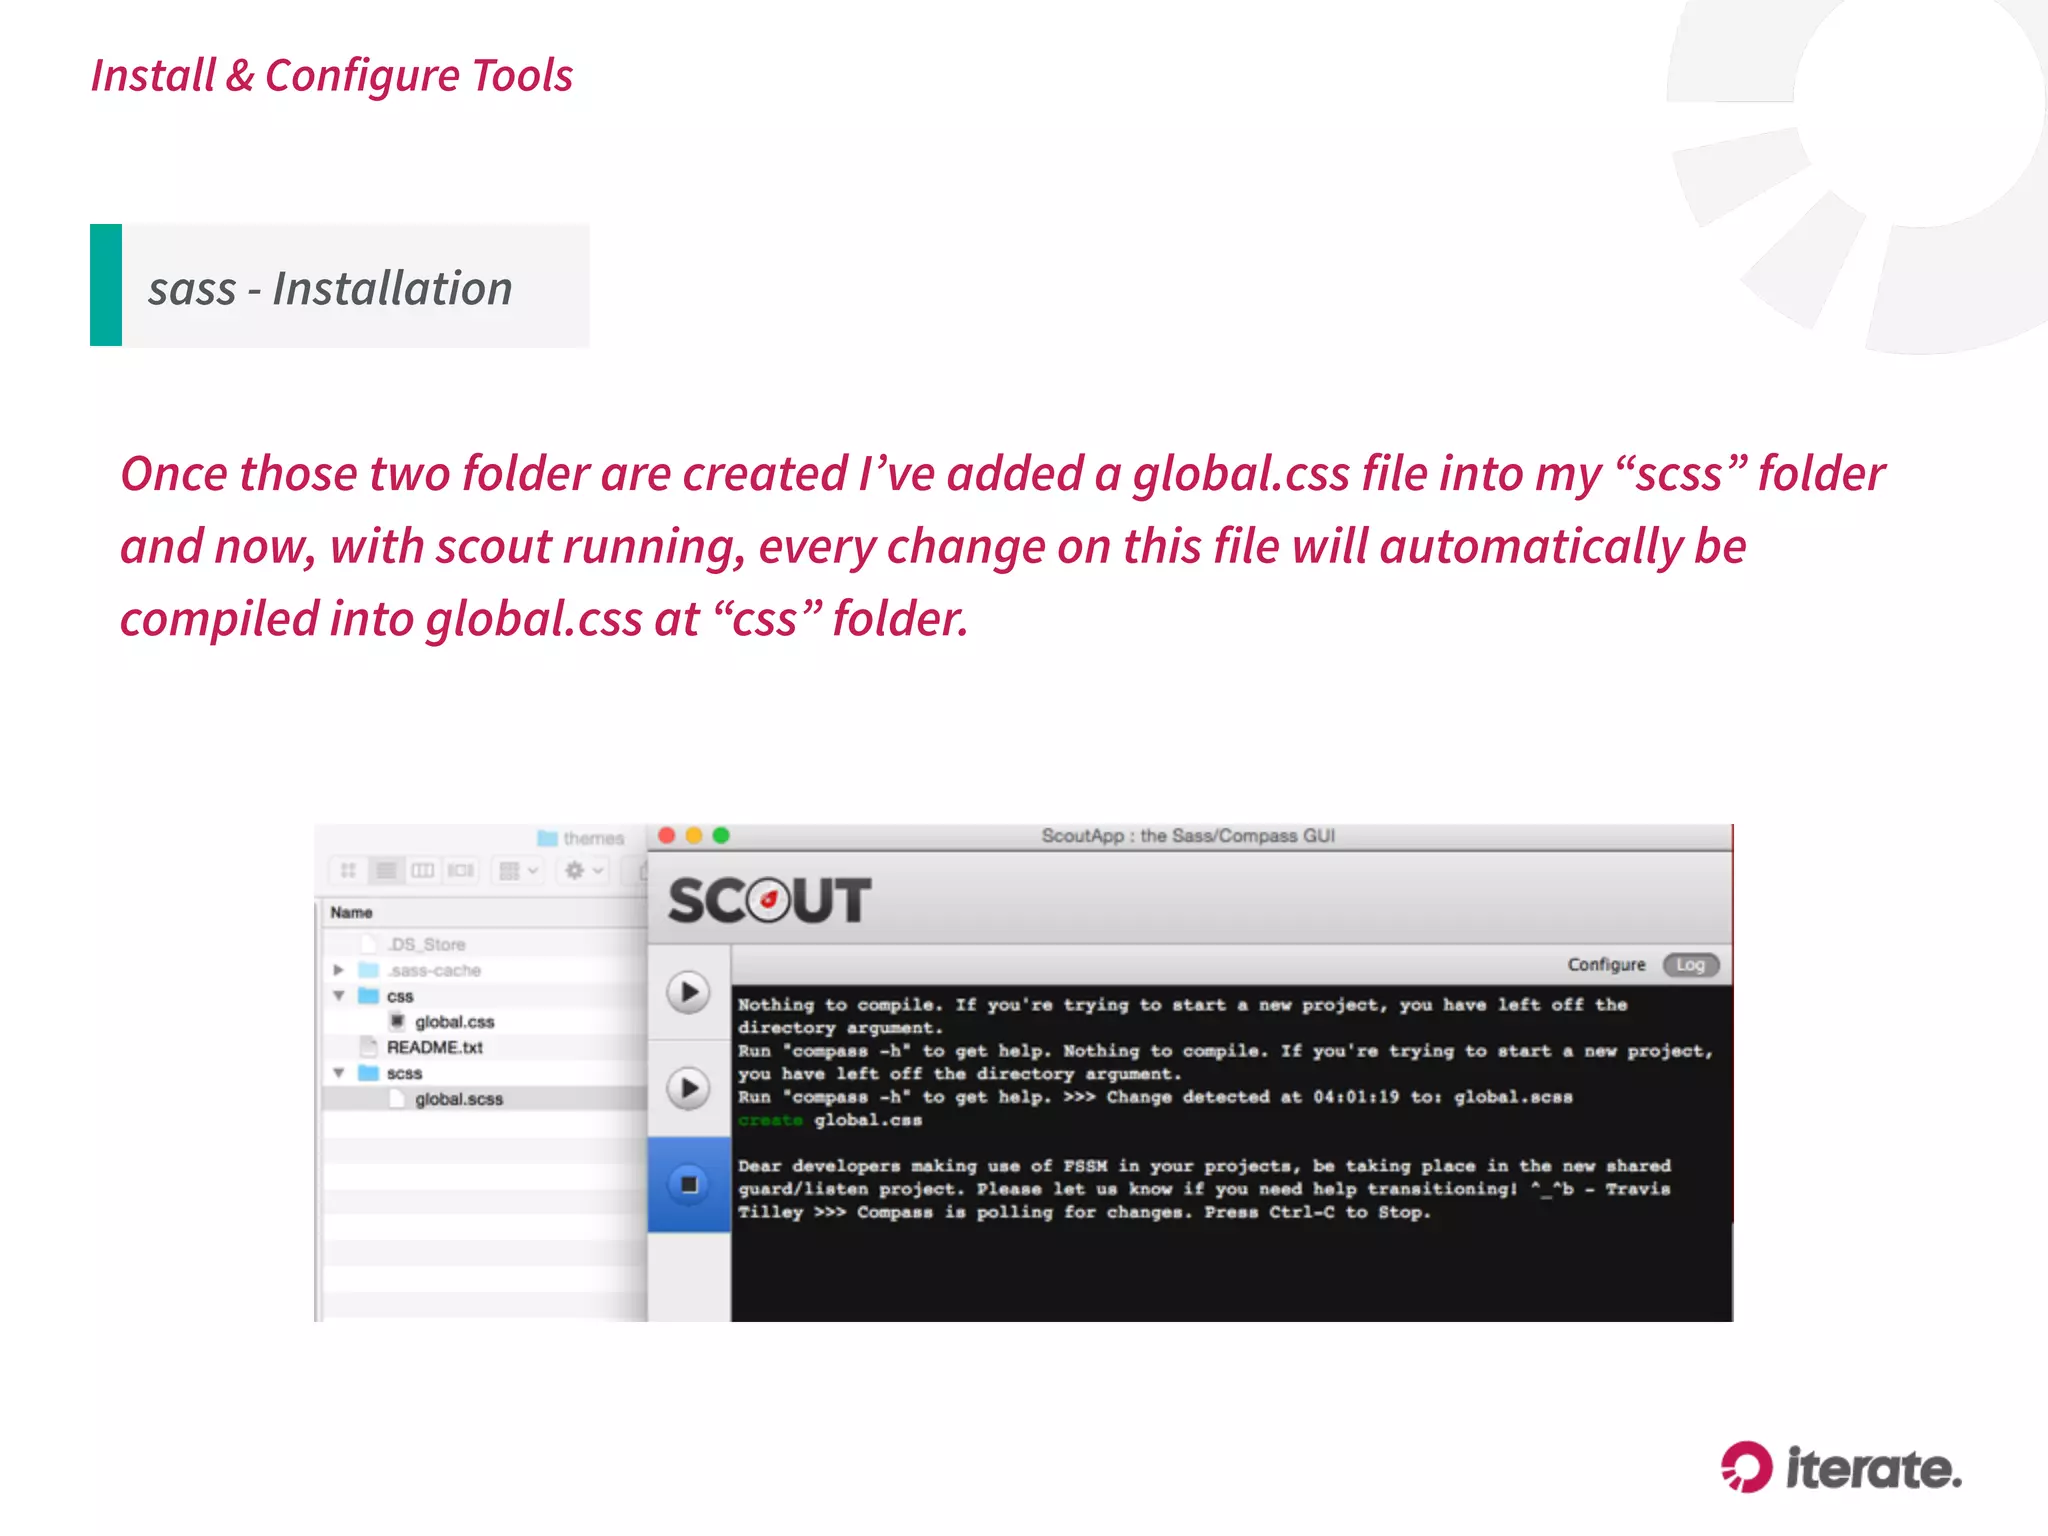


This document discusses setting up a local development environment for Drupal. It covers installing and configuring XAMPP, a local web server package, downloading and installing Drupal, and installing useful development tools like Git, Drush, and Sass. XAMPP is used to create a local server for testing Drupal sites without needing a live server. Drupal is downloaded and its installation wizard is used to set up a new Drupal site. Git is installed for version control and Drush provides commands for common Drupal tasks from the command line. Sass is also installed to allow writing CSS in a more reusable, object-oriented way.


![Docker for Developers - php[tek] 2017](https://cdn.slidesharecdn.com/ss_thumbnails/dockerfordevelopers-trainingtek2017-170523133513-thumbnail.jpg?width=640&height=640&fit=bounds)