Hyper Text MarkupLanguage
• HTML stands for Hyper Text Markup Language, which is the most
widely used language on Web to develop web pages.
• HTML was created by Berners-Lee in late 1991 but "HTML 2.0" was
the first standard HTML specification which was published in 1995.
HTML 4.01 was a major version of HTML and it was published in
late 1999.
• Though HTML 4.01 version is widely used but currently we are
having HTML-5 version which is an extension to HTML 4.01, and
this version was published in 2012.
3.
• Hypertext refersto the way in which Web pages (HTML documents)
are linked together. Thus, the link available on a web page is called
Hypertext.
• As its name suggests, HTML is a Markup Language which means
you use HTML to simply "mark-up" a text document with tags that
tell a Web browser how to structure it to display.
4.
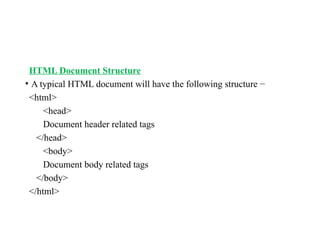
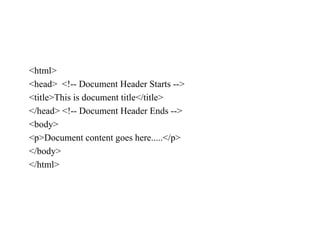
HTML Document Structure
•A typical HTML document will have the following structure −
<html>
<head>
Document header related tags
</head>
<body>
Document body related tags
</body>
</html>
5.
• The HTMLdocument itself begins with <html> and ends with
</html>.
• The visible part of the HTML document is between <body> and
</body>.
6.
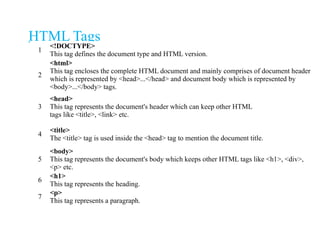
HTML Tags
1
<!DOCTYPE>
This tagdefines the document type and HTML version.
2
<html>
This tag encloses the complete HTML document and mainly comprises of document header
which is represented by <head>...</head> and document body which is represented by
<body>...</body> tags.
3
<head>
This tag represents the document's header which can keep other HTML
tags like <title>, <link> etc.
4
<title>
The <title> tag is used inside the <head> tag to mention the document title.
5
<body>
This tag represents the document's body which keeps other HTML tags like <h1>, <div>,
<p> etc.
6
<h1>
This tag represents the heading.
7
<p>
This tag represents a paragraph.
7.
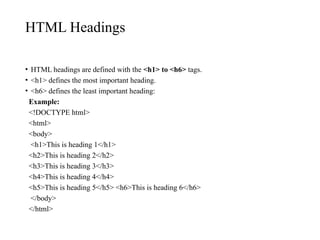
HTML Headings
• HTMLheadings are defined with the <h1> to <h6> tags.
• <h1> defines the most important heading.
• <h6> defines the least important heading:
Example:
<!DOCTYPE html>
<html>
<body>
<h1>This is heading 1</h1>
<h2>This is heading 2</h2>
<h3>This is heading 3</h3>
<h4>This is heading 4</h4>
<h5>This is heading 5</h5> <h6>This is heading 6</h6>
</body>
</html>
8.
HTML - Elements
•An HTML element is defined by a starting tag. If the element
contains other content, it ends with a closing tag, where the element
name is preceded by a forward slash as shown below with few tags −
10.
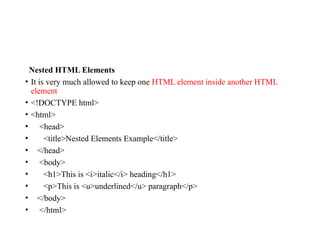
Nested HTML Elements
•It is very much allowed to keep one HTML element inside another HTML
element
• <!DOCTYPE html>
• <html>
• <head>
• <title>Nested Elements Example</title>
• </head>
• <body>
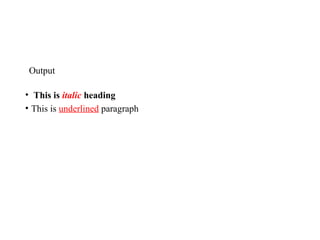
• <h1>This is <i>italic</i> heading</h1>
• <p>This is <u>underlined</u> paragraph</p>
• </body>
• </html>
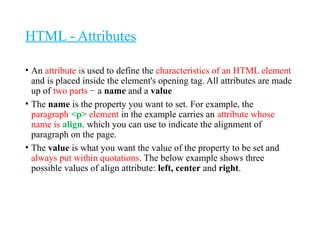
HTML - Attributes
•An attribute is used to define the characteristics of an HTML element
and is placed inside the element's opening tag. All attributes are made
up of two parts − a name and a value
• The name is the property you want to set. For example, the
paragraph <p> element in the example carries an attribute whose
name is align, which you can use to indicate the alignment of
paragraph on the page.
• The value is what you want the value of the property to be set and
always put within quotations. The below example shows three
possible values of align attribute: left, center and right.
13.
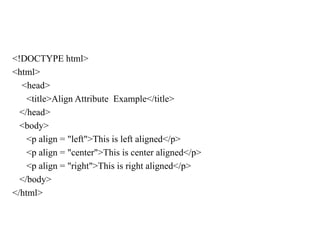
<!DOCTYPE html>
<html>
<head>
<title>Align AttributeExample</title>
</head>
<body>
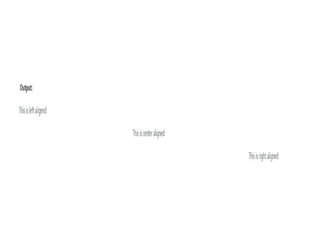
<p align = "left">This is left aligned</p>
<p align = "center">This is center aligned</p>
<p align = "right">This is right aligned</p>
</body>
</html>
15.
HTML- Formatting
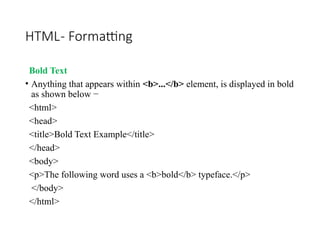
Bold Text
•Anything that appears within <b>...</b> element, is displayed in bold
as shown below −
<html>
<head>
<title>Bold Text Example</title>
</head>
<body>
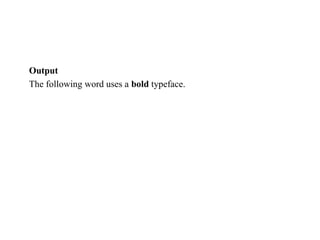
<p>The following word uses a <b>bold</b> typeface.</p>
</body>
</html>
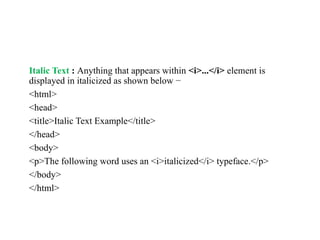
Italic Text :Anything that appears within <i>...</i> element is
displayed in italicized as shown below −
<html>
<head>
<title>Italic Text Example</title>
</head>
<body>
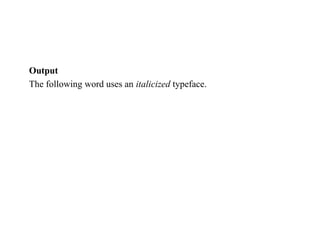
<p>The following word uses an <i>italicized</i> typeface.</p>
</body>
</html>
Underlined Text :-Anything that appears within <u>...</u>
element, is displayed with underline as shown below −
<html>
<head>
<title>Underlined Text Example</title>
</head>
<body>
<p>The following word uses an <u>underlined</u> typeface.</p>
</body>
</html>
Strike Text :Anything that appears within <strike>...</strike>
element is displayed with strikethrough, which is a thin line through
the text as shown below −
<html>
<head>
<title>Strike Text Example</title>
</head>
<body>
<p>The following word uses a <strike>strikethrough</strike>
typeface.</p>
</body>
</html>
Superscript Text :The content of a <sup>...</sup> element is written in
superscript; the font size used is the same size as the characters surrounding
it but is displayed half a character's height above the other characters.
<html>
<head>
<title>Superscript Text Example</title>
</head>
<body>
<p>The following word uses a <sup>superscript</sup> typeface.</p>
</body>
</html>
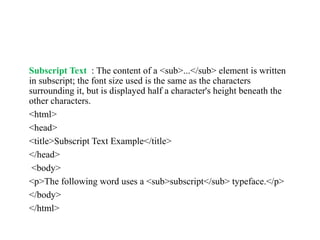
Subscript Text :The content of a <sub>...</sub> element is written
in subscript; the font size used is the same as the characters
surrounding it, but is displayed half a character's height beneath the
other characters.
<html>
<head>
<title>Subscript Text Example</title>
</head>
<body>
<p>The following word uses a <sub>subscript</sub> typeface.</p>
</body>
</html>
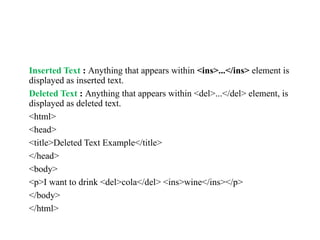
Inserted Text :Anything that appears within <ins>...</ins> element is
displayed as inserted text.
Deleted Text : Anything that appears within <del>...</del> element, is
displayed as deleted text.
<html>
<head>
<title>Deleted Text Example</title>
</head>
<body>
<p>I want to drink <del>cola</del> <ins>wine</ins></p>
</body>
</html>
29.
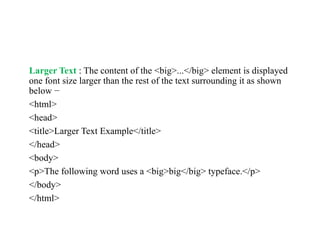
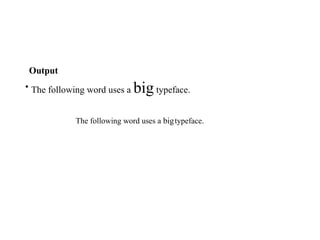
Larger Text :The content of the <big>...</big> element is displayed
one font size larger than the rest of the text surrounding it as shown
below −
<html>
<head>
<title>Larger Text Example</title>
</head>
<body>
<p>The following word uses a <big>big</big> typeface.</p>
</body>
</html>
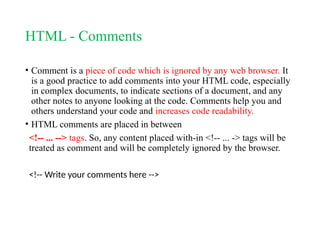
HTML - Comments
•Comment is a piece of code which is ignored by any web browser. It
is a good practice to add comments into your HTML code, especially
in complex documents, to indicate sections of a document, and any
other notes to anyone looking at the code. Comments help you and
others understand your code and increases code readability.
• HTML comments are placed in between
<!-- ... --> tags. So, any content placed with-in <!-- ... -> tags will be
treated as comment and will be completely ignored by the browser.
<!-- Write your comments here -->
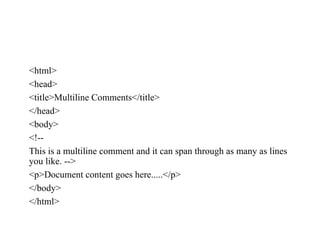
Multi line Comments
•So far we have seen single line comments, but HTML supports multi-
line comments as well. Can comment multiple lines by the special
beginning tag
<!-- and ending tag --> placed before the first line and end of the last
line as shown in the given example below.
HTML - Images
•Insert Image : Can insert any image in your web page by using <img>
tag. Following is the simple syntax to use this tag.
• <img src = "Image URL" ... attributes-list/>
• The <img> tag is an empty tag, which means that, it can contain only
list of attributes and it has no closing tag.
38.
Definition and Usage
•The <img> tag is used to embed an image in an HTML page.
• Images are not technically inserted into a web page; images are linked to
web pages.
• The <img>tag creates a holding space for the referenced image.
• The <img>tag has two required attributes:
• src - Specifies the path to the image
• alt - Specifies an alternate text for the image, if the image for some reason cannot
be displayed
Set Image Width/Height
Youcan set image width and height based on your requirement
using width and height attributes. Can specify width and height of the
image in terms of either pixels or percentage of its actual size
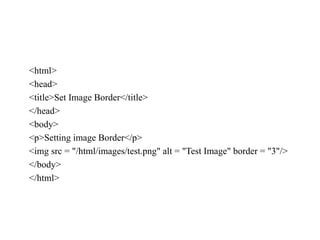
Set Image Border
Bydefault, image will have a border around it, you can specify border
thickness in terms of pixels using border attribute. A thickness of 0
means, no border around the picture.
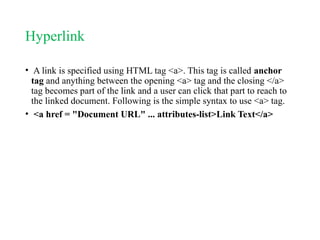
Hyperlink
• A linkis specified using HTML tag <a>. This tag is called anchor
tag and anything between the opening <a> tag and the closing </a>
tag becomes part of the link and a user can click that part to reach to
the linked document. Following is the simple syntax to use <a> tag.
• <a href = "Document URL" ... attributes-list>Link Text</a>
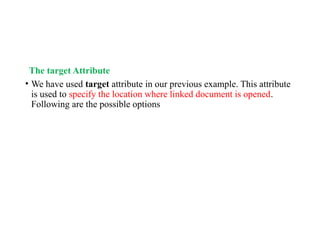
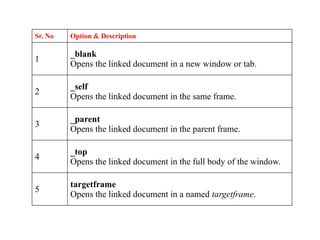
The target Attribute
•We have used target attribute in our previous example. This attribute
is used to specify the location where linked document is opened.
Following are the possible options
51.
Sr. No Option& Description
1
_blank
Opens the linked document in a new window or tab.
2
_self
Opens the linked document in the same frame.
3
_parent
Opens the linked document in the parent frame.
4
_top
Opens the linked document in the full body of the window.
5
targetframe
Opens the linked document in a named targetframe.
52.
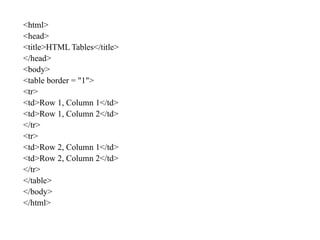
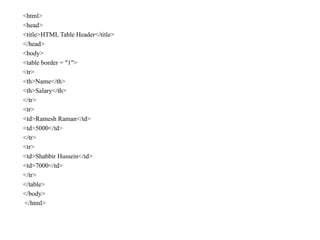
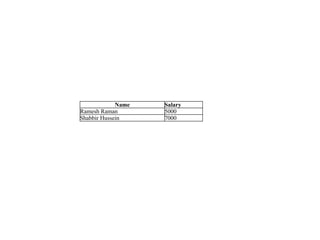
HTML - Tables
•The HTML tables allow web authors to arrange data like text, images,
links, other tables, etc. into rows and columns of cells.
• The HTML tables are created using the <table> tag in which
the <tr> tag is used to create table rows and <td> tag is used to create
data cells.
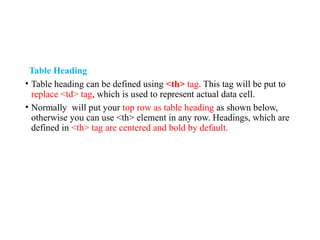
Table Heading
• Tableheading can be defined using <th> tag. This tag will be put to
replace <td> tag, which is used to represent actual data cell.
• Normally will put your top row as table heading as shown below,
otherwise you can use <th> element in any row. Headings, which are
defined in <th> tag are centered and bold by default.
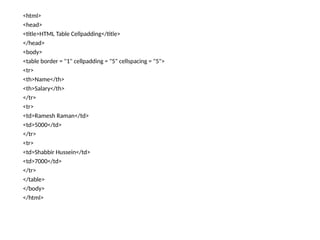
Cellpadding and CellspacingAttributes
• There are two attributes called cellpadding and cellspacing which will
use to adjust the white space in your table cells. The cellspacing
attribute defines space between table cells, while cellpadding
represents the distance between cell borders and the content within a
cell.
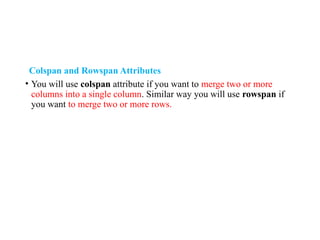
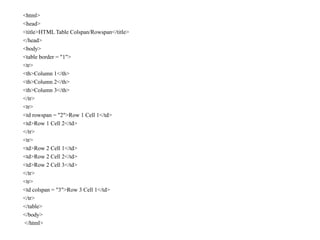
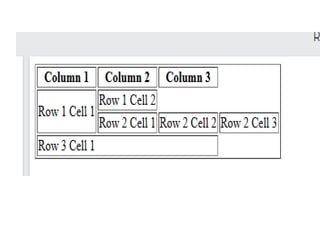
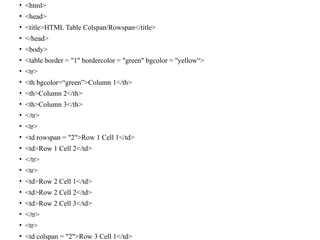
Colspan and RowspanAttributes
• You will use colspan attribute if you want to merge two or more
columns into a single column. Similar way you will use rowspan if
you want to merge two or more rows.
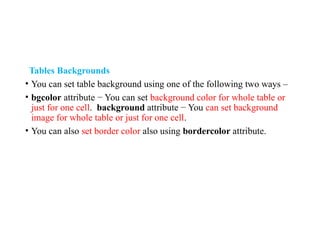
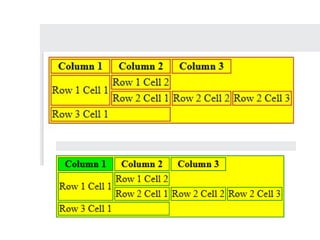
Tables Backgrounds
• Youcan set table background using one of the following two ways –
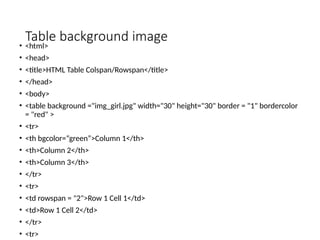
• bgcolor attribute − You can set background color for whole table or
just for one cell. background attribute − You can set background
image for whole table or just for one cell.
• You can also set border color also using bordercolor attribute.
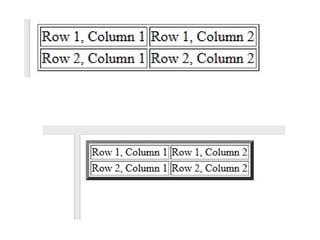
Table Height andWidth
• You can set a table width and height
using width and height attributes. You can specify table width or
height in terms of pixels or in terms of percentage of available screen
area.
<table border = "1" width = "400" height = "150">
Presentational elements
• Theelements only affect the presentation of the webpage.
• All the html elements are presentational elements like
• <b>, <i>, <u>, <s> or <strike>,<sup>, <sub>, <big>, <small>, <hr />, etc
72.
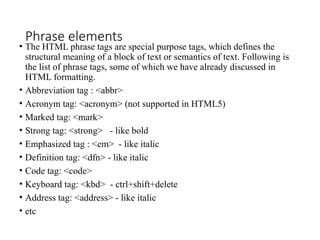
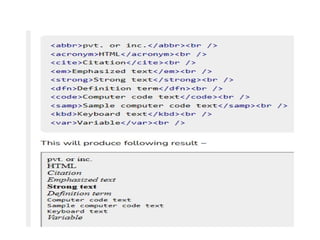
Phrase elements
• TheHTML phrase tags are special purpose tags, which defines the
structural meaning of a block of text or semantics of text. Following is
the list of phrase tags, some of which we have already discussed in
HTML formatting.
• Abbreviation tag : <abbr>
• Acronym tag: <acronym> (not supported in HTML5)
• Marked tag: <mark>
• Strong tag: <strong> - like bold
• Emphasized tag : <em> - like italic
• Definition tag: <dfn> - like italic
• Code tag: <code>
• Keyboard tag: <kbd> - ctrl+shift+delete
• Address tag: <address> - like italic
• etc
74.
HTML - Lists
HTMLoffers web authors three ways for specifying lists of
information. All lists must contain one or more list elements. Lists
may contain −
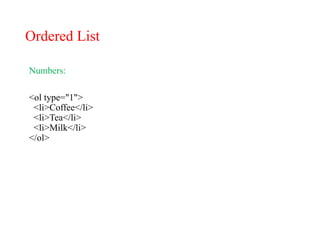
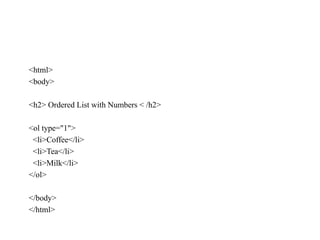
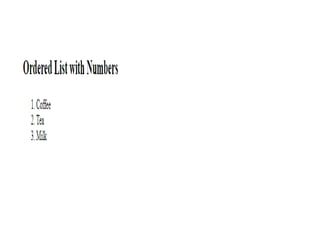
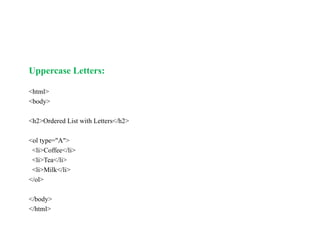
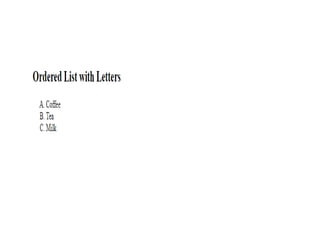
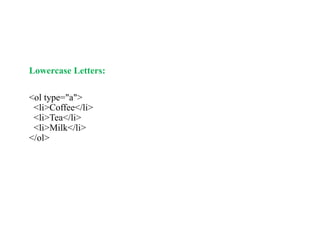
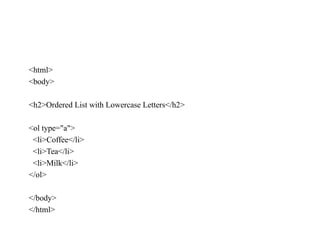
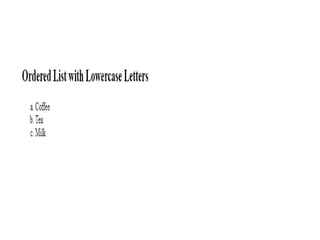
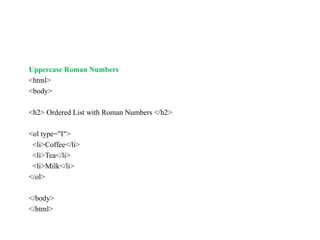
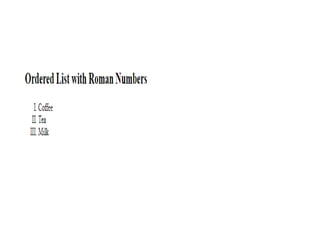
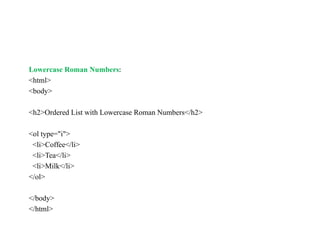
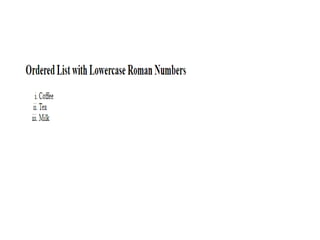
• <ol> − An ordered list. This will use different schemes of numbers to
list your items.
• <ul> − An unordered list. This will list items using plain bullets.
• <dl> − A definition list. This arranges your items in the same way as
they are arranged in a dictionary.
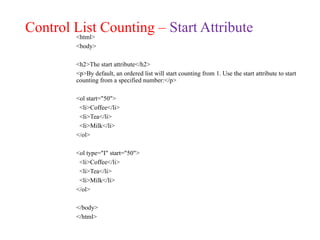
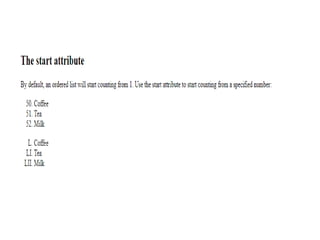
Control List Counting– Start Attribute
<html>
<body>
<h2>The start attribute</h2>
<p>By default, an ordered list will start counting from 1. Use the start attribute to start
counting from a specified number:</p>
<ol start="50">
<li>Coffee</li>
<li>Tea</li>
<li>Milk</li>
</ol>
<ol type="I" start="50">
<li>Coffee</li>
<li>Tea</li>
<li>Milk</li>
</ol>
</body>
</html>
89.
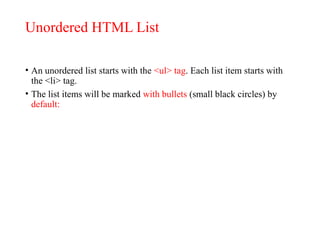
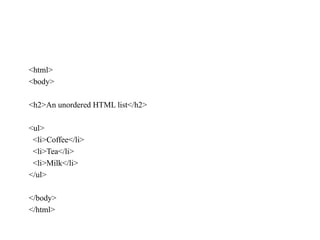
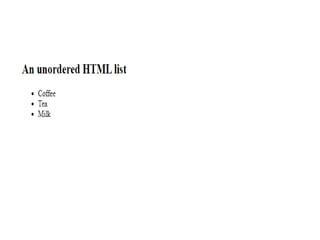
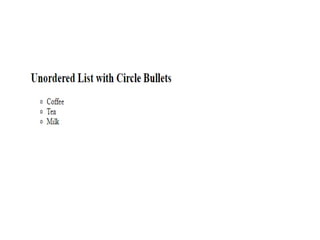
Unordered HTML List
•An unordered list starts with the <ul> tag. Each list item starts with
the <li> tag.
• The list items will be marked with bullets (small black circles) by
default:
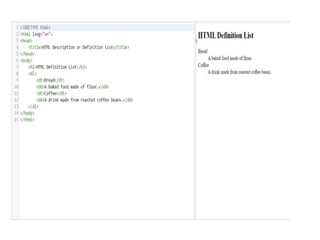
Description List
• Adescription list is a list of items with a description or definition of
each item.
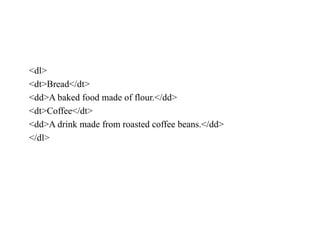
• The description list is created using <dl> element. The <dl> element
is used in conjunction with the <dt> element which specify a term,
and the <dd> element which specify the term's definition.
• Browsers usually render the definition lists by placing the terms and
definitions in separate lines, where the term's definitions are slightly
indented. Here's an example:
HTML Forms
Introduction toHTML forms
• An HTML form is a section of a document containing normal
content, markup, special elements called controls (checkboxes, radio
buttons, menus, etc.), and labels on those controls.
98.
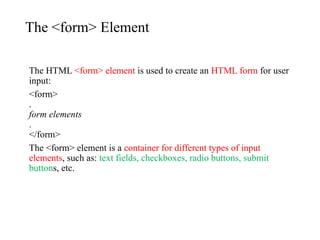
The <form> Element
TheHTML <form> element is used to create an HTML form for user
input:
<form>
.
form elements
.
</form>
The <form> element is a container for different types of input
elements, such as: text fields, checkboxes, radio buttons, submit
buttons, etc.
99.
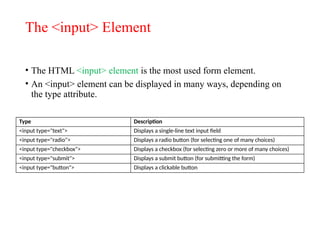
The <input> Element
•The HTML <input> element is the most used form element.
• An <input> element can be displayed in many ways, depending on
the type attribute.
Type Description
<input type="text"> Displays a single-line text input field
<input type="radio"> Displays a radio button (for selecting one of many choices)
<input type="checkbox"> Displays a checkbox (for selecting zero or more of many choices)
<input type="submit"> Displays a submit button (for submitting the form)
<input type="button"> Displays a clickable button
101.
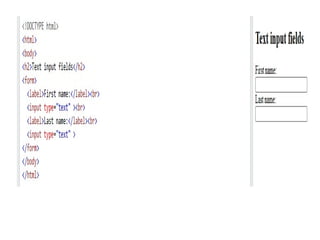
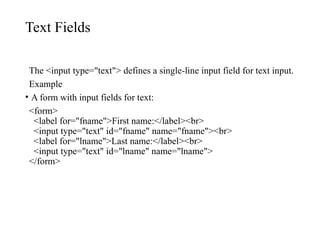
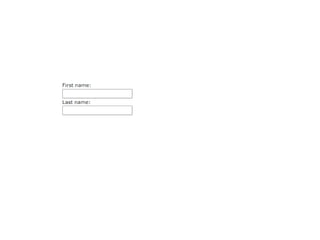
Text Fields
The <inputtype="text"> defines a single-line input field for text input.
Example
• A form with input fields for text:
<form>
<label for="fname">First name:</label><br>
<input type="text" id="fname" name="fname"><br>
<label for="lname">Last name:</label><br>
<input type="text" id="lname" name="lname">
</form>
103.
The <label> Element
Noticethe use of the <label> element in the example above.
• The <label> tag defines a label for many form elements.
• The <label> element is useful for screen-reader users, because the
screen-reader will read out loud the label when the user focus on the
input element.
104.
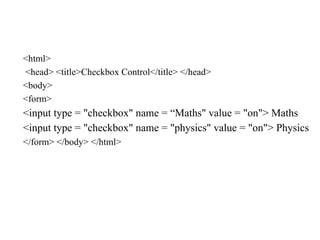
Checkbox Control
• Checkboxesare used when more than one option is required to be
selected. They are also created using HTML <input> tag but type
attribute is set to checkbox..
Example
• Here is an example HTML code for a form with two checkboxes −
105.
<html>
<head> <title>Checkbox Control</title></head>
<body>
<form>
<input type = "checkbox" name = “Maths" value = "on"> Maths
<input type = "checkbox" name = "physics" value = "on"> Physics
</form> </body> </html>
107.
Radio Button Control
Radiobuttons are used when out of many options, just one option is
required to be selected.
They are also created using HTML <input> tag but type attribute is set
to radio.
Example
• Here is example HTML code for a form with two radio buttons −
108.
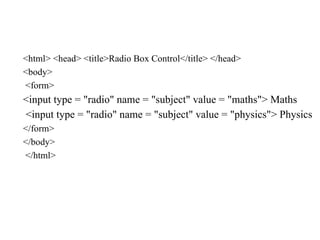
<html> <head> <title>RadioBox Control</title> </head>
<body>
<form>
<input type = "radio" name = "subject" value = "maths"> Maths
<input type = "radio" name = "subject" value = "physics"> Physics
</form>
</body>
</html>
110.
Select Box Control
•A select box, also called drop down box which provides option to list
down various options in the form of drop down list, from where a
user can select one or more options.
111.
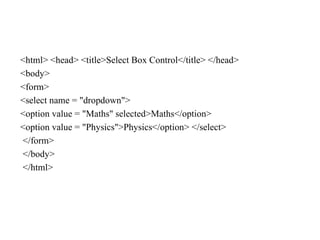
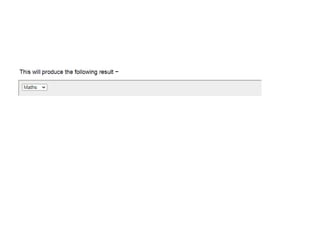
<html> <head> <title>SelectBox Control</title> </head>
<body>
<form>
<select name = "dropdown">
<option value = "Maths" selected>Maths</option>
<option value = "Physics">Physics</option> </select>
</form>
</body>
</html>
113.
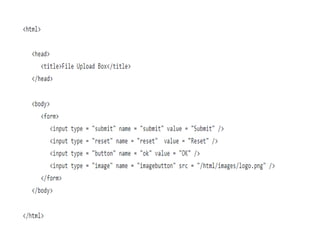
Button Controls
• Thereare various ways in HTML to create clickable buttons.
• You can also create a clickable button using <input>tag by setting its
type attribute to button.
116.
IMAGE MAP
• TheHTML <map> tag defines an image map.
• An image map is an image with clickable areas.
• The areas are defined with one or more <area> tags.
117.
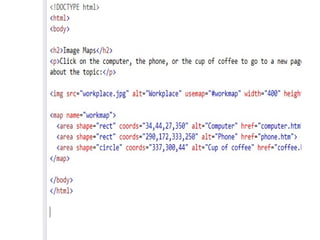
The Image
• Theimage is inserted using the <img> tag. The only difference from
other images is that you must add a usemap attribute:
• <img src="workplace.jpg" alt="Workplace" usemap="#workmap">
• The usemap value starts with a hash tag # followed by the name of
the image map, and is used to create a relationship between the
image and the image map.
118.
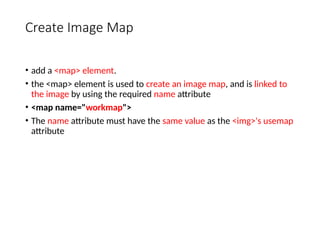
Create Image Map
•add a <map> element.
• the <map> element is used to create an image map, and is linked to
the image by using the required name attribute
• <map name="workmap">
• The name attribute must have the same value as the <img>'s usemap
attribute
120.
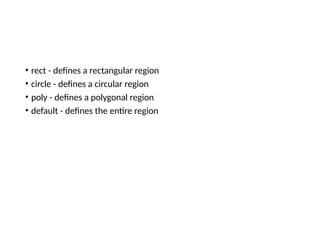
• rect -defines a rectangular region
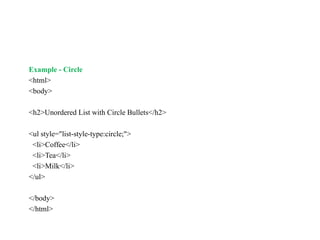
• circle - defines a circular region
• poly - defines a polygonal region
• default - defines the entire region
121.
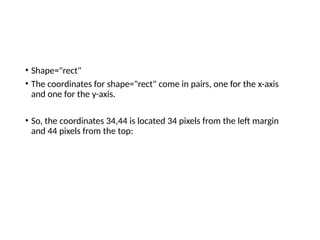
• Shape="rect"
• Thecoordinates for shape="rect" come in pairs, one for the x-axis
and one for the y-axis.
• So, the coordinates 34,44 is located 34 pixels from the left margin
and 44 pixels from the top:
123.
Shape="poly"
• The shape="poly"contains several coordinate points, which creates a
shape formed with straight lines (a polygon).
124.
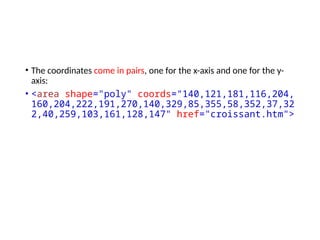
• The coordinatescome in pairs, one for the x-axis and one for the y-
axis:
• <area shape="poly" coords="140,121,181,116,204,
160,204,222,191,270,140,329,85,355,58,352,37,32
2,40,259,103,161,128,147" href="croissant.htm">
125.
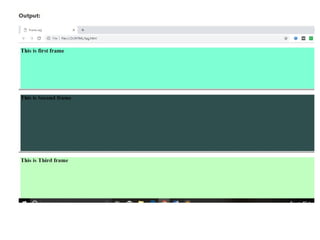
Frame sets
• HTMLframes are used to divide your browser window into multiple
sections where each section can load a separate HTML document.
• A collection of frames in the browser window is known as a
frameset.
• The window is divided into frames in a similar way the tables are
organized: into rows and columns.
126.
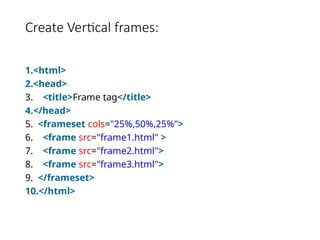
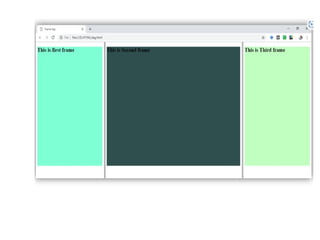
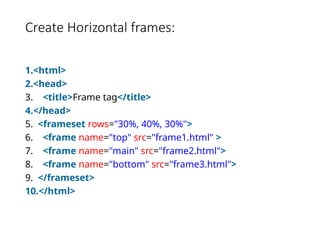
Creating Frames
• Touse frames on a page we use <frameset> tag instead of <body>
tag.
• The <frameset> tag defines, how to divide the window into frames.
• The rows attribute of <frameset> tag defines horizontal frames
and cols attribute defines vertical frames.
• Each frame is indicated by <frame> tag and it defines which HTML
document shall open into the frame.
• Syntax
< frame src = "URL" >
127.
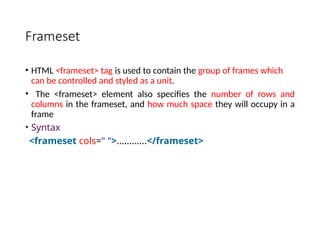
Frameset
• HTML <frameset>tag is used to contain the group of frames which
can be controlled and styled as a unit.
• The <frameset> element also specifies the number of rows and
columns in the frameset, and how much space they will occupy in a
frame
• Syntax
<frameset cols=" ">............</frameset>
128.
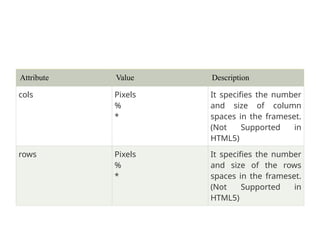
Attribute Value Description
colsPixels
%
*
It specifies the number
and size of column
spaces in the frameset.
(Not Supported in
HTML5)
rows Pixels
%
*
It specifies the number
and size of the rows
spaces in the frameset.
(Not Supported in
HTML5)
Advantages of UsingFrames
1. One of the most beneficial feature of frames is it lets the user to
have multiple pages in the same browser.
2. Using frames we can keep one part of the page static while
changing the other parts of the page.
3. If we create a top frame we can use it as a header i.e, as that page is
static it acts like an include page.
4. Frames can be used to reduce server load, as there is no need to
reload all the pages when ever a new page is visited.
135.
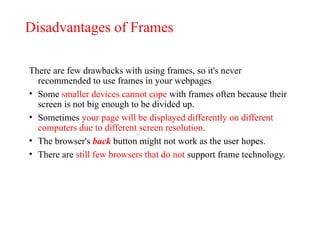
Disadvantages of Frames
Thereare few drawbacks with using frames, so it's never
recommended to use frames in your webpages
• Some smaller devices cannot cope with frames often because their
screen is not big enough to be divided up.
• Sometimes your page will be displayed differently on different
computers due to different screen resolution.
• The browser's back button might not work as the user hopes.
• There are still few browsers that do not support frame technology.