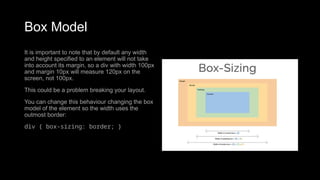
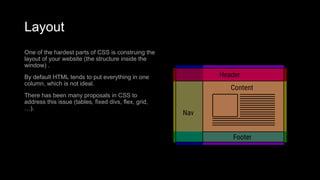
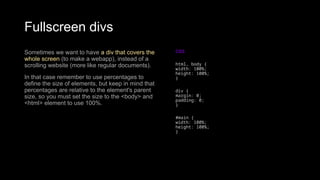
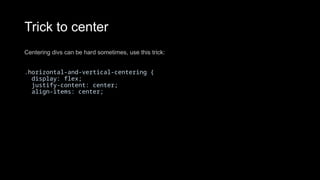
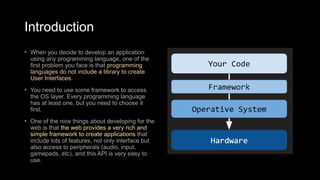
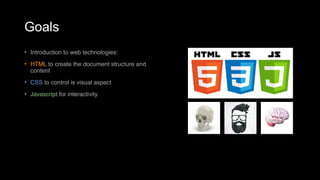
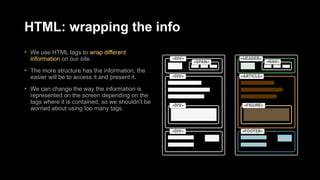
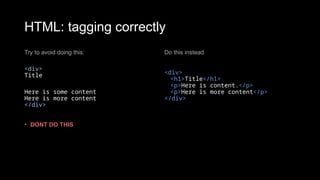
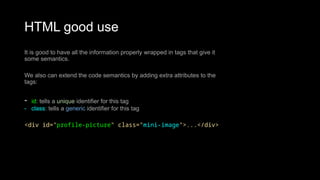
The document provides a comprehensive introduction to web technologies, focusing on HTML, CSS, and JavaScript as essential components for web development. It outlines how to structure web applications, the function of browsers, and the role of various HTML tags for content organization, as well as CSS for styling. Additionally, it covers practical aspects, such as tools for coding and methods to test and manage layouts.


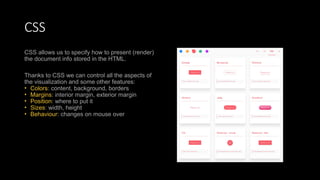

![CSS Selectors
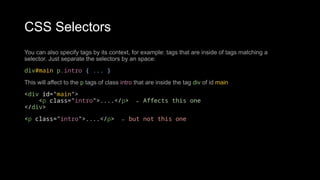
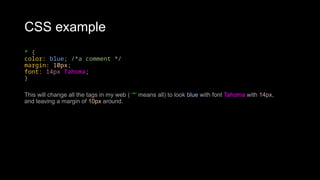
There are several selectors we can use to narrow our rules to very specific tags of our website.
The main selectors are:
• tag name: just the name of the tag
• p { ... } //affects to all <p> tags
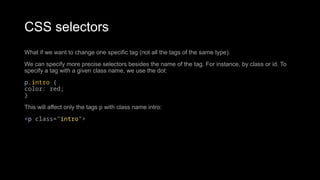
• dot (.): affects to tags with that class
• p.highlight { ... } //affects all <p> tags with class="highlight"
• sharp character (#): specifies tags with that id
• p#intro { ... } //affects to the <p> tag with the id="intro"
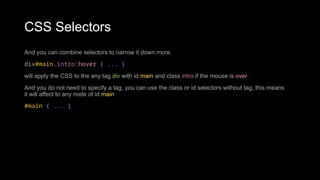
• two dots (:): behaviour states (mouse on top)
• p:hover { ... } //affects to <p> tags with the mouse over
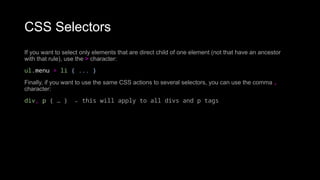
• brackets ([attr='value']): tags with the attribute attr with the value 'value'
• input[type="text"] {...} // affects to the input tags of the type text](https://image.slidesharecdn.com/presentation1-240930123809-5406fb72/85/HTMLforbeginerslearntocodeforbeginersinfh-30-320.jpg)