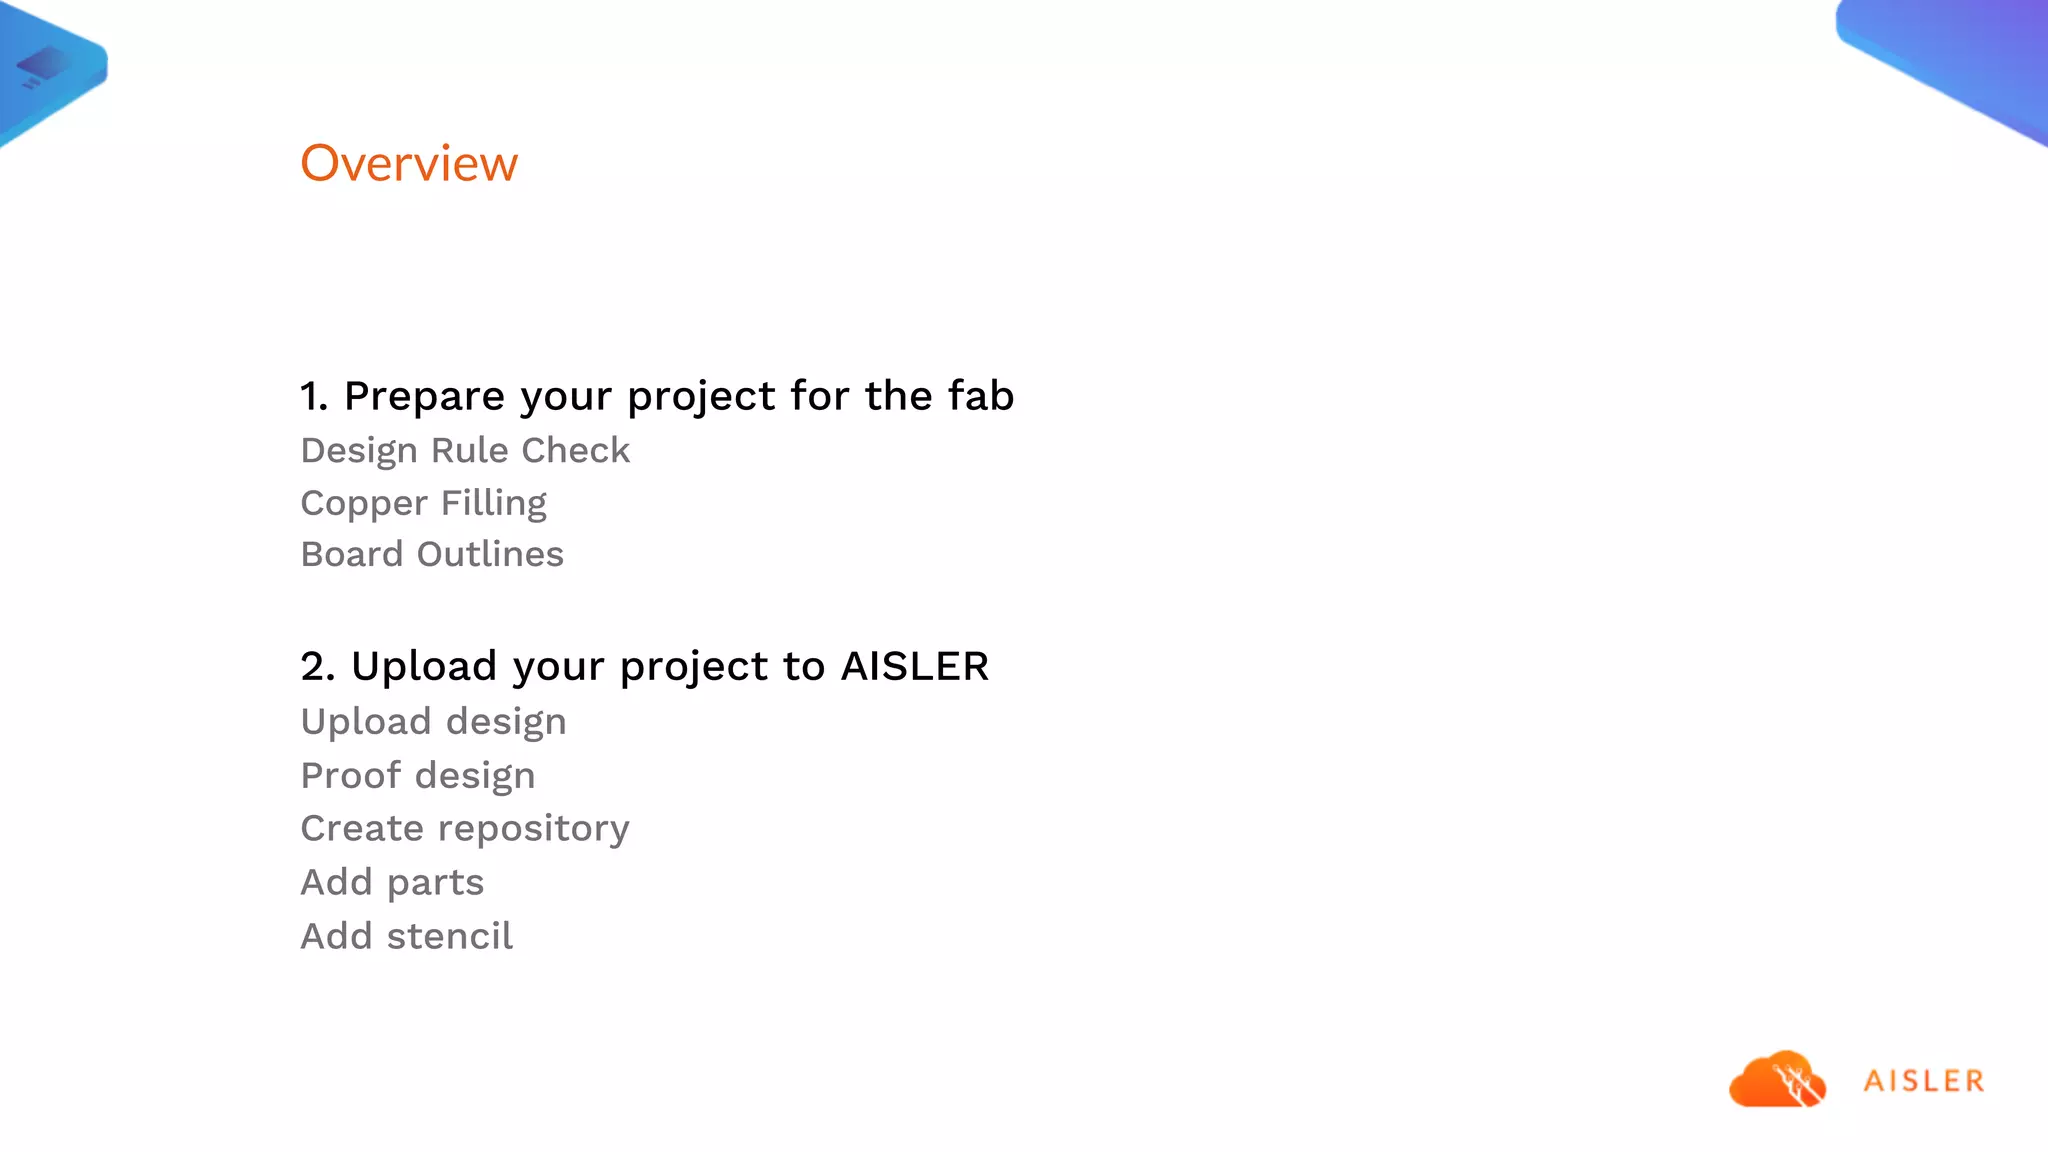
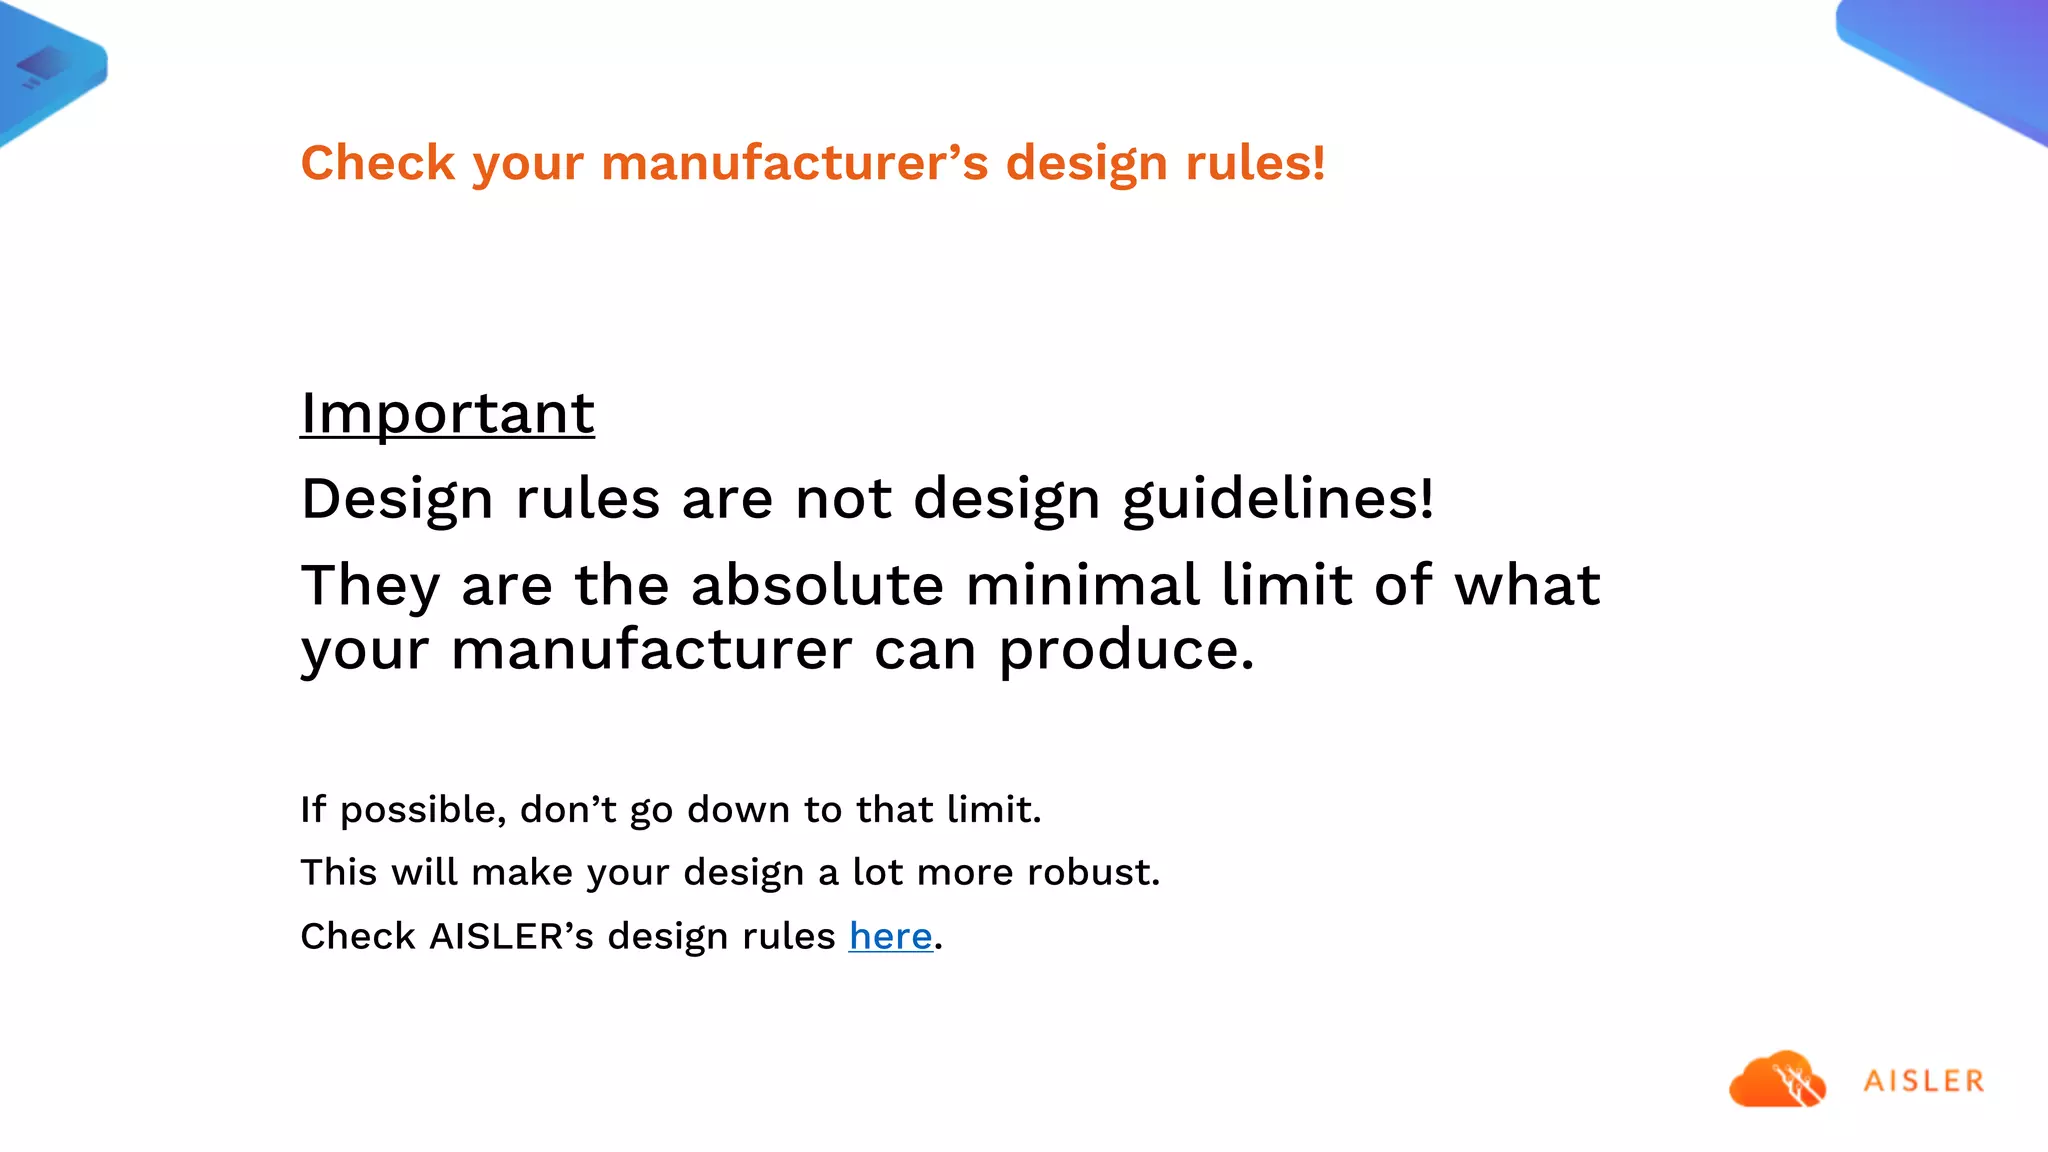
Manufacture your
Autodesk Eagle Design
with AISLER
1. Prepare your project for the fab
Design Rule Check
Copper Filling
Board Outlines
2. Upload your project to AISLER
Upload design
Proof design
Create repository
Add parts
Add stencil
Overview
Prepare your project
for the fab
Design Rule Check
Important
Design rules are not design guidelines!
They are the absolute minimal limit of what
your manufacturer can produce.
If possible, don’t go down to that limit.
This will make your design a lot more robust.
Check AISLER’s design rules here.
Check your manufacturer’s design rules!
Check your Design in Autodesk Eagle with AISLER’s DRC file
Select your aisler_go_2layer.dru file and click “Check”
Copper Filling
In Eagle, right click on the area that needs to be filled and
select Ratsnest. This should fill the required areas with
copper.
Board Outlines
When you draw your board outlines (board dimension layer) make sure they are
lines not rectangles. Otherwise it will not be rendered or manufactured properly.
Pro Tip: If you are using a template, e.g. for an arduino shield, you should already be
covered
Upload your project
to AISLER
Start a project by uploading your Eagle file.
Pro Tip: If you want to be quick, navigate to https://aisler.net/p/new.
This will create a new project.
Proof your design
AISLER renders manufacturing images so that you can proof your design.
Not happy with how things are rendered? Repeat step 1 to 3 until you are. It
doesn't cost anything to iterate, and it helps you get your project
manufactured with ease.
Setup a repository
and project name
Just create or use an existing repository and create a new project.
AISLER will try to suggest a name for you, but feel free to change it
to match your flavour. This is the final step and you will have a
documented project that you can let AISLER manufacture for you.
Adding parts to your order
You can choose between uploading a schematic or adding your parts manually.
Uploading a schematic is the easiest way to document your
bill of material (BOM).
First, on your project's page, click "Details" under the "Bill of
Materials" section.
Then, on the upper right-hand corner, under "Import
schematic drawing" hit the "SELECT FILE" button.
Finally chose the right schematic file from your computer and
click "open".
Uploading a schematic
Bill of Materials on aisler.net
This option takes a little more effort, but is totally doable as well.
1. First, on your project's page, click "Details" under the "Bill of Materials"
section.
2. Then, on the upper right-hand corner, hit the "ADD PART MANUALLY"
button.
3. Search for the part you want to add to your project and choose one from
the list shown.
4. Repeat step 2 and 3 until all the necessary parts have been added.
Adding parts manually
Adding parts manually on aisler.net
Adding a stencil for SMD
soldering
Since you uploaded an Eagle design, we will also show you a rendering of our
Stellar Stencil.
You can easily add the stencil to your order with a click of a button.
Just flip the Stellar Stencil switch and the stencil will be included
in your order.
Now all there is left to do is to press Checkout & Pay.
You’ll soon hold your own projects in your hands! Hurray!
visit
aisler.net

How to manufacture your Autodesk Eagle Design with AISLER

  • 1.
  • 2.
    1. Prepare yourproject for the fab Design Rule Check Copper Filling Board Outlines 2. Upload your project to AISLER Upload design Proof design Create repository Add parts Add stencil Overview
  • 3.
  • 4.
  • 5.
    Important Design rules arenot design guidelines! They are the absolute minimal limit of what your manufacturer can produce. If possible, don’t go down to that limit. This will make your design a lot more robust. Check AISLER’s design rules here. Check your manufacturer’s design rules!
  • 6.
    Check your Designin Autodesk Eagle with AISLER’s DRC file
  • 7.
    Select your aisler_go_2layer.drufile and click “Check”
  • 8.
  • 9.
    In Eagle, rightclick on the area that needs to be filled and select Ratsnest. This should fill the required areas with copper.
  • 10.
  • 11.
    When you drawyour board outlines (board dimension layer) make sure they are lines not rectangles. Otherwise it will not be rendered or manufactured properly. Pro Tip: If you are using a template, e.g. for an arduino shield, you should already be covered
  • 12.
  • 13.
    Start a projectby uploading your Eagle file. Pro Tip: If you want to be quick, navigate to https://aisler.net/p/new. This will create a new project.
  • 14.
  • 15.
    AISLER renders manufacturingimages so that you can proof your design. Not happy with how things are rendered? Repeat step 1 to 3 until you are. It doesn't cost anything to iterate, and it helps you get your project manufactured with ease.
  • 16.
  • 17.
    Just create oruse an existing repository and create a new project. AISLER will try to suggest a name for you, but feel free to change it to match your flavour. This is the final step and you will have a documented project that you can let AISLER manufacture for you.
  • 18.
    Adding parts toyour order
  • 19.
    You can choosebetween uploading a schematic or adding your parts manually.
  • 20.
    Uploading a schematicis the easiest way to document your bill of material (BOM). First, on your project's page, click "Details" under the "Bill of Materials" section. Then, on the upper right-hand corner, under "Import schematic drawing" hit the "SELECT FILE" button. Finally chose the right schematic file from your computer and click "open". Uploading a schematic
  • 21.
    Bill of Materialson aisler.net
  • 22.
    This option takesa little more effort, but is totally doable as well. 1. First, on your project's page, click "Details" under the "Bill of Materials" section. 2. Then, on the upper right-hand corner, hit the "ADD PART MANUALLY" button. 3. Search for the part you want to add to your project and choose one from the list shown. 4. Repeat step 2 and 3 until all the necessary parts have been added. Adding parts manually
  • 23.
    Adding parts manuallyon aisler.net
  • 24.
    Adding a stencilfor SMD soldering
  • 25.
    Since you uploadedan Eagle design, we will also show you a rendering of our Stellar Stencil. You can easily add the stencil to your order with a click of a button.
  • 26.
    Just flip theStellar Stencil switch and the stencil will be included in your order.
  • 27.
    Now all thereis left to do is to press Checkout & Pay. You’ll soon hold your own projects in your hands! Hurray!
  • 28.