Download to read offline

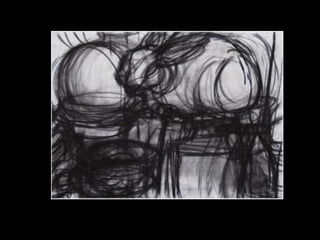
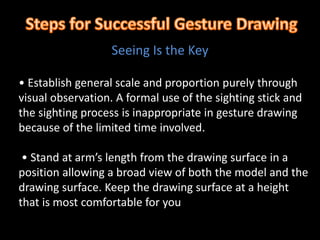
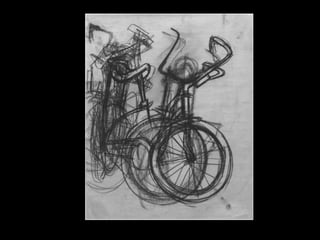
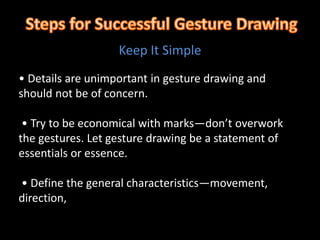
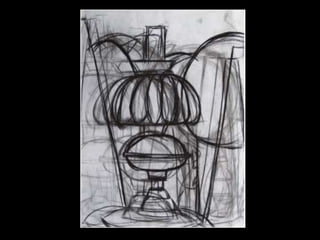
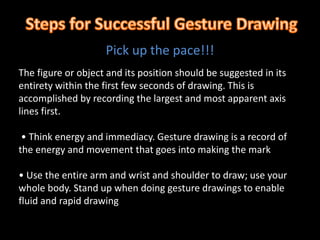
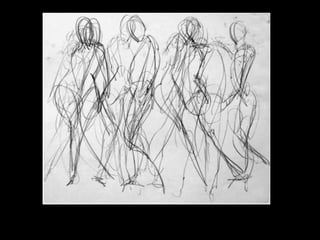
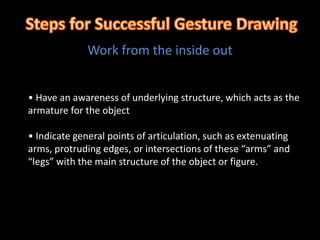
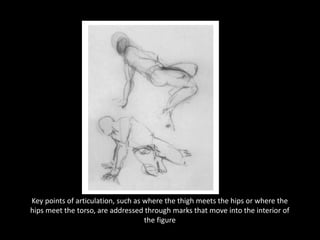

Gesture drawing is a quick sketching exercise used to warm up before longer drawing sessions. It focuses on capturing the essential movement and proportions of a subject within short poses ranging from 15 seconds to 3 minutes. The goal is to suggest the entire subject with a few lines that establish the main axes and points of articulation through fluid arm movements while primarily observing the subject rather than focusing on details of the drawing. Gesture drawing helps artists see and record the underlying structure and energy of a pose.


