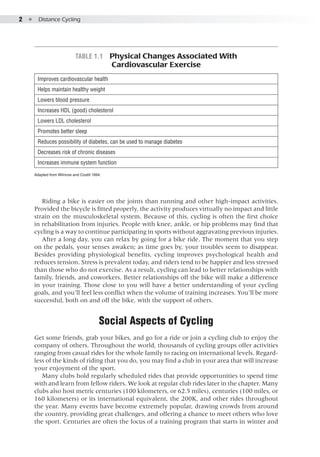
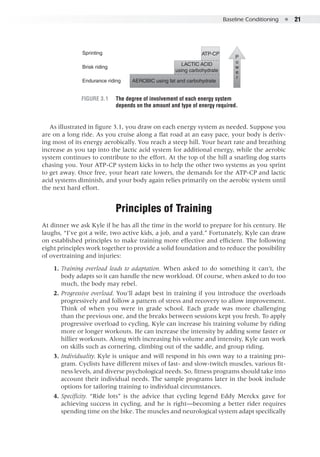
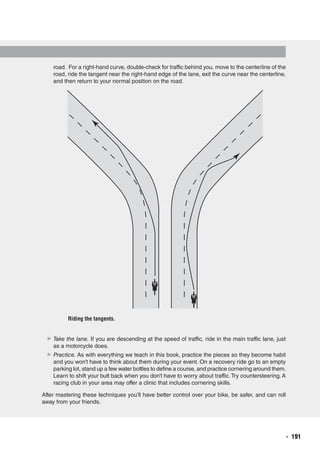
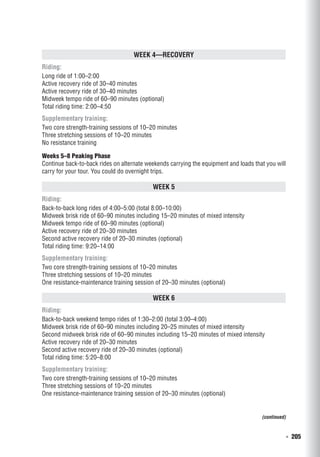
This book provides guidance for cyclists preparing for long-distance cycling events such as centuries (rides of 100 miles or more) and ultra-endurance cycling competitions. The book covers all aspects of training for these events, including baseline conditioning, nutrition, equipment selection, injury prevention, and training plans. It is intended for cyclists of all experience levels, from those riding their first century to experienced riders training for multi-day ultra-distance cycling challenges. The goal is to help readers successfully prepare for and complete their chosen long-distance cycling goals.


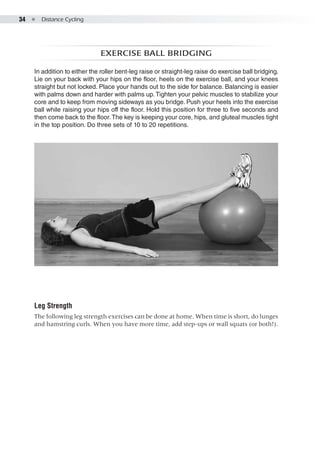
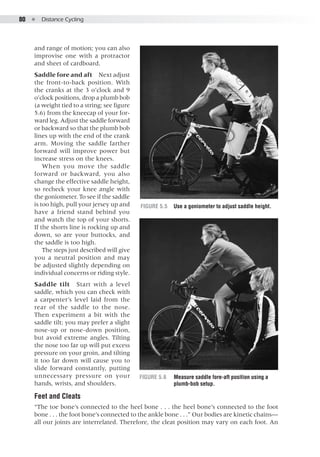
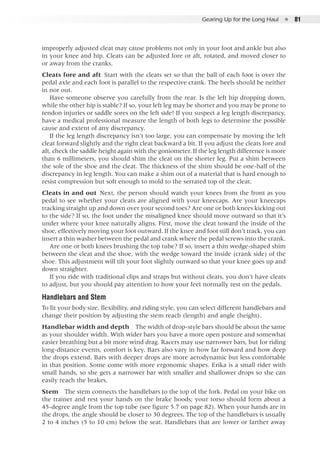
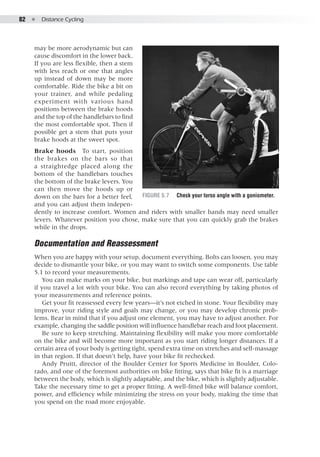
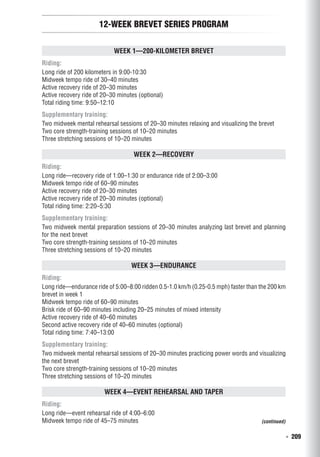
![Fueling the Distance Cyclist ● 61
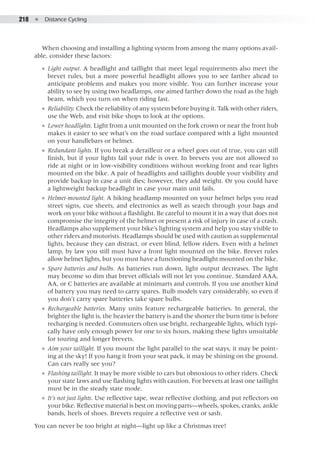
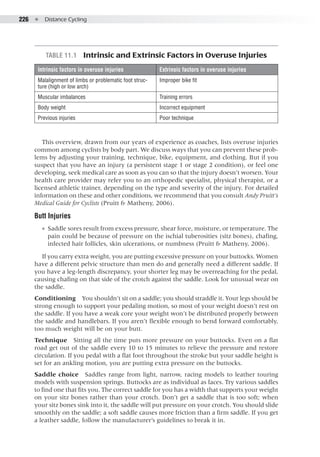
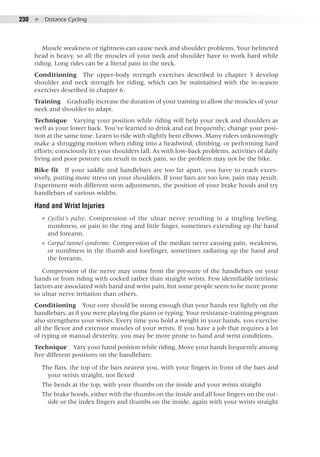
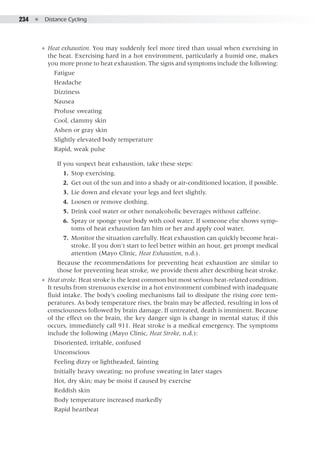
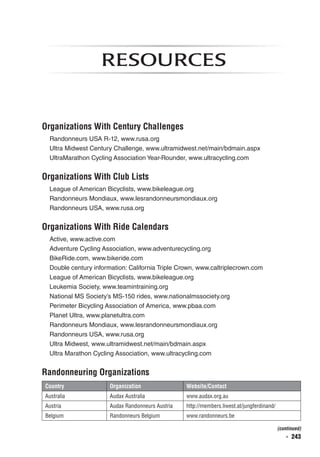
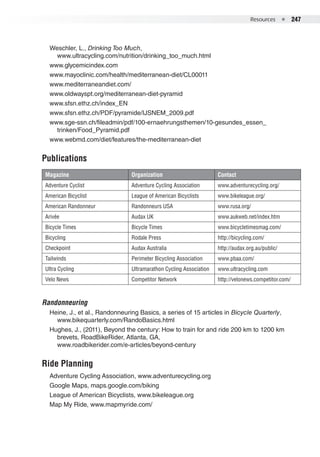
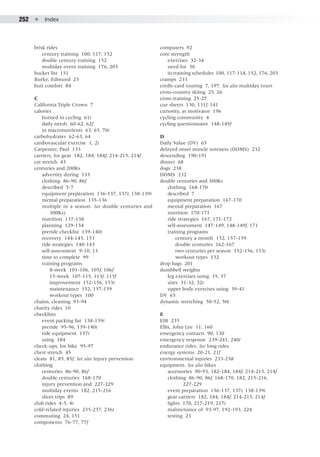
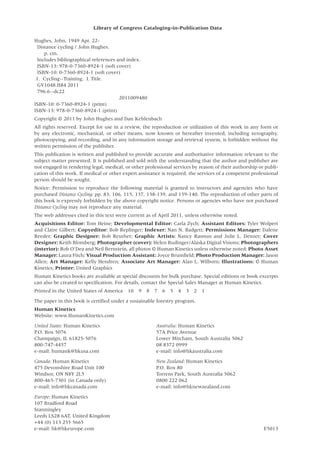
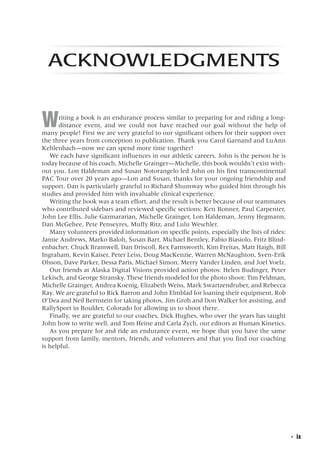
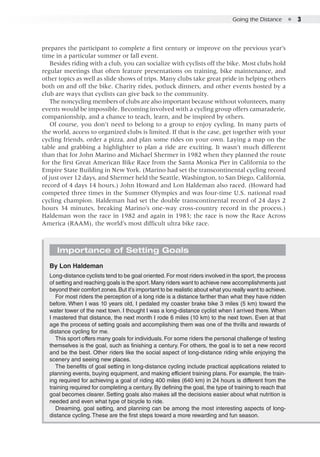
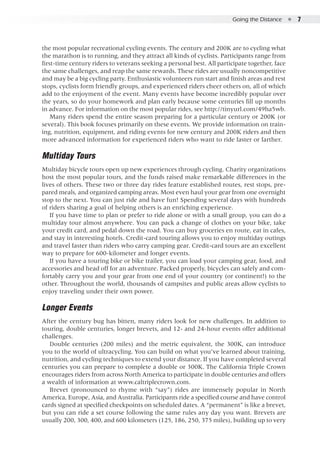
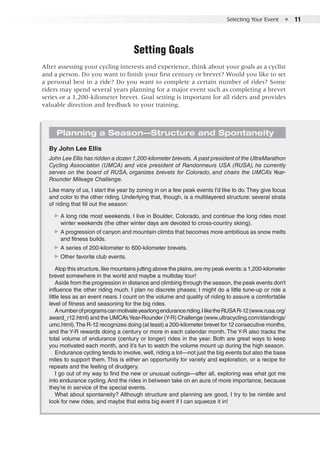
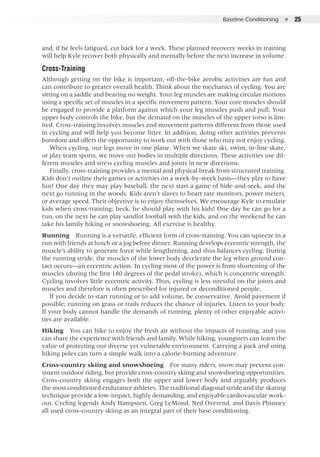
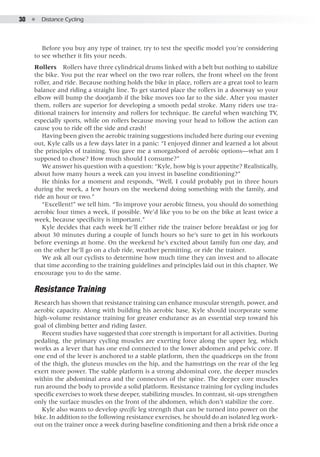
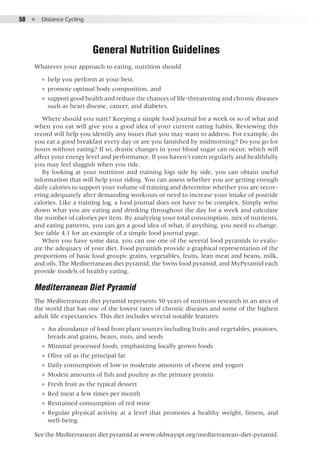
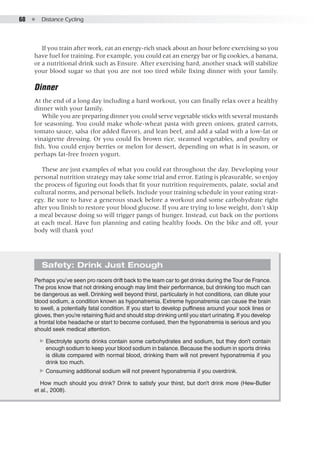
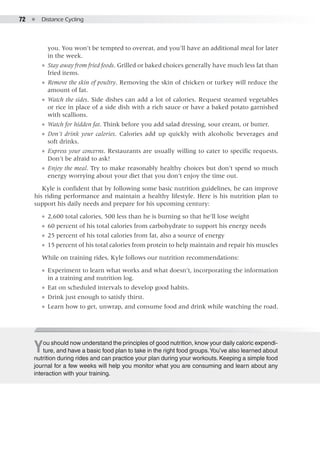
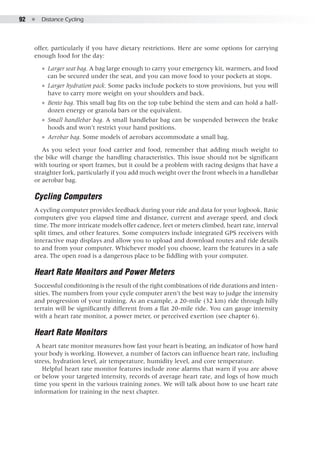
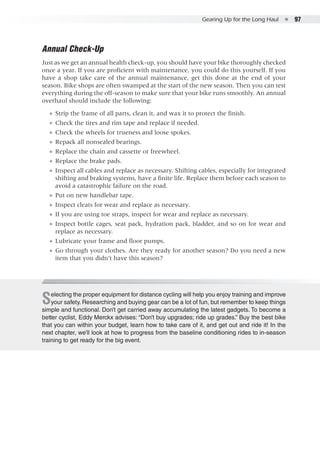
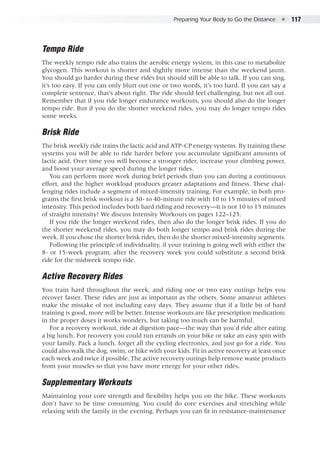
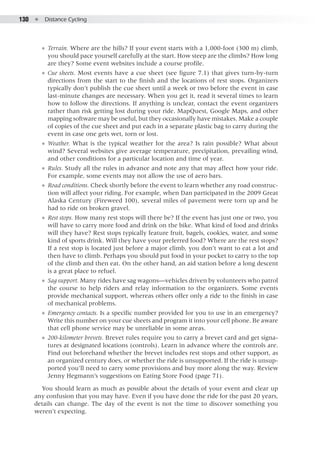
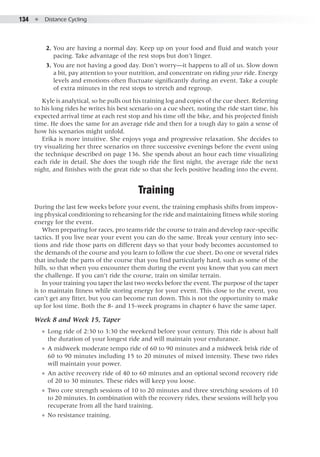
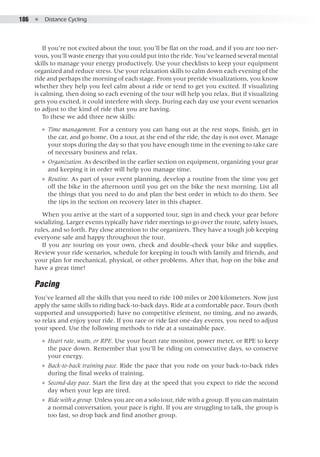
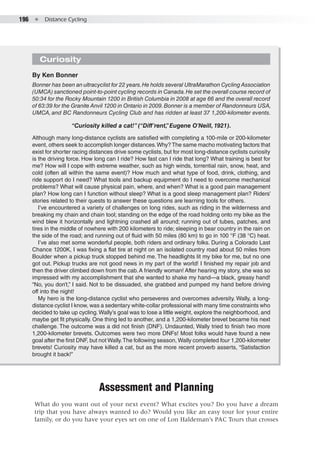
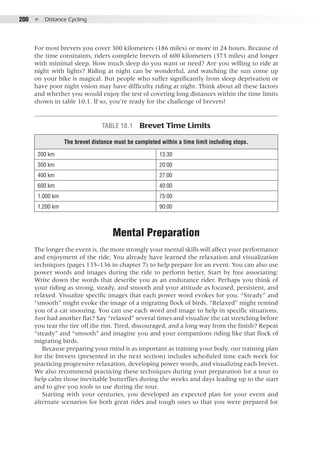
Because Kyle spends most of his day sitting at his desk at work, he estimates that his
daily activities require 35 percent multiplied by 1,700, or about 600 calories per day.
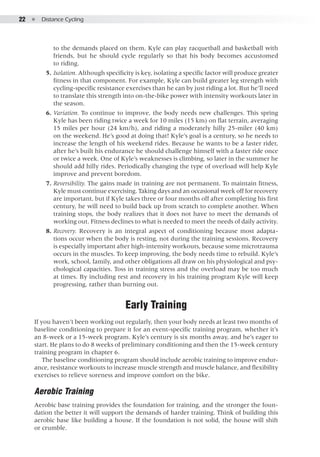
The next step is to add the calories to support training. To keep it simple, we assume
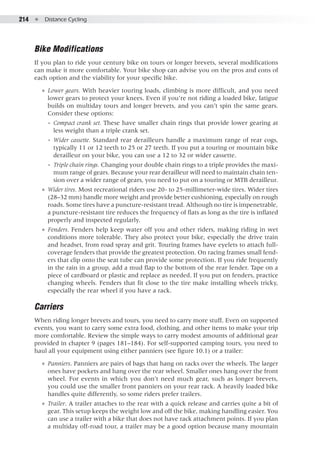
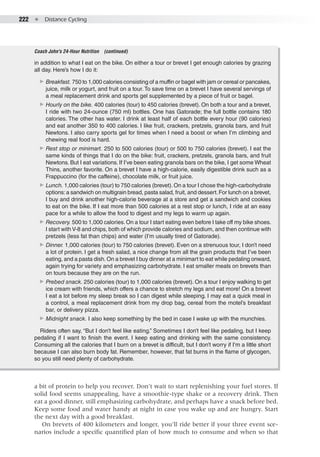
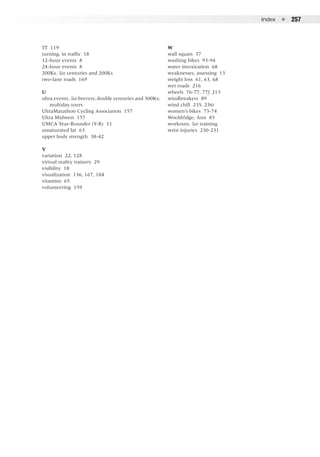
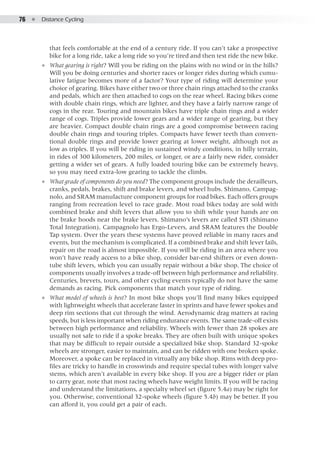
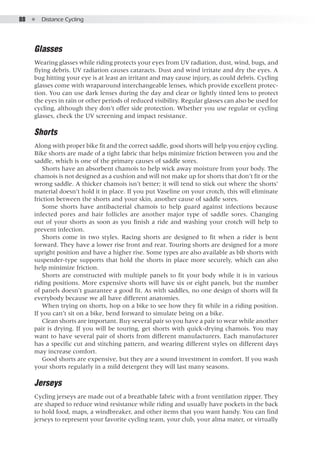
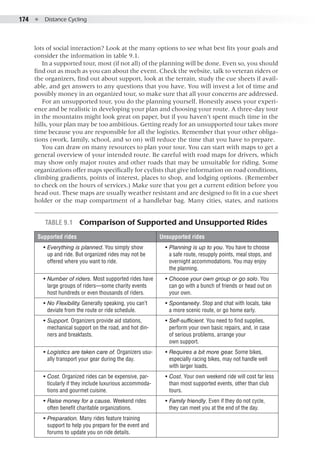
that Kyle does all his training on the bike. You can use table 4.2 to determine the
approximate number of calories burned while cycling. If you’re also cross-training, your
calorie expenditure will vary.
If Kyle rides for an hour at 15 miles per hour (24 km/h), he uses 4.5 calories multiplied
by 170 pounds, or about 750 calories per hour. At the end of his baseline conditioning
and start of his specific century training, Kyle is working out eight hours per week. He
needs to add about 850 daily calories to fuel his exercise [(8/7) × 750]. Kyle has the
following daily fuel requirement:
Basal metabolism 1,700
Activities of daily living 600
Working out 850
Total calories 3,150
Table 4.2 Approximate Number of Calories Needed While Riding
Speed Description Cal × lb−1
× h−1
Cal × kg−1
× h−1
11 mph (18 km/h) Leisure, slow, light effort 2.5 6
13 mph (21 km/h) Leisure, moderate effort 3.5 8
15 mph (24 km/h) Racing or leisure, fast vigorous effort 4.5 10
16–19 mph (26–31 km/h) Racing, not drafting, fast 5.5 12
>19 mph (31 km/h) Racing, drafting, very fast 5.5 12
>20 mph (32 km/h) Racing, not drafting, very fast 7.5 16
Reprinted, by permission, from N. Clark and J. Hegmann, 2005, The cyclists food guide (West Newton, MA: Sport Nutrition) 138.
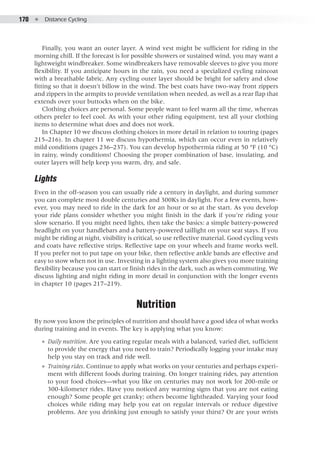
Kyle is concerned about his weight, which affects his climbing, one of his weaknesses.
If you want to lose weight to improve your performance, you shouldn’t cut your calo-
ries too much while training. Because you will be working hard, your body needs suf-
ficient calories (think fuel). Consuming too few calories will cause your performance to
suffer and increase the chances of fatigue and illness. As a rule, don’t cut daily calories
by more than 20 percent. This means that Kyle could restrict his calories by up to 600
calories per day.
When attempting to lose weight, weigh yourself regularly to ensure that you are not
chronically dehydrating your body or tapping into lean muscle tissue for energy. Aim to
lose about .5 to 1 pound (.25 to .5 kg) per week. To lose 1 pound per week, you would
need to consume 3,500 calories less than you burn over the course of the week, or 500
less per day.](https://image.slidesharecdn.com/distancecycling-johnhughes2011-150602195449-lva1-app6892/85/Distance-cycling-john-hughes-2011-73-320.jpg)


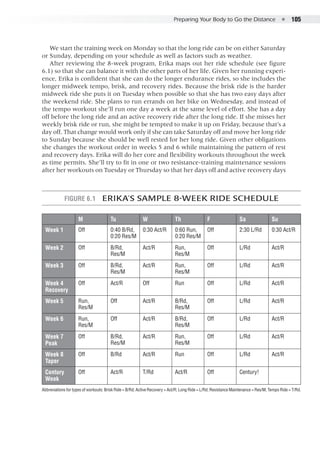
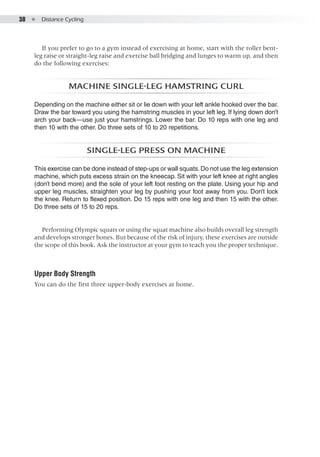
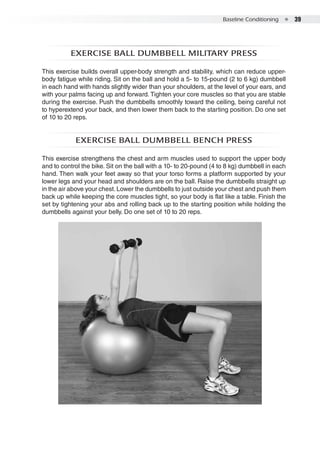
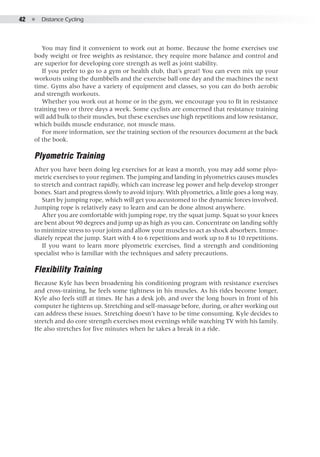
![Preparing Your Body to Go the Distance ● 107
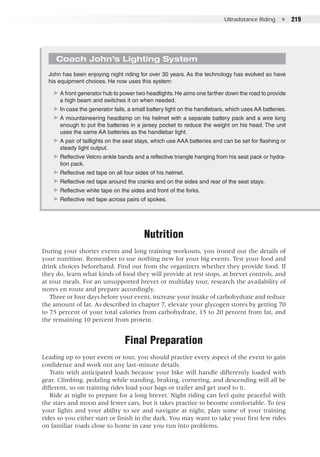
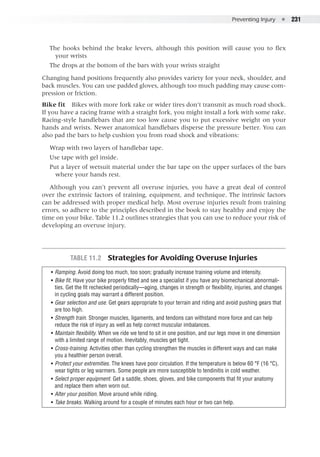
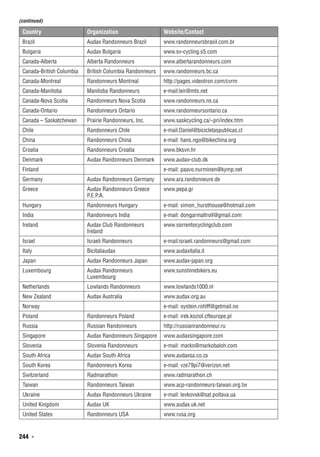
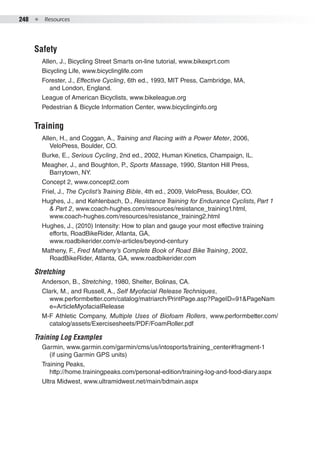
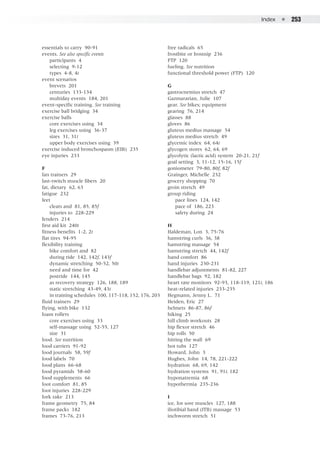
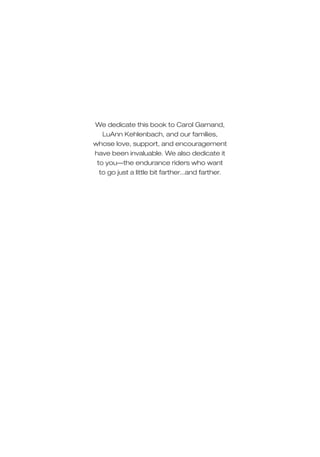
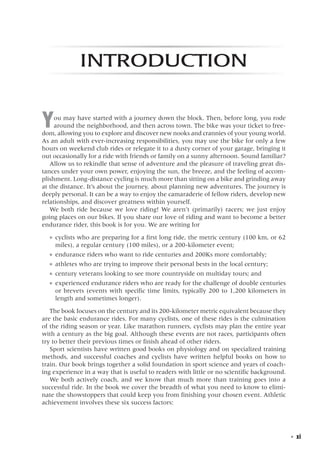
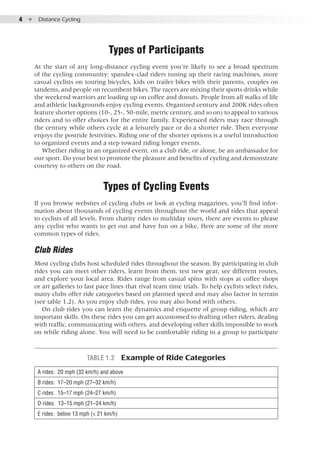
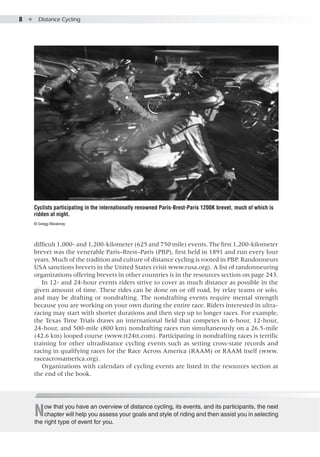
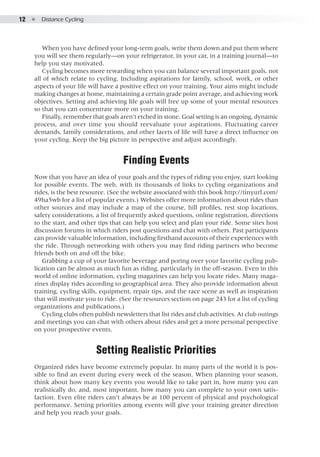
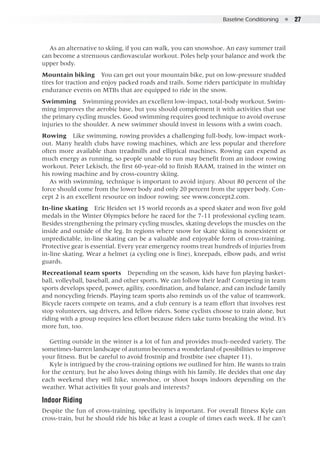
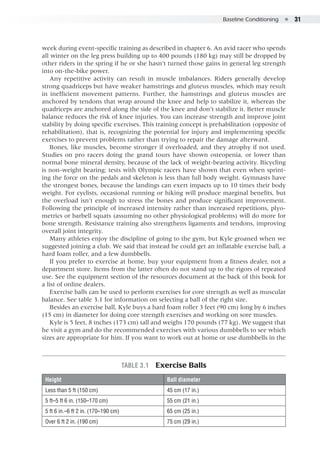
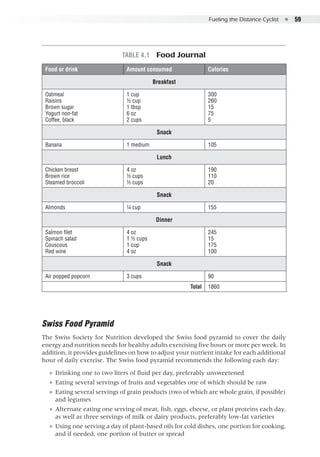
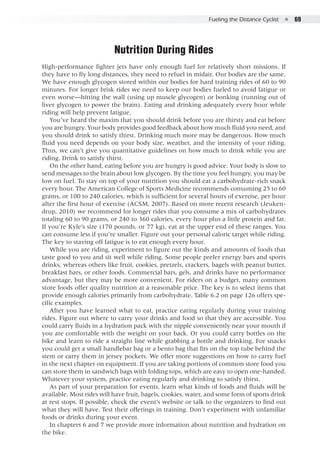
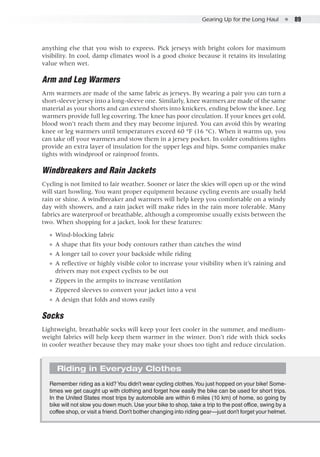
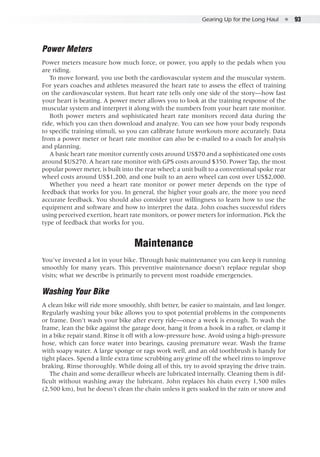
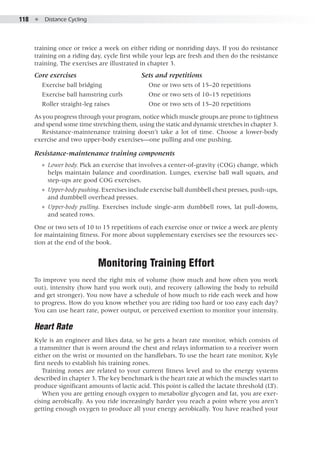
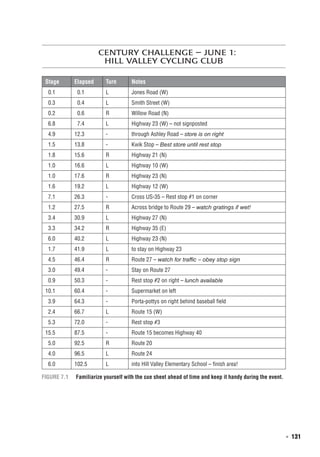
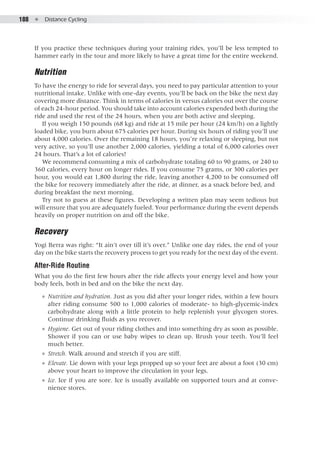
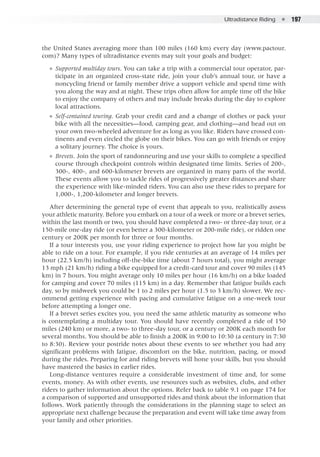
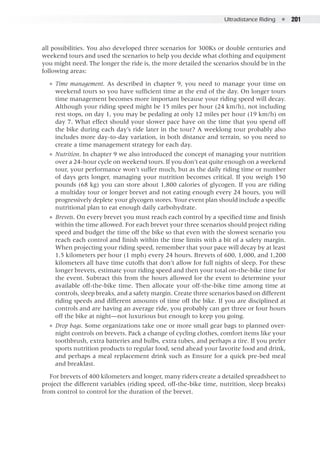
Staying With a Training Program
By Julie Gazmararian
Gazmararian has completed many brevets and twice qualified for the Race Across America.
She is a member of Atlanta-based Sorella Cycling,which fosters a supportive environment for
cycling for fitness,recreation,and racing for women of all ages and abilities.She is a professor
at Rollins School of Public Health at Emory University,Atlanta, and a mother of two boys.
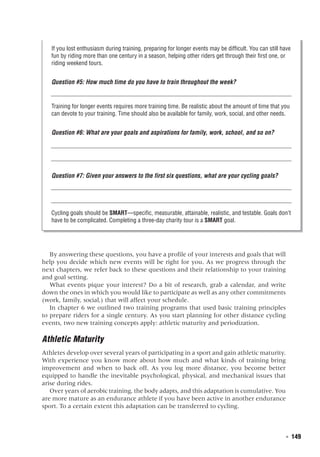
1. Set goals. Make your goals realistic and achievable. Set both short-term (e.g., complete
this weekend’s ride) and intermediate goals (e.g., build to a 50- to 60-mile [80 to 100 km]
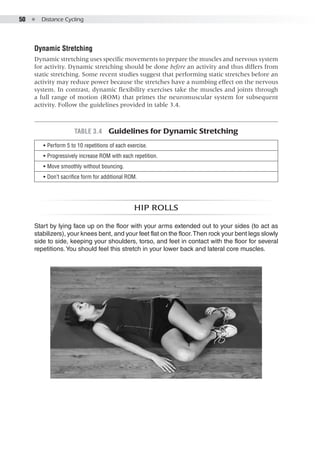
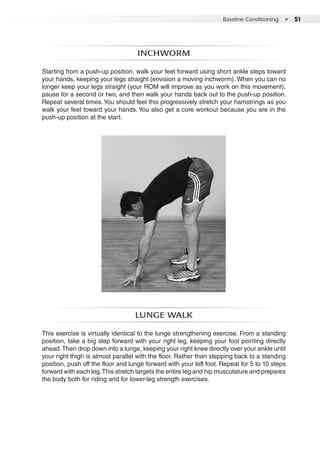
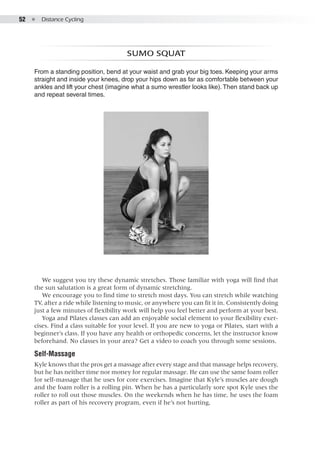
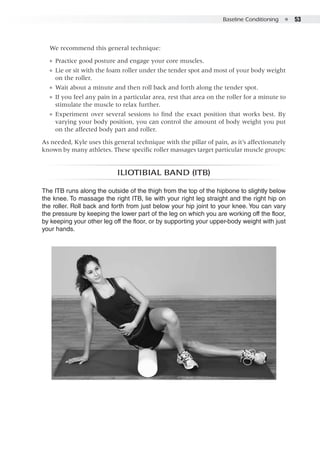
ride) that will lead to your long-term goal (e.g., a century). Your goals will help you focus
your training plan.
2. Share your goals with others. Telling other people about your goals will help you stick to
them (or have others help you stick with them).Tell your significant other, kids, or coworkers
what your goal is for the current week.
3. Develop a cycling support group. Find a group of people or a club and support each
other by showing up to ride and bugging each other if you or they don’t show up!
4. Stick with a consistent schedule. For example, plan to ride Tuesday and Thursday
before work, Saturday with the club, and Sunday for coffee with your significant other.
5. Have a training partner. Find a good training partner who has a pace and goals similar
to yours. Work together to set and achieve your goals.
6. Establish cycling rides as a routine. Be consistent and block out time to ride so that
it becomes part of your daily and weekly routine. Mark your planned rides and events on
your calendar and make them a priority.
7. Keep a log. Record your training sessions (both planned for the week and what you
actually did).Writing these down will help you stay on track and help you assess good and
not-so-good training sessions (e.g., overtraining).
8. Reward yourself. Acknowledge your training milestones and training consistency, such
as the first time you go a certain distance, achieve a faster pace, or do four rides in a week!
Don’t get too hung up on volume, but feel good when you do a bit more this week than last.
9. Take time off. More is not better. Taking time off is critical so that your body can rest and
recover and so that you rejuvenate mentally and are excited about your next training ride
or event.
10. Plan a new route. Seeing new scenery and exploring new roads are mentally refreshing.
Cycling on new roads with different terrain is good training (e.g., hilly route, flat and fast route).
11. Be flexible. Events or weather may interfere with your training plans. Learn to make
adjustments and not to take it too seriously if you miss a training ride.
12. Keep it fun.You are more likely to stick to a training program if you have fun.
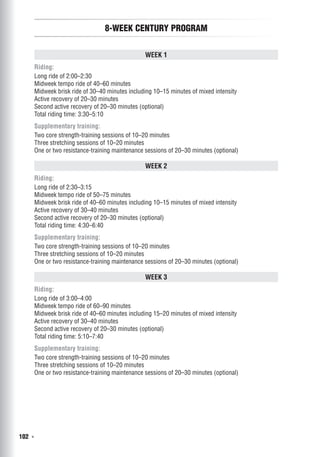
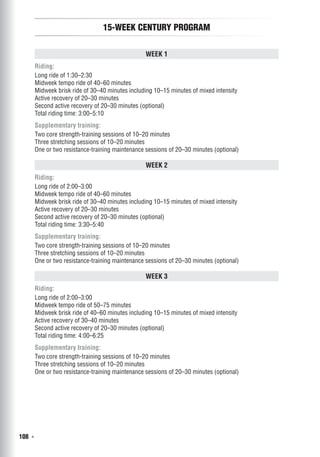
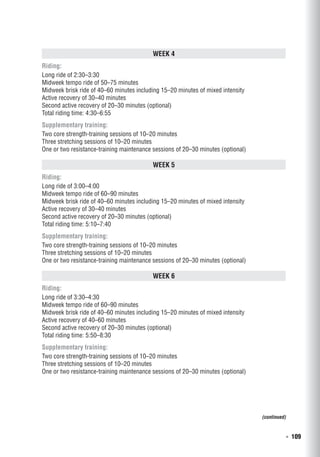
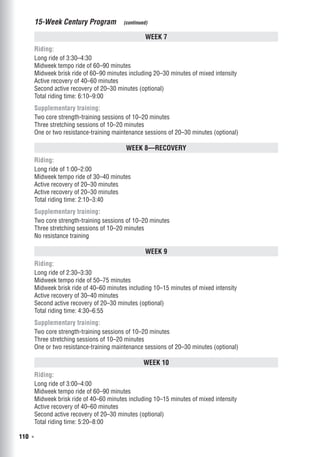
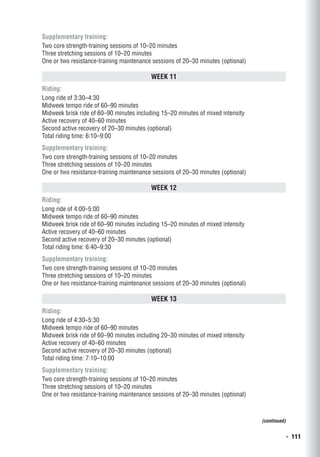
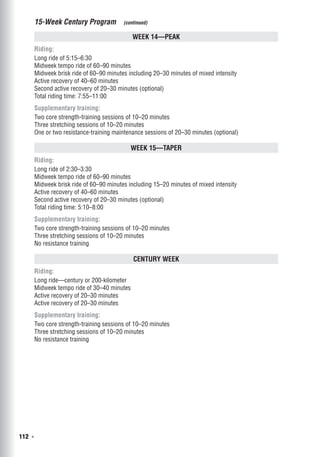
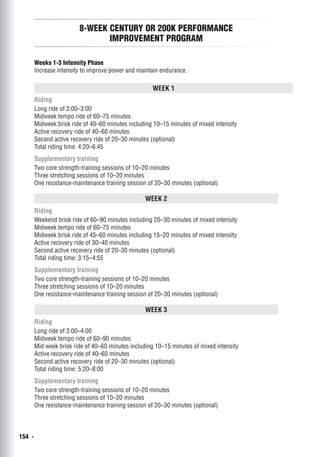
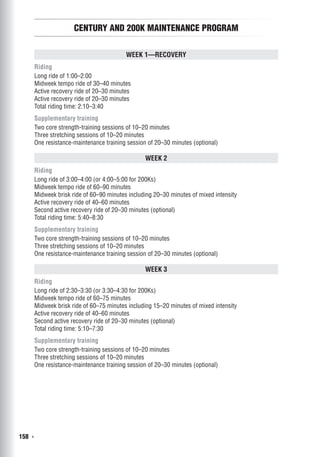
15-Week Century Training Program
If you’re fairly new to working out or have more time to prepare for your event, then
the 15-week program beginning on page 108 is a better choice. The longer program
allows more time for you to adapt physically and mentally to working out, and you can
add a second recovery week if necessary.](https://image.slidesharecdn.com/distancecycling-johnhughes2011-150602195449-lva1-app6892/85/Distance-cycling-john-hughes-2011-119-320.jpg)


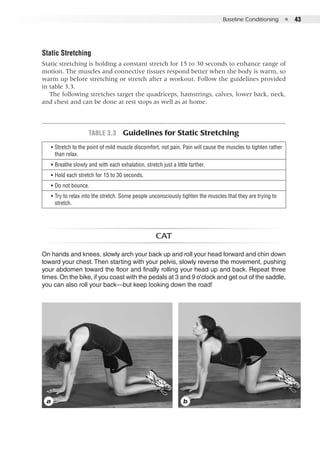
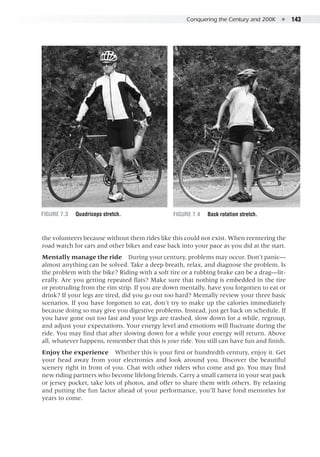
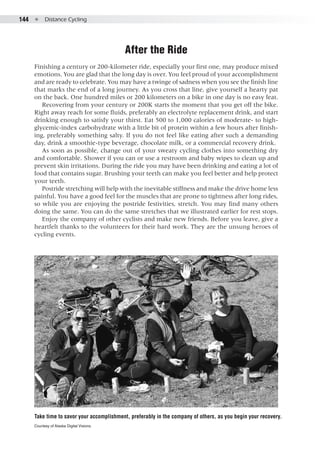
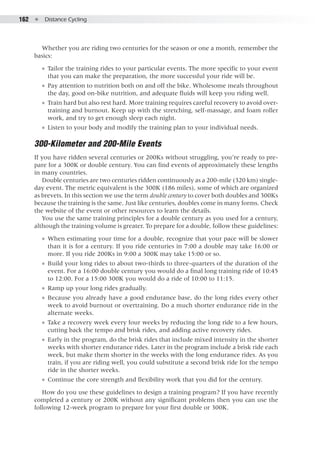
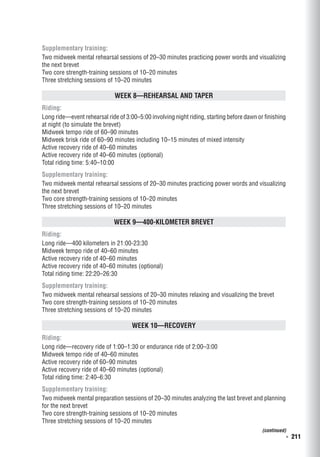
![Conquering the Century and 200K ● 137
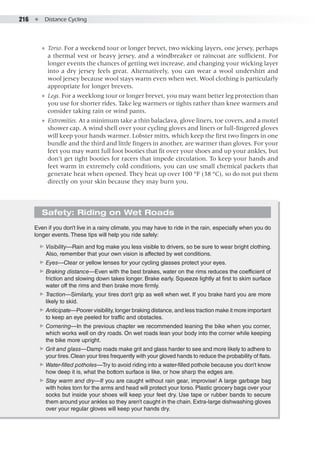
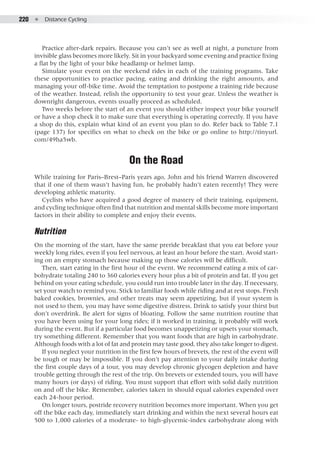
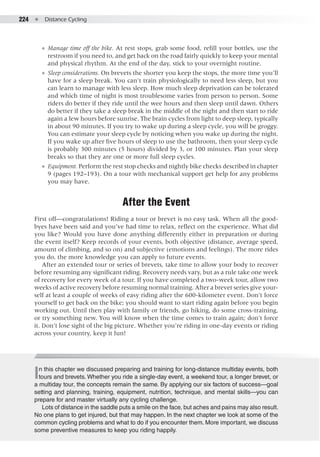
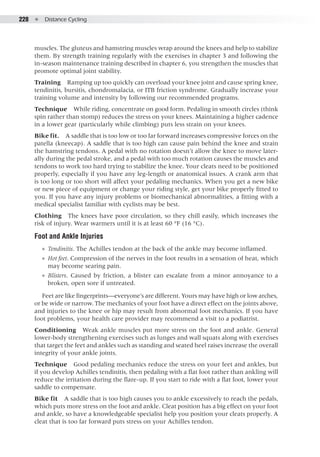
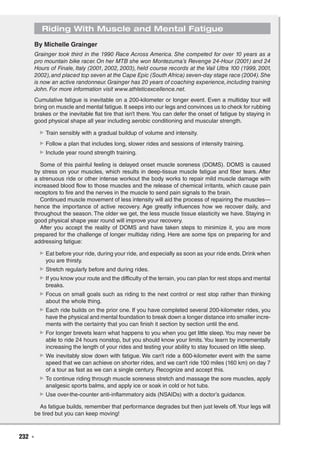
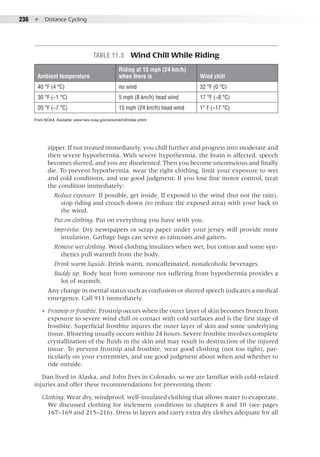
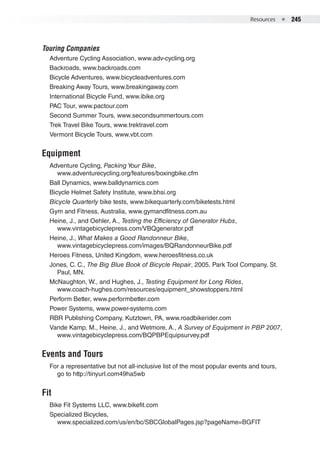
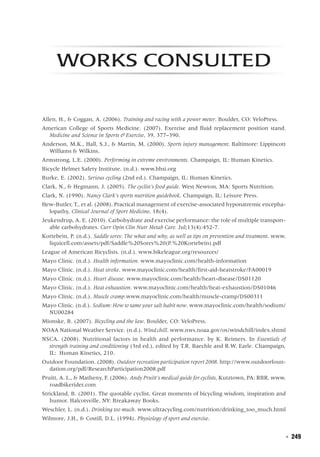
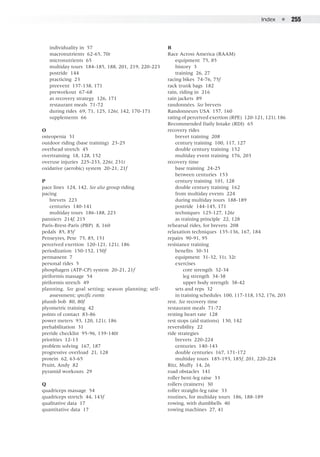
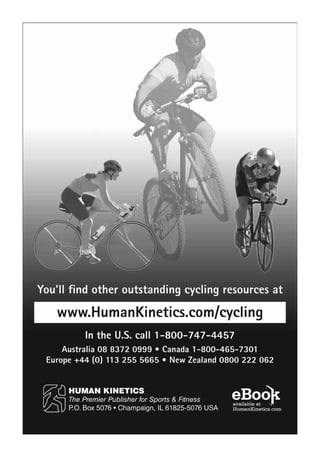
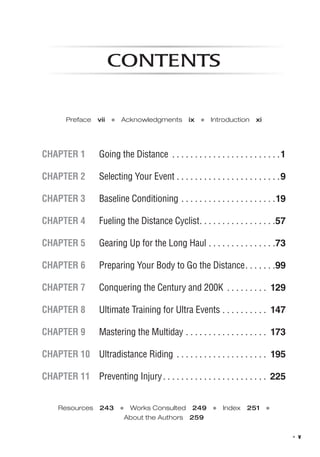
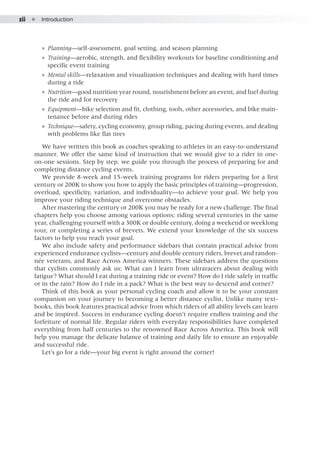
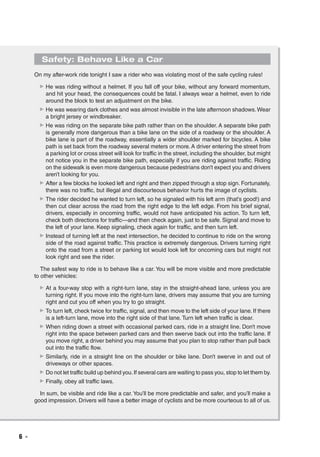
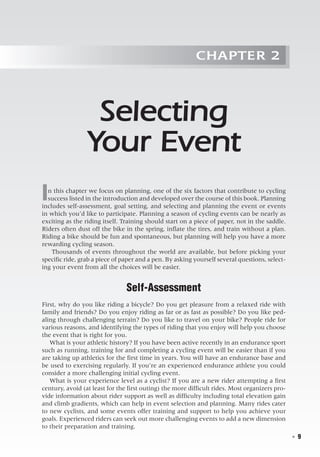
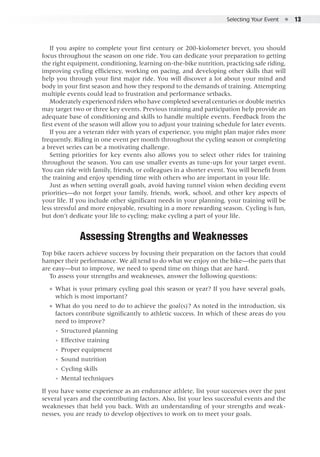
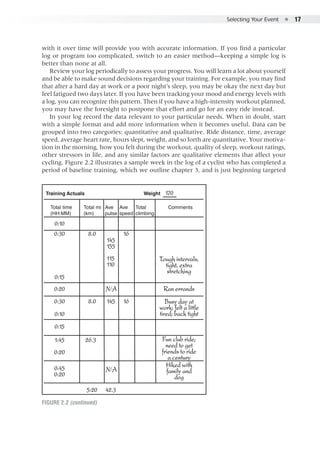
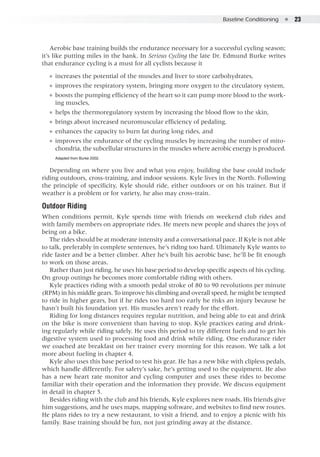
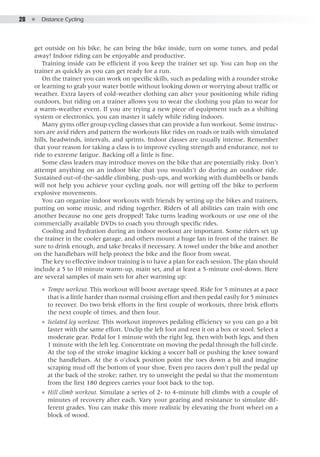
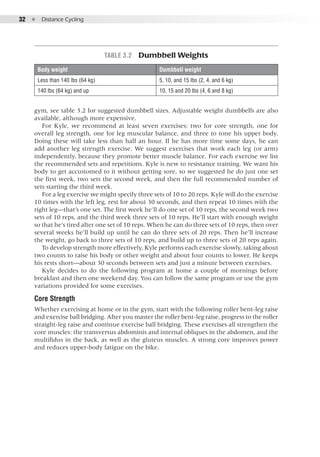
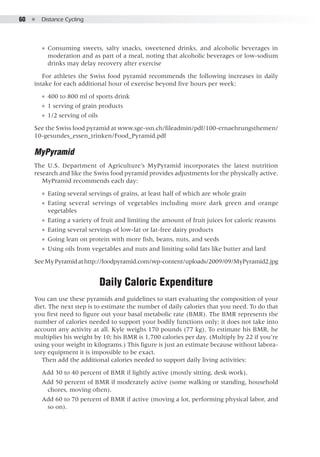
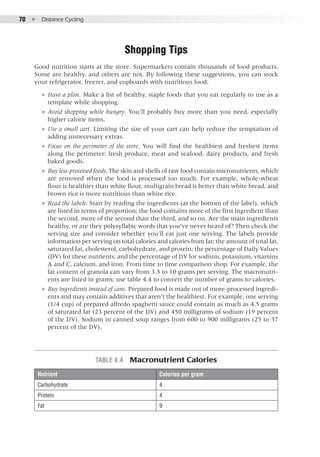
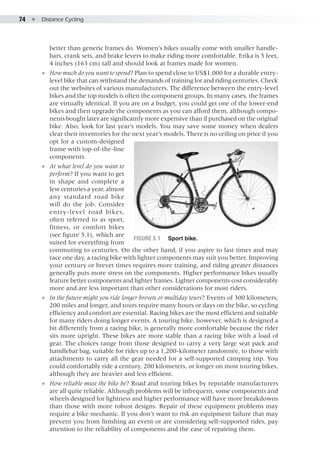
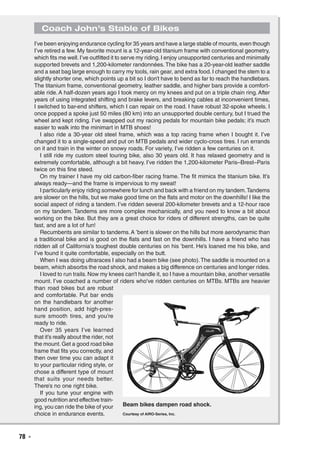
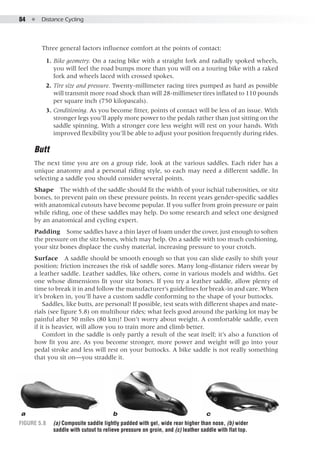
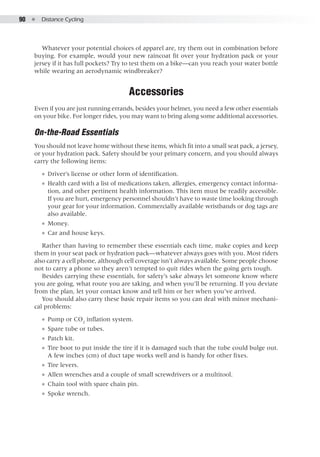
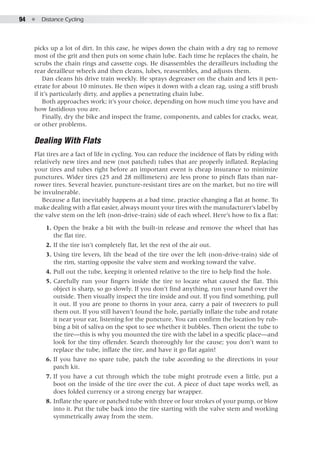
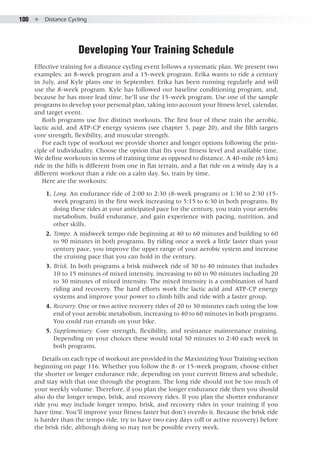
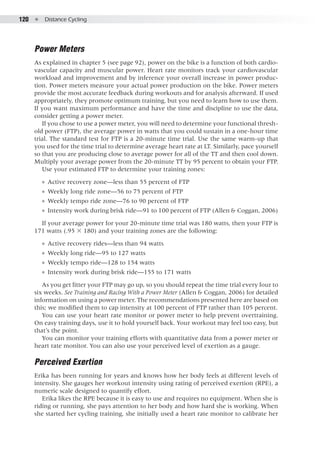
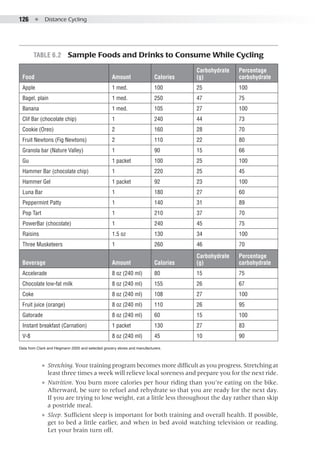
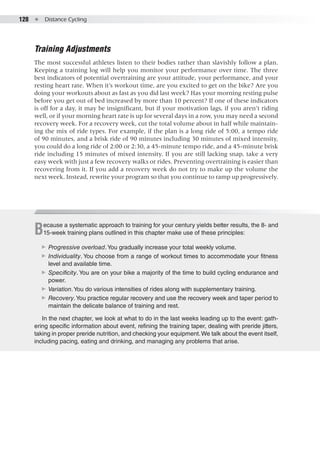
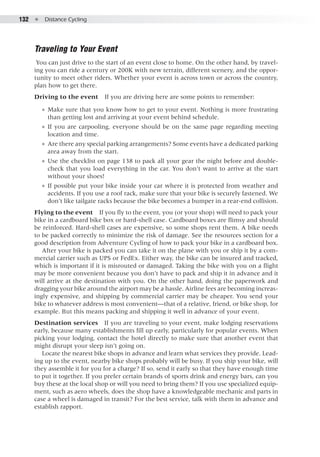
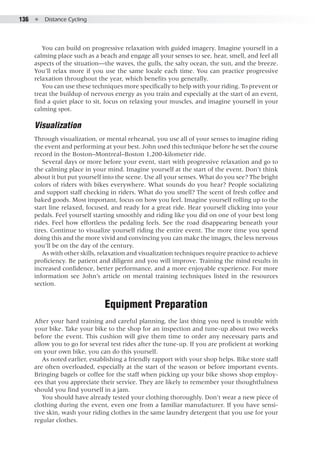
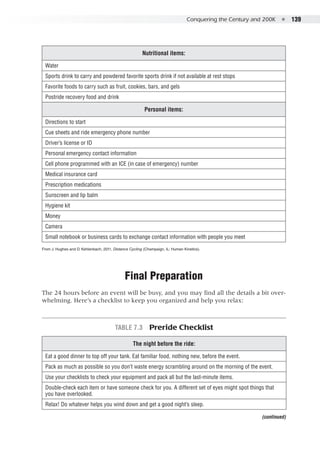
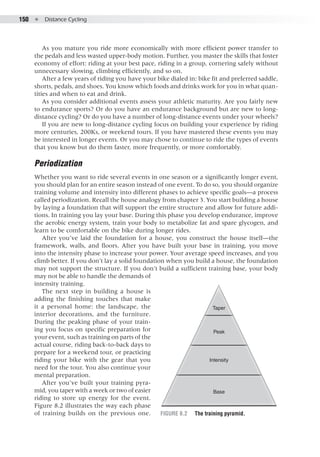
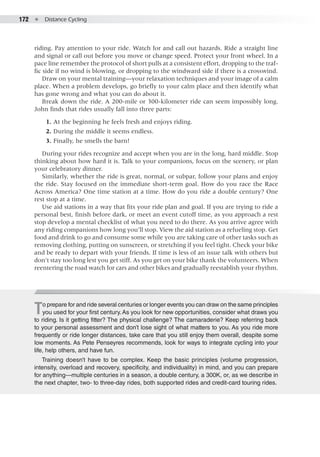
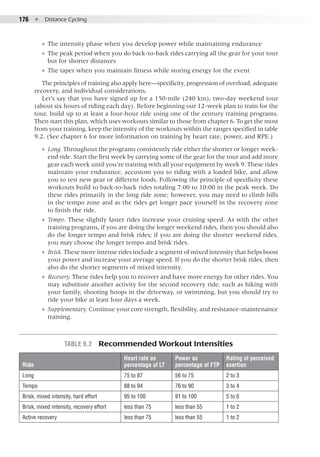
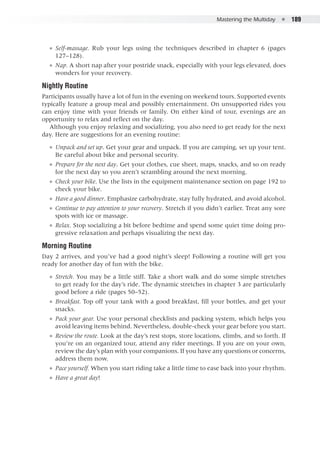
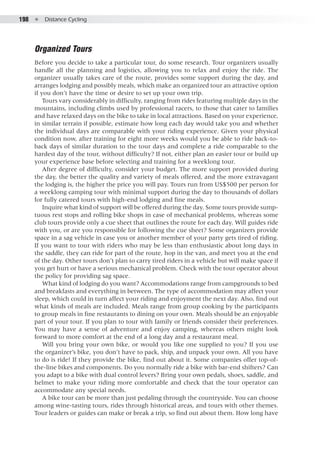
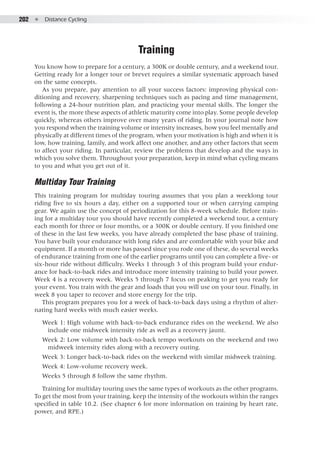
Table 7.1 is a preride equipment checklist that you should keep handy for your rides,
including the longer rides described in later chapters.
Don’t wait until the last minute. Check your gear several weeks in advance. If you
need to replace items on your list, get them right away.
Table 7.1 Ride Equipment Checklist
Whether you use a bike shop or take care of your bike yourself,
consider replacing these items:
Tires and tubes
Chain (if there are more than 1,500 miles [2,400 km] on it)
Cassette or freewheel (if worn or with every third new chain)
Computer batteries (if more than a year old) and clean contacts with fine sand paper
Cables (shift and brake)
Brake shoes
Handlebar tape
Also check these items:
Seat pack for wear
Tubes, patches and fresh glue, and pump or CO2
cartridges
Bladder, bottles, and flasks for leaks. To check a bladder close it, blow air into it and squeeze it near your
ear listening for leaks. Similarly, close a bottle or flask and squeeze it, listening for leaks.
Bottles, bladder, and flasks for cleanliness. A moldy or dirty bladder, bottle or flask can make you sick, so
clean or replace it.
Cleats for tightness and wear
Clothing clean and in good repair
From J. Hughes and D. Kehlenbach, 2011, Distance Cycling (Champaign, IL: Human Kinetics).
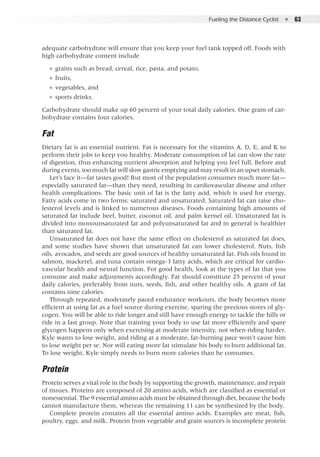
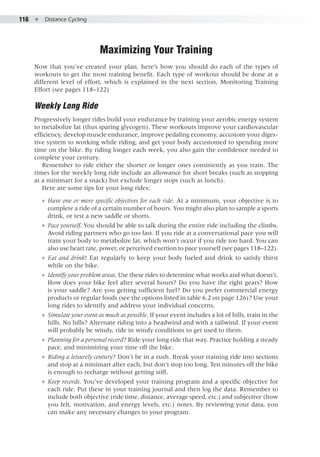
Nutrition
Food is your fuel, so pay extra attention to your nutrition during the last couple of
weeks. In chapter 4 you calculated your daily caloric requirement. If you are trying to
lose weight, you might have cut back your calories by as much as 20 percent. Starting
two weeks before the event, eat your full quota of calories so that your fuel tank is full.
To top off your glycogen stores, during the last few days before the event, increase
your intake of carbohydrate and reduce the amount of fat and protein. Your daily intake
should include
●● 70 to 75 percent of total calories from carbohydrate,
●● 15 to 20 percent of total calories from fat, and
●● 10 percent of total calories from protein.](https://image.slidesharecdn.com/distancecycling-johnhughes2011-150602195449-lva1-app6892/85/Distance-cycling-john-hughes-2011-149-320.jpg)


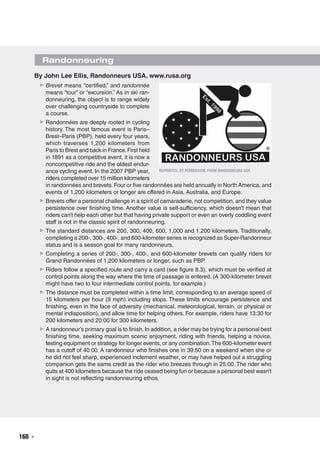


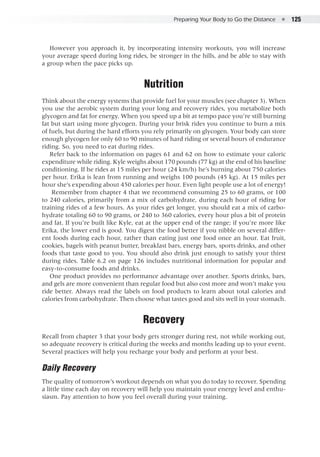
![Ultradistance Riding ● 213
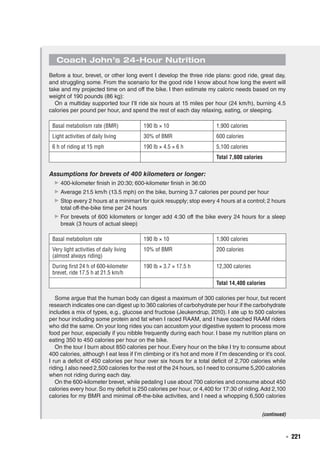
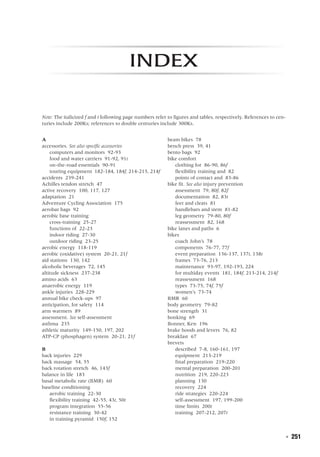
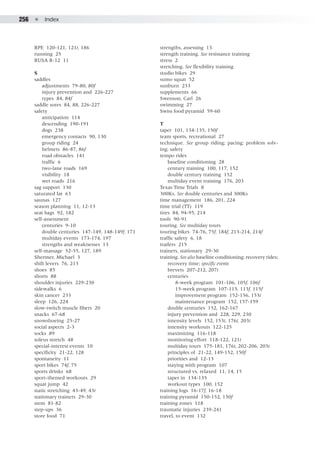
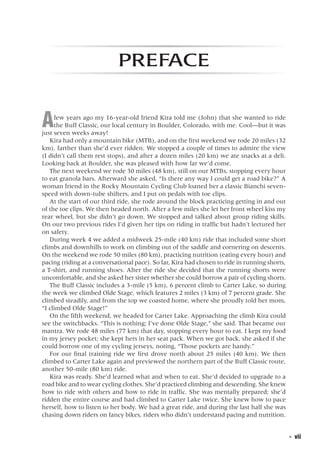
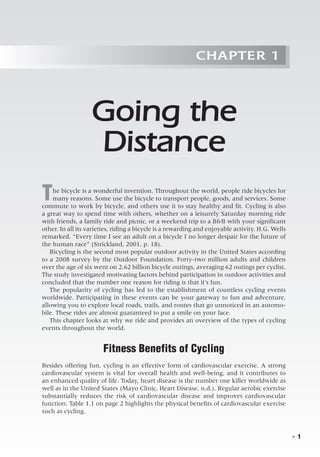
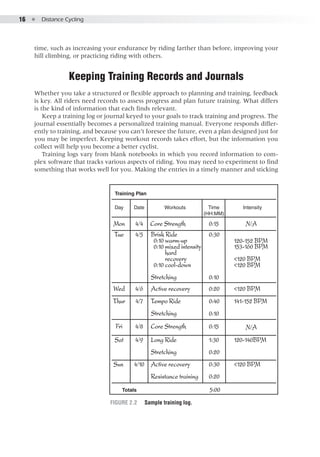
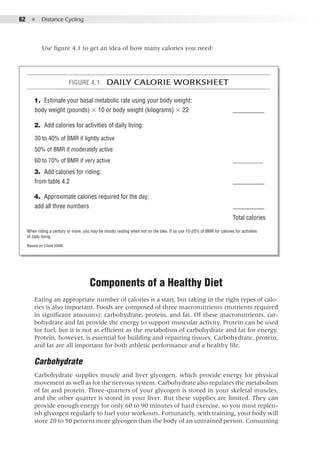
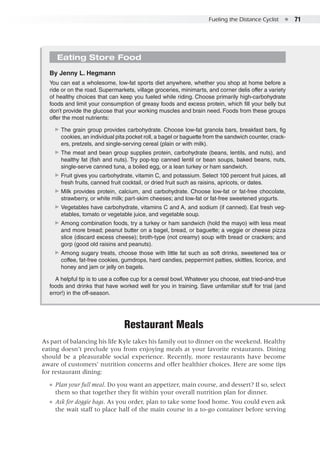
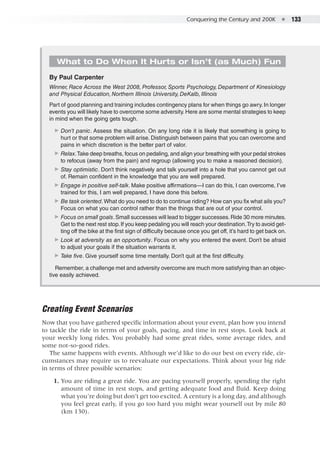
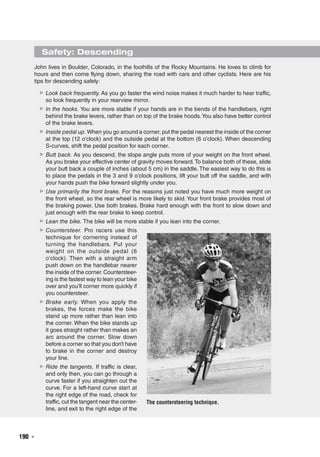
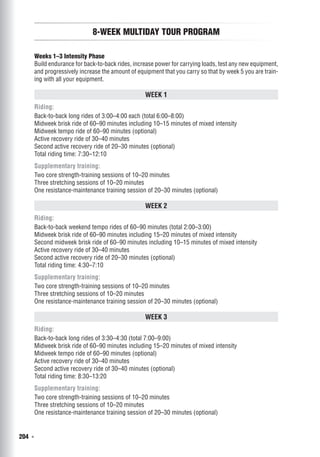
Equipment
For ultradistance rides you might want a different bike and new ways to carry your gear.
You probably need more clothes for a variety of conditions. For the longer brevets you
need lights. You should test all of these thoroughly in training before the event.
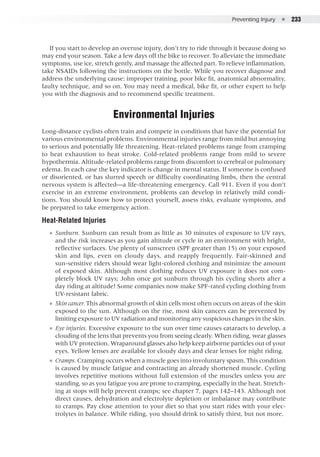
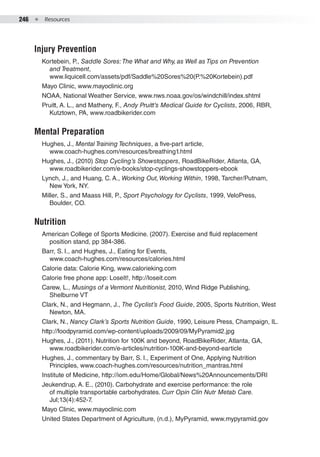
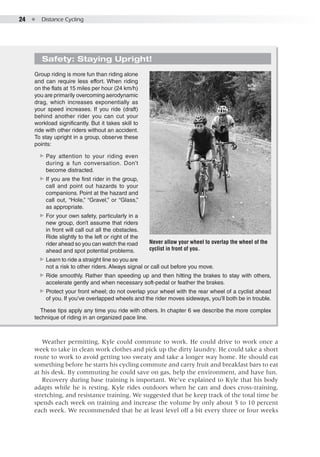
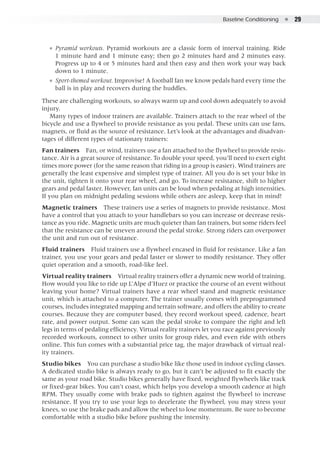
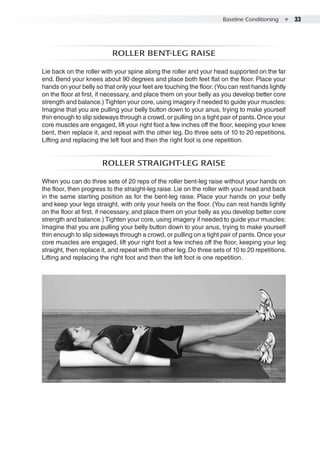
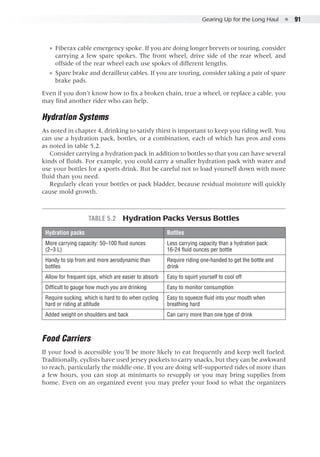
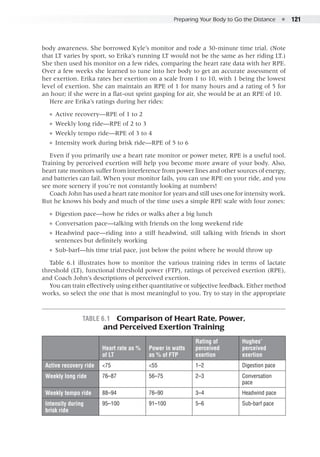
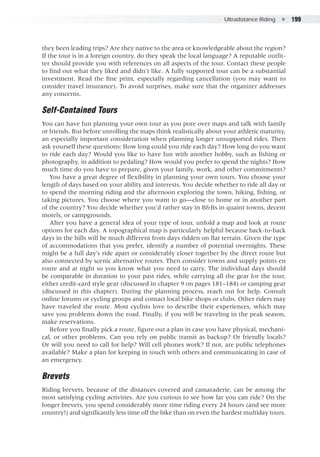
Bike
The bike that you need for your tours or brevets depends on the types of events that you
plan to do. If you will be participating in an organized tour, traveling light on a multiday
credit-card tour, or riding a supported brevet, then the bike that you use for shorter
events should work well. But many brevets and personal tours occur off the beaten path
where access to bike shops is limited. For these events reliability becomes more important
than high performance. Superlight components and fancy wheels are not the best choice
for these rides. If you plan to camp, you probably want a bike designed specifically for
touring, which would also serve for brevets and credit-card touring.
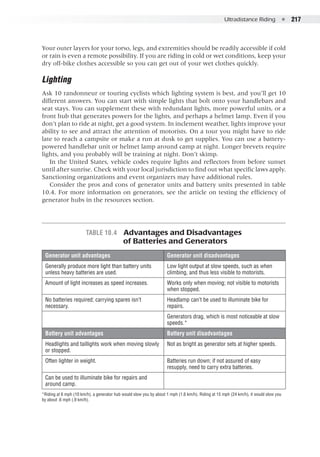
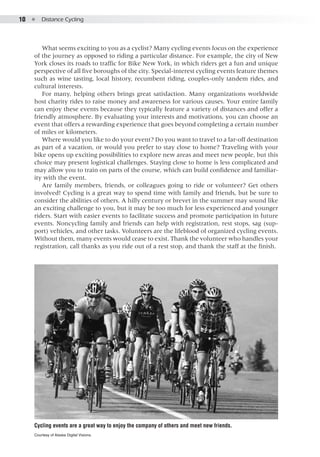
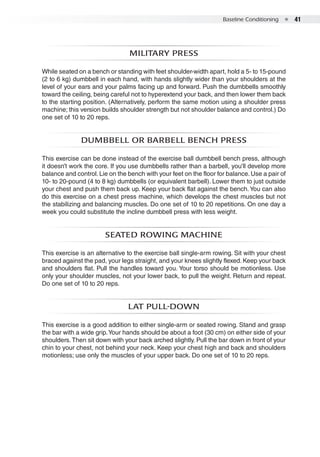
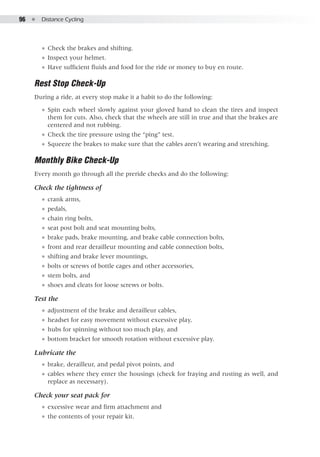
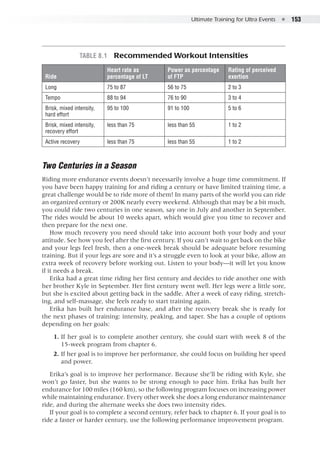
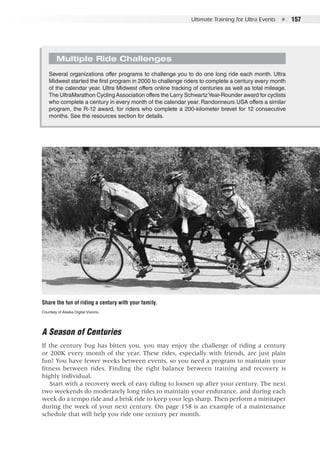
A touring bike, the two-wheeled equivalent of an RV, can take you and your gear on
virtually any adventure. Some bikes are designed for road travel, whereas others feature
robust mountain bike wheels that allow you to ride on rough roads and trails. Touring
bikes differ from their racing counterparts in several ways:
●● Stronger frame. Touring frames are designed to carry a lot of gear (riders may carry
more than 40 pounds [18 kg] of gear on the bike) and usually are constructed
of durable steel, aluminum, or titanium to withstand years of hard use with mini-
mal maintenance.
●● Upright positioning. At touring speeds you don’t have much aerodynamic drag, so
these frames provide a more upright, comfortable riding position to reduce fatigue
and provide better visibility.
●● Longer chain stays. The chain stays, which run from the bottom bracket to the rear
dropouts, are longer on touring bikes to lengthen the wheelbase and make the bike
more stable. Longer chain stays also provide greater heel clearance, which prevents
your foot from hitting the rear pannier while pedaling.
●● More fork rake. Rake in the fork refers to its forward bend near the wheel. Raking
the fork farther forward helps absorb road vibrations and lengthens the wheelbase,
promoting stability.
●● Strong wheels. Hauling extra gear puts more stress on wheels. Touring bikes generally
have conventional 36-spoke wheels laced to durable hubs and rims, and spokes
that can be replaced in the field.
●● Shift levers. Touring bikes usually have reliable bar-end, down-tube, or mountain
bike thumb shifters instead of dual-control shift and brake levers. If a dual-control
lever fails in the middle of nowhere, you probably won’t be able to fix it. You can
switch the other shifter types to the friction mode if the indexing mechanism fails,
and you can easily replace a broken cable.
●● Frame eyelets. Touring frames have attachment points for front and rear racks, extra
water bottle cages, and fenders.
Depending on whether you plan to camp, take a credit-card tour, or ride brevets,
some or all of these features may be desirable.](https://image.slidesharecdn.com/distancecycling-johnhughes2011-150602195449-lva1-app6892/85/Distance-cycling-john-hughes-2011-225-320.jpg)