Download to read offline


![31
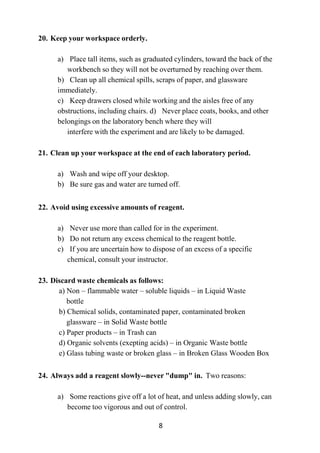
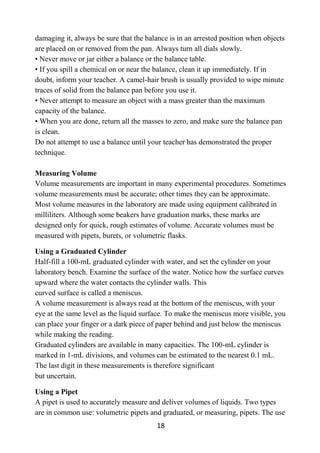
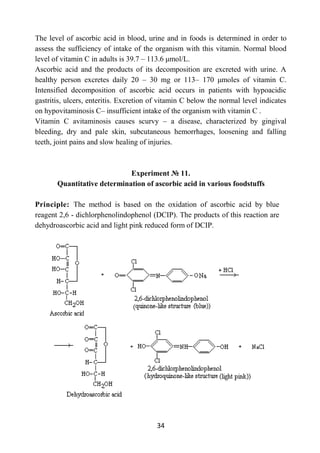
Experiment № 9.
Qualitative reactions on vitamins
Material: powder (or solution) of thiamine, solutions of riboflavin and ascorbic
acid, powder of nicotinic acid, cod-liver oil.
Reagents: 1% solution of C6H7NO3S, 5% solution of NaNO2, 10% solution of
Na2CO3, 10% solution of NaOН, 5% solution of K4[Fe(CN)6], HCl (conc.),
H2SO4 (conc.), Zn, 10% solution of СН3СООН, 5% solution of К3Fe(CN)6, 1%
solution of FeCl3, chloroform, aniline reagent (15 parts of С6H5NH2 and 1 part of
H2SO4 (conc.)), 5% solution of copper acetate.
Instruments and equipment: test tubes, pipette holders, a alcohol burner.
1. Diazo reaction to thiamine (B1).
Principle: A solution of thiamine is painted in orange or red when you add to it
diazobenzolsulfate and alkali due to the formation of compounds of thiamine
with diazobenzenesulphonic acid.
Procedure:
1. Pour 5 drops of 1% of solution of C6H7NO3S in a test tube, add 5
drops of 5% of solution of NaNO2. Diazobenzolsulfate is a product of
the reaction.
2. Put a small amount of thiamine powder in the same test tube with
diazobenzolsulfat and add 5-7 drops of 10% solution of Na2CO3.
3. Liquid is painted in orange or red color. Carefully add solution of
soda pouring down the test tube’s sidewall in order to “sublayer” the
fluid in it. At the border of structural constituents, a red-coloured ring
is formed.
2. The reaction of oxidation of thiamine in tiochrom.
Principle: K4[Fe(CN)6] can oxidize thiamine with formation of the yellow
pigment thiochrom.
Procedure:
1. Pour 1 drop of thiamine solution in a test tube, add 5-10 drops of
10% solution of NaOН and 1-2 drops of 5% solution of
K4[Fe(CN)6] and mix.
2. Heat a test tube. The liquid becomes yellow as a result of
conversion of thiamine in tiochrom.](https://image.slidesharecdn.com/biochemistry-230919110426-0ca432f3/85/Biochemistry-pdf-31-320.jpg)

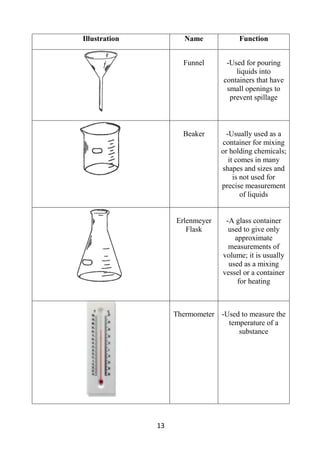
This document is the introduction to a laboratory manual of biochemistry for foreign medical students at Ulyanovsk State University in Russia. It was written by E.Sh. Yenikeyev and N.V. Terekhina. The manual provides an overview of laboratory safety rules, equipment, techniques and report formatting to prepare students for practical laboratory work. It aims to familiarize students with the requirements and standard practices of a biochemical laboratory. The introduction also establishes the purpose of the manual as a guide for students' hands-on work to support their learning of biochemistry as a fundamental subject for medical studies.


