헨즈온 환경 구축하기
1.EKS 접속을 위한 IAM 생성
2. Cloud9 생성 및 인증 정보 설정
3. EKS 생성
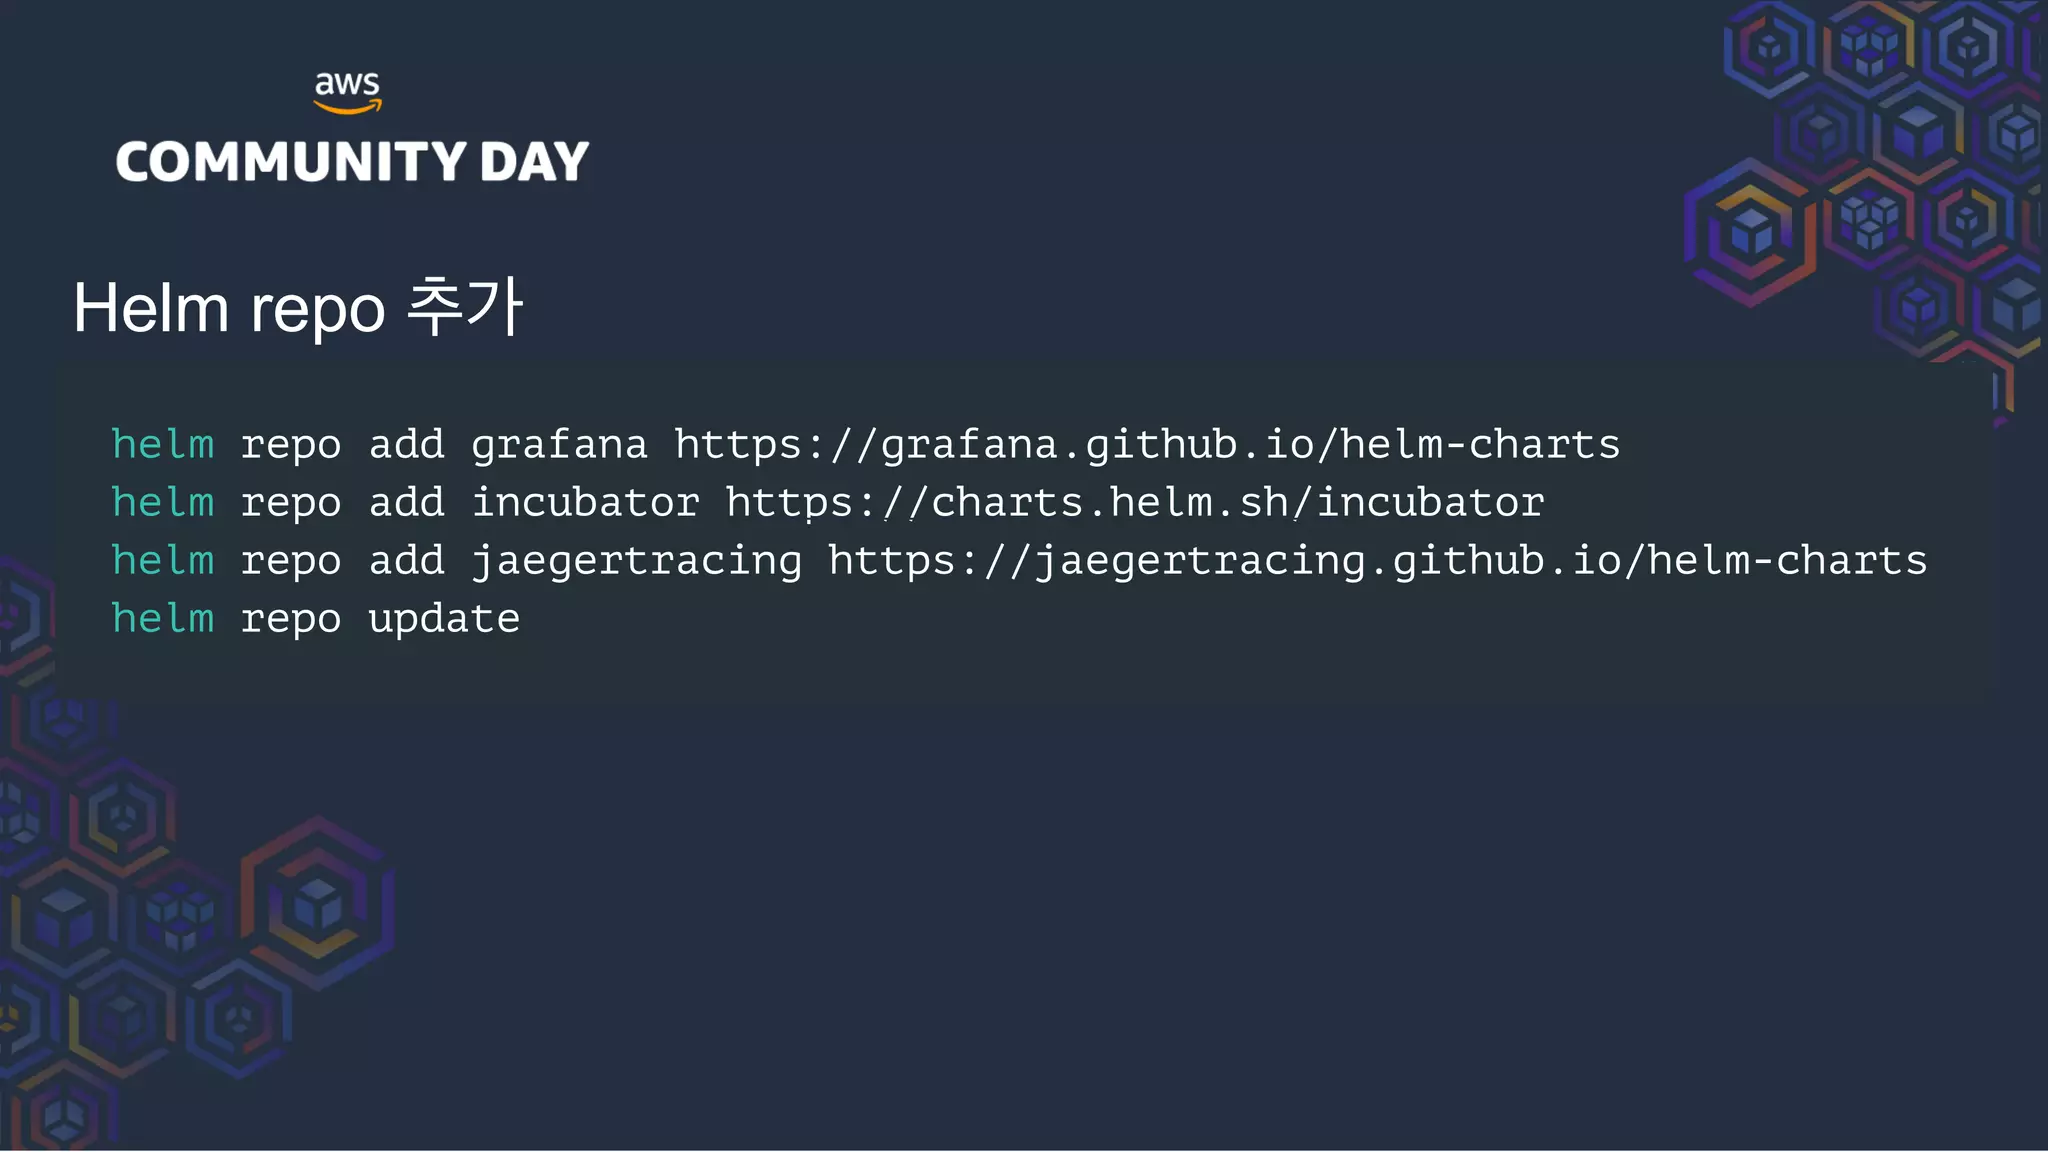
4. Helm으로 grafana, jaeger 설치
5.
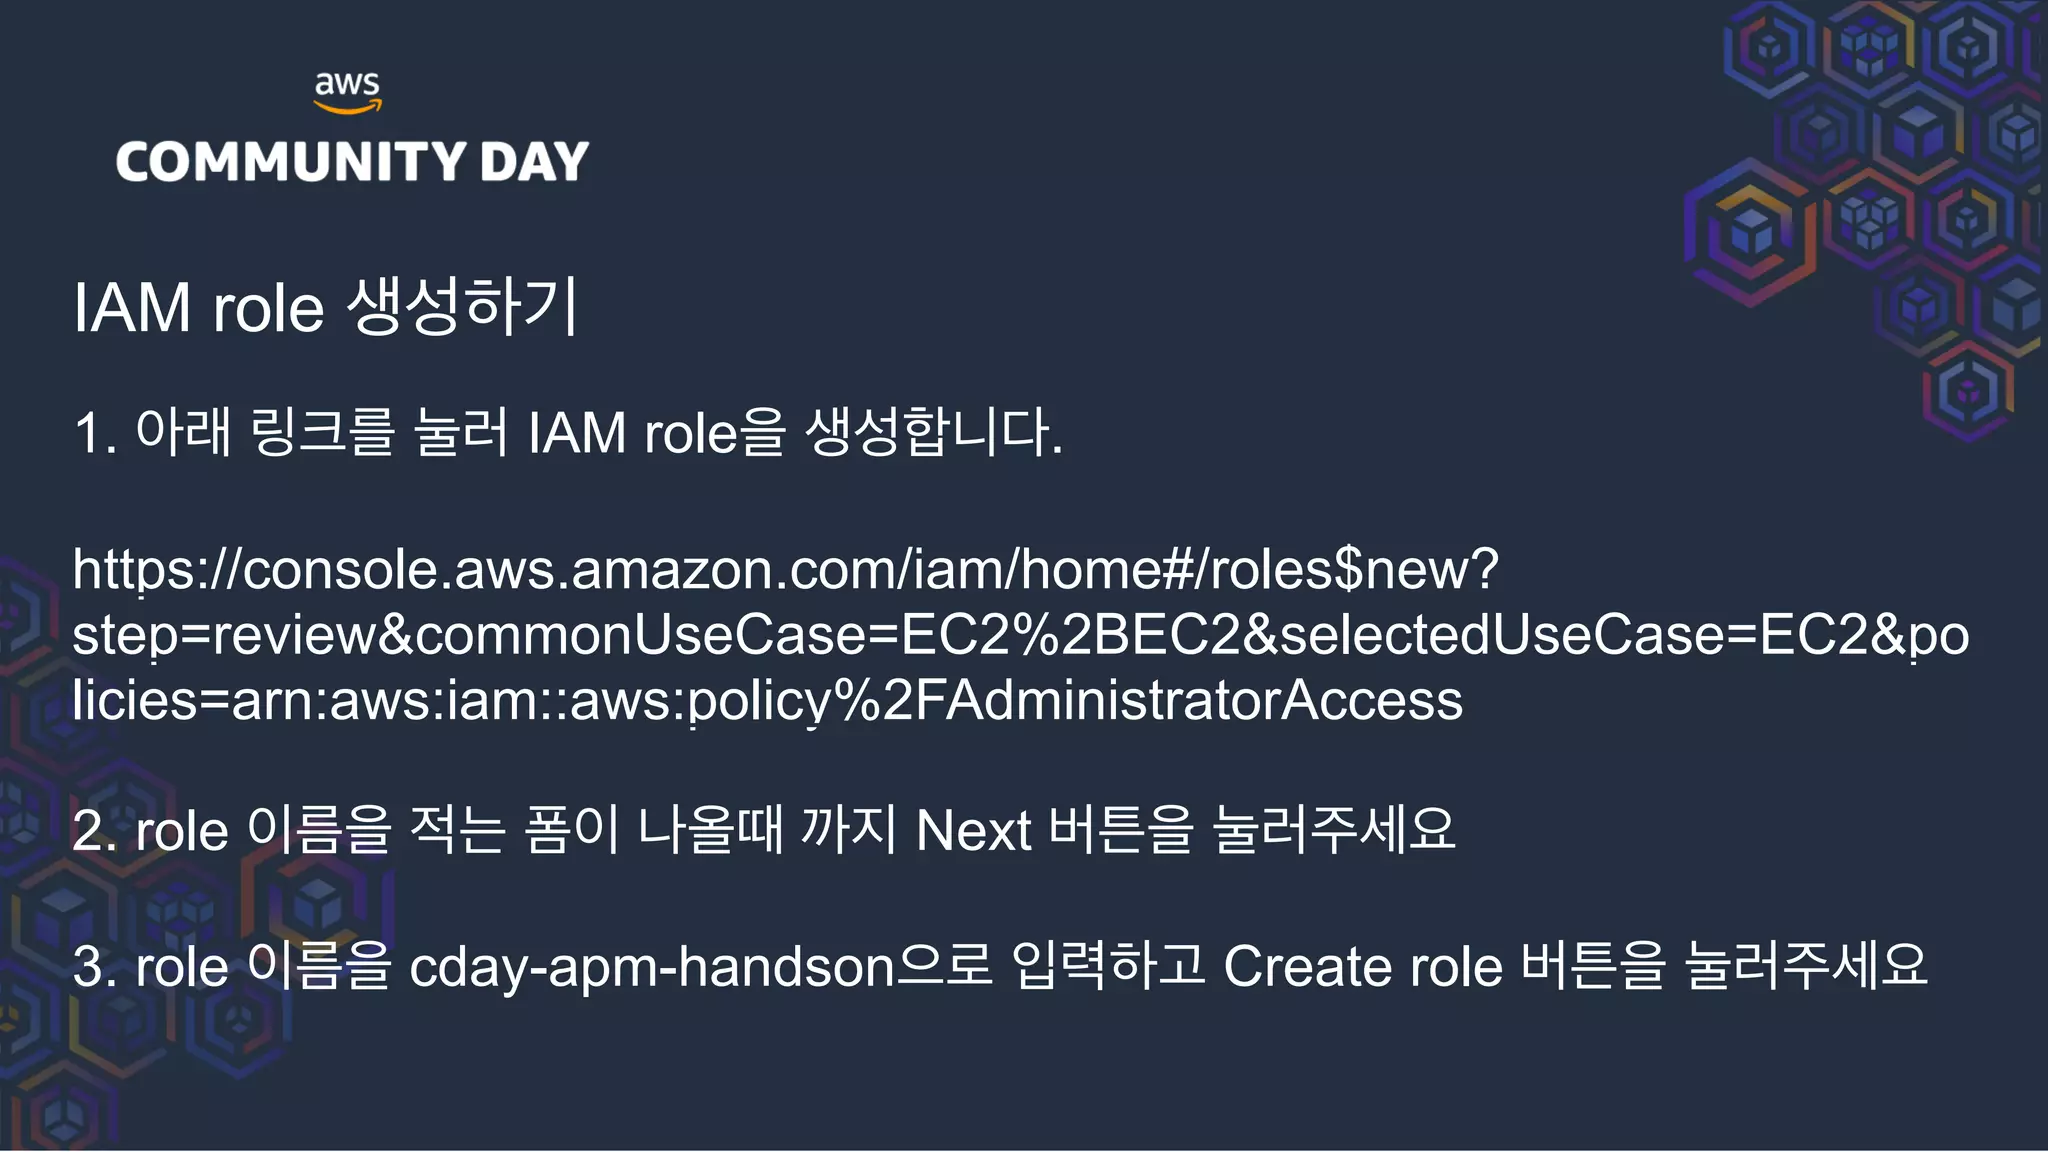
IAM role 생성하기
1.아래 링크를 눌러 IAM role을 생성합니다.
https://console.aws.amazon.com/iam/home#/roles$new?
step=review&commonUseCase=EC2%2BEC2&selectedUseCase=EC2&po
licies=arn:aws:iam::aws:policy%2FAdministratorAccess
2. role 이름을 적는 폼이 나올때 까지 Next 버튼을 눌러주세요
3. role 이름을 cday-apm-handson으로 입력하고 Create role 버튼을 눌러주세요
6.
Cloud9 생성
1. Cloud9콘솔에 접속하셔서 Create Environment 버튼을 클릭합니다.
2. 이름은 aws-cloud9-apm 으로 나머지는 수정없이 Cloud9 생성을 완료합니다.
3. Cloud9이 생성될 때 까지 기다립니다.
7.
Cloud9 환경 설정
4.Cloud9이 뜨면 R로 시작하는 프로필 버튼을 클릭 > manage EC2 Instance 클릭
8.
Cloud9 환경 설정
5.Cloud9 인스턴스 선택 > Actions 클릭 > Security 클릭 > Modify Iam role 클릭
Cloud9 환경 설정
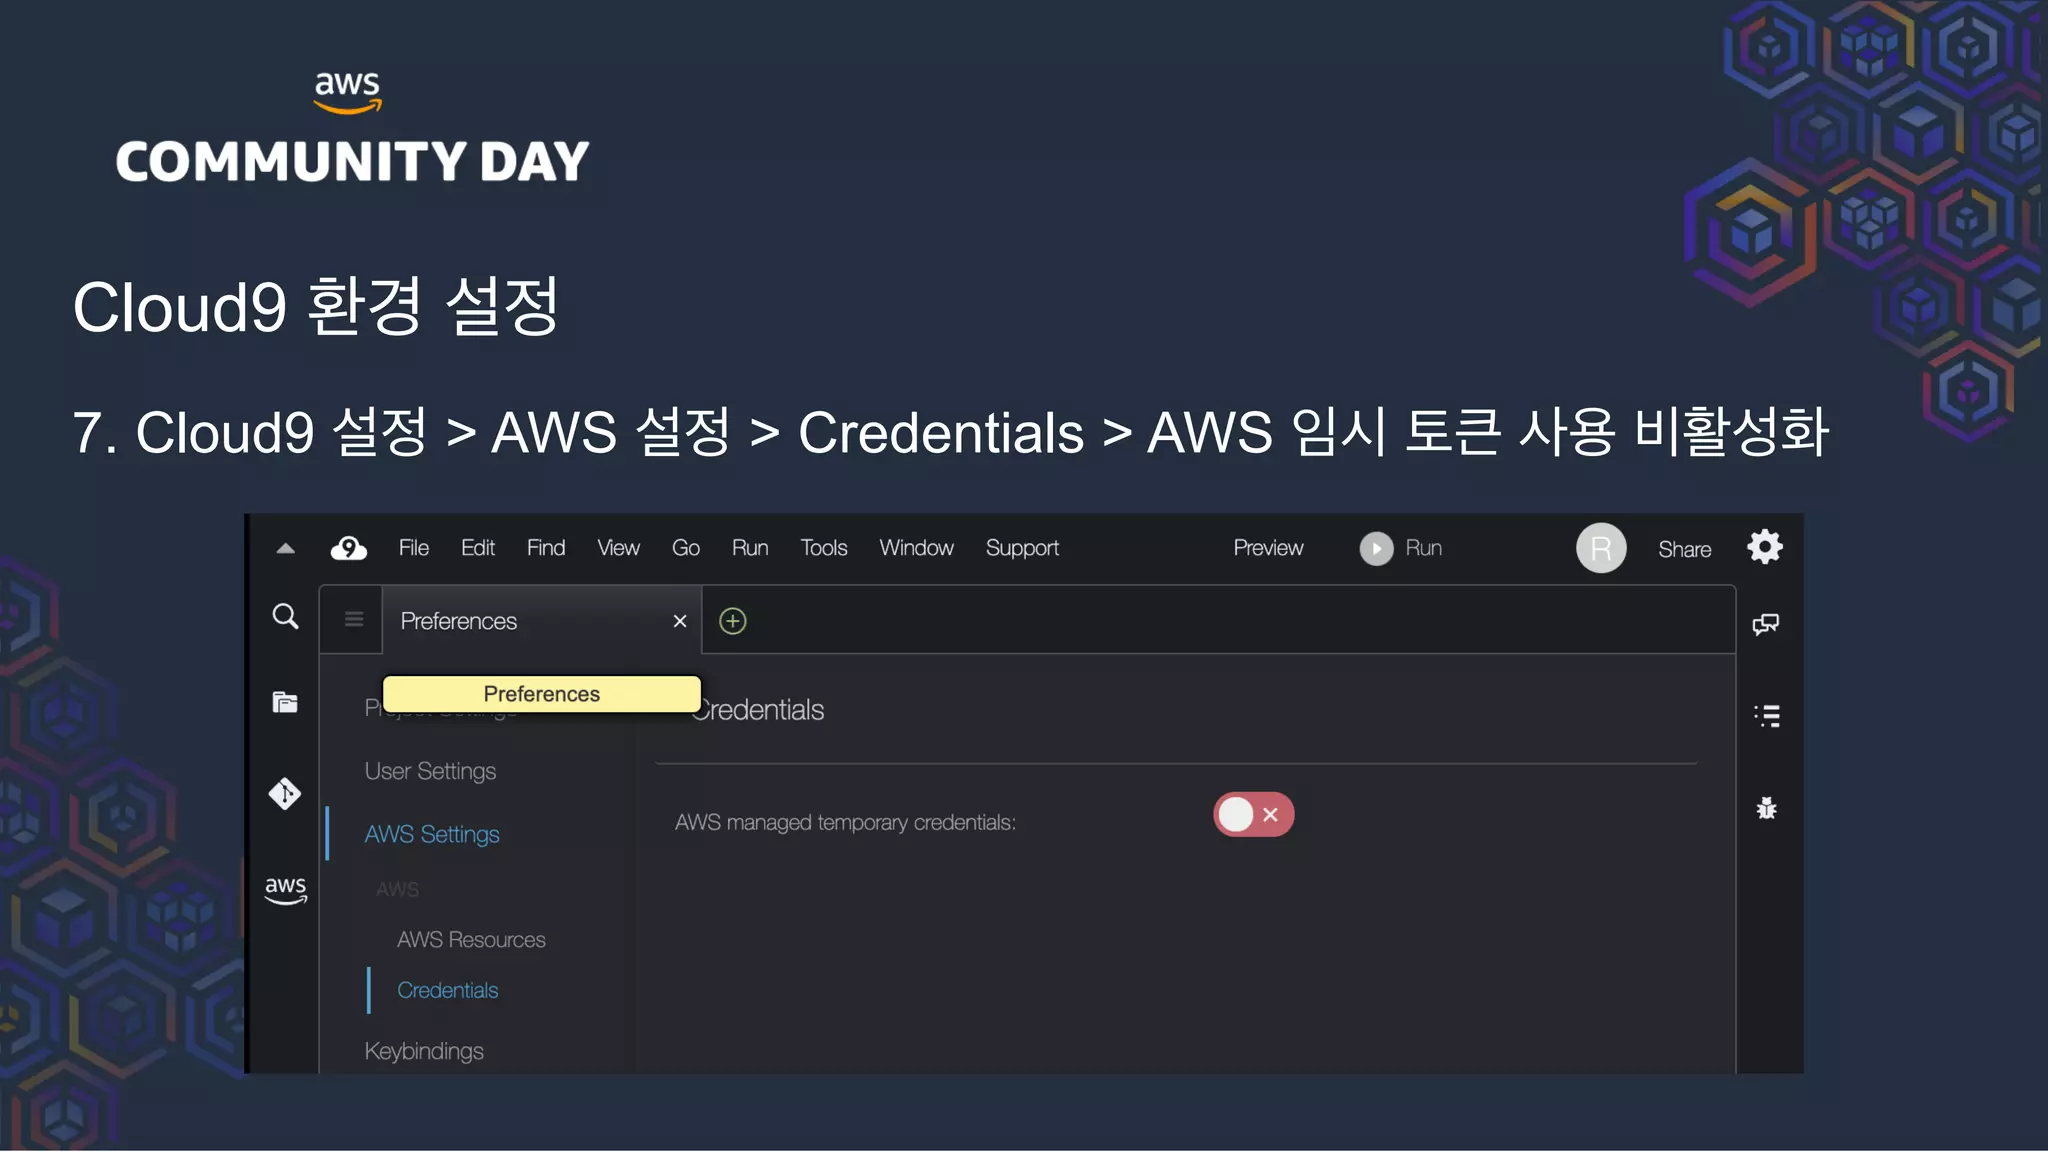
7.Cloud9 설정 > AWS 설정 > Credentials > AWS 임시 토큰 사용 비활성화
11.
Cloud9 환경 설정
8.좌측 사이드바의 AWS로고 클릭시 우측 하단에 ec2:instance 라고 뜨는지 확인
12.
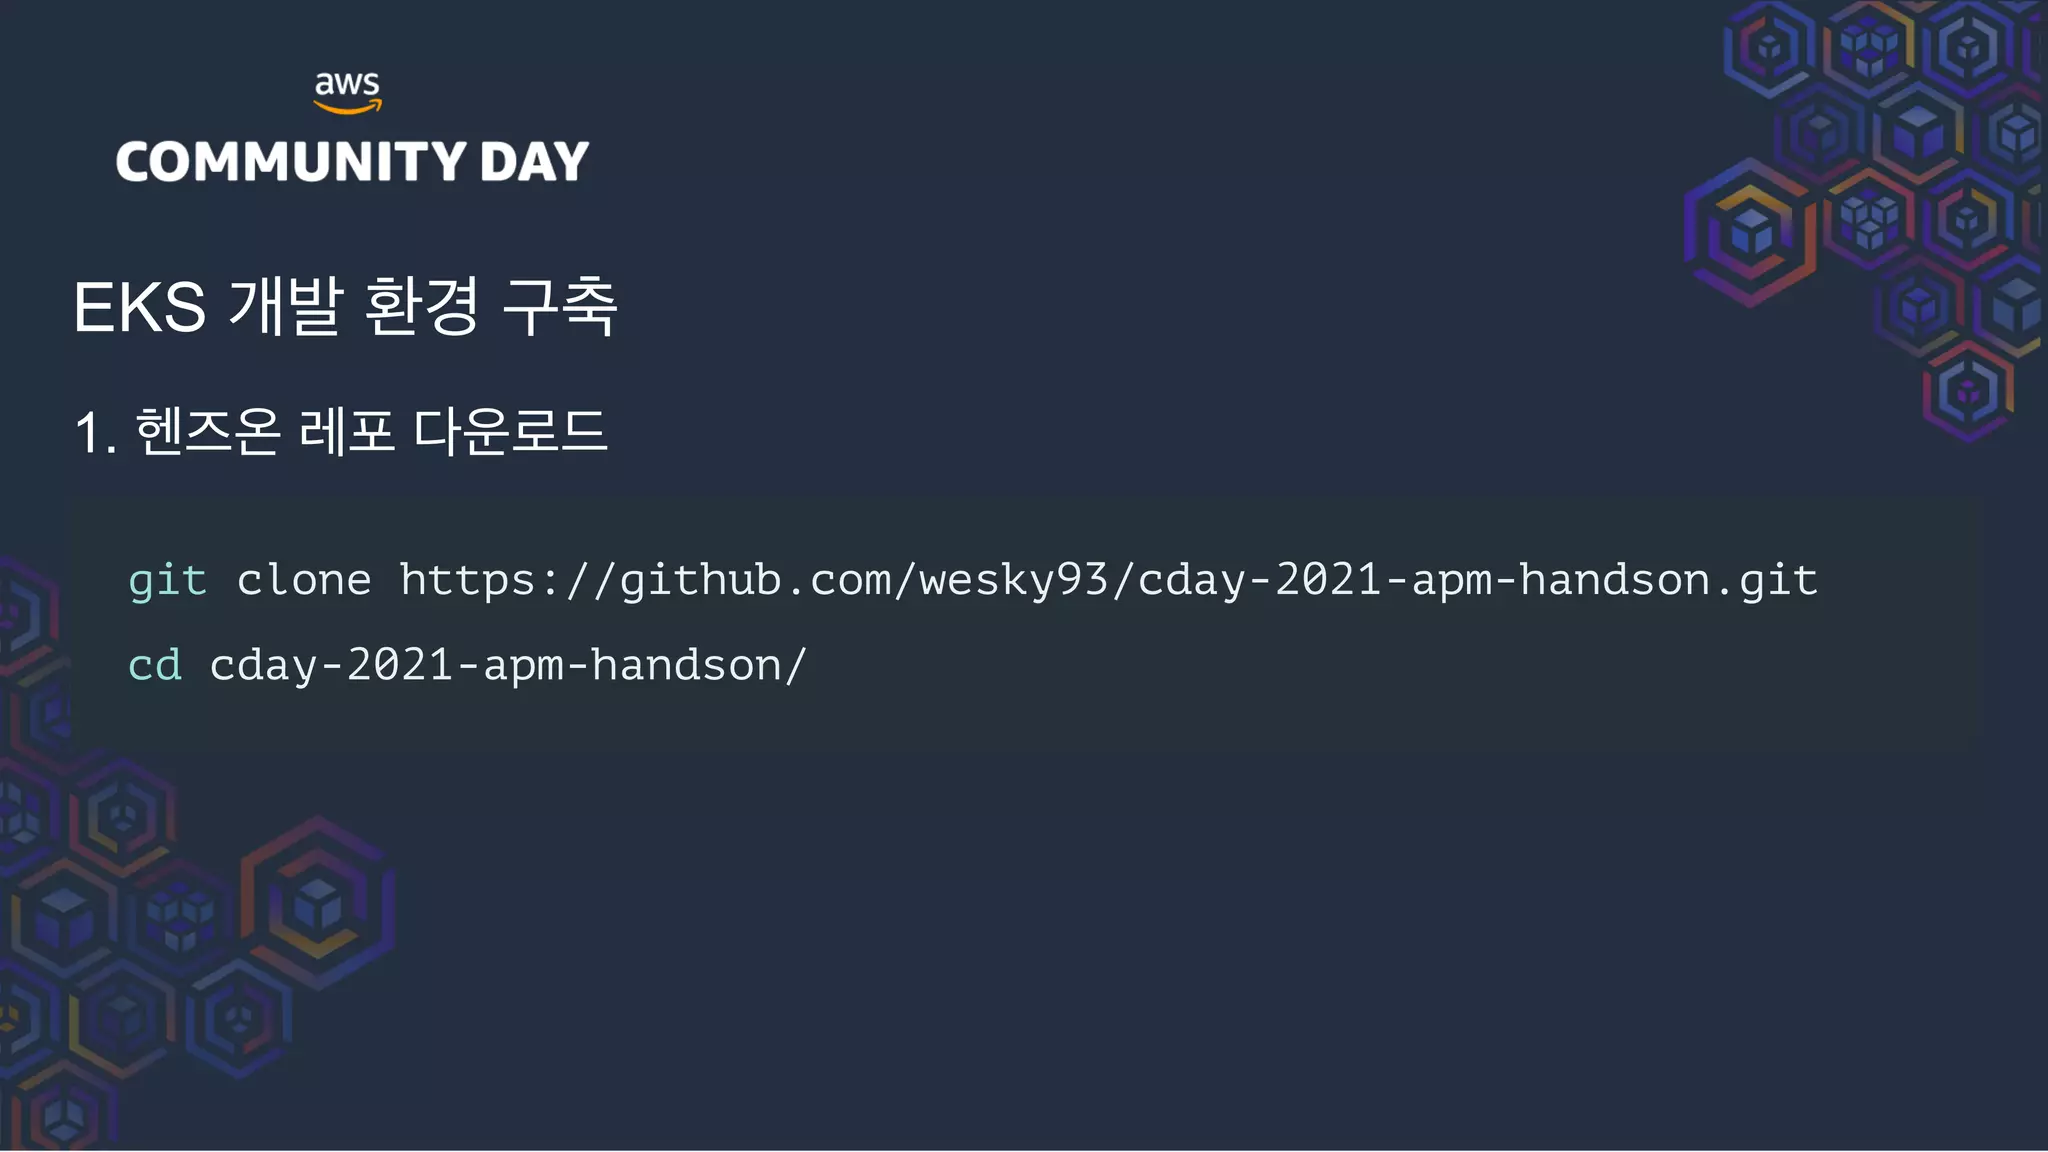
EKS 개발 환경구축
1. 헨즈온 레포 다운로드
git clone https://github.com/wesky93/cday-2021-apm-handson.git
cd cday-2021-apm-handson/
13.
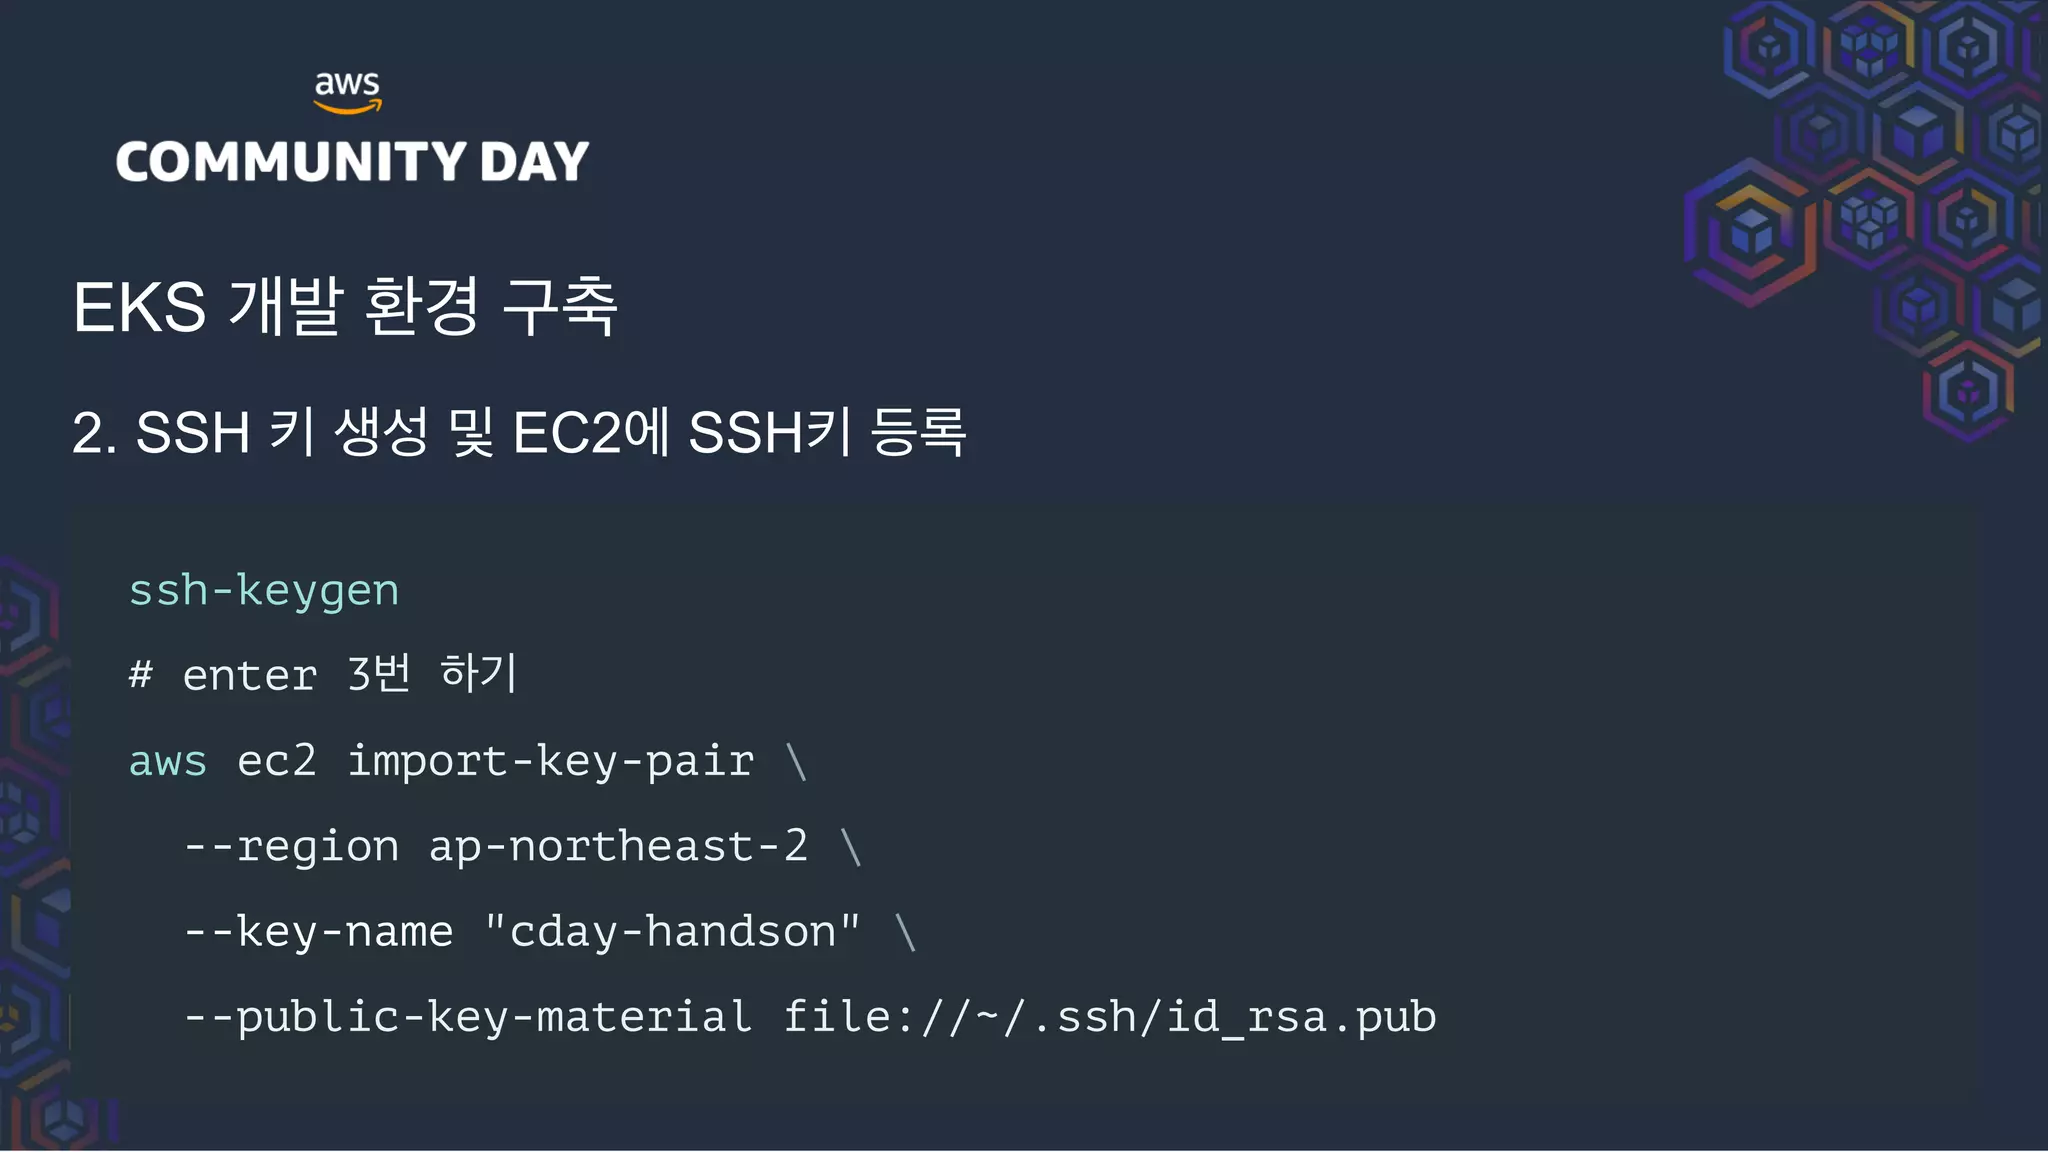
EKS 개발 환경구축
2. SSH 키 생성 및 EC2에 SSH키 등록
ssh-keygen
# enter 3번 하기
aws ec2 import-key-pair
--region ap-northeast-2
--key-name "cday-handson"
--public-key-material file://~/.ssh/id_rsa.pub
14.
EKS 개발 환경구축
3. eksctl 설치
curl --silent
--location "https://github.com/weaveworks/eksctl/releases/latest/download/eksctl_$(uname -s)_amd64.tar.gz"
| tar xz -C /tmp
sudo mv -v /tmp/eksctl /usr/local/bin
# 설치 확인
eksctl version
15.
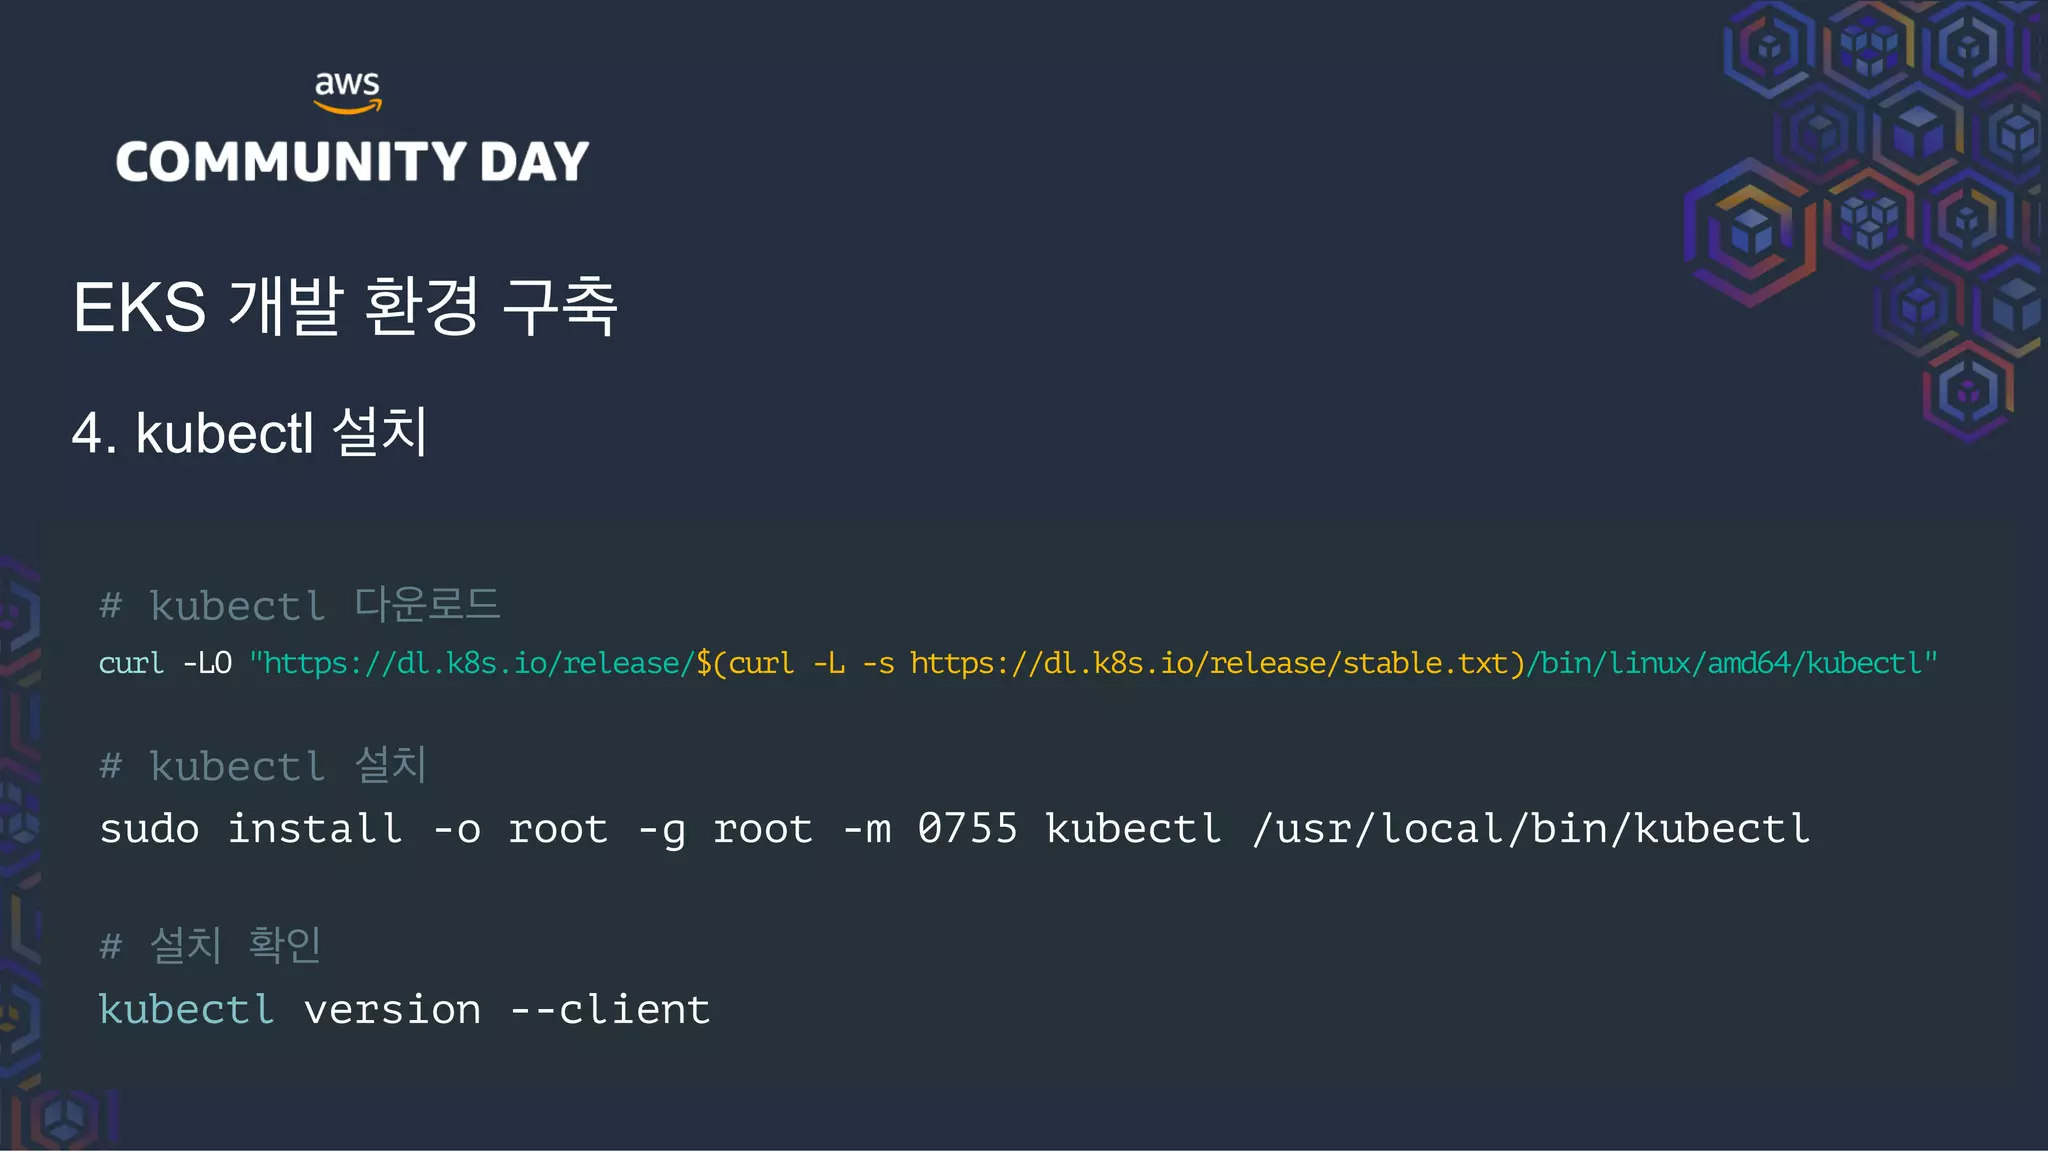
EKS 개발 환경구축
4. kubectl 설치
# kubectl 다운로드
curl -LO "https://dl.k8s.io/release/$(curl -L -s https://dl.k8s.io/release/stable.txt)/bin/linux/amd64/kubectl"
# kubectl 설치
sudo install -o root -g root -m 0755 kubectl /usr/local/bin/kubectl
# 설치 확인
kubectl version --client
썸네일 서비스 배포
kubectlapply -f k8s/
# 썸네일 서비스 주소 확인
kubectl get all -n default | grep service/thumbnail-app-srv
<썸네일 서비스 주소>/docs 로 접속
28.
1. crop, resize,smartcrop 에 각각 아래 값을 넣어서 결과를 확인 합니다.
URL_1 : https://images.chosun.com/resizer/a5YP6FNZMLmdoSmJCXiQJcN25Fw=/
540x799/smart/cloudfront-ap-northeast-1.images.arcpublishing.com/chosun/
CFCFB3LGQ75OBNIYD36LN74FHQ.jpg
URL_2 : https://naver.com
Width : 200
Height: 200
썸네일 서비스 테스트
29.
1. Grafana 에서설정 > 데이터 소스 > 데이터 소스 추가 > jaeger 선택
2. 아래 주소를 url에 입력후 save&test 클릭
URL : jaeger-query.default.svc.cluster.local:16686
Grafana에 jaeger 데이터소스 추가
30.
1. crop 과smart crop요청을 비교해봅니다.
2. 각 span의 메타데이터를 확인 합니다.
3. namespace가 default인 요청만 찾아봅니다.
4. 에러가 발생한 요청만 찾아봅니다.
Grafana explore 에서 요청 쿼리해보기


![[NDC18] 만들고 붓고 부수고 - 〈야생의 땅: 듀랑고〉 서버 관리 배포 이야기](https://cdn.slidesharecdn.com/ss_thumbnails/ndc18-180429152609-thumbnail.jpg?width=640&height=640&fit=bounds)


![[Play.node] node.js 를 사용한 대규모 글로벌(+중국) 서비스](https://cdn.slidesharecdn.com/ss_thumbnails/playnode20161123slideshare-161125153022-thumbnail.jpg?width=640&height=640&fit=bounds)


![[AWSKRUG] AWS Lambda Layer 로컬테스트부터 배포까지](https://cdn.slidesharecdn.com/ss_thumbnails/awskruggudilambdalayergeoseong-190313062219-thumbnail.jpg?width=640&height=640&fit=bounds)


![[AWSKRUG] Lambda로컬테스트부터 배포까지의 여정-박태성](https://cdn.slidesharecdn.com/ss_thumbnails/awskrug-lambdaserverlesstspark-180705105448-thumbnail.jpg?width=640&height=640&fit=bounds)
![[NDC18] 야생의 땅 듀랑고의 데이터 엔지니어링 이야기: 로그 시스템 구축 경험 공유 (2부)](https://cdn.slidesharecdn.com/ss_thumbnails/ndc2018-2-180430180517-thumbnail.jpg?width=640&height=640&fit=bounds)


![[AUSG] 초보자를 위한 AWS 뿌시기 세미나 2회 - 팀플 과제를 여행하는 히치하이커를 위한...](https://cdn.slidesharecdn.com/ss_thumbnails/random-180126020250-thumbnail.jpg?width=640&height=640&fit=bounds)


![[제3회 스포카콘] Kubernetes in Spoqa](https://cdn.slidesharecdn.com/ss_thumbnails/kubernetesinspoqa-210223072217-thumbnail.jpg?width=640&height=640&fit=bounds)
