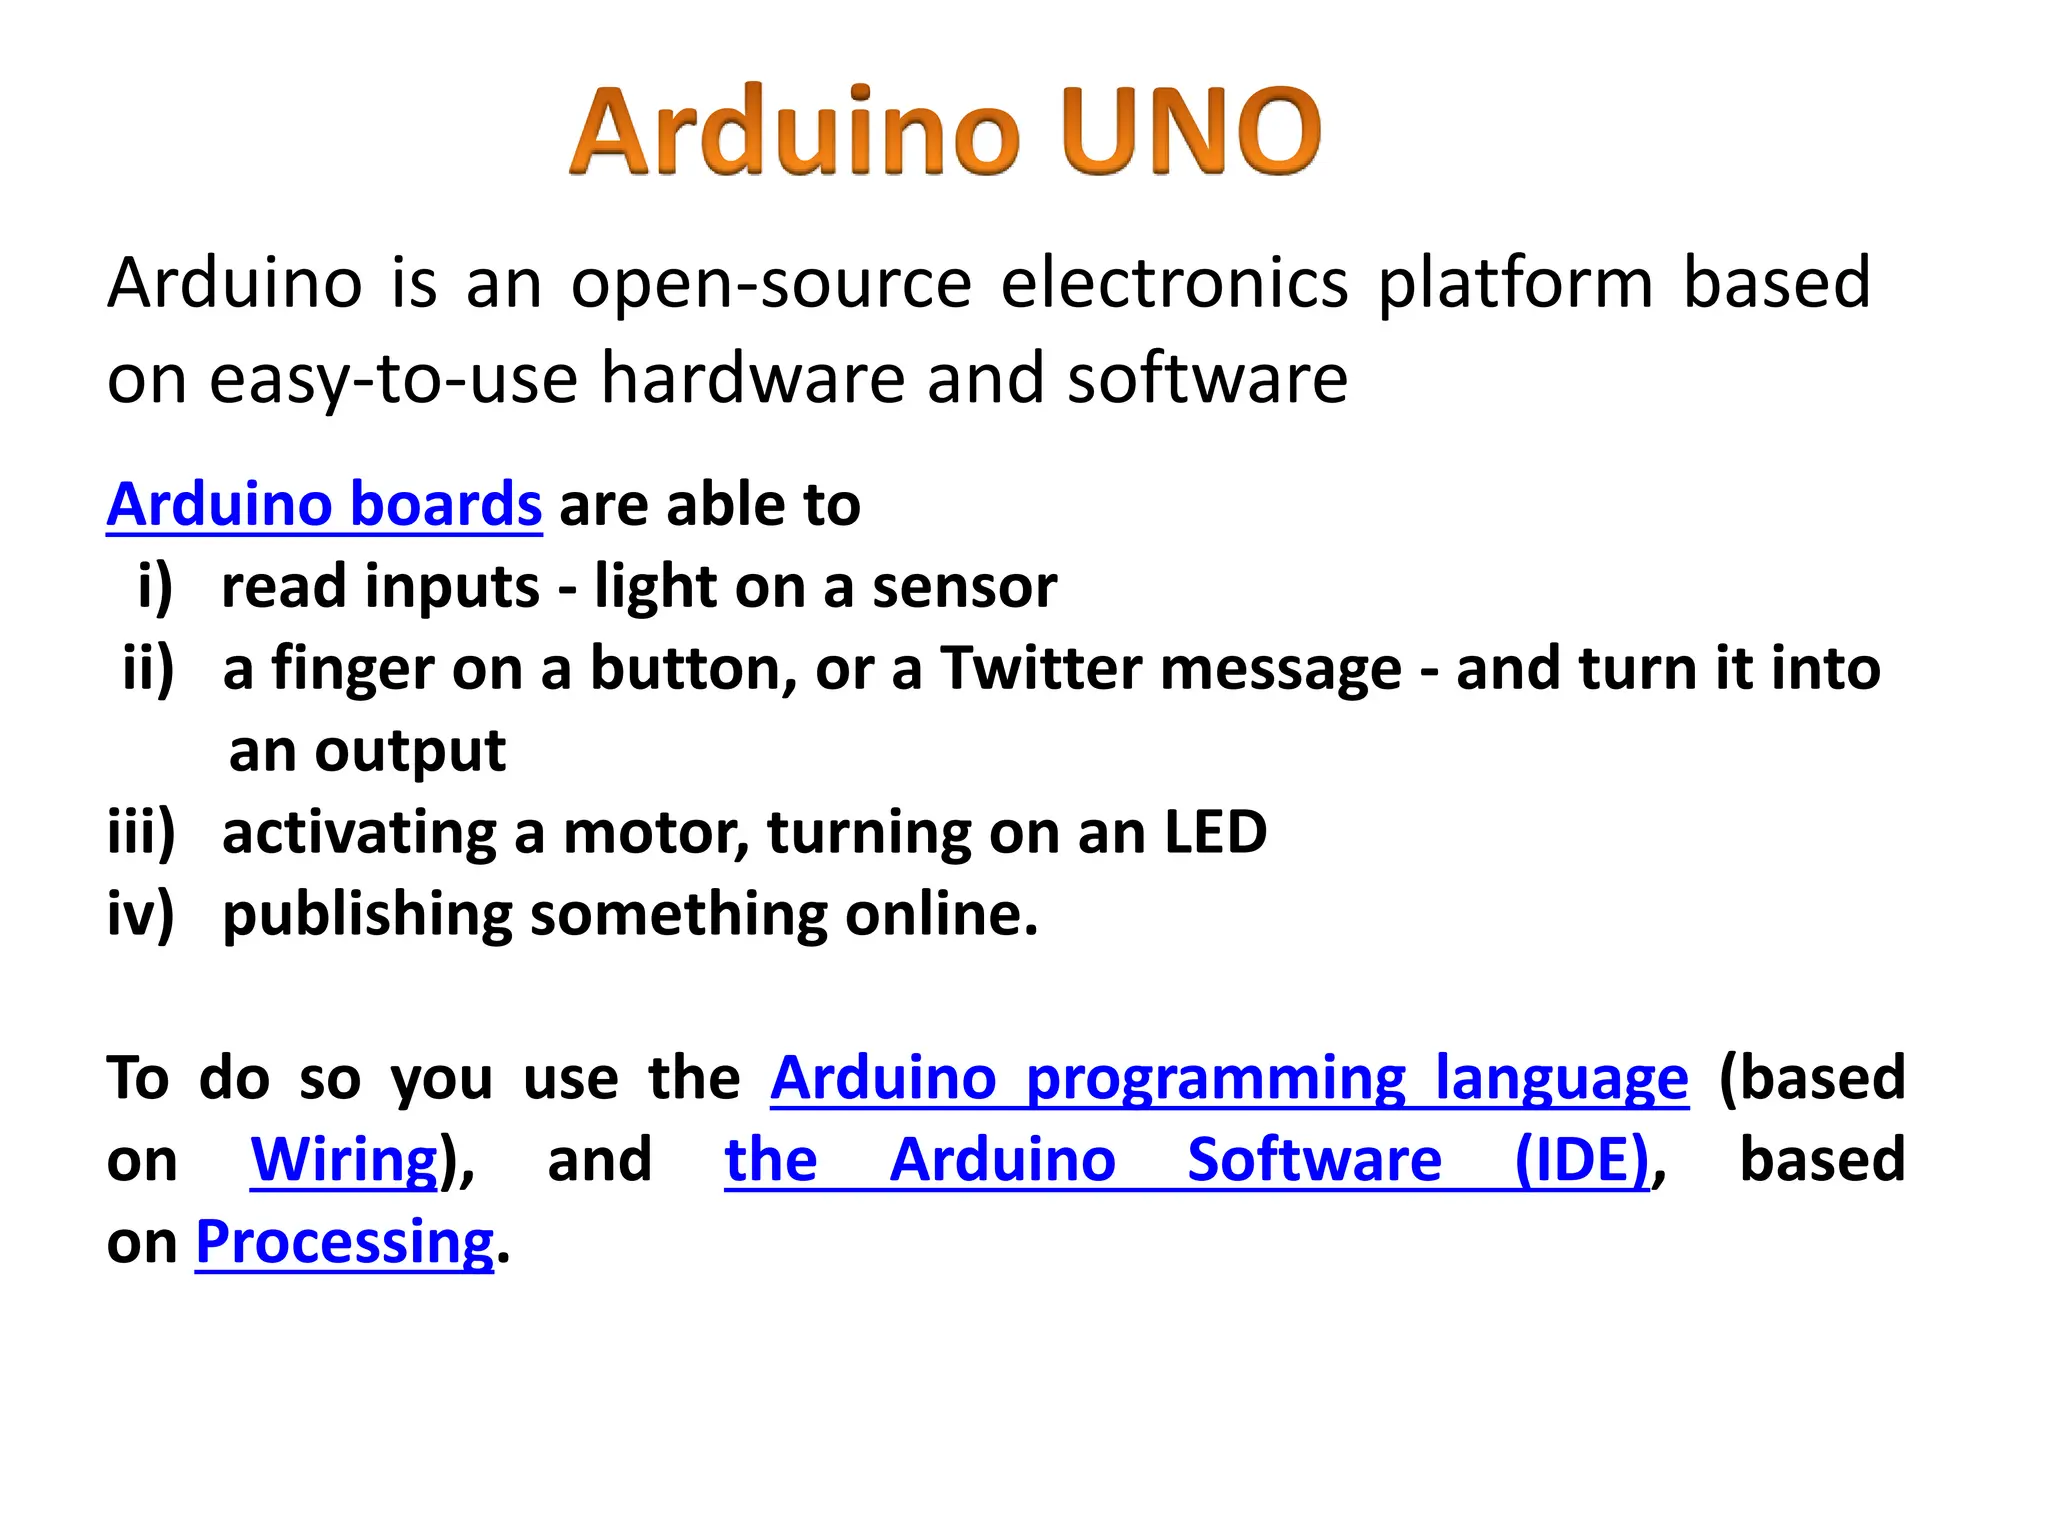
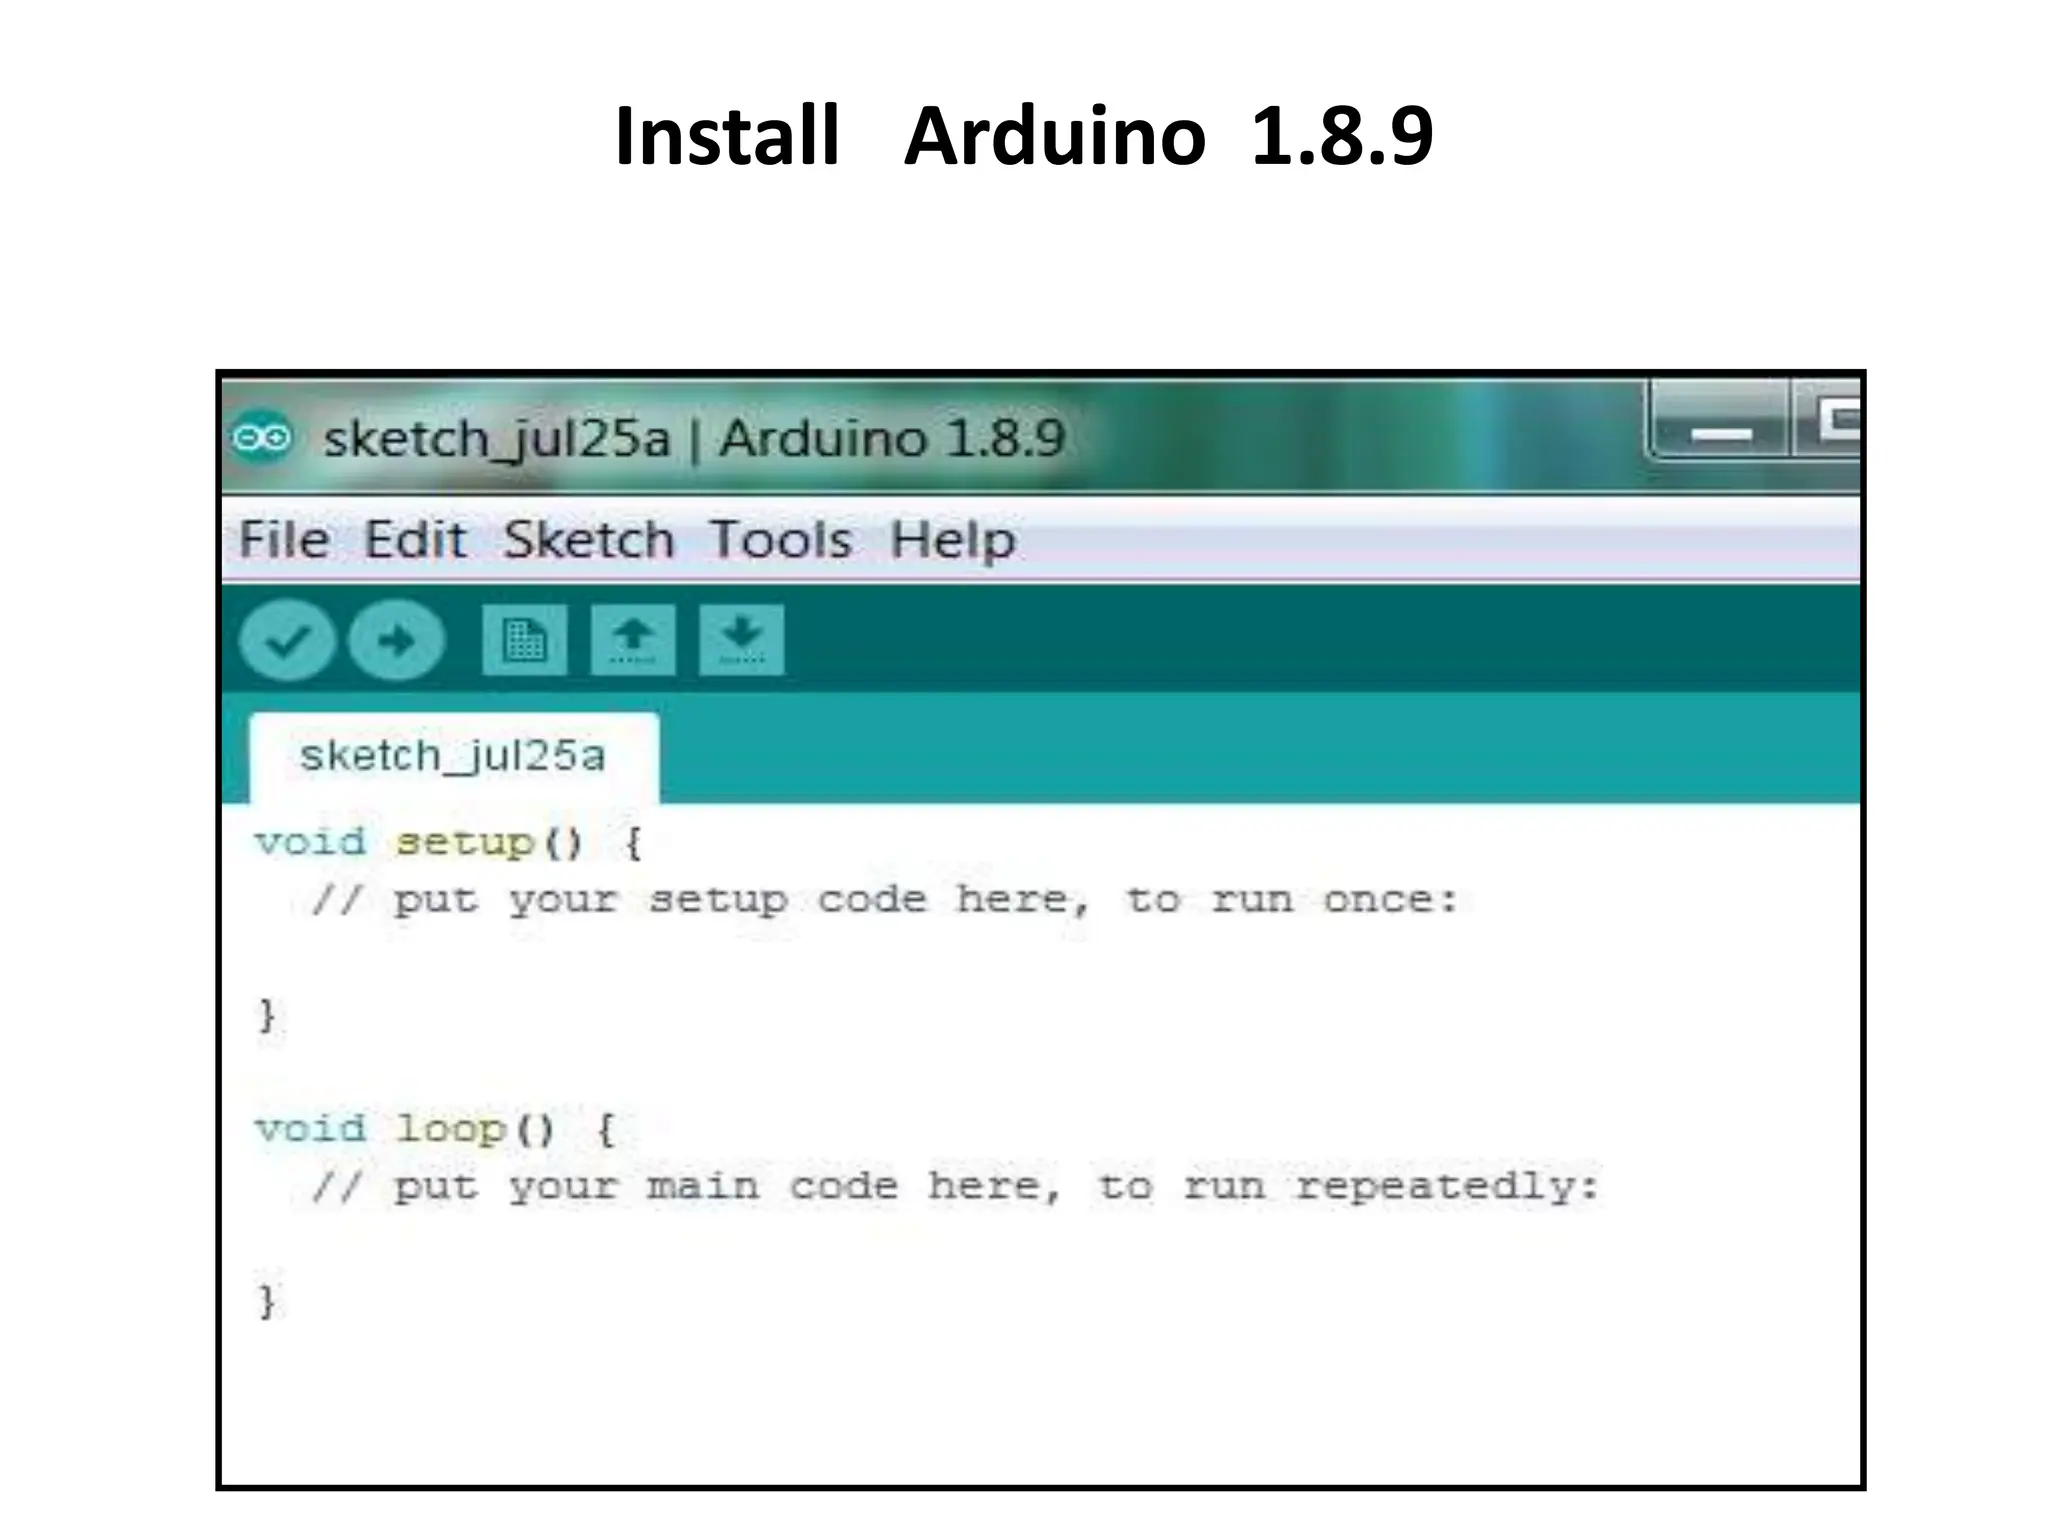
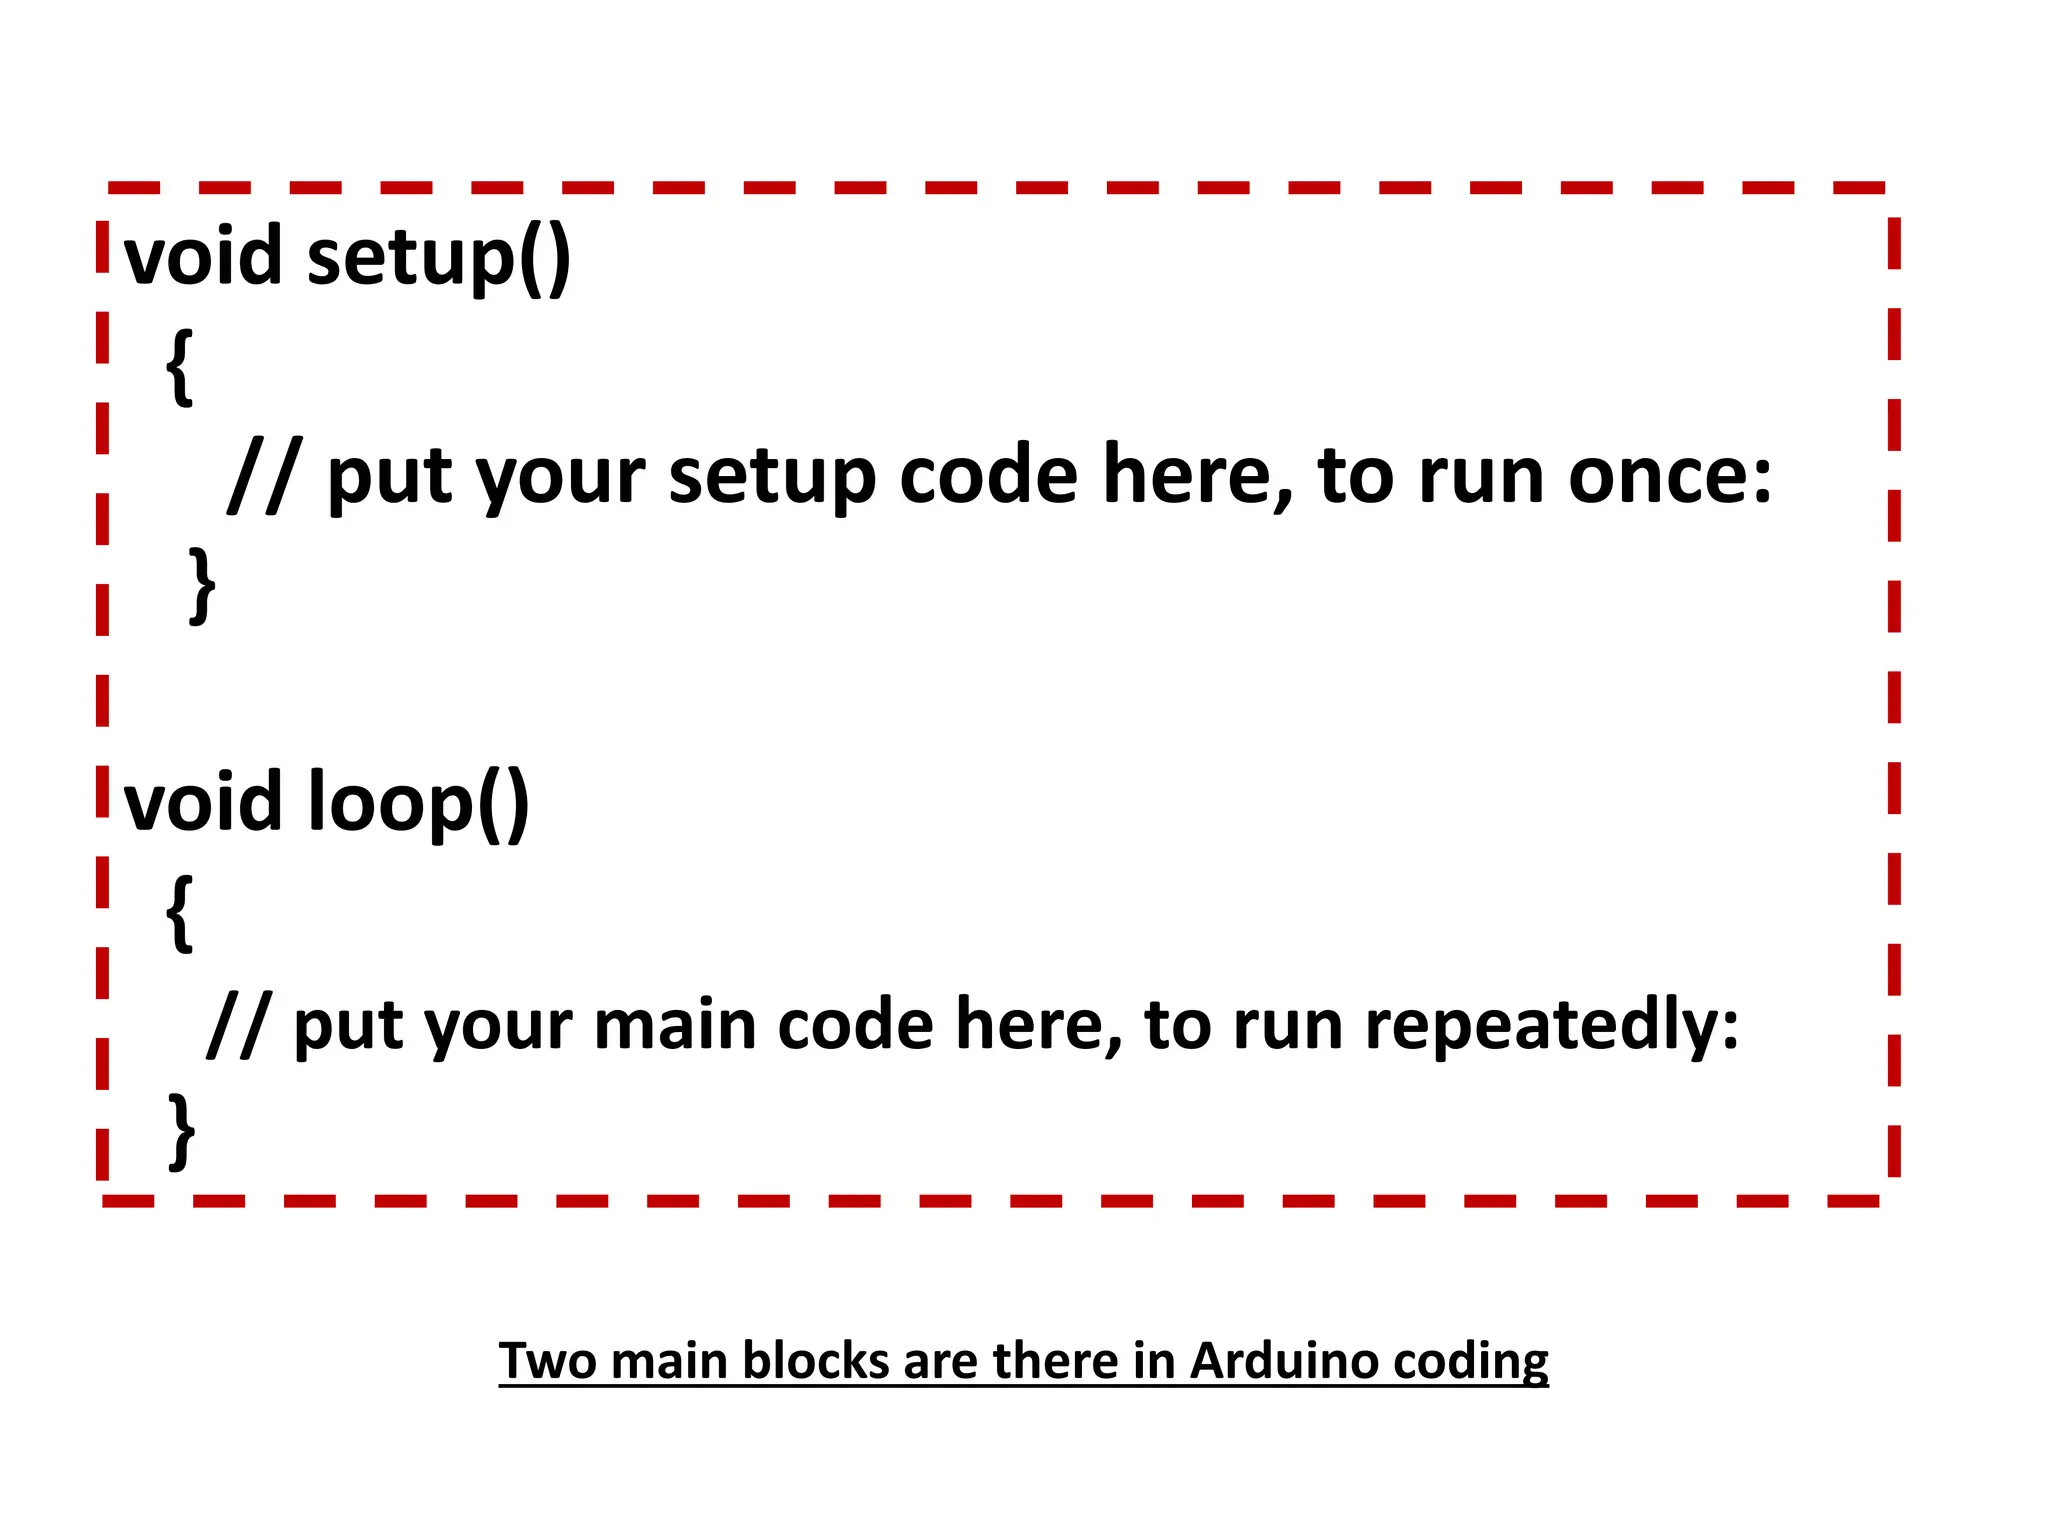
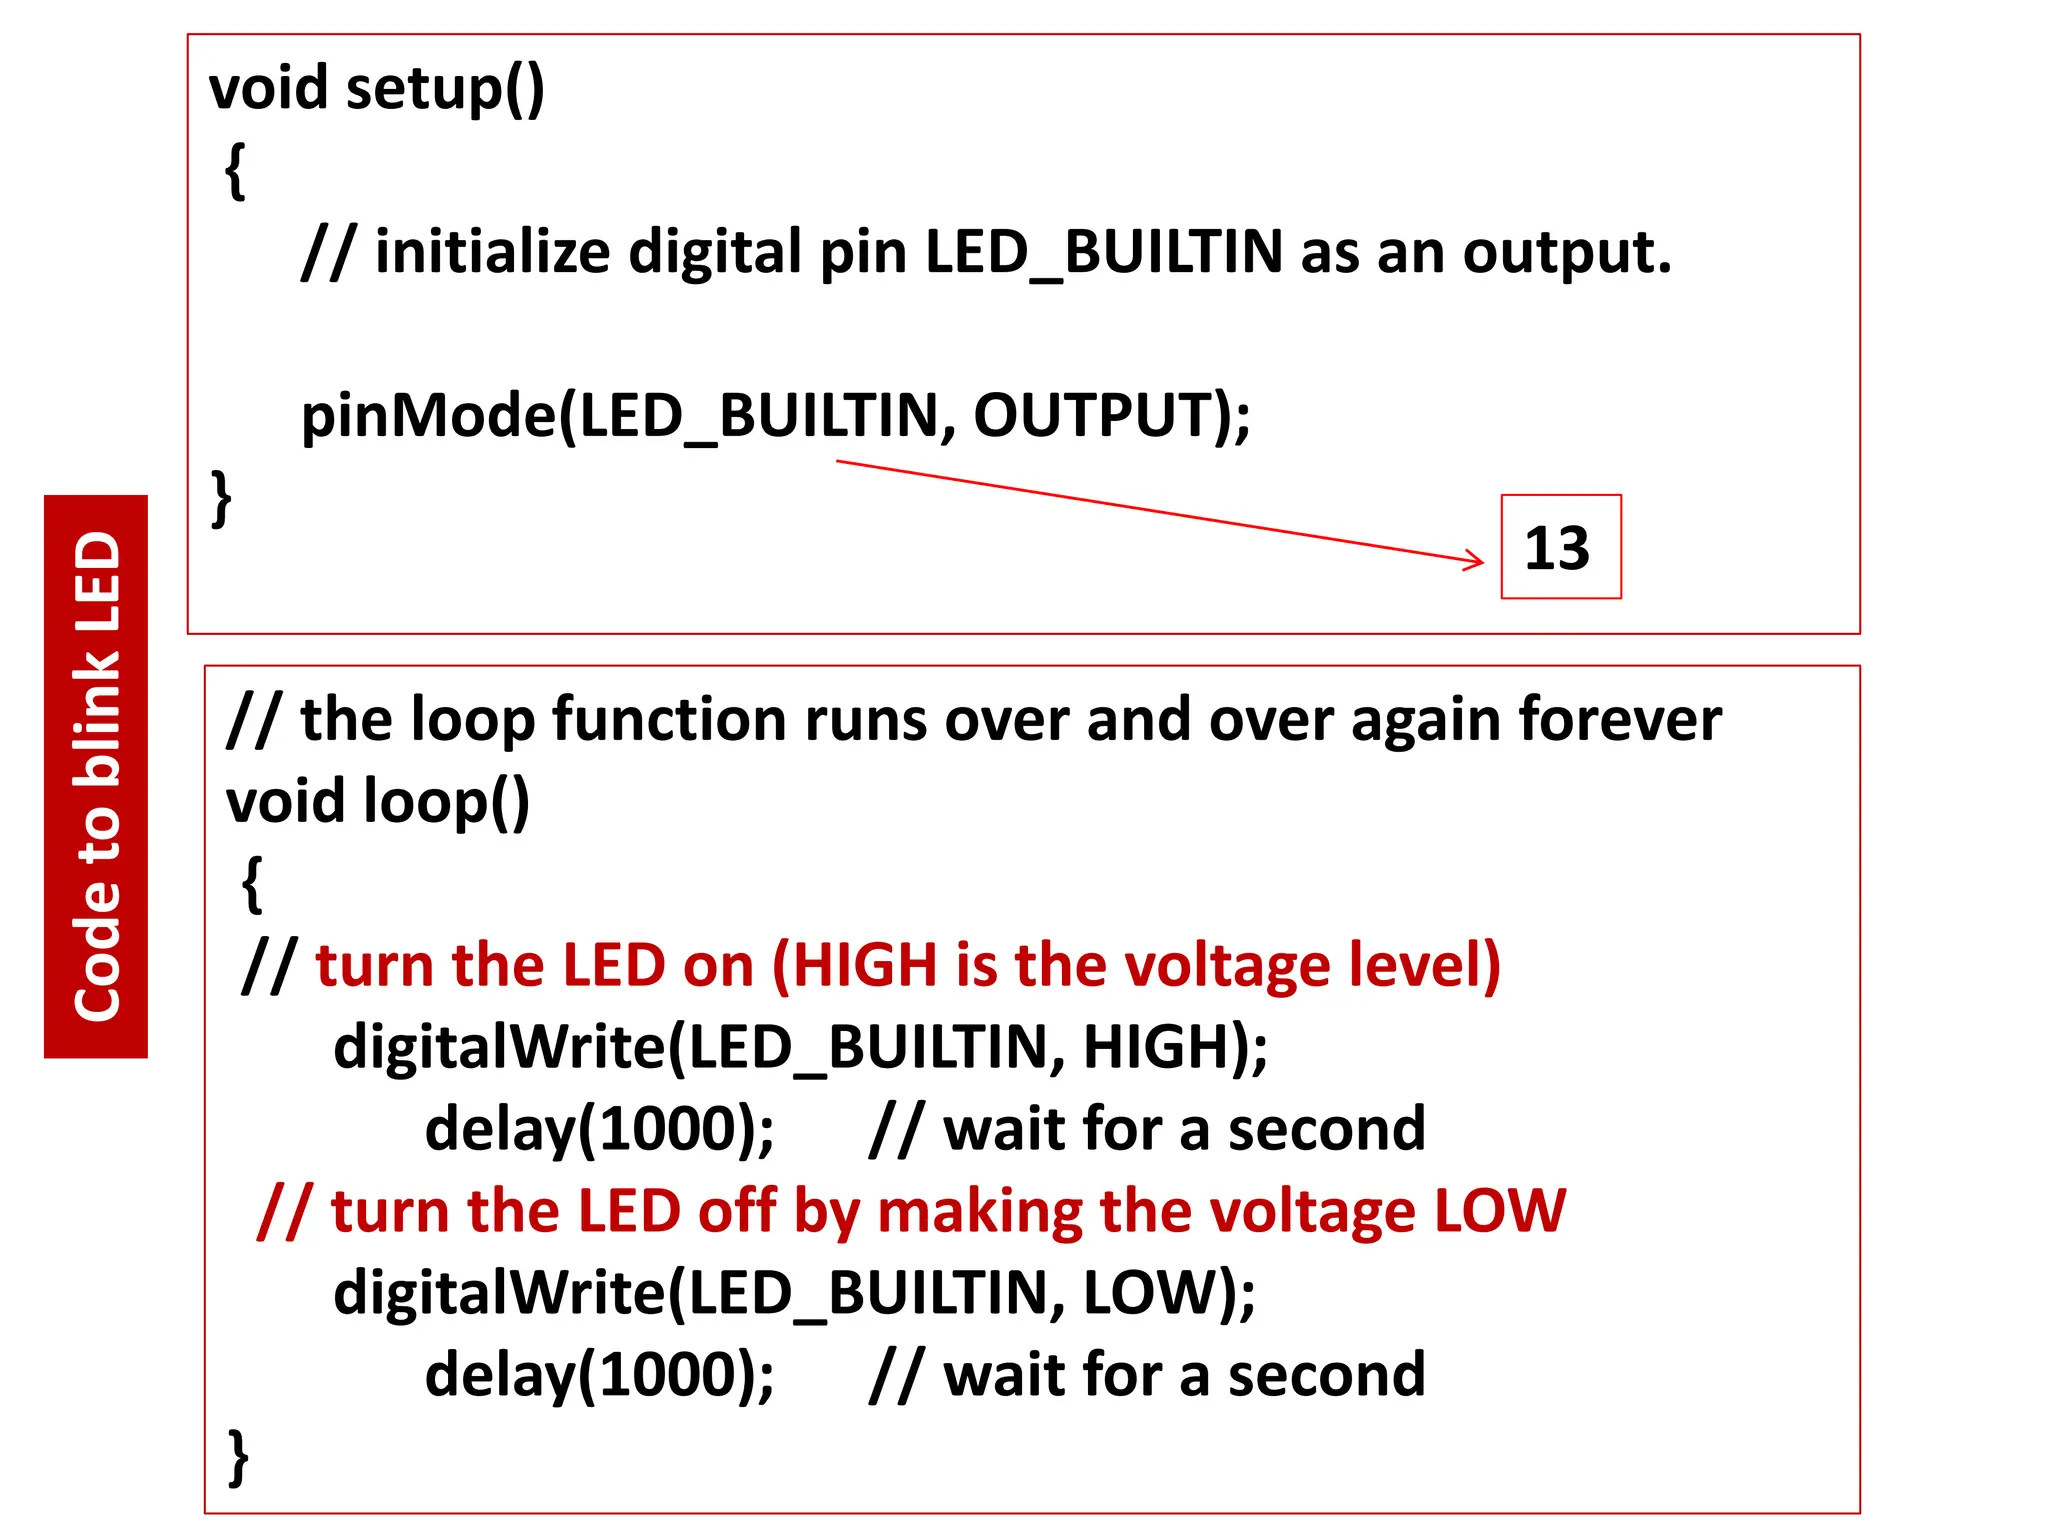
Arduino is an open-source electronics platform that can read inputs like light or button presses and turn them into outputs like activating motors or publishing data online. The Arduino programming language and IDE allow users to write programs to control boards. Key aspects include initializing pins as outputs, writing code in setup and loop functions, and using commands like pinMode, digitalWrite, and delay to control outputs like blinking an LED.
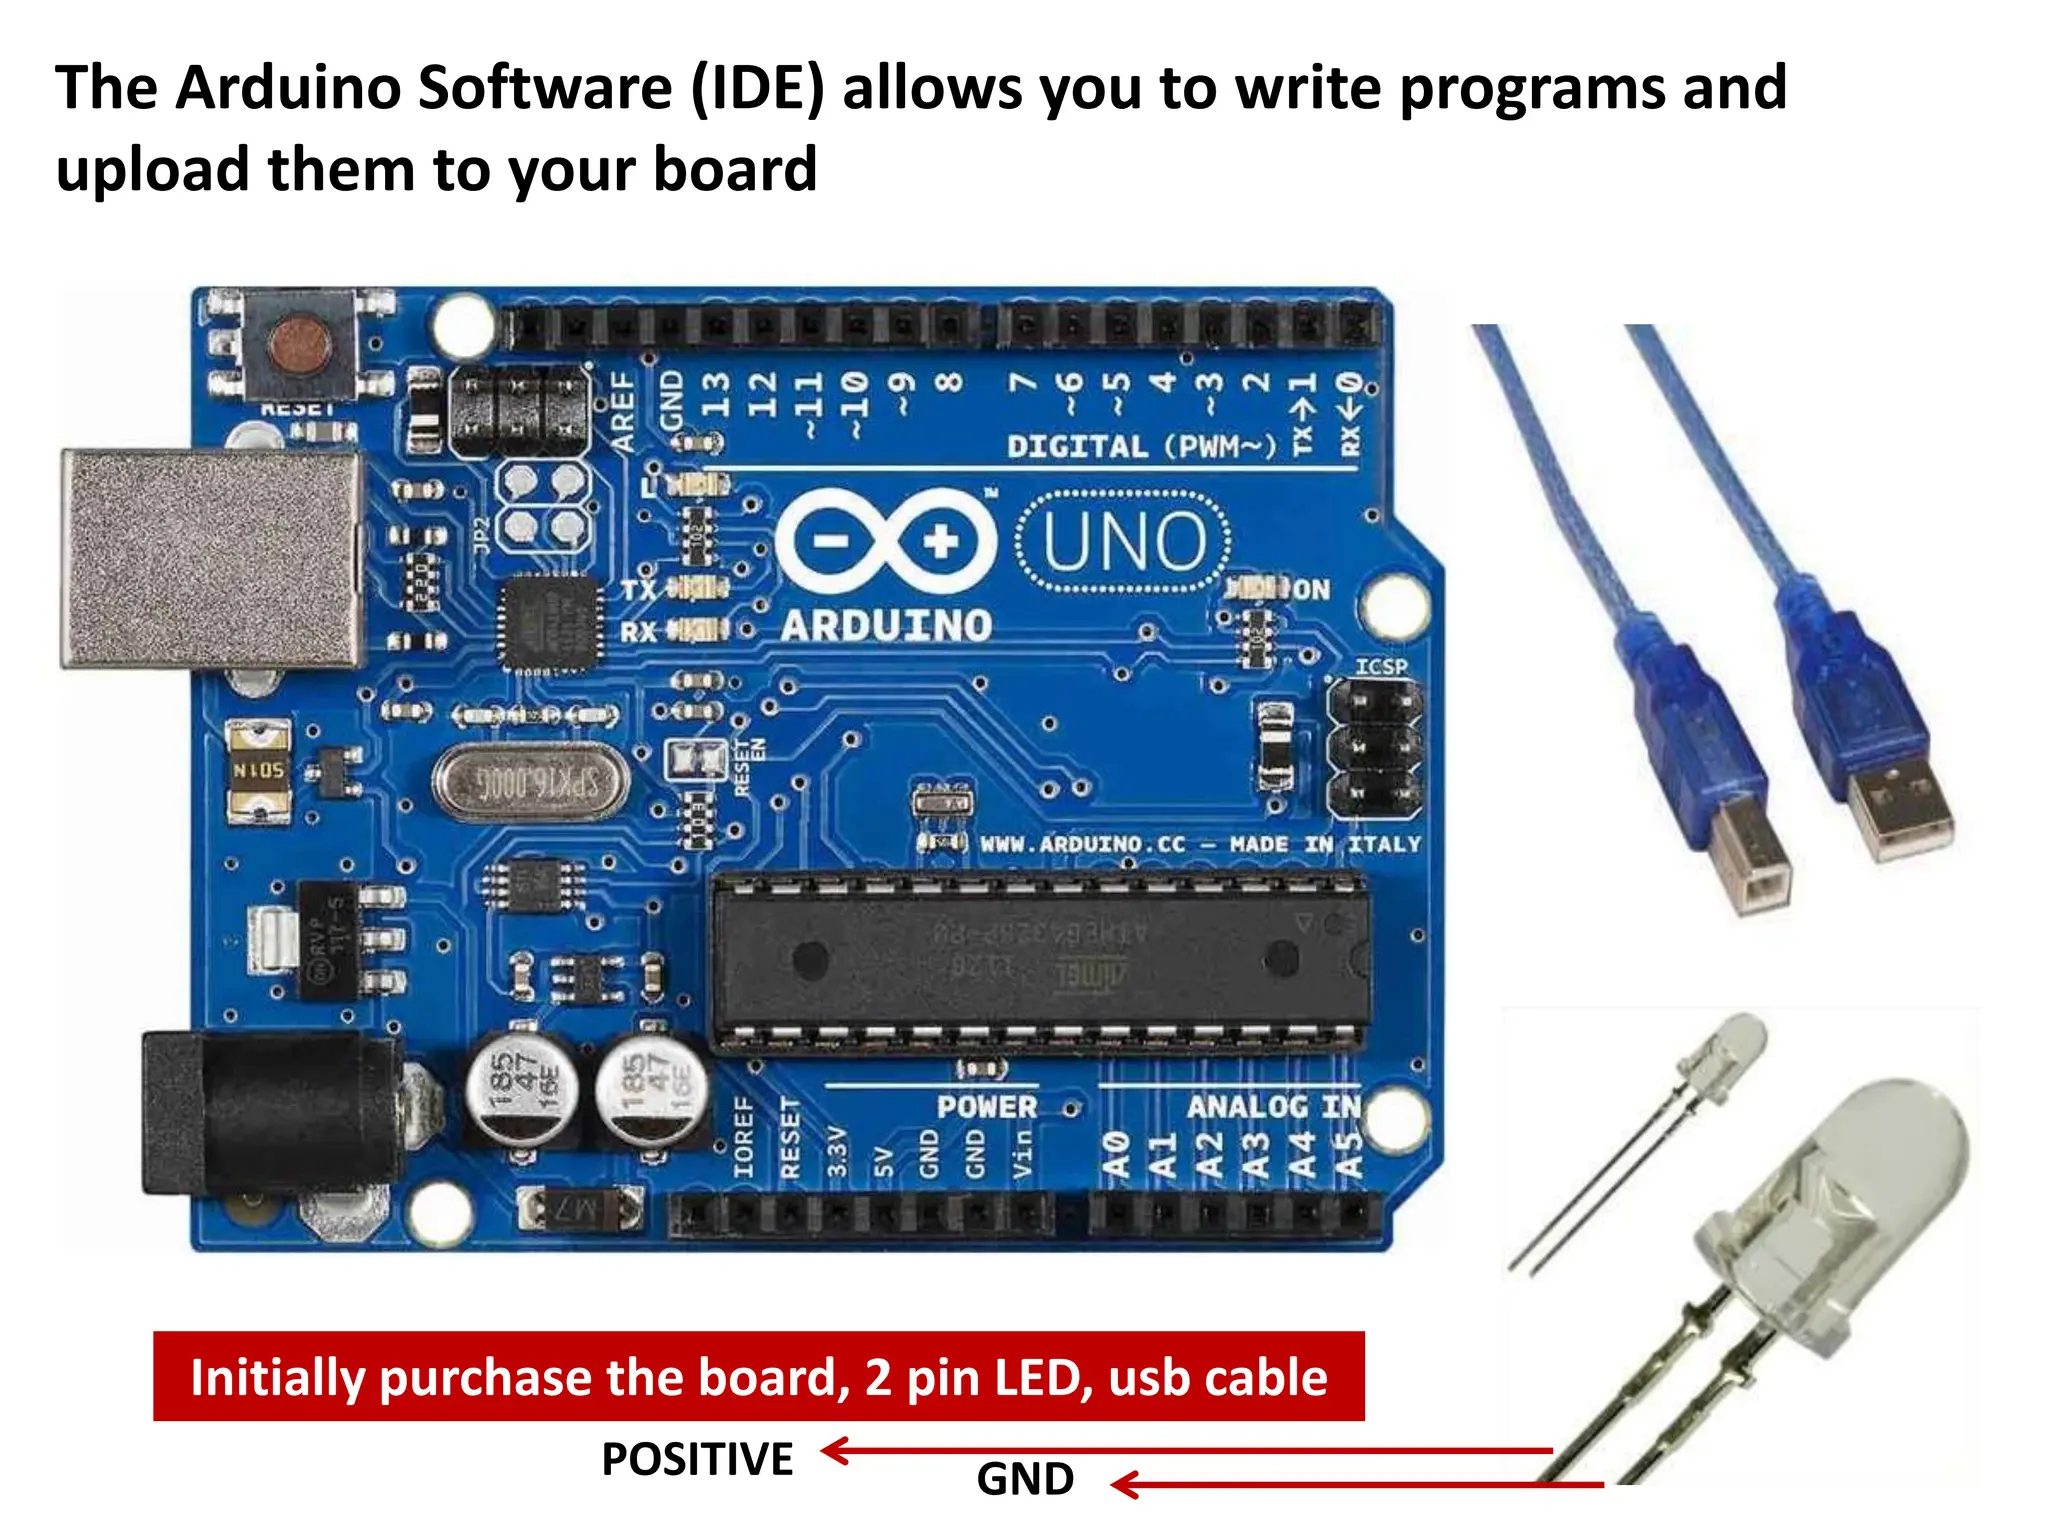


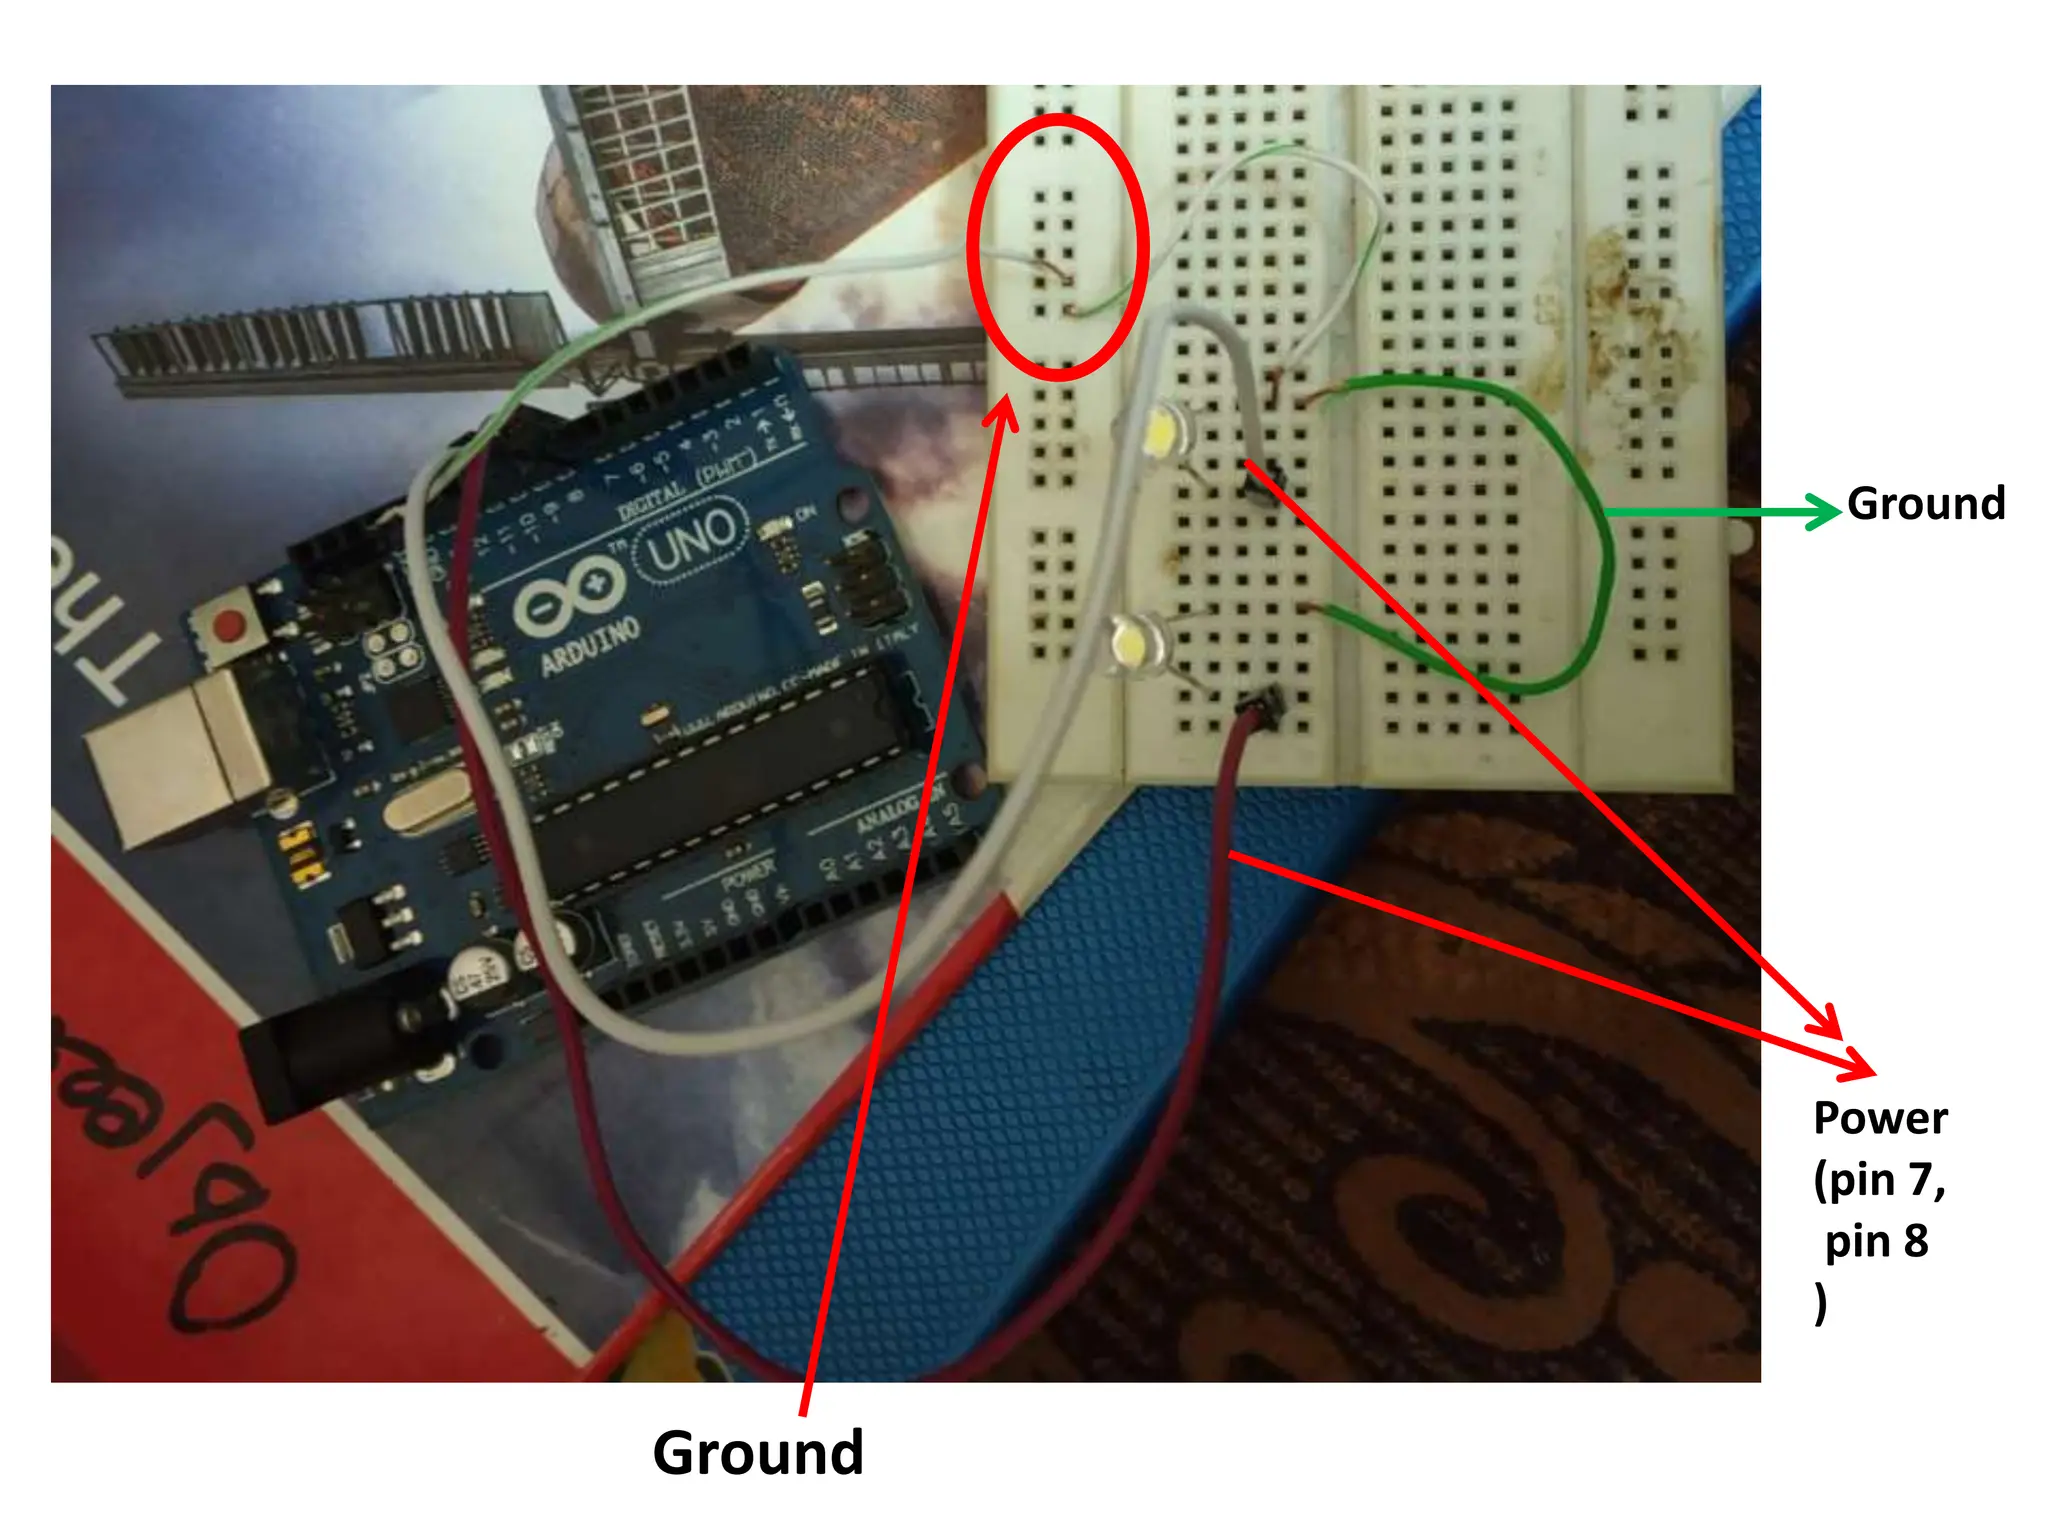

![Power(pin)
[ Big one]
Ground(small end)](https://image.slidesharecdn.com/arduino-240331164642-2be99e29/75/Arduino_UNO-_tutorial_For_Beginners-pptx-13-2048.jpg)


