Please note Itook these photos over the course of two paper-making
sessions, which is why the how-to portion is not always in chronological
order.
3.
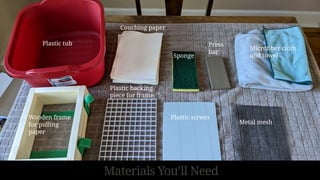
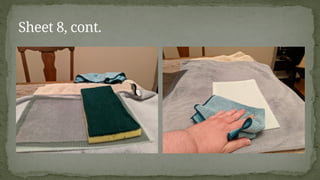
Materials You’ll Need
Plastictub
Couching paper
Sponge
Press
bar
Microfiber cloth
and towel
Wooden frame
for pulling
paper
Plastic backing
piece for frame.
Plastic screen
Metal mesh
4.
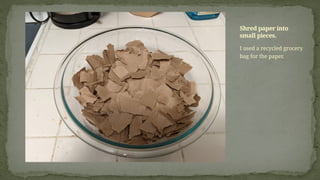
I used arecycled grocery
bag for the paper.
Shred paper into
small pieces.
5.
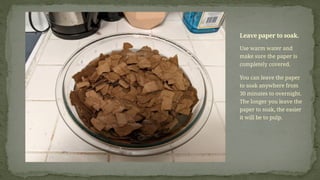
Use warm waterand
make sure the paper is
completely covered.
You can leave the paper
to soak anywhere from
30 minutes to overnight.
The longer you leave the
paper to soak, the easier
it will be to pulp.
Leave paper to soak.
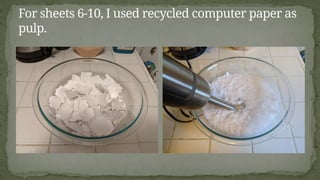
6.
You can leavethe pulp as
chunky or blend it as
smooth as you want your
paper.
Pulp paper with an
immersion blender.
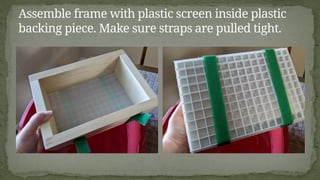
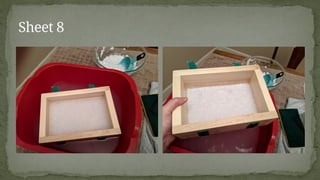
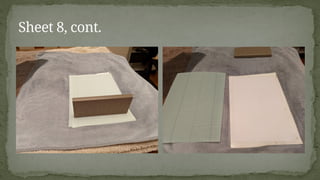
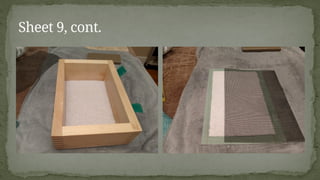
Assemble frame withplastic screen inside plastic
backing piece. Make sure straps are pulled tight.
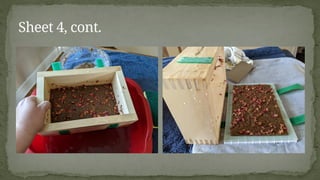
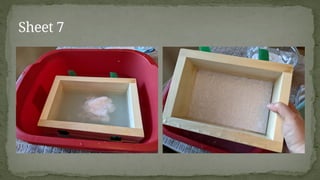
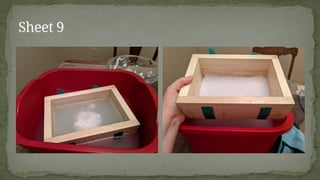
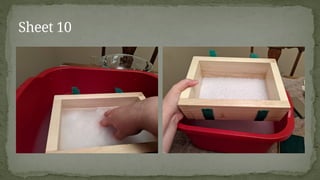
9.
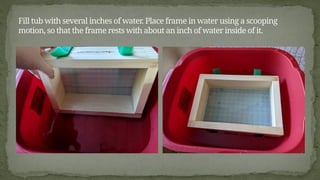
Fill tub withseveral inches of water. Place frame in water using a scooping
motion, so that the frame rests with about an inch of water inside of it.
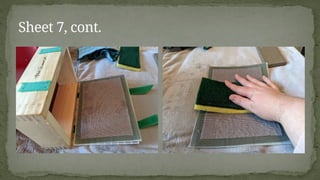
10.
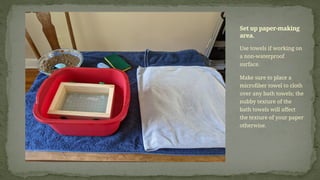
Use towels ifworking on
a non-waterproof
surface.
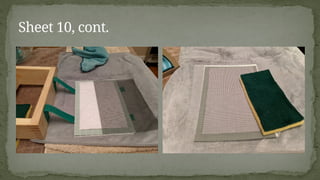
Make sure to place a
microfiber towel to cloth
over any bath towels; the
nubby texture of the
bath towels will affect
the texture of your paper
otherwise.
Set up paper-making
area.
11.
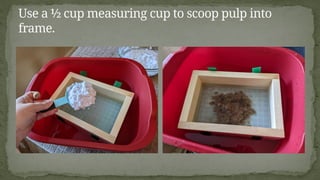
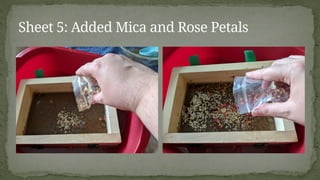
Use a ½cup measuring cup to scoop pulp into
frame.
12.
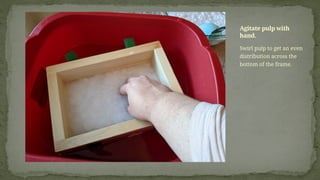
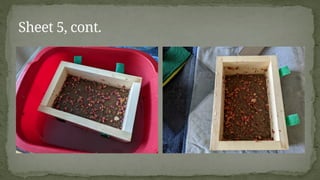
Swirl pulp toget an even
distribution across the
bottom of the frame.
Agitate pulp with
hand.
13.
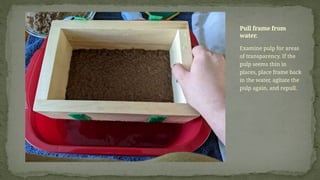
Examine pulp forareas
of transparency. If the
pulp seems thin in
places, place frame back
in the water, agitate the
pulp again, and repull.
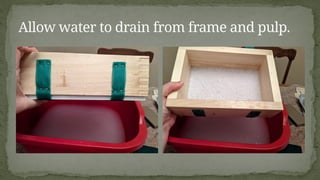
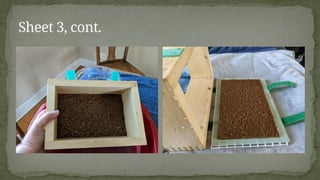
Pull frame from
water.
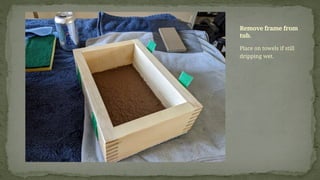
Place on towelsif still
dripping wet.
Remove frame from
tub.
16.
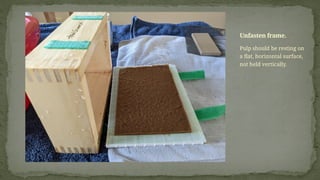
Pulp should beresting on
a flat, horizontal surface,
not held vertically.
Unfasten frame.
17.
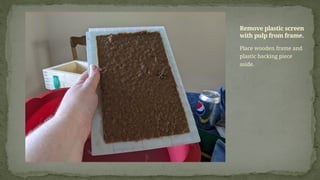
Place wooden frameand
plastic backing piece
aside.
Remove plastic screen
with pulp from frame.
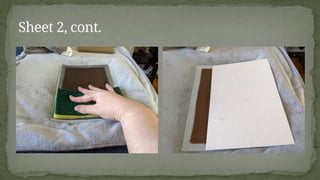
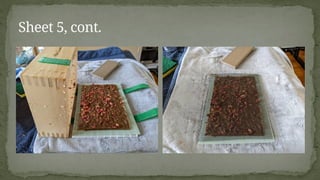
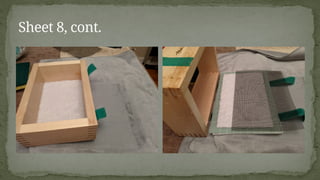
18.
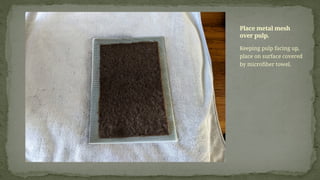
Keeping pulp facingup,
place on surface covered
by microfiber towel.
Place metal mesh
over pulp.
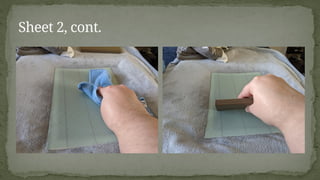
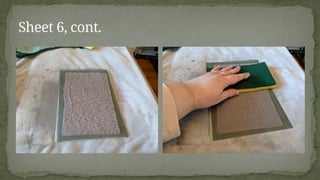
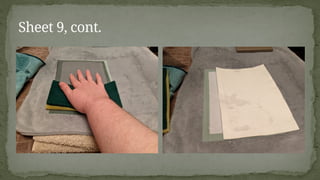
19.
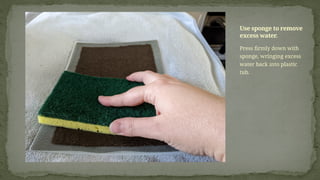
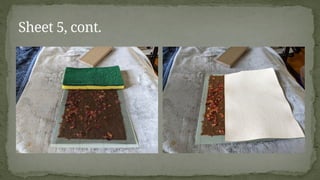
Press firmly downwith
sponge, wringing excess
water back into plastic
tub.
Use sponge to remove
excess water.
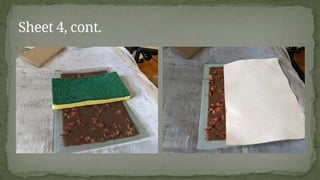
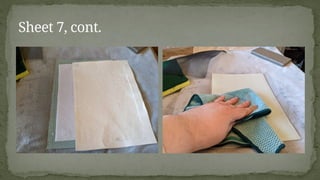
20.
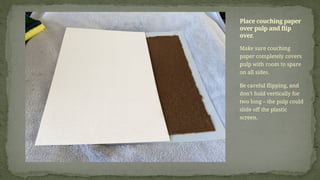
Make sure couching
papercompletely covers
pulp with room to spare
on all sides.
Be careful flipping, and
don’t hold vertically for
two long – the pulp could
slide off the plastic
screen.
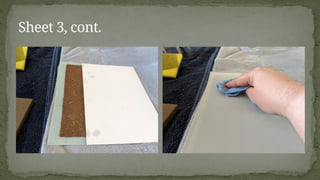
Place couching paper
over pulp and flip
over.
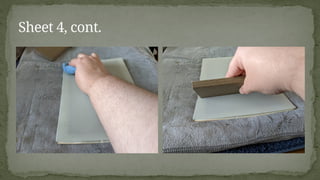
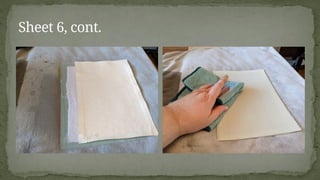
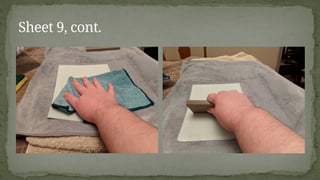
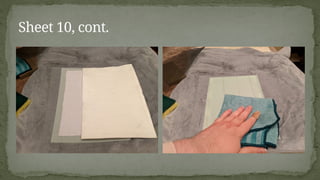
21.
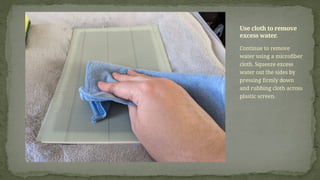
Continue to remove
waterusing a microfiber
cloth. Squeeze excess
water out the sides by
pressing firmly down
and rubbing cloth across
plastic screen.
Use cloth to remove
excess water.
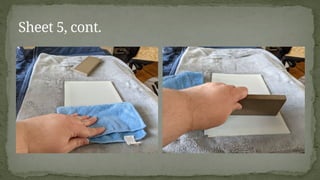
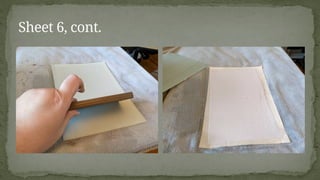
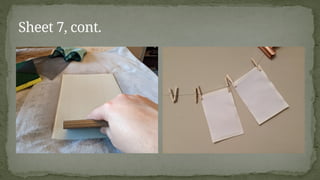
22.
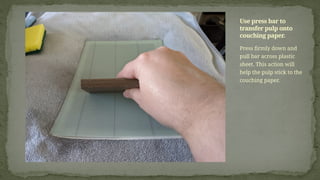
Press firmly downand
pull bar across plastic
sheet. This action will
help the pulp stick to the
couching paper.
Use press bar to
transfer pulp onto
couching paper.
23.
Gently peel plasticsheet
from pulp and couching
paper, starting at a
corner.
Remove plastic sheet
from pulp.
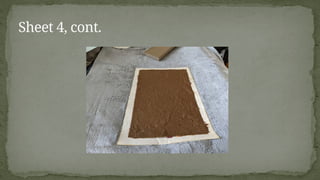
24.
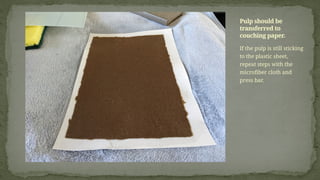
If the pulpis still sticking
to the plastic sheet,
repeat steps with the
microfiber cloth and
press bar.
Pulp should be
transferred to
couching paper.
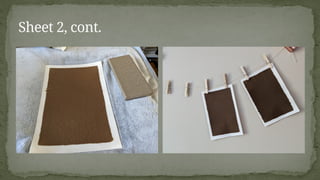
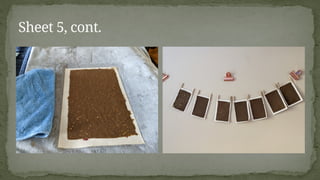
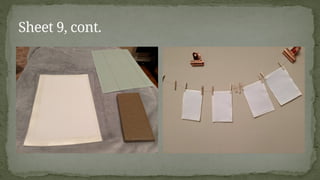
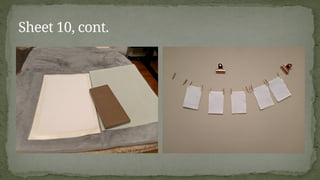
25.
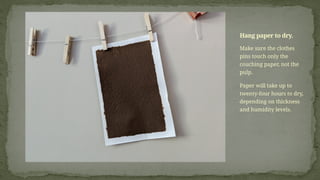
Make sure theclothes
pins touch only the
couching paper, not the
pulp.
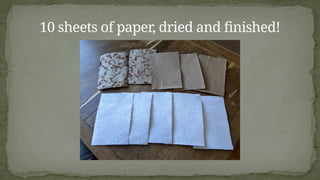
Paper will take up to
twenty-four hours to dry,
depending on thickness
and humidity levels.
Hang paper to dry.