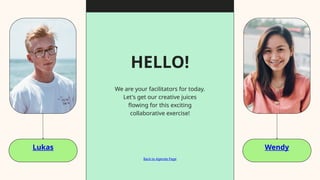
We are yourfacilitators for today.
Let's get our creative juices
flowing for this exciting
collaborative exercise!
HELLO!
Back to Agenda Page
Lukas Wendy
4.
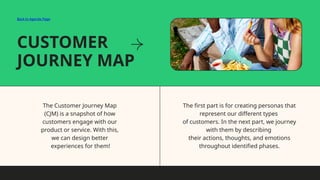
CUSTOMER
JOURNEY MAP
The CustomerJourney Map
(CJM) is a snapshot of how
customers engage with our
product or service. With this,
we can design better
experiences for them!
The first part is for creating personas that
represent our different types
of customers. In the next part, we journey
with them by describing
their actions, thoughts, and emotions
throughout identified phases.
Back to Agenda Page
5.
KEY ATTRIBUTE SHORTDESCRIPTION
NEEDS KEY ATTRIBUTE
KEY ATTRIBUTE
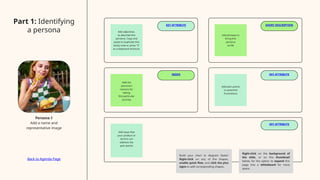
Add adjectives
to describe this
persona. Copy and
paste to duplicate this
sticky note or press "S"
as a keyboard shortcut.
Add the
persona's
reasons for
taking
this particular
journey
Add phrases to
bring this
persona
to life
Add pain points
or potential
frustrations
Add ways that
your product or
service can
address the
pain points
Part 1: Identifying
a persona
Persona 1
Add a name and
representative image
Build your chart or diagram faster!
Right-click on any of the shapes,
enable quick flow, and click the plus
signs to add corresponding shapes.
Right-click on the background of
the slide, or on the thumbnail
below, for the option to expand this
page into a whiteboard for more
space.
Back to Agenda Page
6.
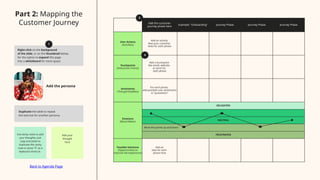
Add the customer
journeyphase here
Example: "Onboarding" Journey Phase Journey Phase Journey Phase
User Actions
(Activities)
Add an activity
that your customer
does for each phase
Touchpoints
(Interaction Points)
Add a touchpoint
like email, website,
or store for
each phase
Sentiments
(Thought Bubbles)
For each phase,
add possible user sentiments
in "quotations"
Emotions
(Mood Meter)
DELIGHTED
NEUTRAL
Move the points up and down
FRUSTRATED
Possible Solutions
(Opportunities to
improve the experience)
Add an
idea for each
phase here
Part 2: Mapping the
Customer Journey
Use sticky notes to add
your thoughts. Just
copy and paste to
duplicate this sticky
note or press "S" as a
keyboard shortcut.
Add your
thought
here
Right-click on the background
of the slide, or on the thumbnail below,
for the option to expand this page
into a whiteboard for more space.
Duplicate the table to repeat
the exercise for another persona.
Add the persona
Back to Agenda Page
1
2
3
4
7.
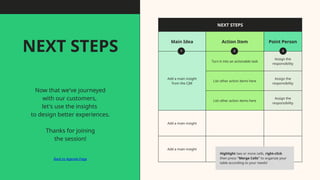
NEXT STEPS
Main IdeaAction Item Point Person
Add a main insight
from the CJM
Turn it into an actionable task
Assign the
responsibility
List other action items here
Assign the
responsibility
List other action items here
Assign the
responsibility
Add a main insight
Add a main insight
1
Highlight two or more cells, right-click
then press "Merge Cells" to organize your
table according to your needs!
NEXT STEPS
Now that we've journeyed
with our customers,
let's use the insights
to design better experiences.
Thanks for joining
the session!
Back to Agenda Page
2 3
8.
RESOURCE
Page
Use these whiteboarddesign resources in your Canva Presentation. To
access more of these elements, right-click
and expand any page into a whiteboard then check out the elements
tab. Happy designing!
Delete or hide this page before presenting.
9.
Use these designresources
in your Canva Presentation.
Happy designing!
Delete or hide this page
before presenting.
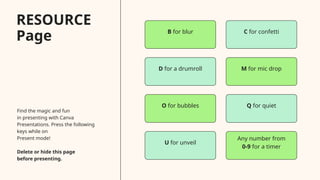
RESOURCE
Page
10.
Find the magicand fun
in presenting with Canva
Presentations. Press the following
keys while on
Present mode!
Delete or hide this page
before presenting.
B for blur C for confetti
D for a drumroll M for mic drop
O for bubbles Q for quiet
U for unveil
Any number from
0-9 for a timer
RESOURCE
Page