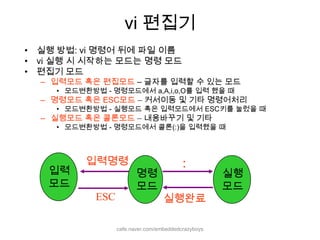
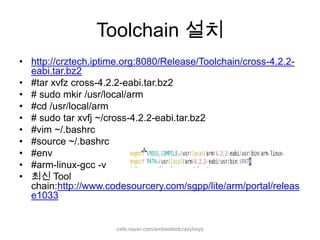
:입력명령입력모드실행모드명령모드ESC실행완료vi 편집기실행 방법:vi 명령어 뒤에 파일 이름vi 실행 시 시작하는 모드는 명령 모드편집기 모드입력모드 혹은 편집모드– 글자를 입력할 수 있는 모드 모드변환방법 - 명령모드에서 a,A,i,o,O를 입력 했을 때 명령모드 혹은 ESC모드 – 커서이동 및 기타 명령어처리모드변환방법 - 실행모드 혹은 입력모드에서 ESC키를 눌렀을 때실행모드 혹은 콜론모드 – 내용바꾸기 및 기타 모드변환방법 - 명령모드에서 콜론(:)을 입력했을 때cafe.naver.com/embeddedcrazyboys
3.
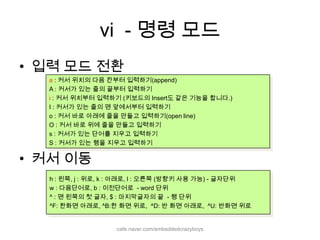
vi -명령 모드입력 모드 전환커서 이동a : 커서 위치의 다음 칸부터 입력하기(append) A : 커서가 있는 줄의 끝부터 입력하기i: 커서 위치부터 입력하기 (키보드의 Insert도 같은 기능을 합니다.)I : 커서가 있는 줄의 맨 앞에서부터 입력하기 o : 커서 바로 아래에 줄을 만들고 입력하기(open line) O : 커서 바로 위에 줄을 만들고 입력하기 s : 커서가 있는 단어를 지우고 입력하기S : 커서가 있는 행을 지우고 입력하기h : 왼쪽, j : 위로, k : 아래로, l : 오른쪽 (방향키 사용 가능) - 글자단위w : 다음단어로, b : 이전단어로 - word 단위^ : 맨 왼쪽의 첫 글자, $ : 마지막글자의 끝 - 행 단위^F: 한화면 아래로, ^B:한 화면 위로, ^D: 반 화면 아래로, ^U: 반화면 위로cafe.naver.com/embeddedcrazyboys
4.
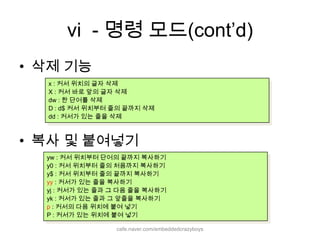
vi -명령 모드(cont’d)삭제 기능복사 및 붙여넣기x : 커서 위치의 글자 삭제 X : 커서 바로 앞의 글자 삭제 dw : 한 단어를 삭제 D : d$ 커서 위치부터 줄의 끝까지 삭제 dd : 커서가 있는 줄을 삭제yw : 커서 위치부터 단어의 끝까지 복사하기y0 : 커서 위치부터 줄의 처음까지 복사하기y$ : 커서 위치부터 줄의 끝까지 복사하기yy : 커서가 있는 줄을 복사하기yj : 커서가 있는 줄과 그 다음 줄을 복사하기yk : 커서가 있는 줄과 그 앞줄을 복사하기p : 커서의 다음 위치에 붙여 넣기P : 커서가 있는 위치에 붙여 넣기cafe.naver.com/embeddedcrazyboys
5.
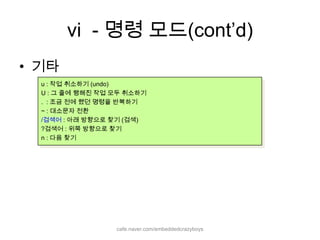
vi -명령 모드(cont’d)기타u : 작업 취소하기 (undo)U : 그 줄에 행해진 작업 모두 취소하기. : 조금 전에 했던 명령을 반복하기~ : 대소문자 전환/검색어 : 아래 방향으로 찾기 (검색)?검색어 : 위쪽 방향으로 찾기n : 다음 찾기cafe.naver.com/embeddedcrazyboys
6.
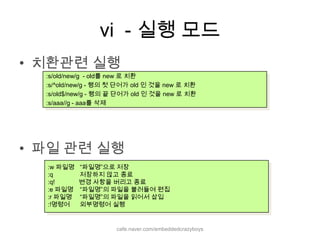
vi -실행 모드치환관련 실행파일 관련 실행:s/old/new/g - old를 new 로 치환:s/^old/new/g - 행의 첫 단어가 old 인 것을 new 로 치환:s/old$/new/g - 행의 끝 단어가 old 인 것을 new 로 치환:s/aaa//g - aaa를 삭제:w 파일명 “파일명”으로 저장:q 저장하지 않고 종료:q! 변경 사항을 버리고 종료:e 파일명 “파일명”의 파일을 불러들여 편집:r 파일명 “파일명”의 파일을 읽어서 삽입:!명령어 외부명령어 실행cafe.naver.com/embeddedcrazyboys


![[KOSSA] C++ Programming - 15th Study - STL #1](https://cdn.slidesharecdn.com/ss_thumbnails/kossacprogramming-15thstudy-stl1-150531132601-lva1-app6891-thumbnail.jpg?width=640&height=640&fit=bounds)


![[강릉원주대 대기환경과학과] 대기과학전산입문 설명서](https://cdn.slidesharecdn.com/ss_thumbnails/1-200223055504-thumbnail.jpg?width=640&height=640&fit=bounds)